


While the Summoner class used to be the laughing stock of Terraria’s four classes, it’s been getting a hell of a glowup every since the first 1.4 update. Now, with the 1.4.5 Bigger and Boulder update, Summoner has more options than ever.
That said, with such a variety of options, it can get a bit overwhelming, especially when there’s no more Whip Stacking, so you can’t just get every whip and use all of them at once. You need to choose one whip to main, and one or two summons to run with.
I’ll be going through all five major stages of the game, detailing exactly which whip, summon, and sometimes sentry to use for each.
Pre-Boss
Notoriously, your options as a pre-boss Summoner are very limited, but you do have a couple of staves and whips to try out. I’ll go from the easiest to most difficult to obtain, so you can get started a bit more quickly, then move on to weapons that deal better damage.
| Weapon Name | Weapon Type | How to Obtain | Usage |
| Cobwhip | Whip | 30 Cobwebs and 10 Wood at a Loom. | This whip can be acquired before killing anything, and it’s an easy option for a first weapon, even if it’s very weak. |
| Abigail’s Flower | Summon | Grows near Tombstones placed on grass. | Very slow and somewhat low-damage, but the constant piercing hitbox can do quite a number on slow-moving enemies. |
| Foxparks | Summon | Found during the day on grass in the outer parts of the world. | An incredible summon that doubles as a flamethrower when the attack button is held, and rather easy to find if you’re lucky. |
| Vampire Frog Staff | Summon | Dropped by enemies fished up during a Blood Moon. | A decent summon weapon that is far less random to obtain than Foxparx, and one you should go for if you’re struggling to get the other one. |
| Snapthorn | Whip | Crafted with 15 Stingers, 3 Vines, and 12 Jungle Spores at an Anvil. | Likely the best whip in Pre-Hardmode, and it’s available before fighting anything, for some reason. |
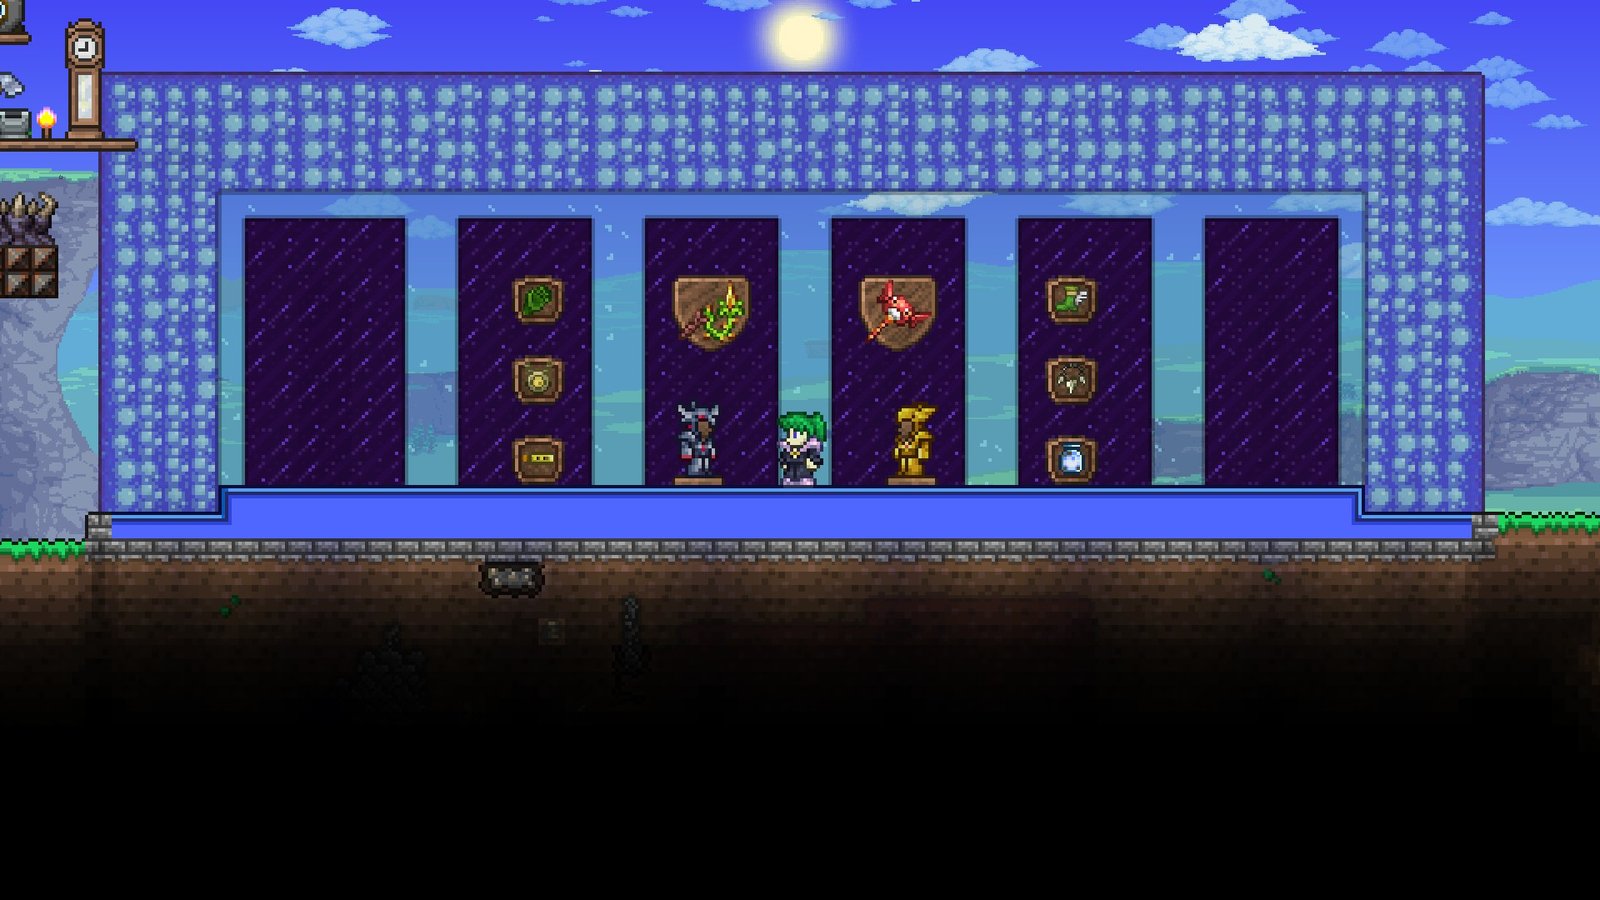
Your choice of armor and accessories as a Summoner pre-boss is pretty slim pickings, all things considered. You can get a Flinx Fur Coat by killing flinxes in the snow biome and combining their fur with Silk and Gold, and the Feral Claws from the Jungle can buff your whip speed, but that’s all you get.
Pre-Hardmode
Once you start killing bosses as a Summoner, you get access to a few more toys and way more options in terms of armor and accessories, but very little in the way of whip upgrades, as most of the new whips are plainly worse than Snapthorn.
| Weapon Name | Weapon Type | How to Obtain | Usage |
| Snapthorn | Whip | Crafted with 15 Stingers, 3 Vines, and 12 Jungle Spores at an Anvil. | Still your best option, with huge tag damage and a decent debuff. |
| Foxparks | Summon | Found during the day on grass in the outer parts of the world. | A summon with rather high range that also afflicts a debuff, and does decent damage. |
| Hornet Staff | Summon | Crafted with 14 Bee Wax at an anvil. | A summon with rather high range, that also afflicts a debuff, and does decent damage. |
| Imp Staff | Summon | Crafted with 17 Hellstone Bars at an anvil. | A summon that blasts things at a distance with very high damage, and a slightly worse debuff, making it a great option to use alongside another summon. |
| Spinal Tap | Whip | Crafted with 90 Bones and 55 Cobwebs at a Workbench, obtainable after fighting Skeletron. | Does slightly more damage and tag damage than Snapthorn, but without the debuff, so results with this may vary. |
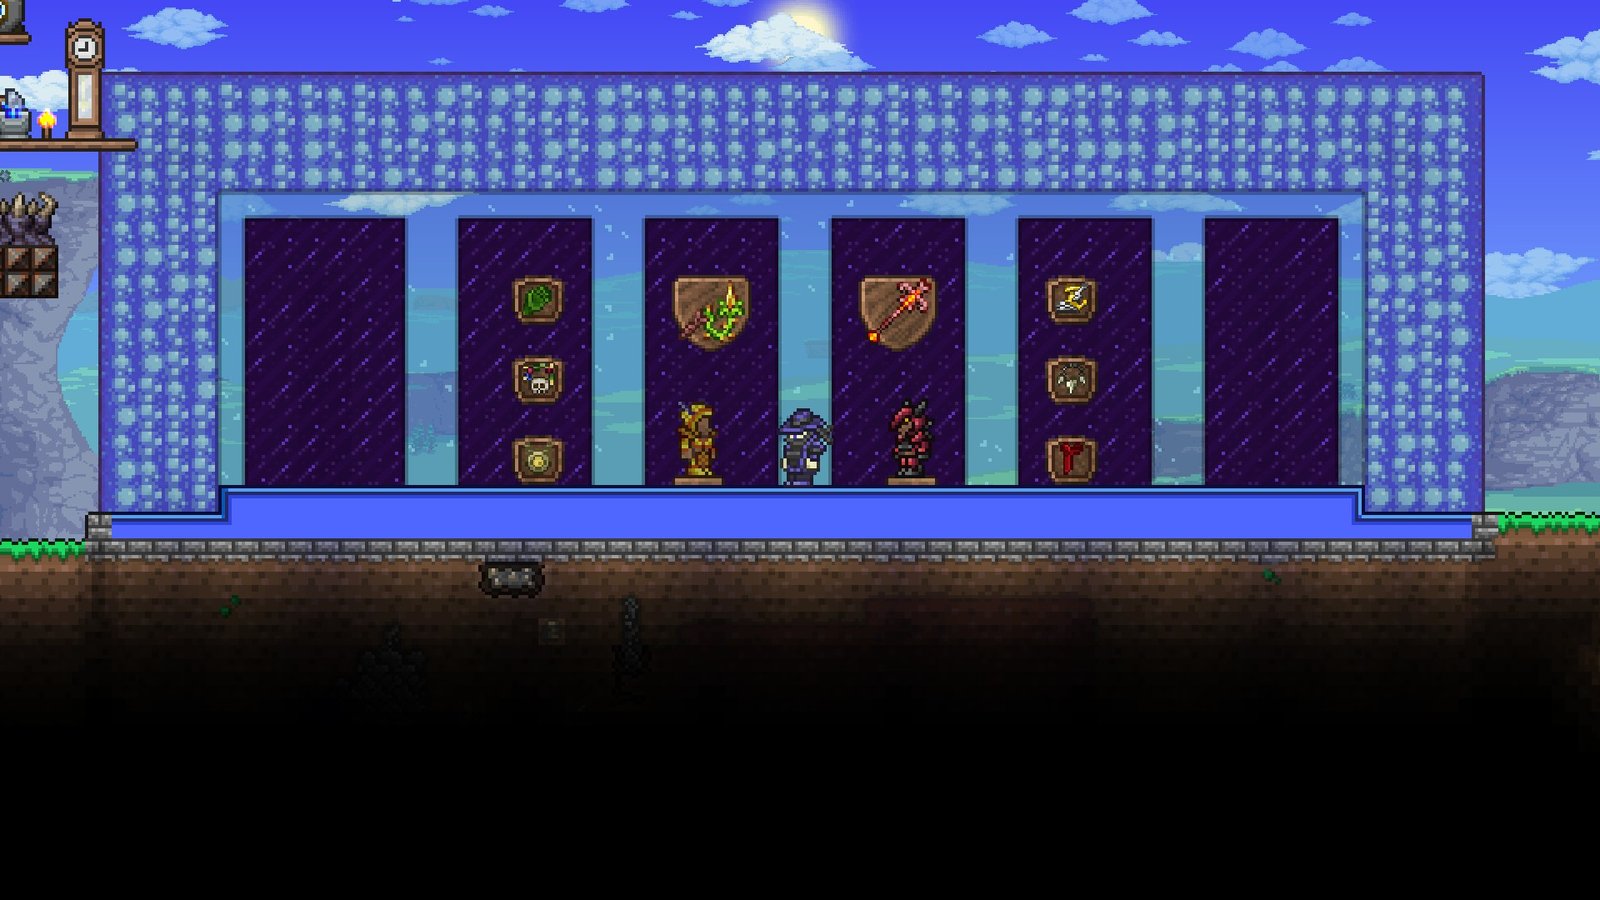
Now that you’re post-boss, you can get Shadow Scales or Tissue Samples, Obsidian, and Silk to craft Obsidian Armor, which gives you a big boost to summon damage and heavily buffs your whips, making Snapthorn even better than it already is.
If you’d rather, you can opt for Bee Armor crafted with Bee Wax instead, which focuses more on buffing your minions. Either way, grab the Pygmy Necklace from the Witch Doctor at night, and perhaps the two accessories from the Old One’s Army if you’re into that sort of thing.

Early Hardmode
Hardmode is where the Summoner class begins to shine, granting it far more options, and making Sentries a worthwhile option that you can place down in your arenas and forget about. I’ll cover everything that will get you from the Mechs to Plantera in no time.
| Weapon Name | Weapon Type | How to Obtain | Usage |
| Firecracker | Whip | Dropped by the Wall of Flesh. | A big upgrade from Snapthorn, inflicting Hellfire, and exploding all your enemies. |
| Sanguine Staff | Summon | Dropped by Dreadnautilus. | A summon that hovers around you and flies at your enemies, dealing big hits of damage quickly. Fighting Dreadnautilus is a pain, but it’s worth doing for this. |
| Blade Staff | Summon | Dropped by Queen Slime. | A summon that deals low damage very quickly. It’s been heavily nerfed by the death of Whip Stacking, but with a good modifier, it works well. |
| Queen Spider Staff | Sentry | Crafted with 24 Spider Fangs at a Hardmode Anvil. | A sentry that is primarily good for applying Acid Venom and helping you stand your ground. |
| Ballista Cane | Sentry | Sold by the Tavernkeep after defeating Tier 2 Old One’s Army. | A far more consistent Sentry for damage than the Queen Spider Staff, but without the debuff. |
| Durendal | Whip | Crafted with 12 Hallowed Bars at a Hardmode Anvil. | A whip that increases your attack speed, does a hell of a lot of damage, and buffs your summons quite a bit. |
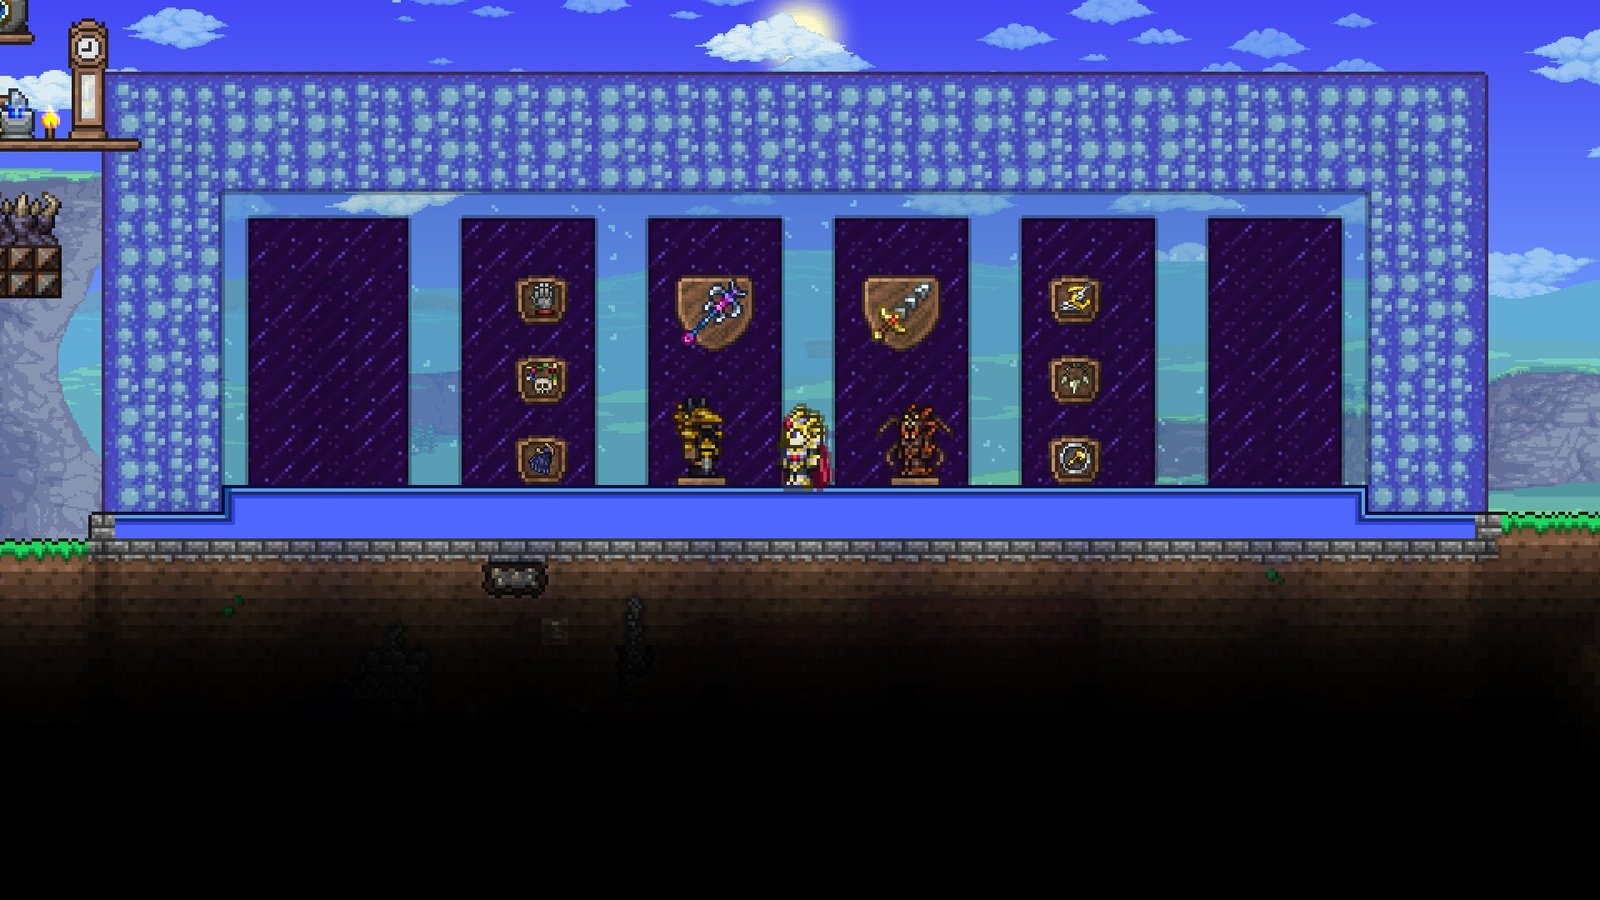
Alongside your new arsenal of weapons, you can get Spider Armor with Spider Fangs, which gives you a bunch of extra Summon Damage, or, if you’re one of those Multi-classers, you can get the Forbidden Armor after waiting forever for a Sandstorm, then use the Desert Spirit Lamp so you don’t have to play the game.
Once you beat a couple of mechs, though, the Hallowed Armor becomes a great option for Summoner, granting you a chance to dodge any random attack. You can also get a Summoner Emblem from the Wall of Flesh, and a Mechanical Glove if you really want your whips to shine.
Mid Hardmode
After beating Plantera, your options open up a ton, and there are quite a few things you should go for, summons you should grab, whips you should try, events you should do, and things to grind for before taking on the endgame.
| Weapon Name | Weapon Type | How to Obtain | Usage |
| Vulgar Display of Flower | Whip | Dropped by Plantera. | A great whip that makes enemies bloom into explosive flowers that can damage other enemies, which is lovely. |
| Frost Hydra | Sentry | Obtained by opening the Ice Chest in the dungeon with a rare Ice Key. | If you’re willing to grind for it, the Frost Hydra will be a goated addition to your playthrough that will chill out and deal tons of damage without you putting in a shred of effort. |
| Deadly Sphere Staff | Summon | Dropped by Deadly Spheres in the Solar Eclipse. | A summon that moves fast and deals great damage, and is on par with the Raven Staff, despite having you put in far less effort to obtain it. |
| Morning Star | Whip | Dropped by Blue, Hell, and Rusty Armored Bones in the Post-Plantera Dungeon. | A whip that is slow, but hits like a truck, and makes your summons crit more. It’s not the best option here, but it is really easy to get. |
| Dark Harvest | Whip | Dropped by Pumpking during the Pumpkin moon. | A fast whip with a ton of armor penetration that also buffs your minions a ton, making it well worth the grind. |
| Kaleidoscope | Whip | Dropped by the Empress of Light. | A whip that simply hits fast and does a ton of damage, not much more to it. |
| Electric Eel | Whip | Dropped by Duke Fishron. | A whip that works as an alternative if you’d rather fight Duke than Empress. It stuns enemies, but doesn’t deal as much damage or buff your minions as much as Kaleidoscope. |
| Tempest Staff | Summon | Dropped by Duke Fishron. | This summon is great, shoots a bunch of sharks that deal good damage and rarely miss. Getting this is the main reason you might just want to settle for the Electric Eel instead of the Kaleidoscope. |
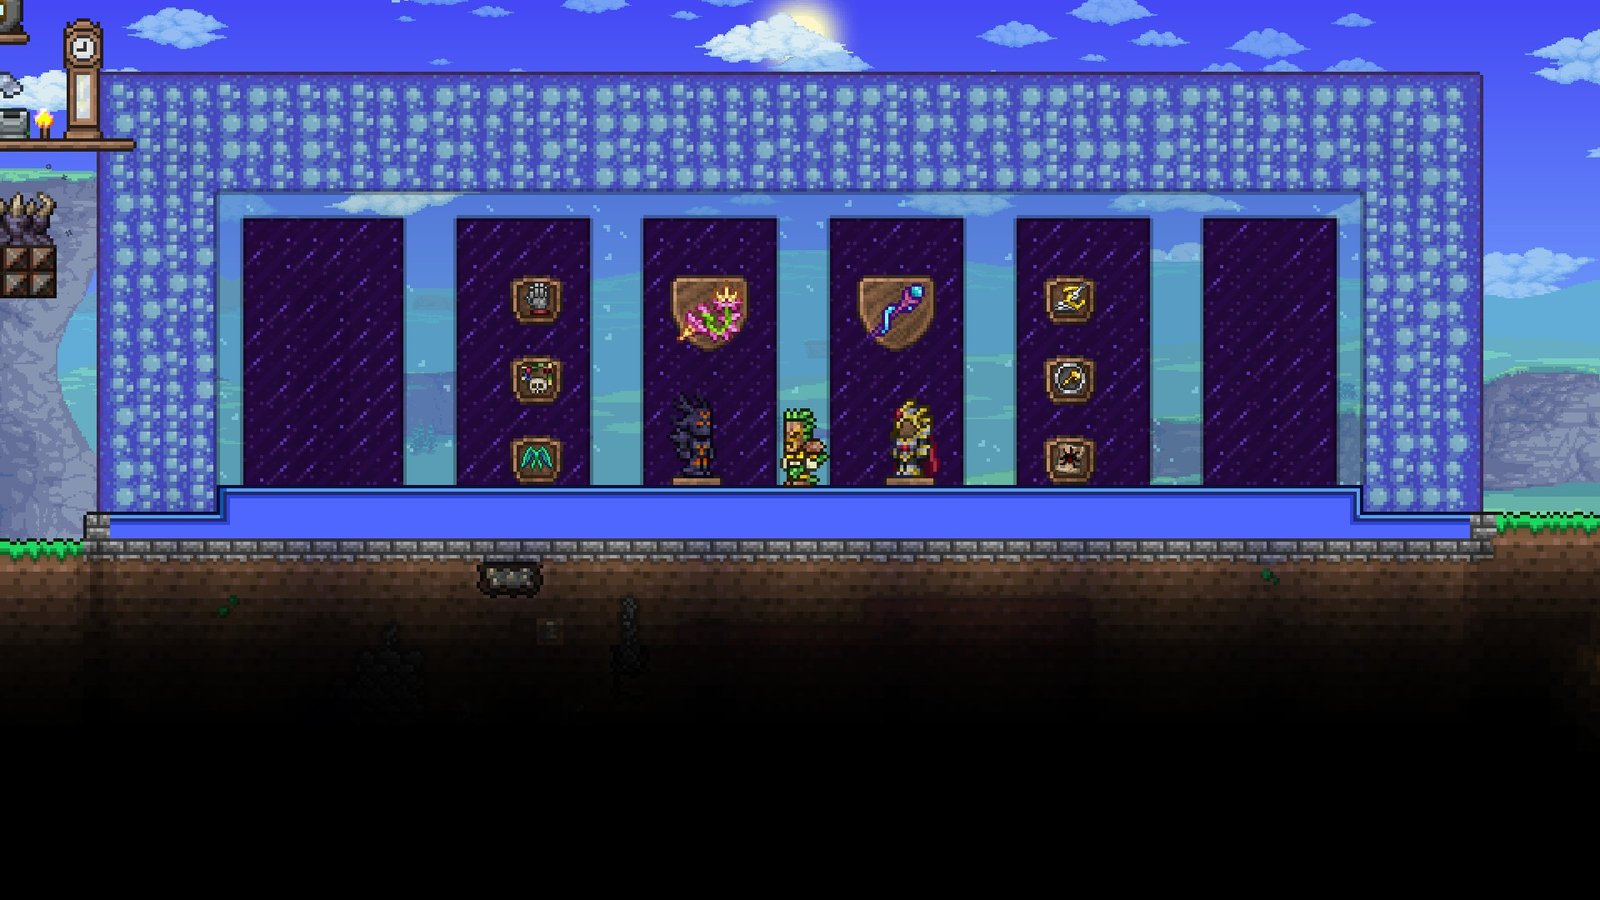
During this phase, you can either go to the Witch Doctor to buy the Tiki Armor for a high price, or go do the Pumpkin Moon to craft the Spooky Armor, which buffs your minions more, but doesn’t give you as hefty a whip buff, and has less defense.
You can also buy the Hercules Beetle from the Witch Doctor, as long as he’s in the Jungle, which makes your summons do a bit more damage. The Mourning Wood can also drop the Necromantic Scroll, which combines with the Beetle into the Papyrus Scarab, an essential Summoner accessory.
As for your more general accessories, going for the Celestial Shell once you’ve defeated Golem is a great idea, despite it making you kill Werewolves, Vampires, Creatures from the Deep, and farm Golem. At least you don’t really need to do Martians, that’s a plus.
Late Hardmode
After you beat the Golem, as a Summoner, you really only have two options. Either go kill the Empress of Light in the daytime, or give in and go take on the pillars and fight Moon Lord. Either option is valid, and these are the weapons you should use regardless.
| Weapon Name | Weapon Type | How to Obtain | Usage |
| Kaleidoscope | Whip | Dropped by the Empress of Light. | Still the best Whip until after you destroy the Stardust Pillar. |
| Frost Hydra | Sentry | Obtained by opening the Ice Chest in the dungeon with a rare Ice Key. | Still puts in quite a bit of work, unless you’re moving around a ton, which doesn’t matter for the pillars. |
| Terraprisma | Summon | Dropped by the Empress of Light if she is fought during the day. | The best summon in the game, it hits hard and fast, but is notoriously difficult to get, requiring you to no-hit the Empress of Light during the day. |
| Tempest Staff | Summon | Dropped by Duke Fishron. | The best backup option for the pillars if you aren’t willing to fight the daytime Empress. |
| Stardust Dragon Staff | Summon | Crafted with 18 Stardust Fragments at an Ancient Manipulator. | A great summon that can easily take on the Moon Lord and the other three pillars, especially good if you have a ton of minion slots. |
| Constellation | Whip | Crafted with 18 Stardust Fragments at an Ancient Manipulator. | A whip that challenges Kaleidoscope’s damage, dealing a bit less damage in exchange for the same stars that Holy Arrows create. |

Once you get to the endgame, you should probably consider taking on the Empress, getting Terraprisma, and using that plus the Kaleidoscope to defeat the pillars and Moon Lord. The Constellation and Stardust Dragon are valid options, too, but not as busted.
I find it funny that Re-Logic chose to give Summoner a third pillar weapon and not grant the same privilege to any other class, only to make it still not handily overtake the Kaleidoscope. In fact, most of the additions just make the earlygame easier, your endgame will be almost the same as it was in 1.4.4.
All that said, once you beat the Moon Lord, you can get the Possession, one of the coolest whips in the game, and use it with some shiny new Stardust armor. It’s a much better reward for Summoners than the two sentries I’ve never seen anyone use in Calamity before.