

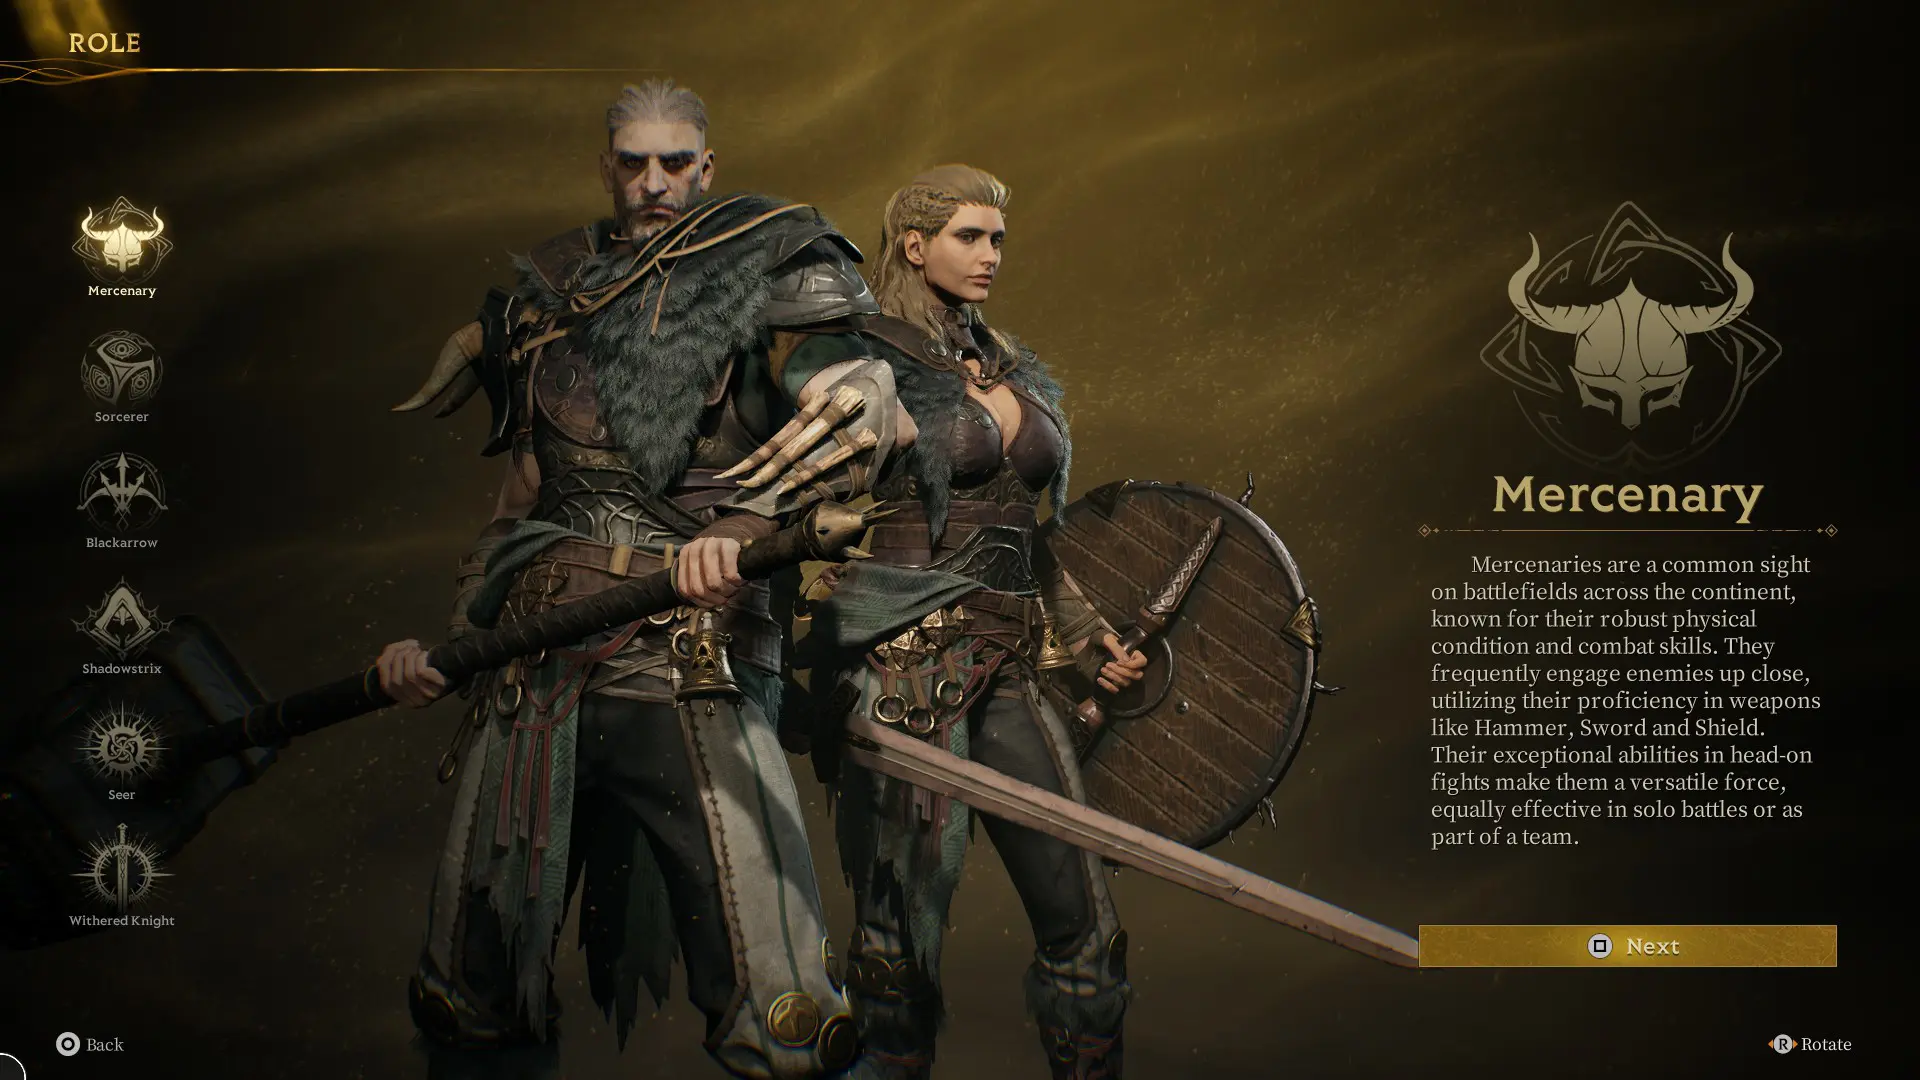
At the very top of the class selection screen, Mercenary stands as Mistfall Hunter’s generalist warrior. While on the surface they may seem bland, the Mercenary offers up four distinct playstyles between their two weapons, the Sword and Shield, and the Hammer.
Let’s take a look at the good old sword-and-board class with the best Mercenary build in Mistfall Hunter. Naturally, discussing their best active Skills, Talents, and the potential archetypes you can utilize.
Mercenary is the closest thing to an archetypal tank you’ll find in Mistfall Hunter. They bring two weapons to the table, the Sword and Shield and the Hammer. Before we discuss the best Mercenary Build, we need to which weapon pulls ahead.
Sword and Shield or Hammer?
While making use of all of your tools is a major factor in Mistfall Hunter, the limit of only 8 Talent Points means a build needs to focus on empowering one over the other. Personally, as much fun as the hammer is, the Sword and Shield overpower it in versitility both in PvE and PvP. Let’s go over why.
| Sword & Shield | Hammer |
| Always available defensive option via Shield | No damage mitigation aside from conditional buffs |
| Fast, sweeping attacks that can mix up timings | Slower, wide-range attacks with easier tells. Need to practice charge timings for mix-ups. |
| Multi-hit strings mean you can opt out of follow-ups if things look bad | High commitment animations mean if you’re in, you’re in |
| Perfect Blocks can completely negate incoming damage | Charge provides super armor and mixups, but can be outranged easily while taking chip damage |
| Enhanced states improve damage further and can be used flexibly over a period of time. | Charges are more commital, leaving you high and dry if the situation changes |
| Less dashes, but can stack Indomitable Will for massive damage mitigation | Dashes and Super Armor can close the gap |
Overall, while the Hammer is very fun, it simply loses out to how powerful and flexible the Sword and Shield is. As such, both versions of the best Mercenary build I’ve come up with focus on the S&S.
Best PvP Mercenary Build
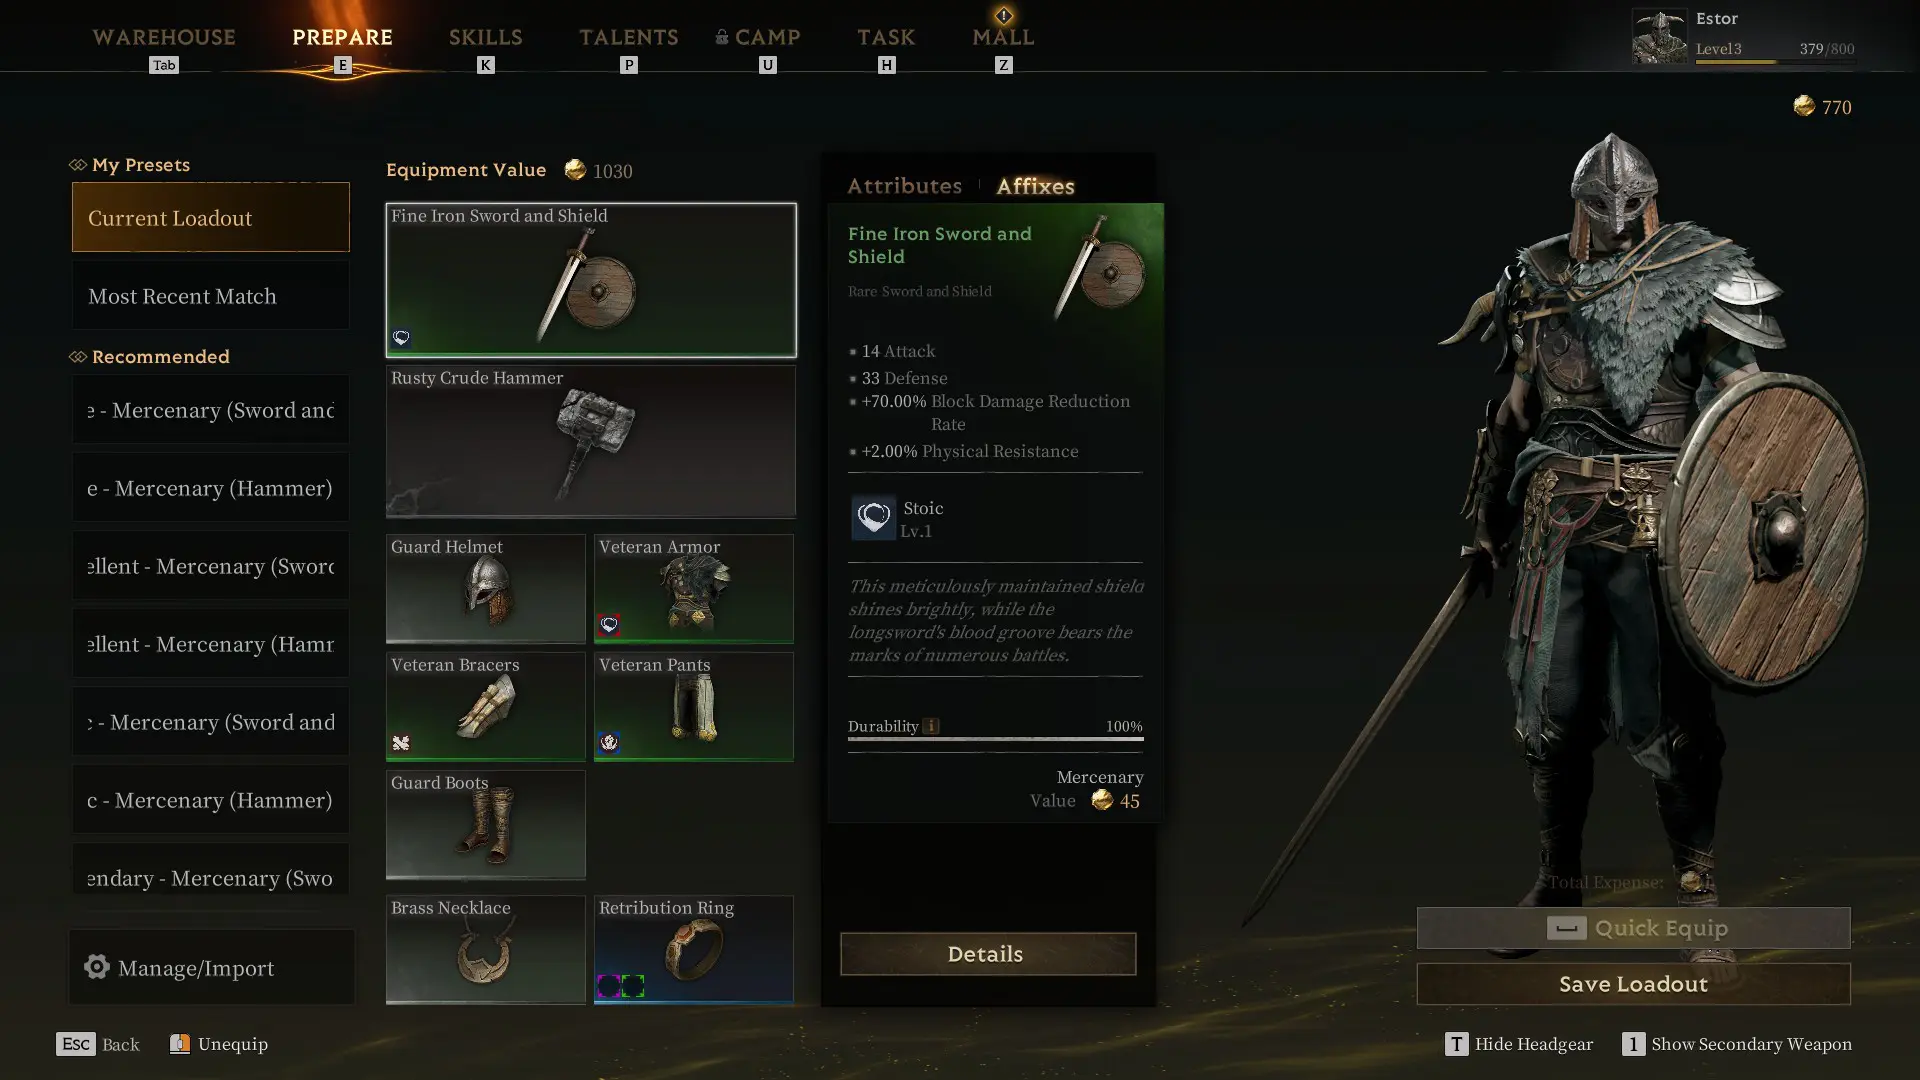
When it comes to PvP, mitigating damage is the name of the game. Most players are going to try and burst you down before you can get going, especially in Solos where the Shadowstrix is a major force. As such, being able to negate attacks and walk off hits is paramount.
Sword & Shield can be built to focus on either weapon, and in PvP, the Stuns and heightened defenses of the Shield are just too good to pass up. The extra dashes also do wonders to close the distance on long-range attacks, letting you charge down Sorcerers and Blackarrows who will try and play keep-away more than anything.
Affixes
A defensive lean does wonders, especially in PvP like Mistfall Hunter. When you’re low, players can get desperate to finish you off, so I’ve found tons of benefit from running Affixes that keep you on your feet while lower, and allow you to swing back hard.
| Affix | Effect |
| Stoic Lv. 7 | Grants +7.7% Physical and Magic Resistance. When your health falls below 30%, heal 15% HP. |
| Wrath Lv. 7 | Grants +14.7% Physical and Magic Damage. When below 50% HP, gain an extra +3% Attack. |
| Tenacious Lv. 5 | Grants +9% Max HP, and a +7.5% bonus to all healing. |
Active Skills
The Mercenary’s Active Skills are heavily modified by their Talents, gaining unique followups and bonus properties. Even with the focus on the Sword and Shield, I’ll be recommending Hammer Skills that are worth at least dolloping into fights every once in a while, since you always have one anyway.
| Skill | Effect |
| Whirling Cut (Bounce) | Raises the shield before swinging forward with a slash. During the start of the animation, the raised shield will Perfect Block any incoming damage. The Skill can be followed up with a free cast of the standard Whirling Cut, slashing twice with a dash. |
| Stonebreaker Slash | Swings the Shield before making a short hop forward and stabbing into the ground, creating a shockwave and ripping the blade from the ground. The Shield swing blocks damage and can Perfect Block at the height of the swing. |
| Hammer Dash | Dashes forward with a shoulder charge before swinging wide with the Hammer |
| Warhammer Sling | Digs the Hammer into the ground to pull up a boulder and toss it at the enemy. Enemies struck are slowed and lose dash distance. |
Talents
I’ll be honing in on defensive tools, both through the use of the Shield and buffs like Indomitable Will. This way, it’s all too easy to punish enemies for underestimating the punishment you can take, while pouring out damage in return.
| Talent | Effect |
| Shield Buildup | Blade Tip buffs are replaced with Momentum, while Stacked Slash is replaced with Shockwave Strike. Shockwave Strike refreshes Skill Cooldowns |
| Perfect Defense | After throwing up Block, you have a small window to Perfect Block. When you successfully Perfect Block, enter the Momentum state. When in Breakaway, you can attempt to Perfect Block. |
| Block Damage Boost | Any successful Perfect Block grants a shield and buffs damage and move speed for a period. |
| Foresight | Whirling Cut becomes Whirling Cut (Bounce). |
| Whirling Technique | When Whirling Cut (Bounce)’s Perfect Block succeeds, the follow-up Whirling Cut gains Super Armor and deals bonus damage. |
| Sturdy Shield | Blocks grant a stack of Indomitable Will, raising defense and stacking up to 10 times. Perfect Blocks grant 3 stacks instead. |
| Sudden Edge | Stonebreaker Slash can be charged, increasing the hop distance and damage. |
| Indomitable Will | When attacked, gain a stack of Indomitable Will. This can only happen every few seconds. |
Best PvE Mercenary Build
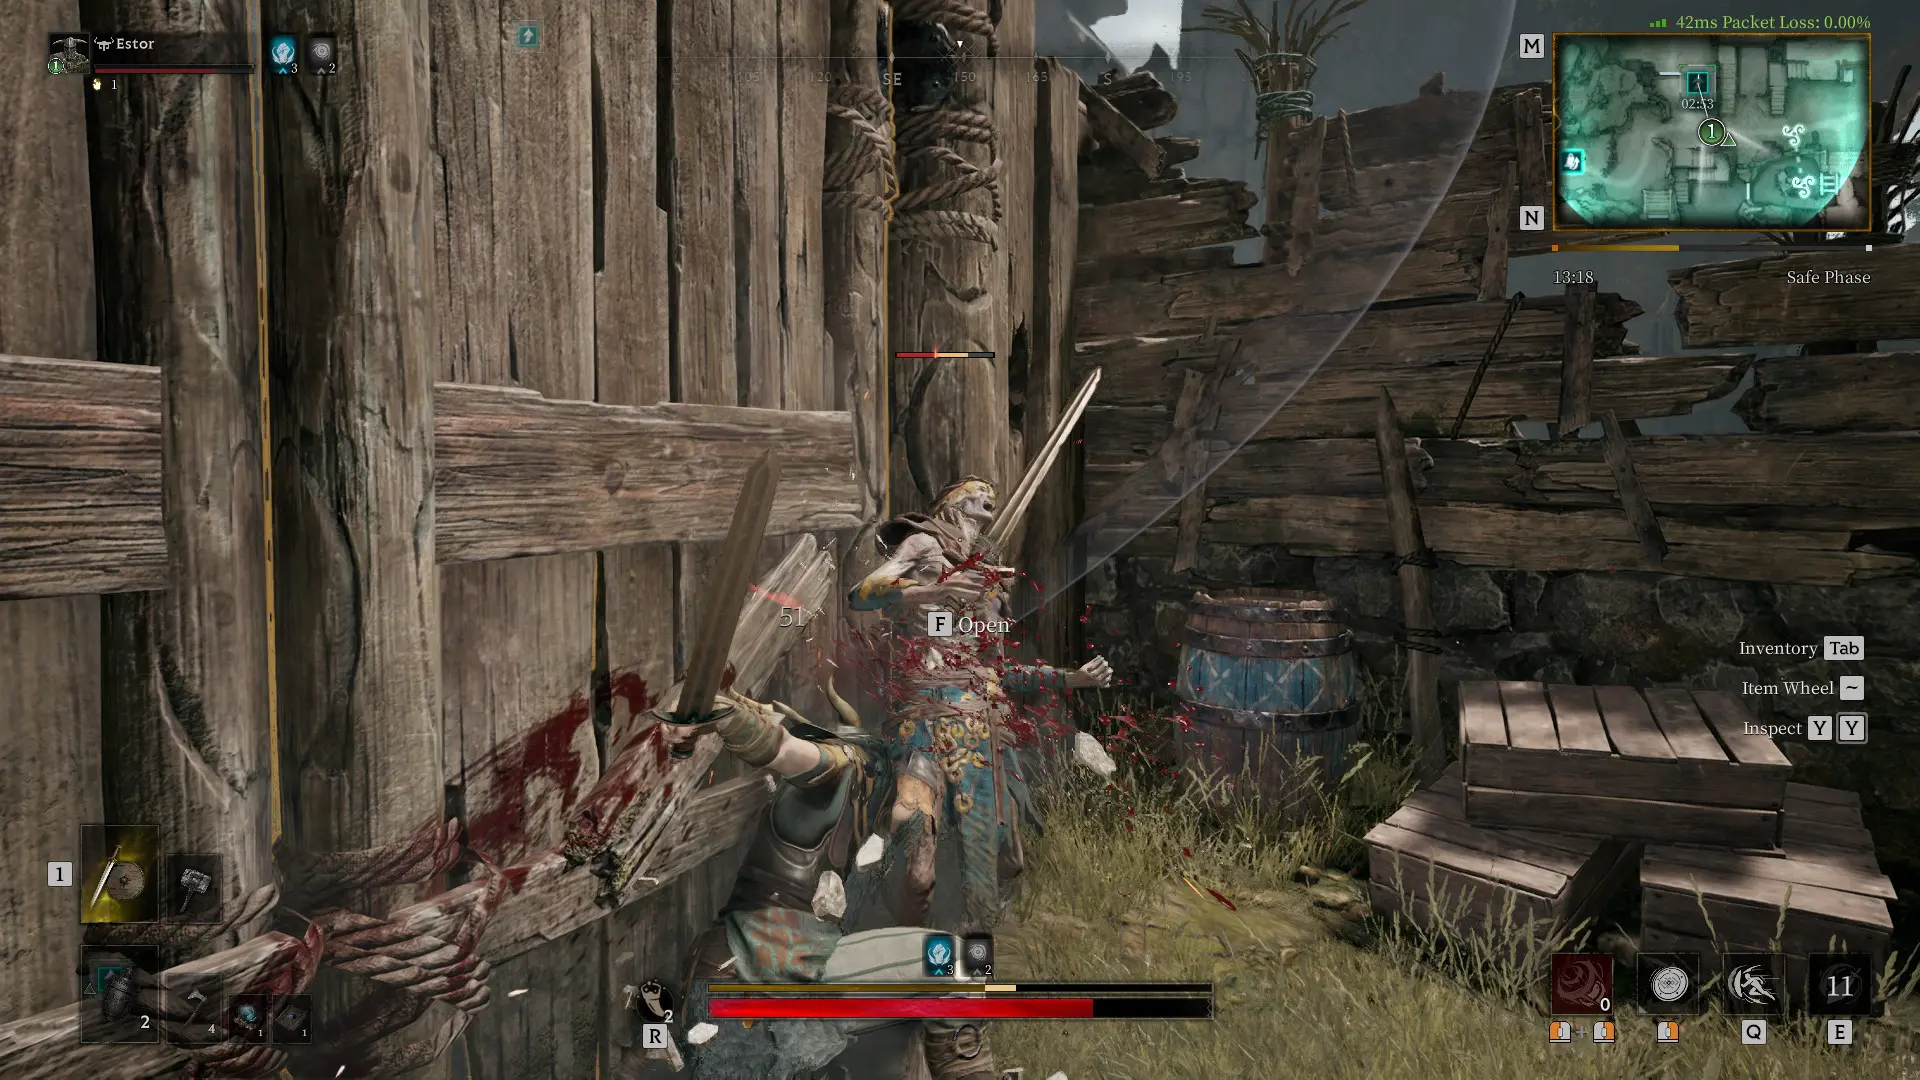
With PvE as readable as it is, it’s optimal to lean in hard on damage. Monsters are far more predictable than players, which allows for truly ludicrous levels of damage when openings present themselves.
Affixes
| Affix | Effects |
| Wrath Lv. 7 | Grants +14.7% Physical and Magic Damage. When below 50% HP, gain an extra +3% Attack. |
| Valor Lv.7 | Grants +10.5% Attack and Defense Penetration +1.8% |
| Strife Lv. 5 | Grants +6% Melee Weapon Damage and an extra +2% for every nearby enemy, up to three. Very easy to obtain in PvE. |
Active Skills
| Skill | Effect |
| Whirling Cut (Dash) | Dashes forward and slices around, can be recast to use Whirling Cut. |
| Stonebreaker Slash | Swings the Shield before making a short hop forward and stabbing into the ground, creating a shockwave and ripping the blade from the ground. The Shield swing blocks damage and can Perfect Block at the height of the swing. |
| Skullcrusher | Performs a giant, point-blank swing. Can be charged to gain Super Armor and extra damage. |
| Hammer Spin | Spins the Hammer in a circle, gaining Super Armor at the start. Can be held to extend the spins. |
Talents
| Talent | Effects |
| Sword Edge | Sword Attacks from Skills grant 1 Sword Tip |
| Blade Charge | While in Blade Edge or Strong Edge, your Sword and Shield attacks deal more damage |
| Stacking Blade | Sword Tip requirements for Blade Edge and Strong Edge are reduced to 4 |
| Fearless | Whirling Cut is replaced with Whirling Cut (Dash) |
| Whirling Edge | Gain 1 stack of Sword Tip on Whirling Edge hits. Whirling Edge deals more damage in Blade Edge and Strong Edge |
| Sudden Edge | Stonebreaker Slash can be charged, increasing the hop distance and damage. |
| Stonebreaker Edge | Gain 1 stack of Sword Tip on Stonebreaker Slash hits. Stonebreaker Slash deals more damage in Blade Edge and Strong Edge |
| Iron-Clad Body | Skullcrusher gains Super Armor on Lv 1 Charge |
The Next Step
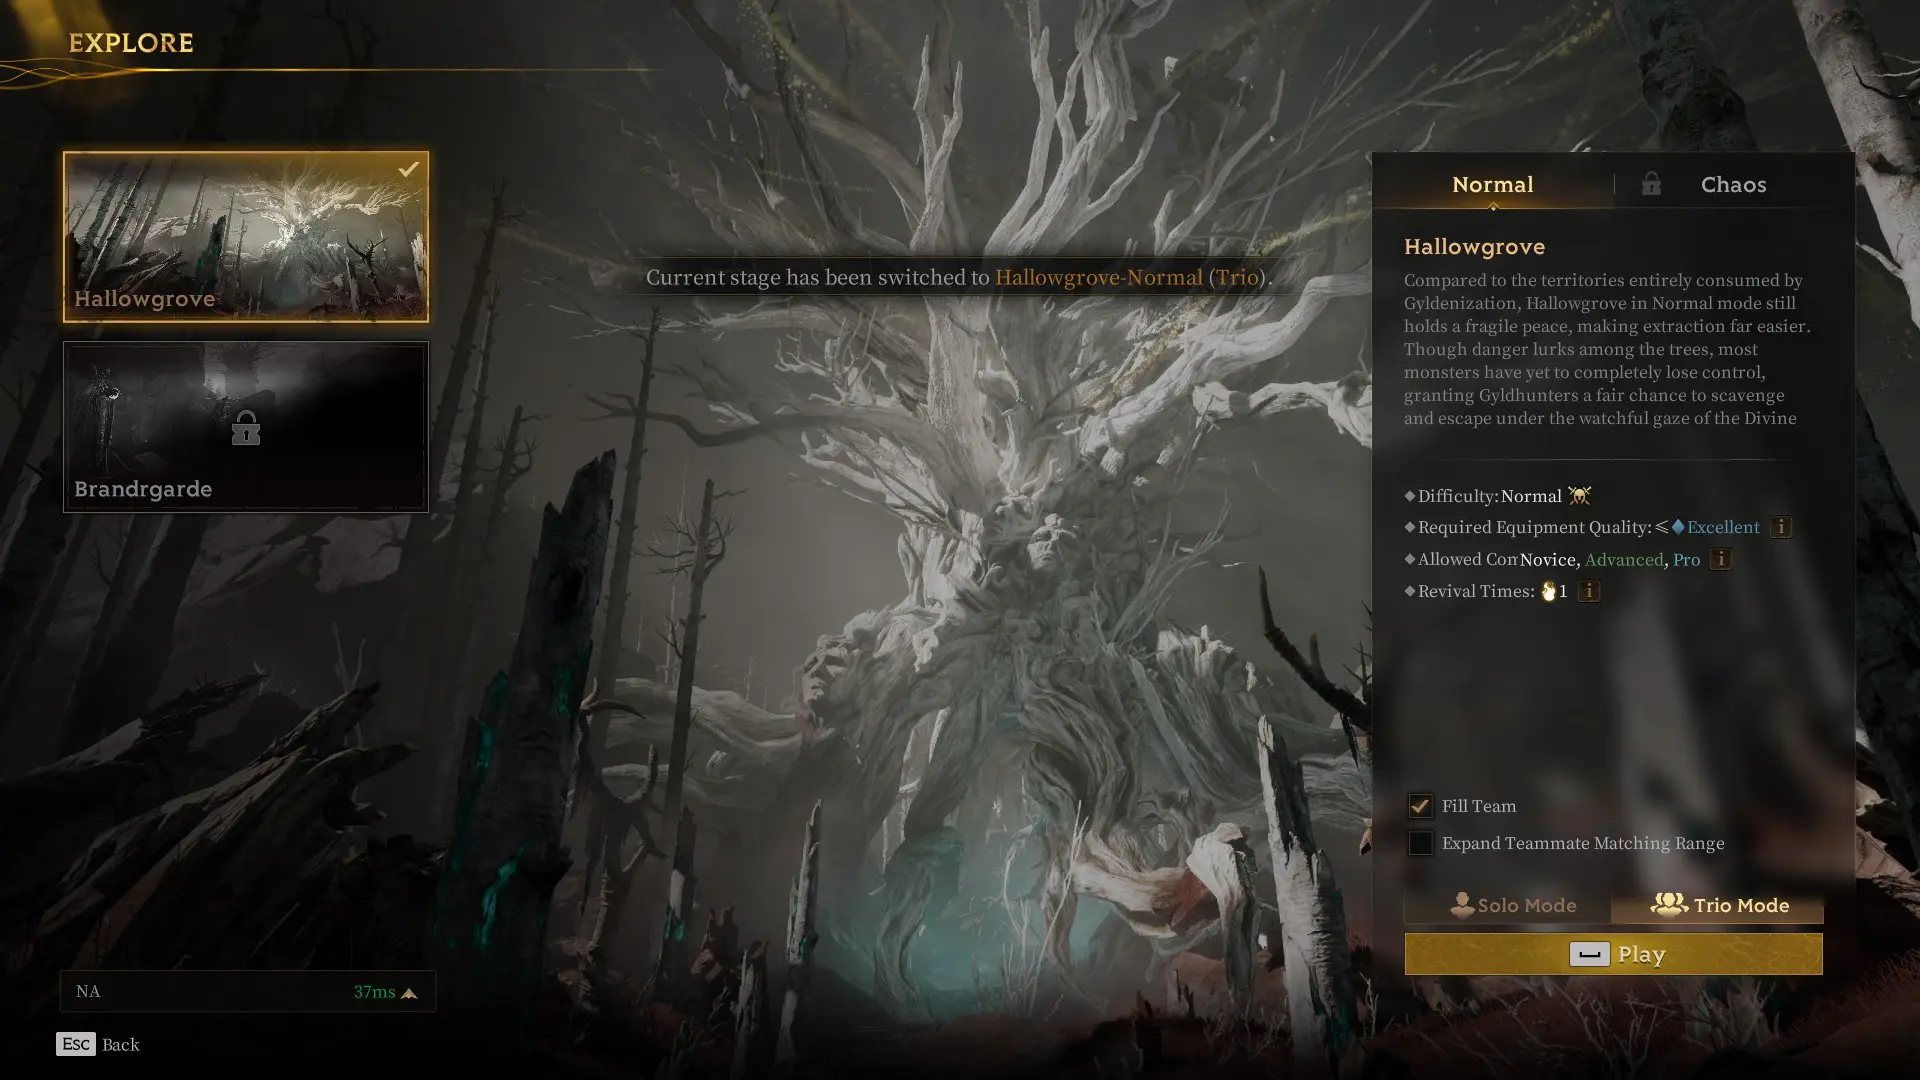
With a few builds established, focus on using their differing strengths to rise in levels, taking on quests and eventually the Mist Lords that spawn in each Expedition. These bosses require full kits, near max leveled characters, and optimally a few friends.
Make sure you’ve unlocked Co-op before you give them a shot, and that you’re more than comfortable with the class you’ve chosen. With all those boxes checked, get out there Gyldhunter, waiting around won’t bring the next age!
