

In REPLACED, the Prospero Mines serve as the first major area of the game. Near the end of the abandoned mine turned Termite hideout, you’ll find numerous Slaves chained up and imprisoned in cages. Their leader asks you to free them, and in exchange, promises to help you fight off the rest of the gang.
The task to release the prisoners includes a parkour section, combat, and ends with a fairly confusing Slave Cages puzzle. However, once you know how to solve the Slave Cages puzzle, the password becomes crystal clear.
Free the Slaves in Prospero Mines
During Tempest and Reach’s offensive in Prospero Mines, the plan fell apart as soon as it began, causing the pair to become separated. Eventually, Reach finds himself in the heart of the Termite headquarters, fighting off the gang of cannibals. After this fight, you’ll escape into the sewers, platform through the waterworks, and end up in the darkest areas of the mine.
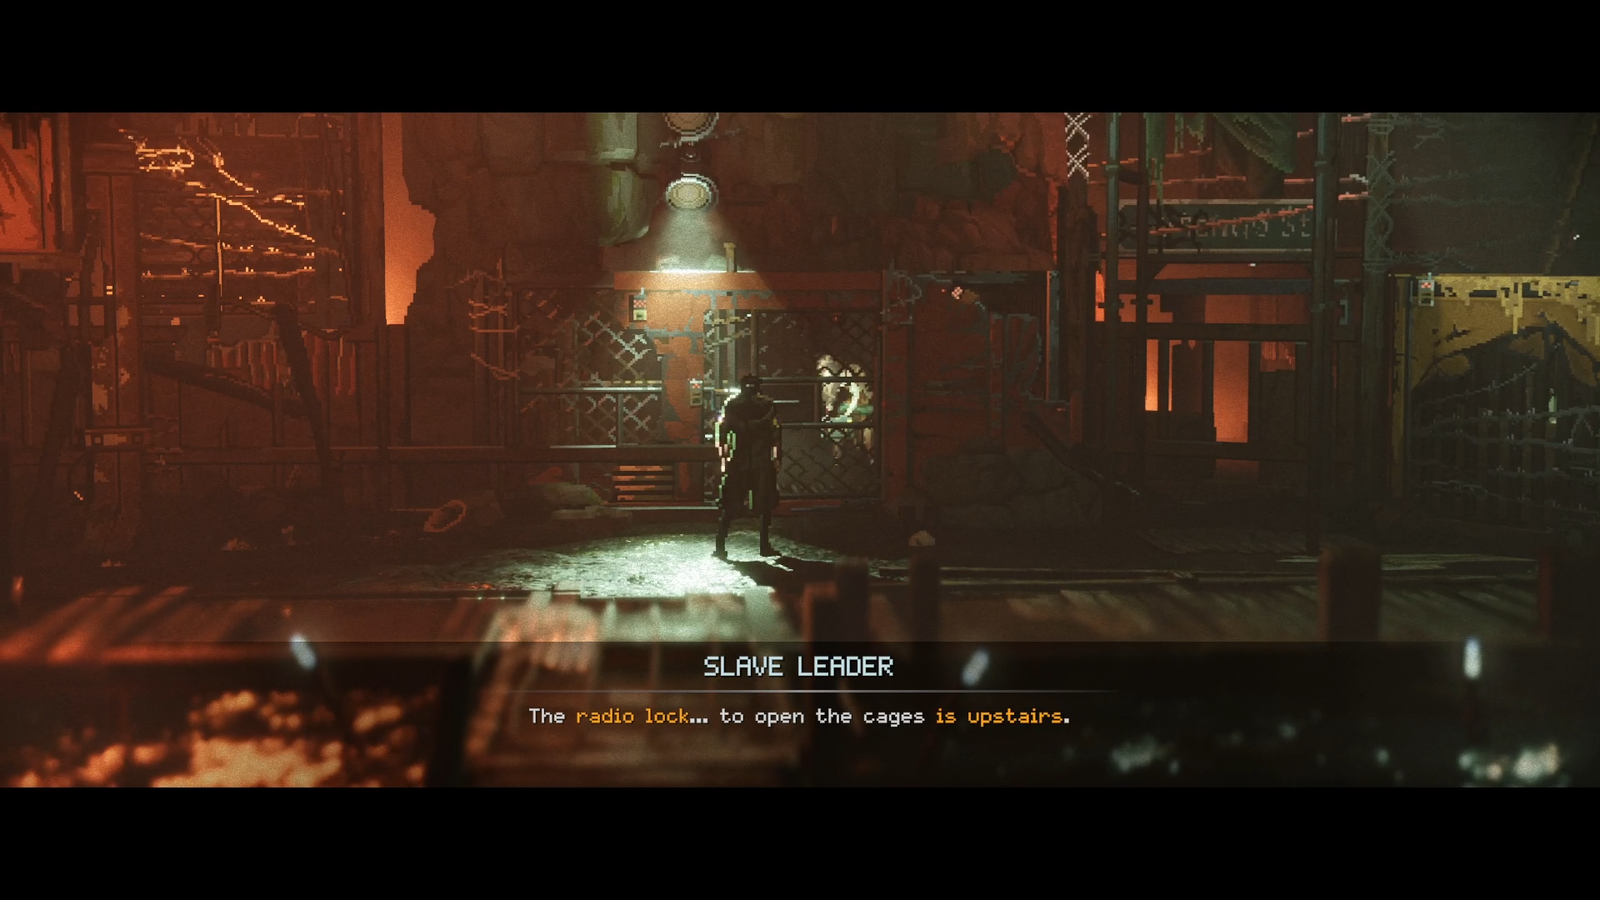
The pitch-black darkness is a vulnerable place for the player, as they’ll have to fend off stealthy assassins with a flare stick. After this segment, Reach will come into contact with the Slave Leader, who tasks you to use the radio lock mechanism upstairs to open the cages.
Upstairs is an understatement, as this is a parkour segment where you’ll have to find your own way. First, jump on the cages to the right, then make your way to the left of the screen. Keep an eye out for cracks in the wall and use your pickaxe to latch on.
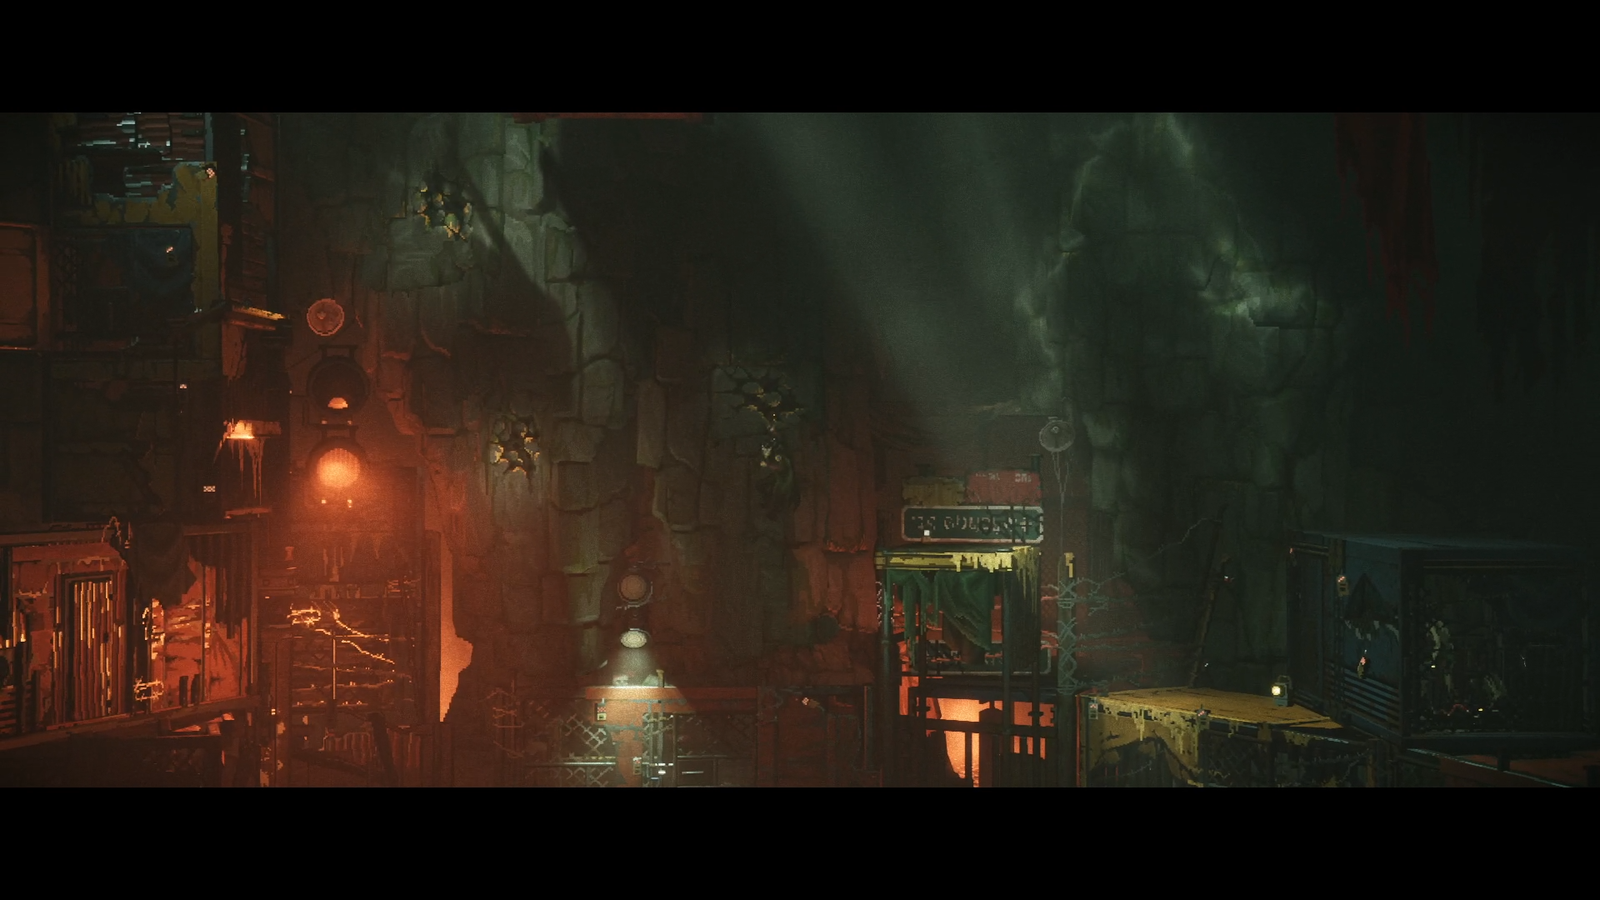
Climb up the cage before jumping and latching onto the crack to the right, before jumping back on top of the cage. Next comes a fairly straightforward set of jumps to reach the top. Follow the path and jump down into the combat arena.
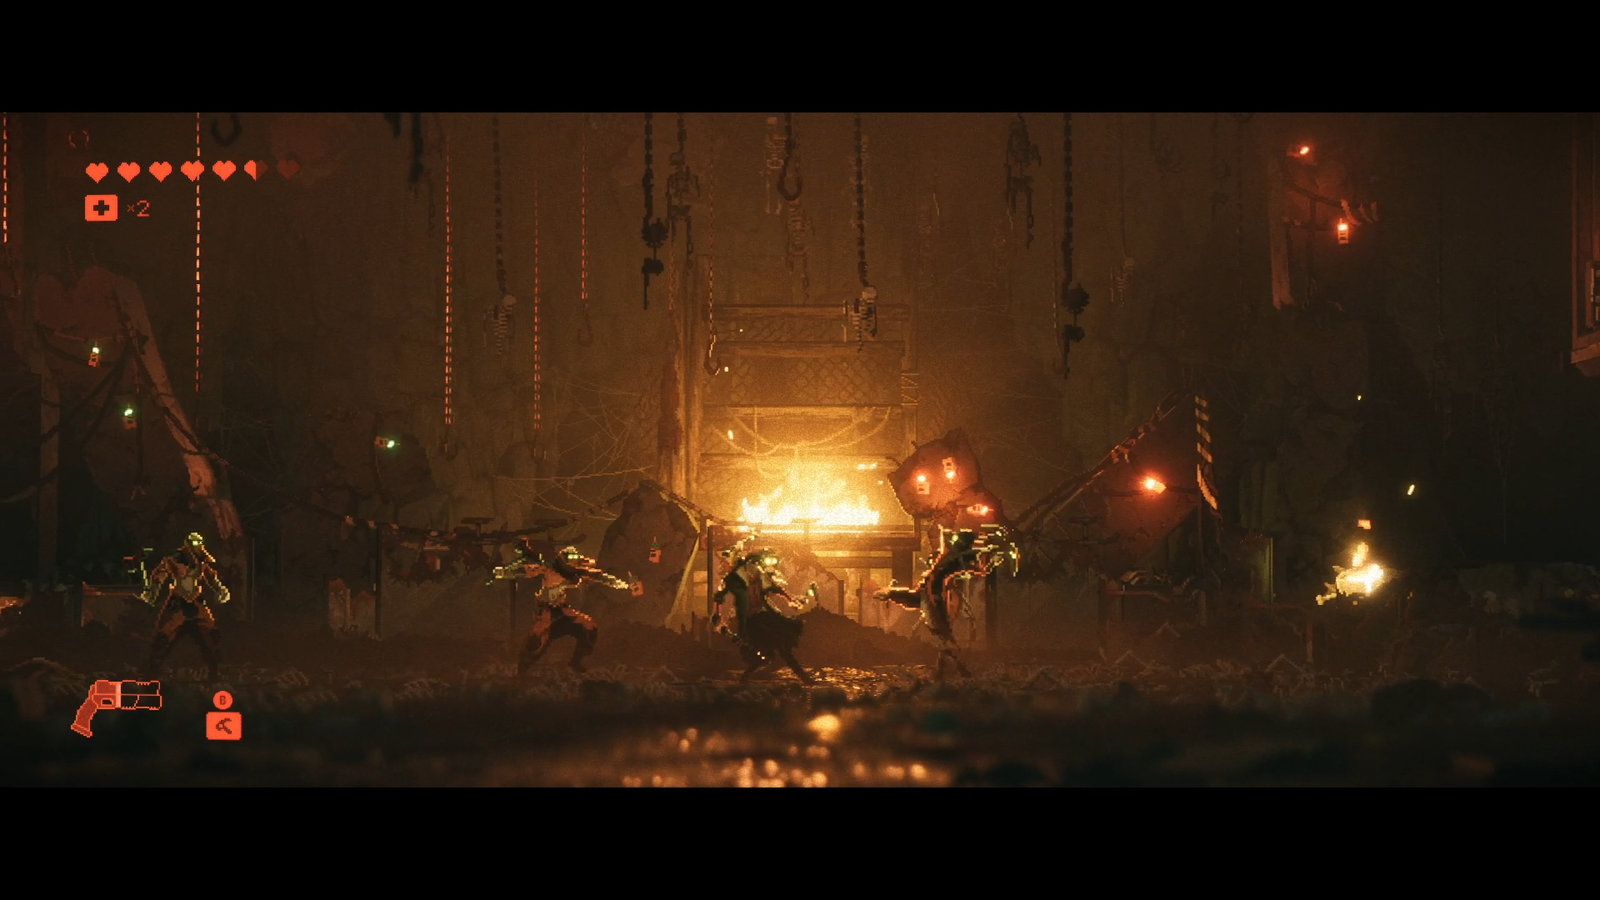
From this point, these Termite Assassins will start joining the fight. These enemies are tricky, evasive, yet fragile once you get a solid hit on them. Don’t fight them head-on since they will evade your attacks, but stay close enough to them so they don’t immobilize you with their bolas. Without a charged-up shot, the best way to deal with them is to counterattack their combo string. This will stun them and allow you to follow up with a few hits to take them down.
REPLACED password for Slave Cages Puzzle
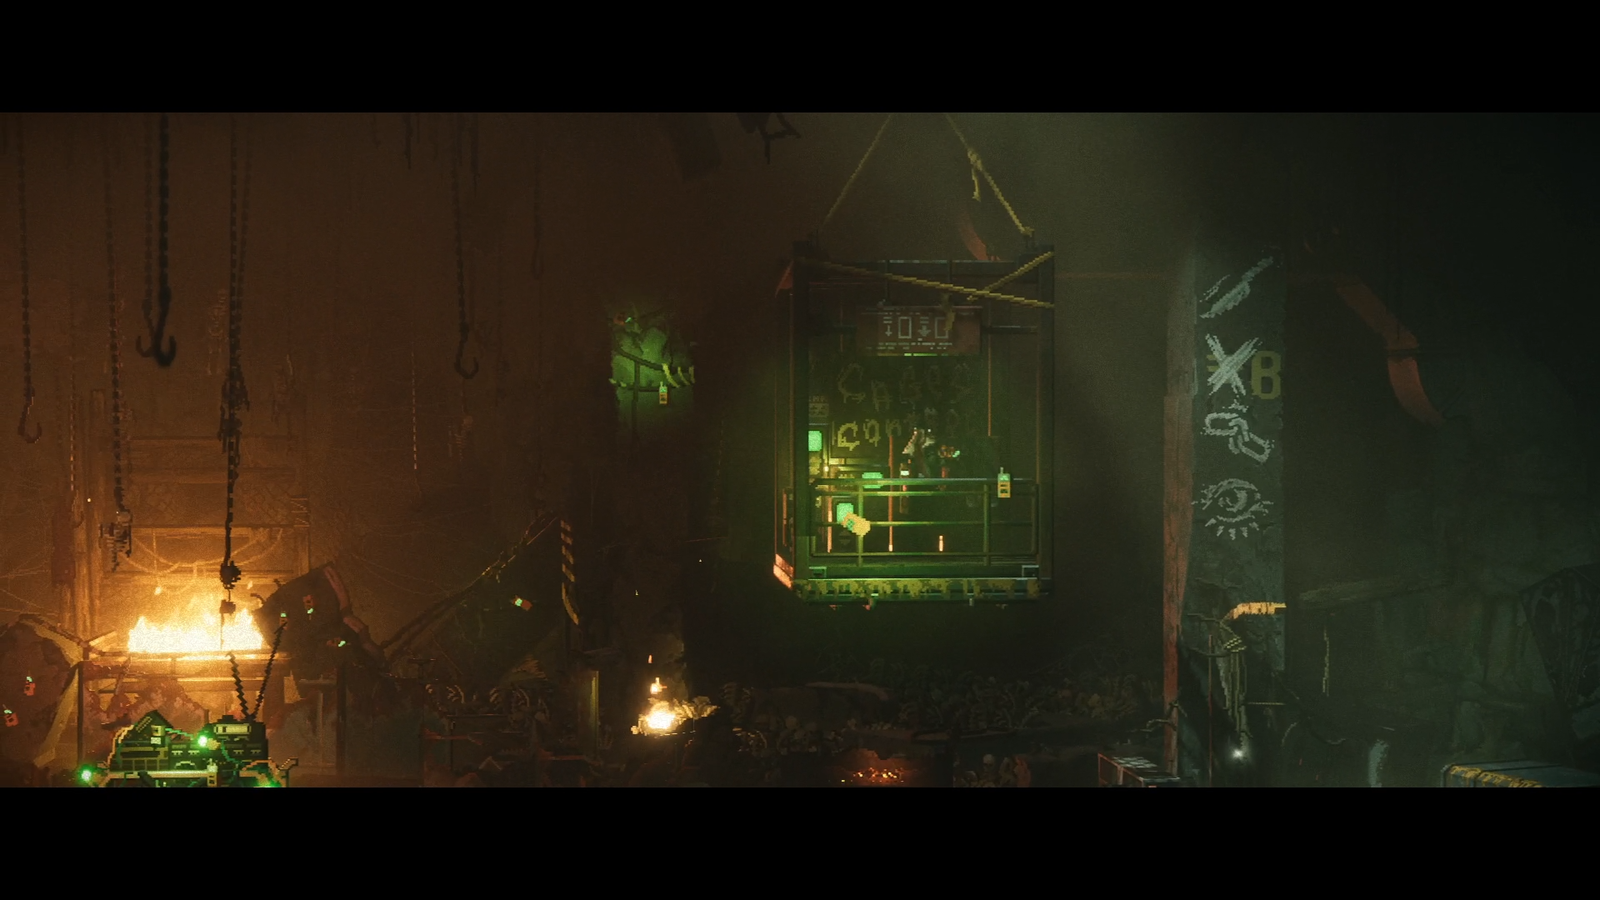
After the chaotic combat encounter, go to the left of the screen and find the table attached with multiple radios. Move it to the center of the room and slightly right of the pillar with three radios stuck to it. You’ll know you’ve done it correctly when you hear a pinging sound and the terminal turns green. Next, jump to the platform on the right and swing over to the platform containing the terminal.

The terminal has lore tidbits you can read, but if you’re ready to solve the Slave Cages Puzzle, then interact with the Enter Sequence tab. This will open a password menu where you’re given the choice of four symbols that you’ll have to activate in the correct sequence to open the Slave Cages.
The solution can be found on the pillar to the right of the terminal. From top to bottom, the symbols are Knife, Cross, Chains, and Eye. Yet, the solution isn’t as simple as entering them in order.
Back to the terminal, the instructions tell you to “LOOK TO YOUR RIGHT PASSWORD CABD,” while also reminding you to remember the alphabet. If you look closely at the pillar, the Cross symbol has the letter B right next to it. This is a simple Cryptogram puzzle where you substitute these symbols for a letter, which means that:
- Knife is A
- Cross is B
- Chains is C
- Eye is D
The password for the Slave Cages puzzle in REPLACED is CABD. So, enter Chains, Knife, Cross, and Eye in that exact order. Doing this correctly will unlock the Slave Cages. Head left, and a cutscene will play, bringing you all the way down.
From here, you’ll lead the rest of the freed slaves across a pitch-dark area, using a flare to fend off the sneaky assassins. Watch out for any water falling from above, as this can extinguish your flame and leave you open to ambushes.