


Much like the first game, High On Life 2 has a bunch of targets for you to assassinate as the universe’s greatest Bounty Hunter, and Senator Muppy Doo is second on the list. Muppy Doo is like any other shrewd politician, and will resort to underhanded tricks to confuse and sabotage you, so this is a bit of a lengthy process.
Your target will initially be in the Policon convention of the ConCon, and to get there you’ll have to master parkour and even enlist the help of an unexpected ally in order to progress, which involves a series of cumbersome (but often hilarious) mini stages, which we will be detailing in below.
Get The Correct RV Part
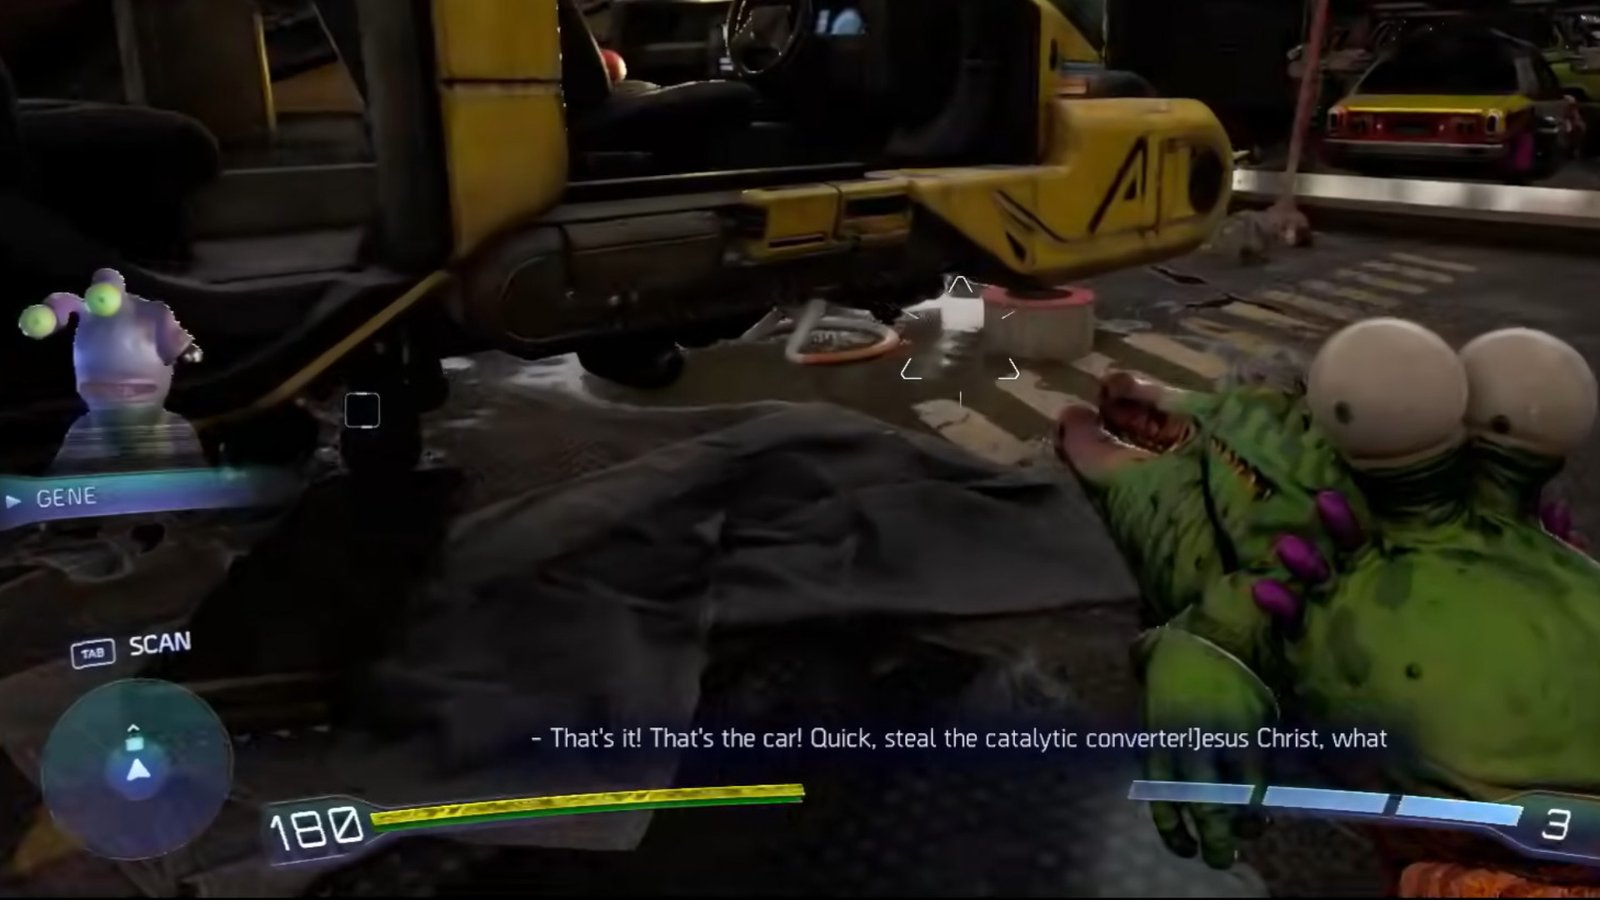
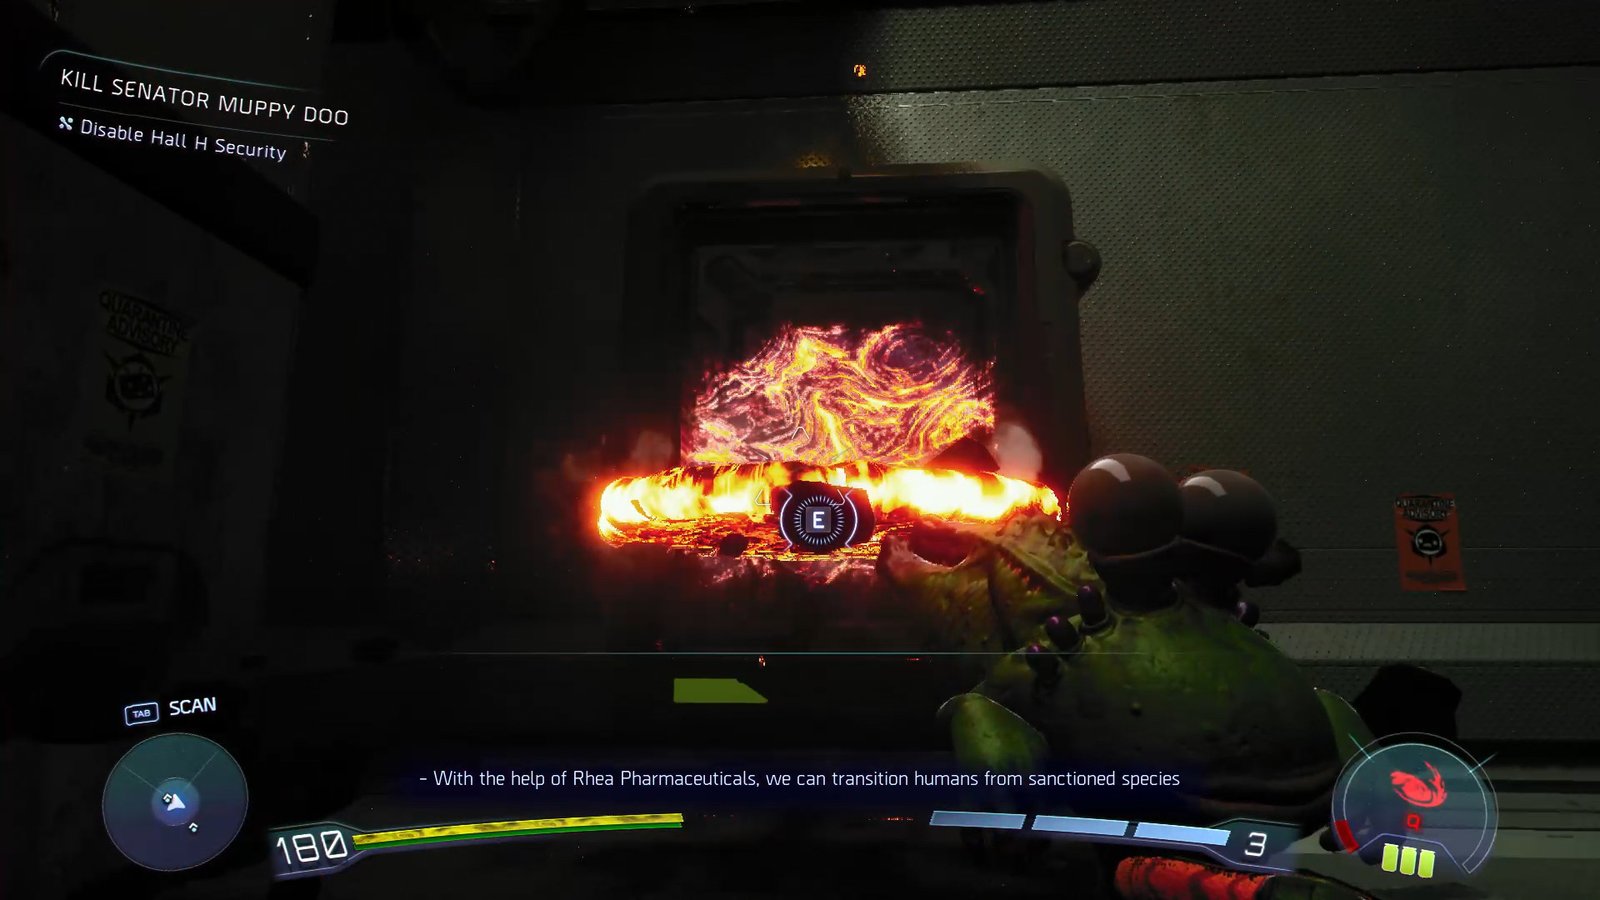
Before you get on to assassinating Senator Muppy Doo, you’ll want to grab a catalytic converter for your RV first. From your spawn point, skateboard over right up ahead until you’re directly in front of Rhea Pharmaceuticals HQ.
Don’t enter the HQ just yet, and instead turn left to reach the RV garage. Check your navigational compass (Tab) to keep track of your objective’s location if you feel lost.
Explore the garage and interact with the in-repair car to nab the part. This might take a few tries, so be patient. Look for the grey/orange wire hanger like structure at the bottom of the vehicle.
Stealing has consequences, and you’ll have to clear off the police force that’s brought about in retaliation. Next, simply walk over to a payphone and dial in for a pickup from your RV, with the next stop being ParkingCon.
Finding A Suitable Parking Spot
In order to proceed, you’ll want to park your RV, but it isn’t as simple as it would appear.
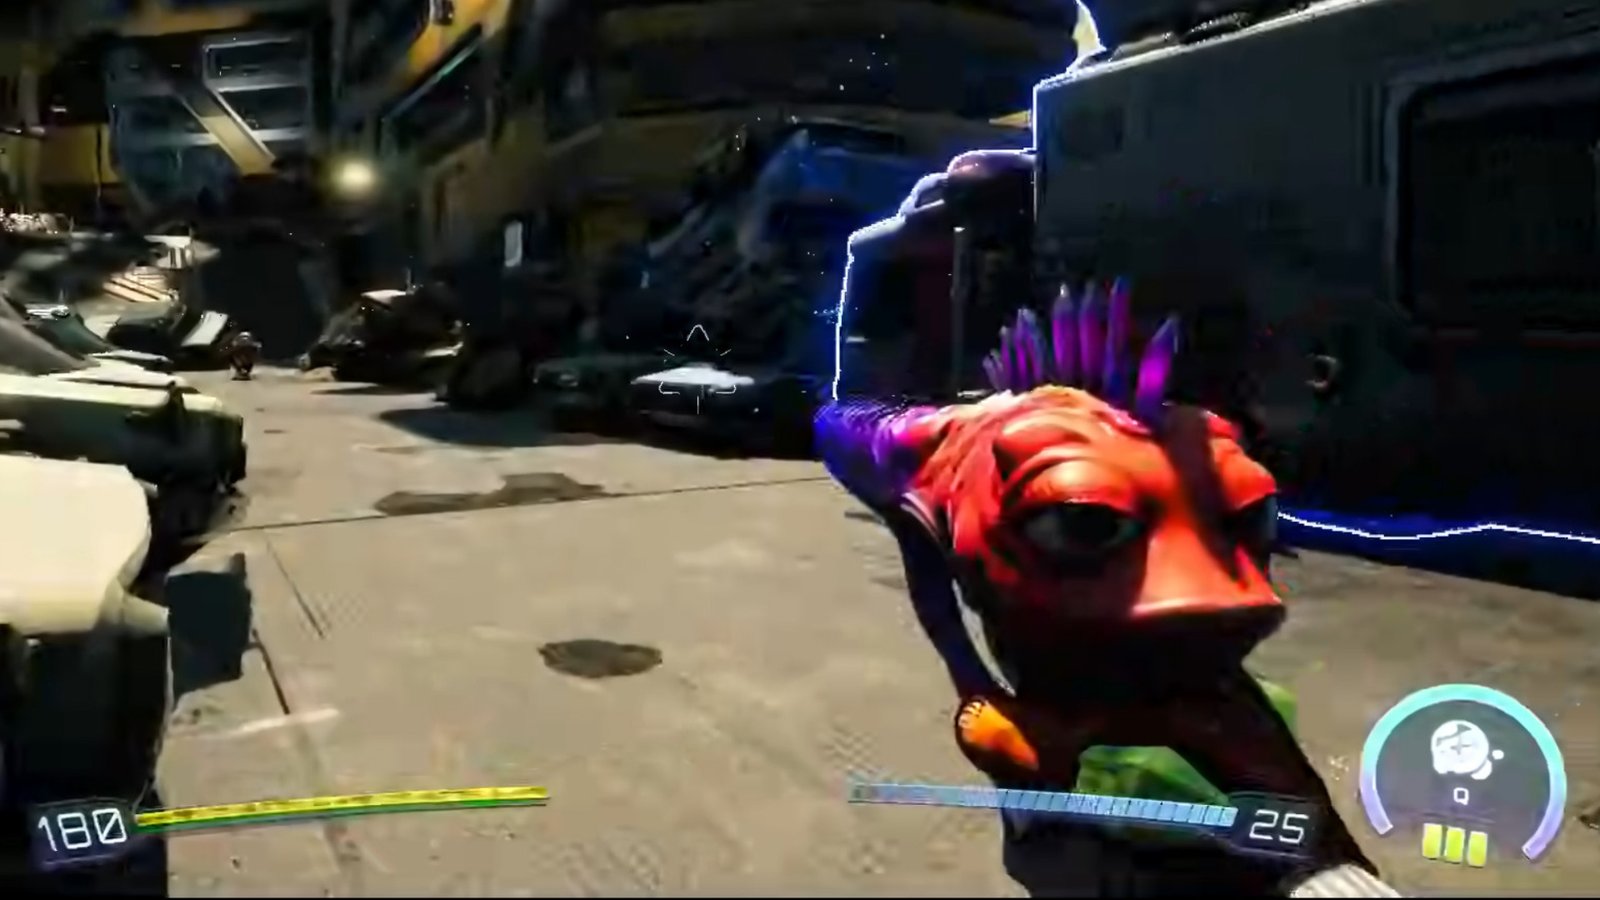
There is a literal warzone for parking spots, with multiple snipers and enemy NPCs out there to flank you and take back their precious parking space. Take cover and make good use of parkour to avoid enemy fire, and hit back when you can.
Unfortunately, all your efforts would seem to be in vain as Gene ultimately gets unceremoniously booted out a parking spot, forcing you to take the high ground making the whole process an excruciating ordeal.
(Finally) Entering PoliCon And Completing All Those Puzzles
Climb up from the nearby RV, going onward and upward till you reach the tram depot. Unfortunately for you, the tram station is out of service, thanks to a drunken driver so you’ll have to use parkour to make it across, again.
Jump onto the MurderCon board with your skateboard. Glide through the entire obstacle course of broken trams, and jump on those funny, Muppy Doo looking inflatables to get a height boost inbetween to reach the entrance, which is now blocked off.
Entering PoliCon
You’ll have to enter through the maintenance shaft, since Policon is at full capacity and is not accepting any new visitors. Head to the immediate right from the security guard, and into the elevator.
If you want to, you could follow the nearby worker’s instructions to debug the lift, but I found it far easier to spam the Interact button and crash the elevator to the destination instead.
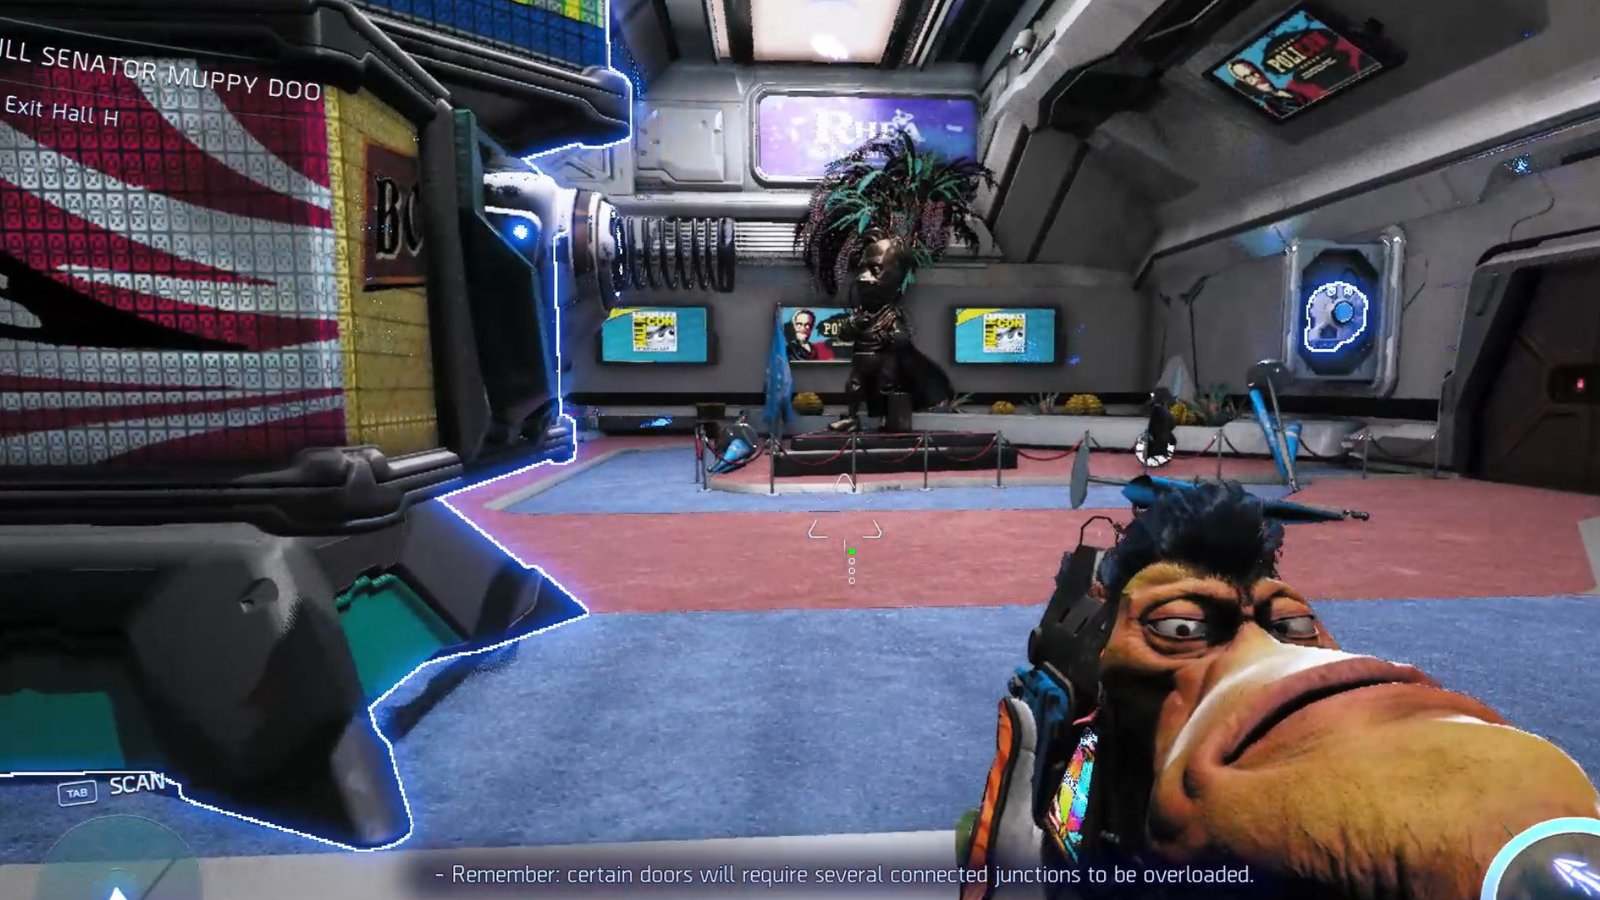
Entering Hall H
After a brief diversion, you should now make your way to the rafters, where you’ll have to complete a puzzle after a receiving a rather threatening voice mail from a mysterious figure you met earlier (setting up some future foreshadowing).
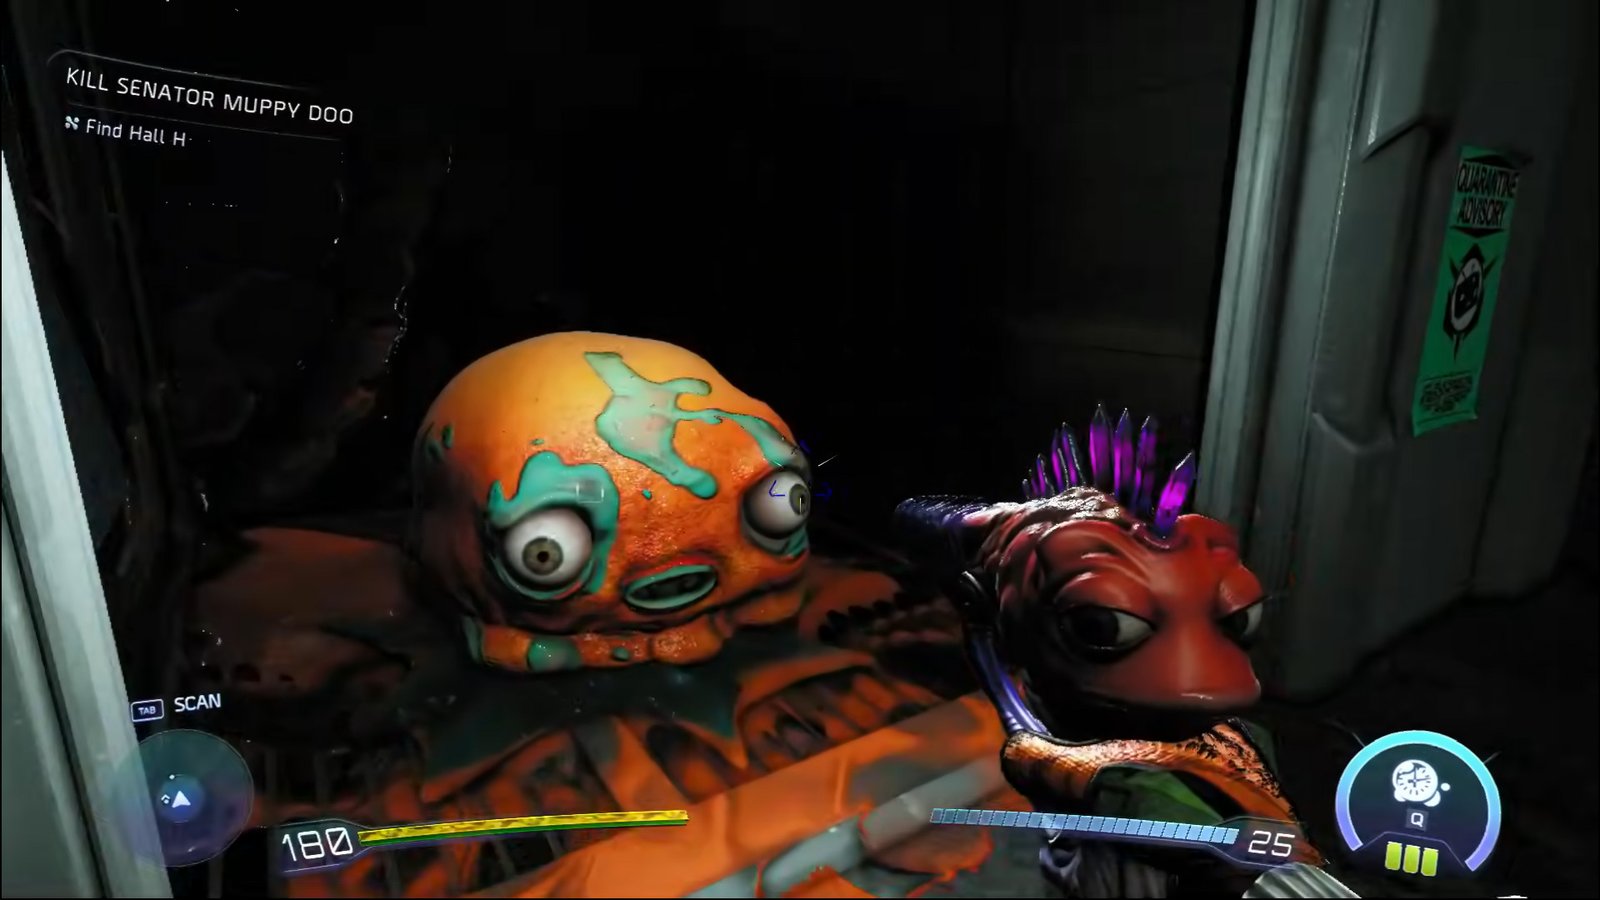
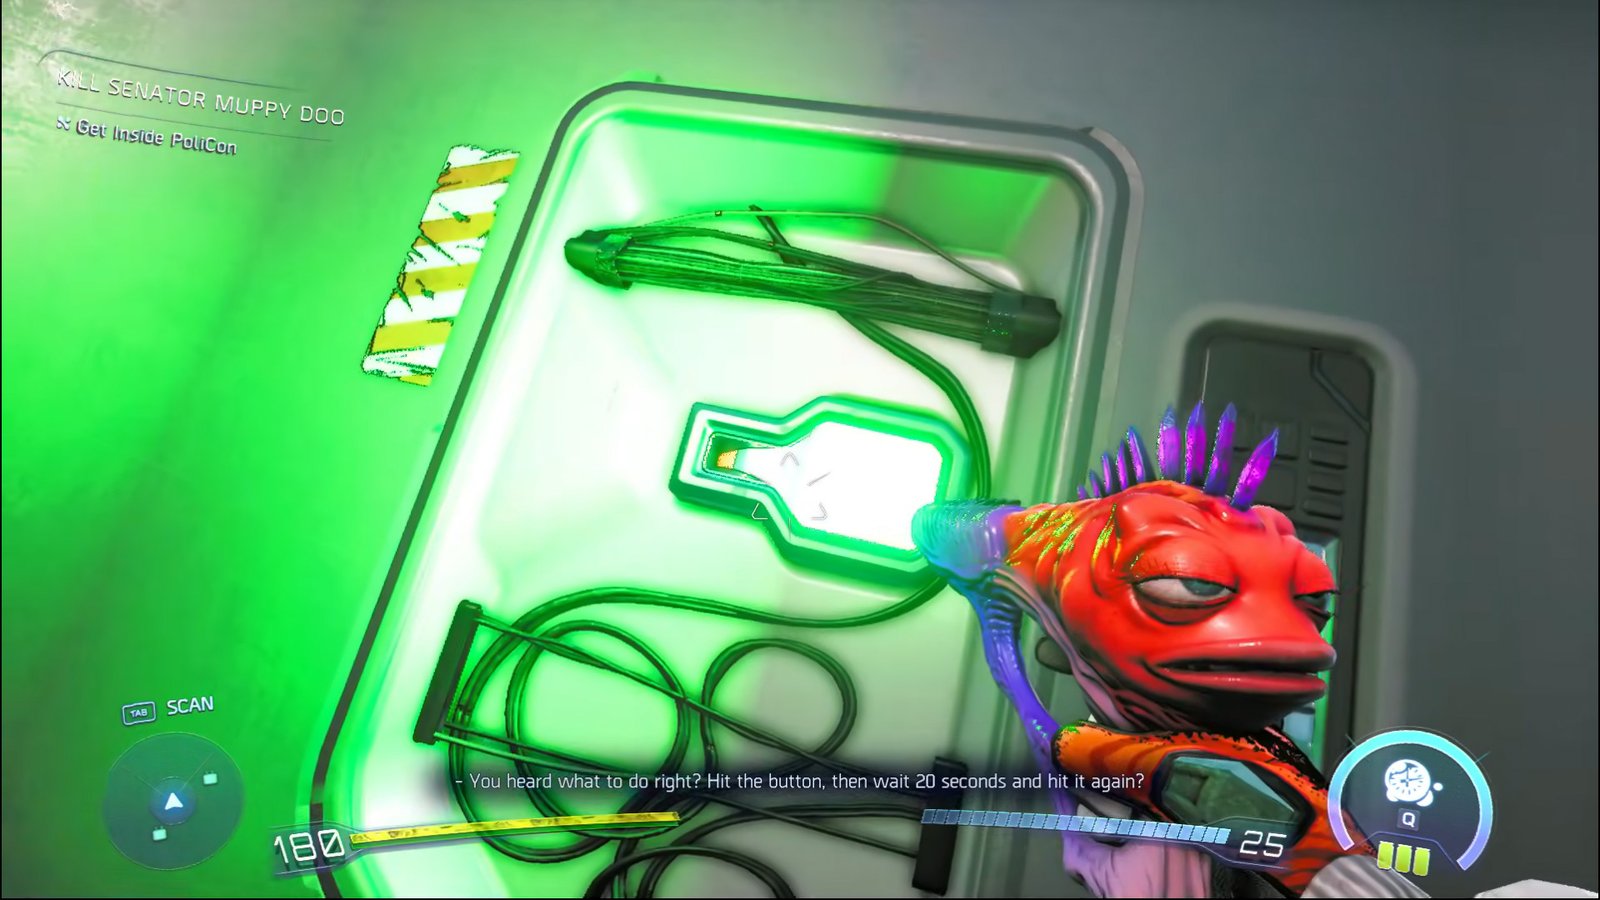
Pick up the Lugbob next to the Quarantine Advisory sticker, and place it on the electrical pad nearby to complete a part of the circuit.

Use Sweezy’s Time Bubble to inflate it, and jump on it, boosting your way over to the upper section. You’ll want to navigate to the right, and up the ceiling bar (press the E key when prompted to do so) and into a rather disgusting looking room infested with yet another Lugbob.
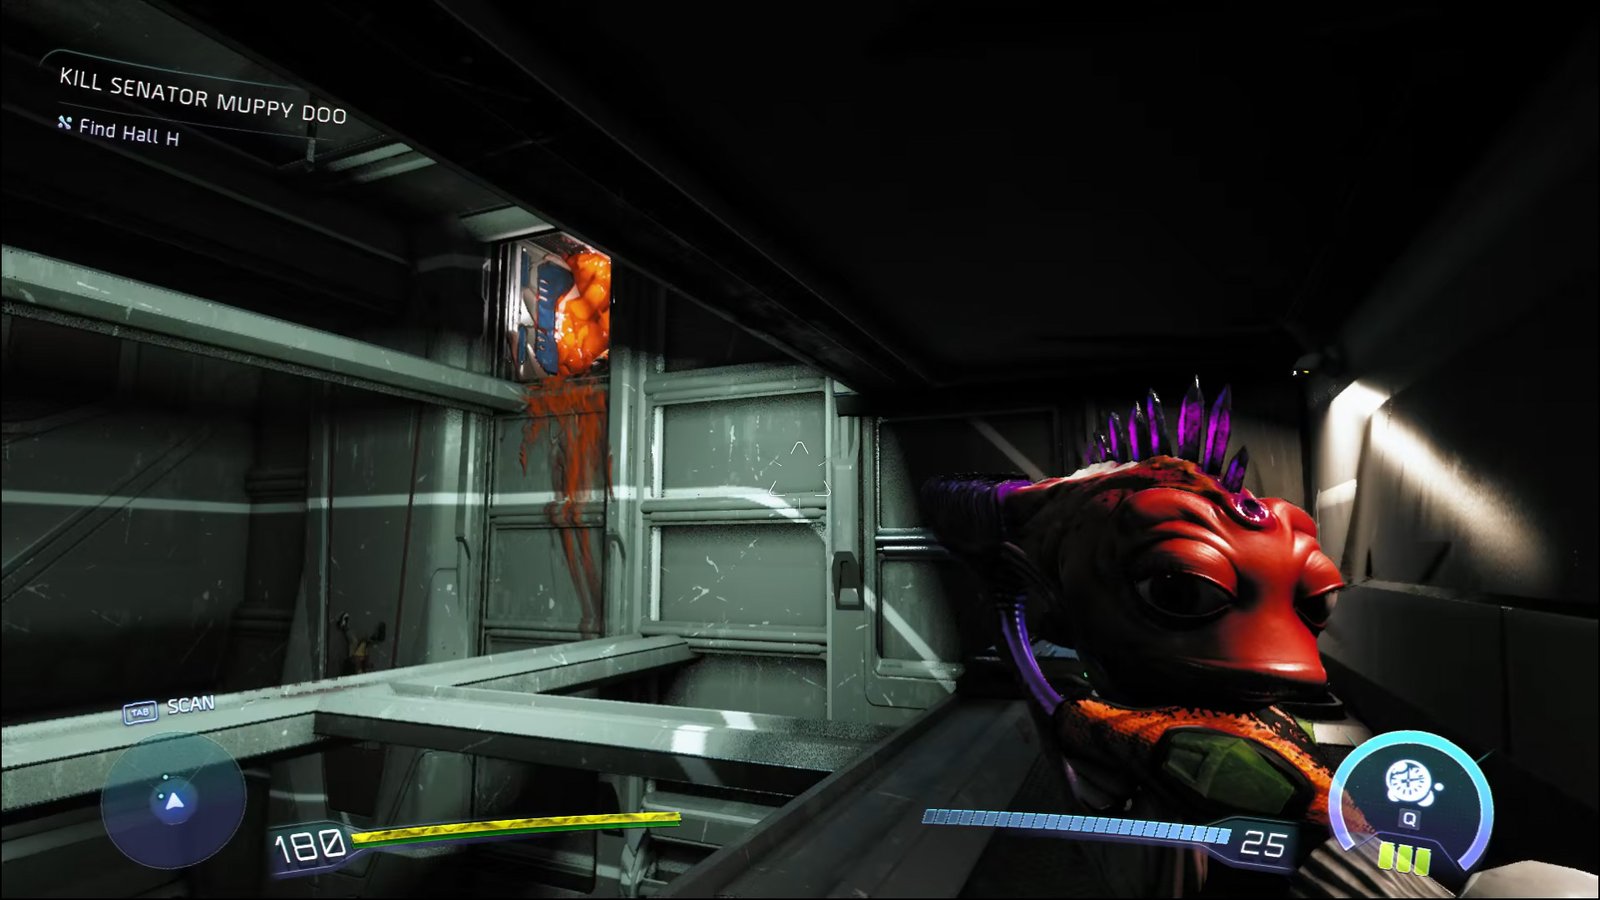
Grab it, and make sure not to fall over below to avoid a restart. Place the creature on the electrical pad on the upper section to complete both circuits and head down through the unlocked door and into the PoliCon convention.
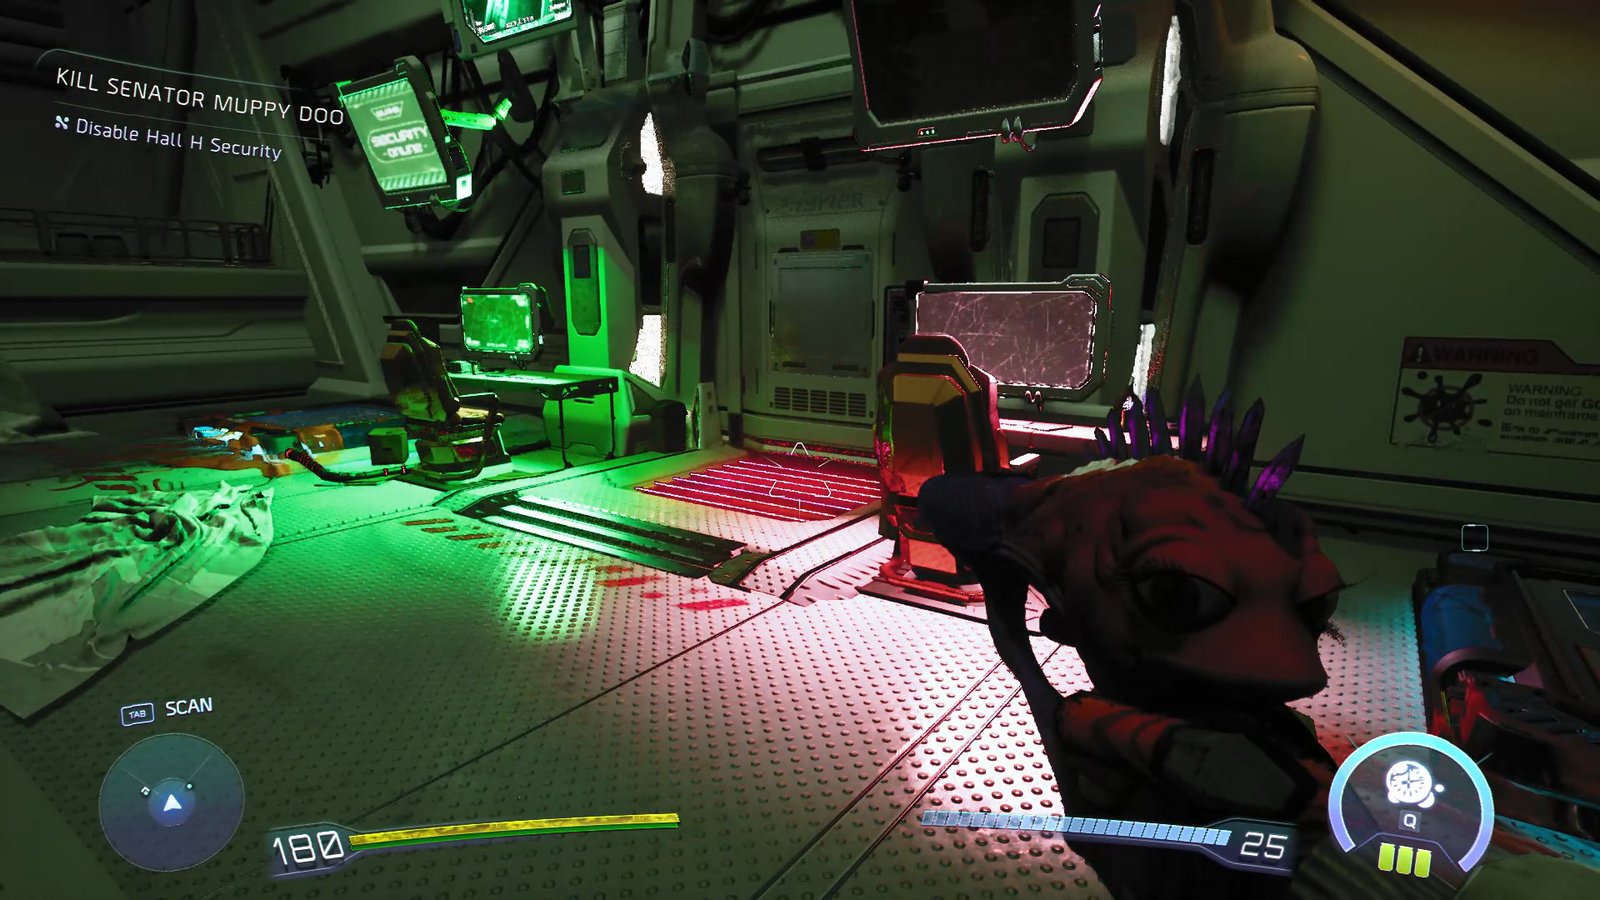
Disabling Hall H Security
You’ll be rewarded for your efforts by yet another obstacle course. Falling down will result in an immediate game over, sending you back to the start of the course. Stick to wall running using your skateboard, and jump over the Muppy Doo inflatables and into the shaft’s control room.
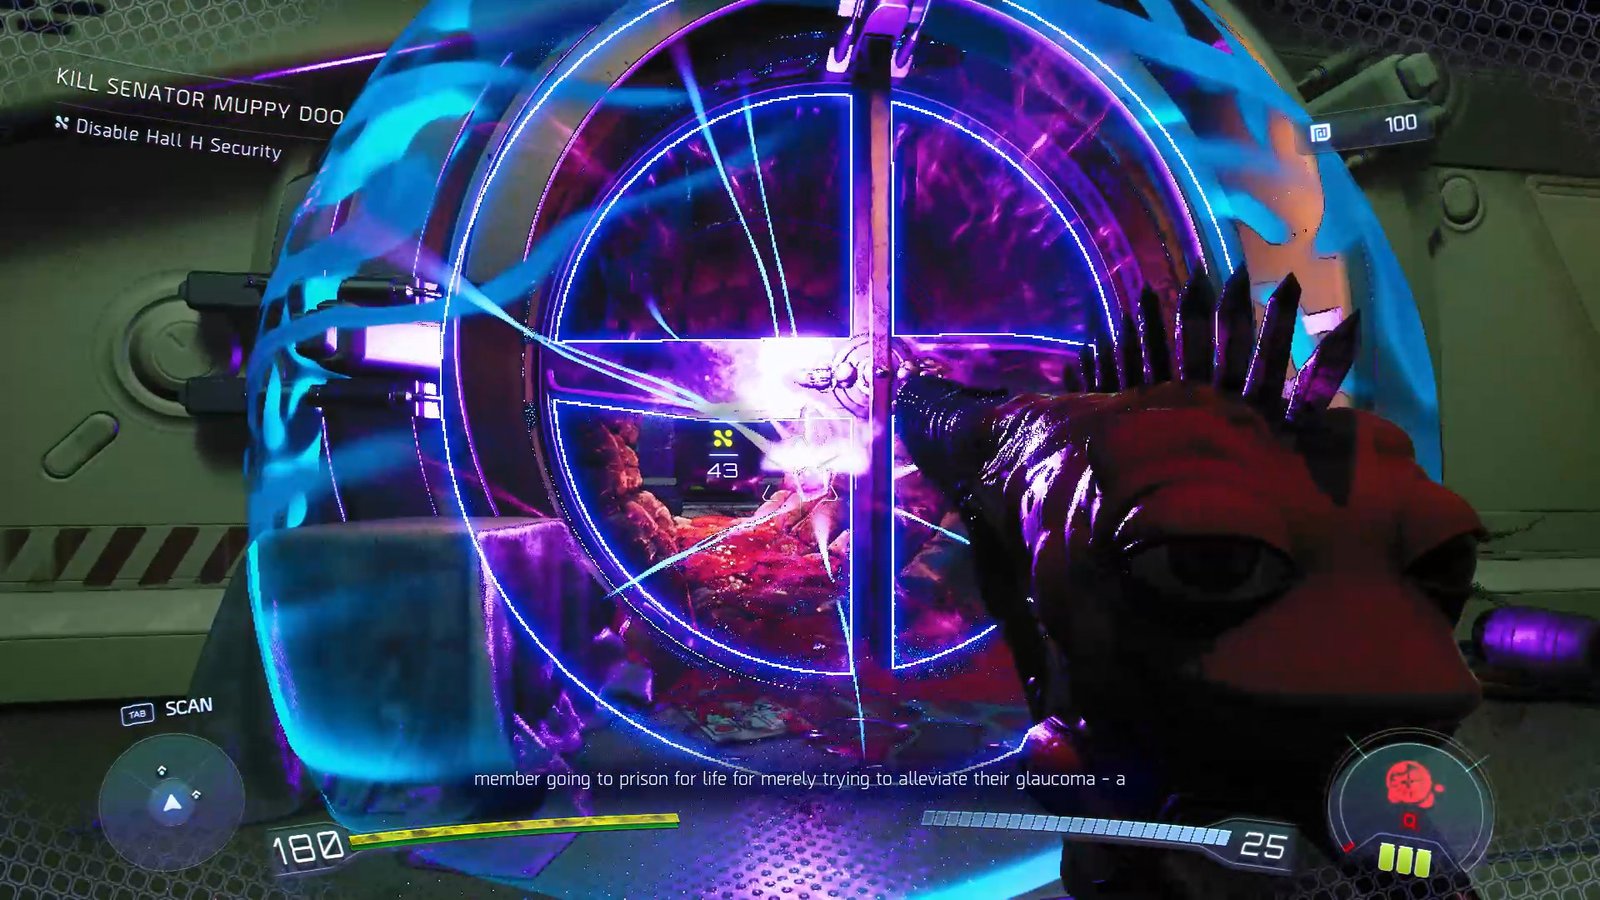
There should be a vent nearby with a spinning blade. Use Sweezy’s Time Bubble on the blades, and crawl through over to the next room.
Switch to Gus. Hold down his alternate firing mode to suck in the plates on the wall and flip them over. Hit Q to stick a spinning disc to make a makeshift platform and climb up.
There’s another plate nearby, follow the same process and use it, to climb on over to the ceiling space.

Jump over, grab the Lugbob and pass through the bladed shaft into the main control room (make sure to use the Time Bubble to slow things down).
Place the Lugbob on one of the panels to power it up. Next jump across using the now inflated Lugbob and climb over to the upper room. Grab the second Lugbob from there, and head back down.
Place it on the second panel to disable security entirely. Jump down into the shaft and prepare for the boss fight.
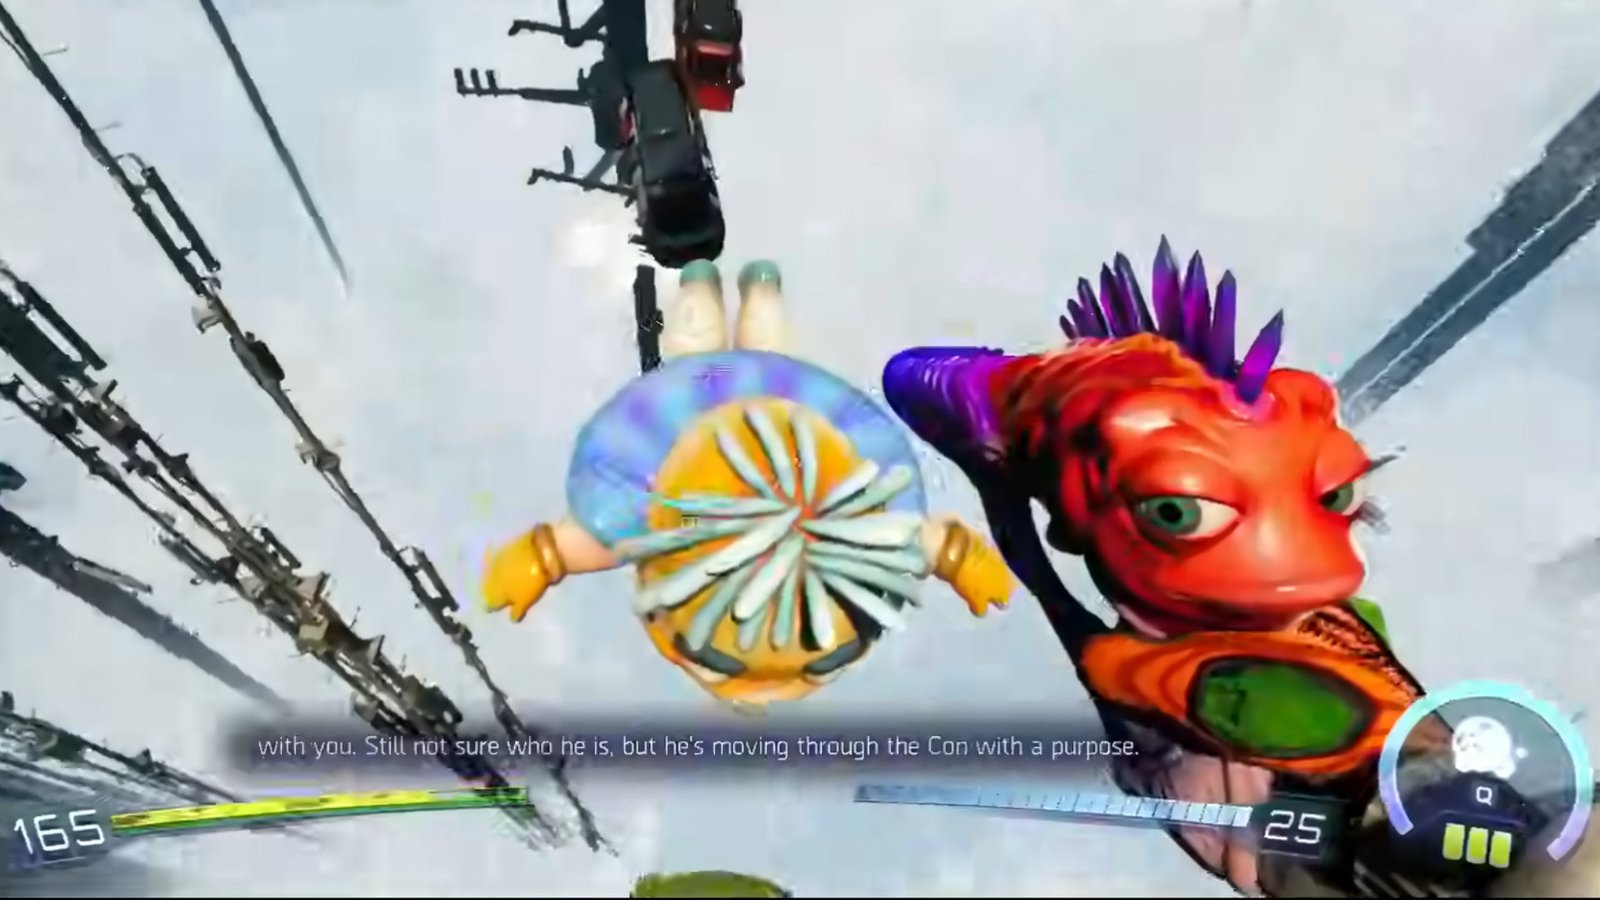
Mysterious Assassin Boss Fight
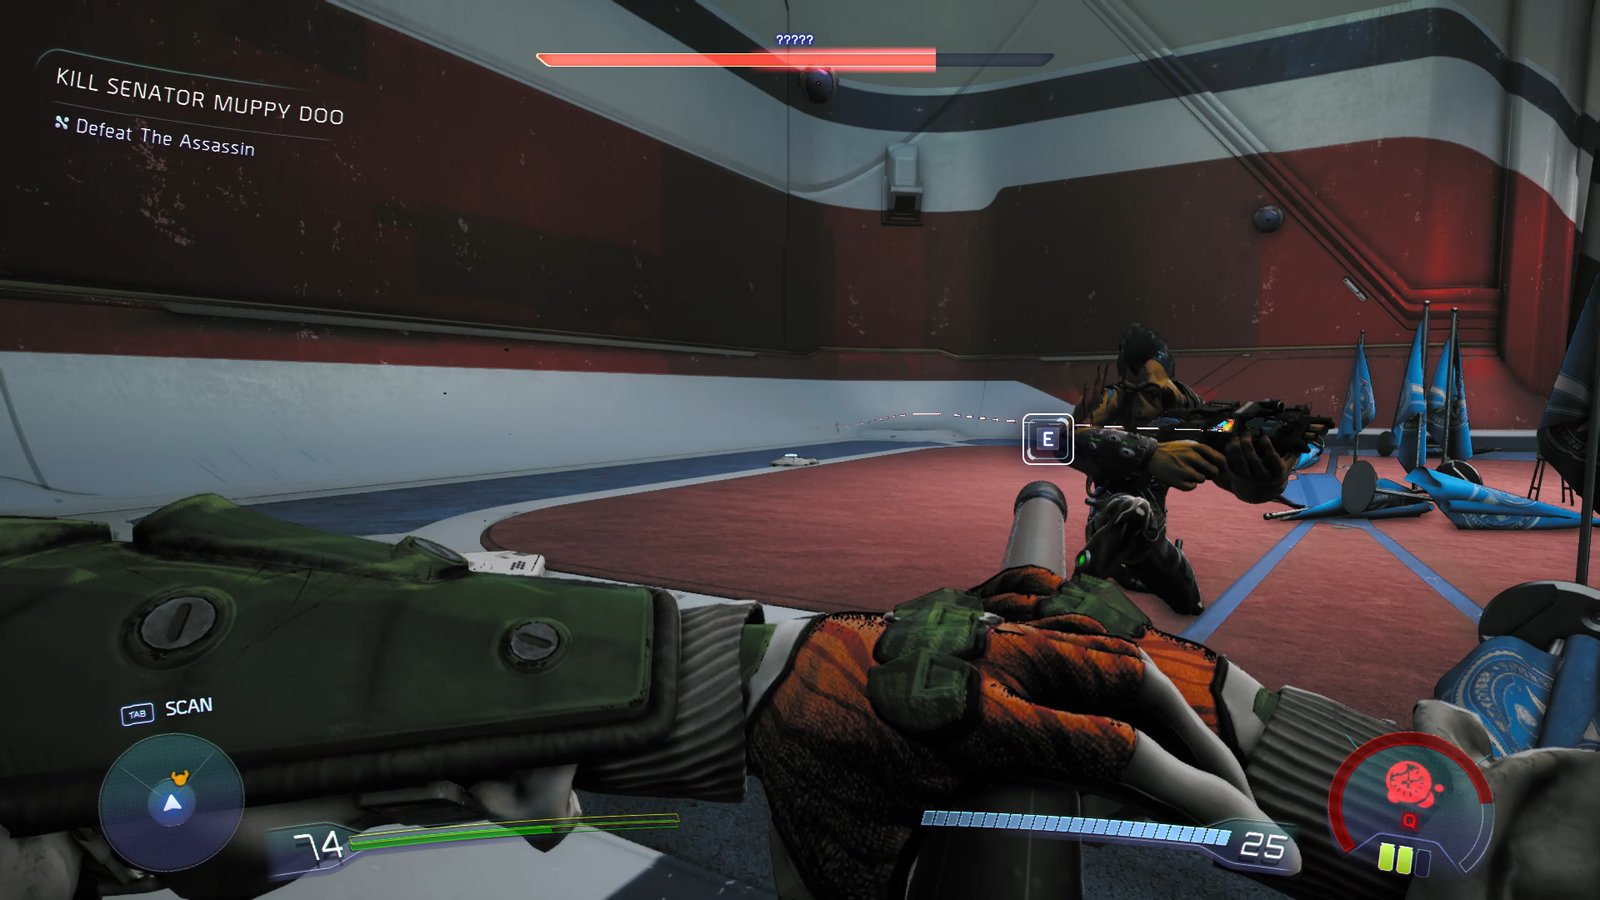
The mysterious assassin you met earlier will now be out to kill you, taking revenge for disrupting his bounty on the Senator. This guy does not mess around, and can kill you if you aren’t too careful.
The best way to deal with most enemies in High On Life 2 is to play it like DOOM Eternal. That is, to keep moving and firing back. Staying still is basically a death sentence, and the assassin serves as a skill check.
Use the Time Bubble to slow him down, and then dump all your bullets while you still can. He’s incredibly slippery and does not stay debuffed for long, so it’s important to time your attacks right. Consider using Gus for short range attacks.
At certain points of progression, the assassin will electrify the floor. Stay above the ground by swinging over and over using Knifey. Once you’re back on the ground, rinse and repeat till the Assassin submits, and joins your cause in the form of Sheath, a new weapon.
Exit Hall H And Onward To MurderCon
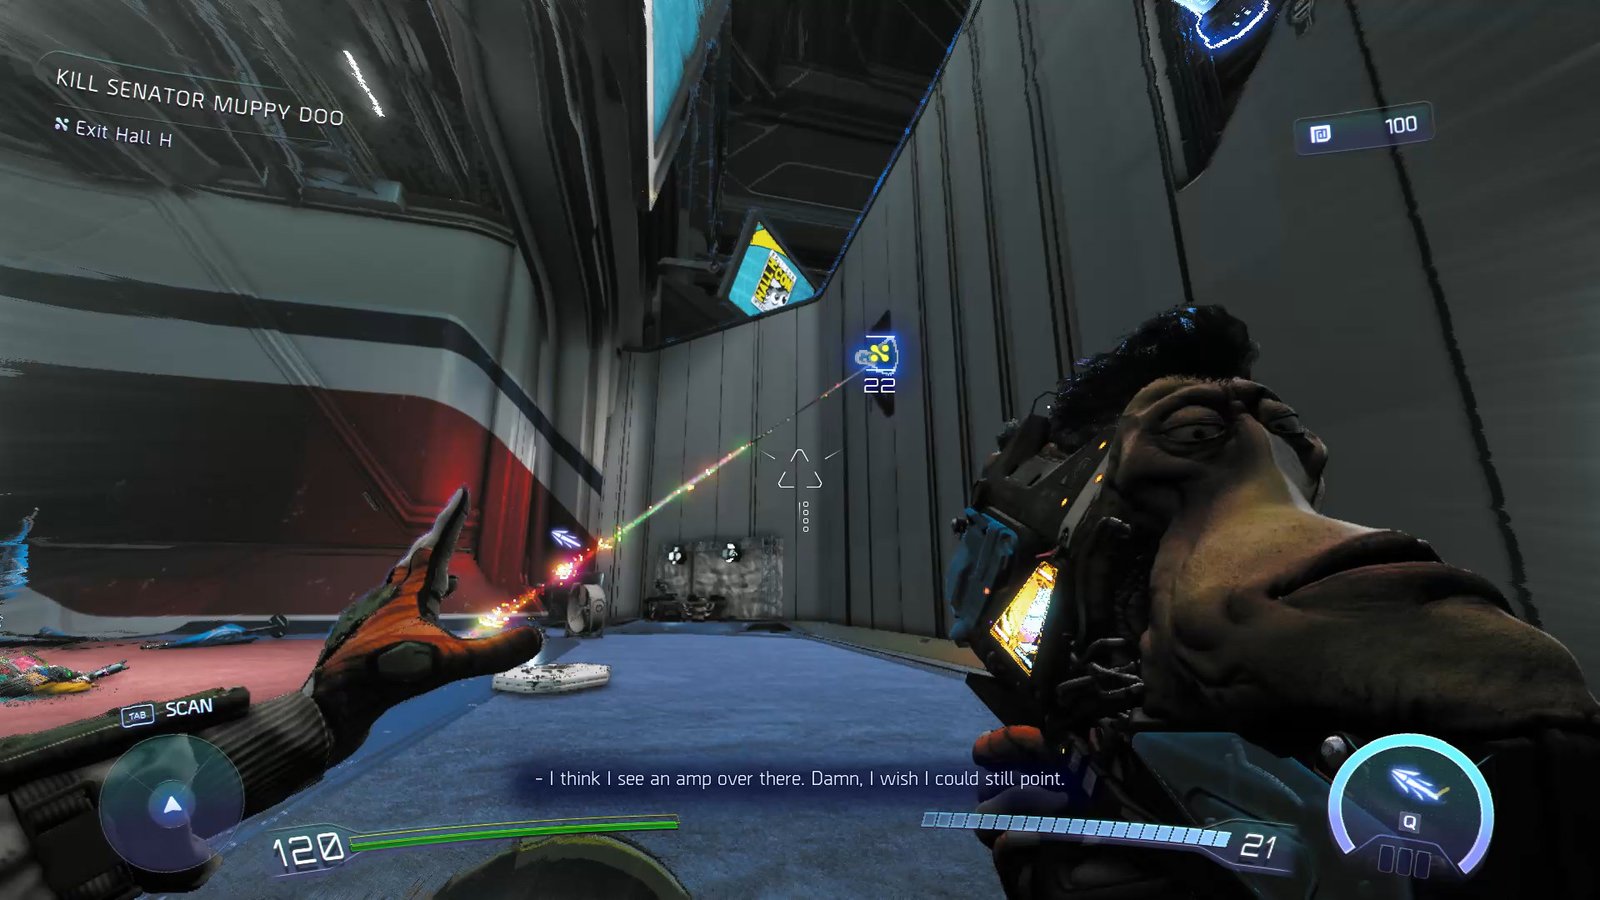
Your next stop involves going through to MurderCon. Use Sheath’s electrical abilities to complete the circuit (within the same arena) and open the way forward. Remember, connections can only be made on a line of sight basis.
Completing The Final Puzzle
Go past the hall and lay waste to everyone standing in your path, and toward the end of Hall H, where the final puzzle awaits.
To open the malfunctioning door, you’ll need two charges. Walk over to the electrical billboard at the center of the room first. There should be two connection points here, one at the first layer and the other at the bottom.
Have both connection points face the center of the room, and complete a connection from the working panel to a point on the billboard.
Next, complete the entire circuit by laying a connection between the second billboard point and the other, broken panel.
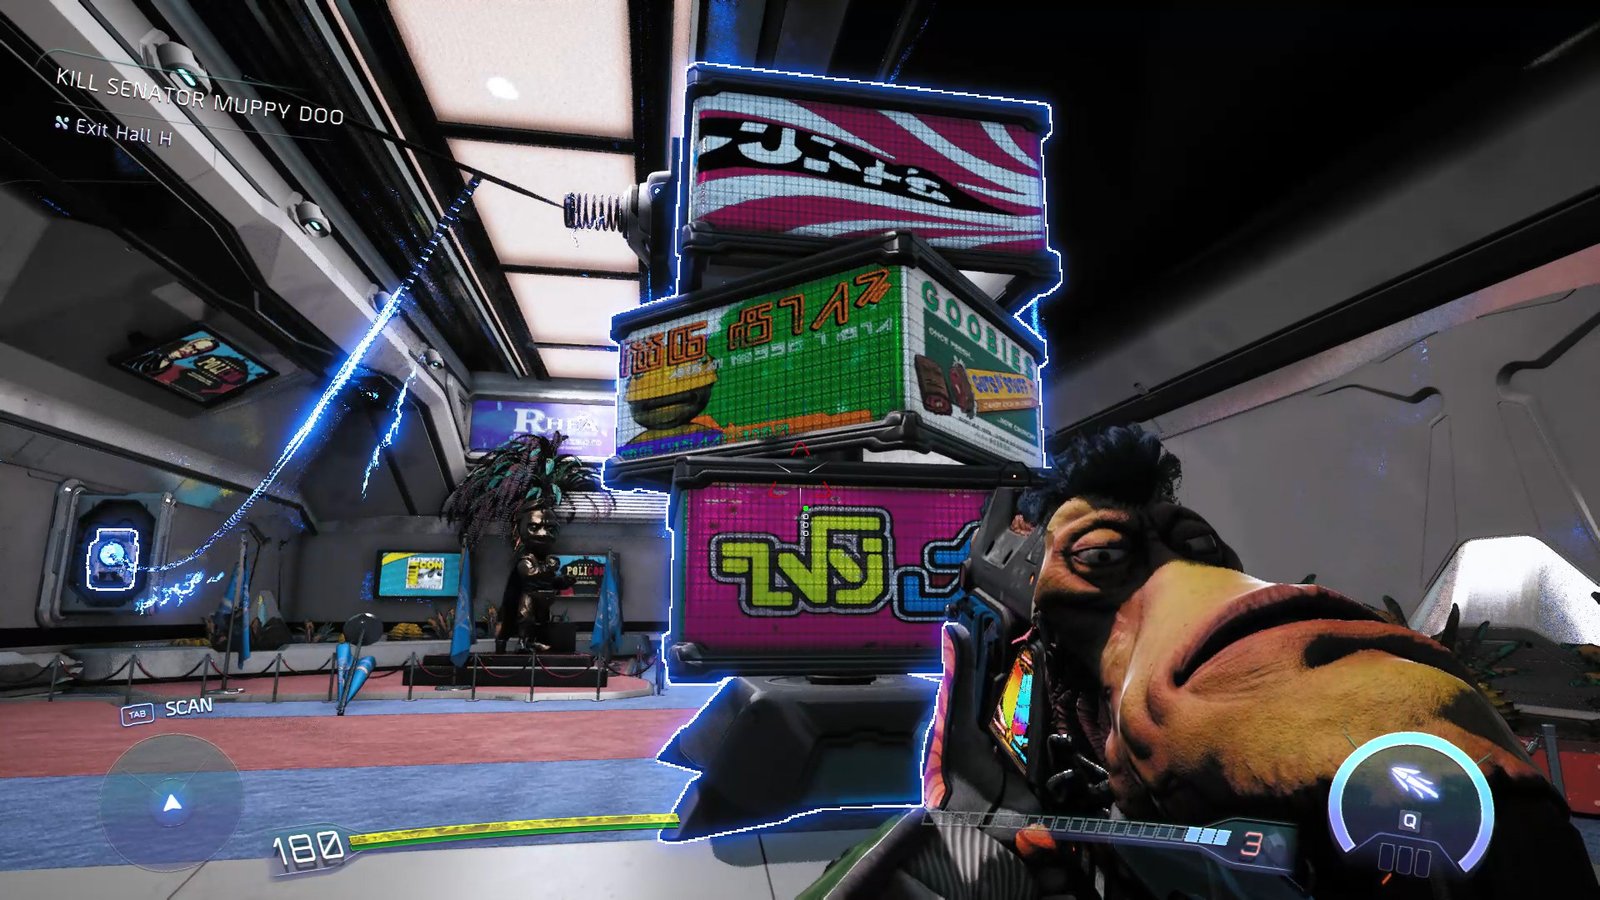
This should open up the doorway and lead you straight to MurderCon, where the things get even crazier than usual, wrapping up Policon.
Also Read
Set TheGameSlayer as your Preferred Source on Google to find us more easily in your searches for game guides, news, reviews and features!