


A Star Wars-themed crossover in Destiny 2 wasn’t on my bingo cards, but the moment I got my hands on the Praxic Blade, my inner child couldn’t be contained.
The weapon hits hard on its own, but unlocking its catalysts is when its real power starts to show. The most demanding upgrade by far is the Echoing Blade catalyst.
To unlock it, I had to track down and destroy 7 hidden Oddities using the Praxic Blade itself, with zero in-game markers to help.
Destiny 2 doesn’t make collectible hunting easy, and I learned that the hard way after combing through multiple zones to find every last Oddity. To save you that frustration, I’ve mapped out all hidden oddity locations below to quickly get all 7 Oddities in Destiny 2.
All Oddity Locations in Destiny 2 Renegades
You will find all 7 Oddities for the Echoing Blade Catalyst while completing the Fire and Ice mission in Legendary mode within the Renegades DLC.
You will also need the Praxic Blade, so get that first as part of the main campaign. Let’s break down all the locations where you will find the 7 Oddities below.
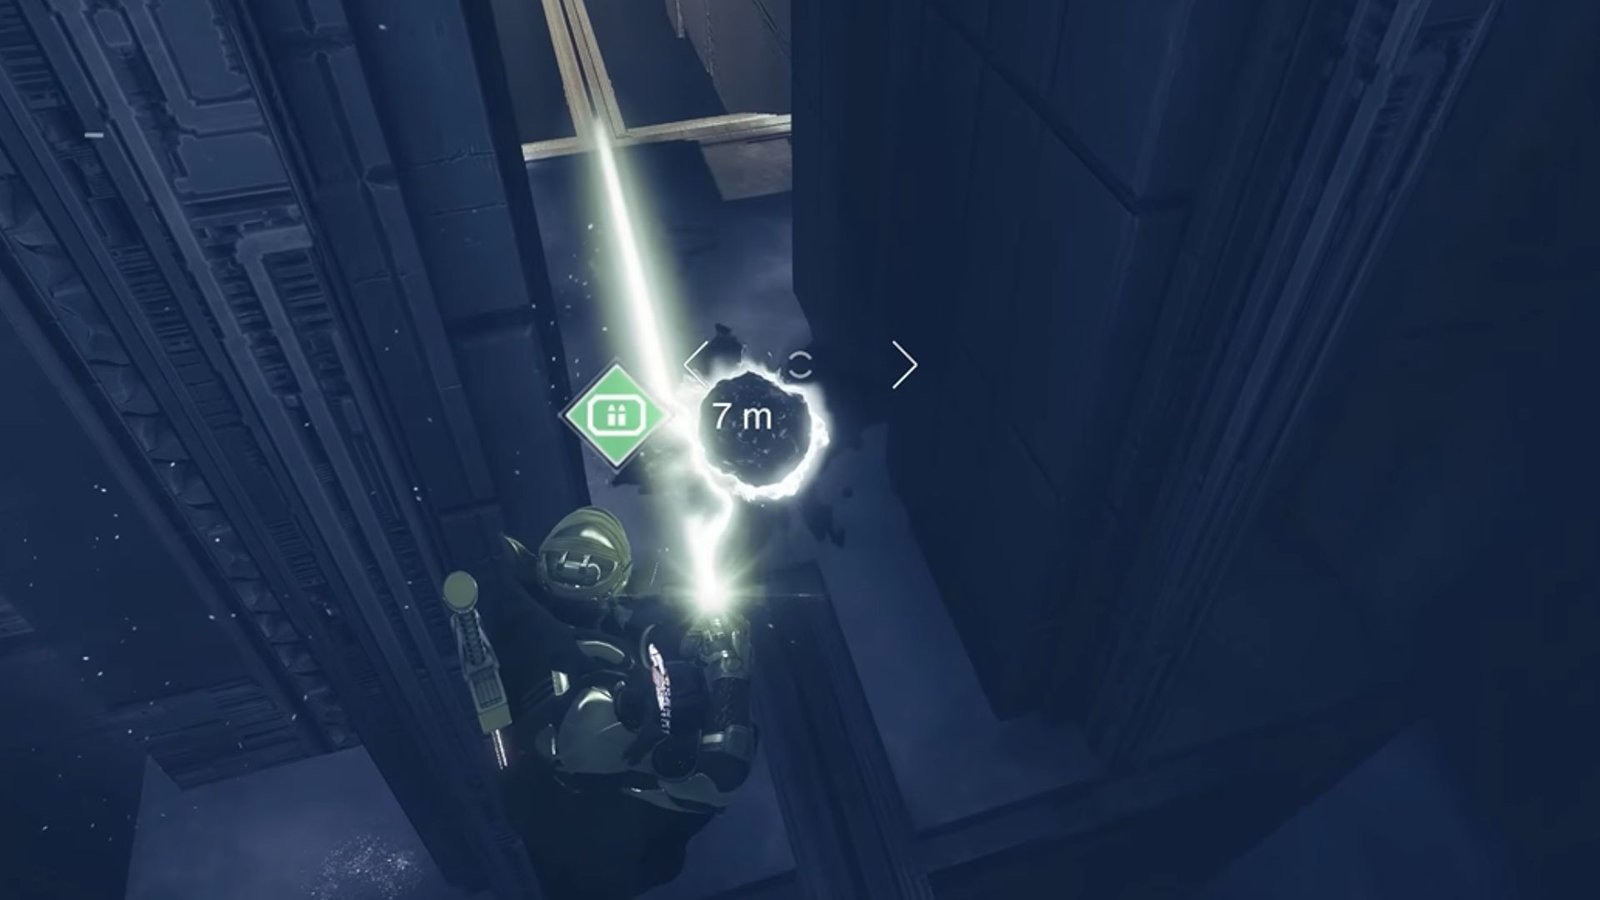
Oddity Location #1
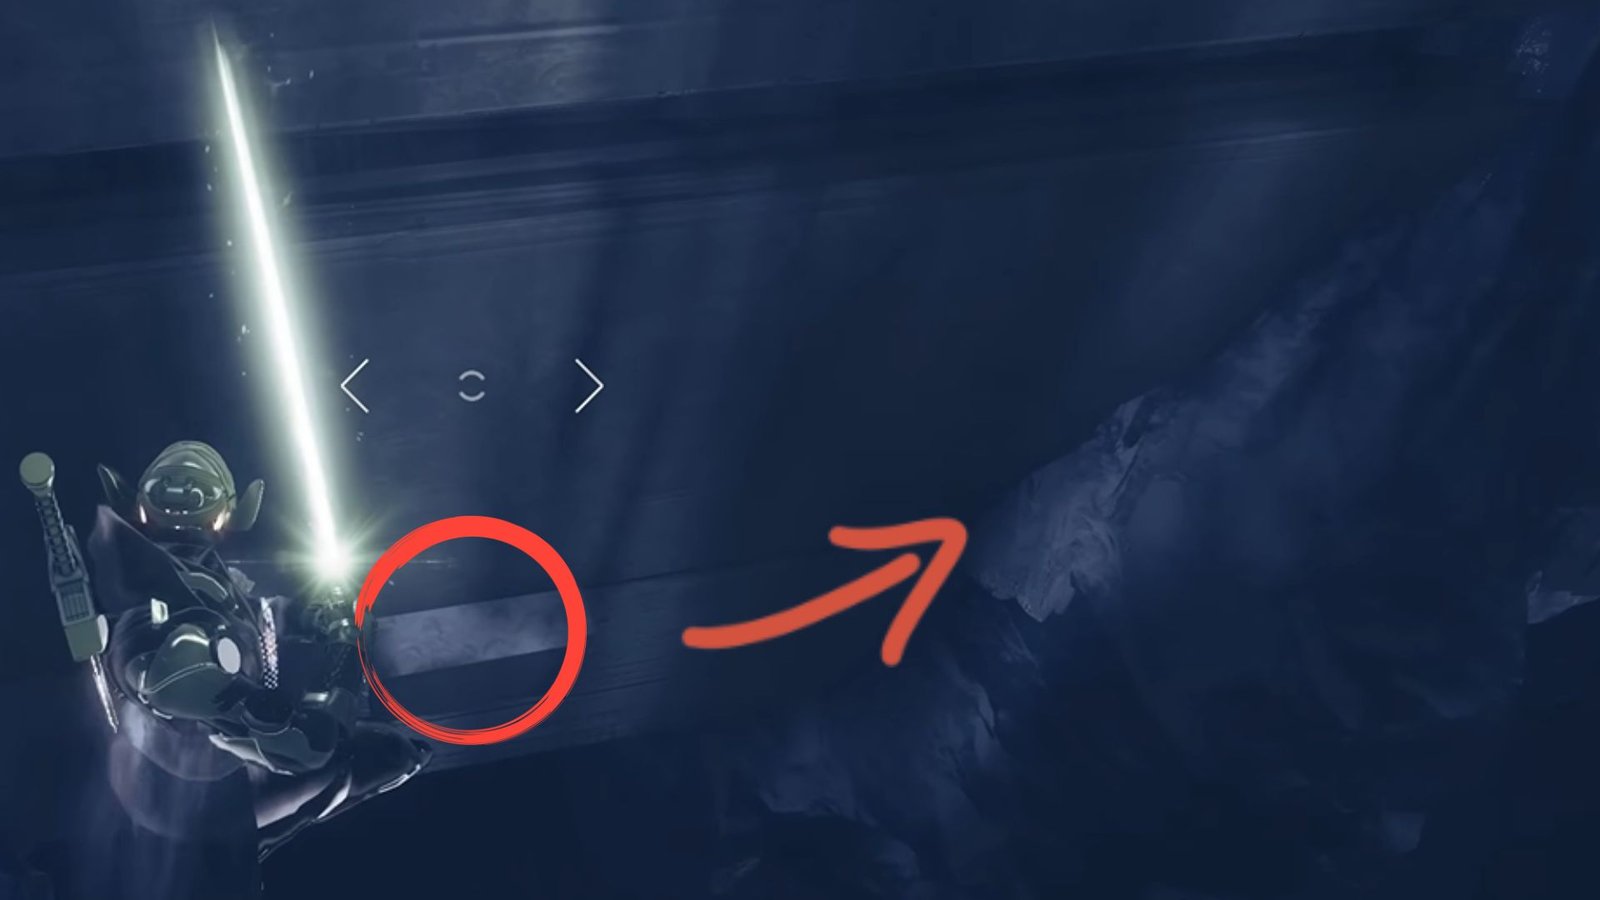
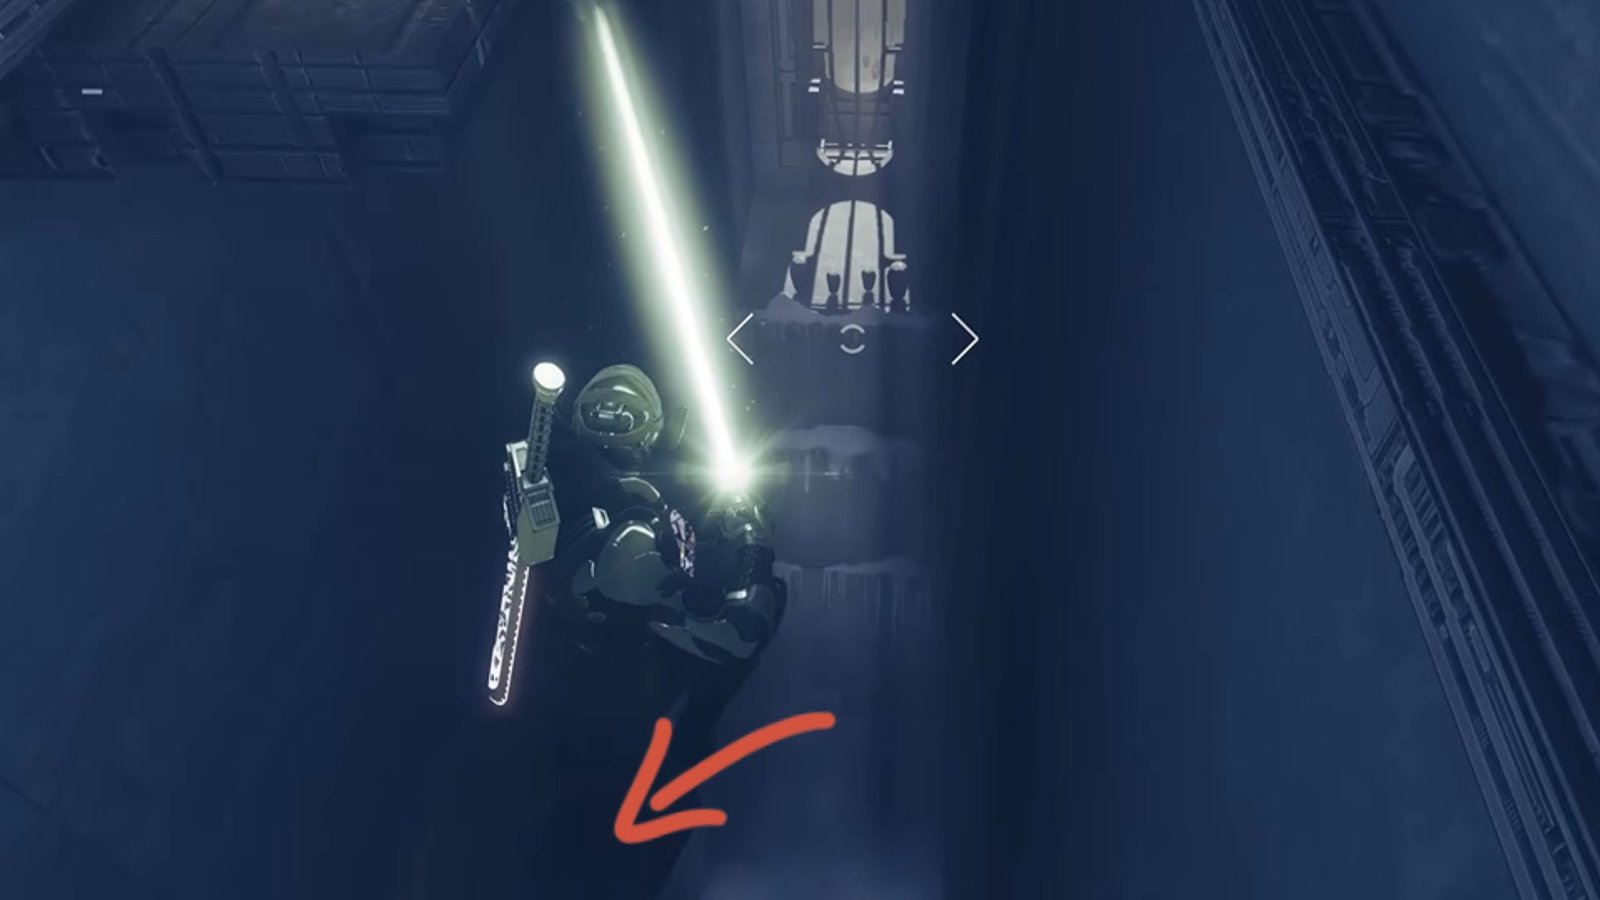
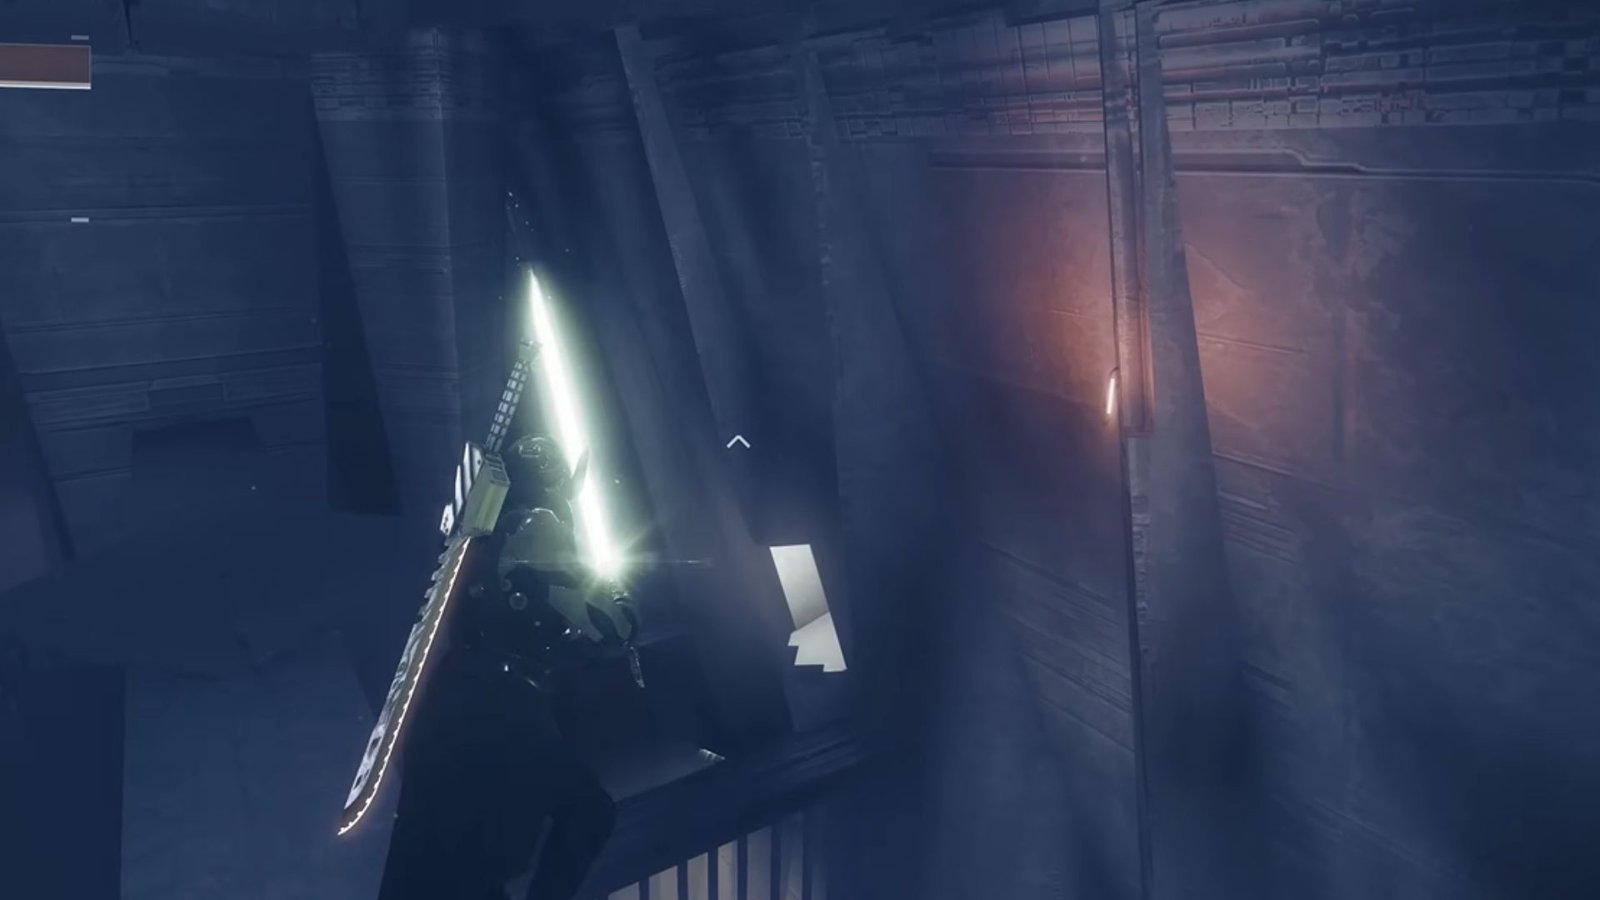
Go through the starting portal of the Fire and Ice mission and shoot down the four crystals around the area. You need to enter the tower ahead that requires you to jump down as part of the mission.
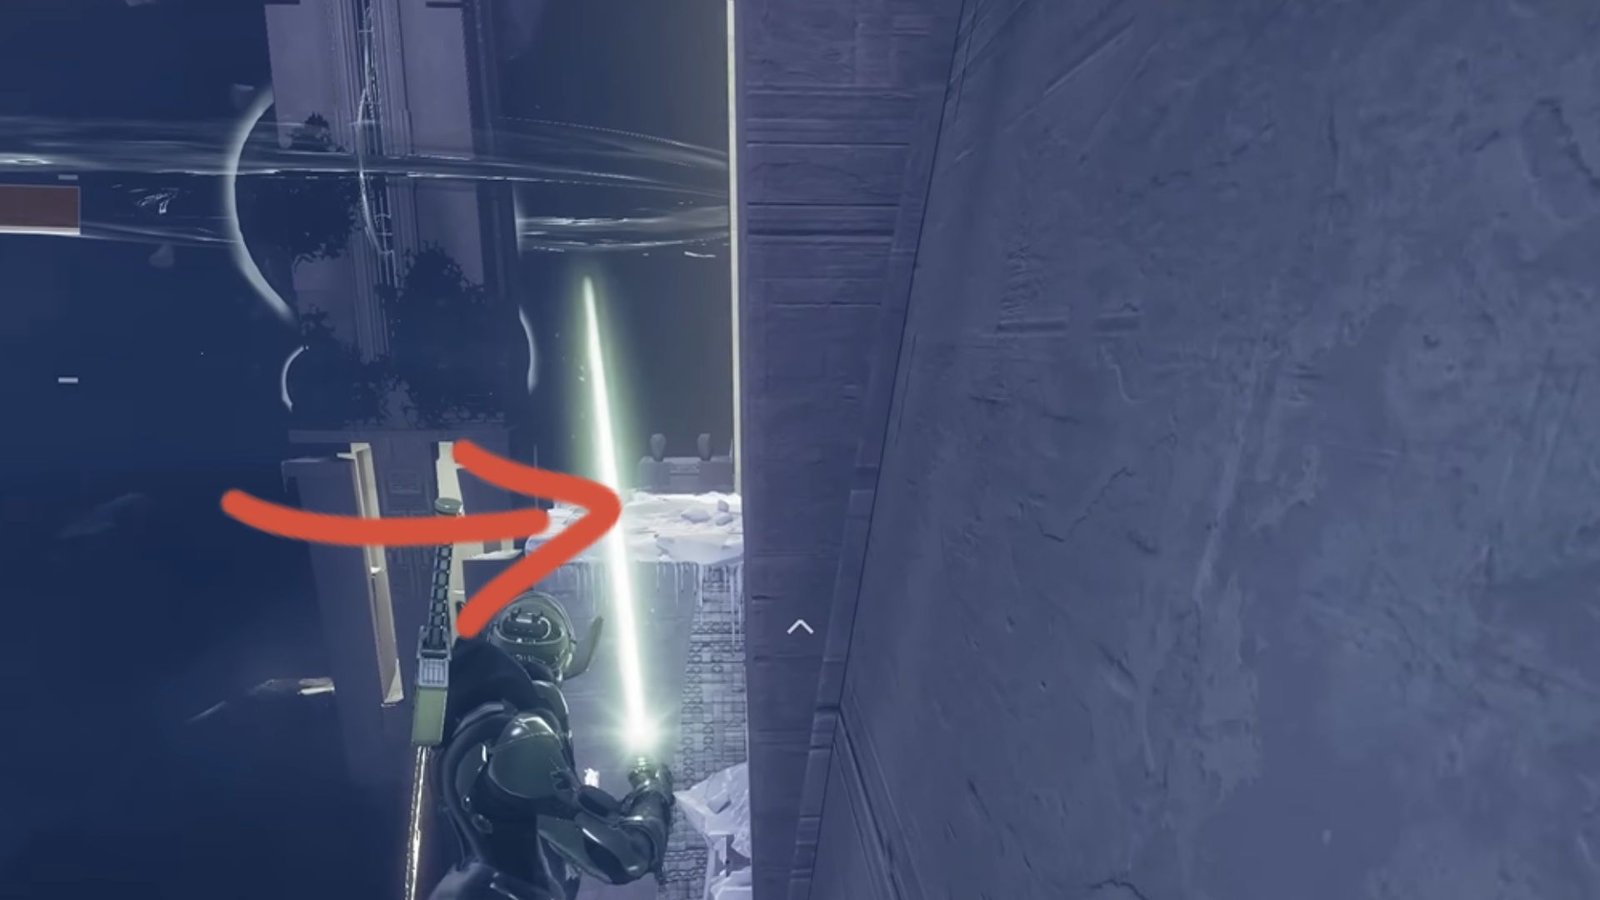
But, before doing that, you need to focus on a part of a ledge along the tower’s wall to help you navigate to a secret area. It’s really easy to miss this section, so here is a tip. Right after making a jump, keep to your left and land on the ledge sticking out.
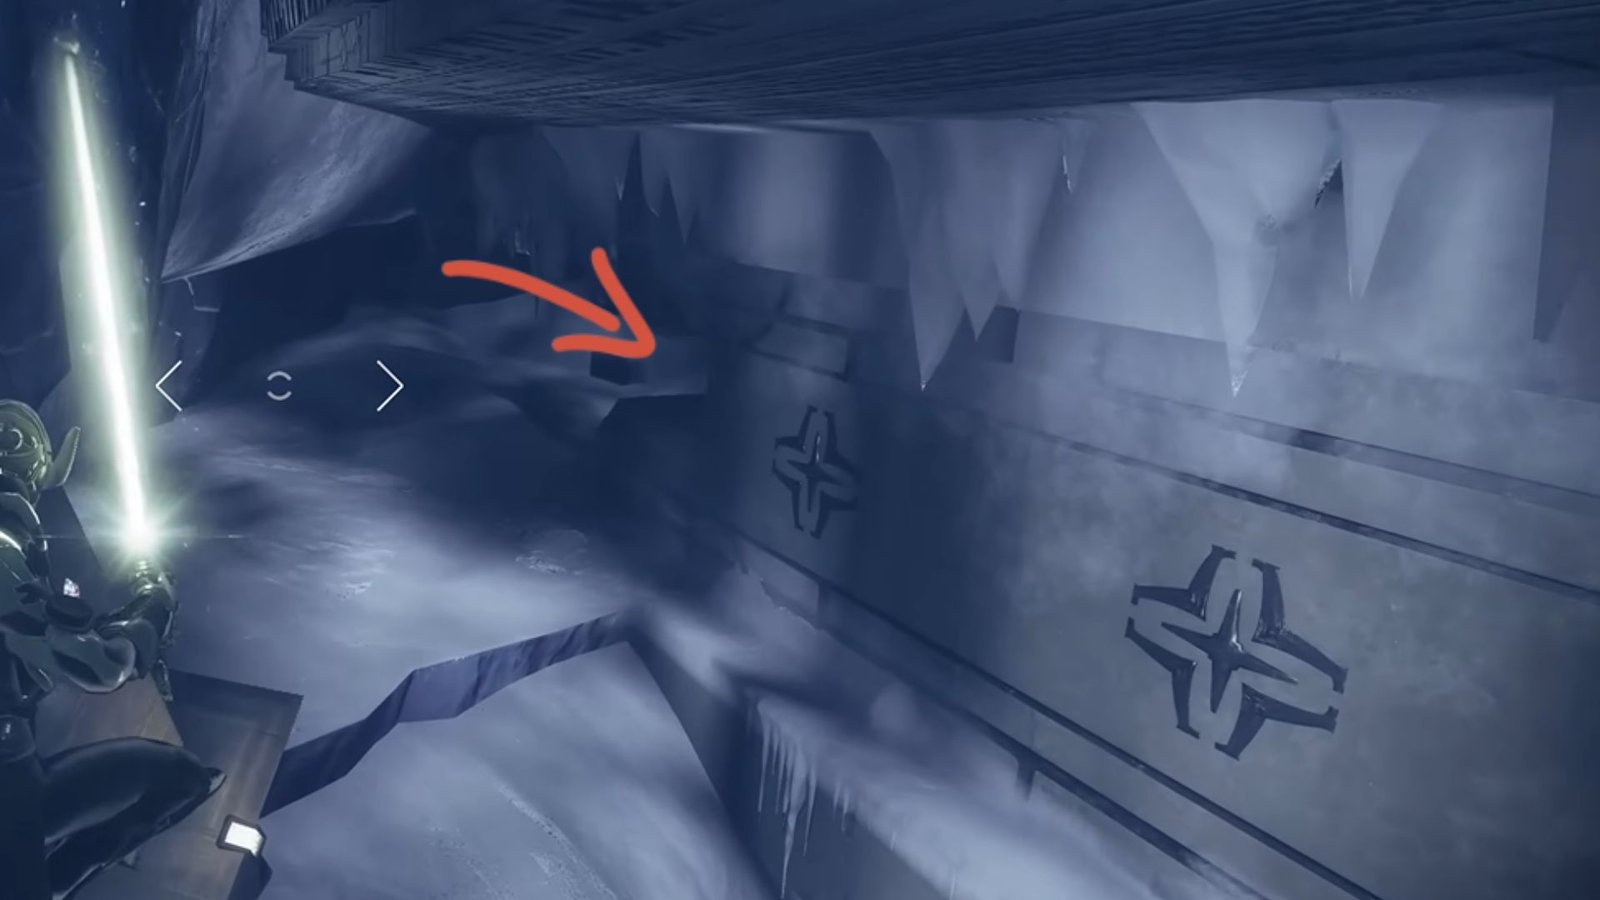
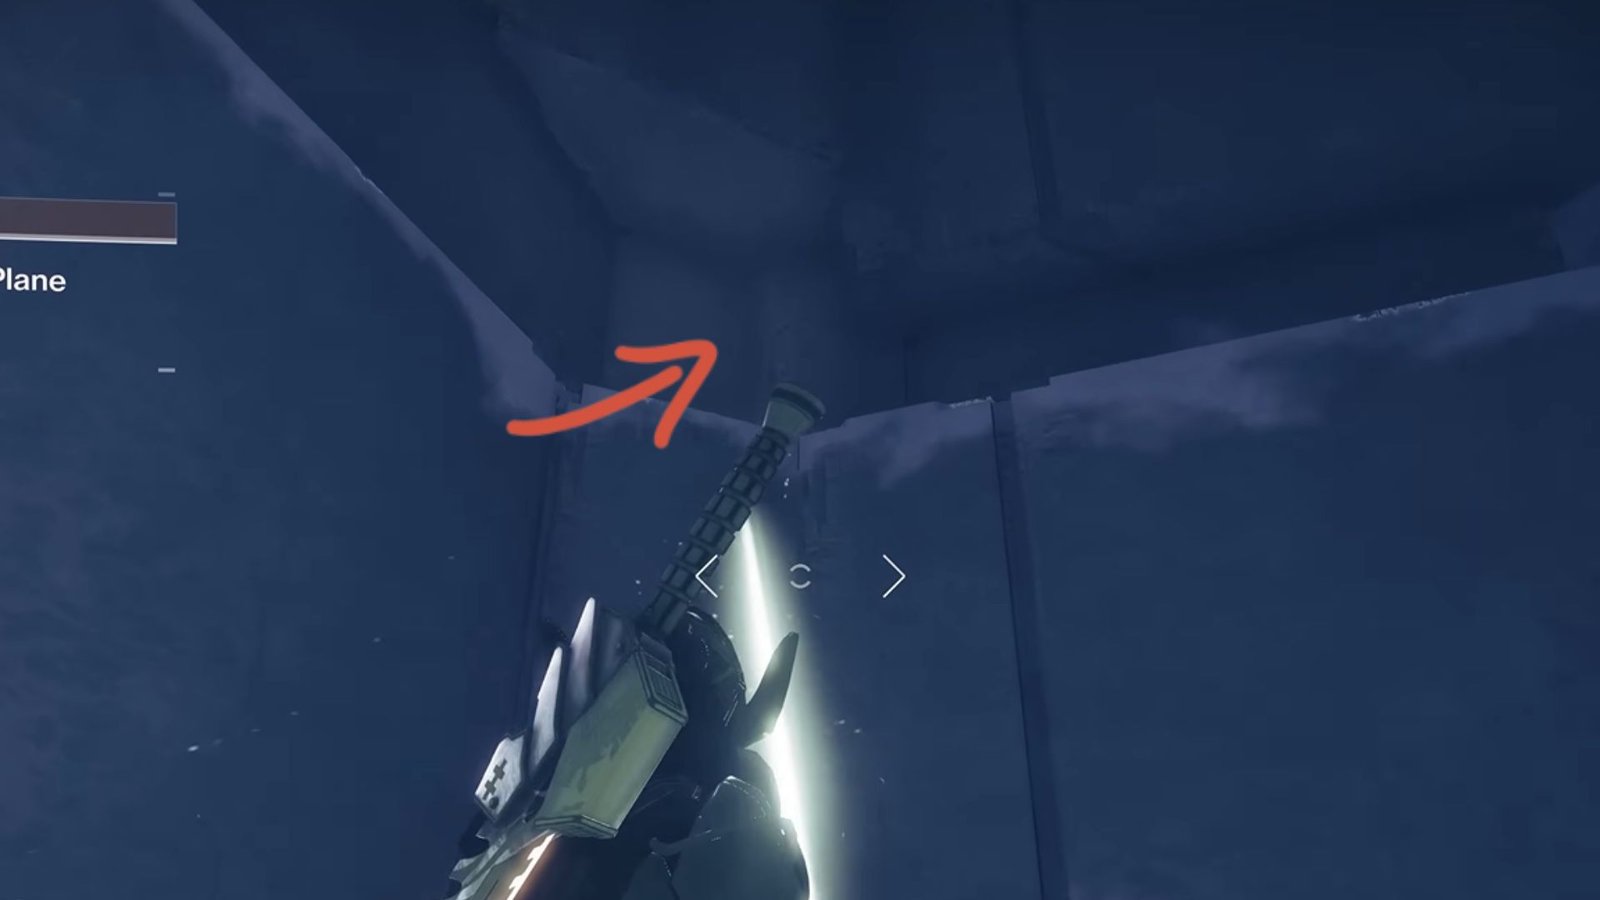
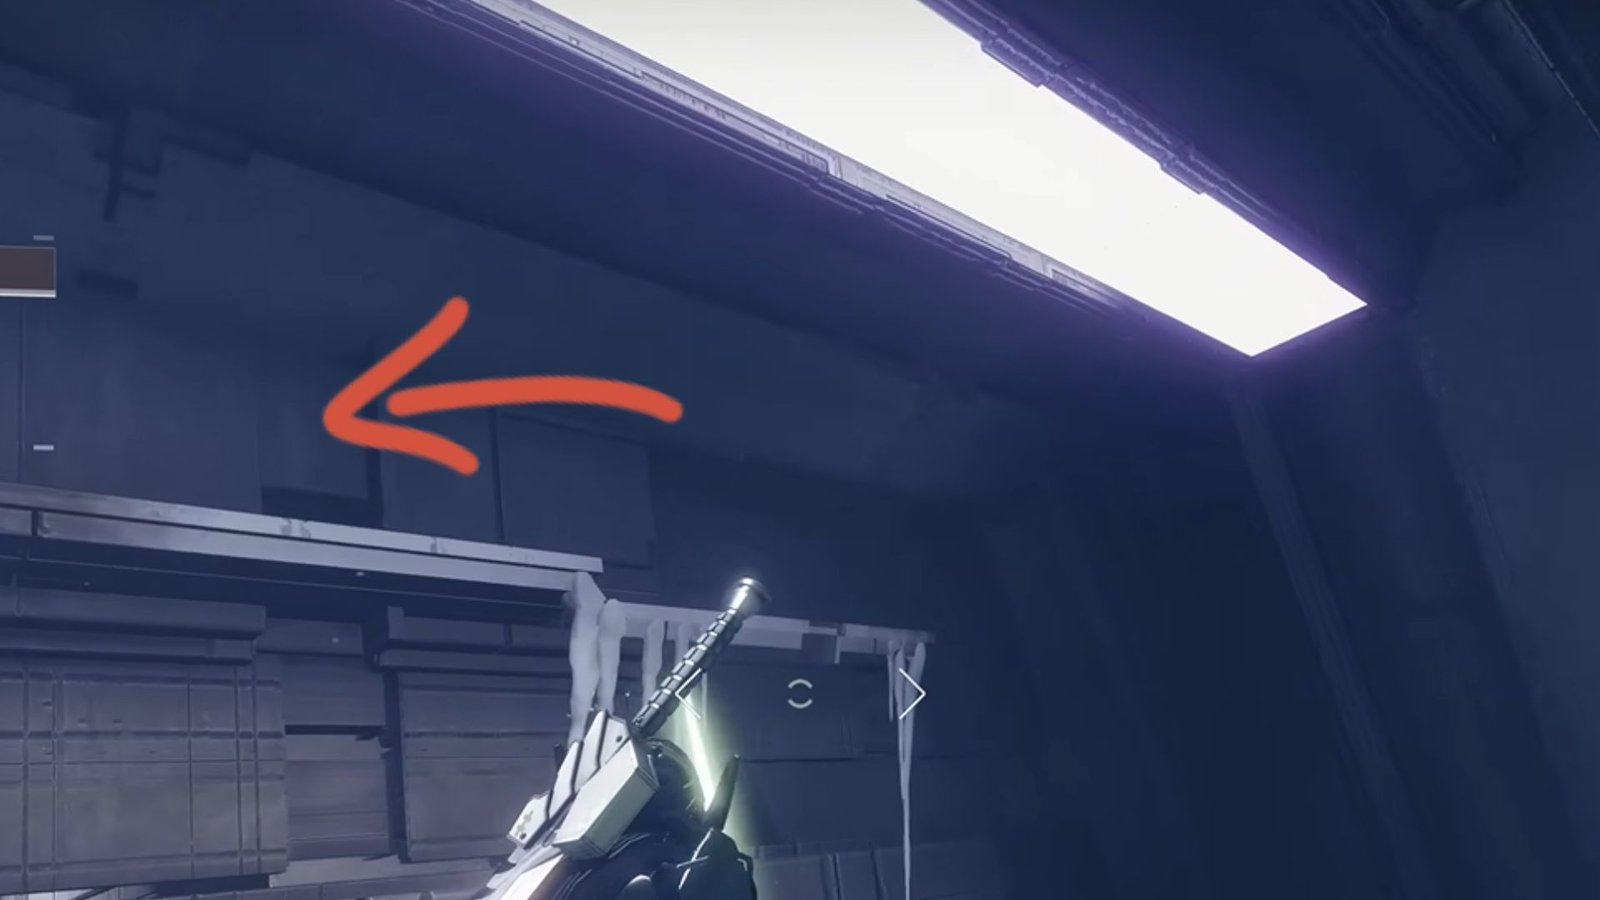
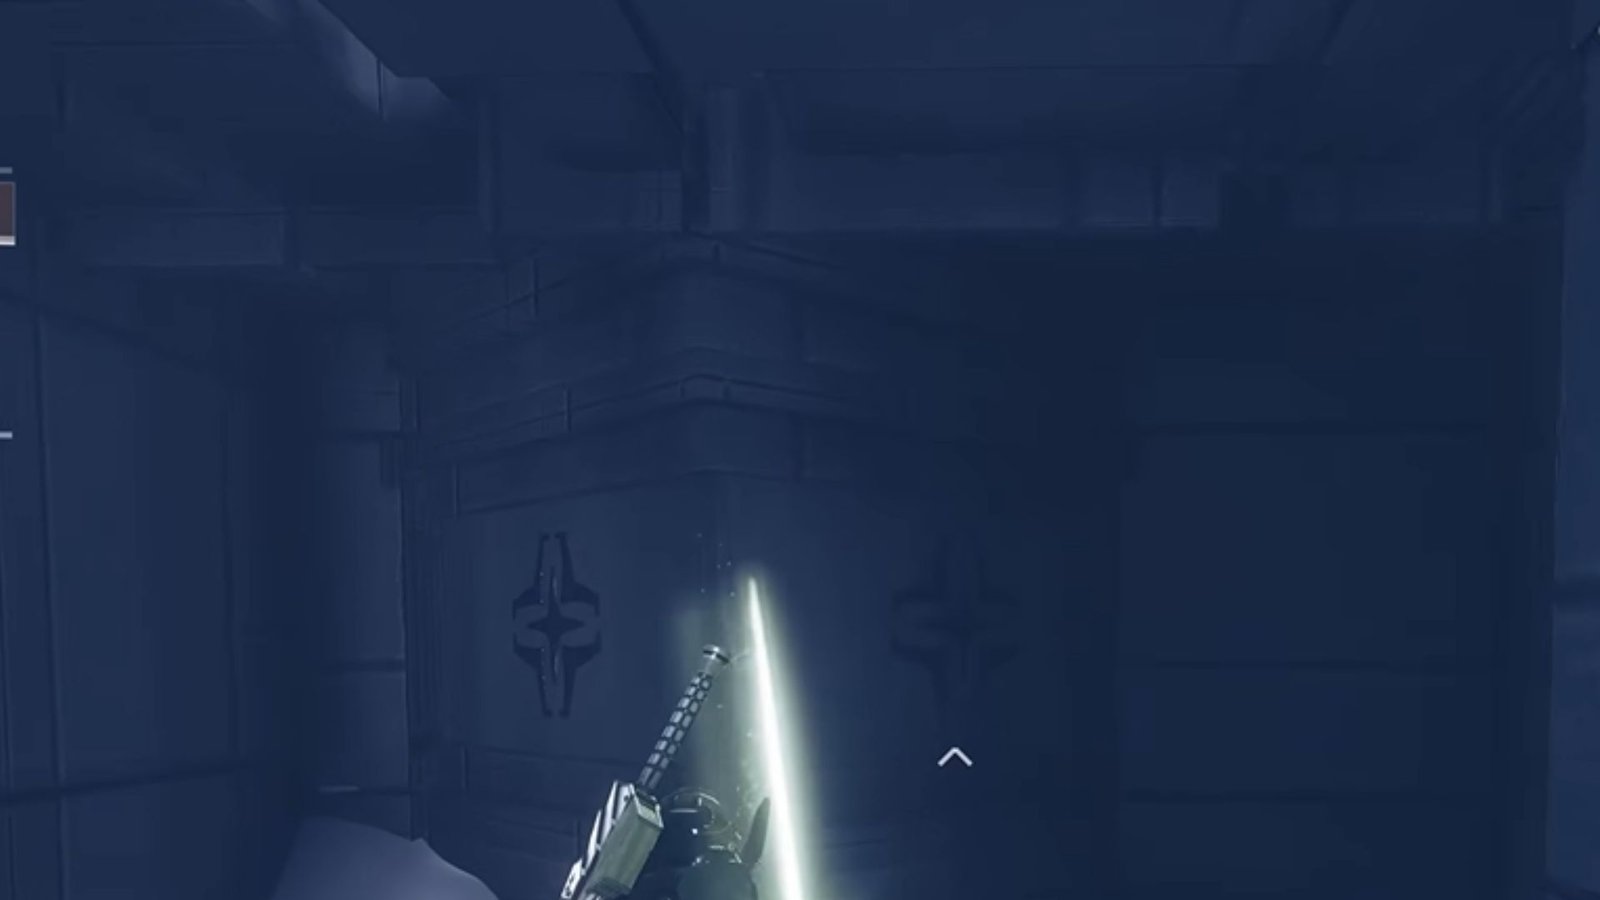
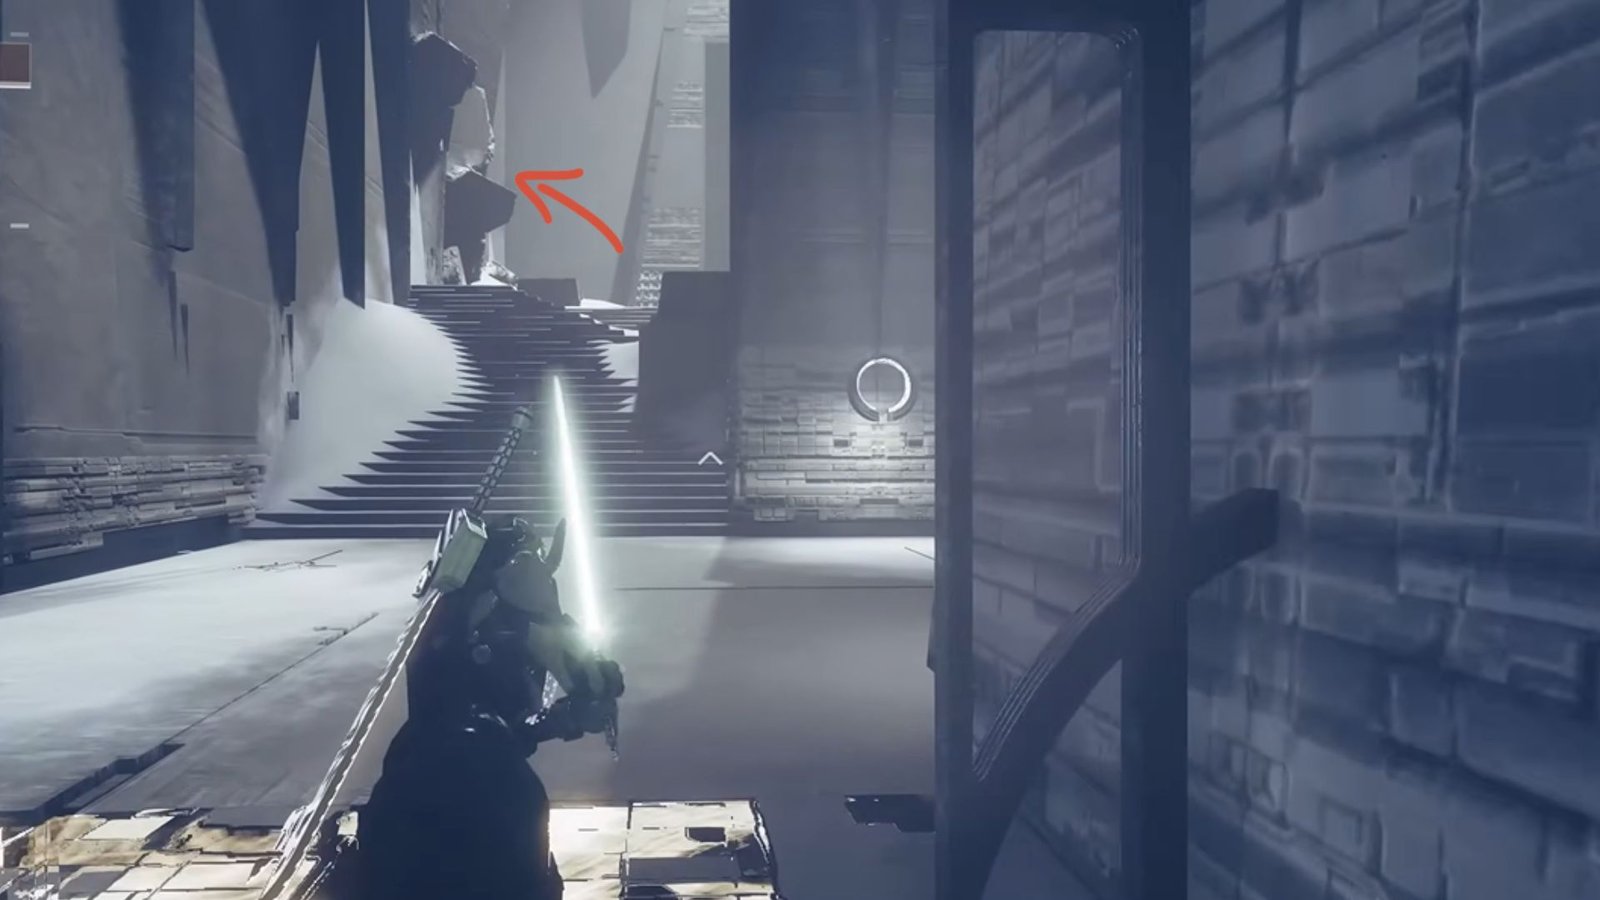
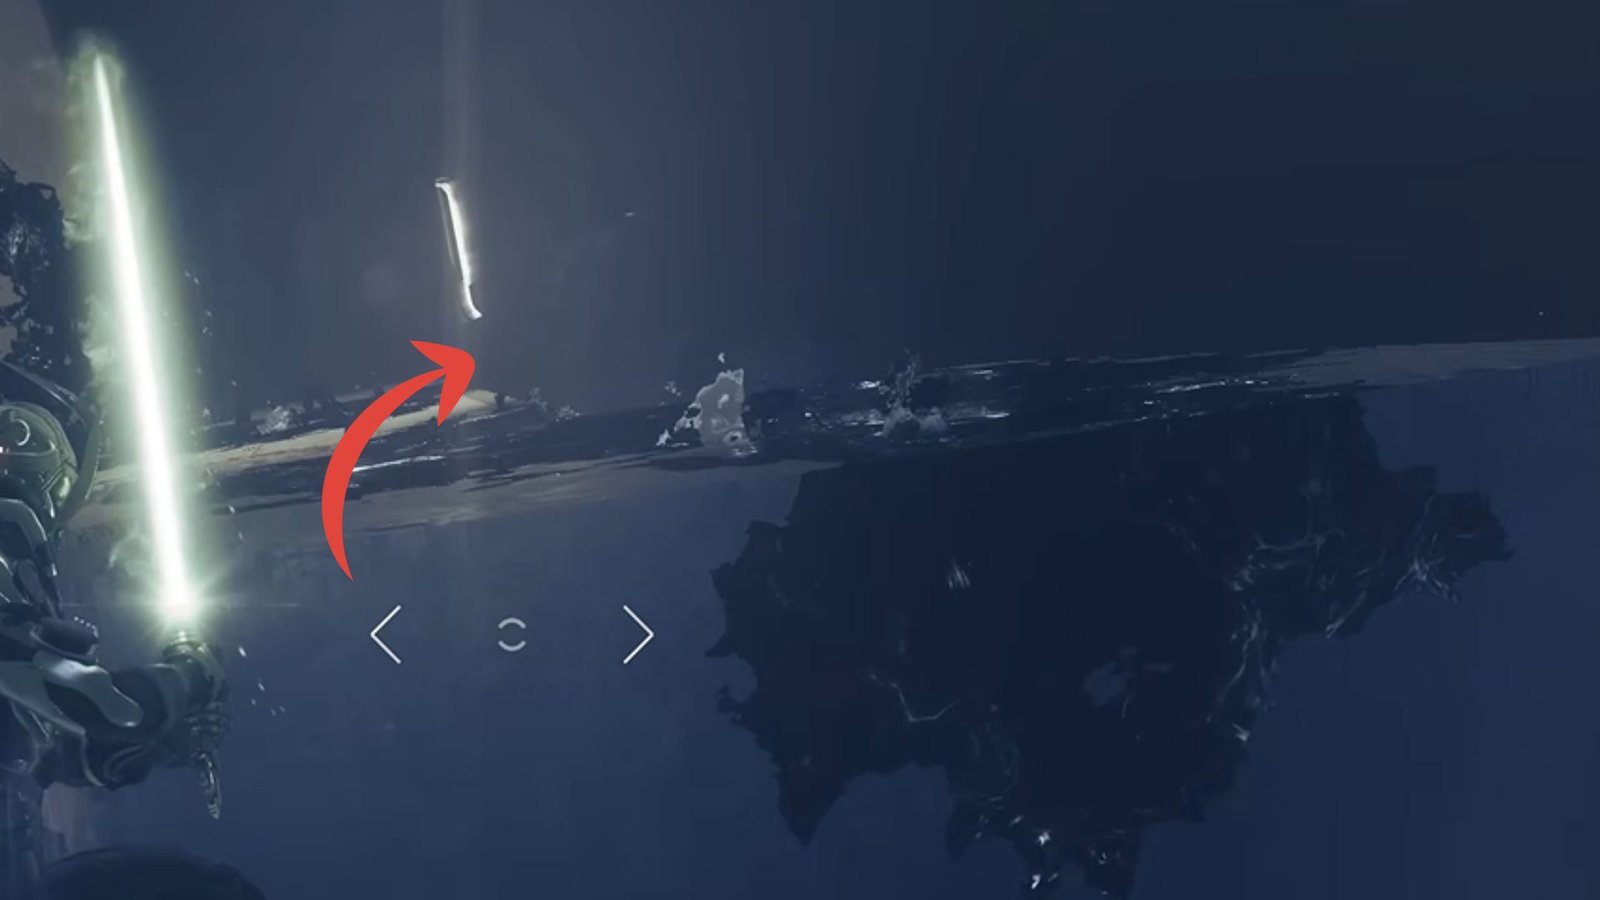
Continue straight ahead, then jump over to your right when you find a platform. Crouch down and go through the gap. Keep going straight ahead until you find a wall with runic symbols on your right. Interact with the wall, then walk to the front of it. This will open up a passage where you get to toss your Praxic Blade to get the first Oddity.
Oddity Location #2

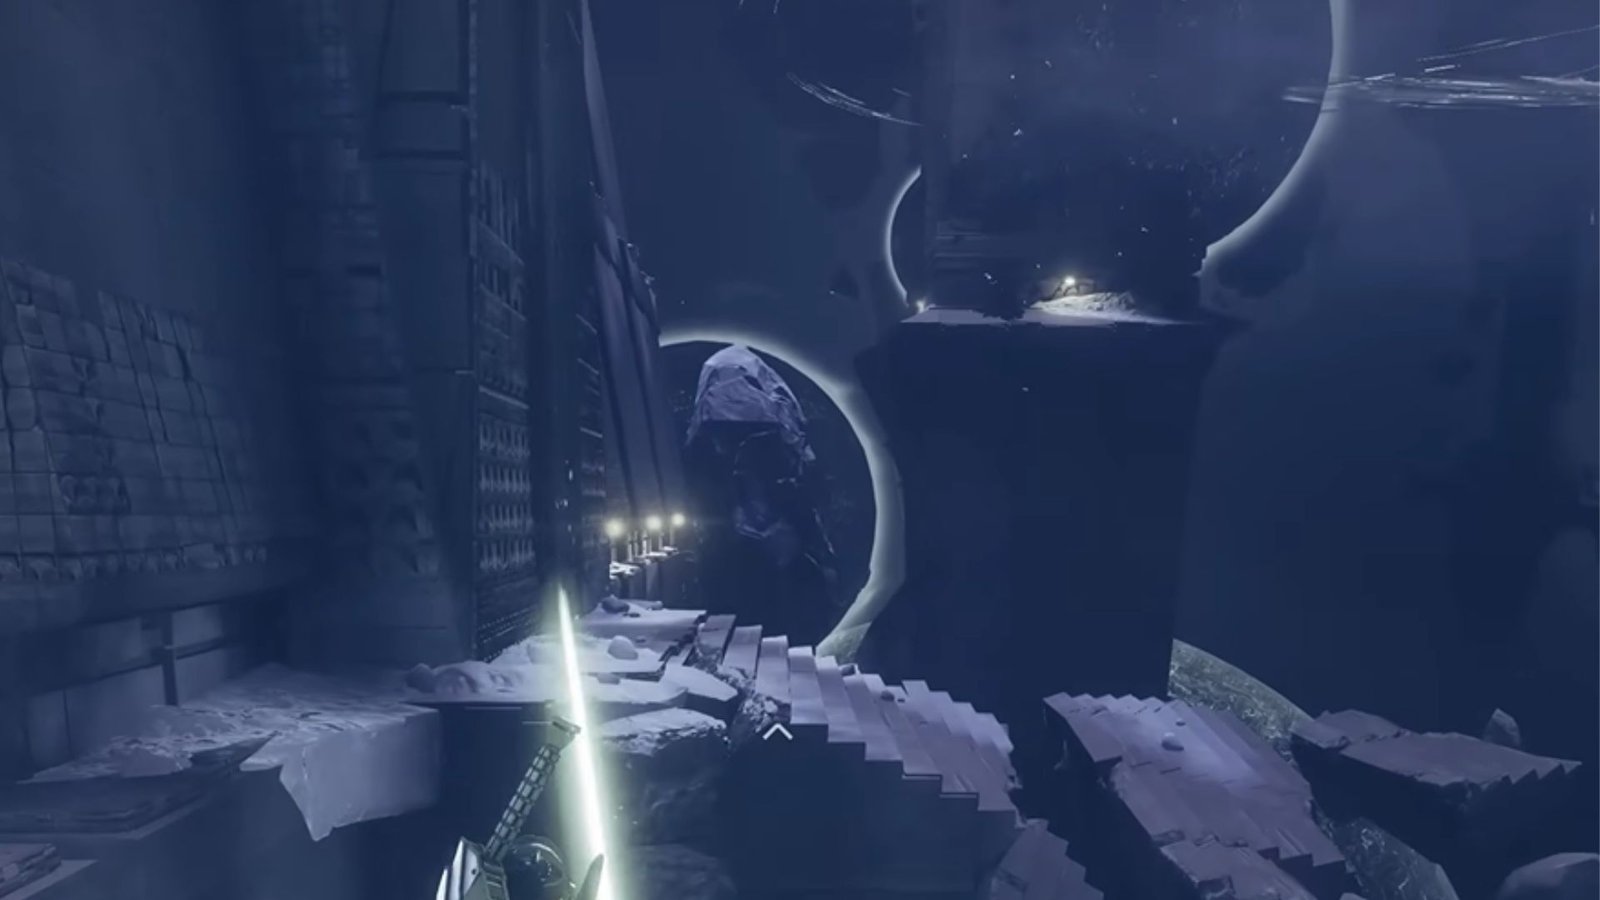
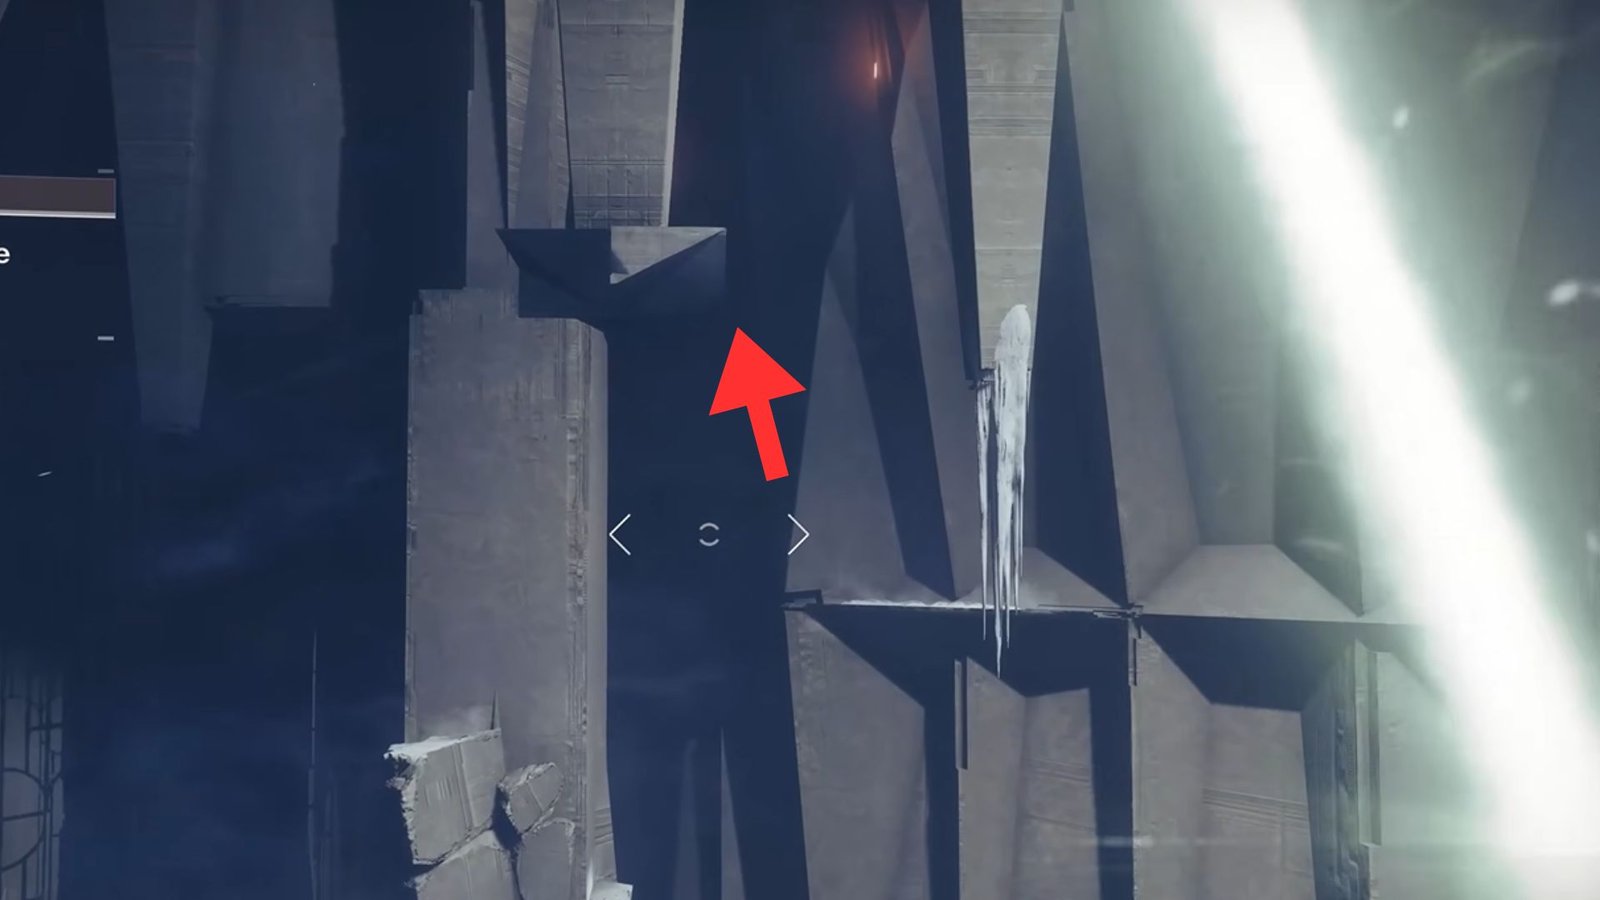
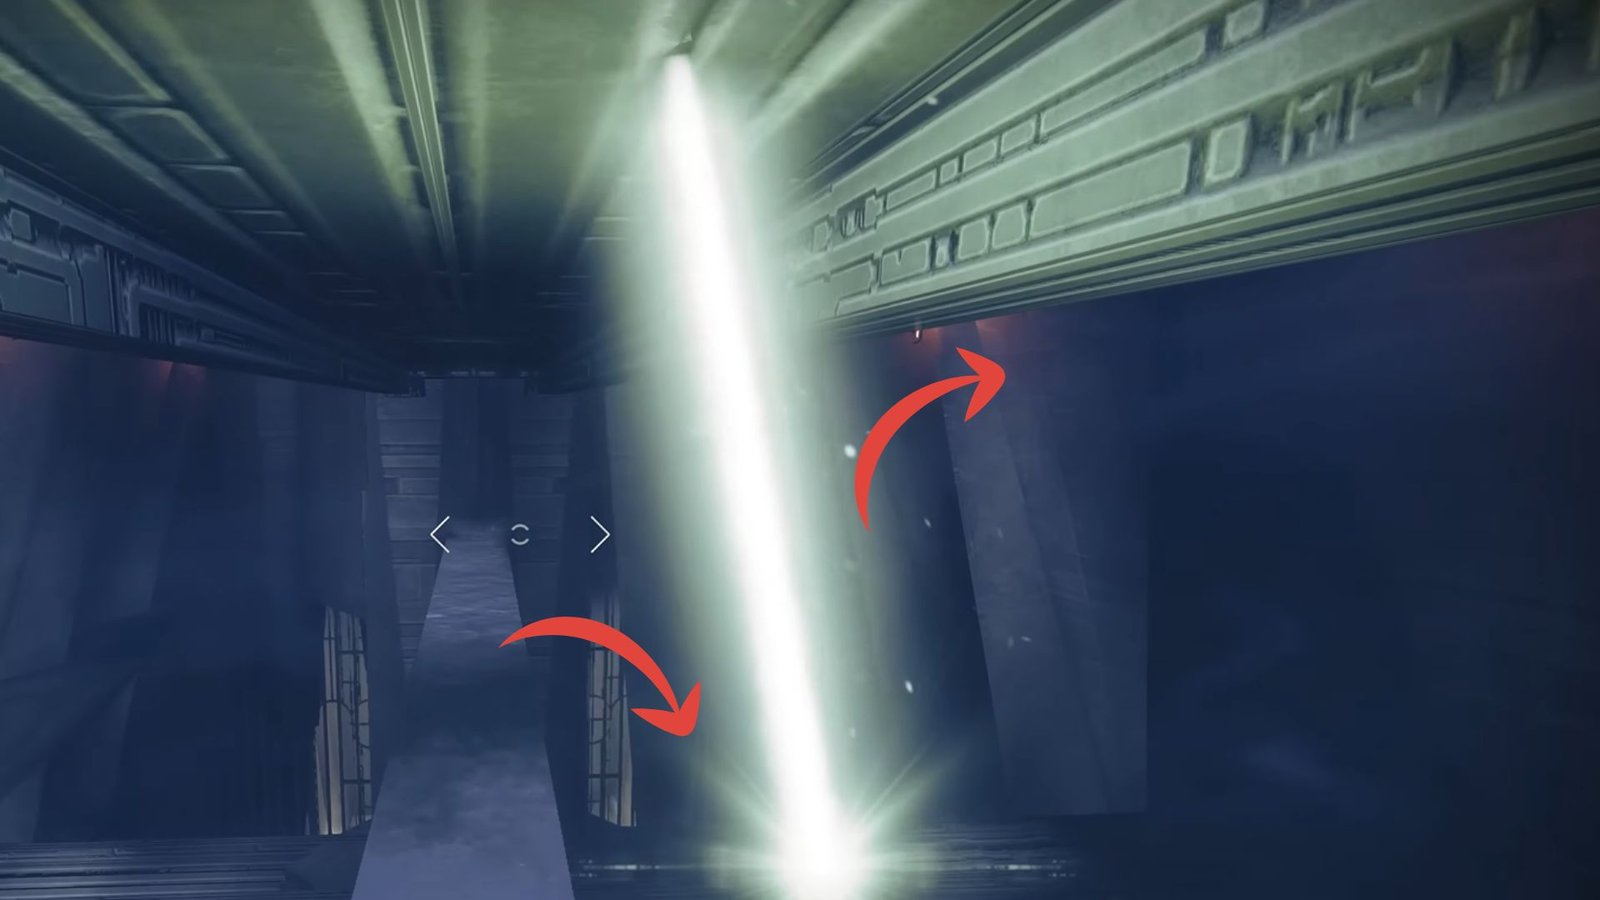
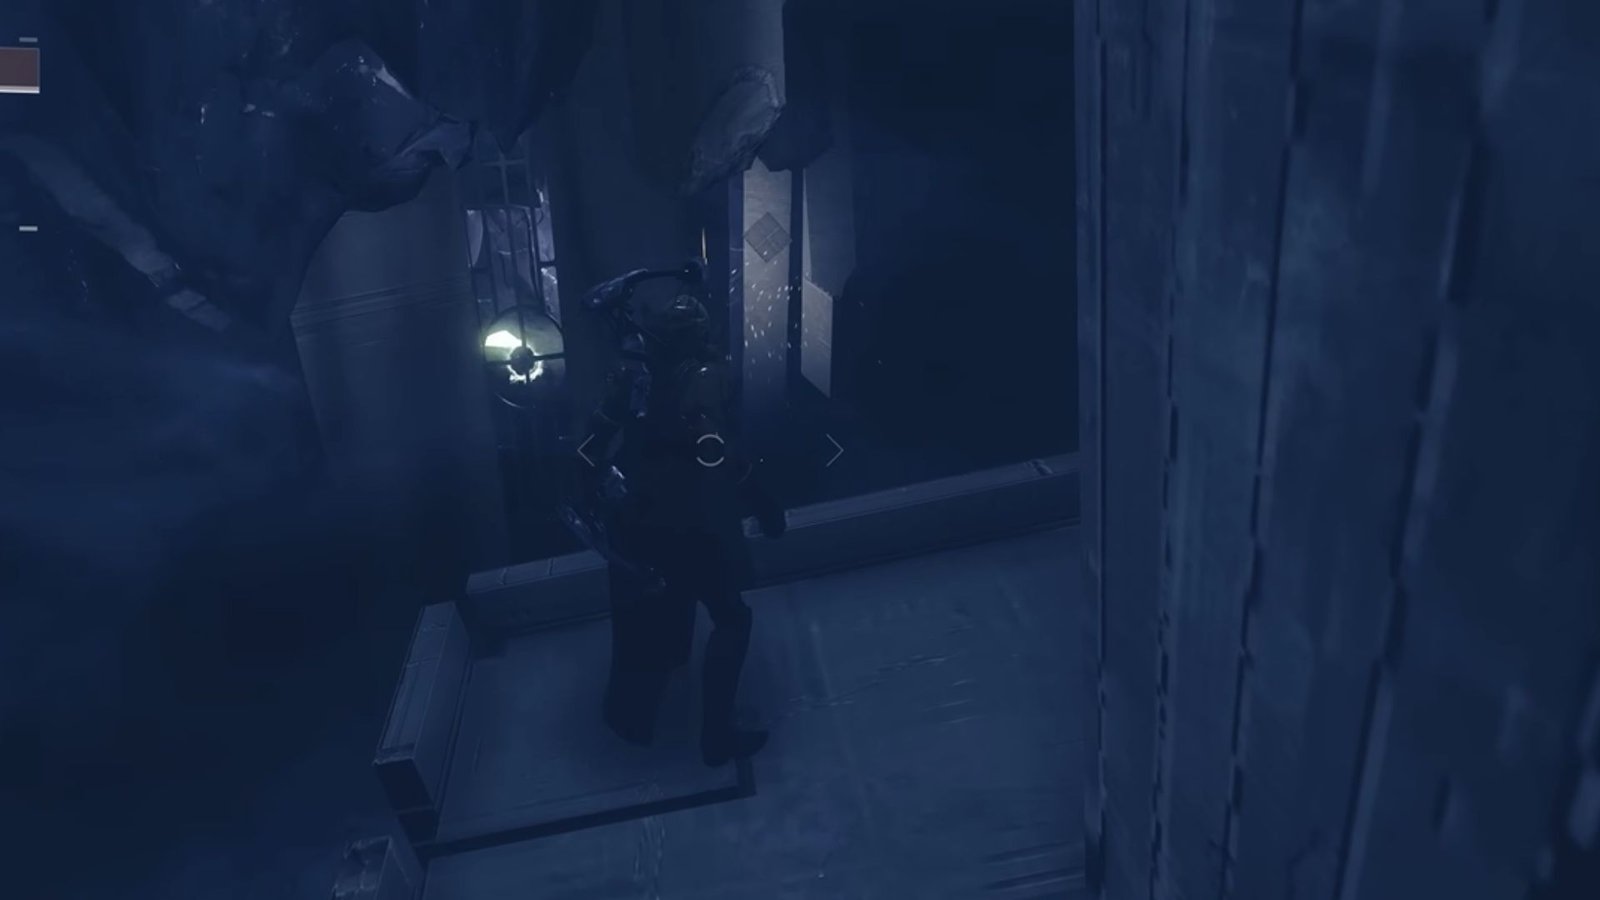
Make your way down from your previous location while keeping to your left. Cross the platforms until you spot an opening on your right.
You will face a wall with a runic symbol, and interact with it to unlock a secret passage. Go through the passage and jump up, then go through the crawlspace to get to the other side. Head right just after dropping down and follow the passage to find the second Oddity.
Oddity Location #3
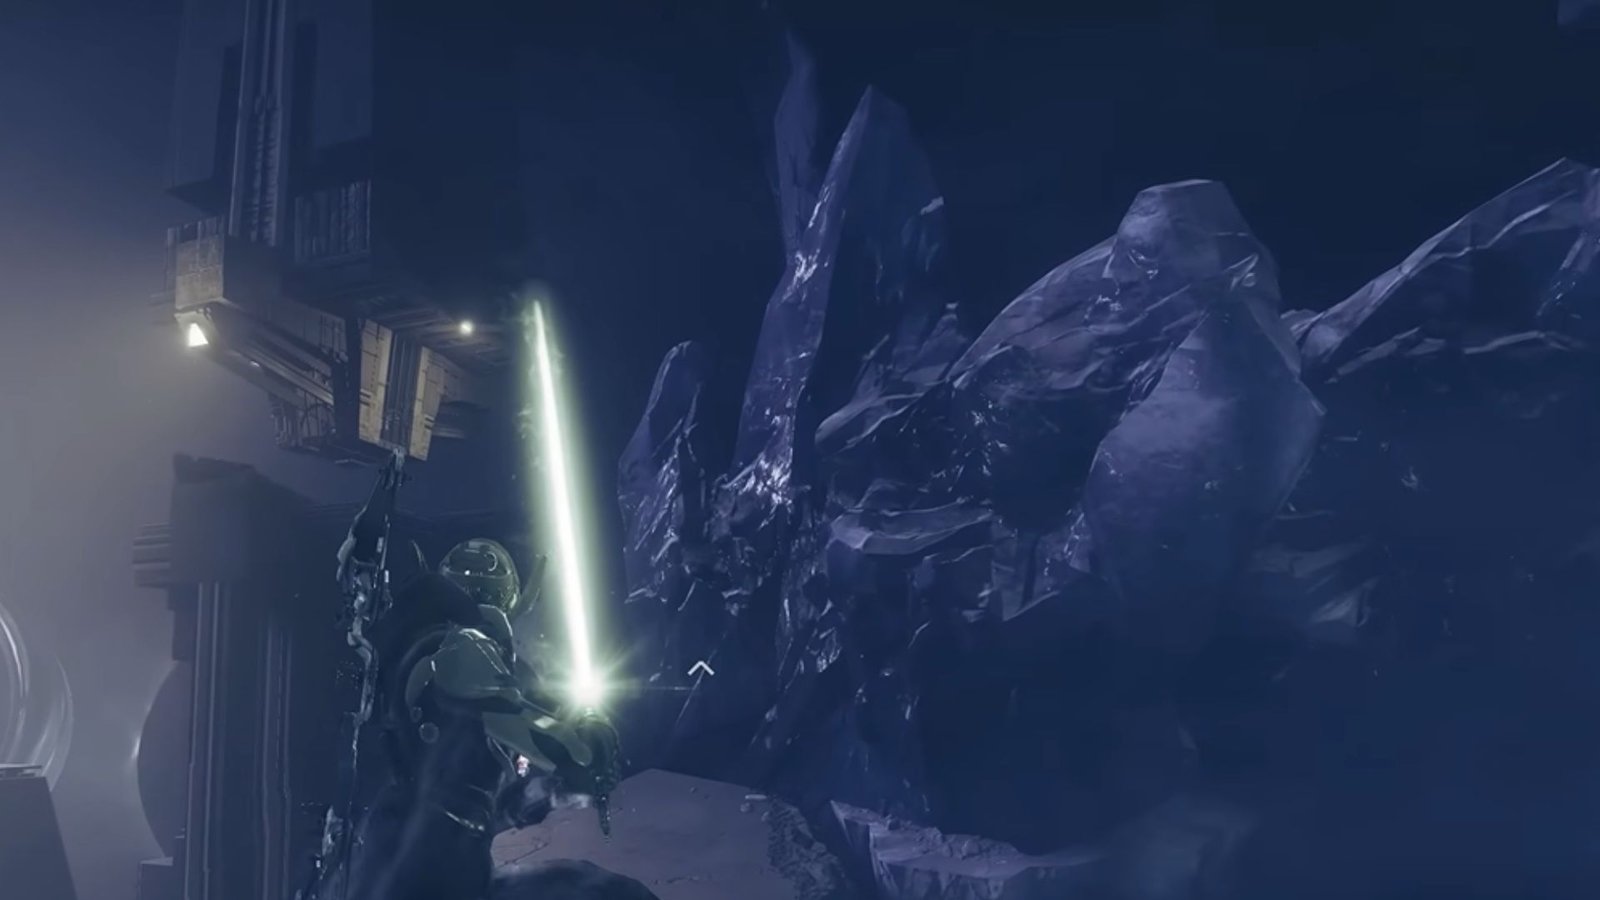
You will spot another wall with a runic symbol up ahead, interact with it, and then go right. Continue straight, take the next left, and follow the linear path until you reach a lit-up area.
Go past all that and stick to your left as you scale the building upwards. Eventually, you will find a hollowed-out section. Use the Praxic Blade to collect the third Oddity within.
Oddity Location #4
Turn around from your last location and retrace your steps a bit. While clinging to the building’s wall, you will spot a crevice inside the wall. Enter it and head up the stairs, then immediately take a right at the top.

After crossing the gap, turn around and climb the boulders. Right across is a gap you could squeeze through.
Once you get to the other side, go through the gap on the left and jump up on the ledge to your left. Turn around and walk across to the other side.
You will find a runic symbol on the floor of the new room. Go through it, then interact with the runic wall straight ahead to reveal the Oddity. Stand at the newly opened wall and toss your blade at the Oddity to obtain the fourth one.
Oddity Location #5
You will spot another runic wall on your right. Go through it and jump down, then head left. Continue forward till you reach the large flight of stairs. Jump up the boulders on your right and head up a bit more.
Turn around and jump across to the platforms ahead. Continue to find ways to get to the top, near the roof. Once you are there, turn around from the entrance and follow the red lights.
Go through the gap and stick to your left, then jump down on top of the gate below. Head right and jump up, continue forward a bit, then crouch down.
You will spot the runic wall above you, interact with it, and jump up. Toss your blade through the crack in the wall to get the fifth Oddity.
Oddity Location #6
Interact with the runic floor tile off at the corner of the room and drop down onto the column below. Go across and head into the opening on your right.
You need to go around the boulder on your left and get to the platform in front of it. Jump off the ledge in front of the boulder to find another platform right below.
On your right, you will find the 6th Oddity. For better accuracy, jump across and, while in mid-air, toss your blade at the Oddity to collect it.
Oddity Location #7

Continue upwards and stick to your right. Keep jumping across till you spot an entrance with a crystal. You need to jump above this and continue your ascent.
Once you reach the top, turn around and head left. You will spot a cage containing the last Oddity. Similar to the sixth Oddity, you need to jump up and toss the blade inside the cage to hit it. You will find an opening at the base of the cage, so walk around to find it and toss your blade inside.
After collecting all 7 Oddities, complete the mission and reach the Praxic Vault. Among the loot available, you will receive the Echoing Blade Catalyst.
This concludes the Destiny 2 guide, but don’t forget to check out our other guides on the game like How To Navigate the Cargo Highway, All New Festival of the Lost 2025 God Rolls, and Gunburn God Rolls & How to Get.