


I’m a sucker for all things Star Wars, so when I found out Destiny 2 was getting a DLC that’s heavily inspired by it, you know I had to jump on the hype train. If you aren’t aware, the Renegades DLC continues the Fate Saga and introduces a new threat, the Barant Imperium, with a new mystery figure at the helm, called Dredgen Bael.
In the Imperium mission, you’re supposed to navigate the Cargo Highway using well-thought-out platforming. As someone who’s completed DOOM Eternal on Ultra-Violence difficulty thrice, it shouldn’t have taken me that long, but it did.
If you’re a player who’s also struggling to navigate this area, then you’ve come to the right place. I’ve explained in detail how you can cross the Red Barriers in the Cargo Highway, so you can easily progress through the Imperium in Destiny 2: Renegades.
Cargo Highway Red Barrier Opening #1
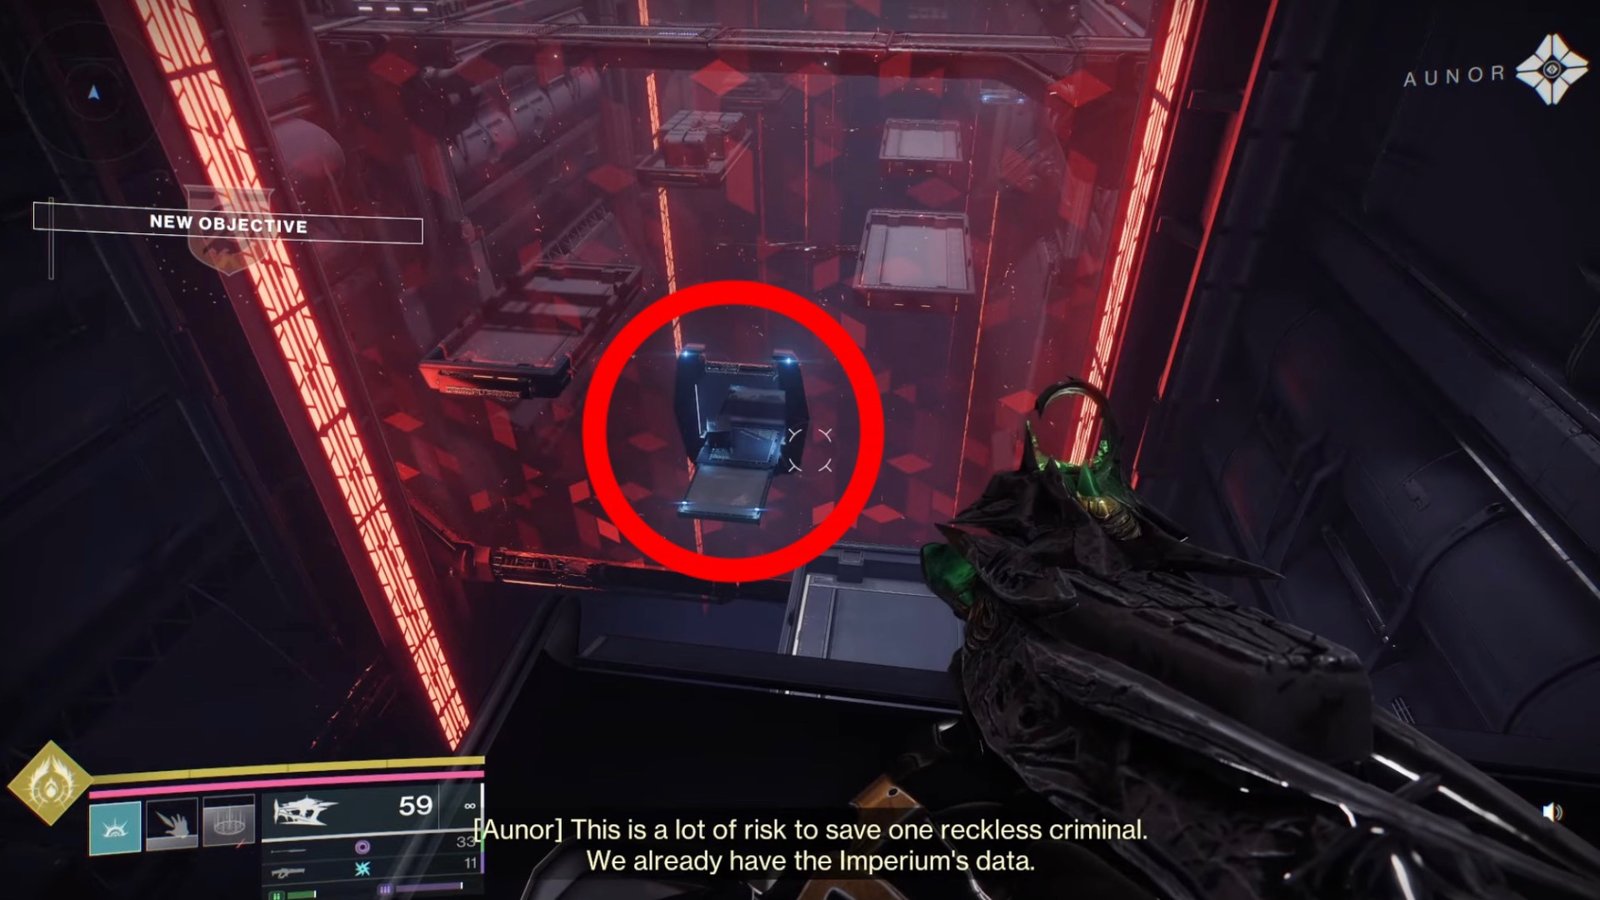
After you rescue Drifter and navigate the maintenance tunnel, you’ll eventually come to the Cargo Highway during Destiny 2: Renegades’ Imperium mission. Now, the process is straightforward: use the openings in the Red Barriers to navigate to the next area.
The first opening on the Red Barrier is located at the lower part of the middle section, as showcased in the image above, so I reckon you won’t have trouble with it. Use the platforms to move around the area and jump ahead to reach the opening.
Cargo Highway Red Barrier Opening #2
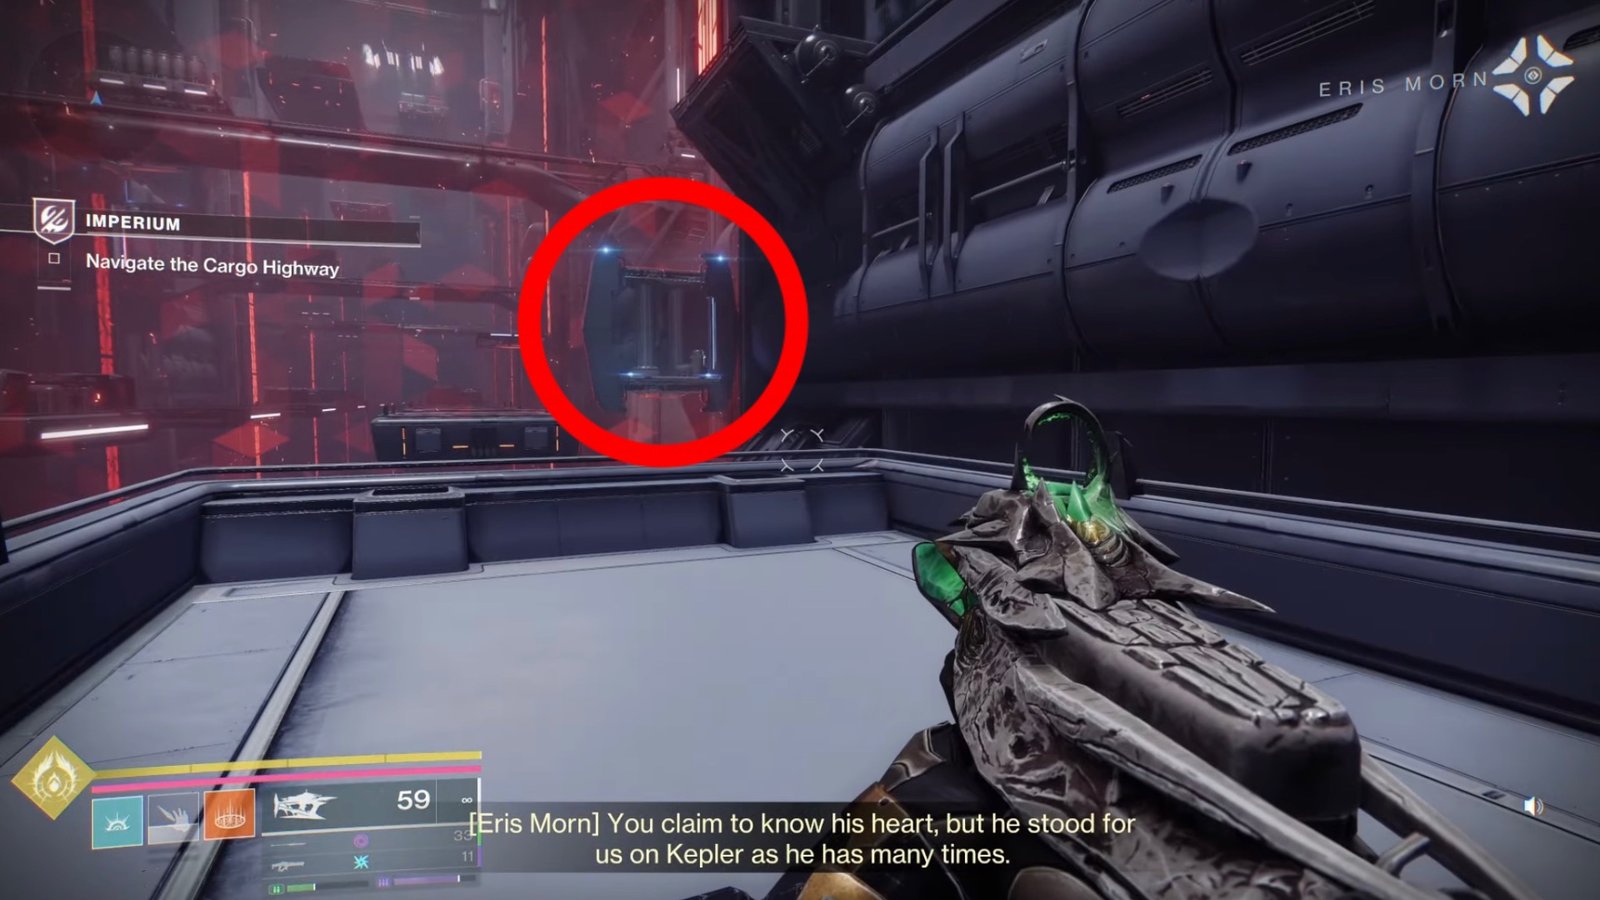
For the second Red Barrier, the opening should be located to your right. Again, use the moving platforms to your advantage to reach the opening. The openings on the Red Barriers are stationary, so you can stand there and carefully strategize your next move.
Cargo Highway Red Barrier Opening #3
Finding the next opening in the Cargo Highway is a bit tricky, since there’s no way through the Red Barrier. You need to improvise, and that’s what I’m here to help you with. This is the part where I was stuck for an unhealthy amount of time, until I realized I wasn’t looking at the right place.
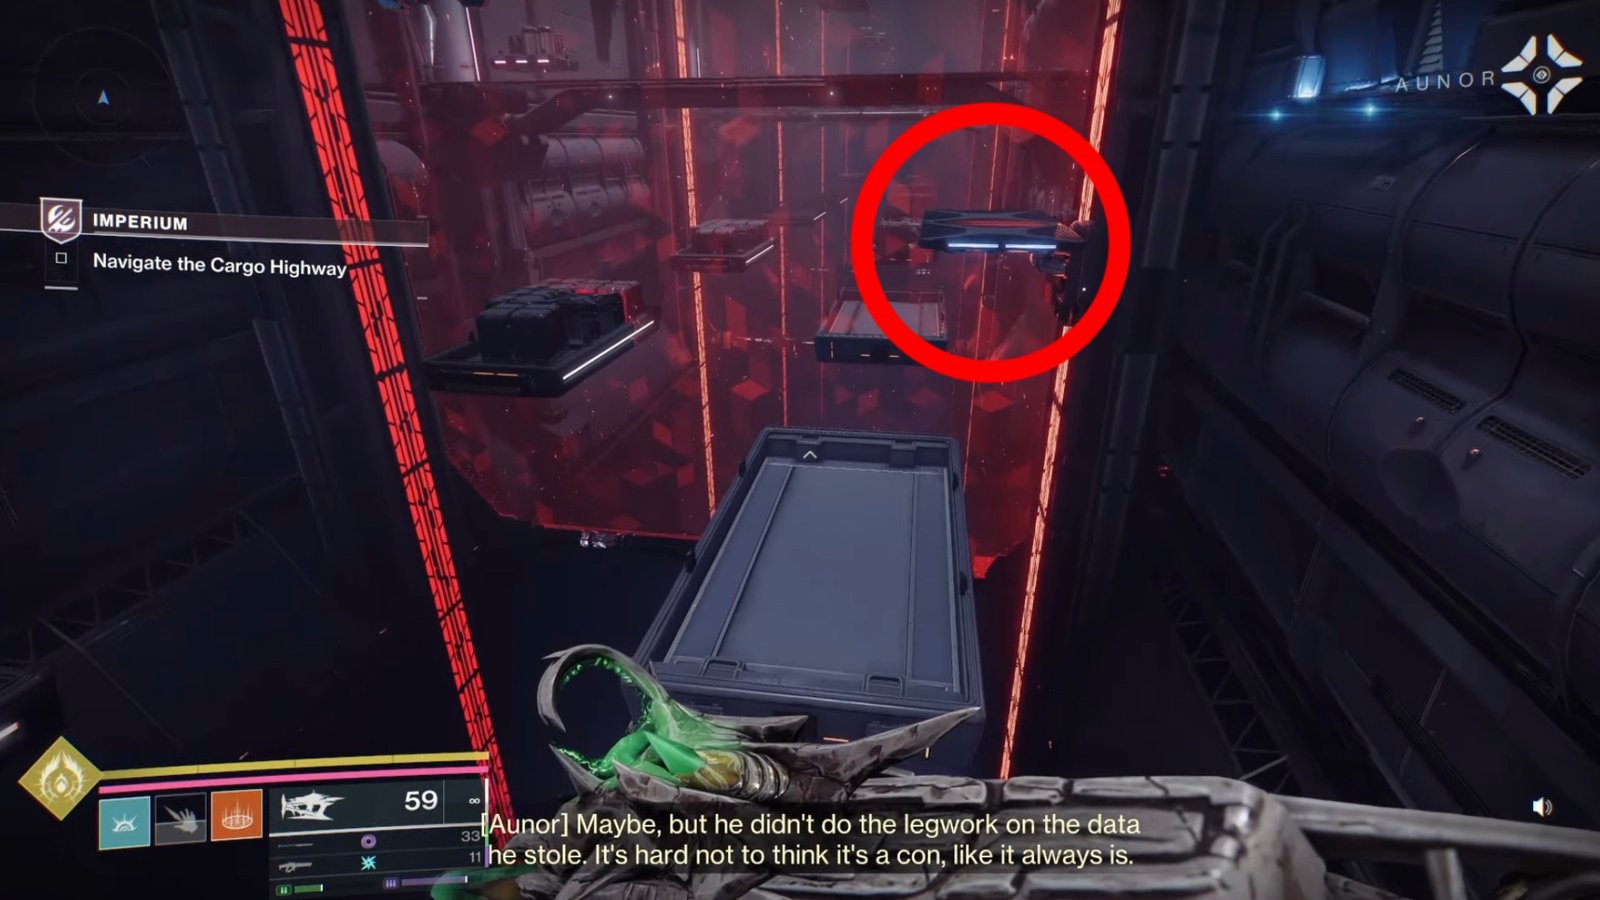
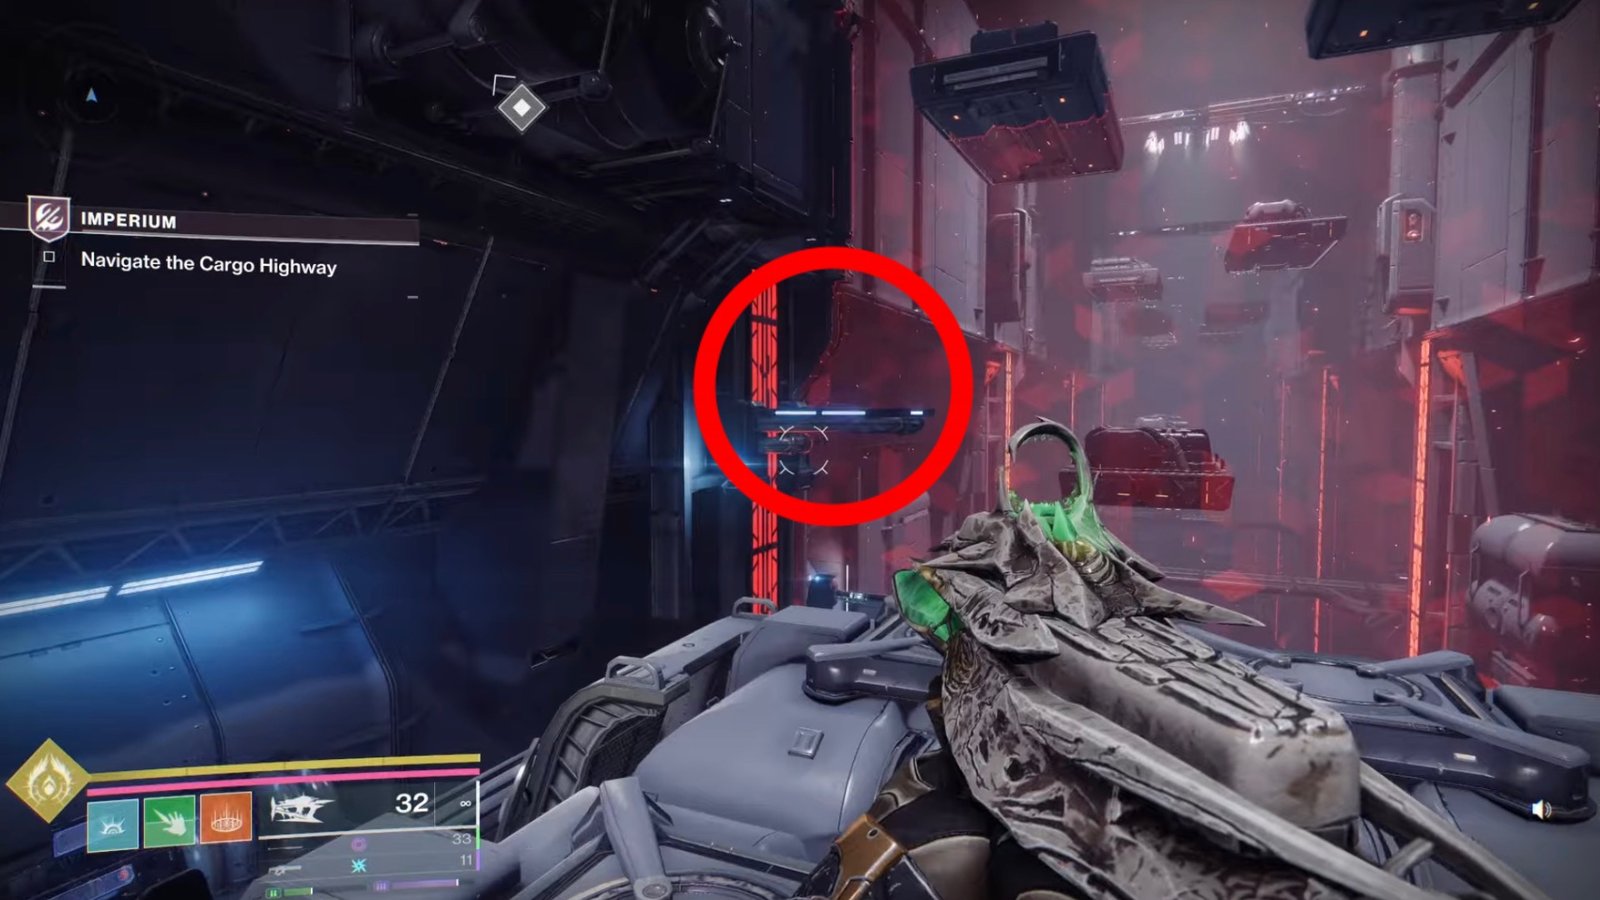
From the second opening, use the platforms to get to the platform at the top right, as shown in the image above. This platform is easily identified thanks to the Star Wars-inspired Imperial Base red decor on the right.

This platform is stationary, so do not panic. Instead, turn back and find the vent located to your left. That’s where you need to head. Break the vent, and head inside to bypass the third Red Barrier in Destiny 2.
Using the Console to Activate the Lift for the Next Area
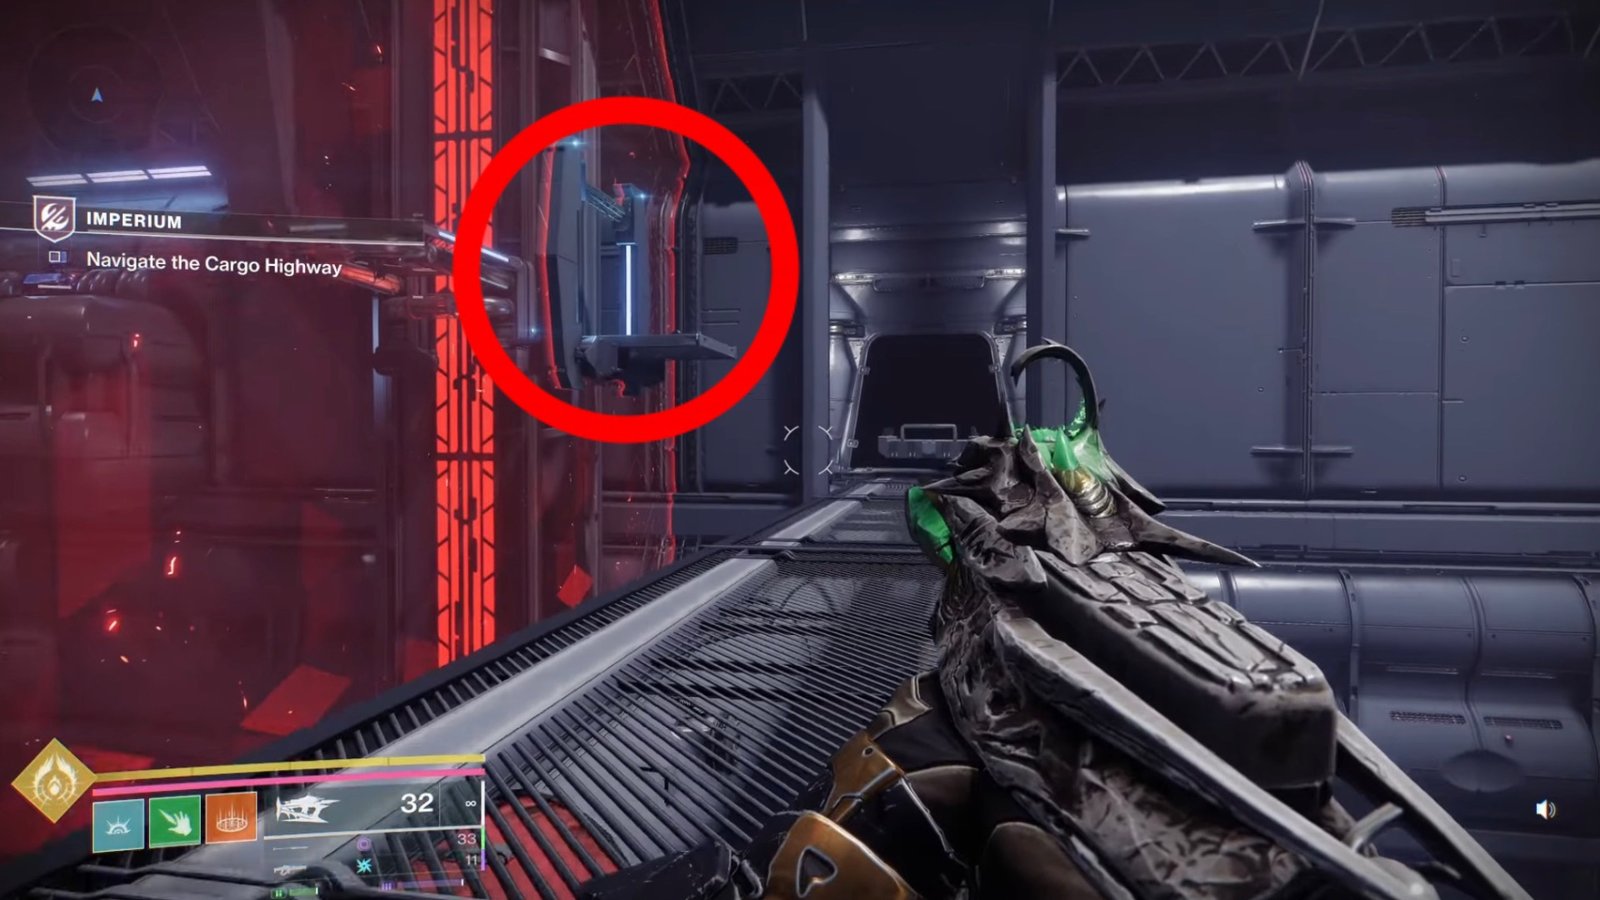
You’re almost done with this Cargo Highway in this Destiny 2 expansion. Once you’re out of the vent, look for a platform to your left. Use the platform to reach the opening farther to the left on the Red Barrier, as showcased in the image above.
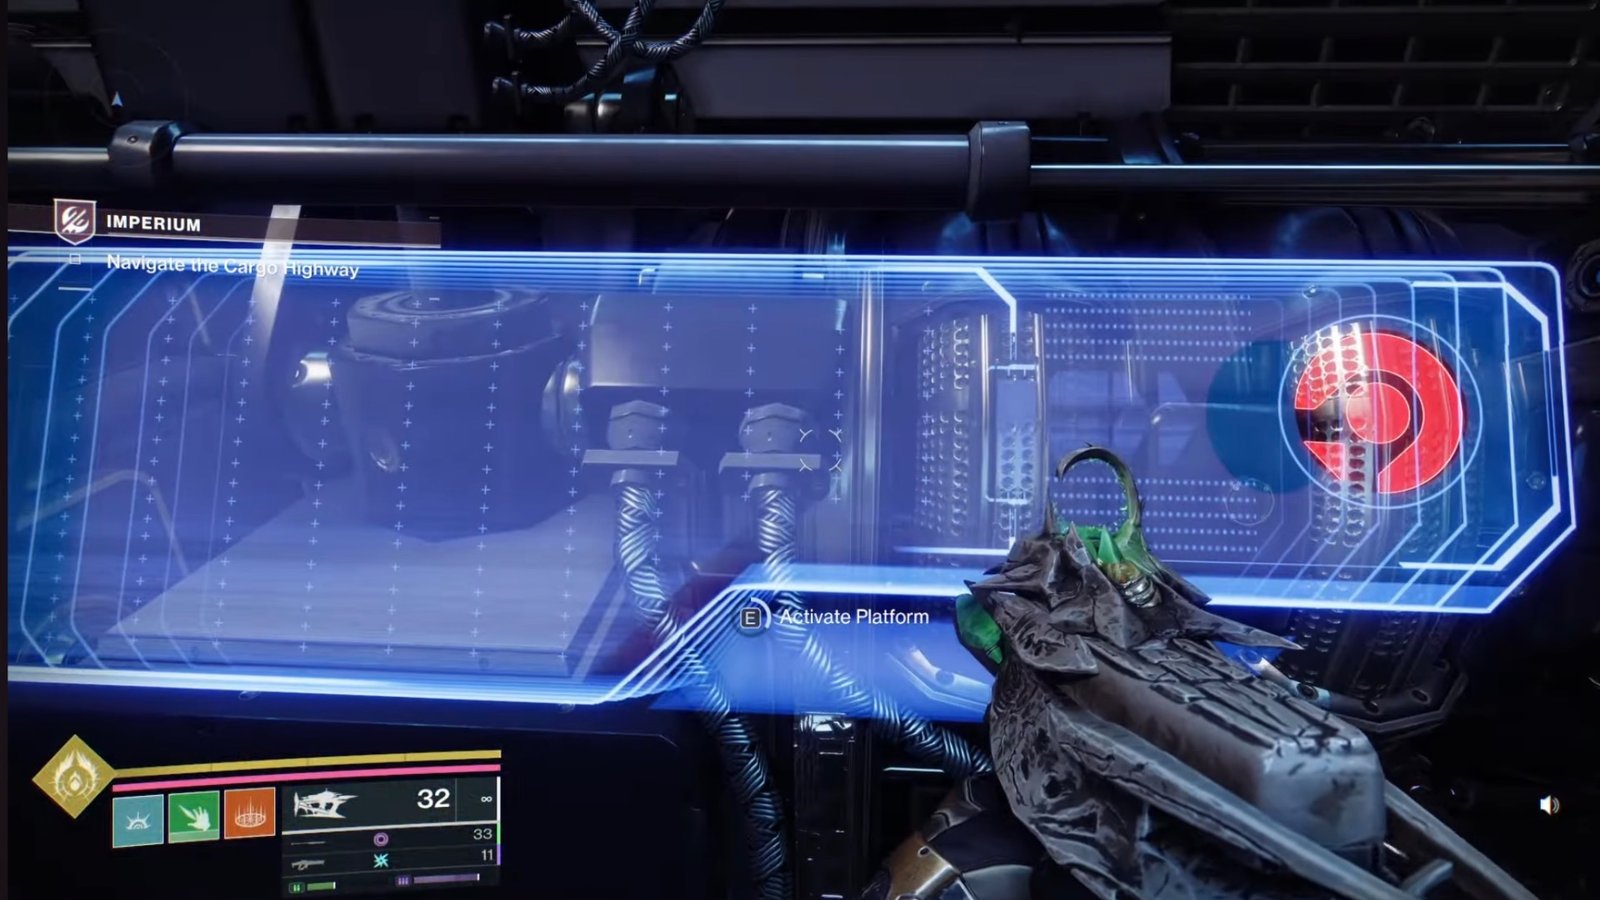
Through there, you’ll find the console to activate the lift directly ahead of you. After you use it, the game will instruct you to head to the platform at the top. Now, it’s all about timing your jumps and using the moving platforms to climb.
Use the platforms with the cargo to locate a lift on the left of the room, next to the opening you came from, near the Red Barrier. This lift will be marked by the same Star Wars-inspired Imperial Base red decor, as shown in the Destiny 2 image above.
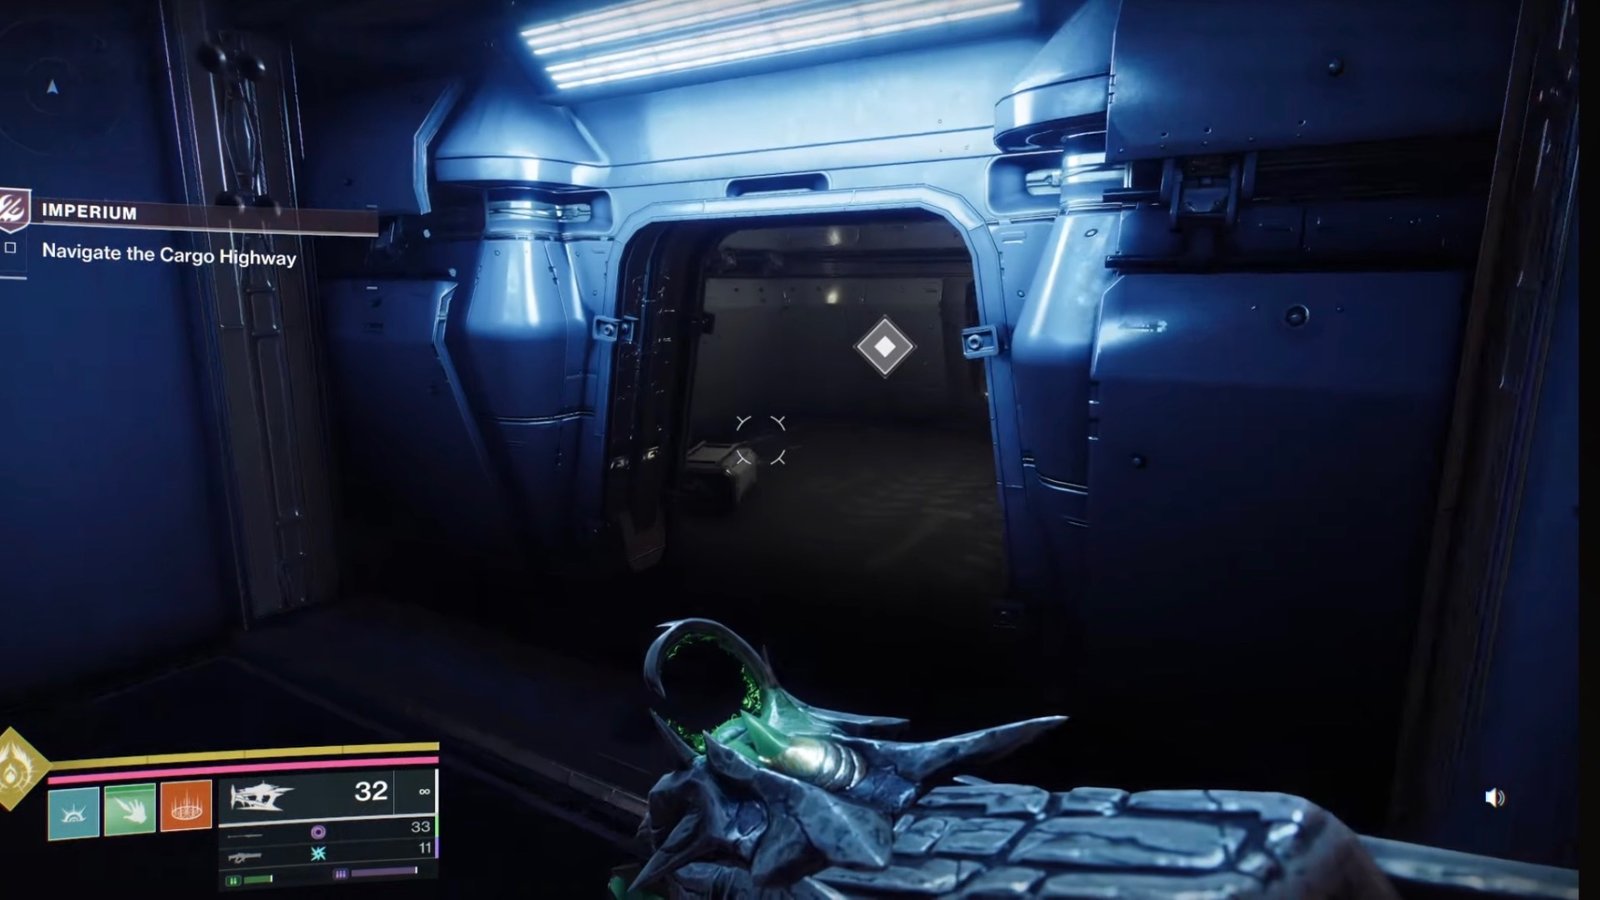
Stand on the lift, and wait for it to reach the top. Once it does, jump onto the platforms ahead and make your way to the next area, the Garbage Disposal. Open the door in the room to complete the objective and navigate the Cargo Highway flawlessly.
With that out of the way, why not take a trip down memory lane and check out our comprehensive guides on All New Festival of the Lost 2025 God Rolls and Gunburn God Rolls & How to Get in Destiny 2?