


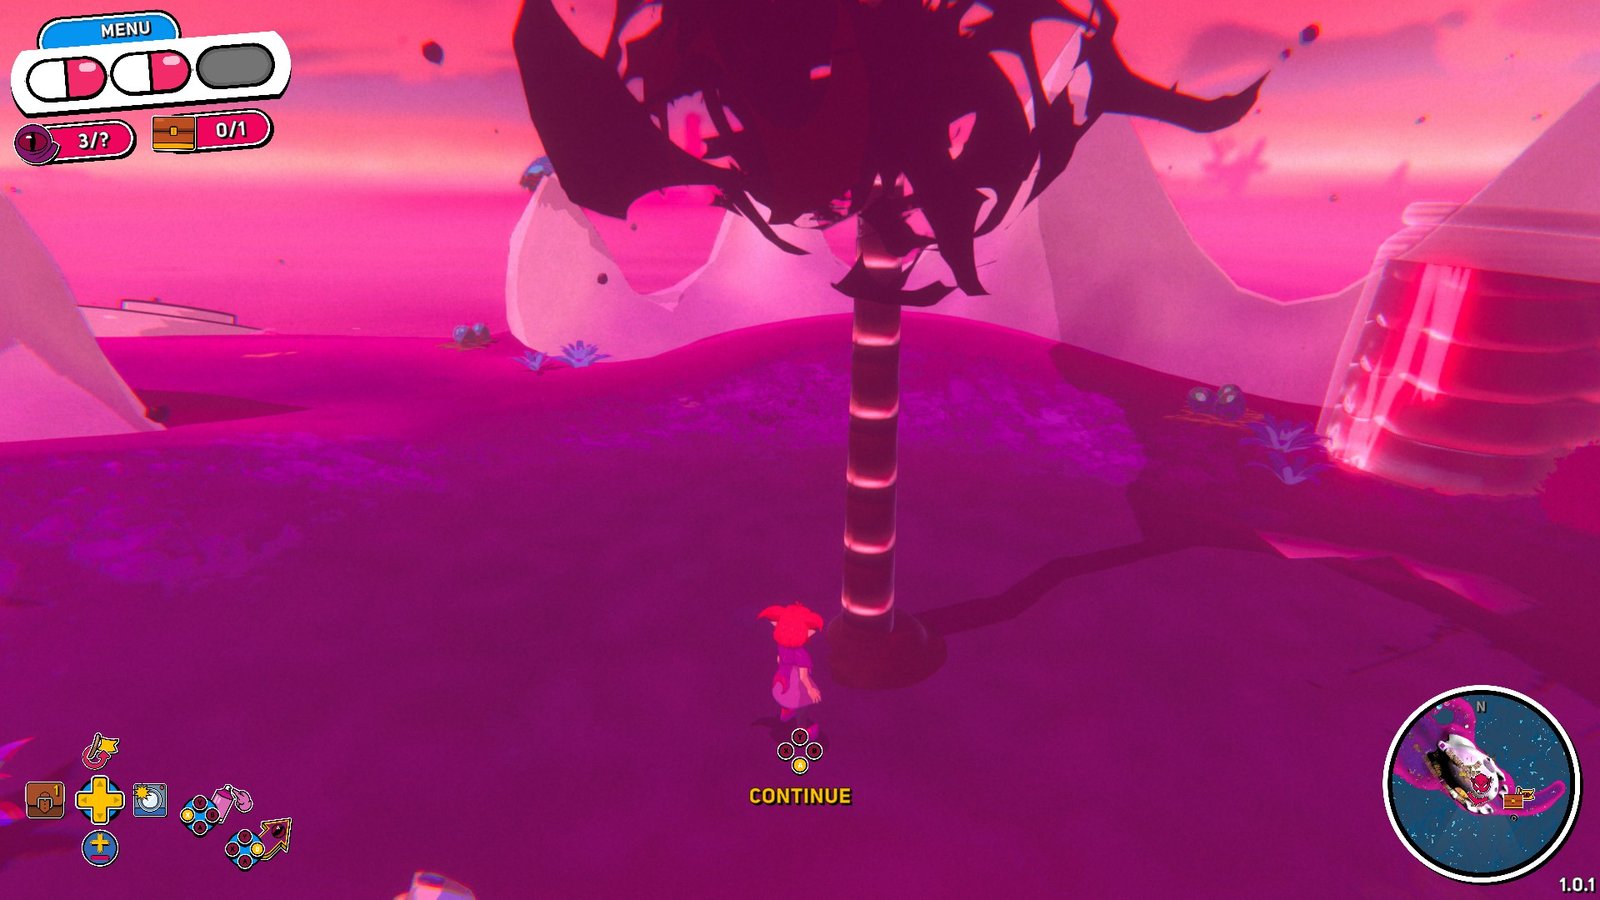
As you progress through Lokitana in Demon Tides, your quest to fight off Ragnar’s squad becomes a bit clearer, as you no doubt come across several of the Jester’s islands. The Jester’s Leviathan is the last of the three Jesters’ islands, and if you have finished all the others, it’s where you fight him.
It’s very large, very disconnected, and can be incredibly disorienting to navigate on a first playthrough. It’s one of the few places to contain a chest with multiple locks, and you need to break both of those locks if you want to take on your Jestie.
I’ll be covering how to break the locks, grab every chest, gear, and quest, and kill the Jester, but grabbing the Eyetems is up to you and your favorite button.
Lock #1
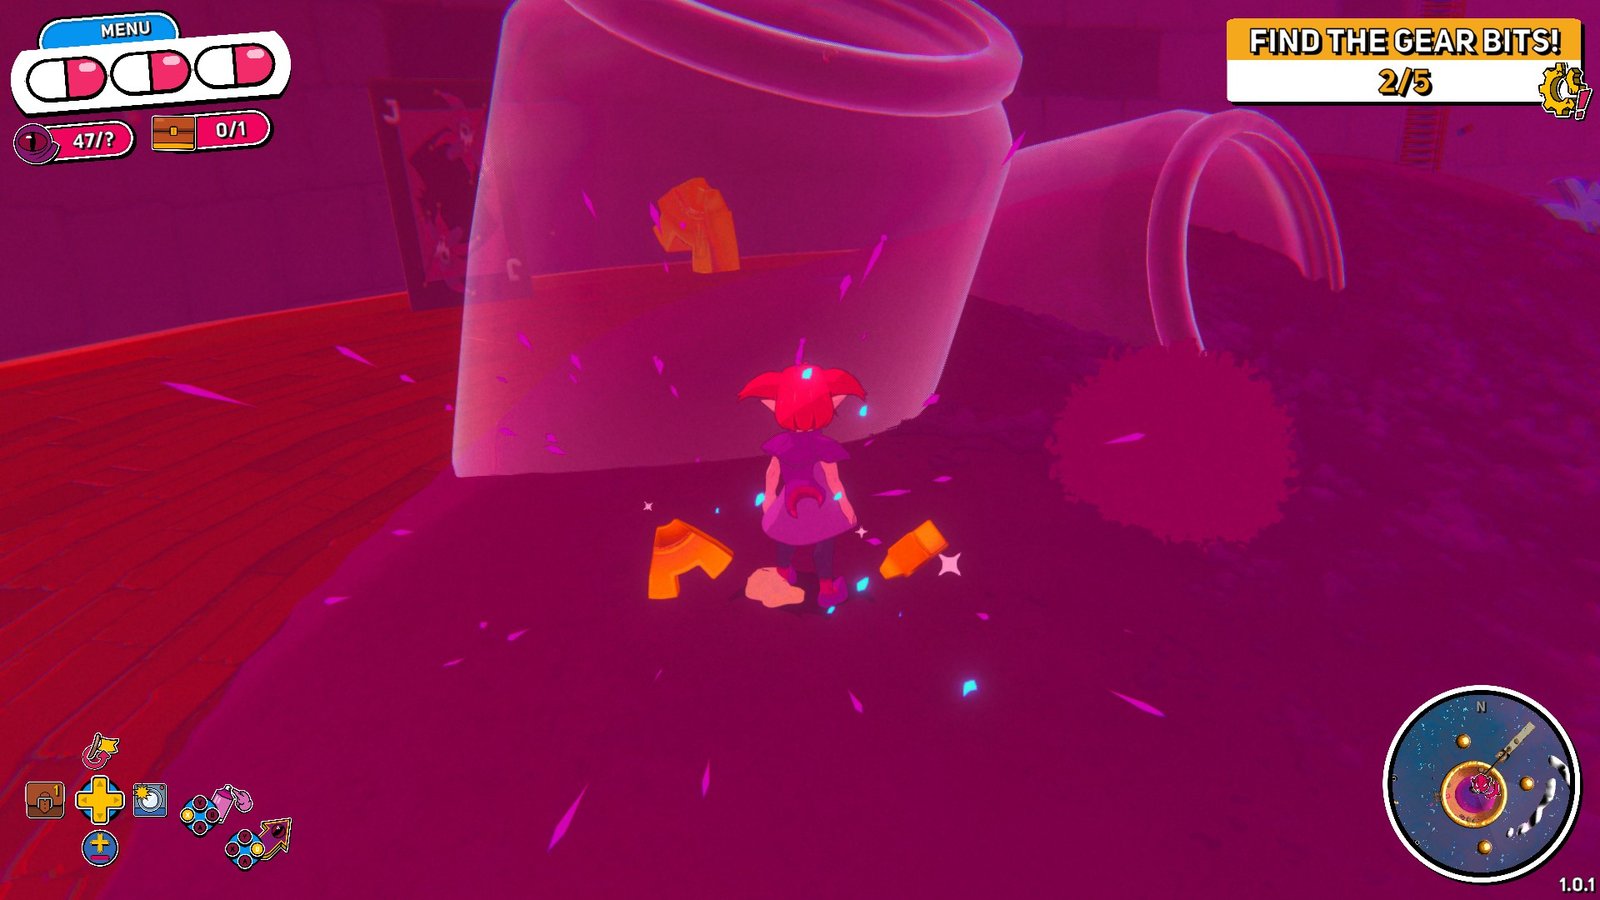
Starting from the automatic default checkpoint, the first lock is fairly easy to break. Head over to the left, inside the giant skeleton ribcage, and grab a bomb from the jack-in-the-box. Toss this bomb at the egg in the center of these bones, and get that lock broken.
Gear Piece #1
Head to the south side of the giant skeleton’s skull, then wall run up the wooden platforms, grabbing onto the grating walls. Make sure to dash up these walls, then jump, as it will give you enough height to get to each new platform.
Get on the wooden platform, dash under the spike bar, dash into the crystal, and make your way past the chest mimic unscathed. Up the disappearing platforms, you’ll find the Gear Piece just sitting there, alongside a route to the next major part of Jester’s Leviathan.
Gear Piece #2
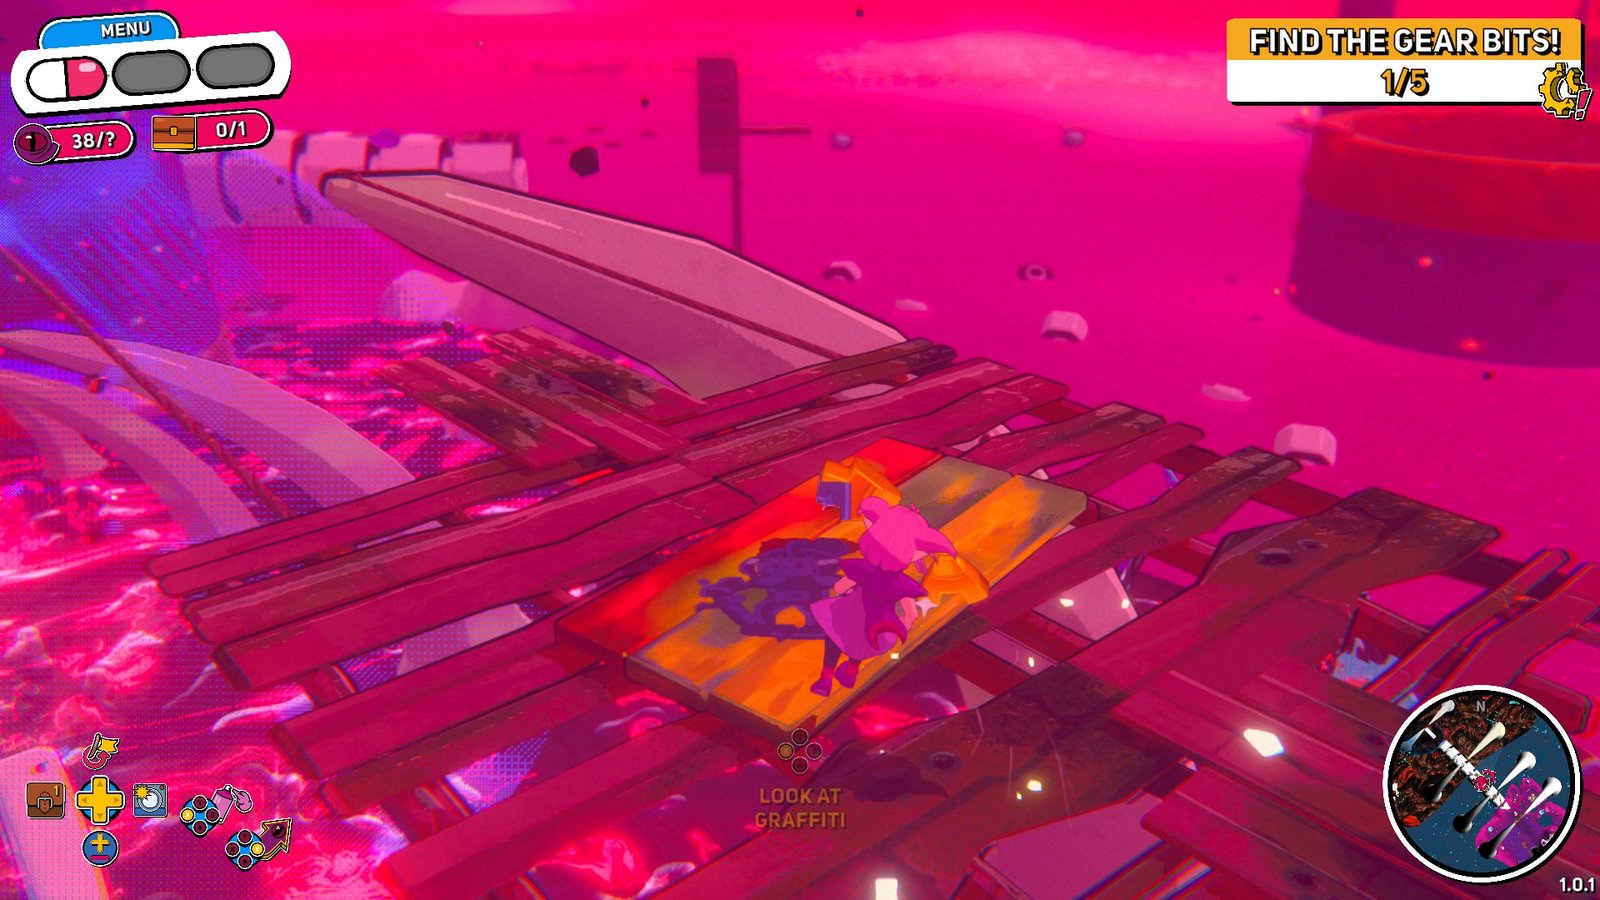
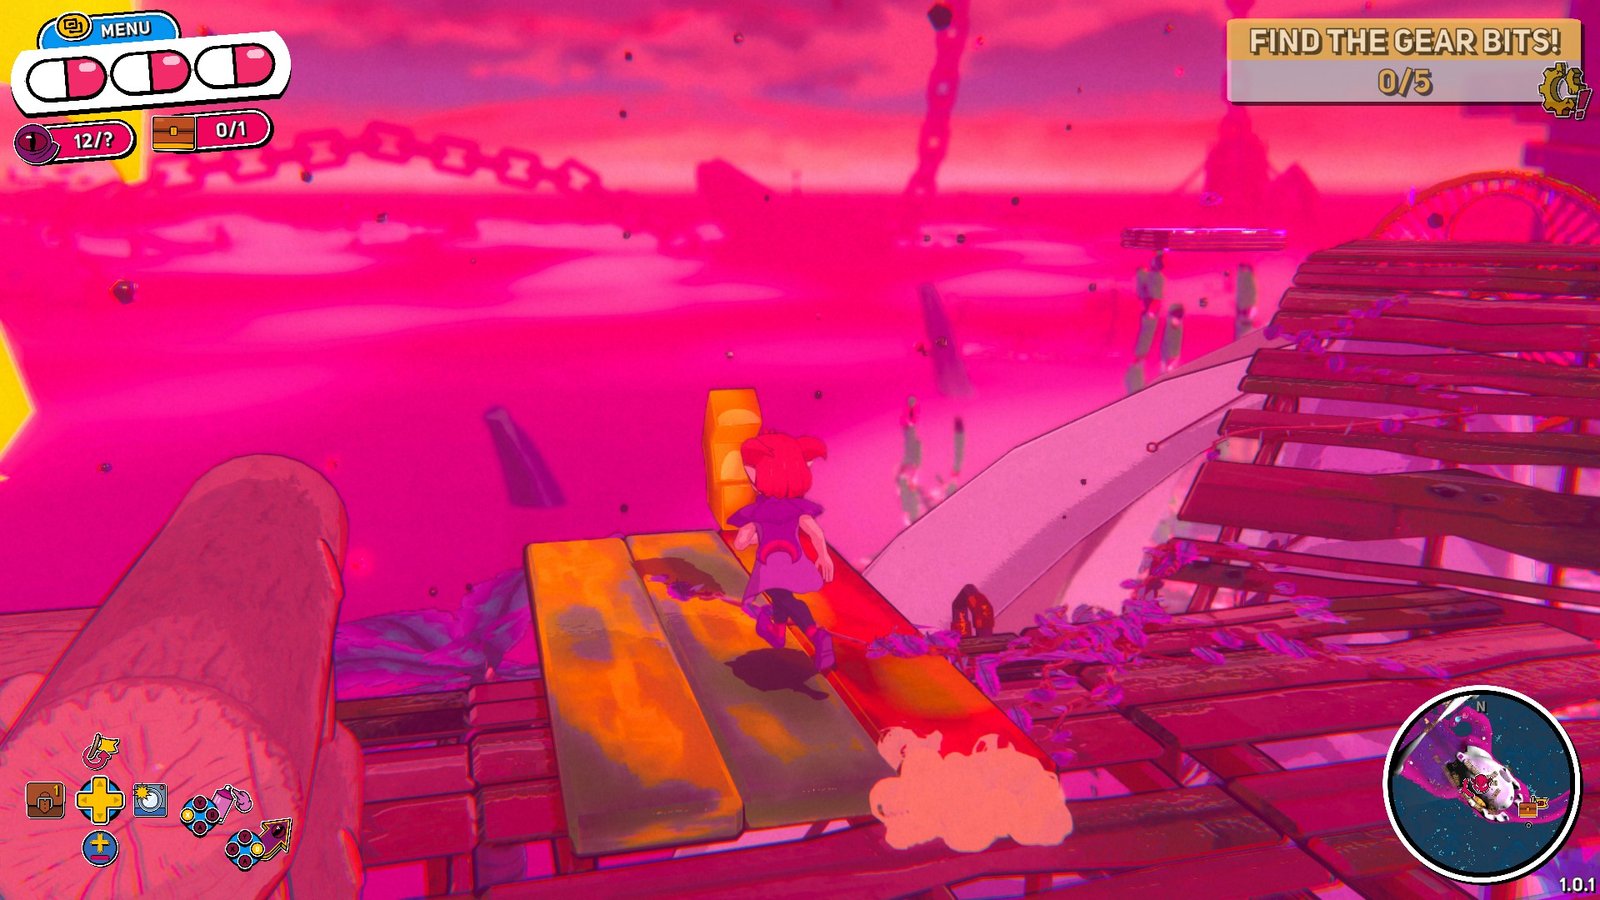
Ride the missile from the previous piece, and time it well so you can slip through the hole in the laser grid. Dash jump across, and you should be able to land on the wooden platform above the large spine. From here, you can grab a couple Eyetems before landing on the spine.
Lock #2
While the first lock for the singular chest in Jester’s Leviathan is rather simple, Lock Tuah is a bit more of a struggle. First, you need to land back on the spine and make sure not to fall into the divots in between each rung, as they love slipping you off to your death.
Run across the rolling wheels in low gravity, and be careful not to fall into the goop as you land on the next part of the skeleton. Jump up the spine, and make sure to take the flag with the rope, so you can get back up here later, as there is a split path here.
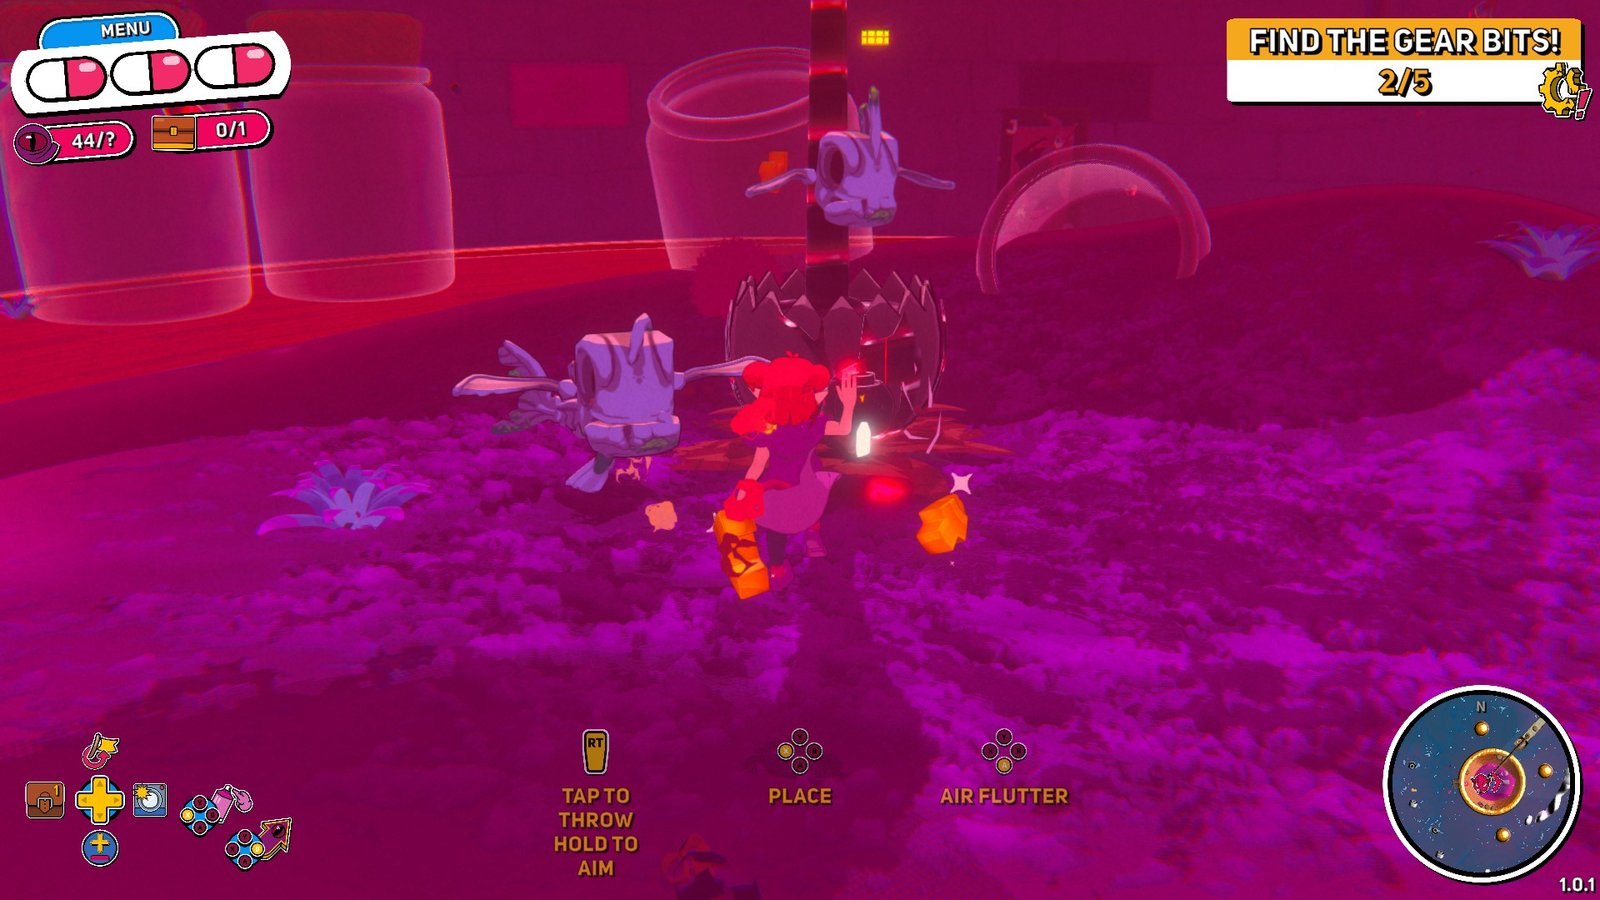
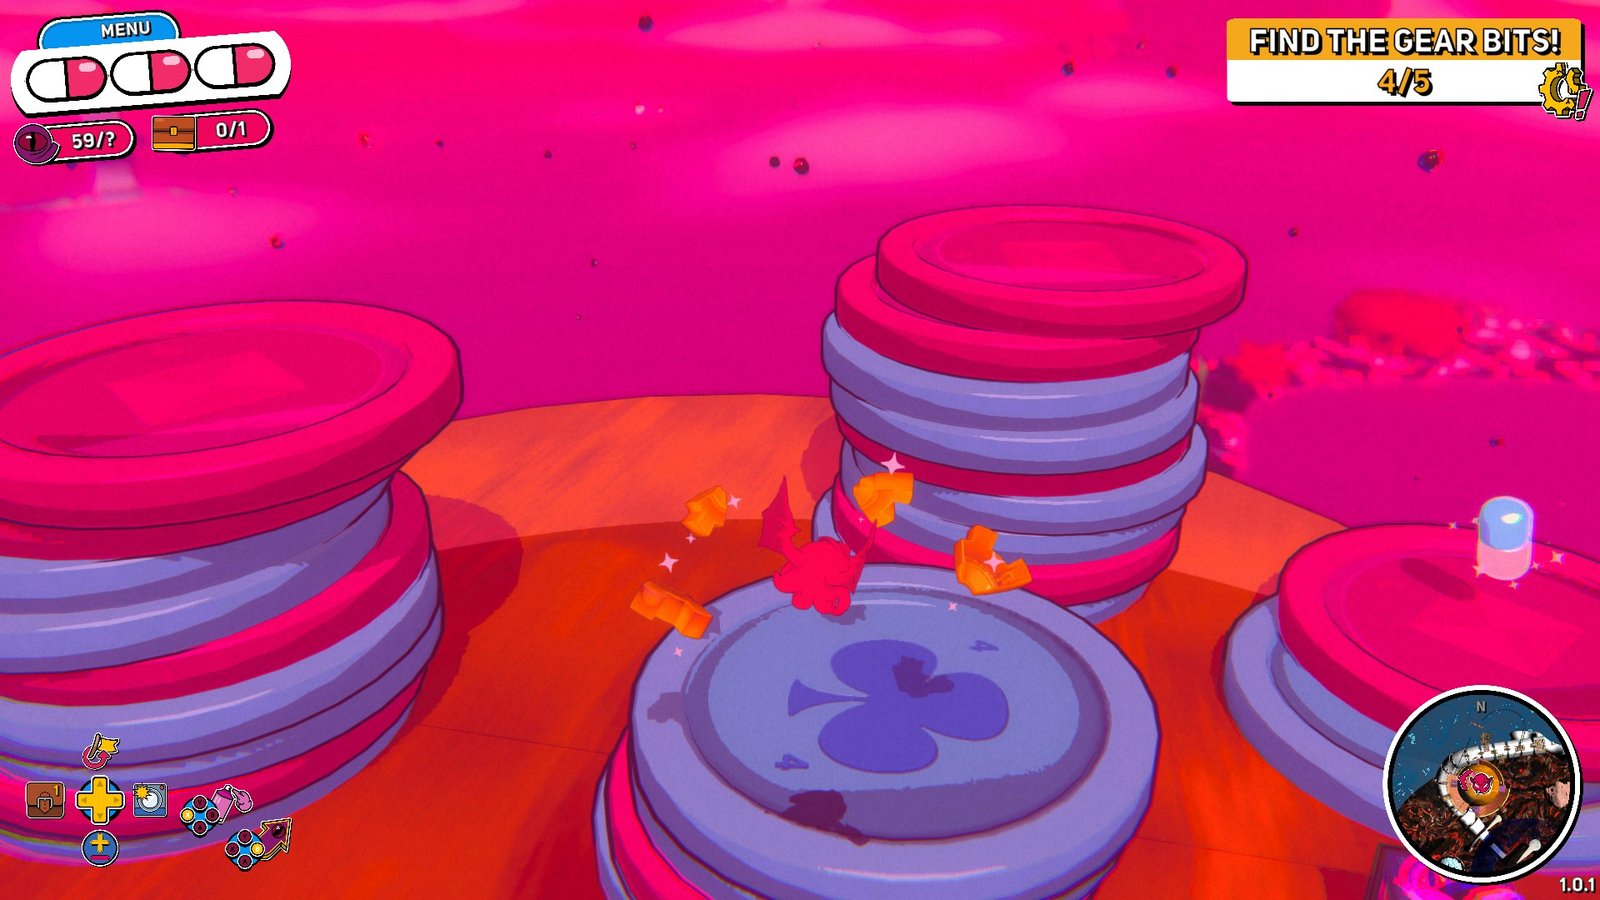
Go forward first, and either carry a bomb to throw at the wall in front of you, or use Spincopter to completely negate the challenge. Ride the missiles over to the giant bowl, and make sure to activate the rope on the platform they lead you to.
Fall into the giant cup, grab a bomb from the Jack-in-the-Box, and throw it at the egg in the center to break the second and final lock, and break the Jester’s Leviathan. Backtracking to the chest from here can take quite a while, so simply save it for later.
Gear Piece #3
Inside the big bowl where you broke the second lock, there is an empty jar containing another gear piece on the inner ring of grass. Jump inside, grab the gear, then either warp back or make your way out to get back to the crossroads, where you don’t turn left, because that doesn’t lead anywhere.
Gear Piece #4
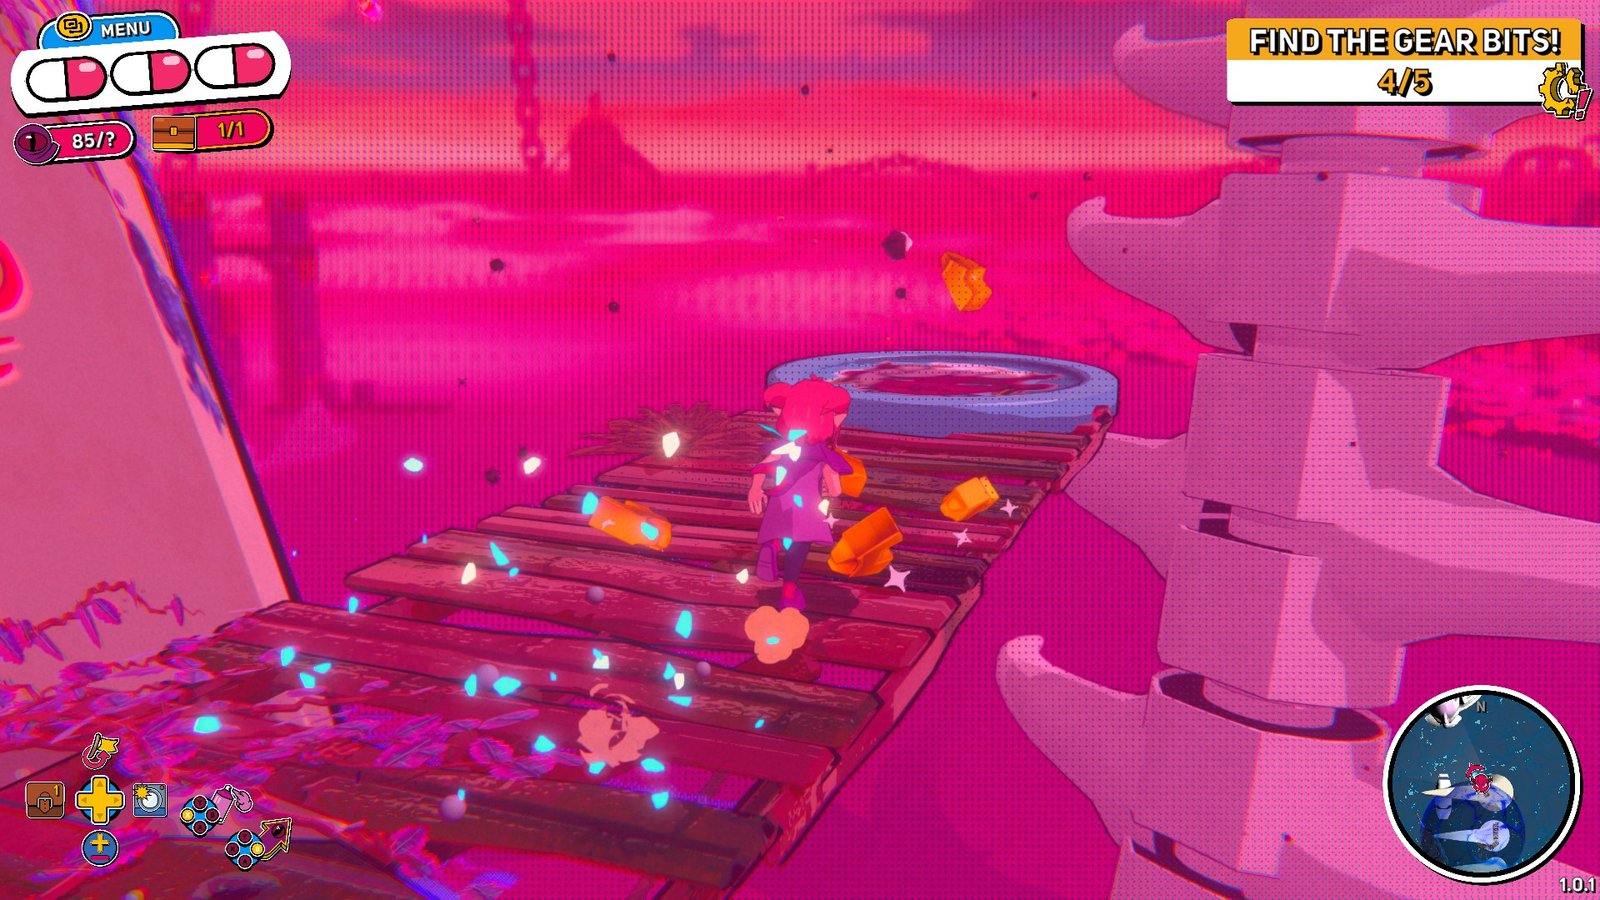
Back at the platform with the red flag, take the rail leading up, then grab a bomb and throw it at the breakable wall. The game wants you to take a bomb up the next rail and throw it at the next wall with good timing, but it’s genuinely way easier to just jump around it.
Either grab bombs, go onto the spinning platforms, and throw them at the walls twice over, or just take the Spincopter Talisman to jump over the walls, which is a solid strategy for most of Jester’s Leviathan. Either way, grab onto the ladder and head up.
Run up the spiral, hit the spring, and grab the fourth gear piece atop the tower. From here, you need to get all the way back to where we started to grab the chest, so either dive off the tower and try not to hit the goop, or return to the checkpoint if you never made another one.
Gear Piece #5
Before we go fight our Jestie, we need to take care of Jester’s Leviathan’s final real challenge. Go over to the easternmost part of the area, with the big blue circle on the map. Fight the pirates on the ship, then climb up the ladder to get on top of the mast.
From here, jump across the balloons in low gravity, and do some nice, light platforming to get over to the final Gear Piece. Now, if you have grabbed the chest for your clothing, you can’t make any more progress in Jester’s Leviathan until you destroy the other two Jester areas, so go do that if you haven’t.
Jester Boss
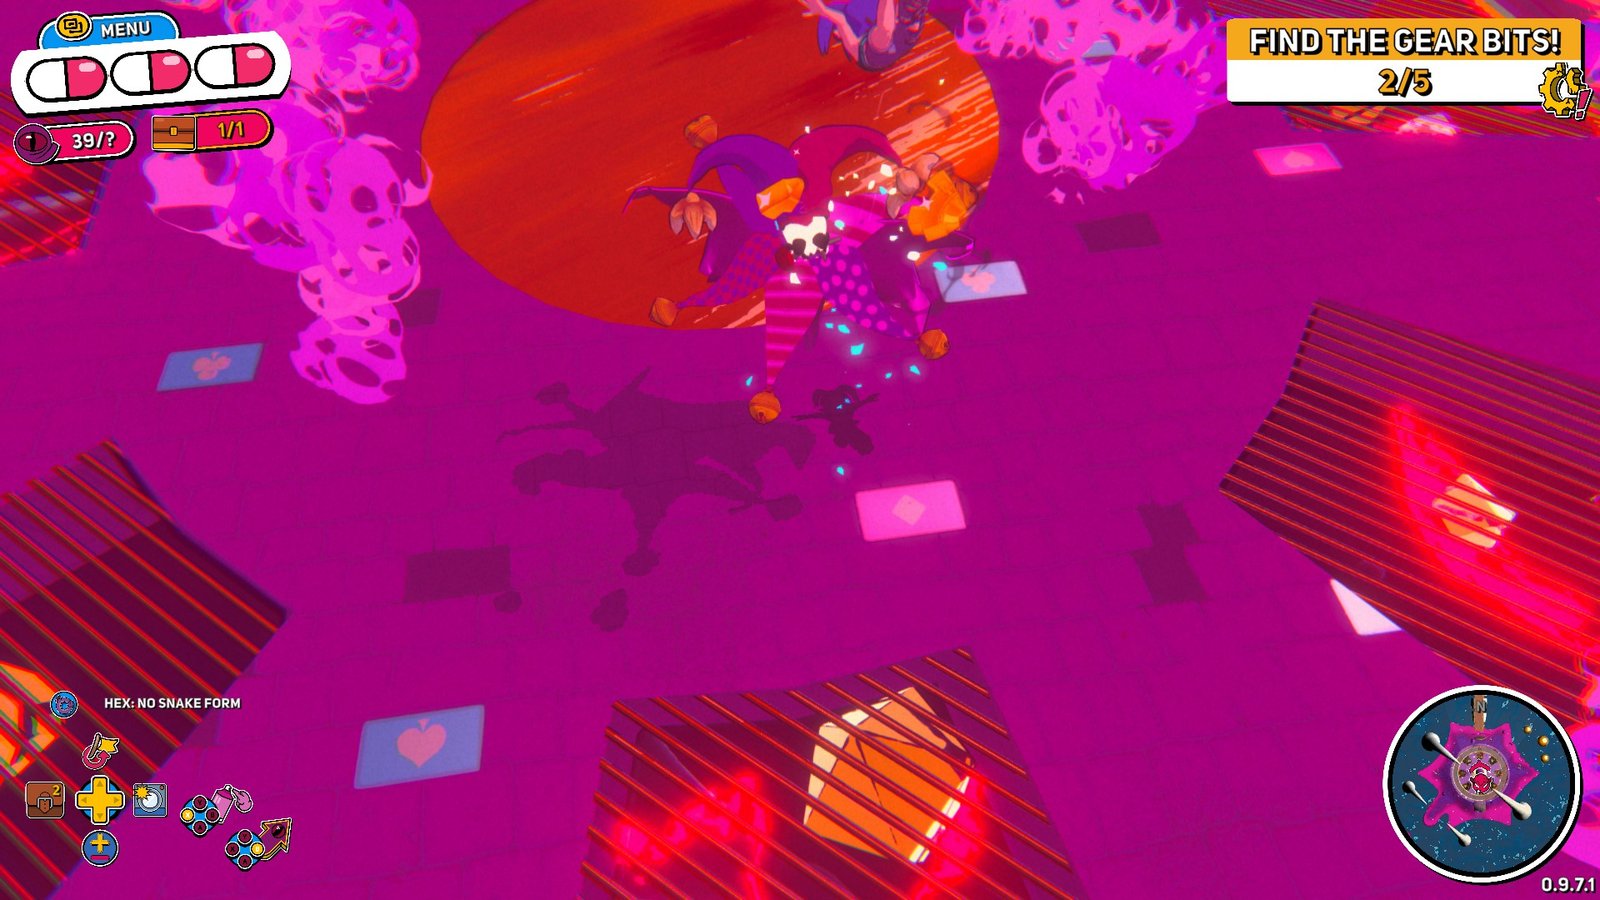

Head to the big, circular, non-suspicious arena-shaped platform, and rather shockingly, it will raise to the sky and become a battle arena. Once in the battle proper, the Jester will spin his wheel, and it can land on one of three things in the first phase.
When it lands on closed hands, run around the arena, dodging the purple hands on this mostly purple background, and try to look out for the shockwave rings and jump over them. Landing on skulls just spawns a couple of enemies you can kill with one dash, so don’t worry about that one.
Landing on finger guns can be troublesome, as he will do an attack that is definitely not ripped from the Directors fight in A Hat in Time, spawning a red line that spans across the whole arena, and an attack coming out shortly after that covers that whole line. Watch the floor, and try to be wherever the lines aren’t.
For the mask and bombs, you get a real chance to attack. When it lands on the mask, hit the lighter colored Jester with an attack. When it lands on bombs, hit the one missile remaining after the barrage. With a tiny bit of patience, this fight is pretty easy to conquer and grants you a lovely talisman slot.

Also Read
Demon Tides Review
Set TheGameSlayer as your Preferred Source on Google to find us more easily in your searches for game guides, news, reviews and features!