


Crimson Desert has a lot of tiny little puzzles to go through, many of which can be rather obtuse. The Abyss Without Balance quest is one such example, being overly complicated, and should somewhat help you familiarize yourself to the various in game mechanics.
This also happens to be the very first Abyss quest you’ll encounter, and there is a ton to unpack here, so let’s get started.
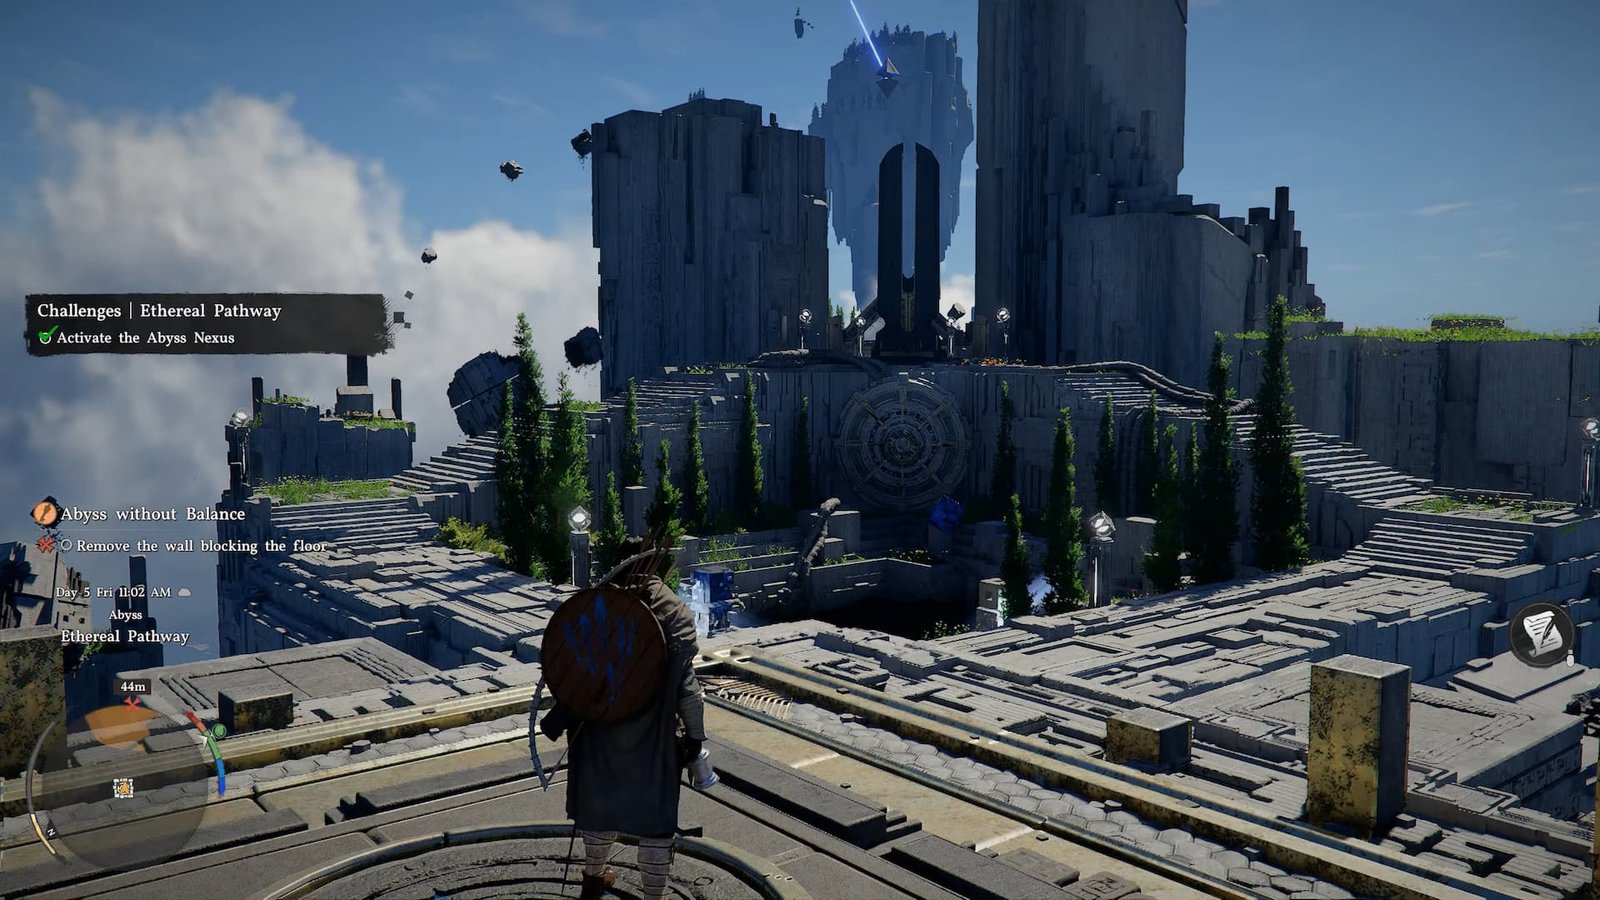
This particular quest takes place during the main story quest, Polar Opposites. Once you’re done with the first alignment puzzle, head through and past a cutscene into a new region.
You’ll find a triangular archway here. Walk through it to find a Skybridge Gate, which starts the puzzle.
Going Through The Skybridge Gate And Into The Heart of The Abyss
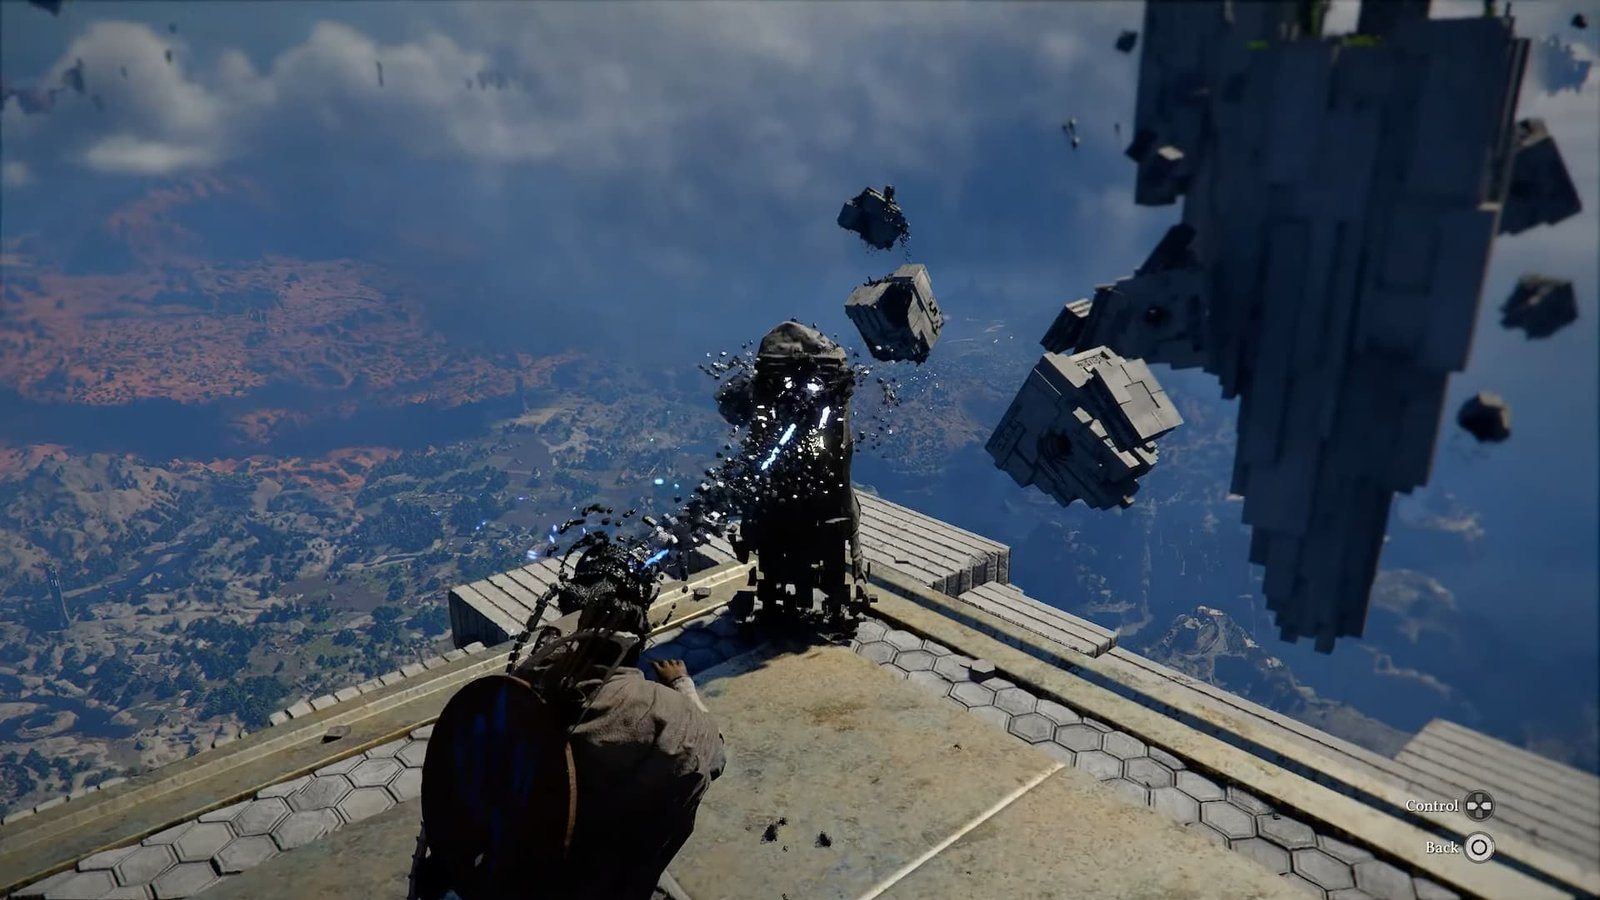
Once you’re past the gate, there should be a pillar like device up front. Bring up the Axiom Force using L3 on your controller, and target the pillar until the indicator is at the center.
Release L3 and rotate the terminal using the D-Pad, until you unlock the path forward. The terminal will start glowing blue, which is a sign that you have aligned it correctly. Doing so will bring up a series of platforms in place, which have to be traversed to reach the actual puzzle.
Platforming Your Way Through
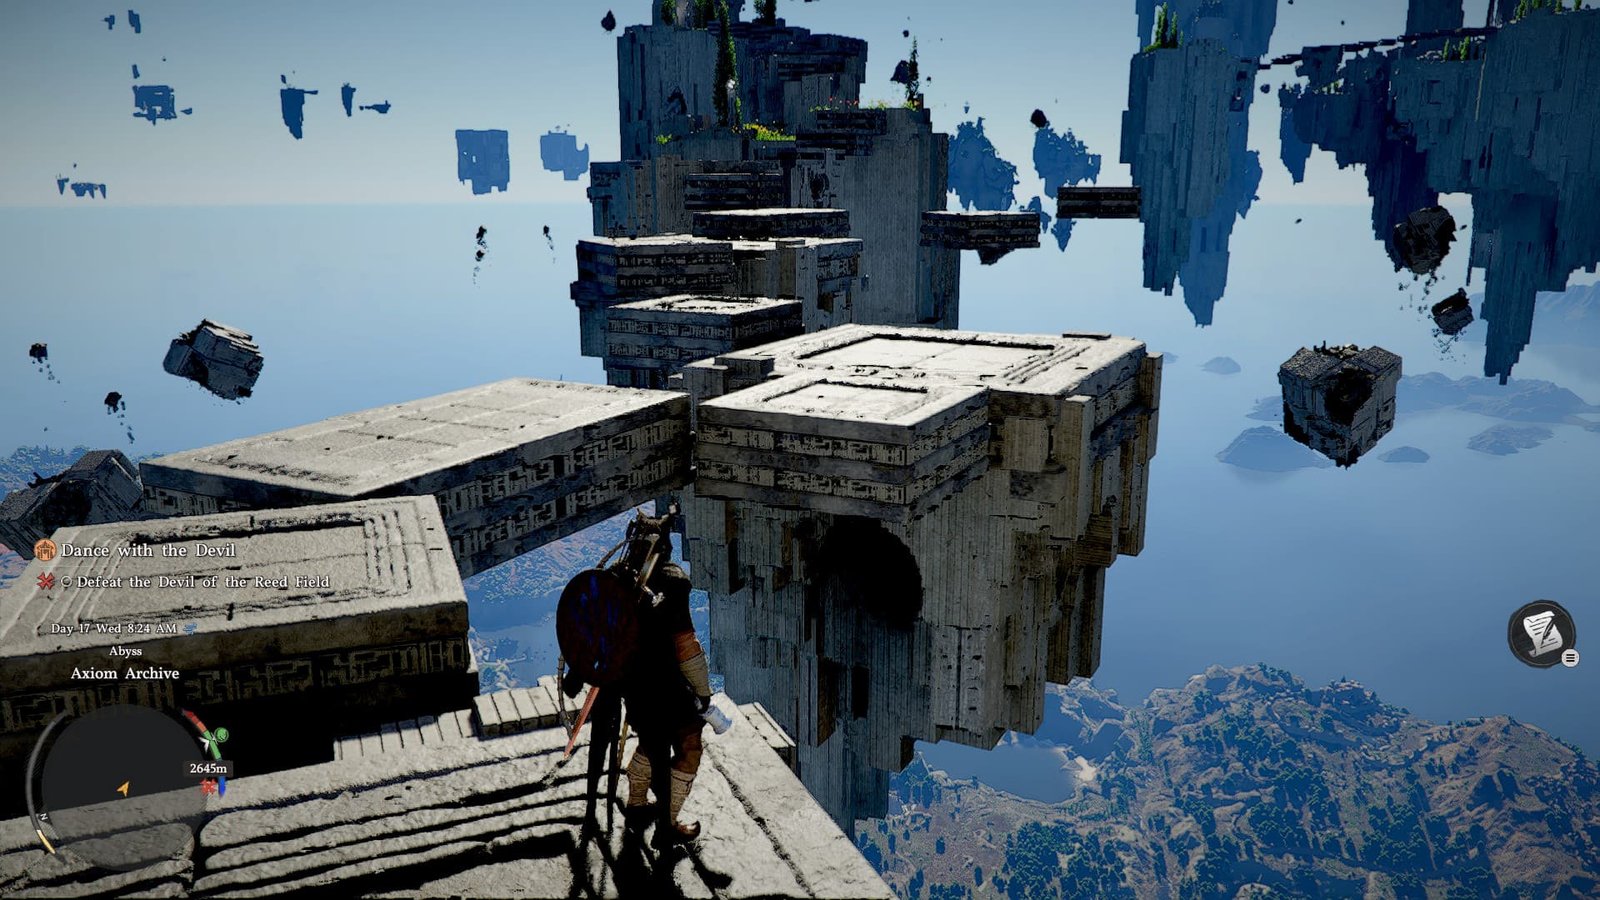
This section is fairly simple. Just walk over the platforms (while making sure not to fall over) and head to the floating islands. You’ll have to jump onto higher platforms as well here.
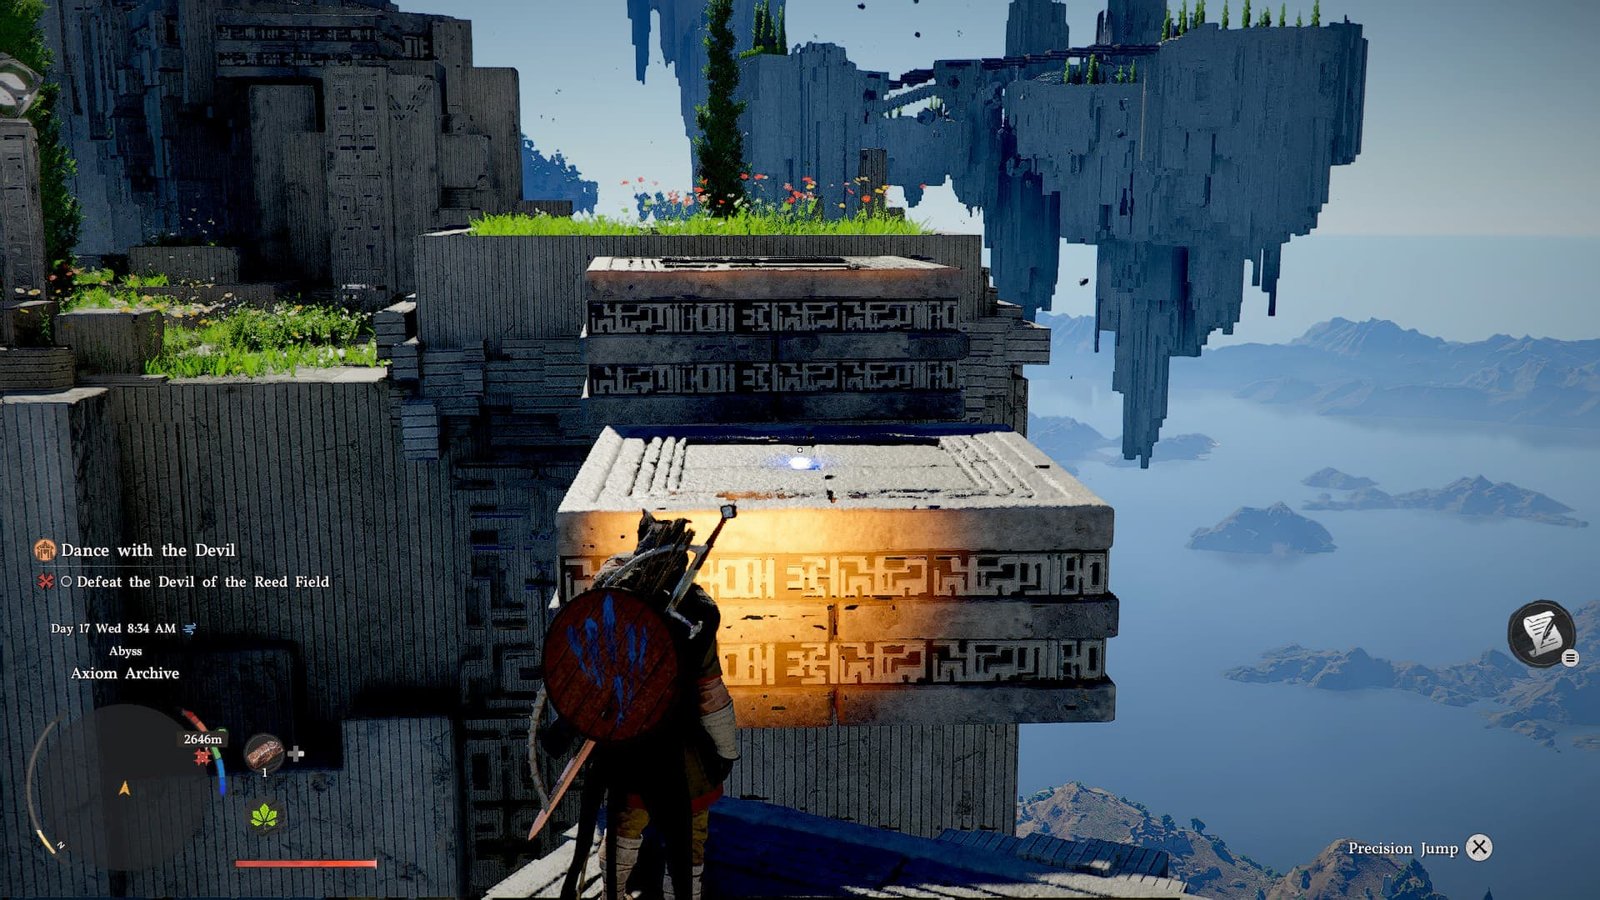
If you find yourself stuck at a point, try using the Precision Jump mode to target your jumps with a bit more accuracy. For a Precision Jump, use the LB button to enter targeting mode, and press X to jump to the indicated zone.
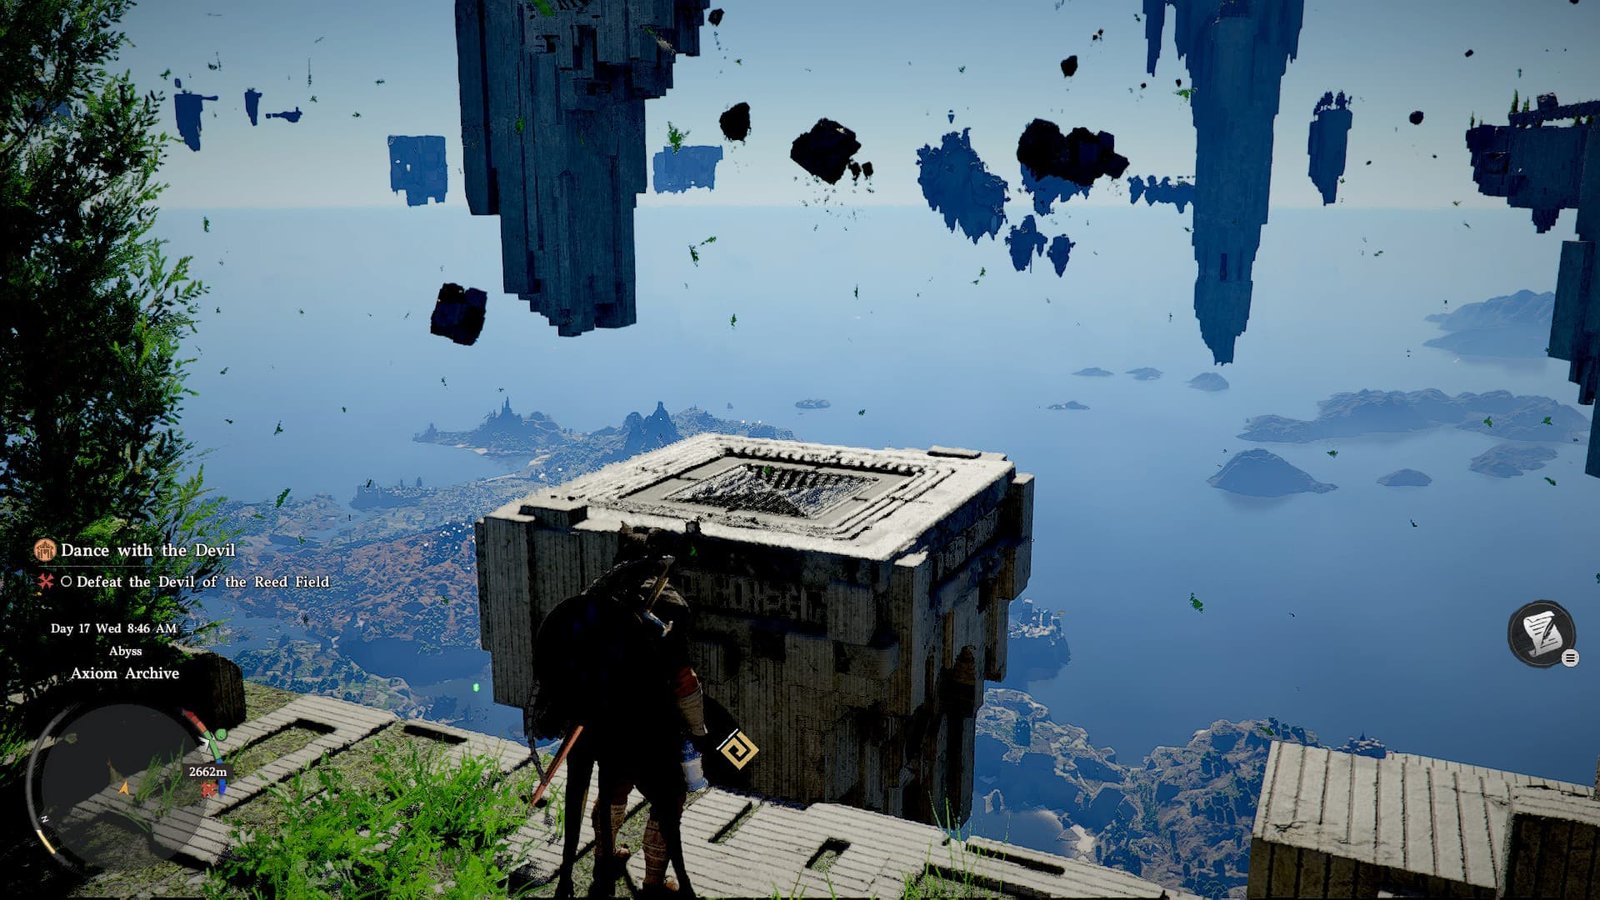
Once you’re at the floating island, wait for the moving platform to arrive close to you. If you miss it the first time around, wait a bit until it comes down again. Repeat this for a few more platforms until you reach the final platform floating in the sky (the one with a teleportation disc on it).
Walk up to it, and you should be teleported into a new floating island. Continue the platforming section till you are asked to step on another platform that turns blue once you do that, and the objective is complete.
Remove the Wall Blocking the Floor

Before you can begin the puzzle, you’ll have to activate the structure first. Make your way to the puzzle area, and target the floating cube at the center of the map using the Axiom Force.
Manipulate it, and bring it to the empty Abyss Cell to turn on the currently deactivated lantern. There’s another activated lantern nearby, for reference.
Synthesize The Abyss Cell
Next, drop down and head to the floating plate. Grab it using the Axiom Force, and bring it to the holographic projection beside you. Once you align the plate to the wall, use LB to Observe and learn the Form Palm technique. Make sure to hold the button during the learning process, or you’ll end up interrupting it.
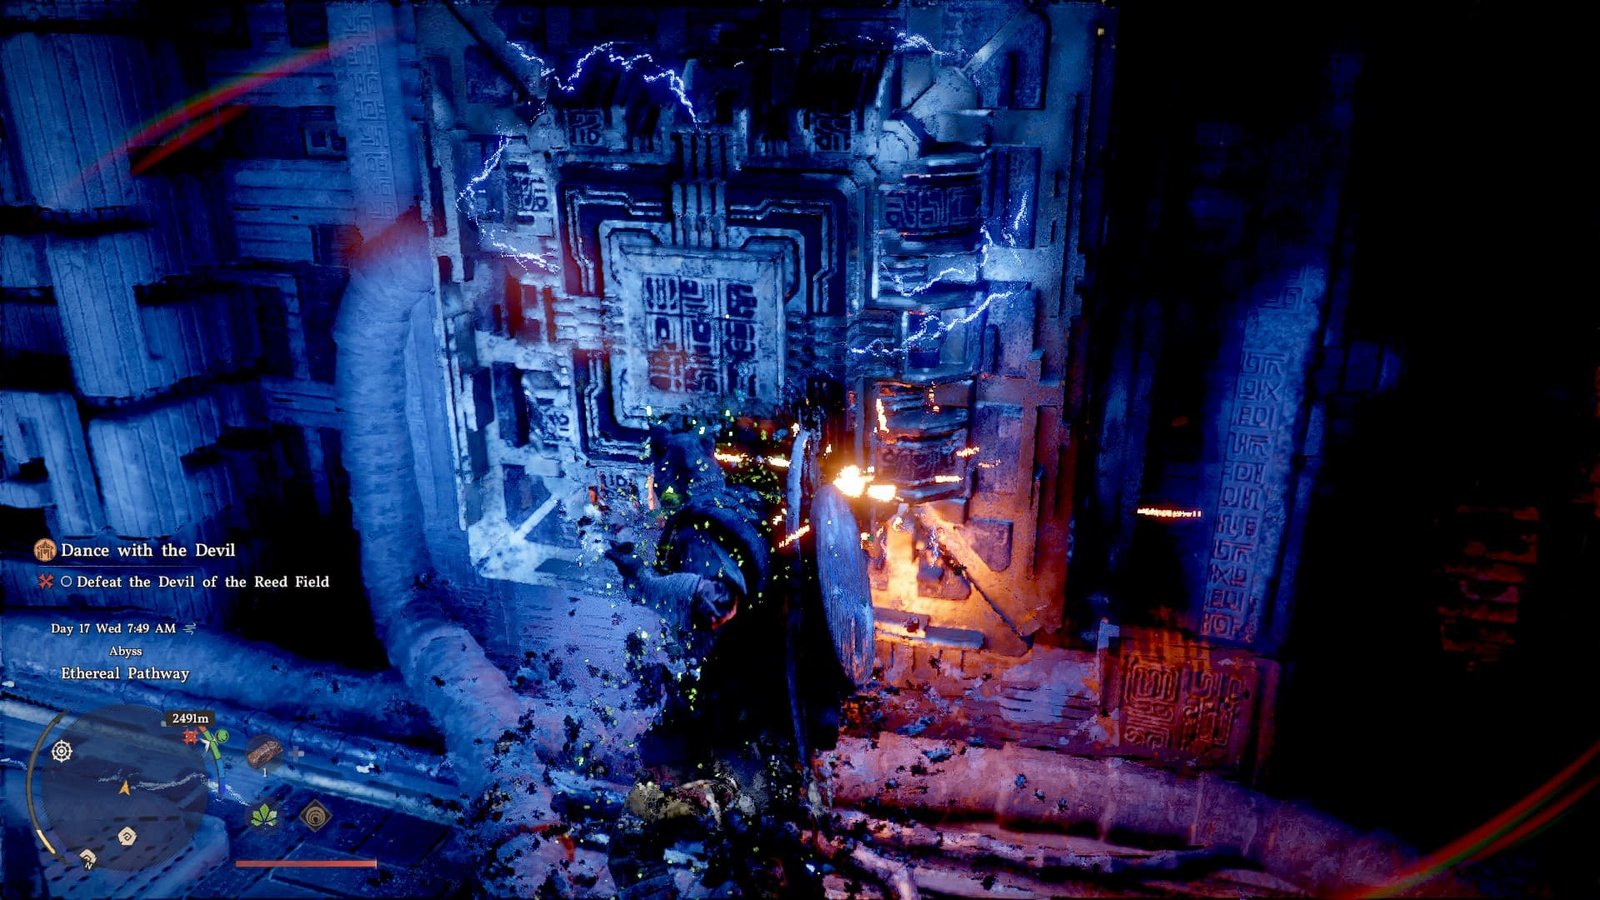
Press R3 on your controller to use Force Palm and attach the plate to the wall. Be wary of damaging electrical flows nearby.
Activating The Abyss Power Supply
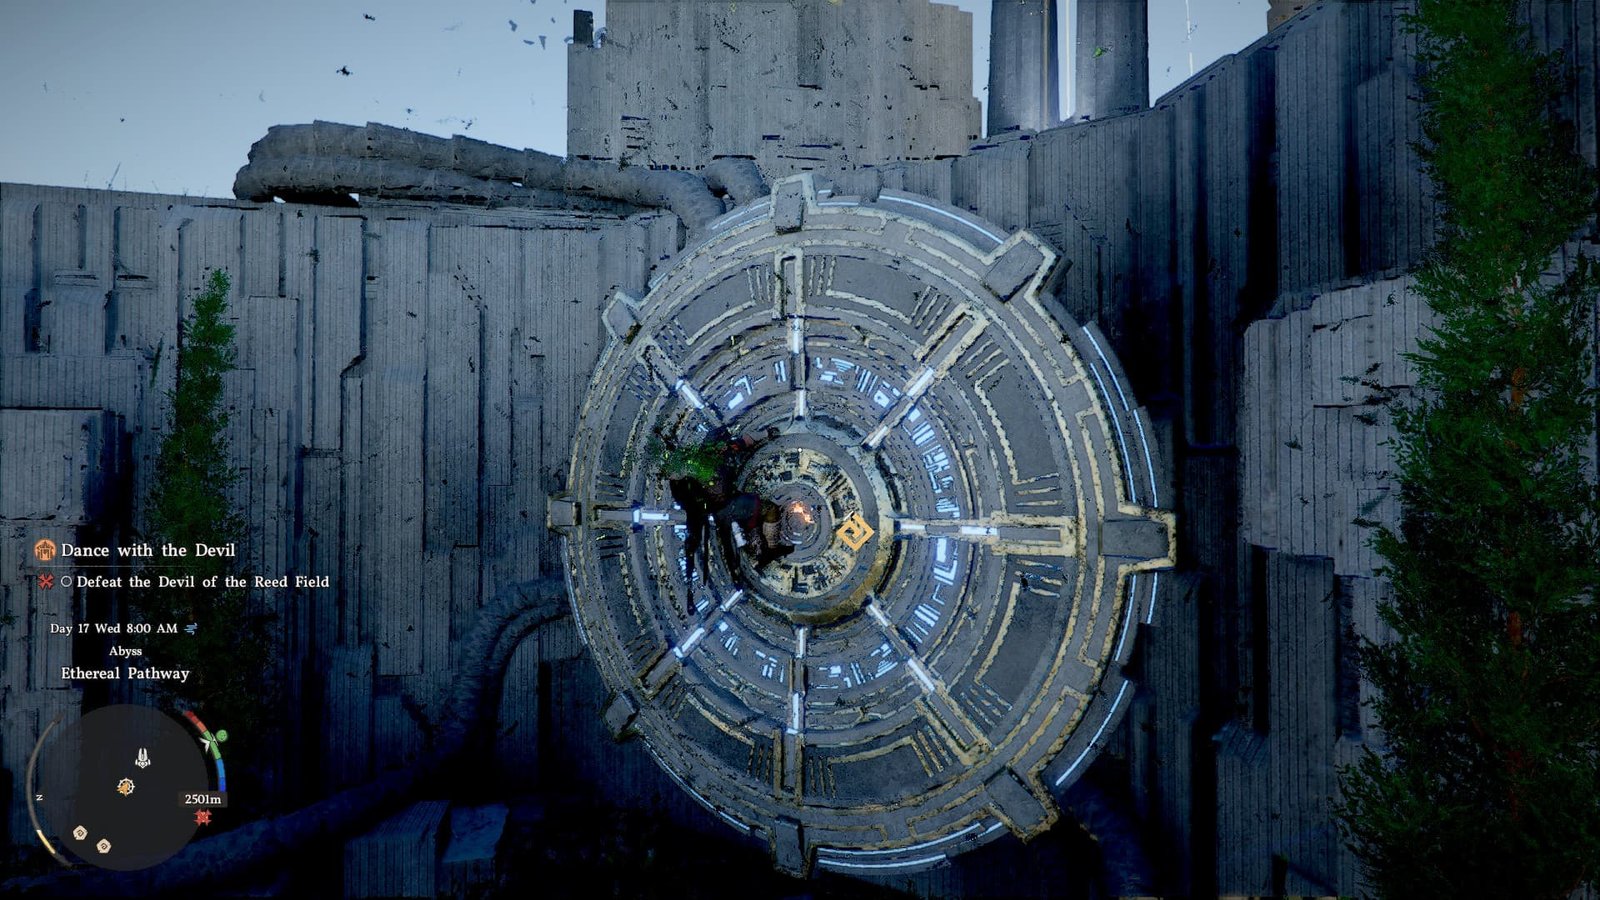
With the mechanism activated, you’ll want to now make your way to the now massive, circular door. Climb up and onto the platform, and make your way to the door.
Activating it is a bit tricky though. You’ll want to climb over to the wall and hang from it. Next, use Force Palm on to finally unlock the door, opening the path forward and onto the next quest.
Taking The Abyss Artifact (Among Other Rewards)
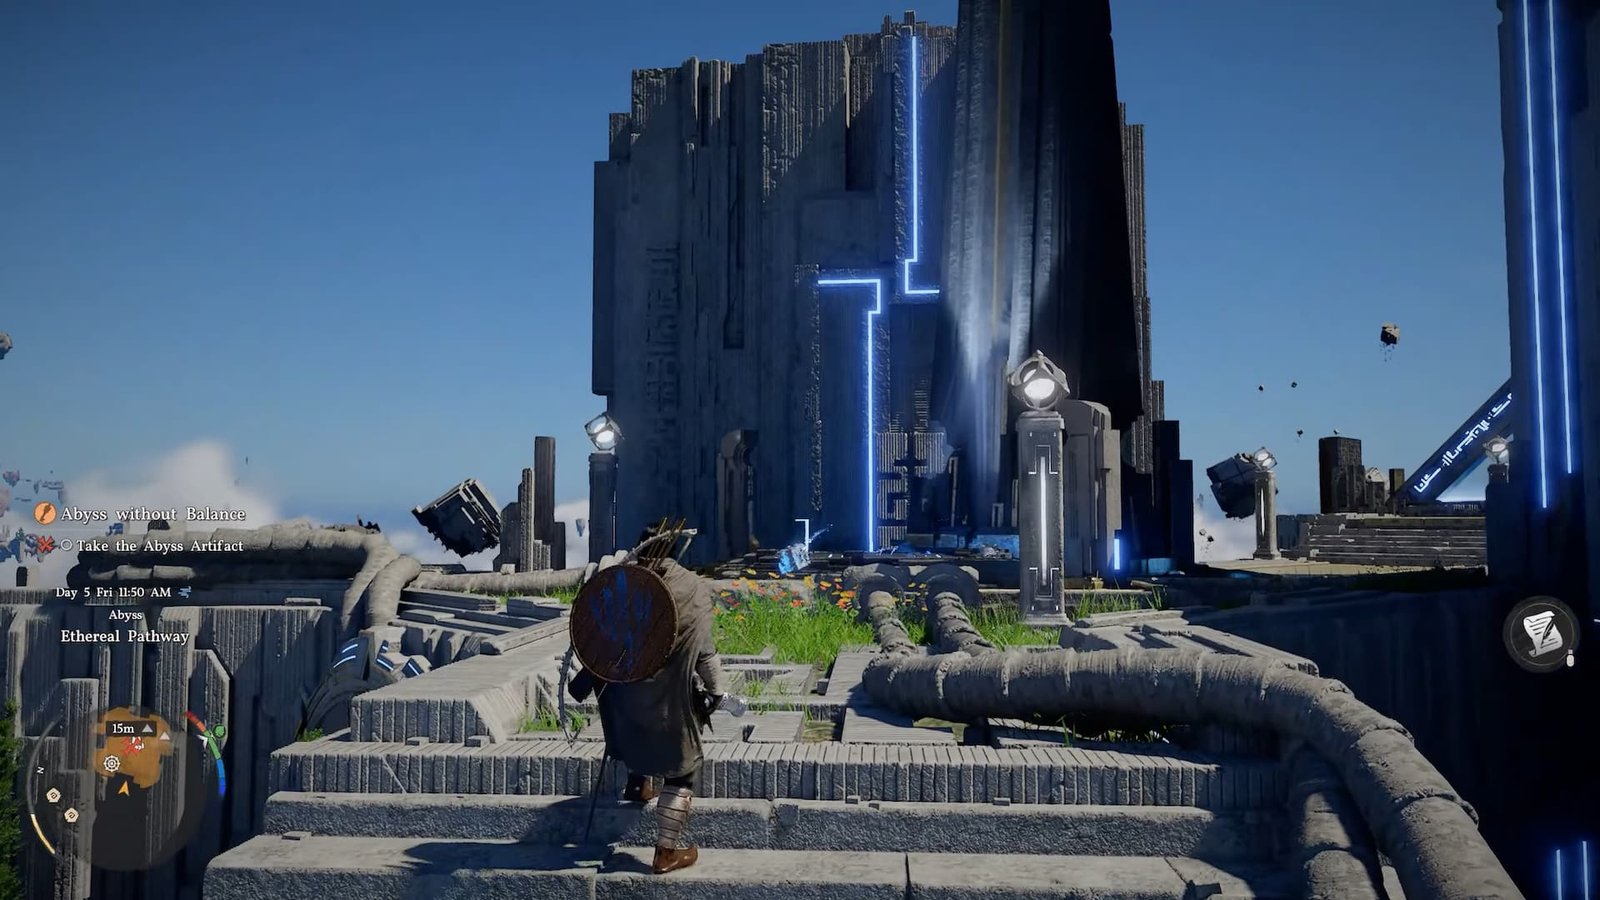
The Abyss Without Balance quest also brings with it the following rewards:
- 1x Faded Abyss Artifact
- 1x Palmar Pill
The quest also unlocks the ability to fly (more specifically, glide down like in Tears of The Kingdom), which is pretty integral to progression. The Abyss Artifact is also key progression item, being automatically picked up at end of the quest when you walk past the white pillar.