


Mewgenics stops pretending to be fair in Act 2 and throws you into encounters that are meant to wear your party down. By the time you reach the core without losing a cat or suffering major losses, it feels like nothing can stop you. This overconfidence is exactly how my run ended in disgrace after first fighting The Coven.
The final boss of the core tests you with a unique fight that can’t be beaten with brute force alone. It requires a bit of finesse and efficiency. Going into the fight prepared and knowing the mechanics beforehand makes a significant difference, and I’ll even include a cheesy tactic to defeat The Coven with their own attacks.
How to Beat The Coven
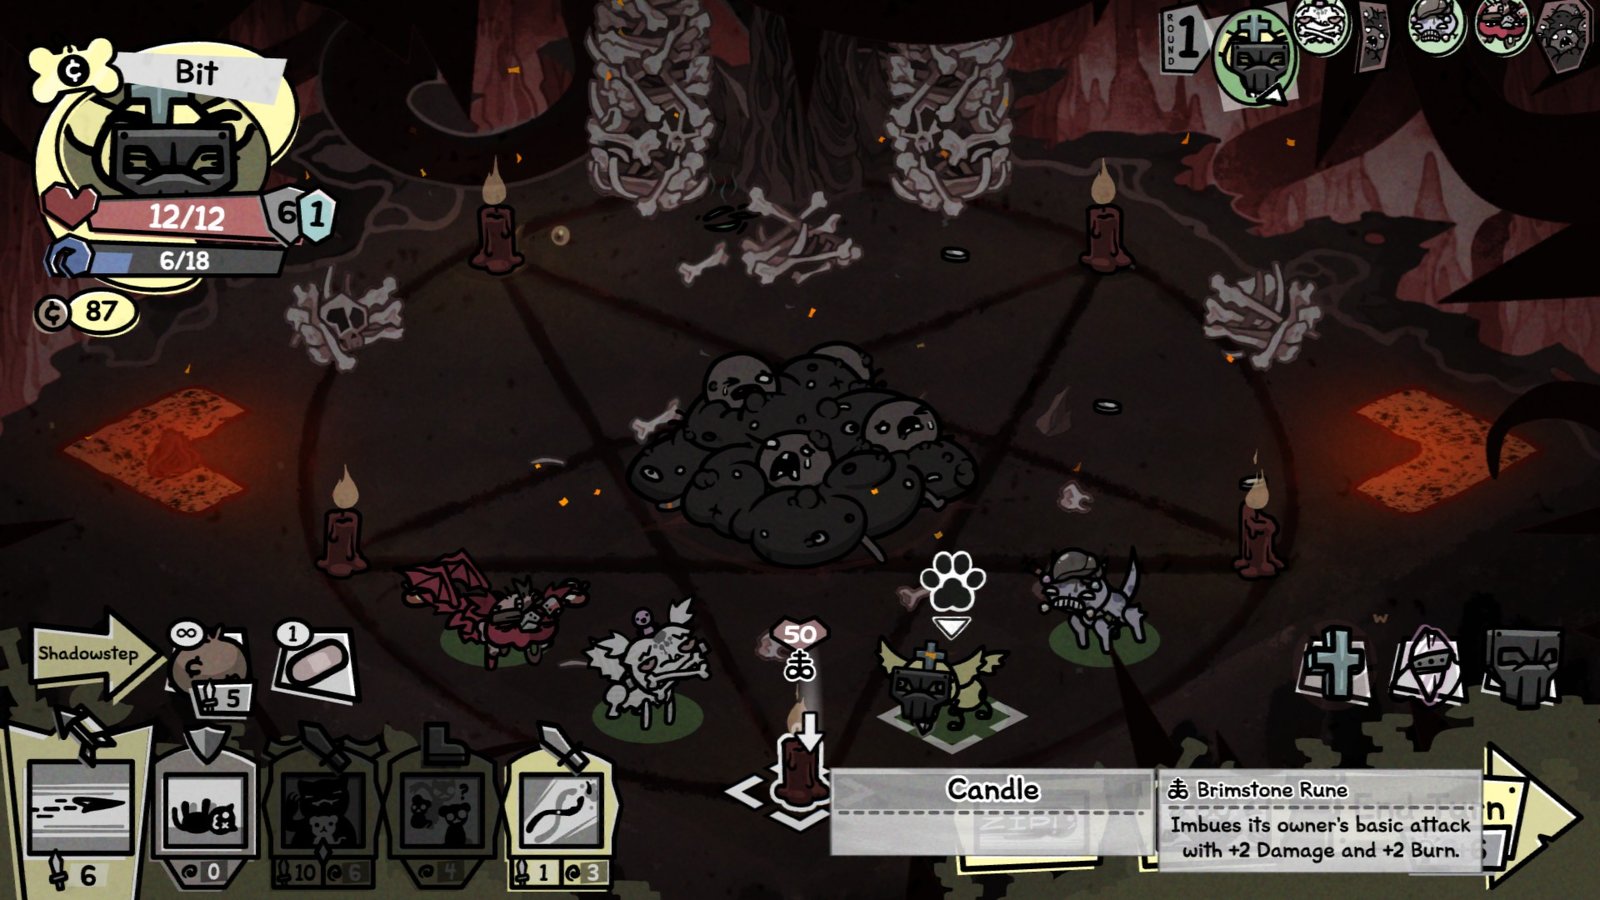
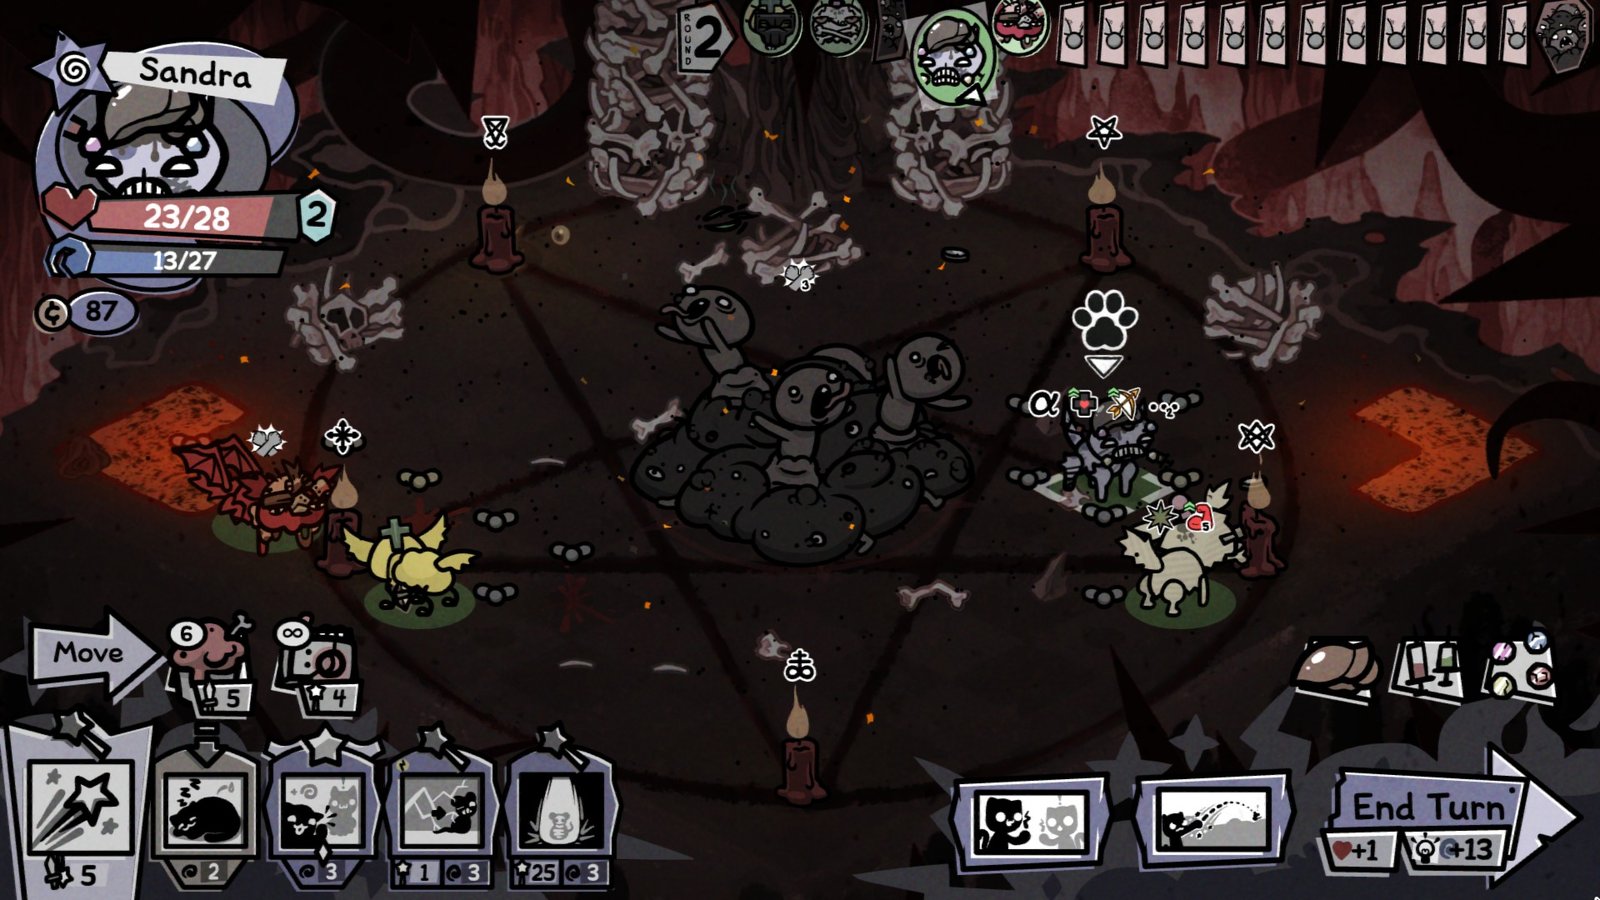
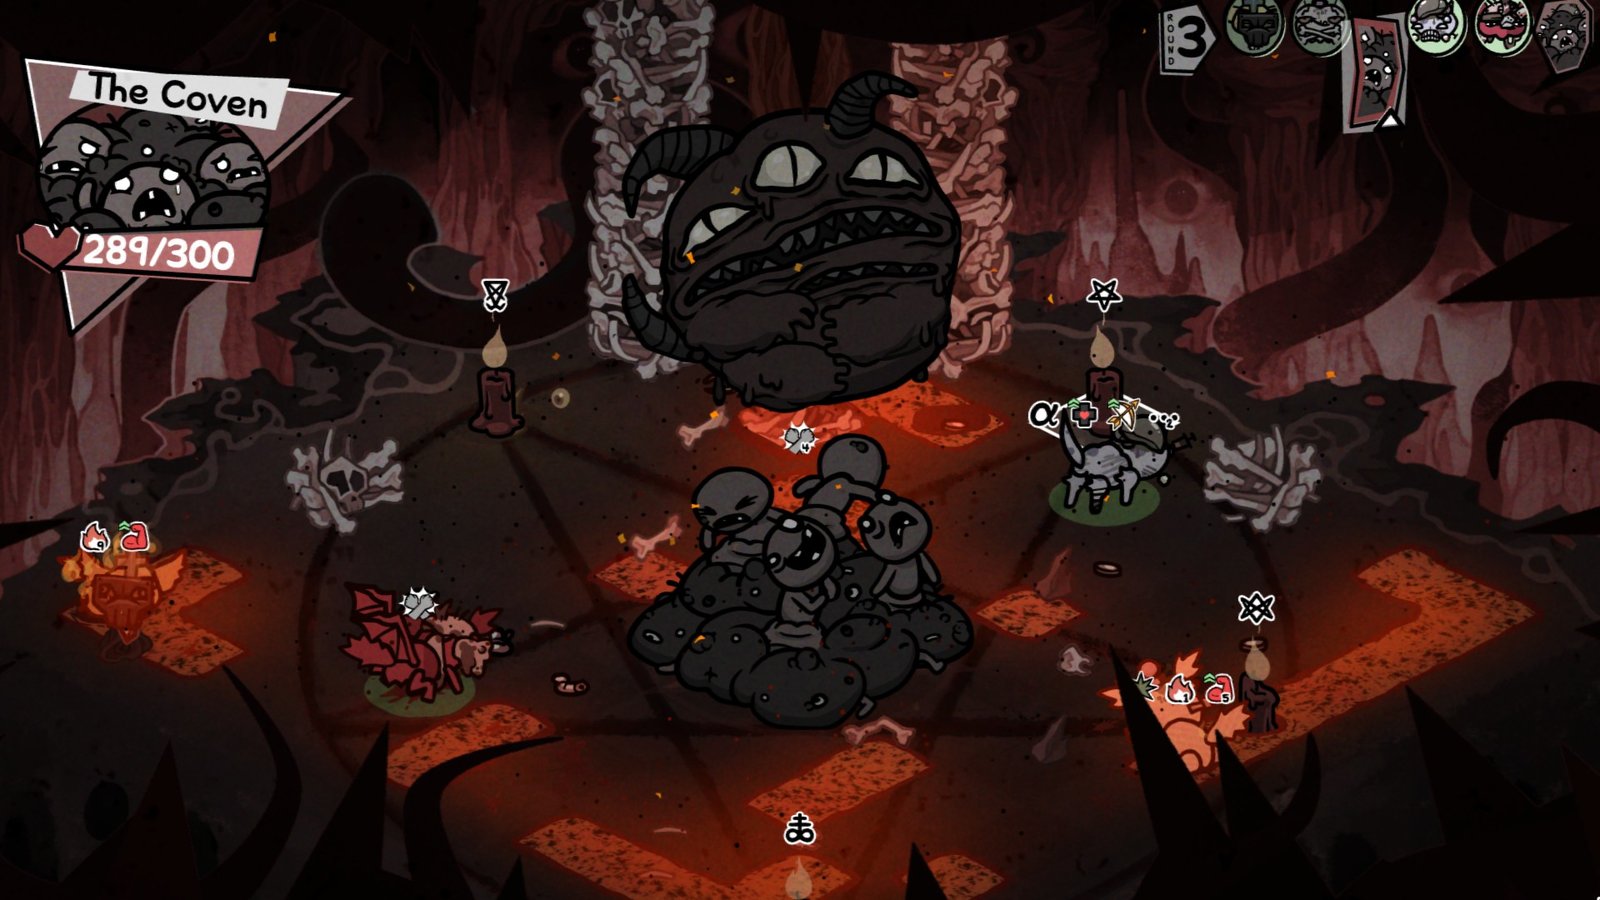
The Coven boss fight is set right in the site of a demonic ritual, complete with a pentagram, five ominous candles, and a fleshy mass of bodies in the middle. If your whole party is built for massive single-target damage, I’m talking about 300hp within three turns, then you can end the fight right then and there without any hassle.
A well-equipped Hunter and Fighter are reliable classes that pump out huge damage. You can also use a special item called the Black Shard, dropped by defeating Zartana, to one-shot The Coven.
However, if you’re not 100% confident that your team can do that, completely ignore the helpless amalgam of bodies. Turn your focus towards the five candles on the edges of the board.
| Candle | Effects |
| Brimstone Rune | Imbues the Tormentor’s basic attack with +2 damage and +2 burn |
| Hexagram Rune | Imbues the Tormentor with +1 movement range and +3 trample damage |
| Chaos Rune | Imbues the Tormentor with the ability to repel attackers. |
| Lucifer Rune | Imbues the Tormentor with an extra turn and the power to Bite. |
| Pentagram Rune | Imbues the Tormentor with an extra turn and the power to Summon |
The most important candles to destroy or extinguish are the two candles that can give the Tormentor an extra turn. These candles also imbue an additional effect (Bite and Summon), making it the top priority target to beat The Coven.
Ignore The Coven, deal with the candles
The first way to deal with these candles is to destroy them directly. While each candle has 50hp, this shouldn’t be a problem for a team that has made it all the way to the end. Physical damage dealers like Fighter, Hunter, Thief, have enough damage and reach to reliably take down a candle or two during The Coven phase.
Candles can also be extinguished through the use of abilities and items. Anything that can blow out the fire with wind or water can do the job, although The Coven will attempt to light it back on the next turn. Turning the candle’s tile into a puddle of water is as good as destroying it, as the boss can’t reclaim it.
- Mages have access to elemental effects like wind, water, and freeze that can put out the light. Additionally, they can also zip around the map with teleport and warp to extinguish ones that are out of reach.
- A Druid’s crow familiar can fly around the map and put out fires with its Aeroblast. The Druids themselves can use Hydro Pump and Control Water to create water tiles.
- Classless abilities like Hose Off and Number One can create water puddles. Spit is also handy since it’s infinite range and costs little mana.
- Items like Old Hose, Rain Staff, and Six Pack should be given to high mobility cats to deal with candles out of reach from the party.
It’s important to have a Druid or a Mage to trivialize The Coven because of their easy access to water and elemental spells. It will also come in handy on the way to the boss, since water spells will help out in the Core’s abundance of fire hazards.
The Coven’s four attacks
While you’re busy dealing with the candles, each turn The Coven will perform one attack named after the Four Horsemen.
| The Coven attacks | Effects |
| Pestilence | Summons four 5hp frogs into the fight. |
| Famine | Fills the arena with numerous 1hp flies. |
| War | Shoots random projectiles that create a lava tile. |
| Death | Completes the ritual by sacrificing themselves to summon the Tormentor. |
You should be focused on destroying and extinguishing the candles during The Coven’s four turns. However, here’s where the cheesy tactic I’ve mentioned will come into play.
During the Famine attack, The Coven will summon many 1hp flies into the arena. These annoying flies will swarm your weaker cats and inhibit movement. While you could deal with them with AoE abilities, this is also the perfect time to use these weak enemies to your advantage.
Classes that have passive effects triggered by defeating enemies can use this phase to buff up. For example, a Necromancer can amass an army, or a Fighter can start stacking stats before the next phase.
Beating the Tormentor
During The Coven’s fourth turn, they will finally summon the Tormentor, sacrificing themselves in the process. The Tormentor has 120hp and imbues themselves with all demonic runes from the available candles.
This is where all your hard work and preparation pay off. As long as you destroy or extinguish the two candles that give the Tormentor an extra turn, this fight will be relatively easy. Without these, the Tormentor feels more like a bulky miniboss rather than a boss that will end your run.
The Tormentor has a low movement range of two tiles, making it easily kiteable with knockback and displacement abilities. It’s also susceptible to status effects (including fire), stuns, confusion, freeze, and pretty much anything you can land on it.
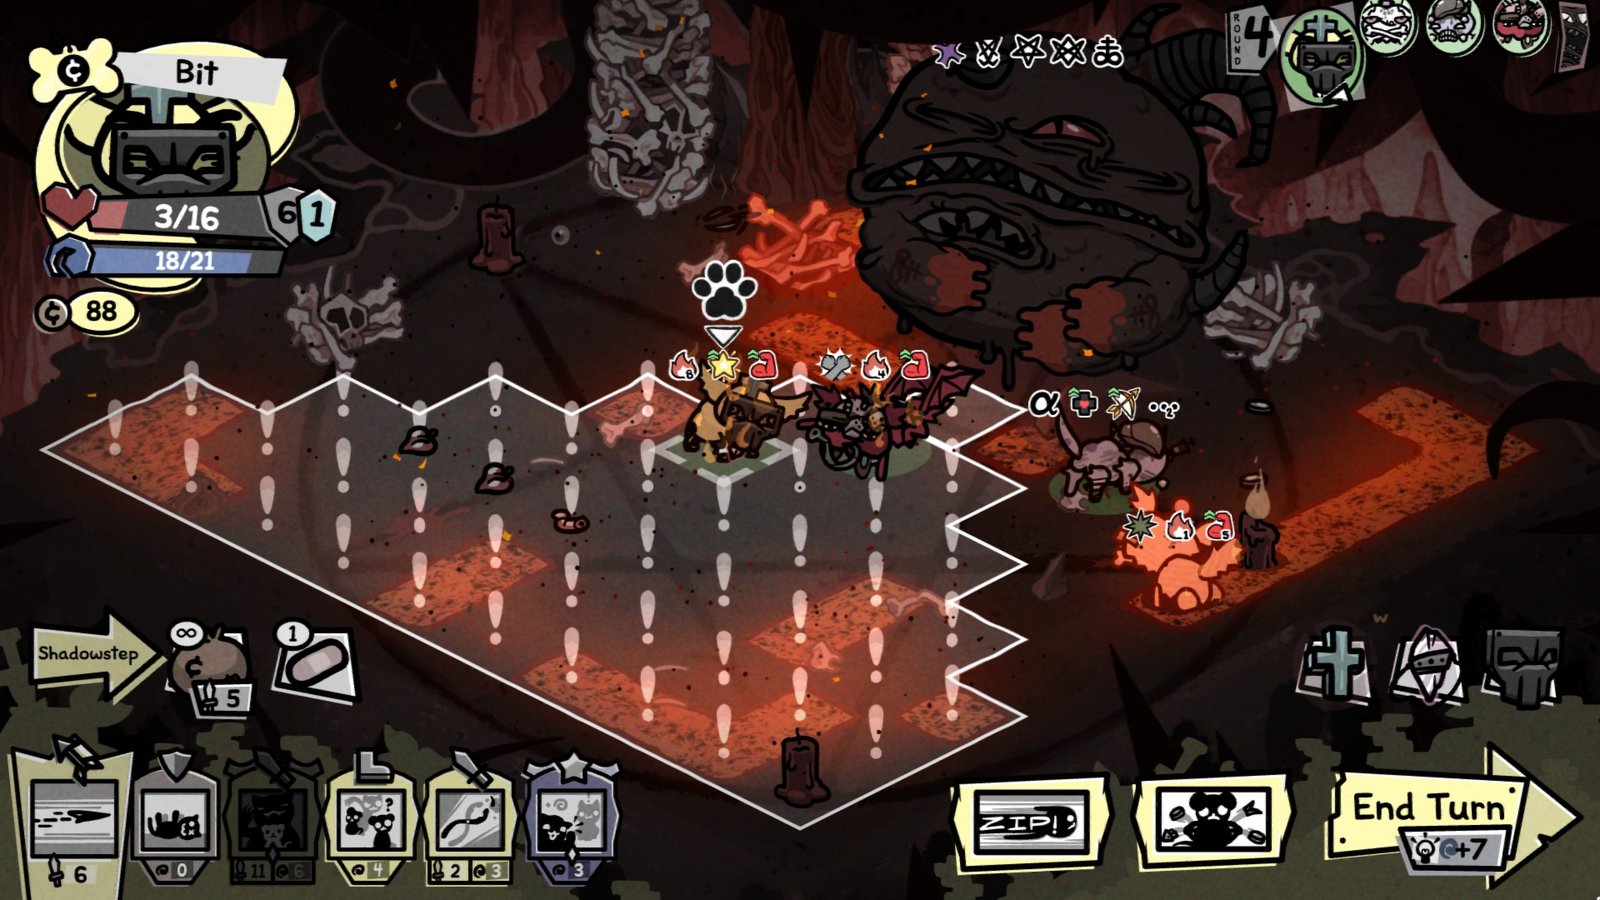
His biggest attack is Feast, which will swallow your cats in a huge cone. Move out of the way, stun, freeze, or displace the demon. Again, properly deal with the candles beforehand and this part of The Coven fight feels more like a victory lap as you bully the poor demon.
Defeating the Coven will reward you with a new class, the Butcher, and unlock a new house boss called Pyrotana. Much like how defeating Zaratana gives you an item to deal with The Coven, defeating Pyrotana also rewards you with the Scaling Orb to use against the Man in the Moon.