


The Marrow Keep serves as the main hub of Mortal Shell 2, offering shops, upgrades, and even a few secrets for players willing to turn over some stones. Let me show you every function of the strange, living keep, both on the surface and beneath it.
I have put up the locations of each NPC from the context of the Marrow Keep Beacon, since that is where you will land every time (except for the 1st time when you enter through the main gate).
The Marrow Keep Layout Explained
There is a central chamber which has, in a line, Zhirelle, the Gloom Siphon area, the Beacon, and an elevator to take you to the top for fast travel. Running off on both sides of this central corridor are openings that connect you to:
- Franz the Smith
- Merrick the Vendor
- Sester Genessa the Trainer
- Milos & Vrakto
Here’s what each of the NPCs, their locations, and purpose in Mortal Shell 2, starting with the first one that you come across – Zhirelle.
Zhirelle – For Shells
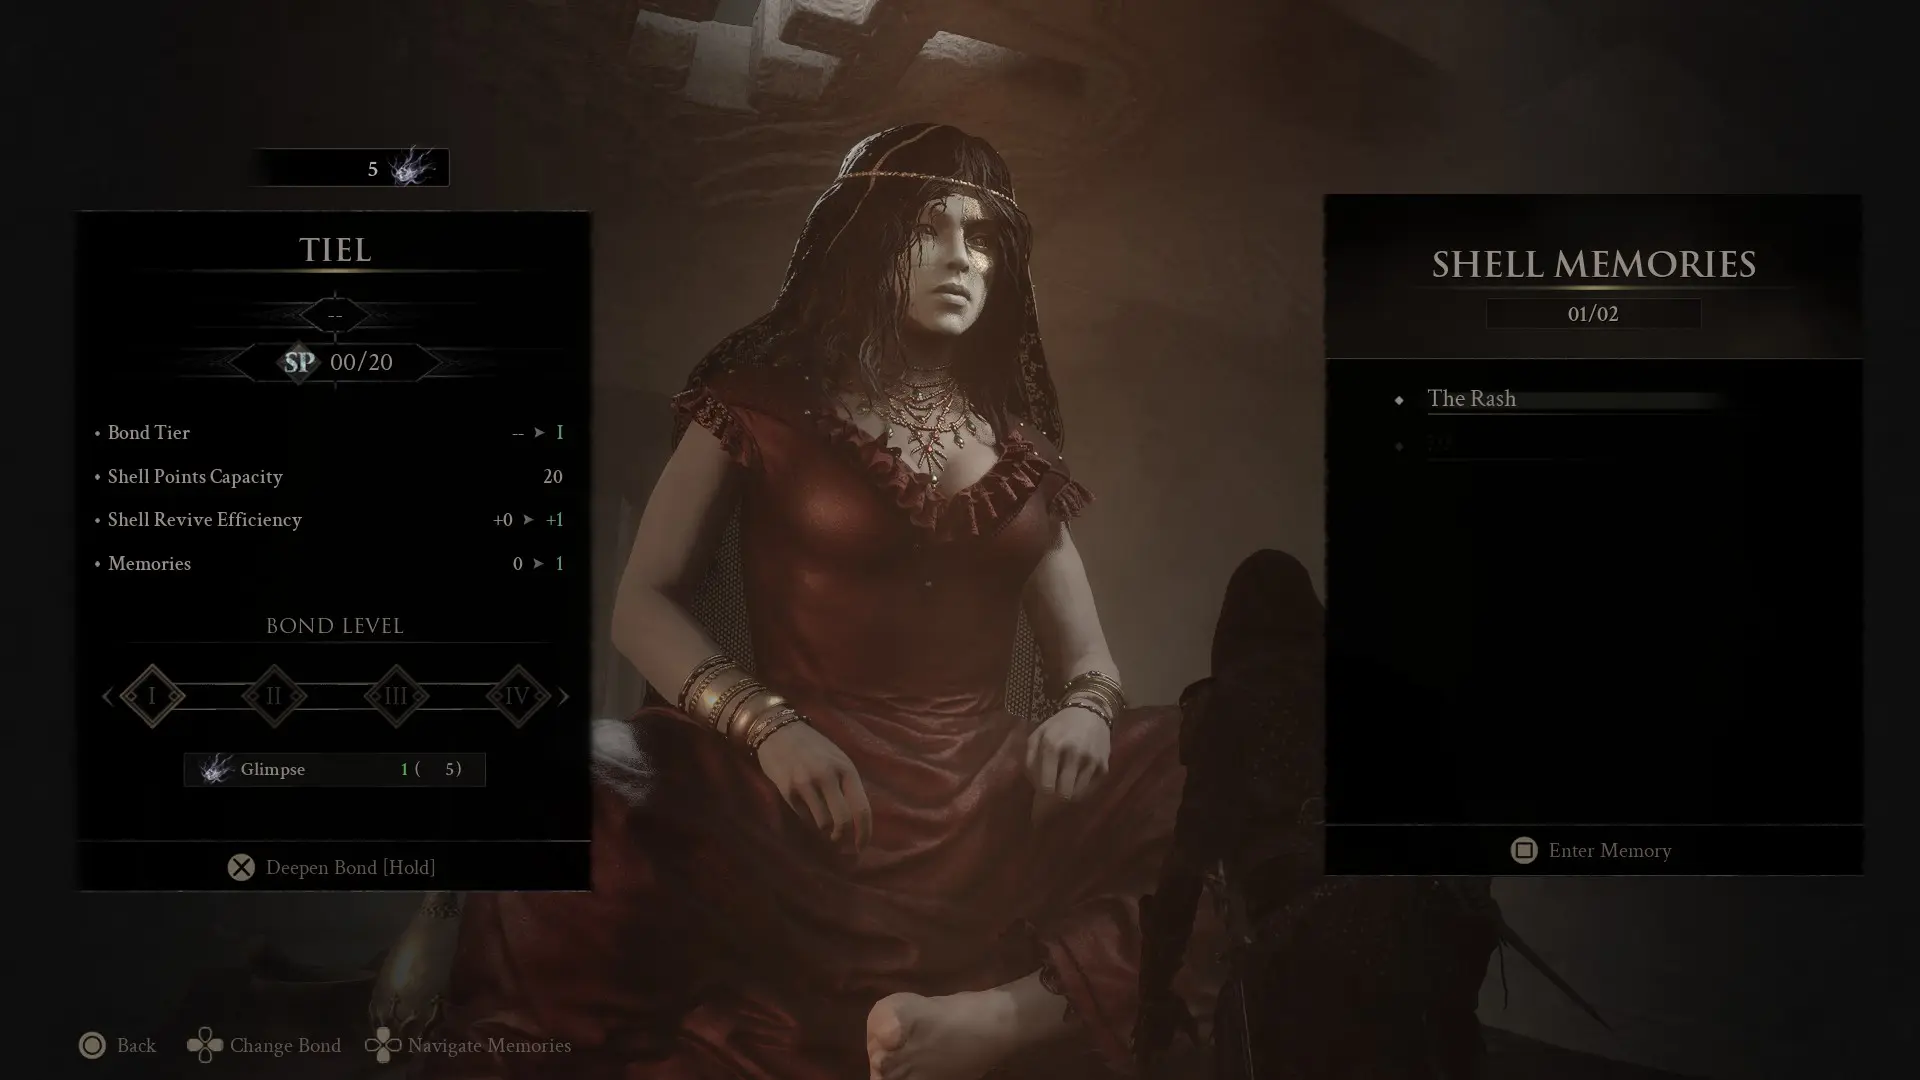
Zhirelle, the Shell Tender, is located at the entrance behind the Beacon. She remains in her own room by the entrance, offering upgrades for Shells and glimpses into their pasts.
These story episodes will offer content and lore on each of the Shells, costing Glimpses to raise their levels and unlock new tiers of upgrades. Zhirelle will only become more and more important as we find Shells, with most of her passive upgrades currently locked in the beta.
For now, her Shell Bond upgrades show a very interesting set of upgrades for Tiel, including general improvements to his Shadow Dash and stealth attacks, as well as interesting synergy with Poison, an ailment we don’t have easy access to yet.
If each of the 8 teased shells has this level of upgrades on offer, picking your favorite and honing them is going to be very worthwhile.
Franz The Smith – For Upgrades
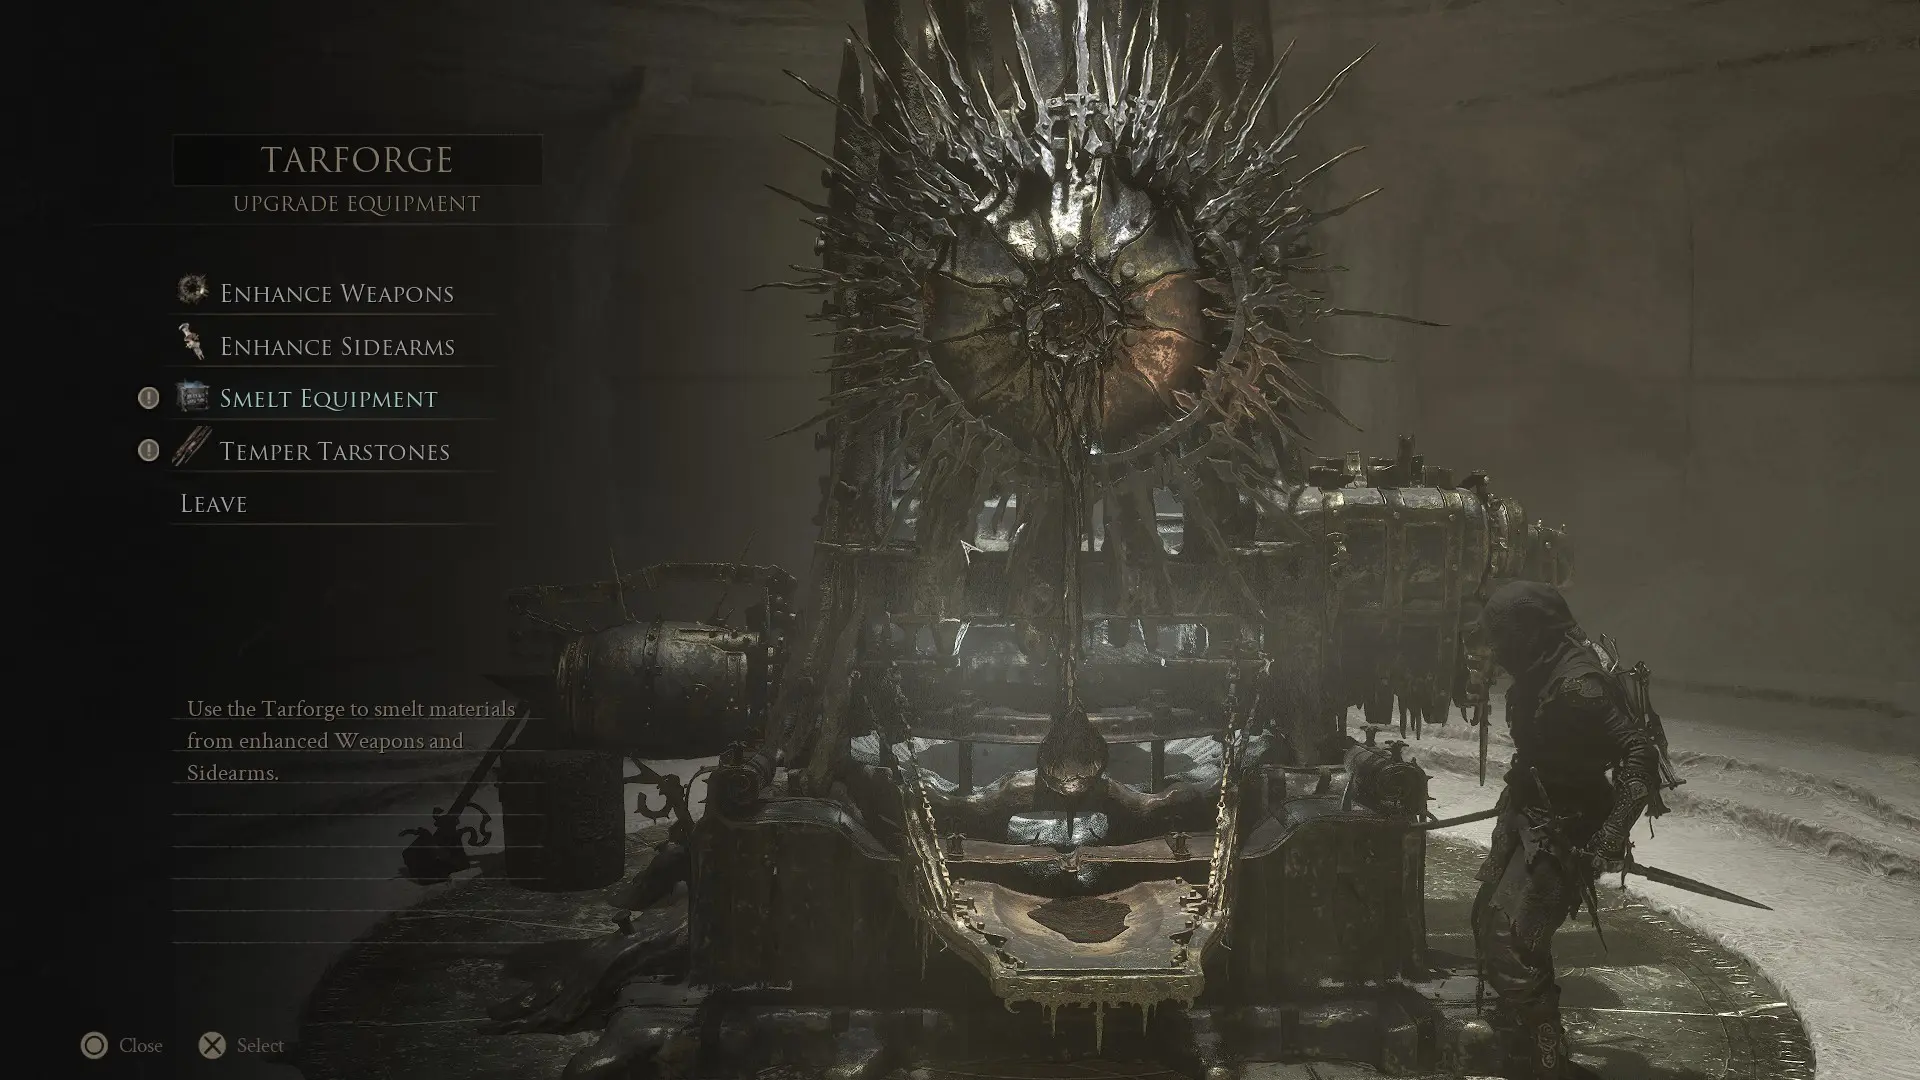
Continue past him to find Franz the Smith manning the Tarforge, a massive rumbling smithy used to upgrade weapons, Sidearms (like the Troubadour’s Lute), and Tarstones. As you explore early areas surrounding the Marrow Keep, you’ll find more parts to help Franz repair the contraption, opening up more functions of the Tarforge.
So far, there are three key items to fully unlock the facilities of the Tarforge.
- The Obsidian Lathe, for upgrading Sidearms
- The Etching Needles, for upgrading passive and active Tarstones
- The Muradean Actuator, for upgrading primary weapons
As you explore, you’ve likely been gathering upgrade materials in the form of Ventrium and other jagged black stones. Upgrading at the Tarforge costs increasing amounts of Coins and Ventrium, eventually rising to material variants not shown in the beta. Sidearm upgrades function the same.
Tarstone upgrading, meanwhile, is a totally different program. Whenever you kill enemies while holding a Tarstone, you’ll gather XP. Once you reach a new XP threshold, you can return to the Tarforge to spend Coins to upgrade the Tarstone. Conveniently, you don’t need to equip a Tarstone for it to gather XP, though equipping one does seem to speed up the process for that specific Tarstone.
Also Read: Mortal Shell 2 – Immersive or Action Camera – Which One Works Best?
Merrick – The Vendor
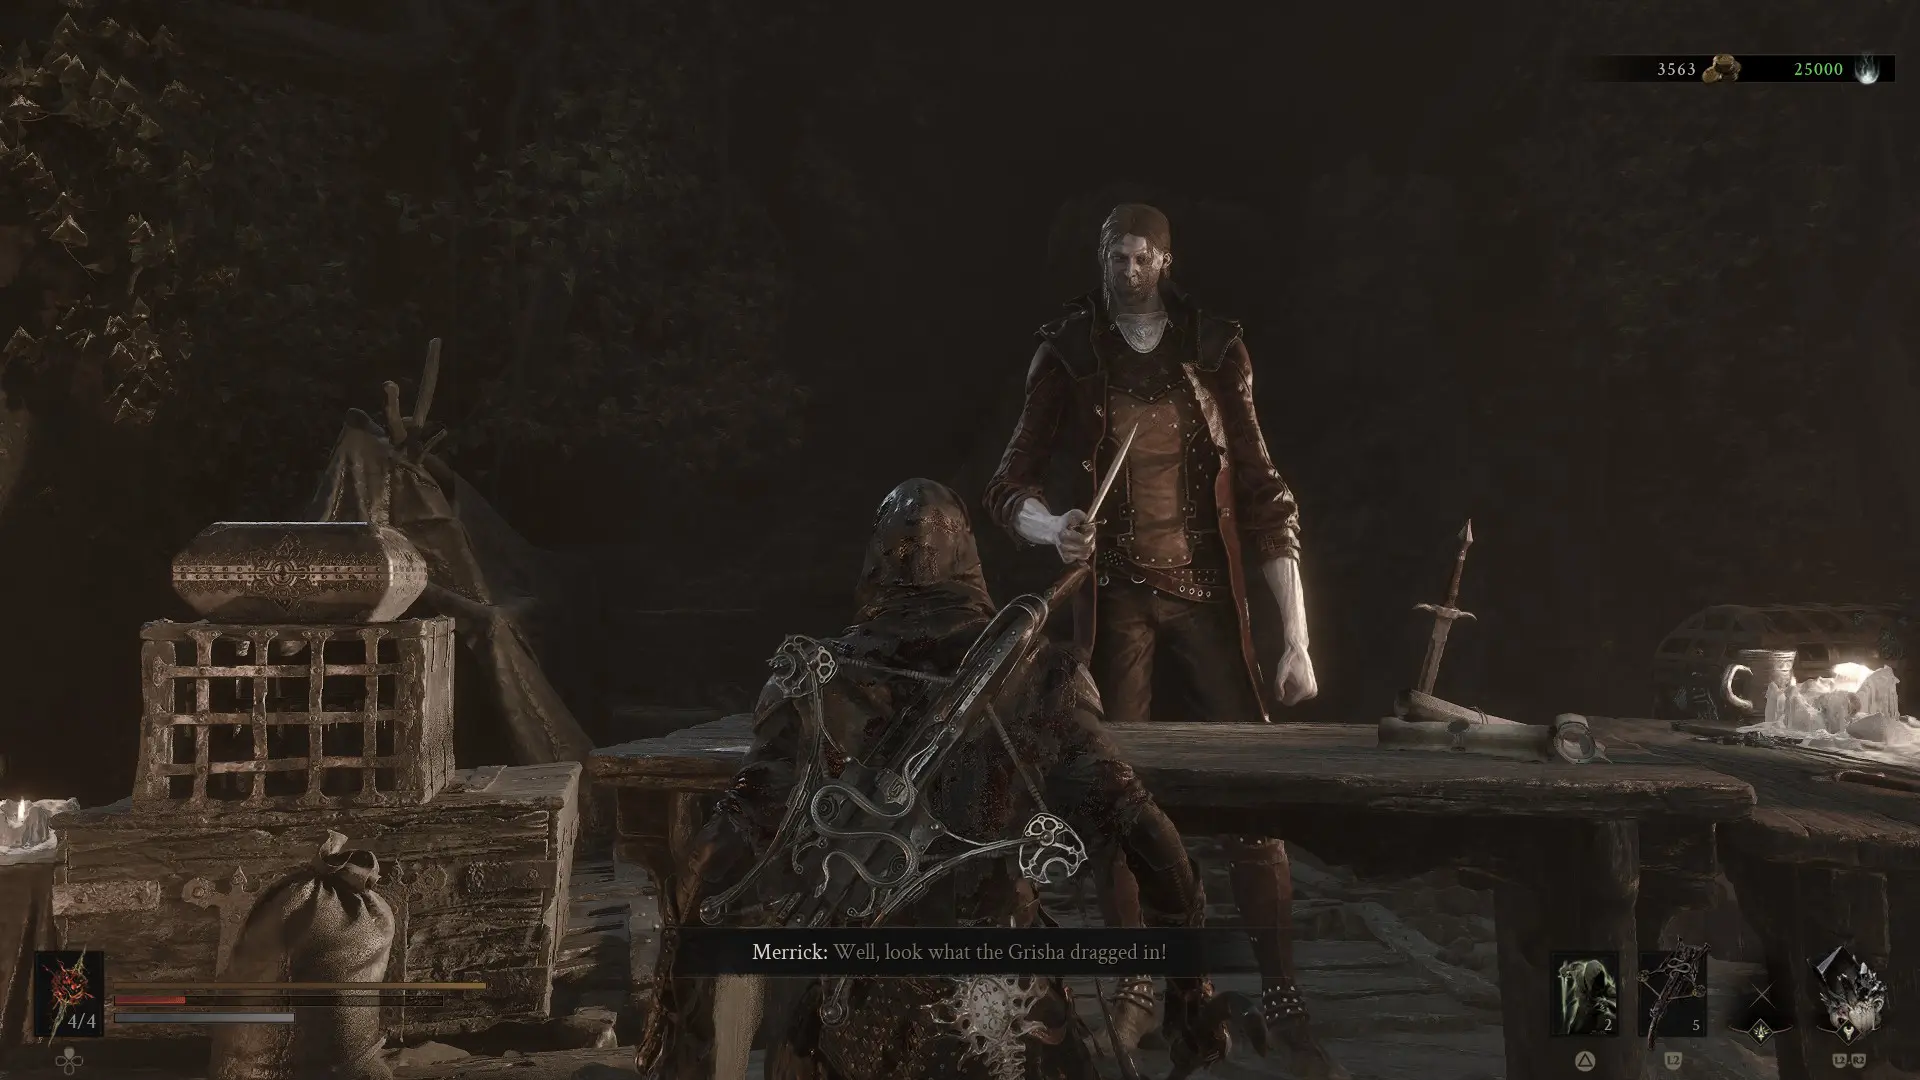
Return to the Beacon one final time, then head right to find Merrick and his hound running a shop selling upgrade materials, Tarstones, and a tease of other weapon locations in the full release. Funnily enough, Merrick isn’t actually ready to open his shop when you first arrive, and he hands you a map showing the location of the Axe and Dagger weapons as an apology.
When you return, Merrick’s shop is fully ready to open, selling upgrades for the HP healed and uses for Mortal Shell 2’s Estus stand in, especially effective early purchases. Merrick is where you’ll be spending most of your coin, and I recommend snagging some of his Tarstones after you buy up the Rare Finds section that upgrades your healing.
Gloom Siphon (and Milos)
In between the Tarforge and Merrick’s shop is the Gloom Siphon, a massive device that allows you to occasionally extract Gloom and Ova from recovered Ovum, rewarding you for cleansing Beacons and finishing Gates.
The Siphon can seriously pay out once you find a good number of Ovum, so remember to give it a whirl every time you return. The Ovum chamber itself is manned by Milos, a snippy disciple who is eager to fill you in on your expected task. He’s also, hilariously, very upset if you walk away from him while he’s talking. Not much function, but plenty of flavor.
Heading straight ahead from the Marrow Keep’s Beacon will lead you to the express elevator to the Keep’s peak. At the top, you’ll find Mortal Shell 2’s fast travel, by far the most over-the-top method I’ve ever come across.

Now, that’s all for the advertised systems found within the Marrow Keep, but there are a few extra rewards on offer to the keen-eyed, allow me to enlighten you.
Other NPCs In The Marrow Keep
Returning to the Marrow Keep’s Beacon, turn left to walk past Vrakto, a strange disciple who repeatedly offers a milk foot bath. I’ve got the strangest feeling this is more than a joke, so keep an eye on him as early access approaches.
Getting The Infinite Seal & Slayer Seal in Marrow Keep
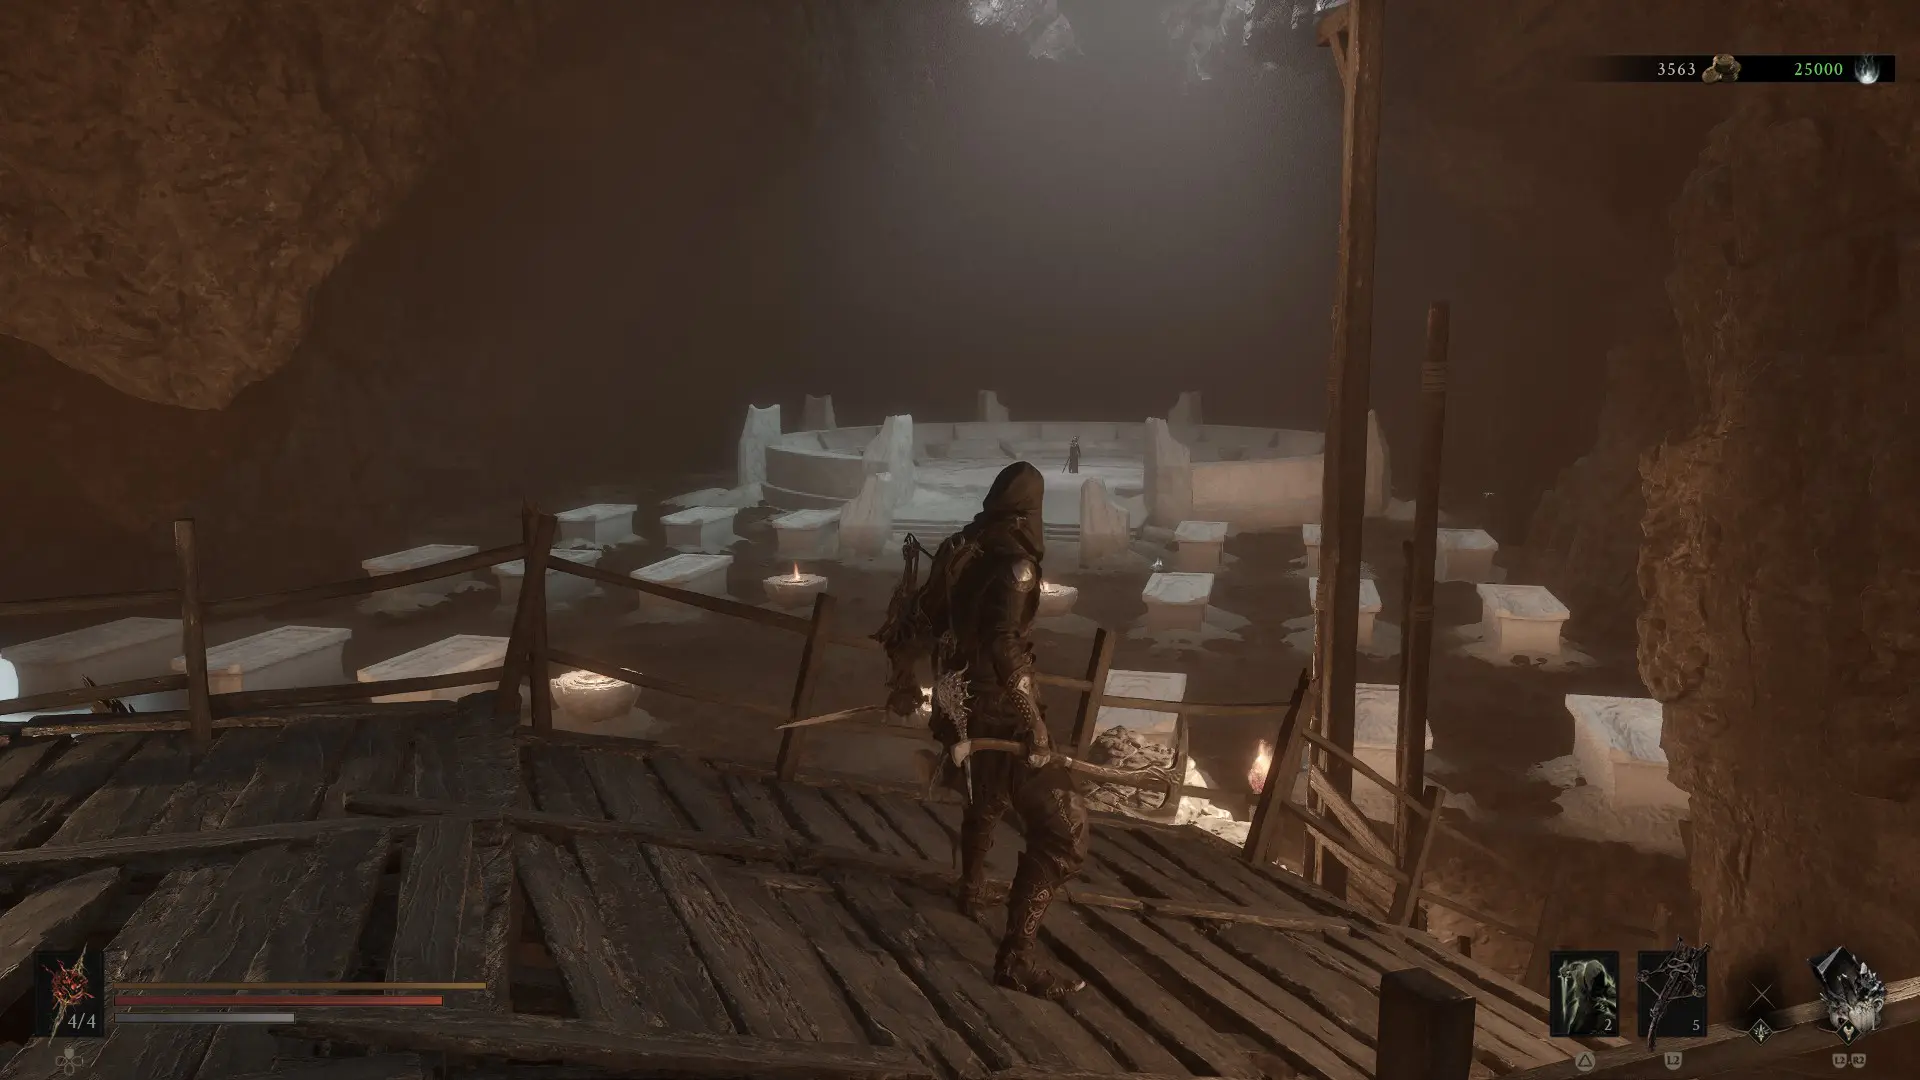
Both wings of the Marrow Keep have an extra Seal to find, pieces of gear that heavily augment how Mortal Shell 2 is played. The simpler of them is found in the west wing by heading down the hallway across from Vratko, in a hall of stark white coffins.
At the end of the room is Sester Genessa, an optional sparring partner with a connection to one of the shells. If you speak with her while wearing Tiel’s Shell, she’ll recognize him and offer the Infinite Seal as thanks. The Infinite Seal replaces your block with a Dark Souls-style parry, offering higher Break Damage in exchange for the much tighter parry window.
The perfect Seal for the confident player, the Infinite Seal is great for boss fights, and 1v1s, rewarding patient play with devastating damage.
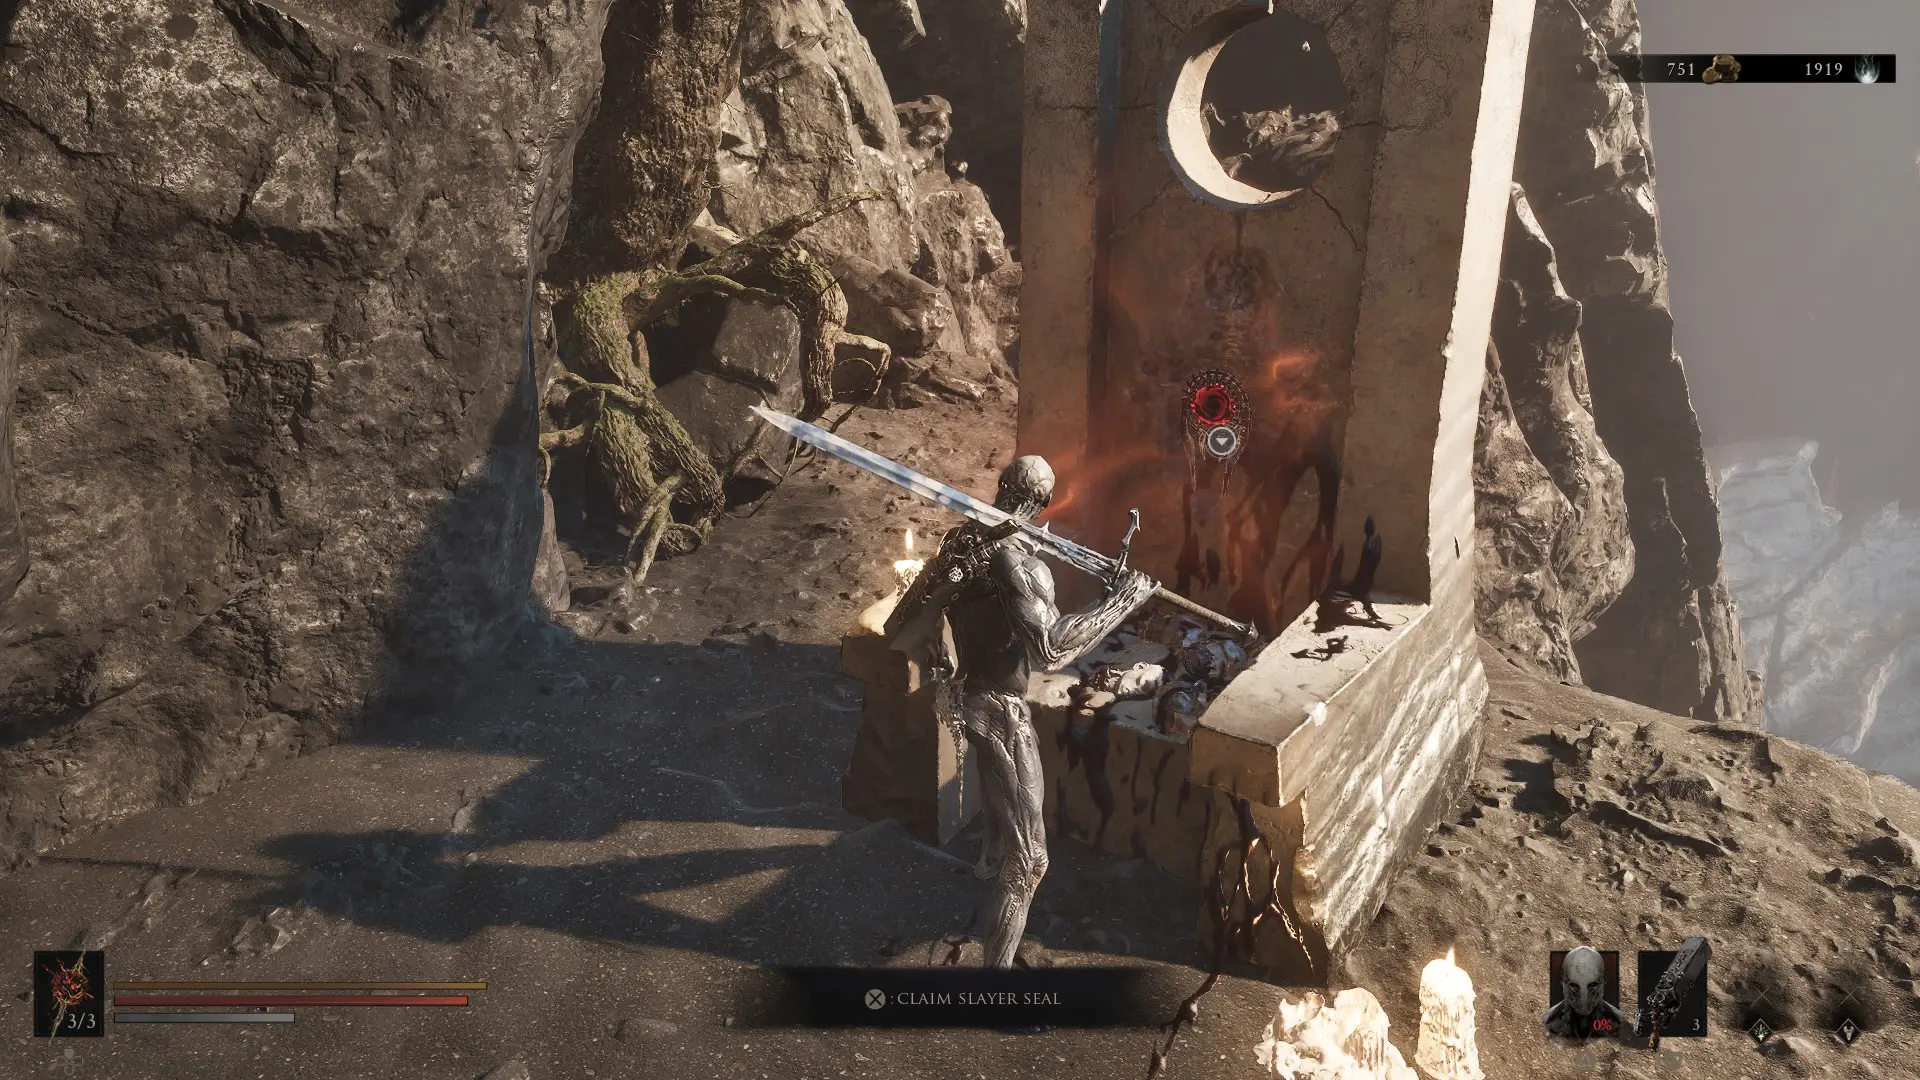
Alternatively, head to the east wing of the Marrow Keep and follow the path to Merrick’s left. Eventually, the path will lead to a beautiful cliffside view with a large throne, and a Seal waiting. This throne houses the Slayer Seal, a Seal that totally pivots Mortal Shell’s gameplay and leans more towards Doom 2016 of all things.
Equipping the Slayer Seal disables most achievements, while apparently enabling certain ones that require the Seal. This is a massive downside, but the Slayer Seal rewards the courage by empowering all Sidearms with Break Damage, while rewarding Riposte attacks with extra Resolve and HP gains.
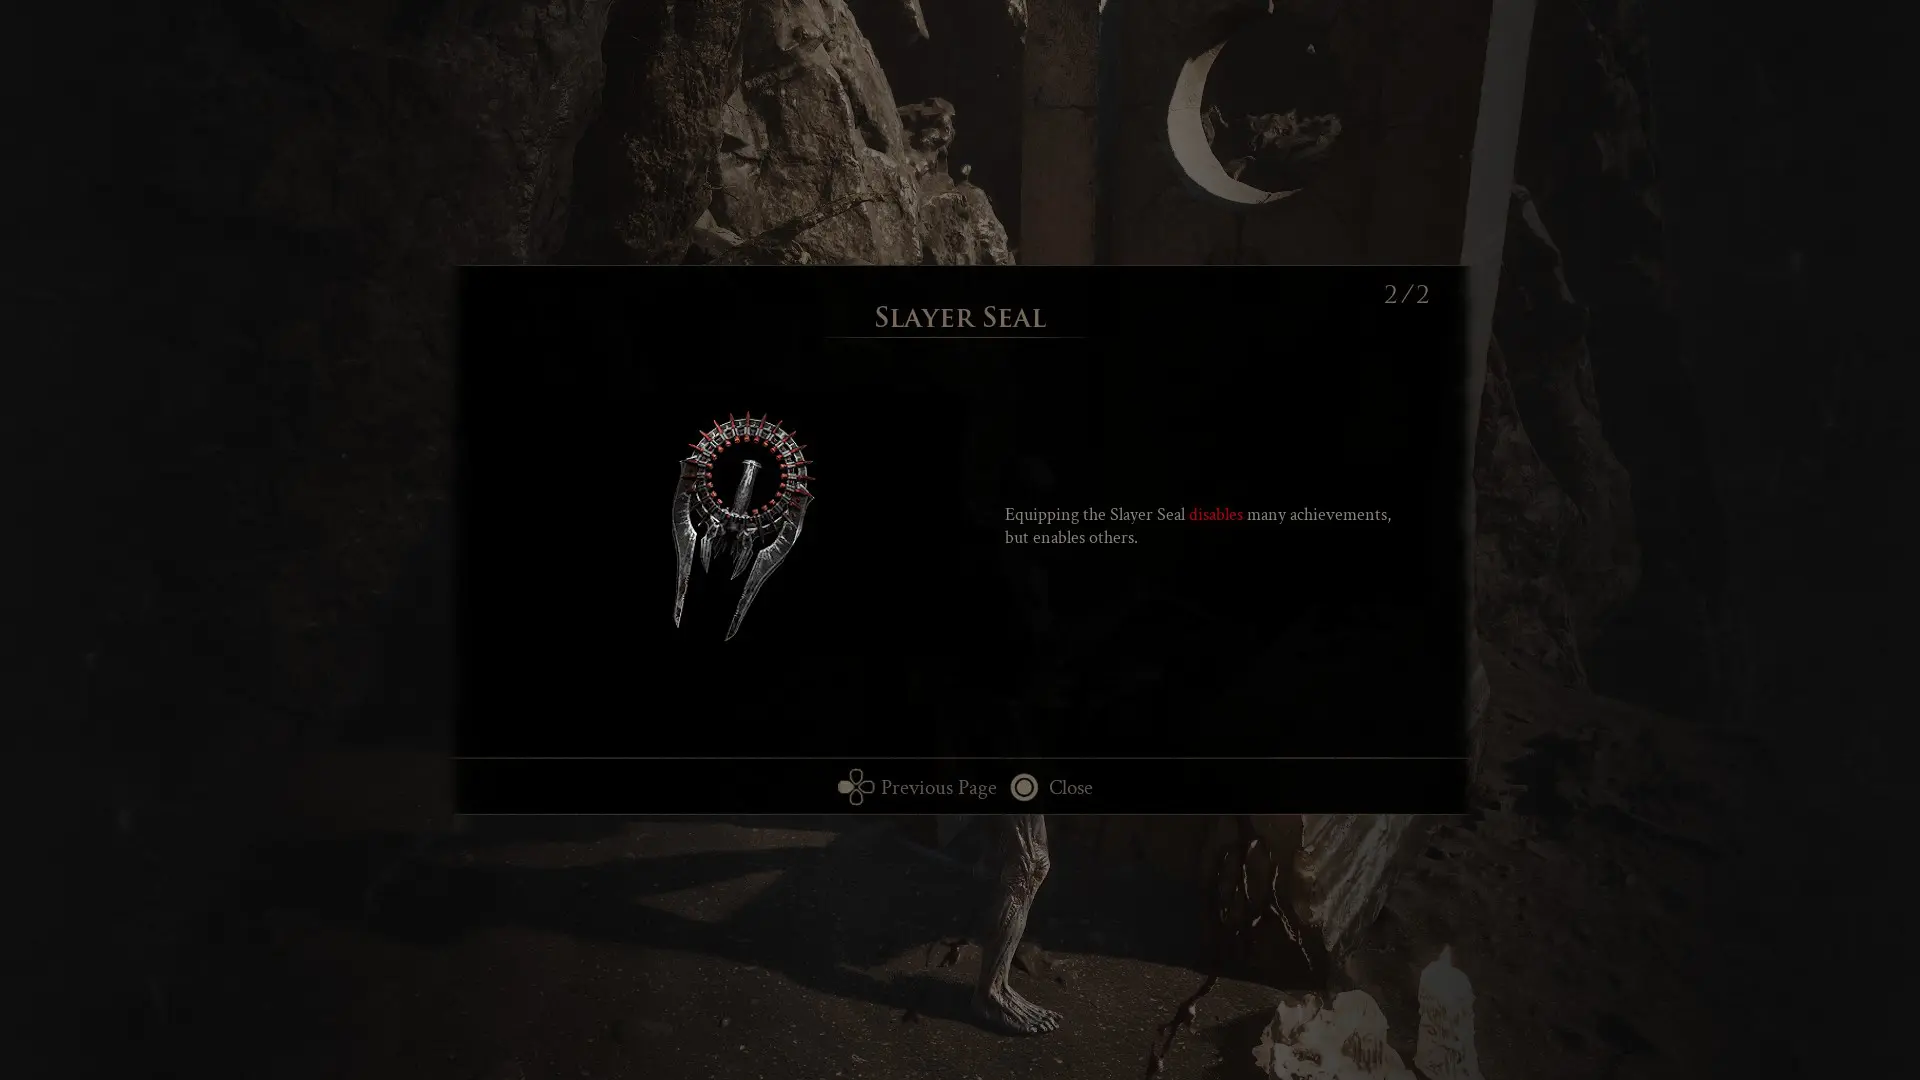
This is clearly meant to mimic the modern Doom games’ Glory Kill system, adapting it to Mortal Shell’s world with a whole lot of flair. This is genuinely a completely new way to play the game, and I fully recommend making a second file to lean into the experience.
Vlas and Mutton, Genuine Friends
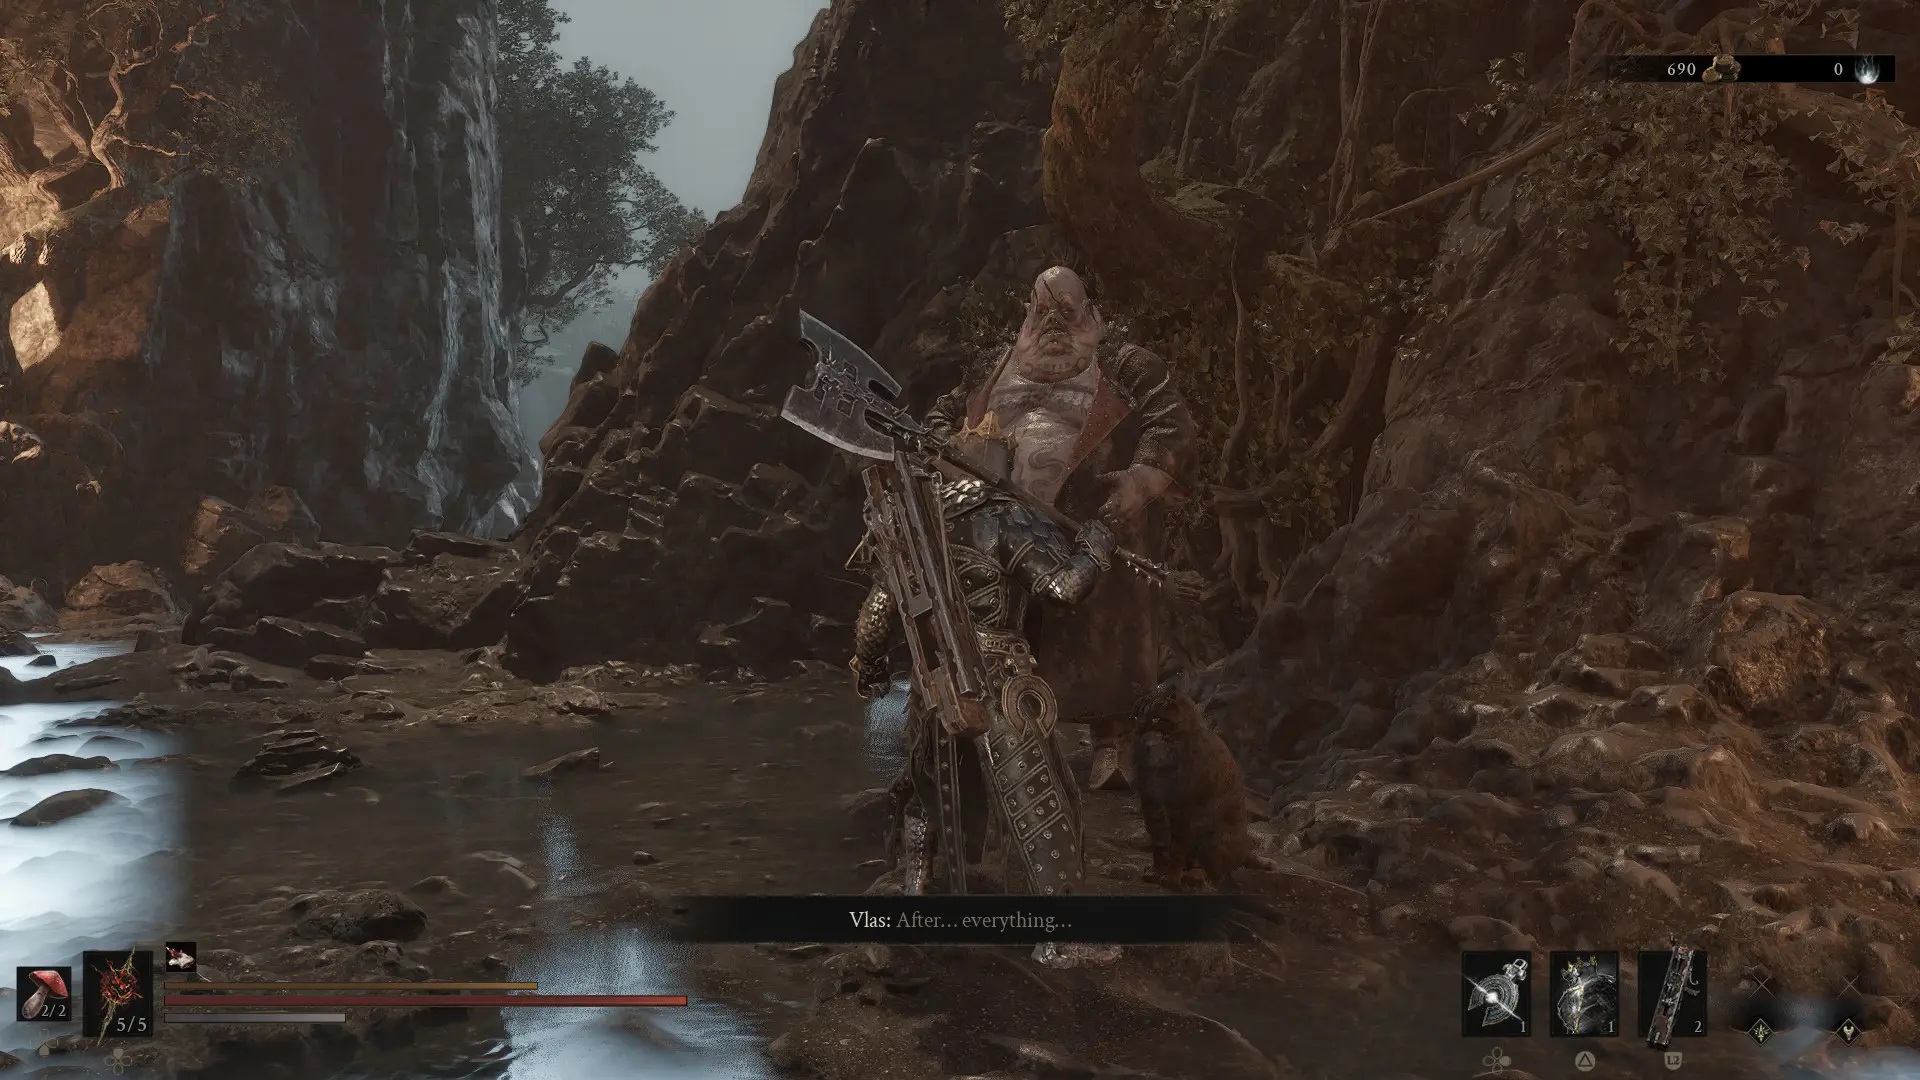
Vlas is a Gloom Siphoner who has been accosted by a gang of bandits. He’s desperate for your help, if you can swing by his upturned wagon in Mammon. Once you help Vlas out, he and his cat companion Mutton will return to the Marrow Keep, spending time near the Slayer Seal location.
He doesn’t serve a practical purpose, but seeing him and knowing you’ve done some good in the desolate world of Mortal Shell 2 is a kind comfort. Plus, you can pet Mutton once you warm him up to you!
At current, that’s the entirety of the Marrow Keep explored, though more is sure to unveil itself as the game progresses. Make sure to keep an eye on us here at TheGameSlayer so you don’t miss a thing!
