


L’Arca in Dragon Quest VII Reimagined is a land reclaimed by the wild, in every possible sense of the phrase. With townsfolk unable to communicate most of the time, it’ll be a challenge to figure out where to go and what to do.
Luckily, that’s why I’m here to help you out! Let’s take a look at L’Arca as a whole, where to go to progress, and major item locations and get some great upgrades for the team.
The Town’s Gone to the Dogs

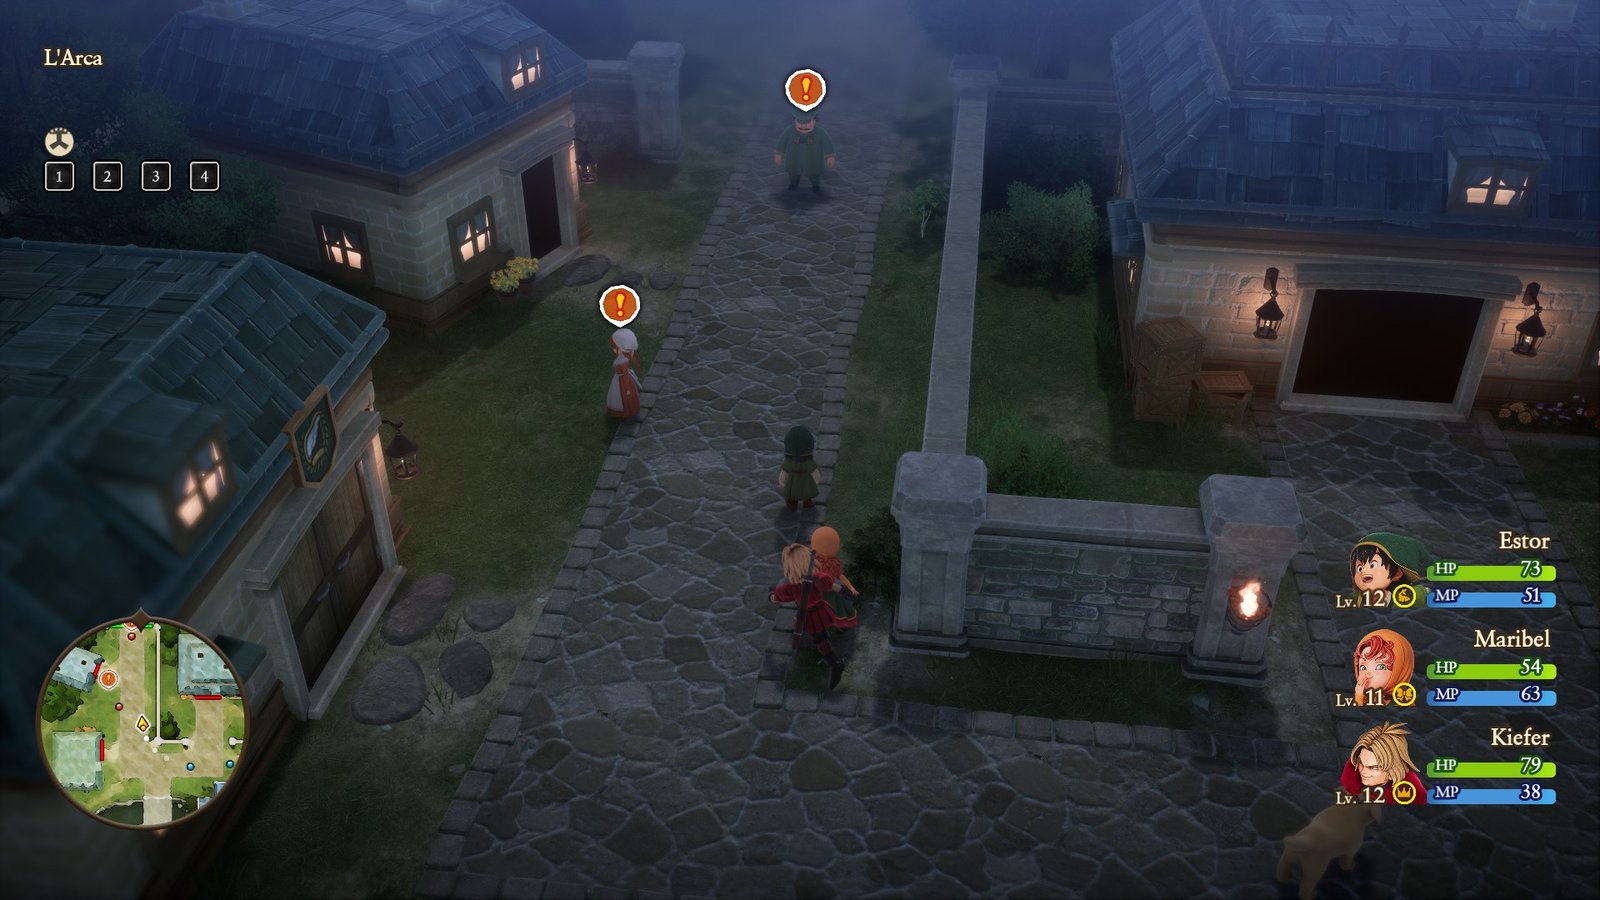
Once you land on L’Arca, only one spot of civilization can be found, a small village to the north of your starting location. Entering gives a short cutscene where the party realizes that animals seem to be the only active living things in the town.
You’ll be prompted to wander around town looking for answers, but you can expedite this by entering the wooden shack to the town’s northeast. Inside, a cutscene plays of the party finding a young boy chained to the wall.

Night descends, and the party decides to head to sleep. Enter the inn at the town’s west to move on to the next day, and notice that the curse turning the townsfolk to animals breaks for short moments.
Talk to the marked villager near the shack to hear a legend about the town, and a hint to the boy’s identity. Two more townsfolk on the northern path are then marked. Talk to both of them for extra info, and the key to the boy’s collar.
Return to the shack and set him free, beginning the race to L’Arca’s dungeon, the Grotto de Sigillo.
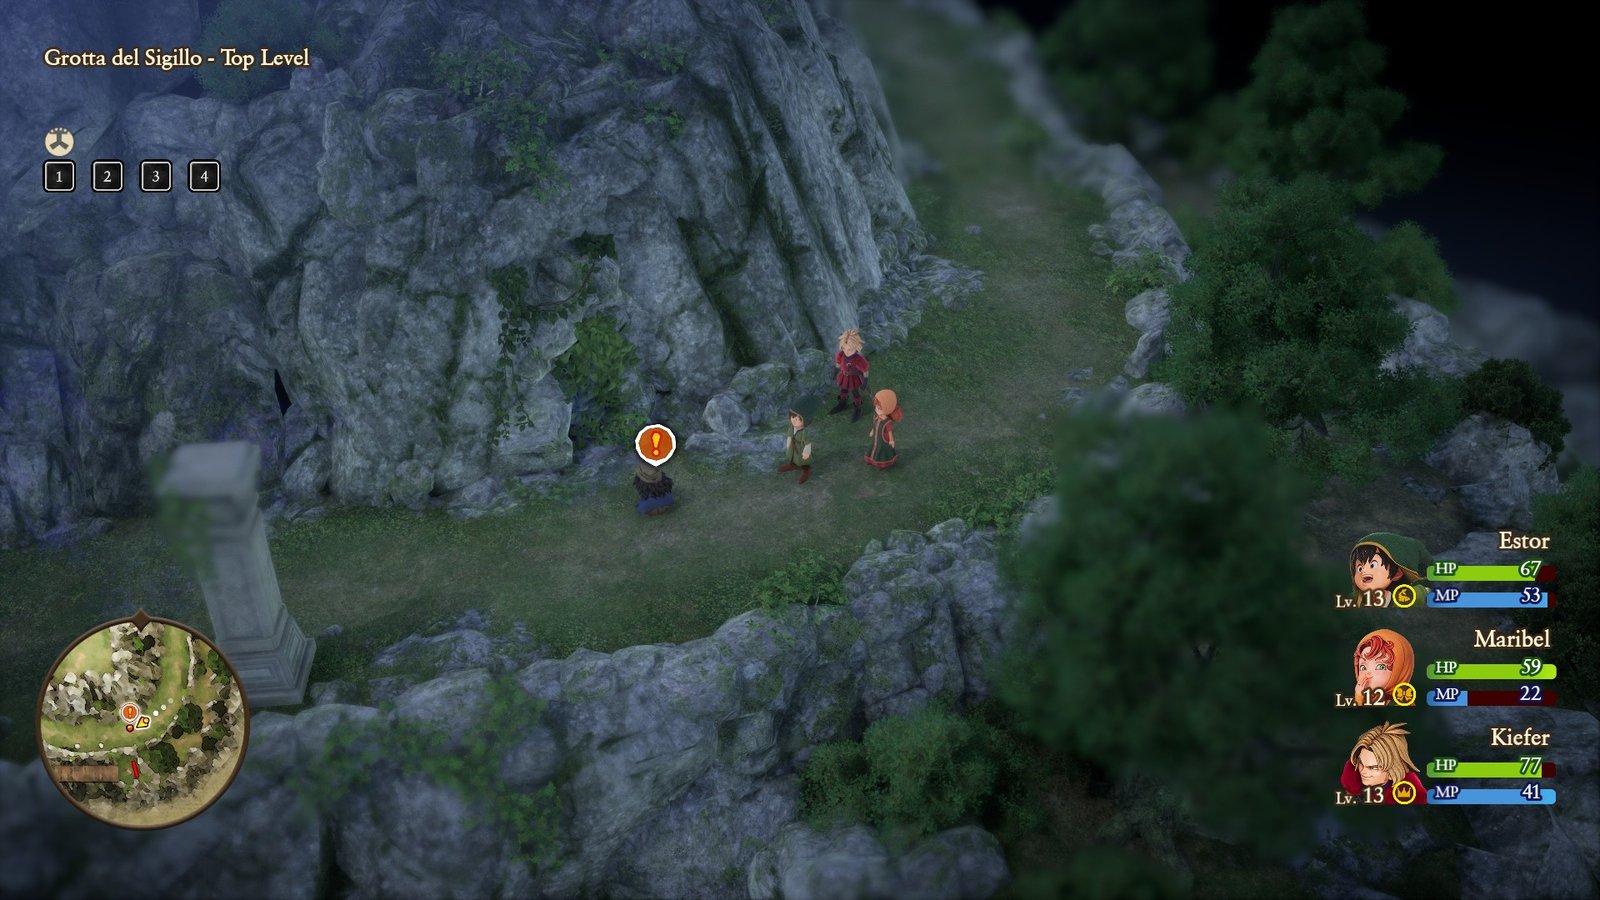
Grotta del Sigillo
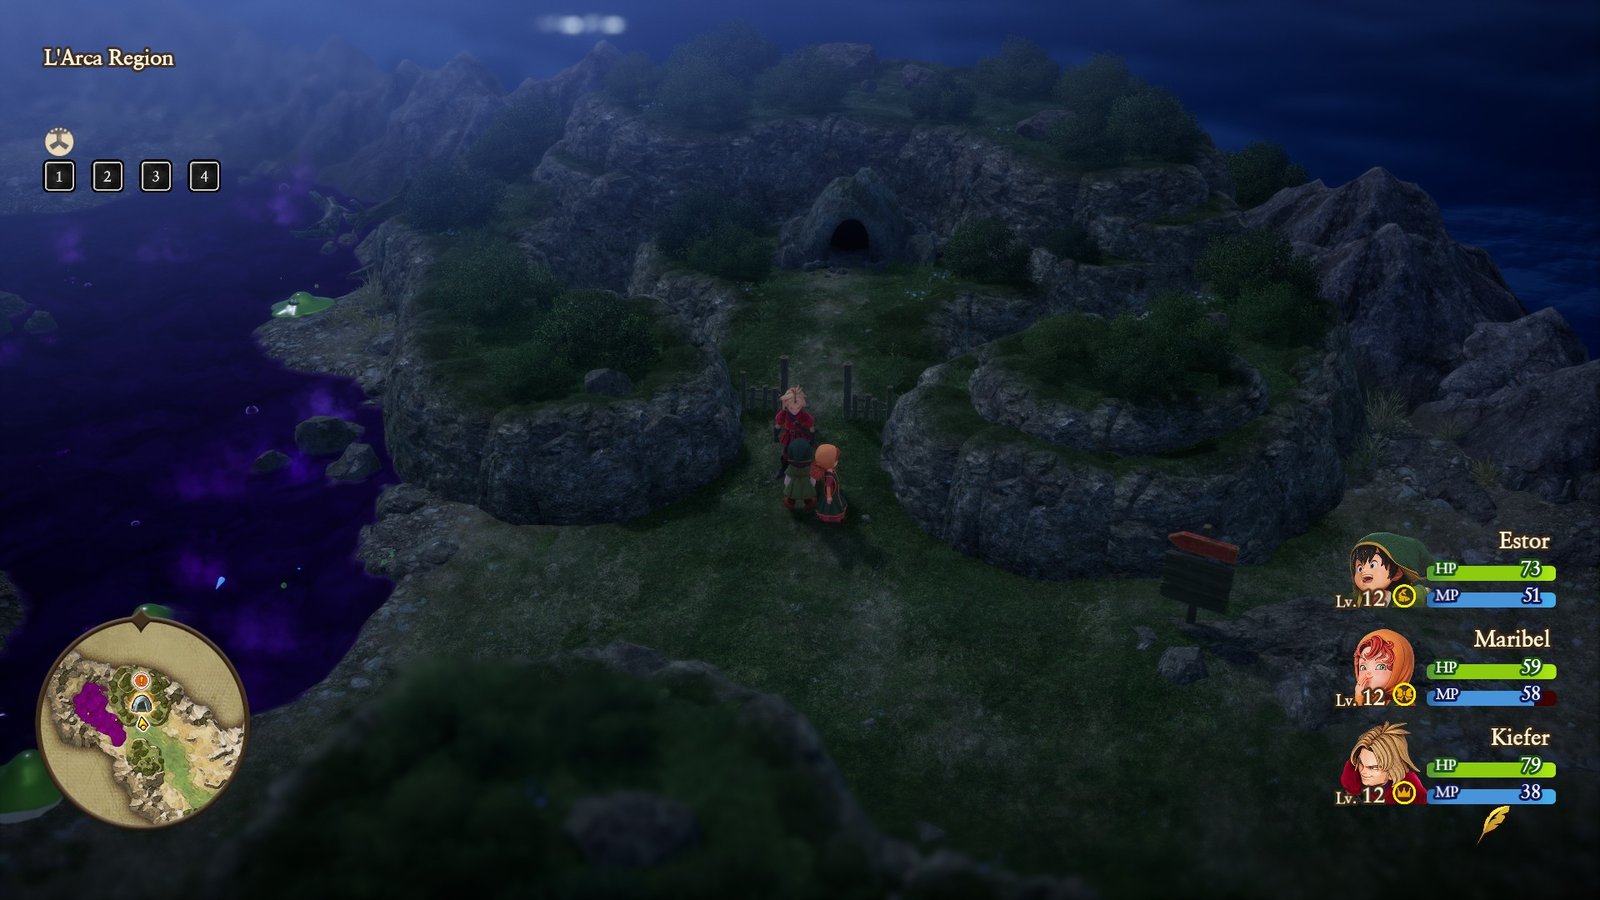
The Grotta del Sigillo is located on the northwest corner of the island, marked by a sign beside a massive purple poison swamp. When you enter, you’ll notice the small feral boy run into the entrance to the Grotto proper. Follow up the hill to the left, taking a moment to save before heading inside.
Climb up the staircase to the second floor until you find a crossroad. Heading south is progress, but take the time to kill the Hammerhood to the west and grab the Red Fragment lying on the ground.

Sticking to the southern path further down will lead to a chest with an Iron lance, a great weapon upgrade for Kiefer. The staircase upwards is to the southwest, marked by monsters. Keep following the path of monsters to climb higher and higher.
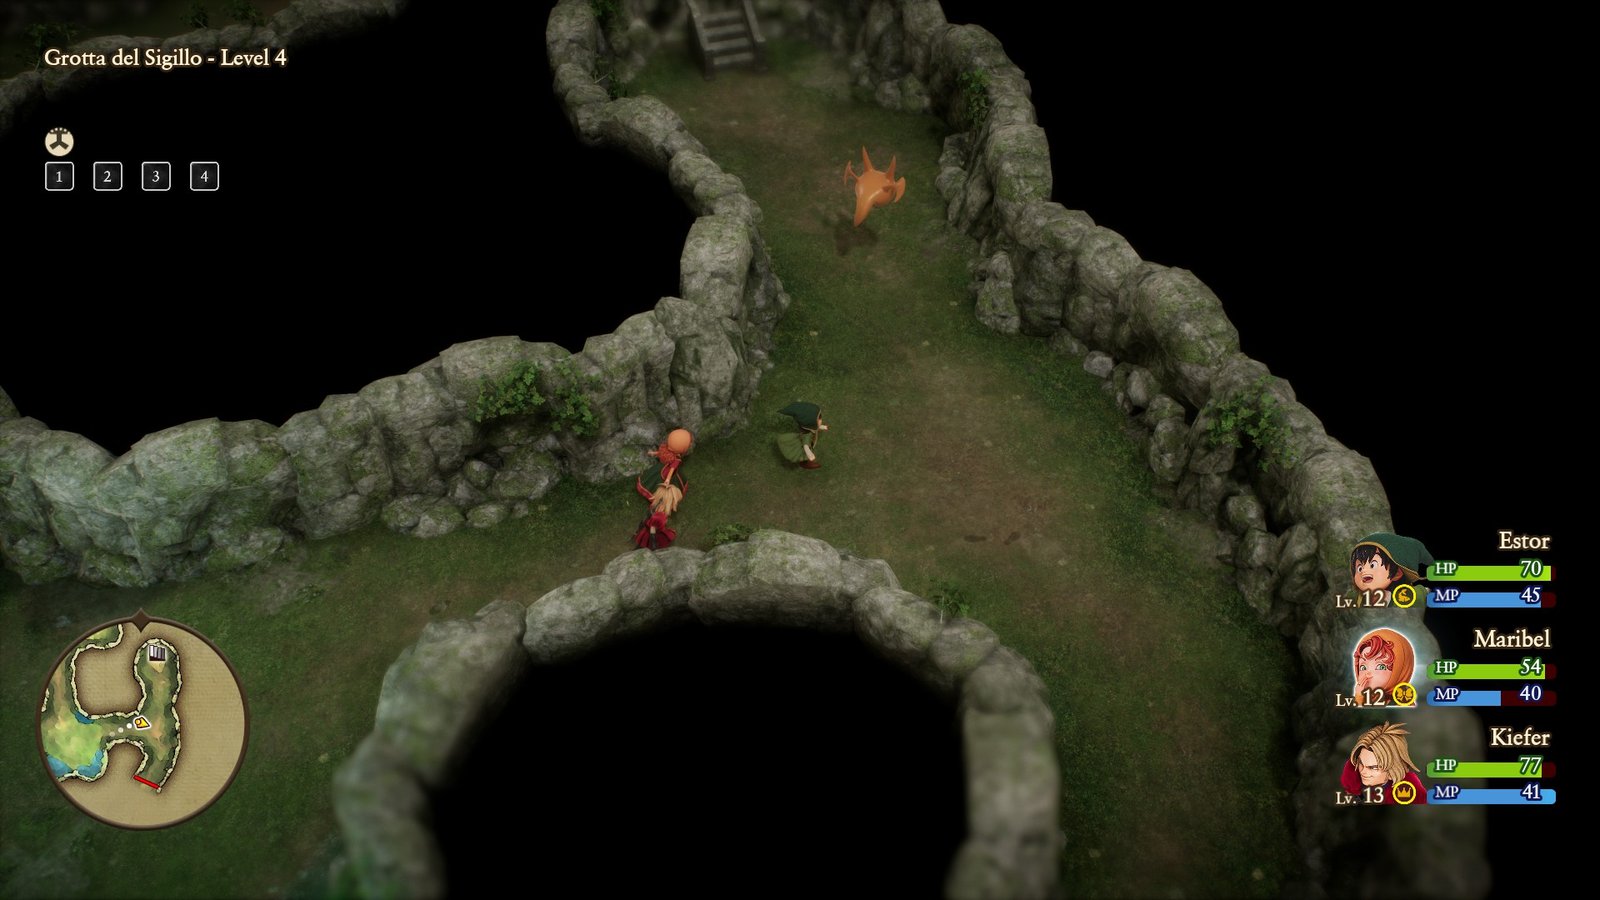
Drake Slimes in particular mark side paths with treasure, notably the staircase to the fifth-floor chest, which houses a mini medal. From the fourth floor, stick to the southern side of the caves to eventually reach a bridge leading to the very top of the Grotta.
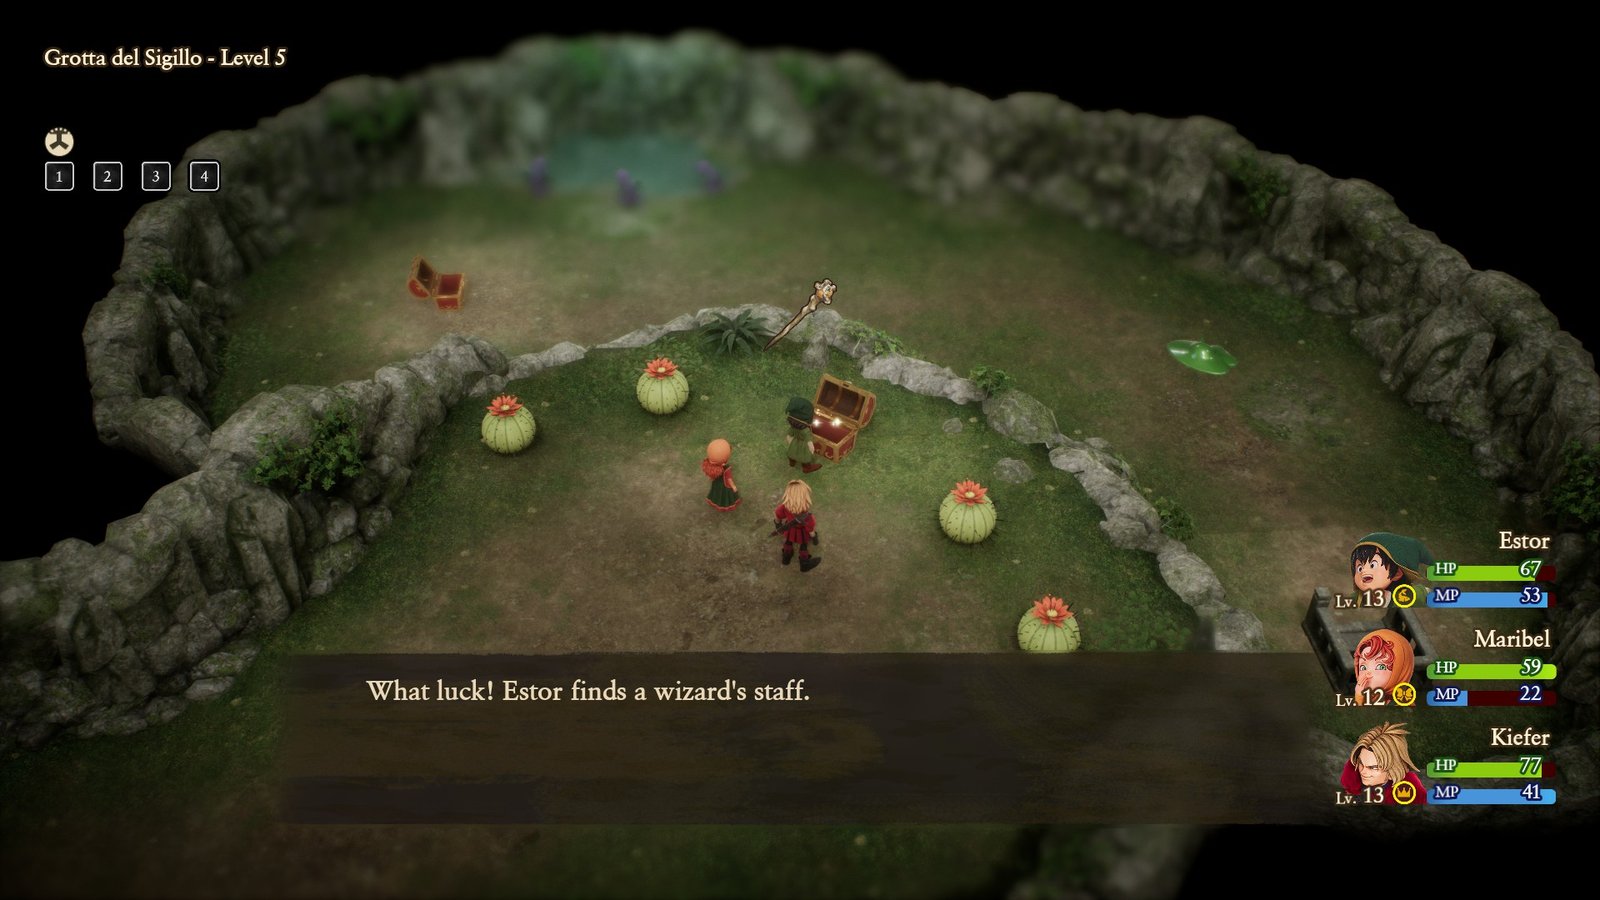
The Top Level is made up of a winding path that surrounds the Grotta’s peak. Following it to find the feral boy pawing at a web of vines. Before assisting him, pass him by to find the other chest in the fifth-floor room, originally out of reach. This chest houses a Wizard’s Staff, a great upgrade for Maribel’s magic.
Return to the boy and interact with the vines to assist him. Follow him through the crack to find a statue and the wolf from the story, who is sick. Ascend the stairs to the north to find the boss room. Interact with the stone coffin to begin the fight against the Hackrobat, the town’s tormentor.
Boss Battle: The Hackrobat
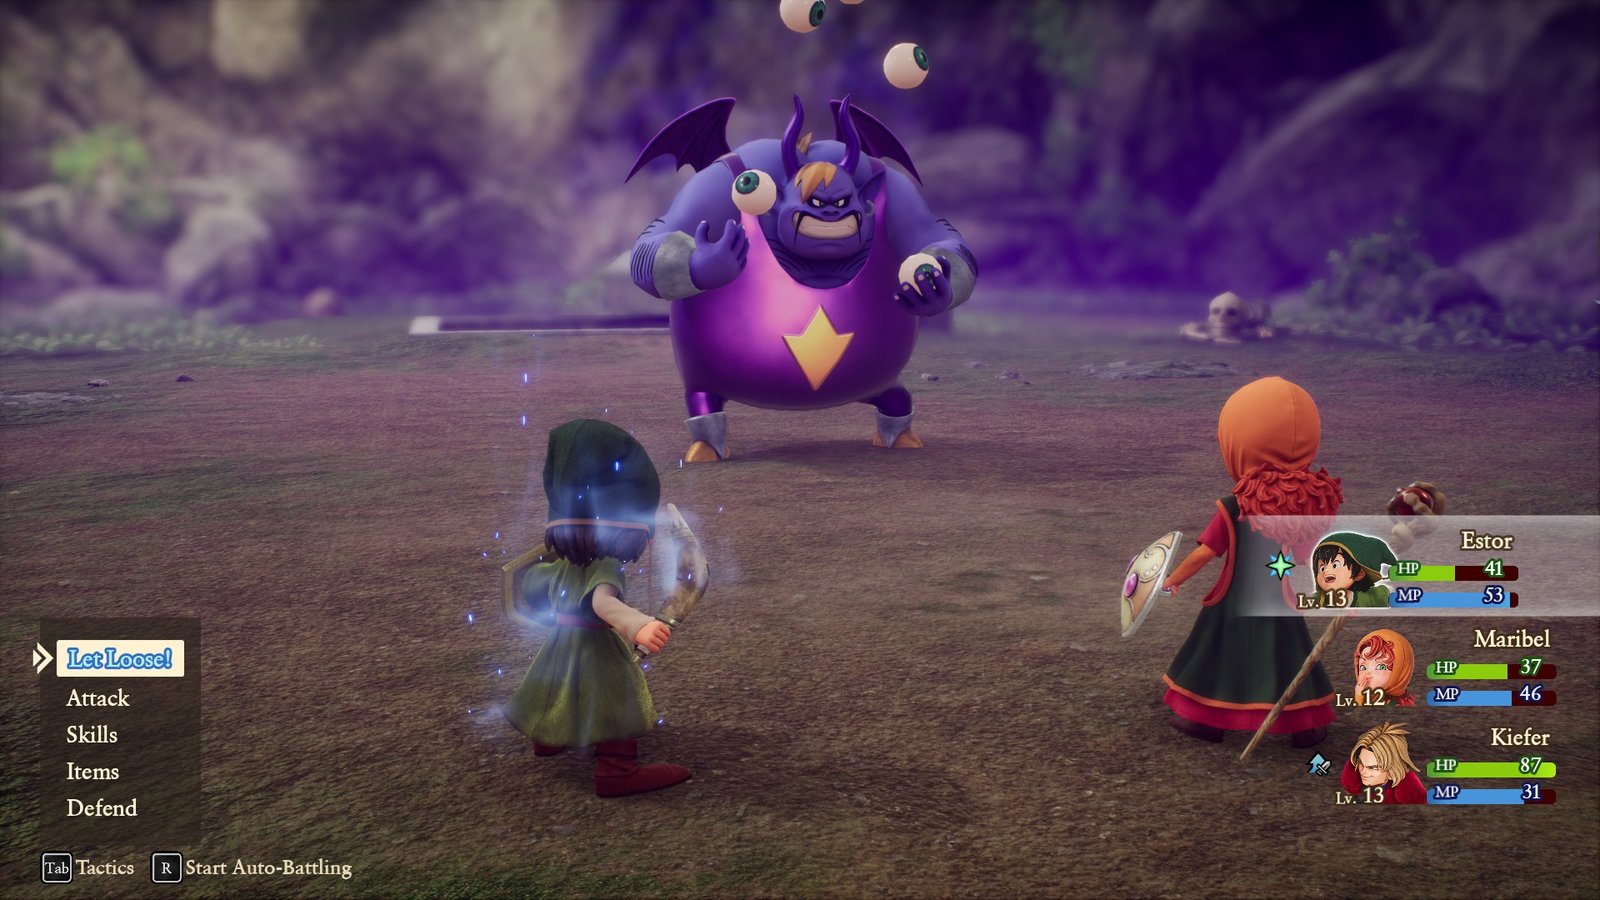
The Hackrobat is a physical powerhouse with a weakness to fire. Despite his impressive damage, proper leveling will have the party sitting pretty for the battle.
- Maribel’s Kerfrizz targets four random enemies, but with a single target, each will pelt the same foe, dealing stellar damage.
- The Hero’s Oomphle allows him to increase a single party member’s damage. Work to keep the buff active on both Maribel and Kiefer to maximize your output.
- Take the time to cast Focus Strength on Kiefer whenever you can, as the one-time amplify allows him to deal over double his normal damage in a single strike.

Cycle the Hero between casting buffs and heals, and the fight will be smooth sailing. Once the Hackrobat is defeated, the curse is lifted and you can return to the town of L’Acra. Visit the wooden shack one more time before leaving, and you’ll meet your fourth party member before you can even make it back to the Shrine of Mysteries!