


In Chapter 2 of Black Myth: Wukong, there’s a hidden questline called the Old Rattle Drum that involves you communicating with the spirit of a boy. It’s a fun little side quest with an exciting boss battle at the end of it all. But since the game doesn’t explain it too much, many players end up missing it entirely.
In this guide, we’ll give you a complete walkthrough of this questline and help you find the location for the Old Rattle Drum Quest & Mad Tiger Boss in Black Myth: Wukong.
How To Start The Old Rattle Drum Quest In Black Myth: Wukong
To start the Old Rattle Drum questline in Black Myth: Wukong, you must defeat the Tiger’s Acolyte miniboss in Chapter 2. You’ll find the boss at the far end of the Yellow Wind Formation area. Fast travel to the Windrest Hamlet and follow the path across the bridge to the end to find the boss.
Defeating the Tiger’s Acolyte will give you the key item, Old Rattle-Drum, and the quest will officially begin.
Old Rattle Drum Quest Walkthrough in Black Myth: Wukong
With the Tiger’s Acolyte defeated you’ll need to take the Old Rattle Drum to three specific locations in the region and use it to summon a spirit. Once you get to these spots, your vision will start to warp, and you’ll hear the ghostly voice of a boy. But other than that, there’s no other clue to find these spots.
First Location – Windseal Gate

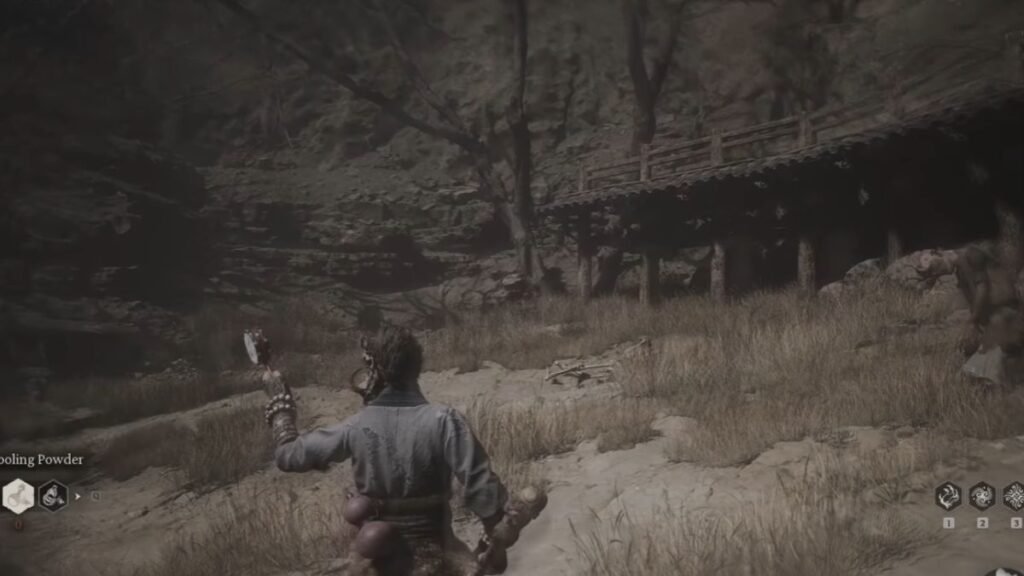
The first spot where you’ll need to go is near the Windseal Gate Keeper’s Shrine. Fast travel to the shrine and follow the path on your right. Cross over the rickety wooden bridge and take a sharp left instead of heading up the stone staircase. Pass under the bridge, and your vision will start to blur. You’ll hear the spirit of the boy coughing.
Use the Old Rattle Drum and defeat the enemies nearby.
Second Location – Windrest Hamlet

From the Windrest Hamlet Keeper’s Shrine, take the path behind you going down. Go through the gate and take a left; you’ll find the second location where you can use the Old Rattle Drum. Like before, use the item and defeat the enemies in the area.
Third Location – Village Entrance

The final location is near the Village Entrance Keeper’s Shrine in the Sandgate Village region. Follow the path over the wooden bridge from the shrine and immediately turn right. You’ll find a small village. Keep moving forward around the house and look for an opening near the dead tree.
Keep moving through the field that comes up and go out the gate on the other side. This is where you’ll need to use the key item a third time.
After this, the spirit of the boy materializes, and a cutscene plays when he jumps inside a well. Follow the boy and jump in, and you’ll come face to face with the Yaoguai Chief: Mad Tiger.
Defeating Mad Tiger In Black Myth Wukong
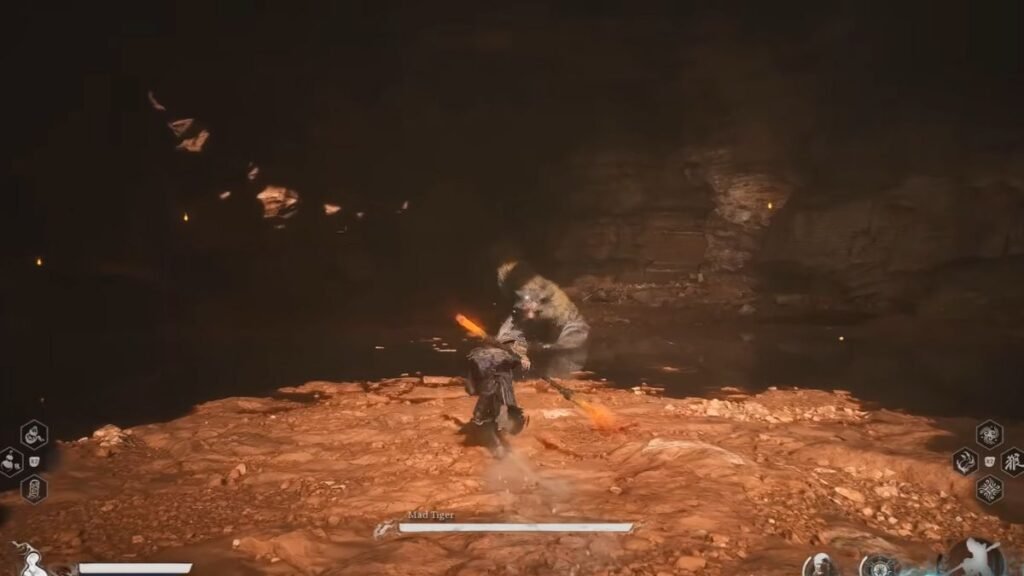
The Mad Tiger boss fight is a tough one. In fact, if you’re not confident in your abilities, we recommend completing Chapter 2 and upgrading your character before taking him on.
The boss always starts the battle with a leaping slash. So be prepared to dodge the moment the cutscene finishes playing. Watch out for his feinting strikes, where he leaps to one side for an uppercut and then slams down after a moment, changing his directions.
He has another leaping attack that you’ll need to watch out for. Unlike the first leap attack, in which he attacks with a single slash, this time, he will also follow up with a ground slam. If you manage to time your dodge perfectly, you’ll be able to run in for a couple of attacks as he recovers.
The Mad Tiger has a lot of combo attacks in his arsenal, so instead of playing aggressively, you want to keep your distance and look for a potential window to strike. Focus on dodging and maintaining your stamina meter.
Immobilize and Rock Solid are two amazing spells to have for the fight. Casting a well-timed Rock Solid can parry the boss out of his combo, allowing you to get in a couple of hits. And if you’ve got a couple of points invested in the Immobilize skill tree, try to time it when his attack lands for extra damage.
The boss also has a couple of roar attacks that can damage you if you’re nearby. It will also cause rocks to drop from the ceiling, which you can perfect dodge if you time it right.

This boss battle is all about biding your time and playing defensively. Don’t rush in since the boss can easily stun-lock you and take you down before you get a chance to recover. Defeating the Mad Tiger completes this quest line, giving you the Mad Tiger Spirit to absorb. You’ll also get the following resources as a reward for completing the quest:
- 1x Blood of the Iron Bull
- 1x Yaoguai Core
- 1x Stone Spirit
- 1029x Will
However, most importantly, there is a chest to be unlocked at the end of the boss arena that gives you the Plaguebane Gourd – which halves the healing effect; but increases the damage that you deal.
That brings us to the end of this article. Be sure to check out our other guides for the game, including Four Banes Explained and How To Upgrade Armor.