


Borderlands 4 holds many secrets; finding them will lead you to unlock many collectible items in the game. These items are necessary to know more about the lore of the area and provide the SDU Token and more rewards upon finding them. Here we will take a look at all 16 collectible items that you must hunt down in the Idolator’s Noose area in Borderlands 4.
All 16 Collectible Items in Idolator’s Noose in Borderlands 4
The Idolator’s Noose has 16 collectibles to locate. These include:
- 4 Echo Logs
- 2 Vault Symbols
- 3 Dead Bolts
- 3 Survivalist Caches
- 1 Evocarium
- 1 Lost Capsule
- 1 Propaganda Speaker
- 1 Vault Fragment
All Echo Logs Location in Idolator’s Noose
Idolator’s Noose contains around 4 Echo Logs in the map. Here we have given details of all four Echo Logs locations found in this area.
#1. ECHO Log “Safe and Sound”

Location: We are also going to find the log in the west of Idolator’s Noose, northeast of Rattlehead Crest.
You will find a chair on a platform overlooking the Rattlehead Crest. Get up to the place and you will easily spot it as the log is lying on the chair.
#2. Echo Log “Happy Helper”
Location: Head north of Rosemary’s Reserve until you arrive in an area filled with haystacks.
You will also find a scarecrow sitting in the middle with a giant wheel next to it. The Echo Log is found on the haybale to the right of the scarecrow.
#3. Echo Log “Here Ye, Here Ye”
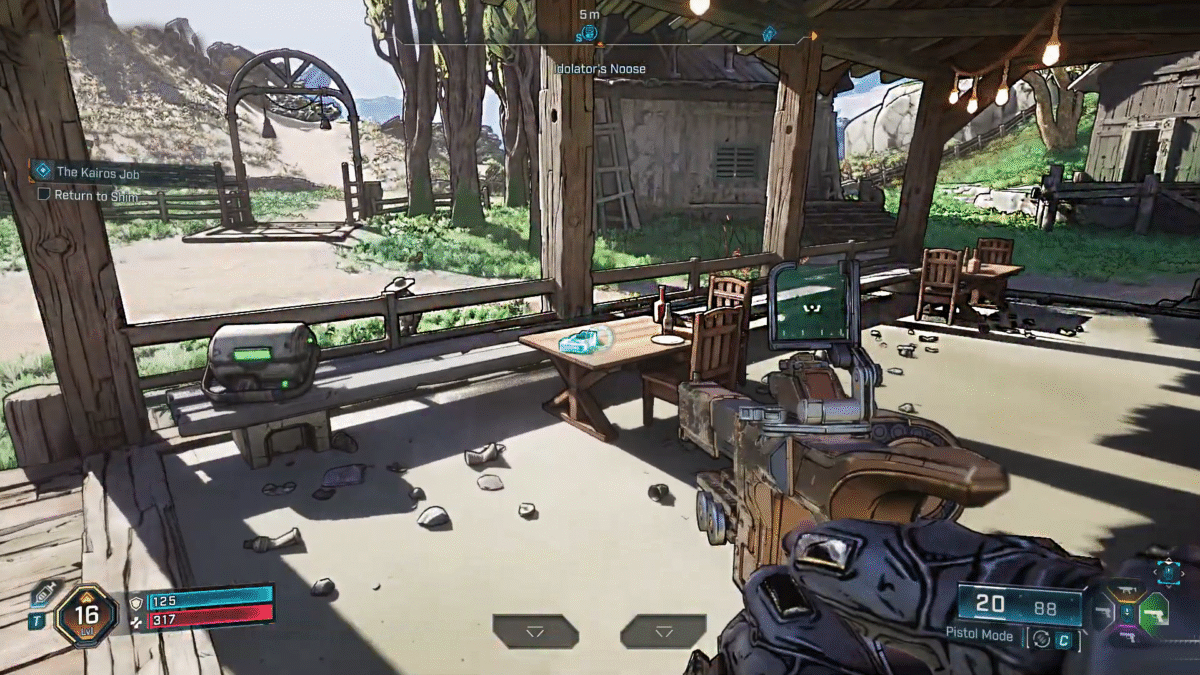
Location: Get to the town located east of Rosemary’s Reserve.
The town is located directly under the giant bridge. Head to the restaurant area southwest of the town. It’s an easy find, as there will be light bulbs hanging on the ceiling. In one of the desks, you will find the Echo Log.
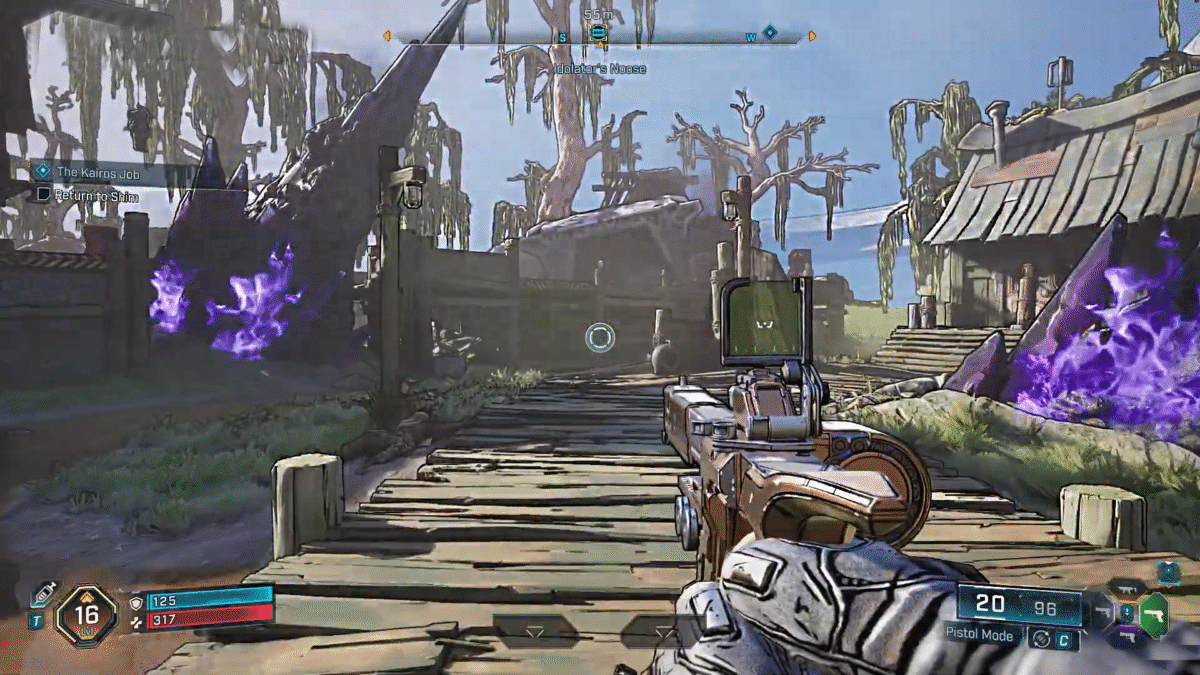
#4. Echo Log “Till Death Do Us Part”
Location: Get to the Mirehome area in the southeast of the map. From the spot, head northwest.
Follow the route, go through the broken pipe, and you will see a wooden board with a white arrow marked on it. After a few steps, you will see the Echo Log lying next to a dead body.
Note: Here, you will encounter an enemy named Wreck, Chain Master. While you can kill him, if you manage to go behind him, you will find the Echo Log spot, pick it up, and leave the area.
All Vault Symbol Locations in Idolator’s Noose
Idolator’s Noose contains around 2 Vault Symbols in the map. This section covers both Vault Symbols, including their locations, and the SDU Token reward for obtaining them.
#1. Vault Symbol
Location: West of Idolator’s Noose, northwest of Rattlehead Crest point of interest.
Head to the red building near the cliff. Get to the right side of the building to see a grappling point. Take the grapple point to reach the upper floor. Now follow the staircase to get inside the building. Once you are on the floor, jump on the pipes and then to the wooden panel in front of you. Now move to your right, you will see the Vault Symbol on a boarded-up window.
Reward: 5 SDU Tokens
#2. Vault Symbol
Location: Get to the town located east of Rosemary’s Reserve.
Just left of the restaurant spot in the town, where we picked up the Echo Log, you will find a two-storey building. Just climb to the top, and you will find the Vault Symbol on the small floor.
Reward: 5 SDU Tokens
All Dead Bolt Locations in Idolator’s Noose
Idolator’s Noose has 3 Dead Bolts on the map. Here, we will cover the location details of each of these.
#1. Dead Bolt “Watch This”
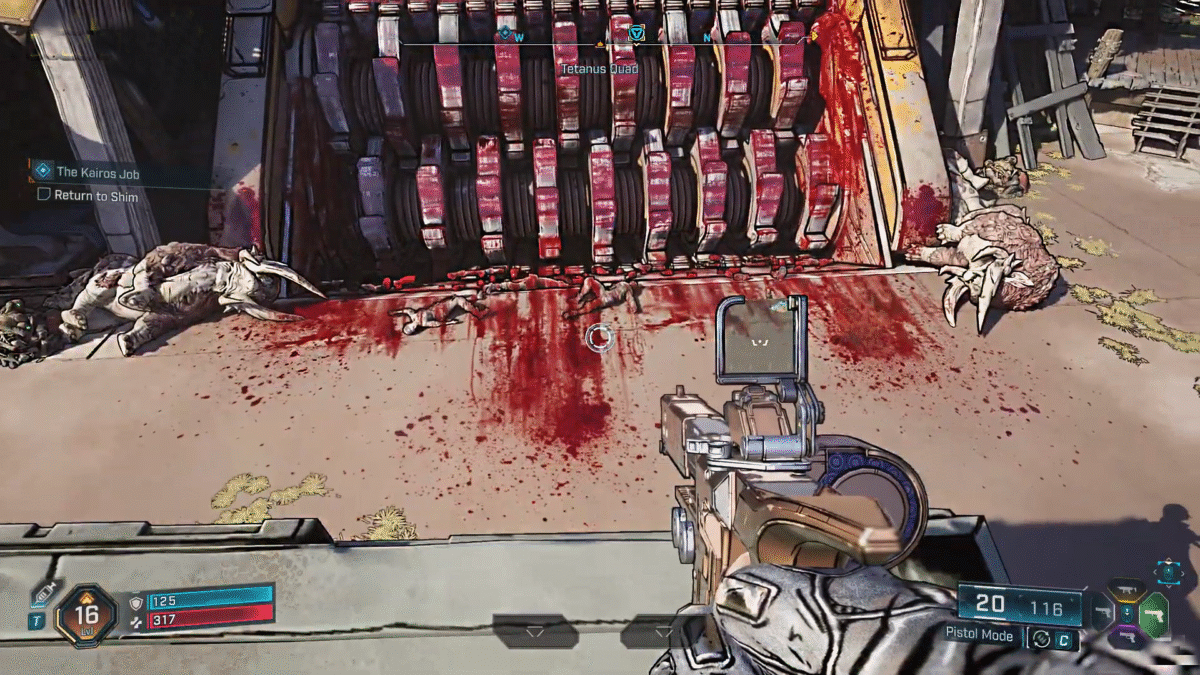
Location: Just a bit northwest of the Tetanus Quad point of interest, you will find the Dead Bolt collectible.
This one is hardly missable, as you will find the Dead Bolt collectible is located near the bloody stain, next to a giant shredder.
#2. Dead Bolt “Starfish-Crossed”
Location: Head north of Rosemary’s Reserve, located at the top of Idolator’s Noose.
Get close to the lake in the region, and you will find a dead body near the coastline. Next to the dead body, you will find the Dead Bolt.
#3. Dead Bolt “Dying Wish”
Location: Just move south of Mirahome, and you will find the Dead Bolt.
Get to Mirahome and start moving south, and you will soon arrive in a church area. Just near the church, you will see two graves. You will find the Dead Bolt sitting on the stone grave in the area.
All Survivalist Cache Locations in Idolator’s Noose
You will come across 3 Survivalist Caches in Idolator’s Noose. Here are the details of their locations and the SDU Token bonus for claiming them.
#1. Survivalist Cache
Location: Move south of the Racketrun point of interest to get the Survivalist Cache.
Once you are in the location, find the grate to climb onto the wall, and you will find an arrow painted on the house. Next to the arrow, a box with a dollar sign is also painted to indicate the location of the cache. If you get inside the house, you will find the Survivalist Cache.
Reward: 10 SDU Tokens
#2. Survivalist Cache
Location: Head northwest from the Tetanus Quad point of interest.
Here you need to follow the staircase to climb up. And you will arrive at a spot with a wooden bridge in front of you. You must go under it, and you will find the Survivalist Cache on the ground. It will be located next to the campfire.
Rewards: 10 SDU Tokens
#3. Survivalist Cache
Location: Located southwest of Boglight Vigilance (Located southeast of Mirahome) in the area.
Either you can start moving south from the “Dying Wish” Dead Bolt area, or get to Boglight Vigilance and start moving southwest. Soon you will arrive in the swamp area. The area will be filled with typical huts you see in swamps, but you will also find a crashed ship container half-submerged in the location. Get inside the container, and you will find the Survivalist Cache.
Reward: 10 SDU Tokens
Evocarium Location In Idolator’s Noose
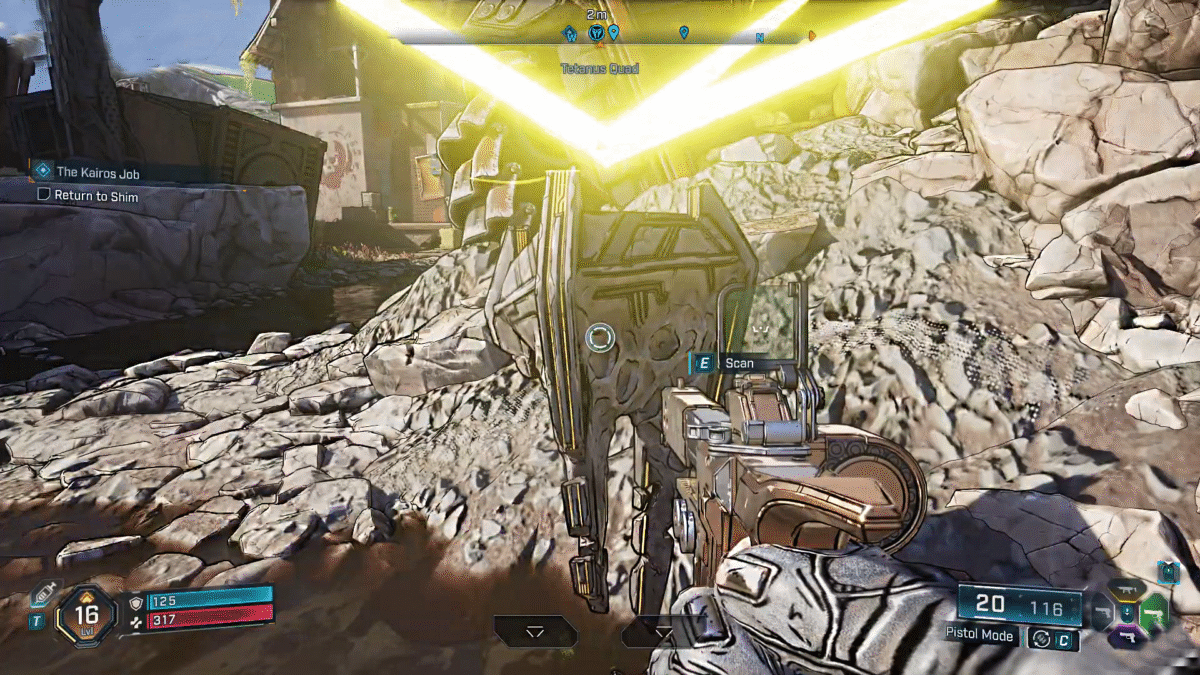
Location: Move to the northeast of the Tetanus Quad point of interest (East of Idolator’s Noose), just north of the first Echo Log location.
Here you will find a slab. When you interact with the slab, it will point to 3 golden orbs, and all orbs will be placed in different locations of the area. Your job is to get to the orb and interact with it to complete the objective. Every time you touch the slab, the laser will shoot out, pointing at the orb. The orbs are always placed in high areas, where you must climb a building to gain access to the spots. Here, you need to look out for the grappling points, ladders, and other climbable spots to reach the top of the buildings quickly.
Once you have finally interacted with all three orbs in the area, head back to the slab, and you will complete the Evocarium and get the reward.
Reward: 15 SDU Tokens
Lost Capsule Location In Idolator’s Noose
Location: Head northwest of Rosemary’s Reserve, just right of the spot where we found the Echo Log “Happy Helper“
Walk on the road until you arrive at a hut above the bridge, jump, and get to the attic, and you will find a Crimson Resistance Supply Cache (Encrypted). Take the cache item to the safehouse to decrypt it. You must walk to the nearest safehouse while holding the cache in your hand. It will take quite a while to get to the safe house. To make sure to move a bit faster, you can always throw the item far away and run to grab it. Just stick to the road, and you will eventually get to the nearest safehouse to complete the objective.
Reward: 15 SDU Tokens, with a collection of other items, will soon spawn out once you insert the Crimson Resistance Supply Cache into the machine.
Propaganda Speaker Location In Idolator’s Noose
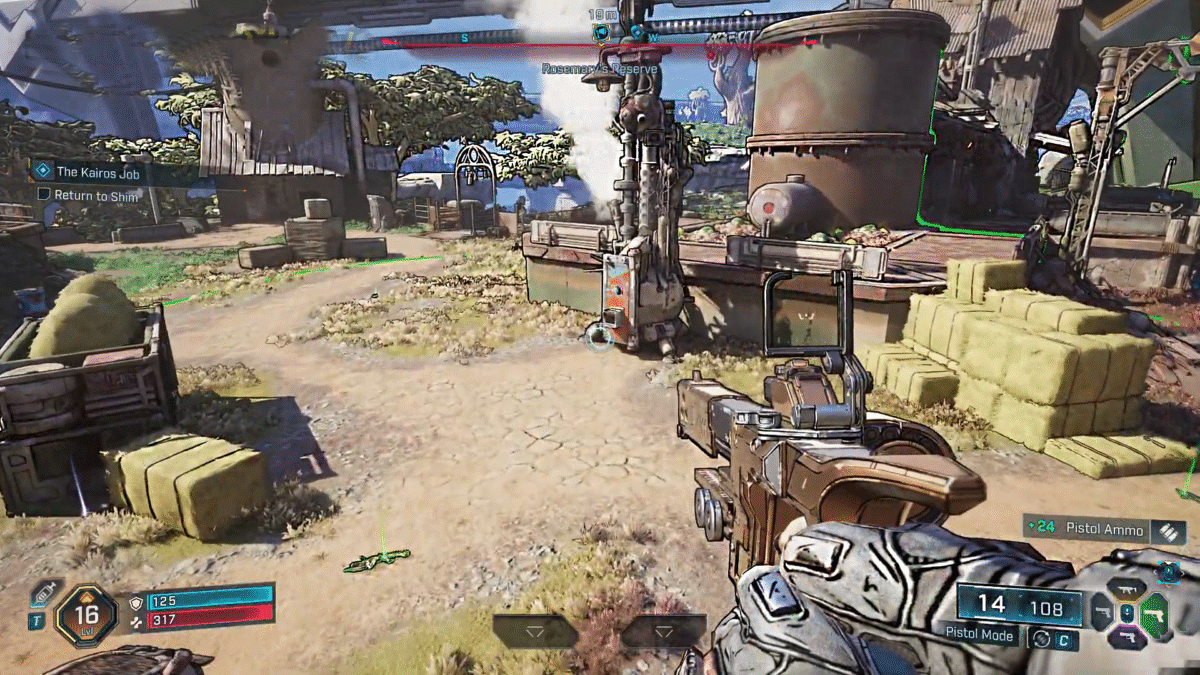
Location: Just near the Rosemary’s Reserve.
The area will be swarming with enemies, but you can walk up to the propaganda speaker in the middle and start hacking it. Once the hacking process begins, you must defend it for a specific period of time. Once the timer hits the last second, the hacking process will be over, and you will free the propaganda speaker.
Reward: 20 SDU Tokens
Vault Fragment Location In Idolator’s Noose
Location: Just move southeast of Rosemary’s Reserve, and get to the propaganda speaker point.
Right across the propaganda speaker, you will see a tunnel leading to a secret area underneath the ground. Get inside the tunnel, and it will take you to the hidden area. Here you will find the Vault Fragment.
Looking for a different way to get inside the Mob Mentality mission in Borderlands 4? Check out our guide on How to Find Another Way in Mob Mentality Mission.