

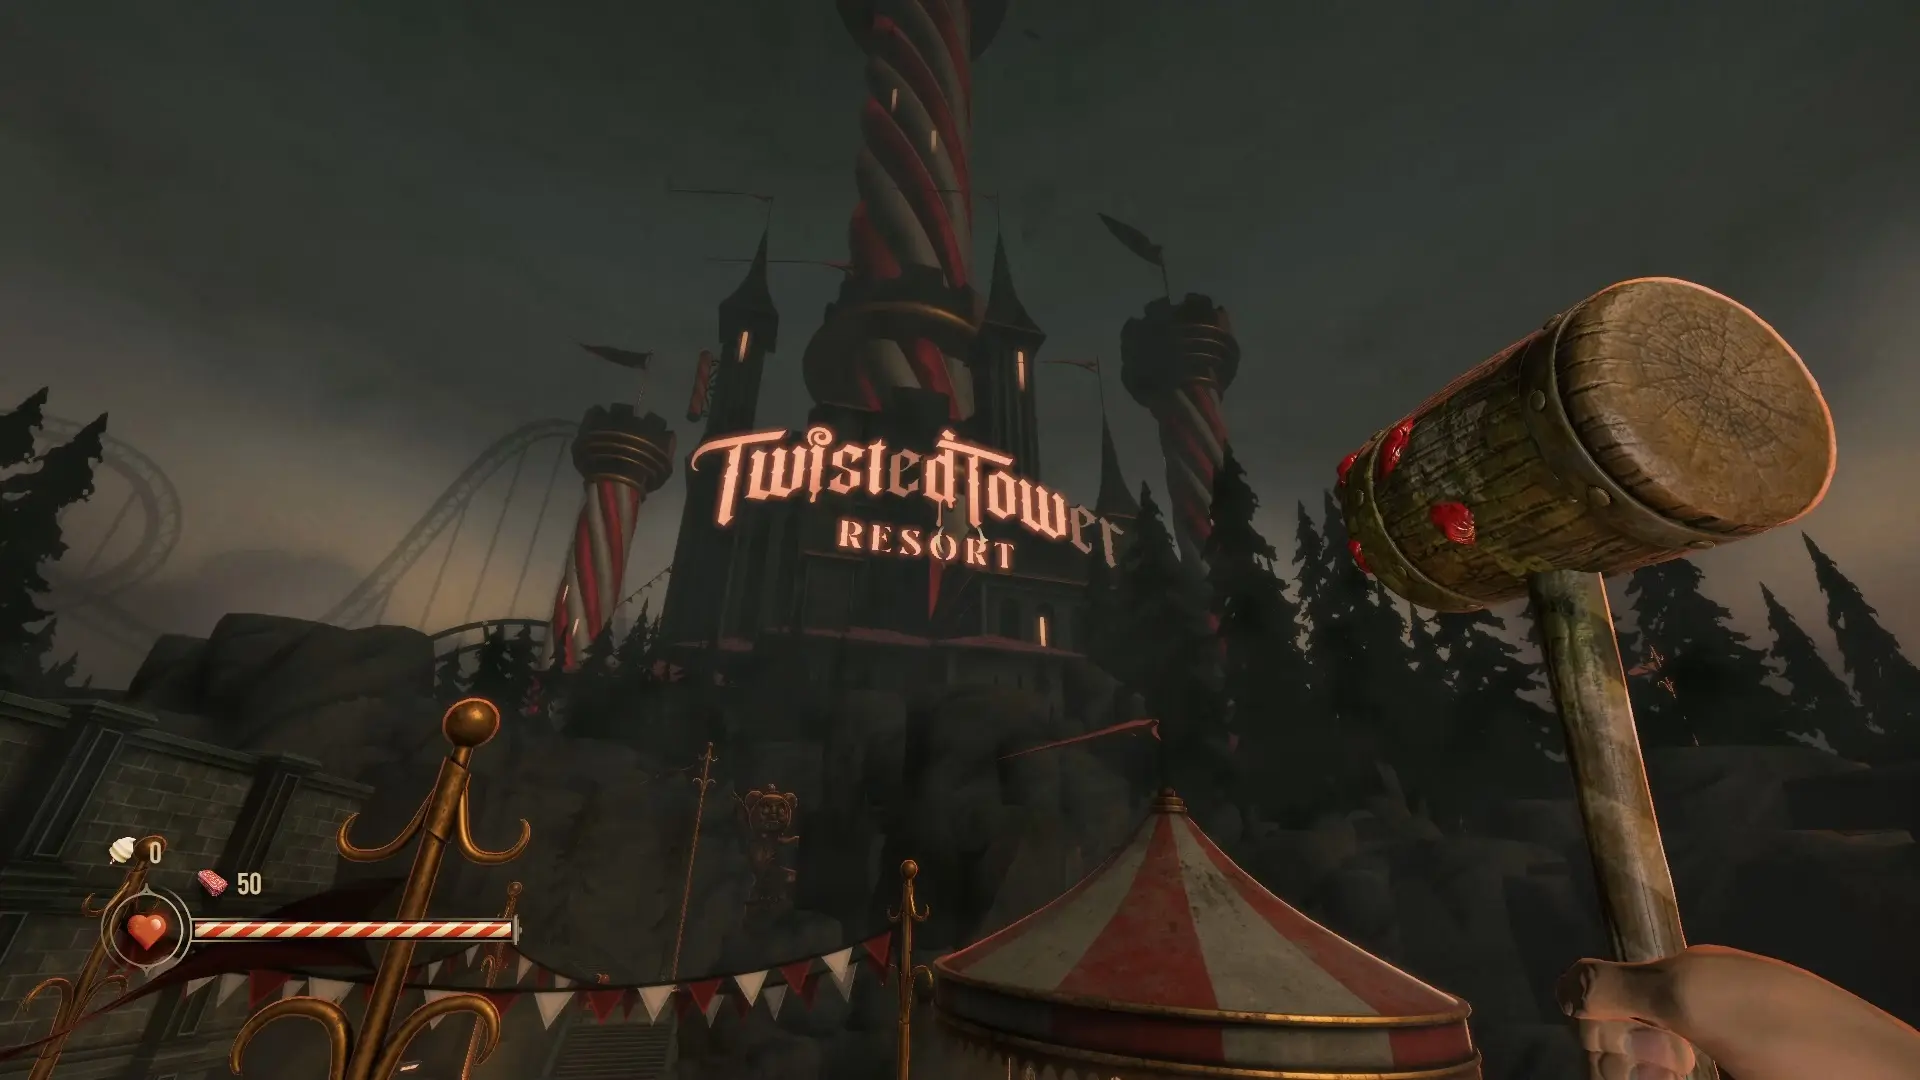
Twisted Tower is a rather short game, especially for an FPS horror, and it only takes a handful of hours for you to reach the end if you aren’t achievement hunting. The game actually gives you a tool to help you track the secrets you’ve found and find if you missed anything, and I recommend making use of this if you want to get the Secret Safari achievement.
This tool is your journal. In your journal, you’ll find locations have numbers by them, so it might say something like “Lobby 0/2,” meaning there are two secrets in the lobby area and you haven’t found either of them yet. Having this available during your 100% run means you can check if you found everything before moving to the next section.
There’s an achievement for completing Twisted Tower in under four hours, and I suggest aiming for that during a different run from this walkthrough, as the focus here is collectibles and secrets. For this game, collectibles come in the form of secret areas that you collect by visiting them.
On This Page
Twisted Tower Beach
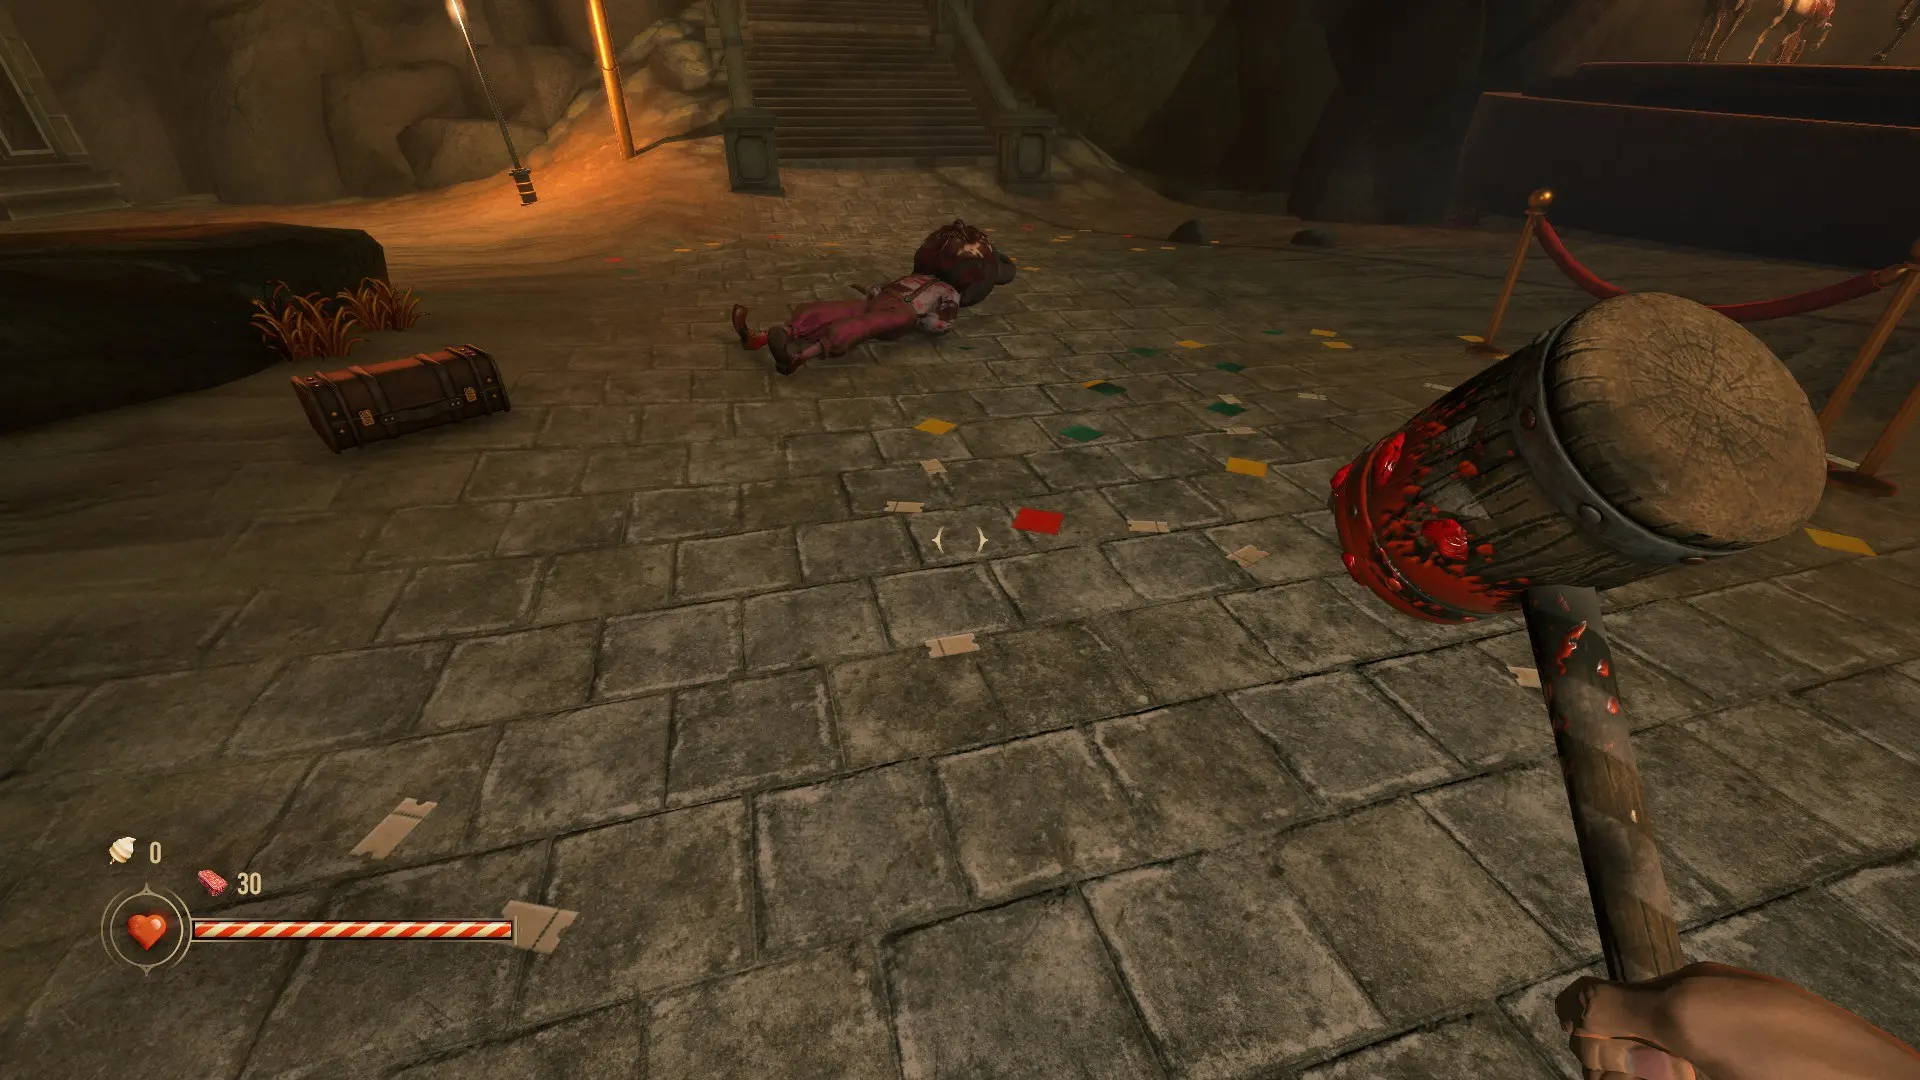
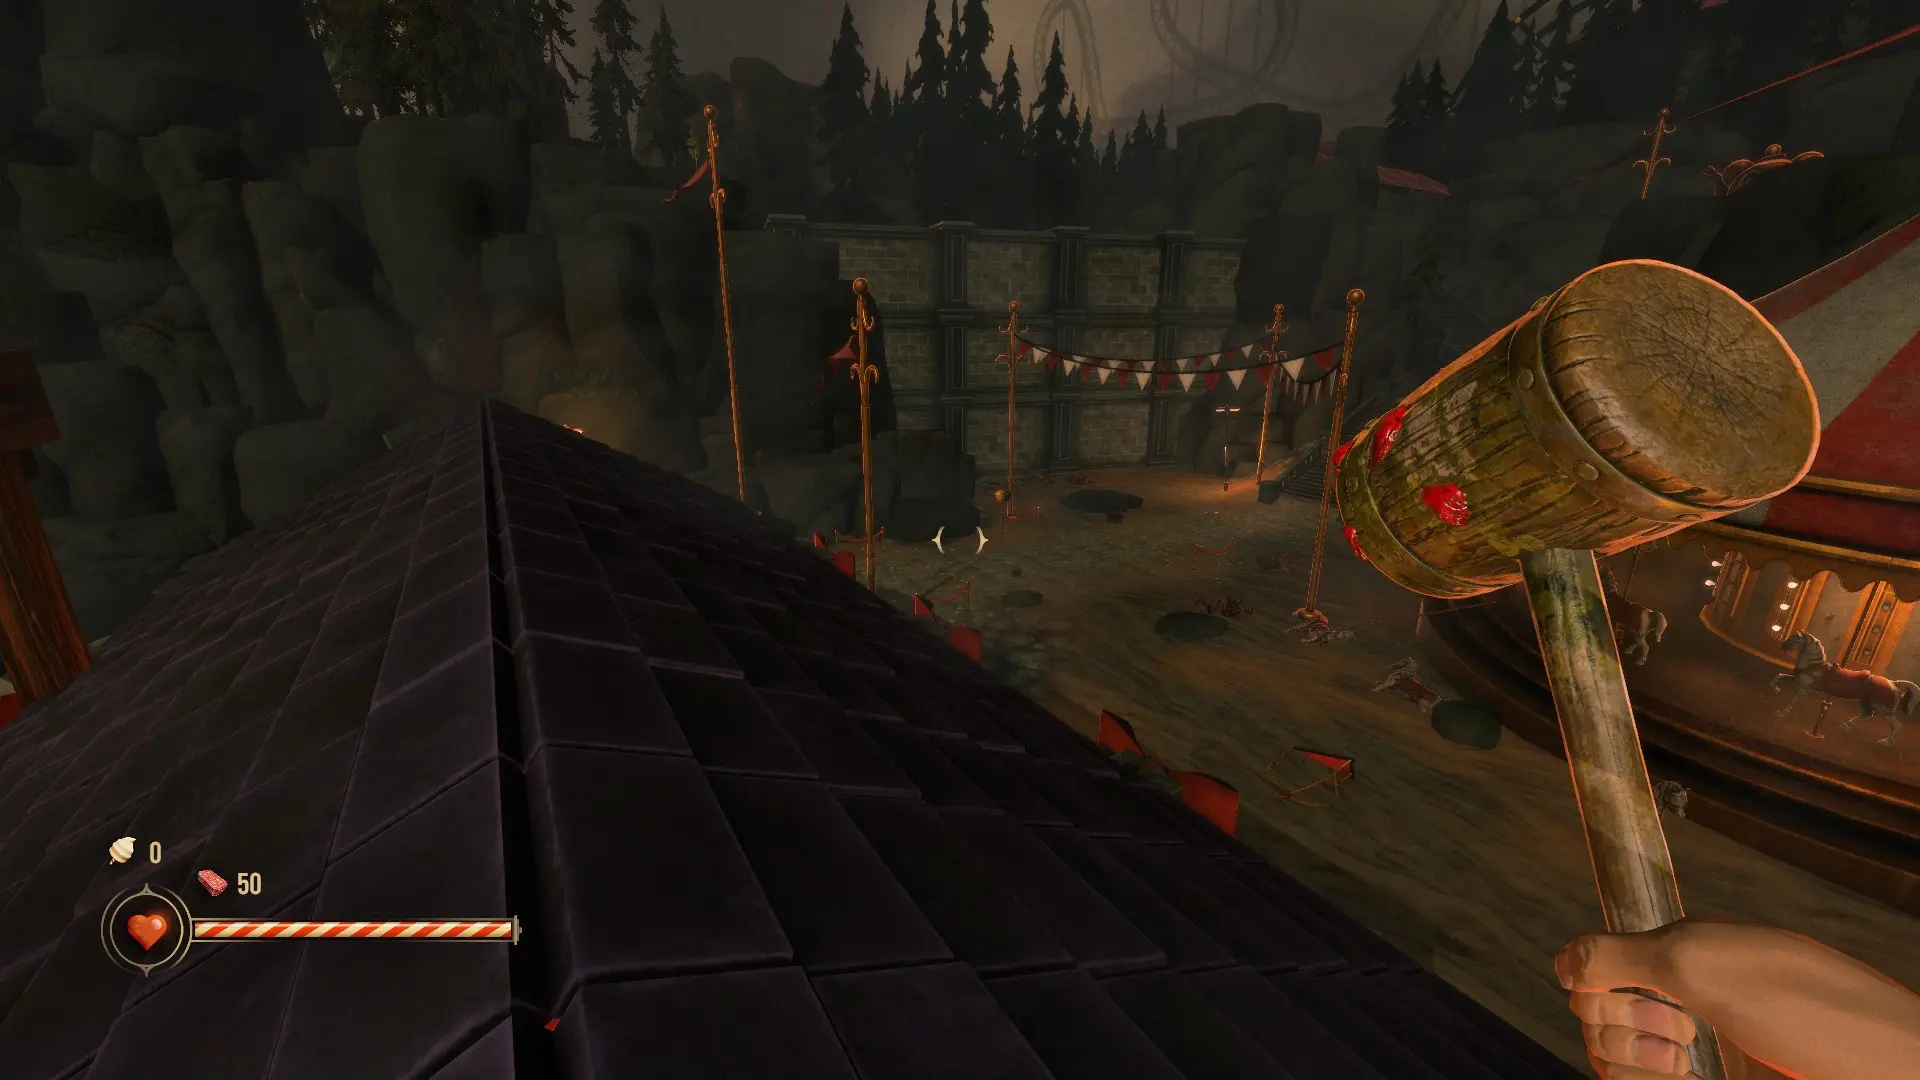
This is the area you end up in right after the opening cutscene ends. Go under the admissions area to grab the hammer on the other side, then turn around and jump onto the roof of the admissions structure on the docks for the first secret area.
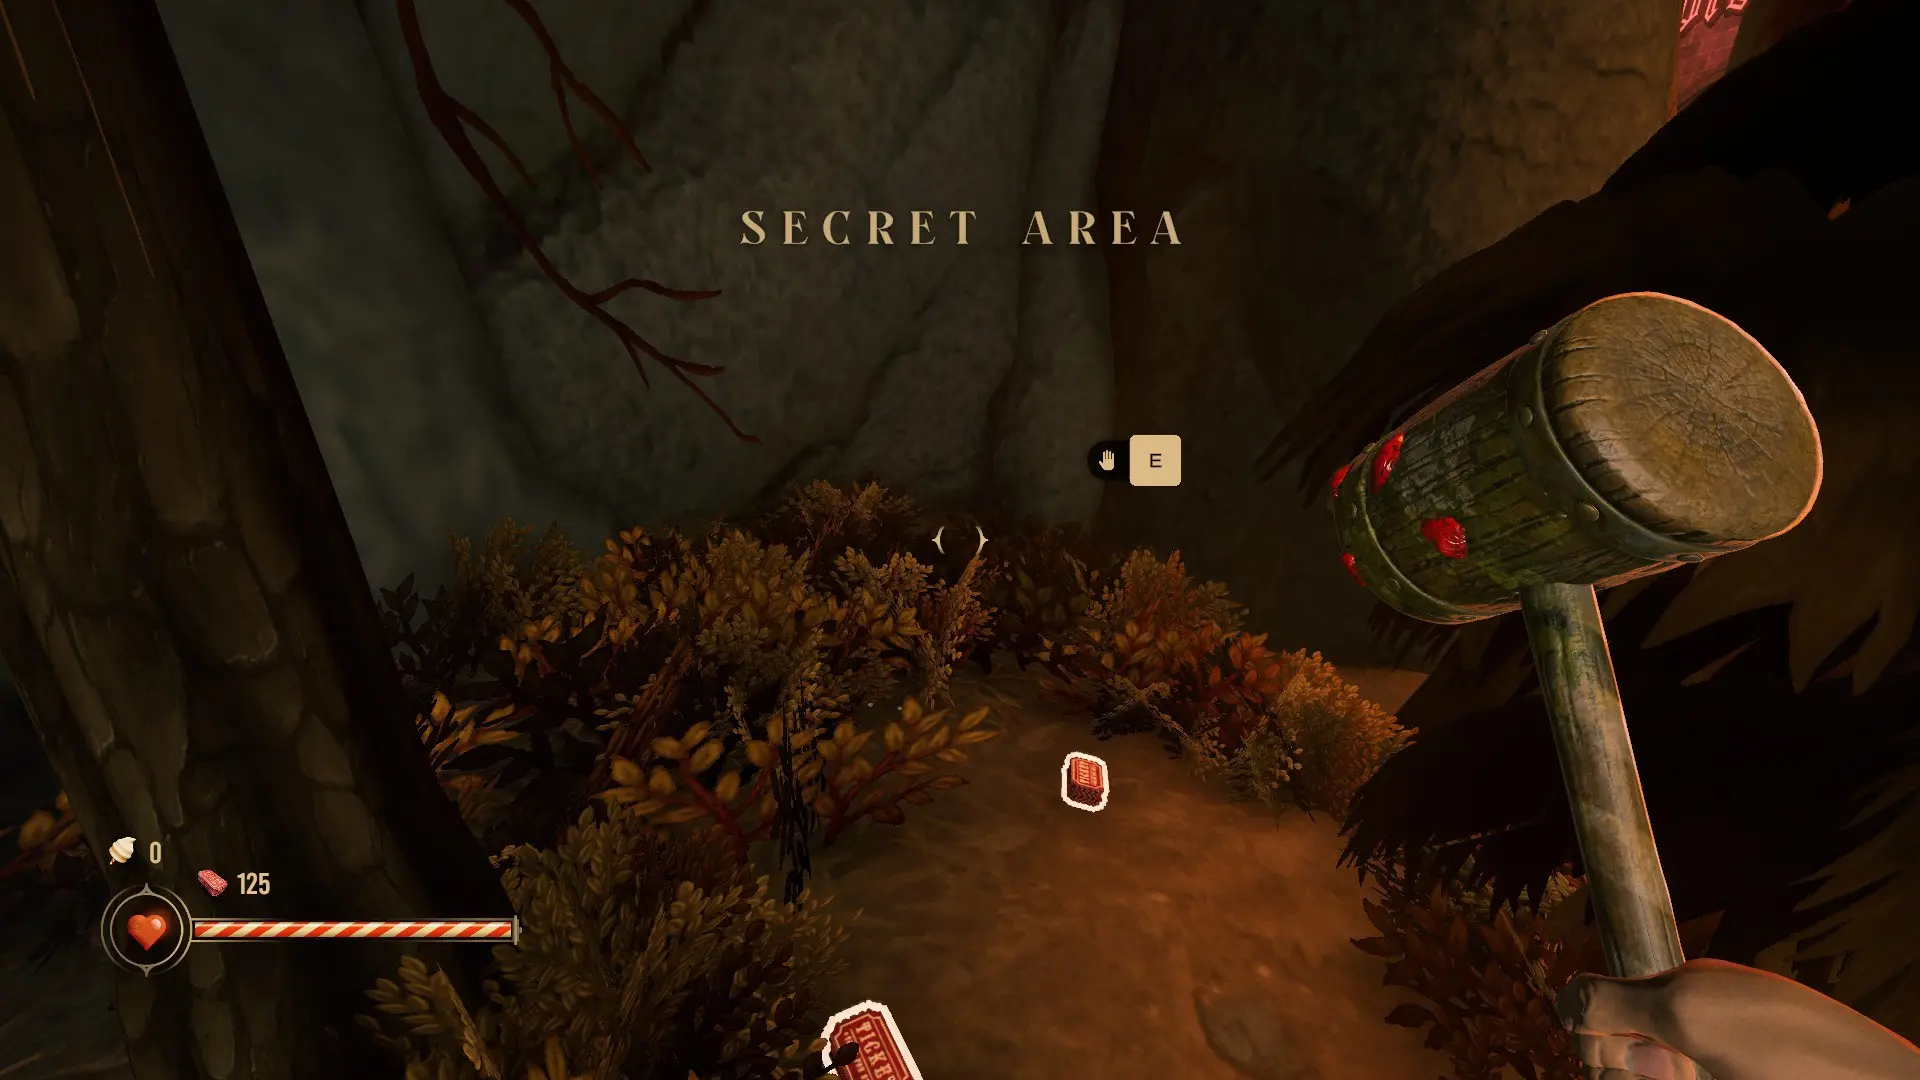
Next, you’ll go through a tutorial for crouching, sprinting, and sliding as you head up the stairs and through the path to the tower’s lobby. At the lobby entrance, there’s a small TV. When you slide under some planks and see the TV, immediately go into the tiny section to the left by the tree to grab the second secret and some tickets.
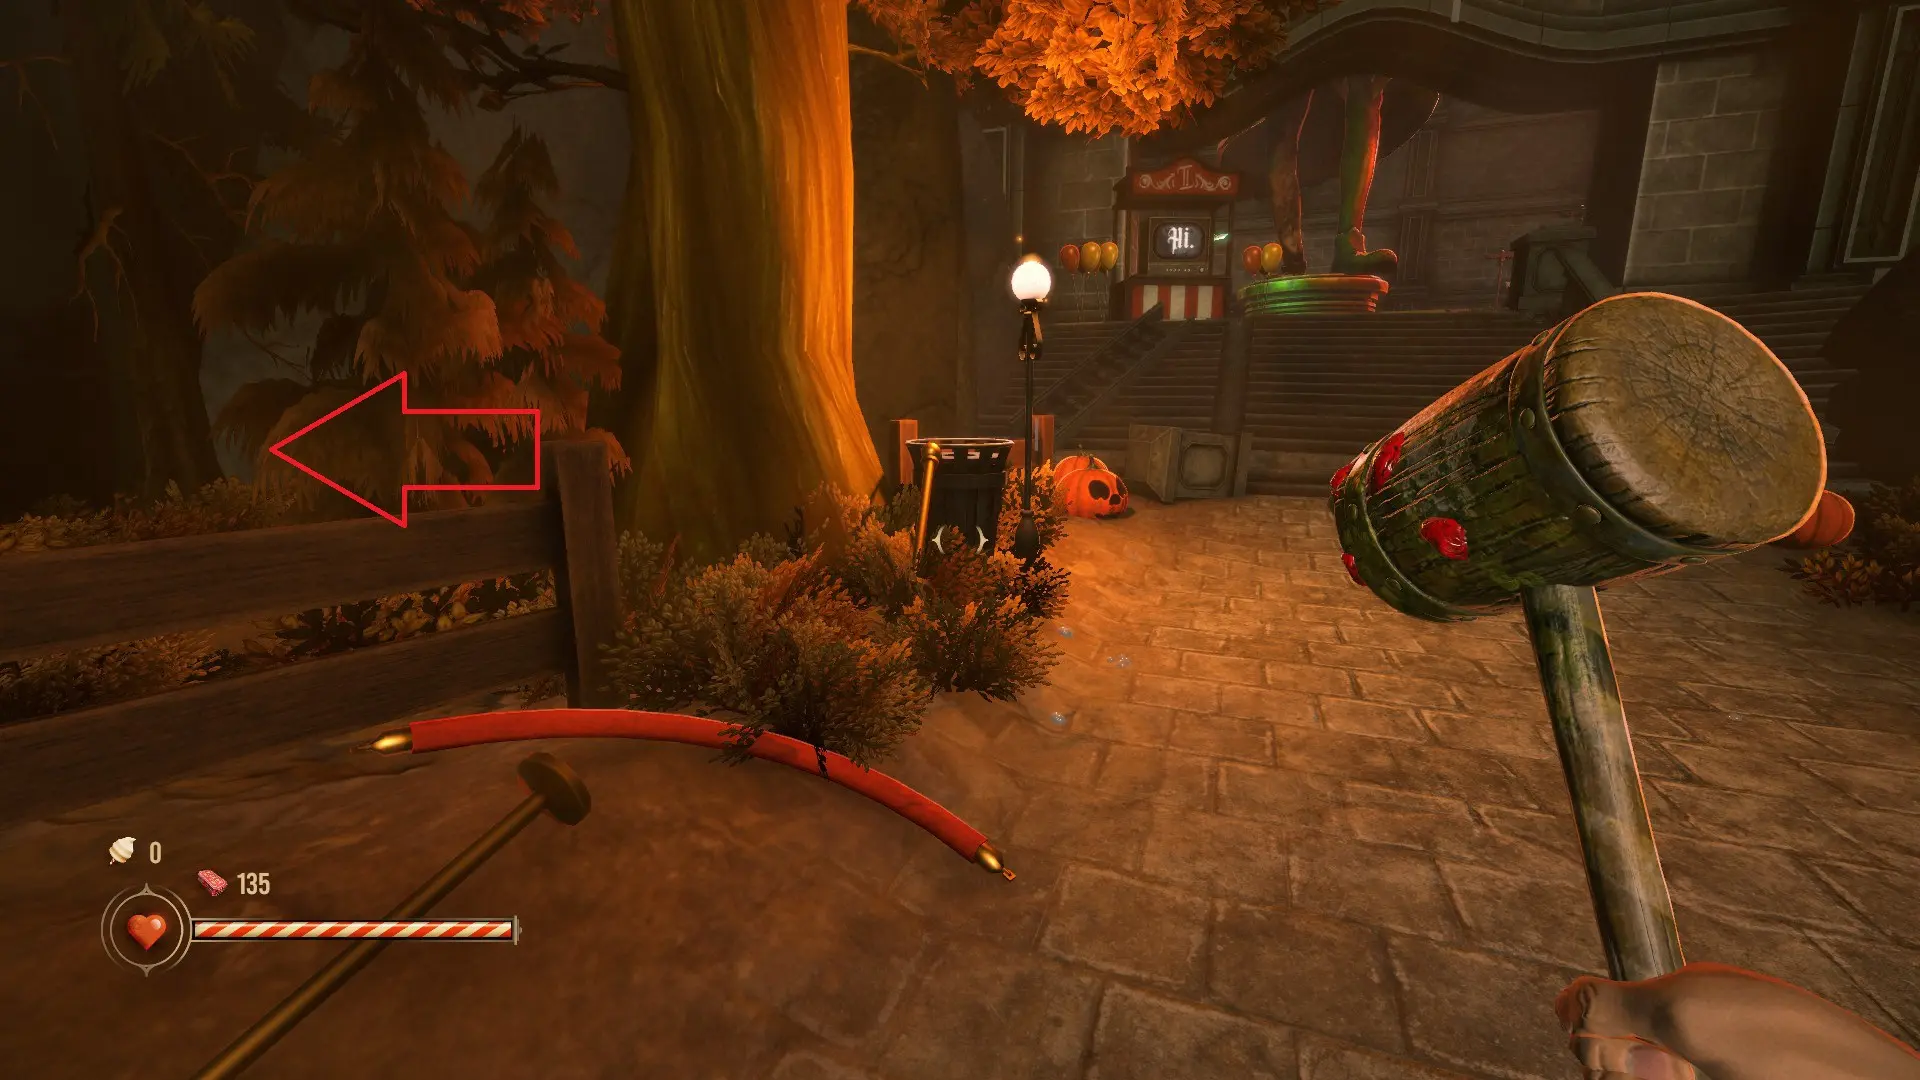
With that, it’s time to enter the tower’s lobby.
Tower Lobby Part 1
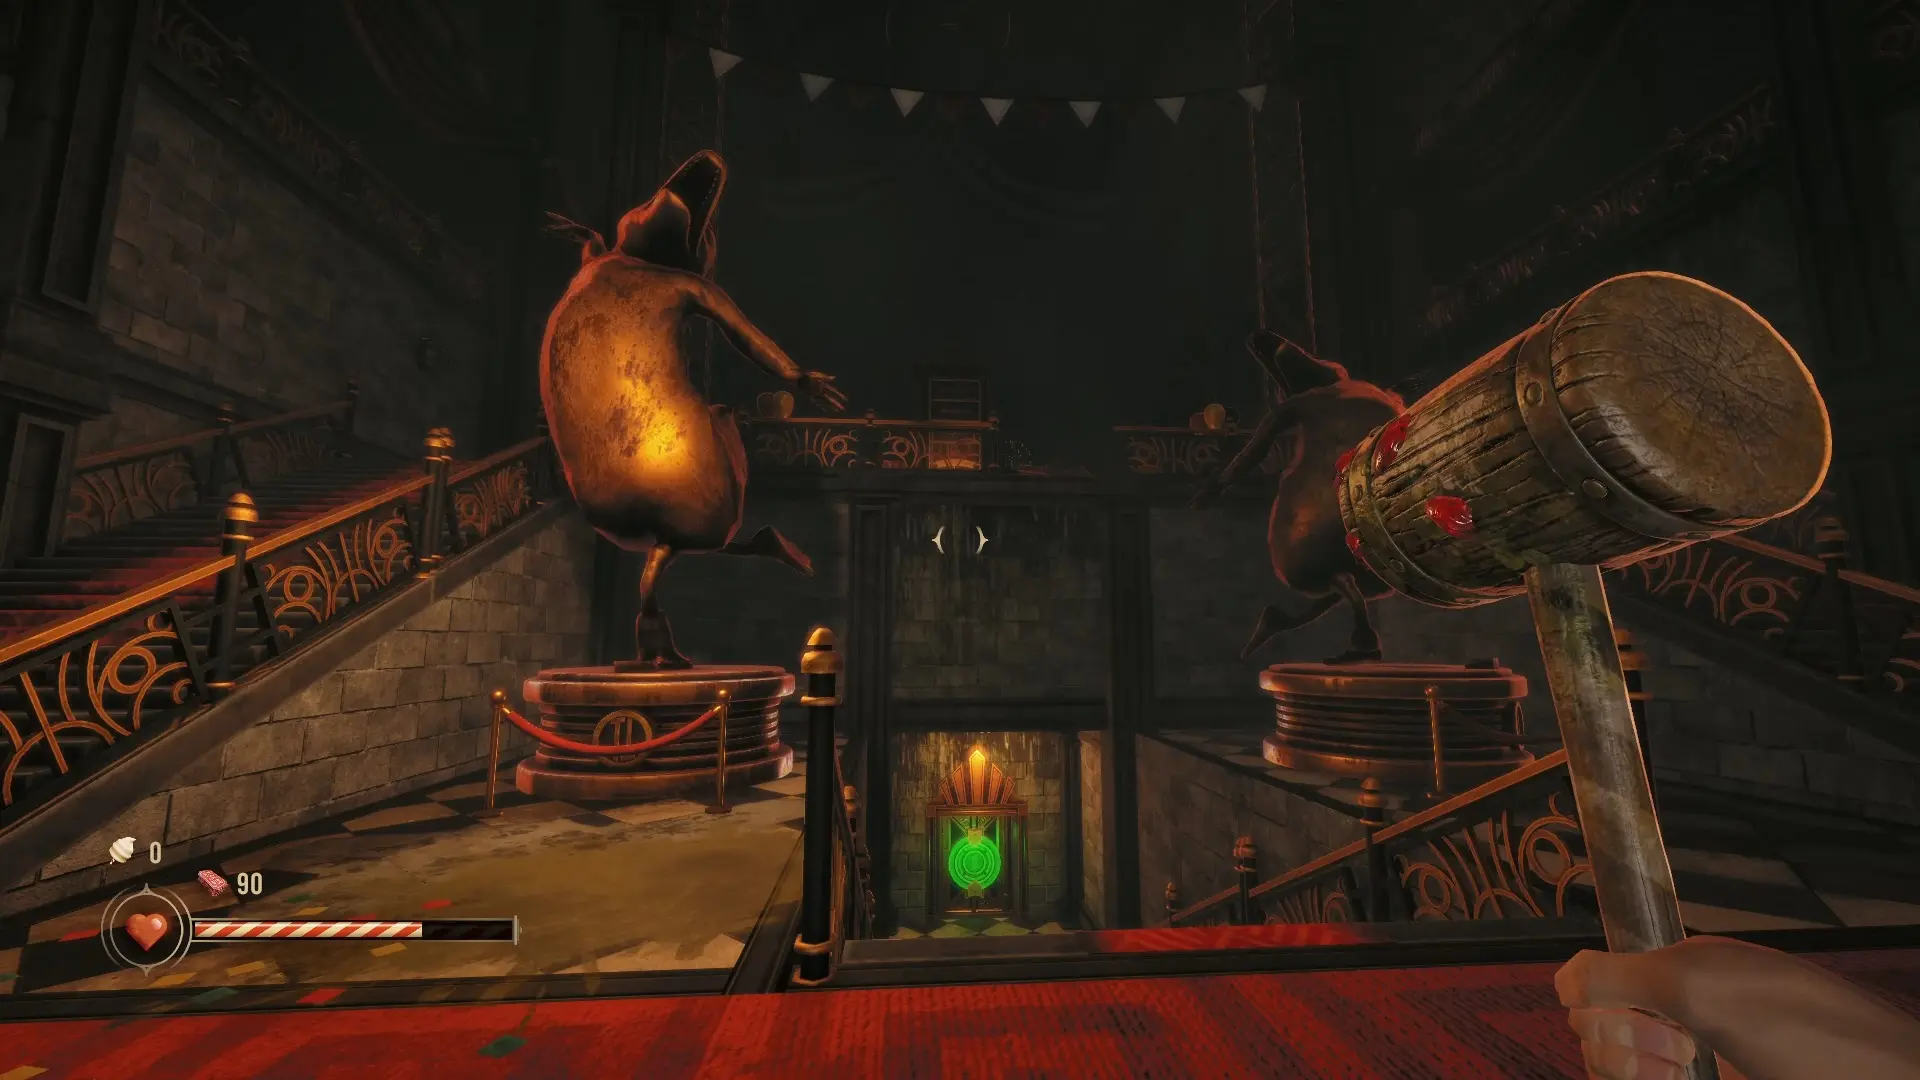
This area has some secrets that you can’t get yet, so I’m calling it part 1. I’ll come back to this with a second part later in the game to grab the secrets that aren’t yet accessible. With that in mind, you grab only one secret here for now, but don’t worry that your journal shows a missing second one for now.
Head inside and open the gate under the sign that says “Ascend to Your Dreams” by using the lever on the right side. The gate in the next area will open by itself once you get closer.
Next, go through the door that says “Don’t Break the Cameras” above it. I absolutely did break the cameras because that blood smear isn’t going to tell me what to do. The reward is a bit of dialog. Once you go through the door here, you enter the lobby.
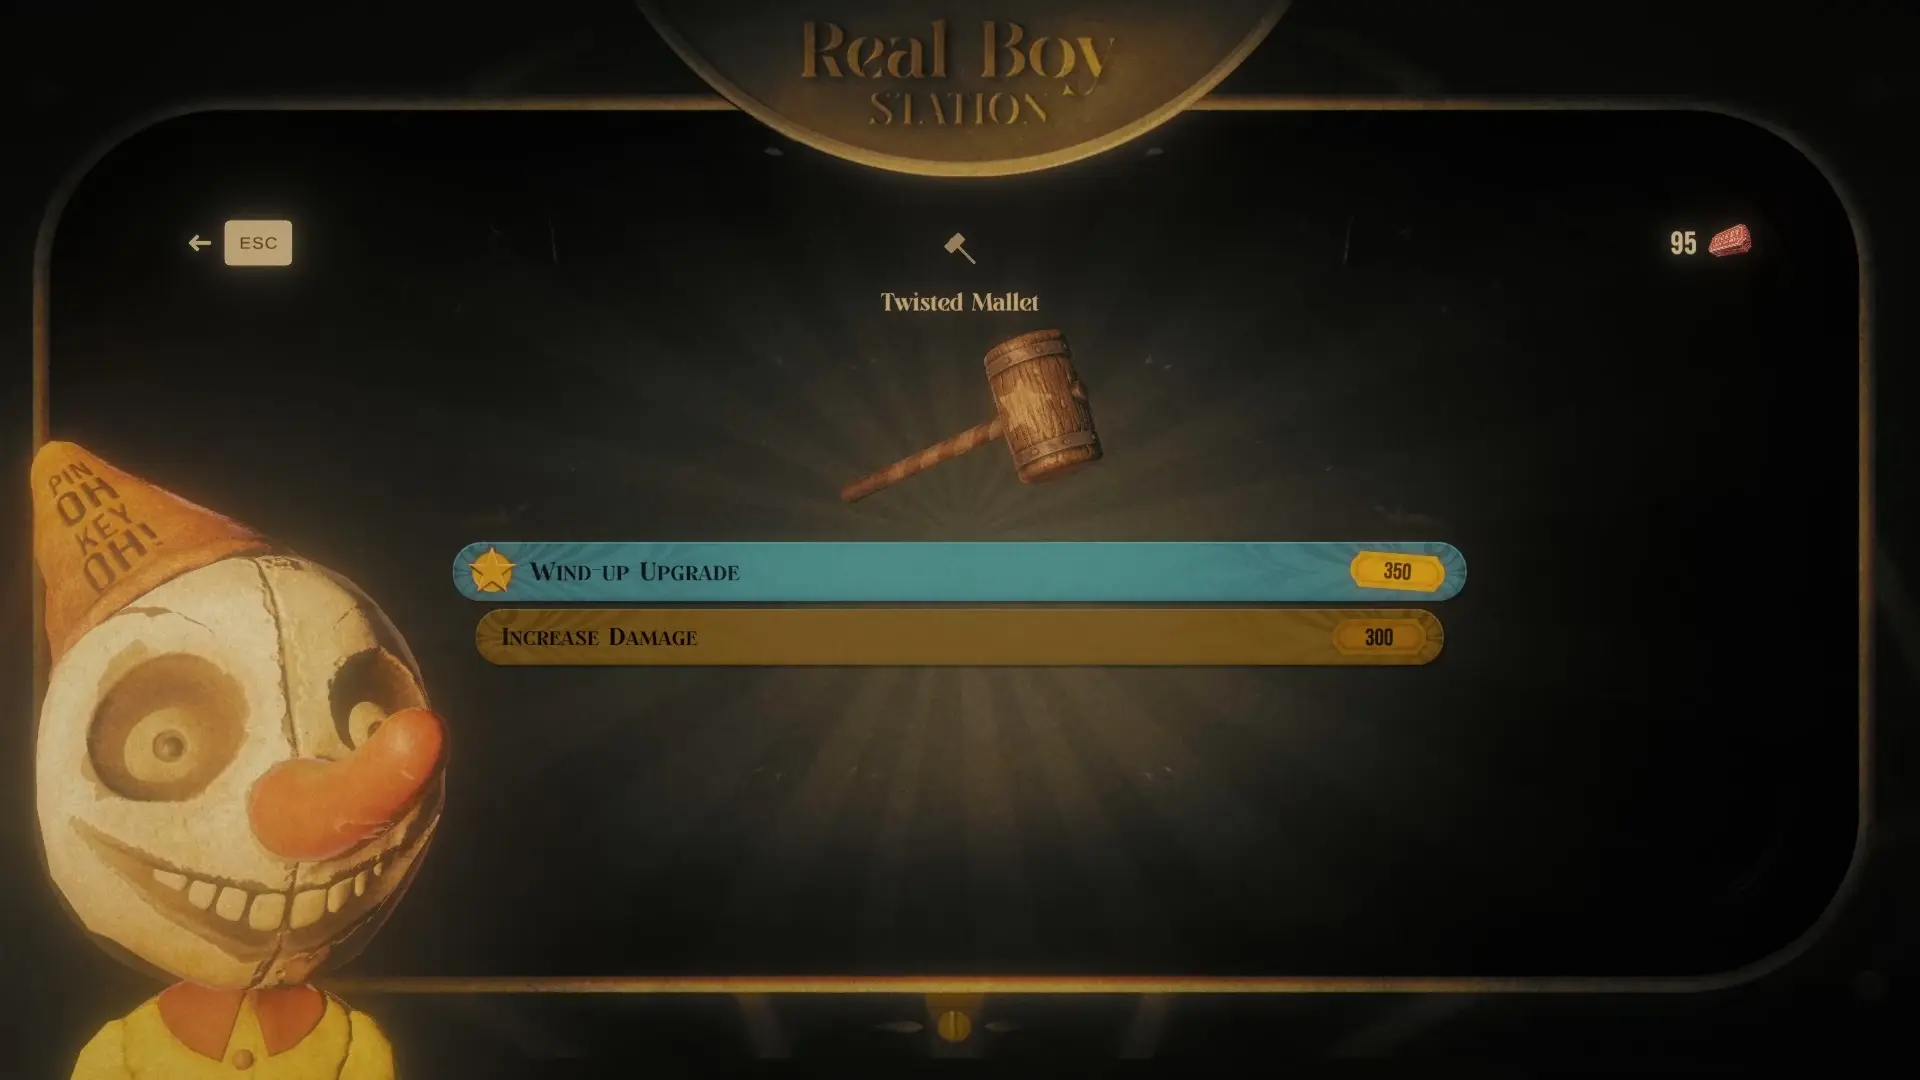
As you enter the lobby, go to the left and up the stairs. Here, you can use the Real Boy Station to purchase upgrades. Then, go up the stairs on the left again. You find a popcorn station in the corner and can climb on the tent over it. Also, the popcorn restores your health, so grab that.
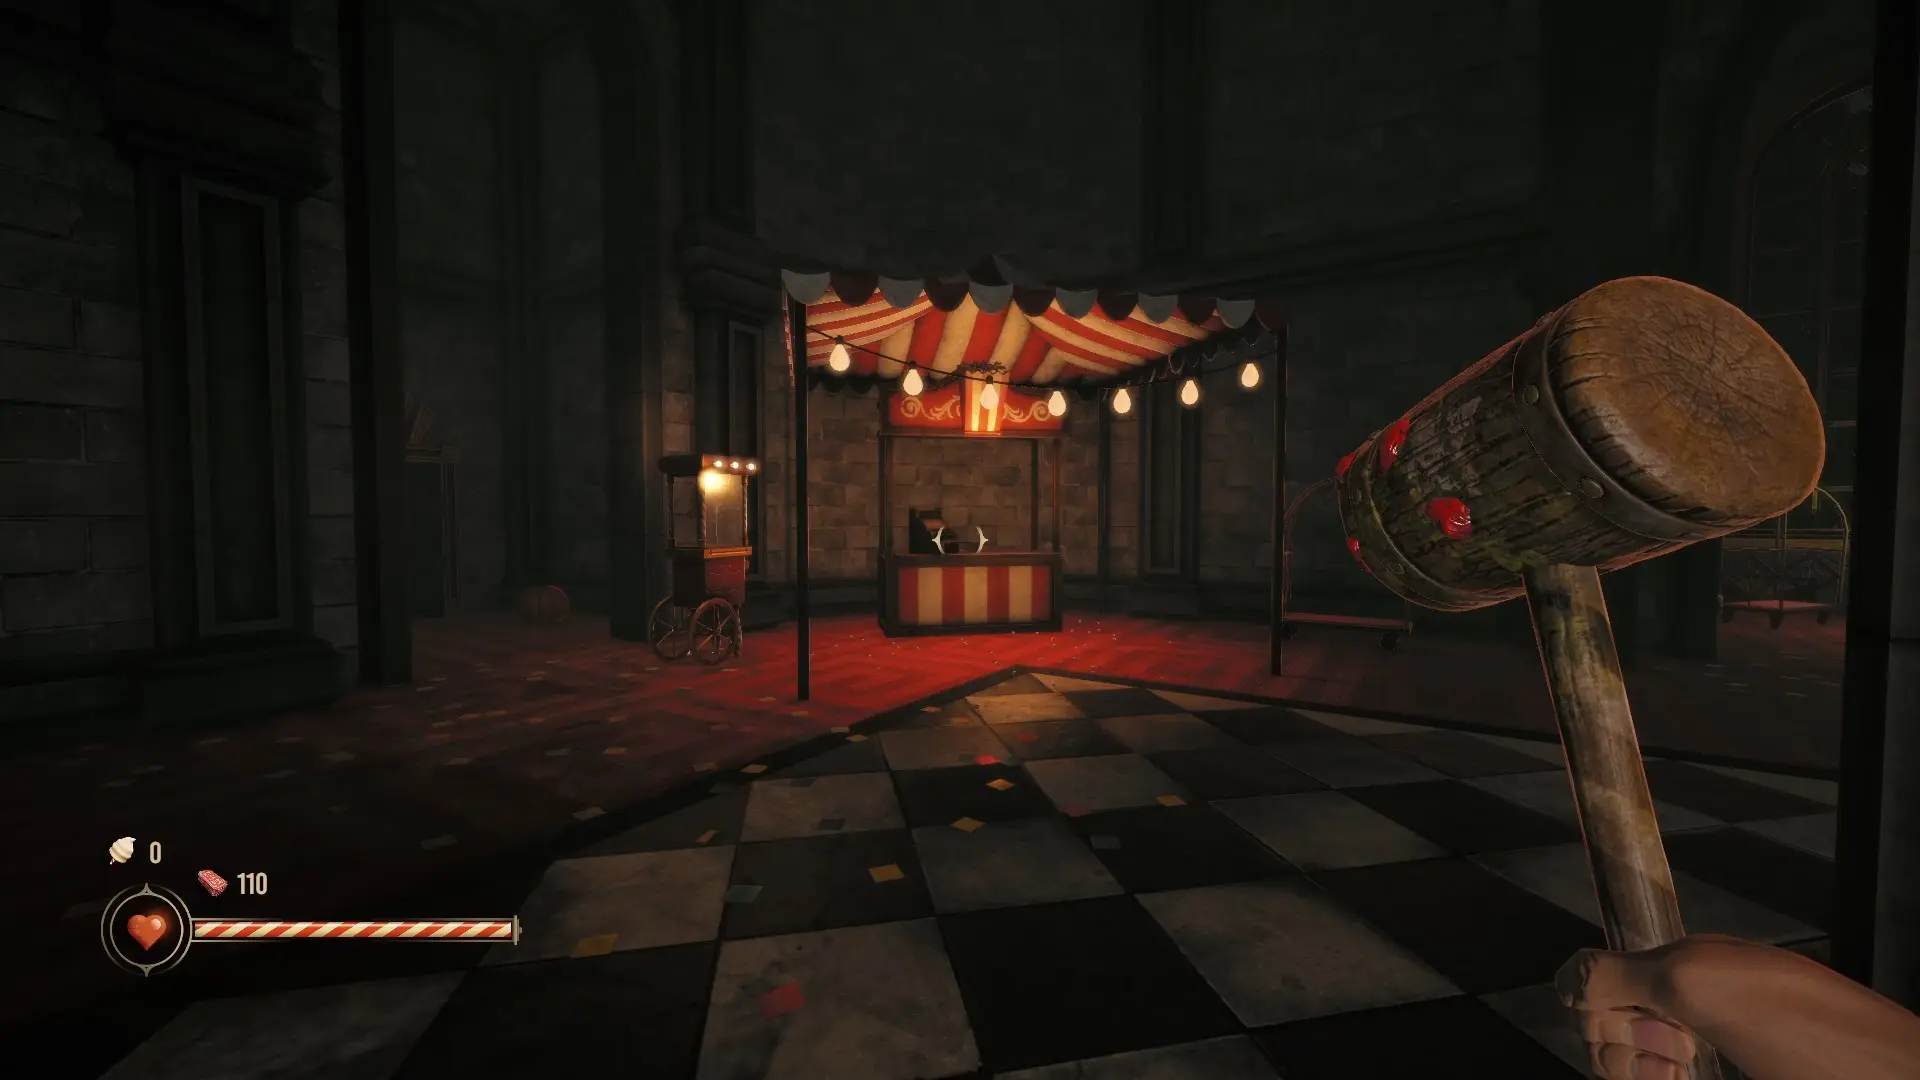
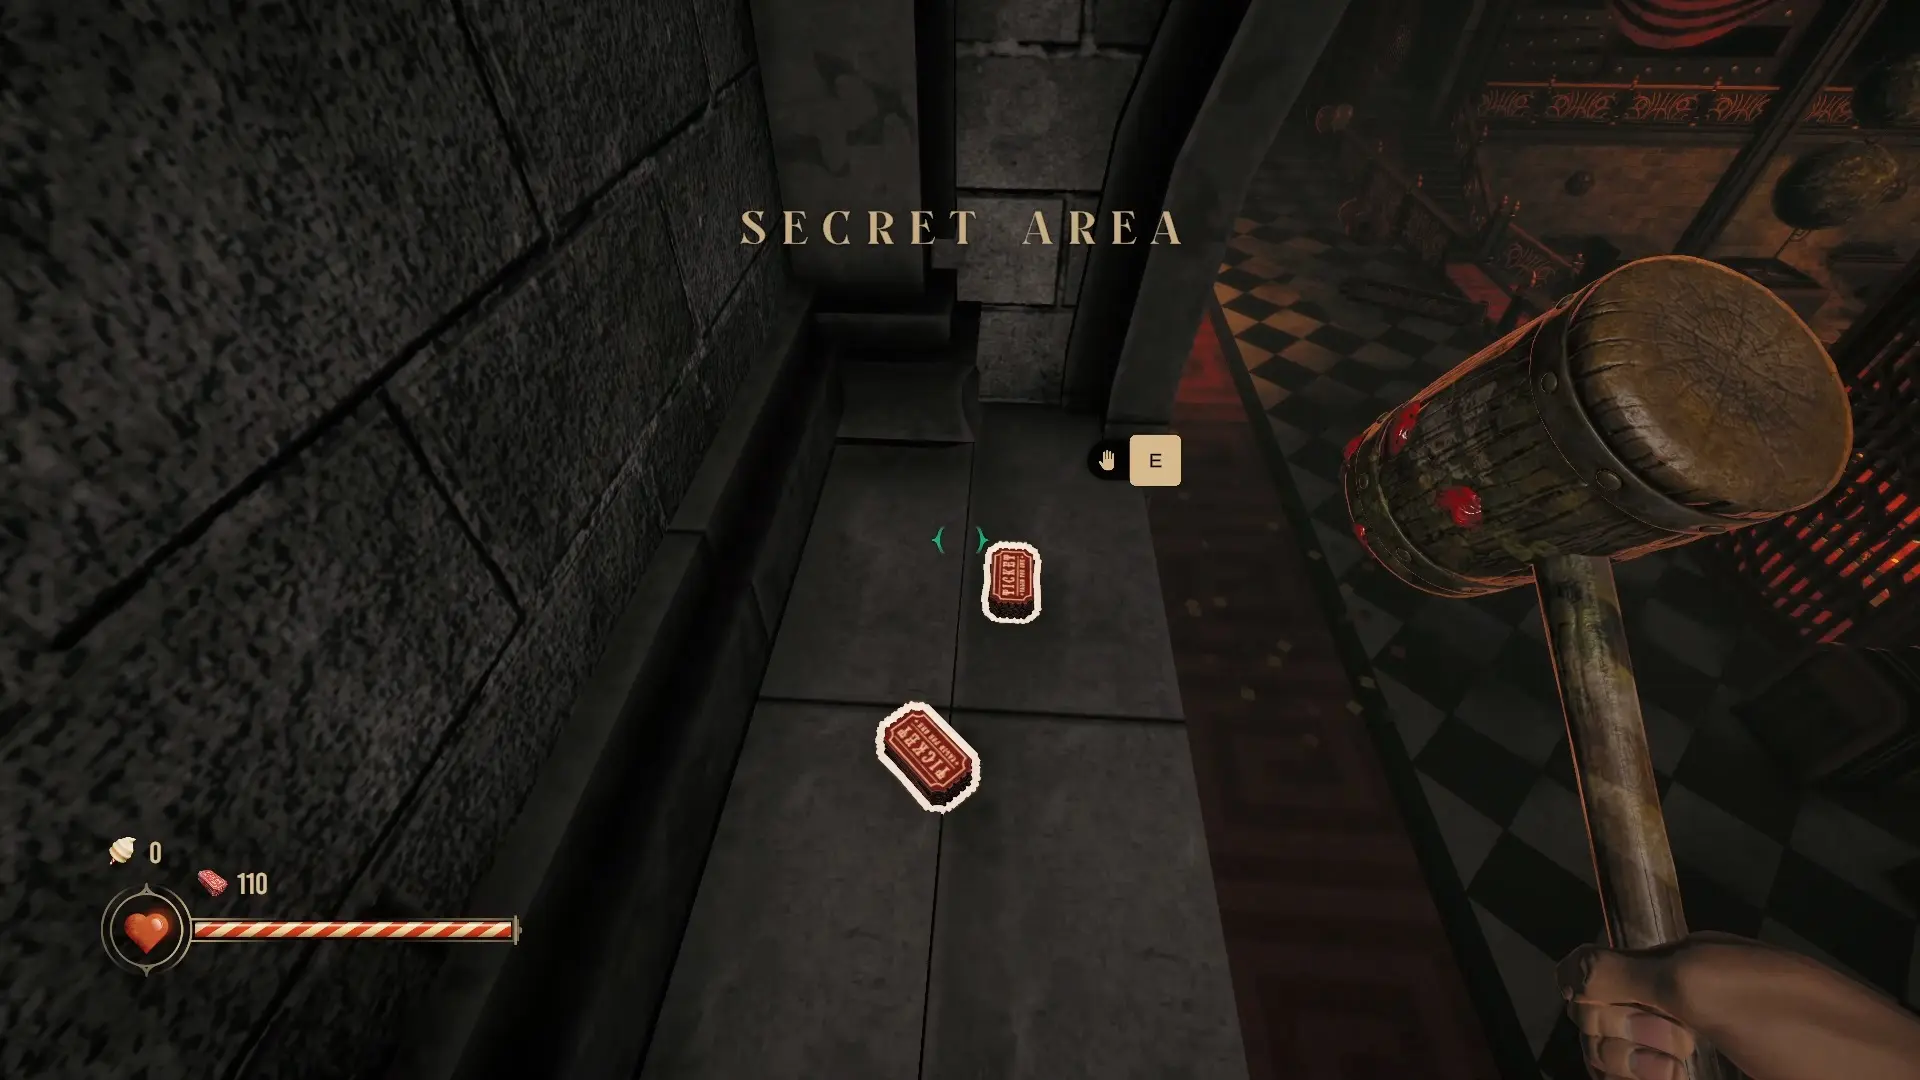
Hop onto the ledge and you have the first secret. This is the only one we’re getting right now, so go to the hotel bridge next.
Hotel Secret Areas
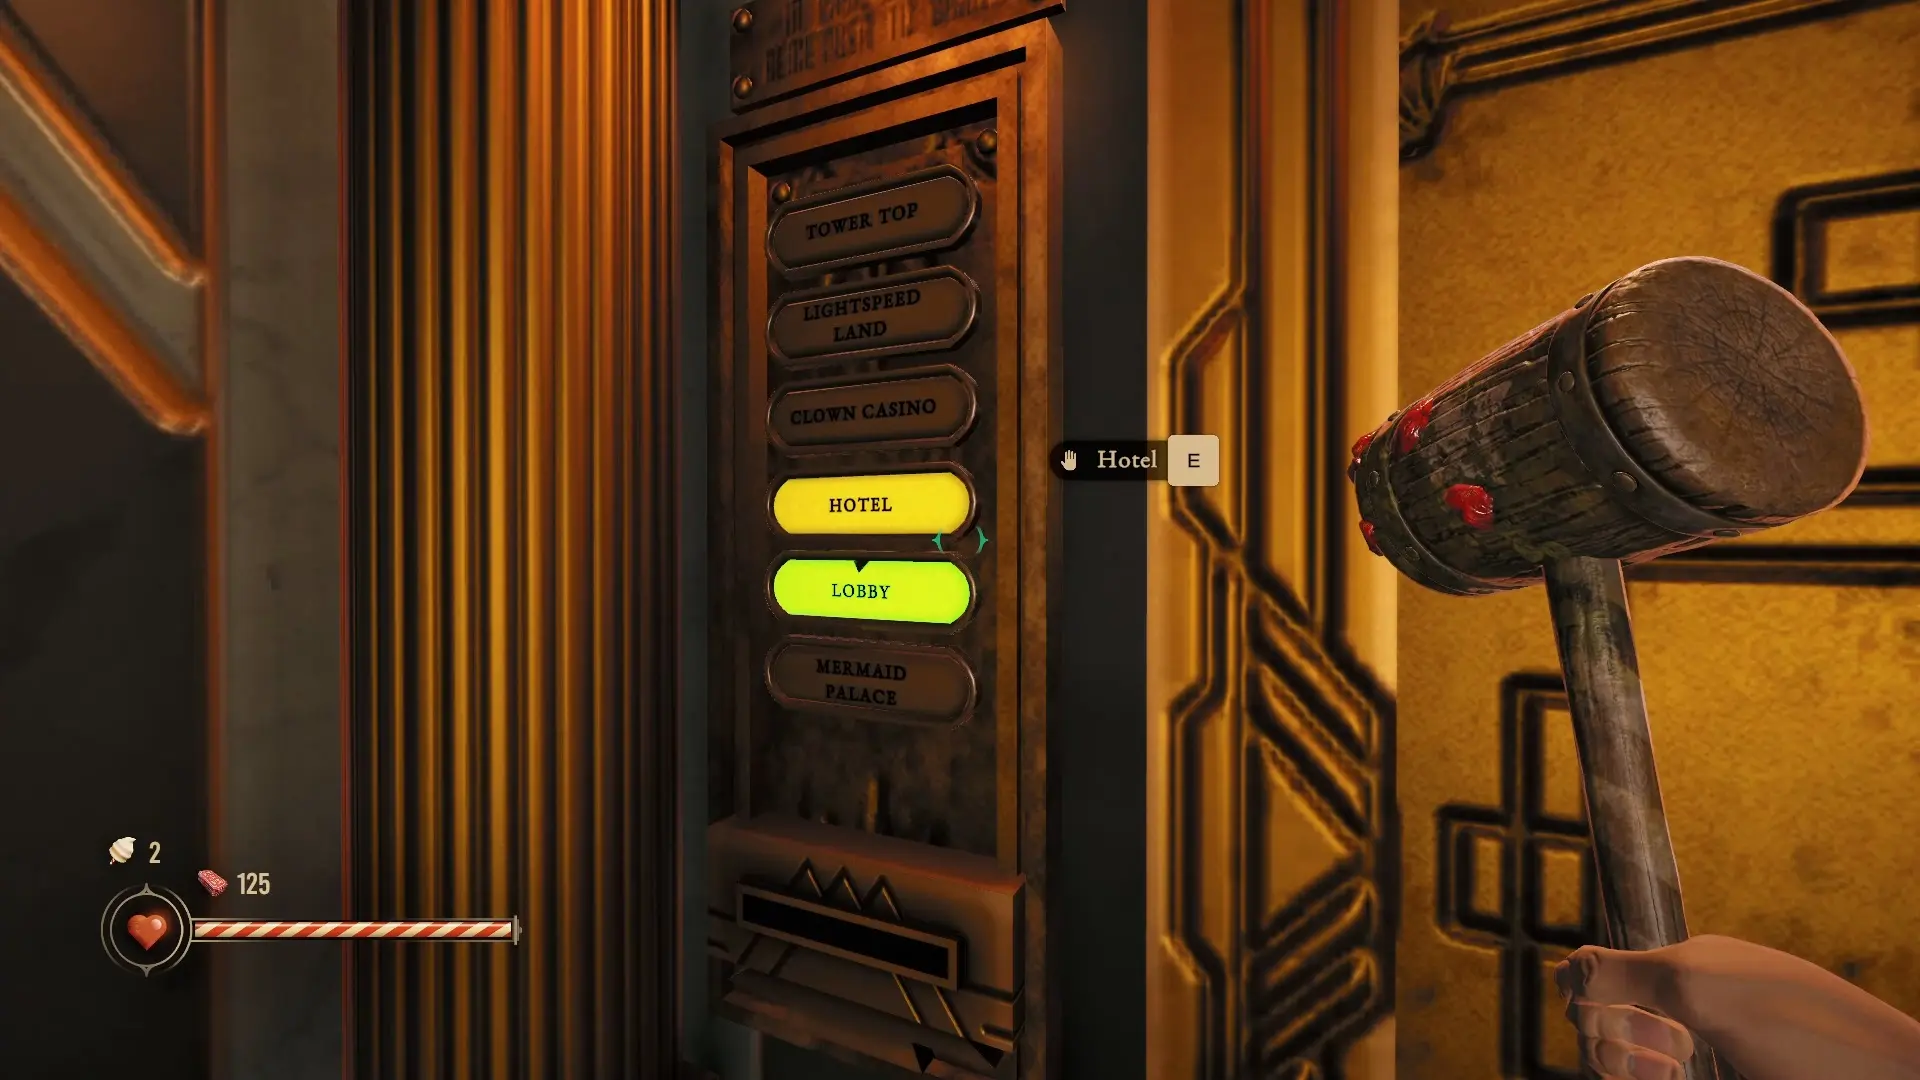
To go to the hotel, head over to the elevator to the right of the popcorn stand. There’s a ticket inside that you pick up and put in the elevator, letting you go to the hotel.
Hotel Bridge Secret
After the elevator you need to cross a bridge to get to the hotel. The bridge has one secret collectible to pick up.
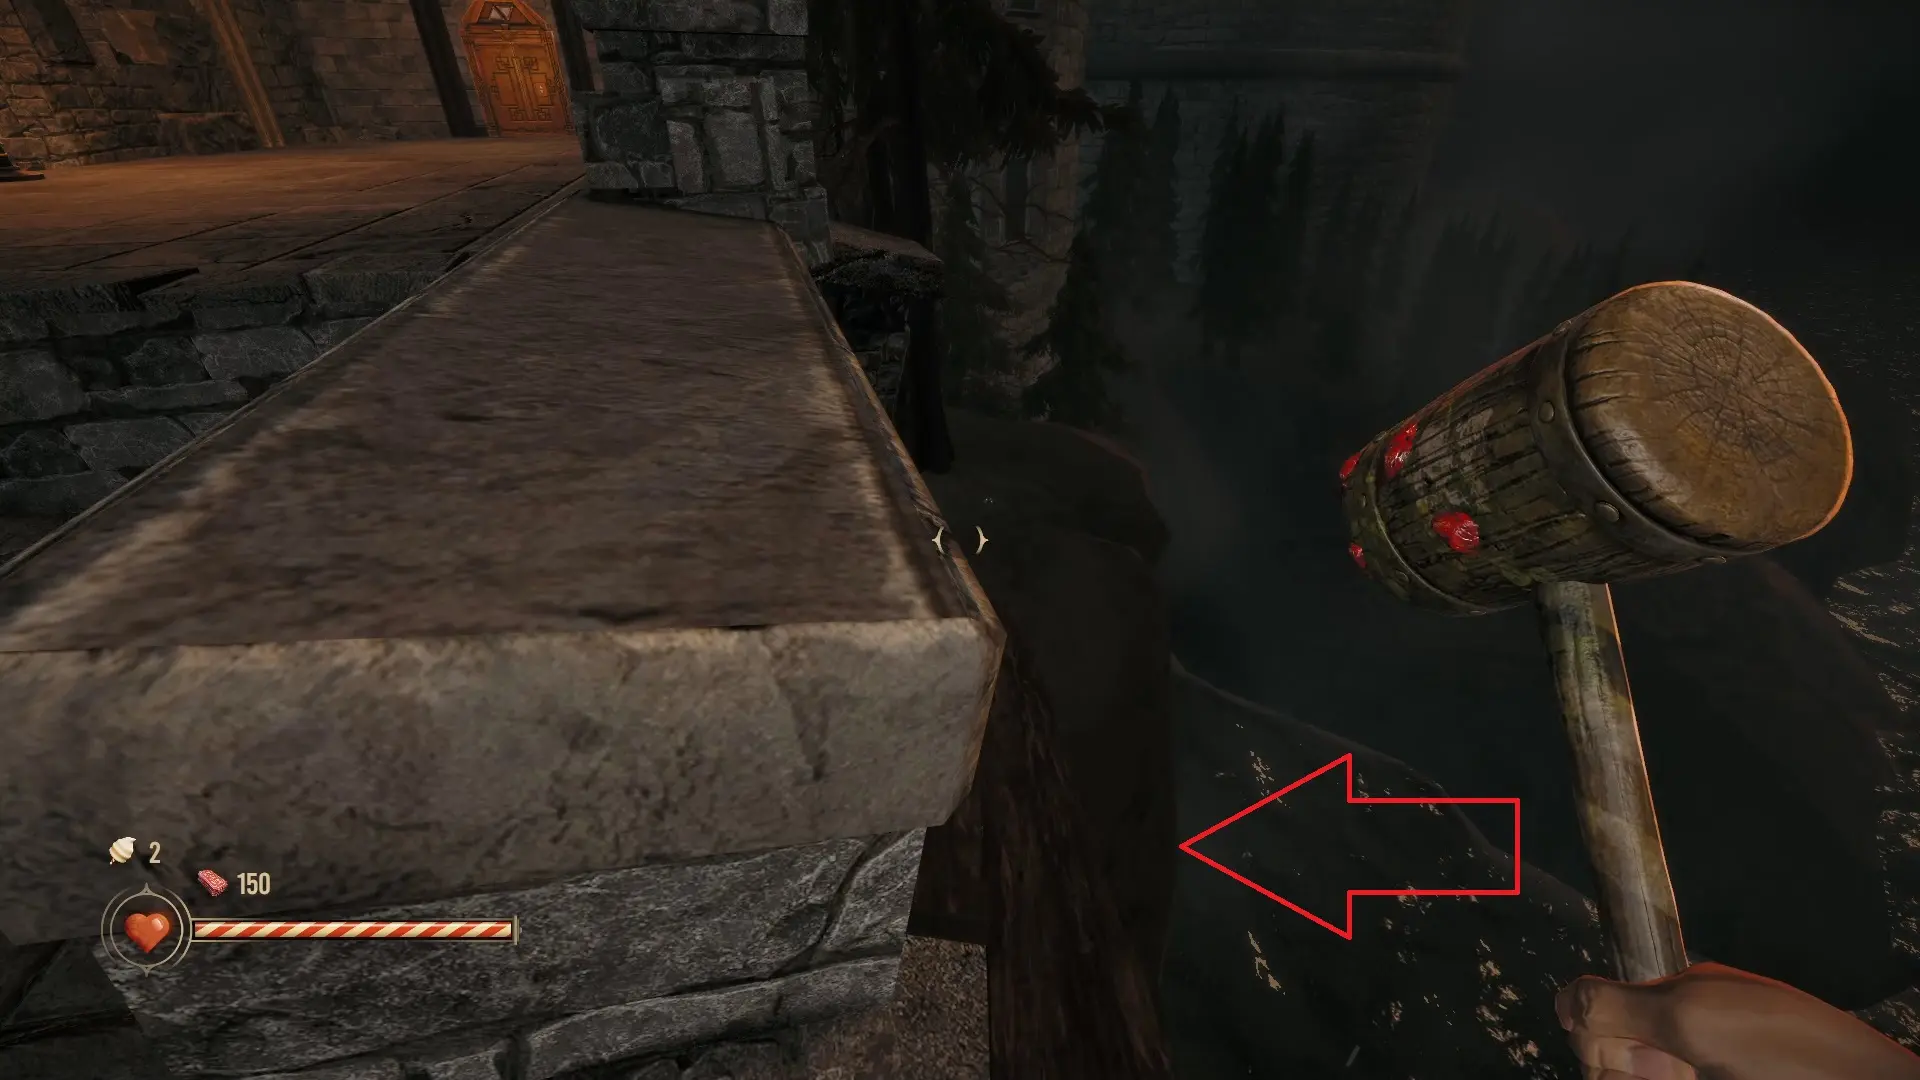
As you start crossing, you’ll find a path on the left that lets you go under the bridge. This is the secret area collectible. Then, continue across the bridge to enter the Twisted Tower hotel’s kids corner and family center.
Hotel Family Center
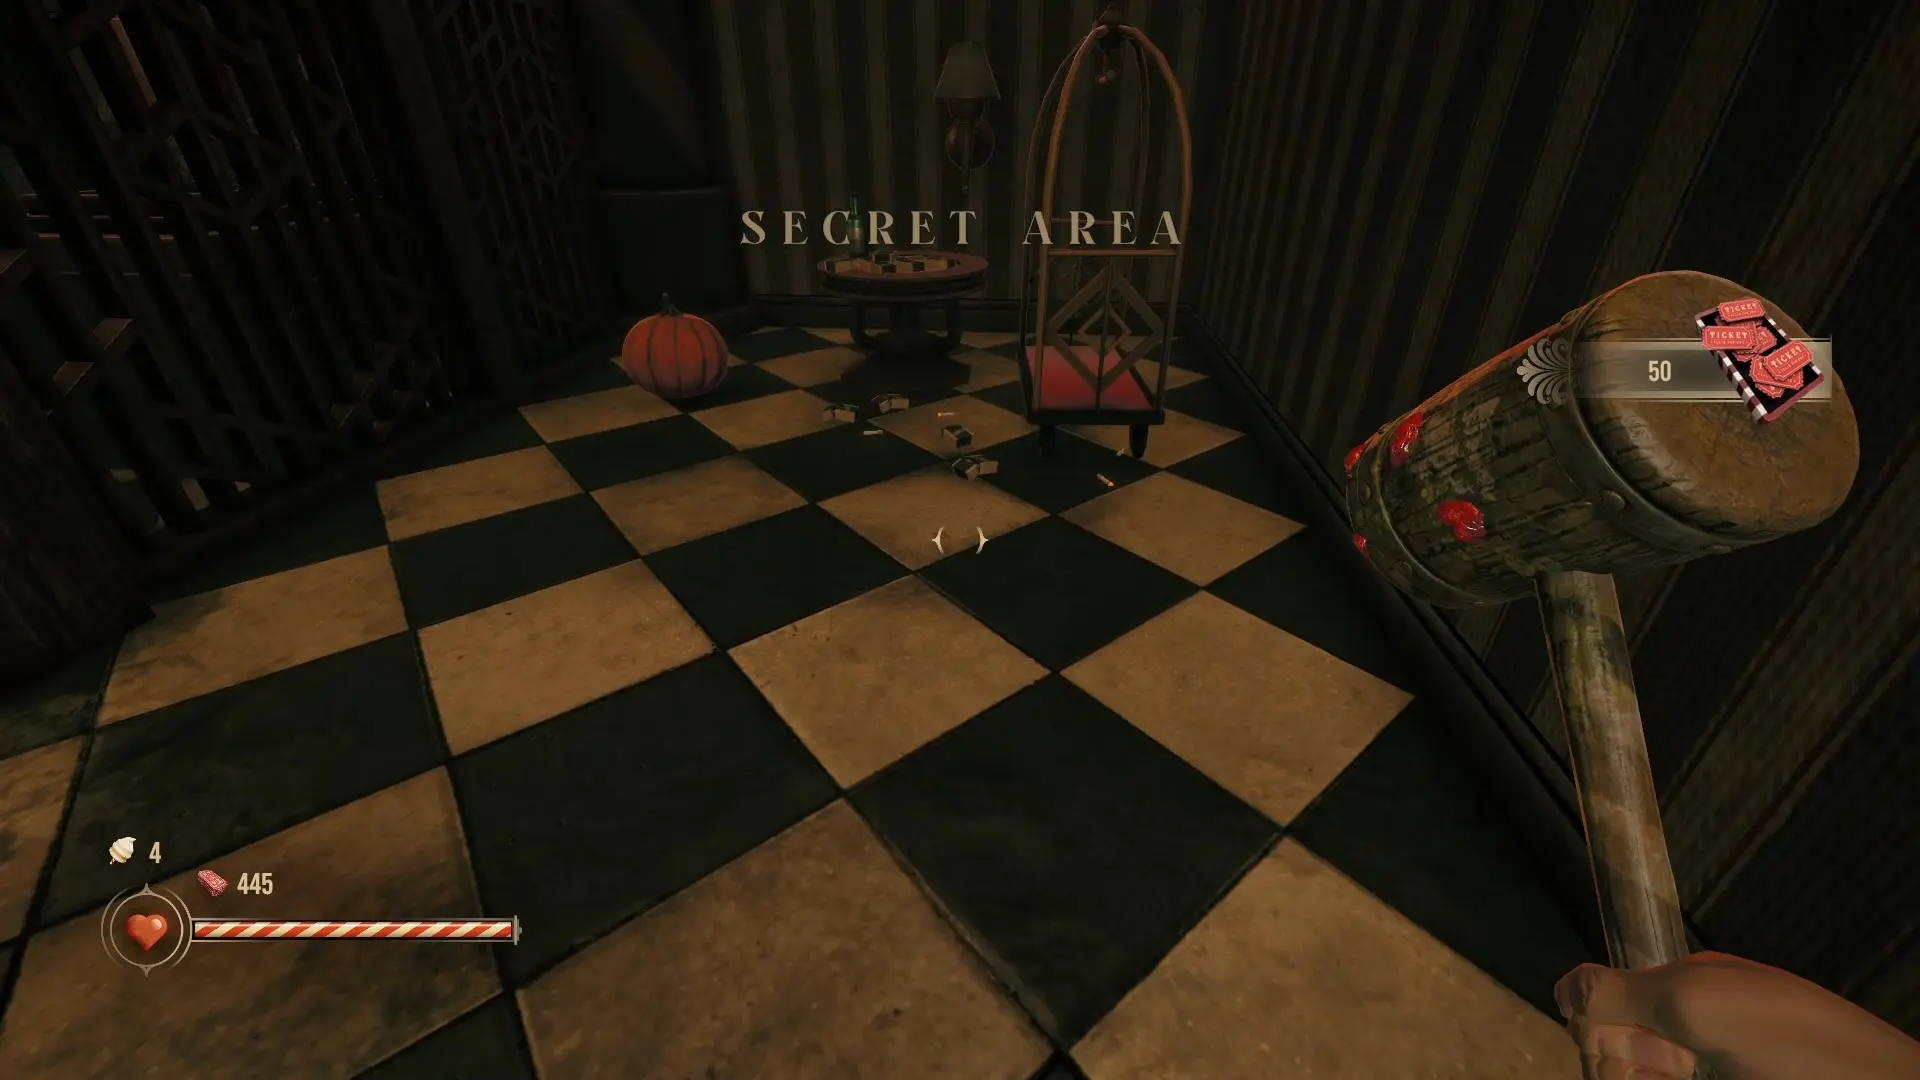
When you enter the family center, an enemy is waiting for you. Take care of him, then head down the stairs on the right. Go around the back and down more stairs to end up on the grated off area you saw when you first entered the center, which is the first secret area here.
If you hear some jingling, look down. The toy telephone monsters are easy to miss if you aren’t looking, but this audio signal will help you know when they’re coming after you.
Now, go back to the room with the fireplace and head through the door on the opposite wall.
Kids Corner
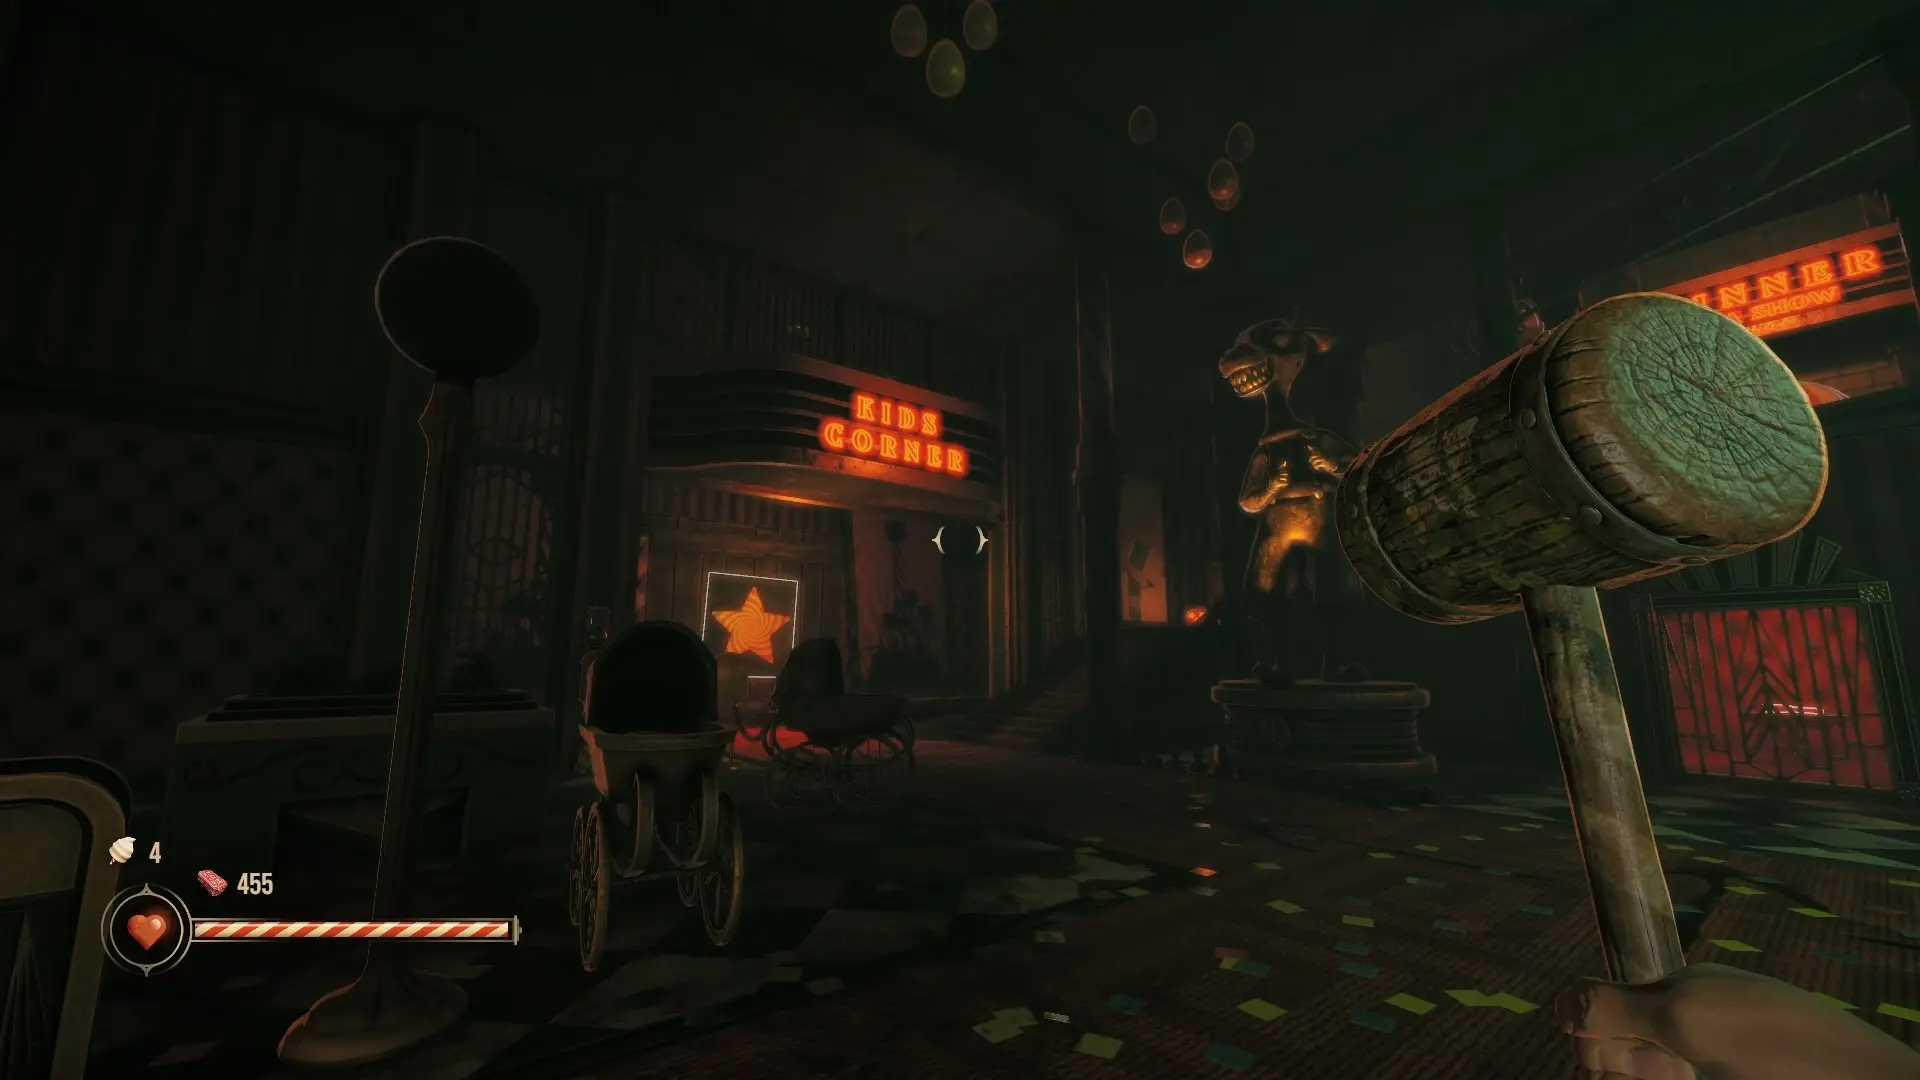
Through the hallway and to the left, you find the kids corner. You can stop at the Real Boy Station on the right to upgrade before heading over if you want. In the kids corner, there’s a box on the opposite side of the stairs near the sign that encourages drinking. Look behind it for the secret area.
As a side note, this area wasn’t available in my first run, so I had to return in a second run for it since the path is random. However, if you have it on your first run, go ahead and grab the secret here.
Family Center Second Secret
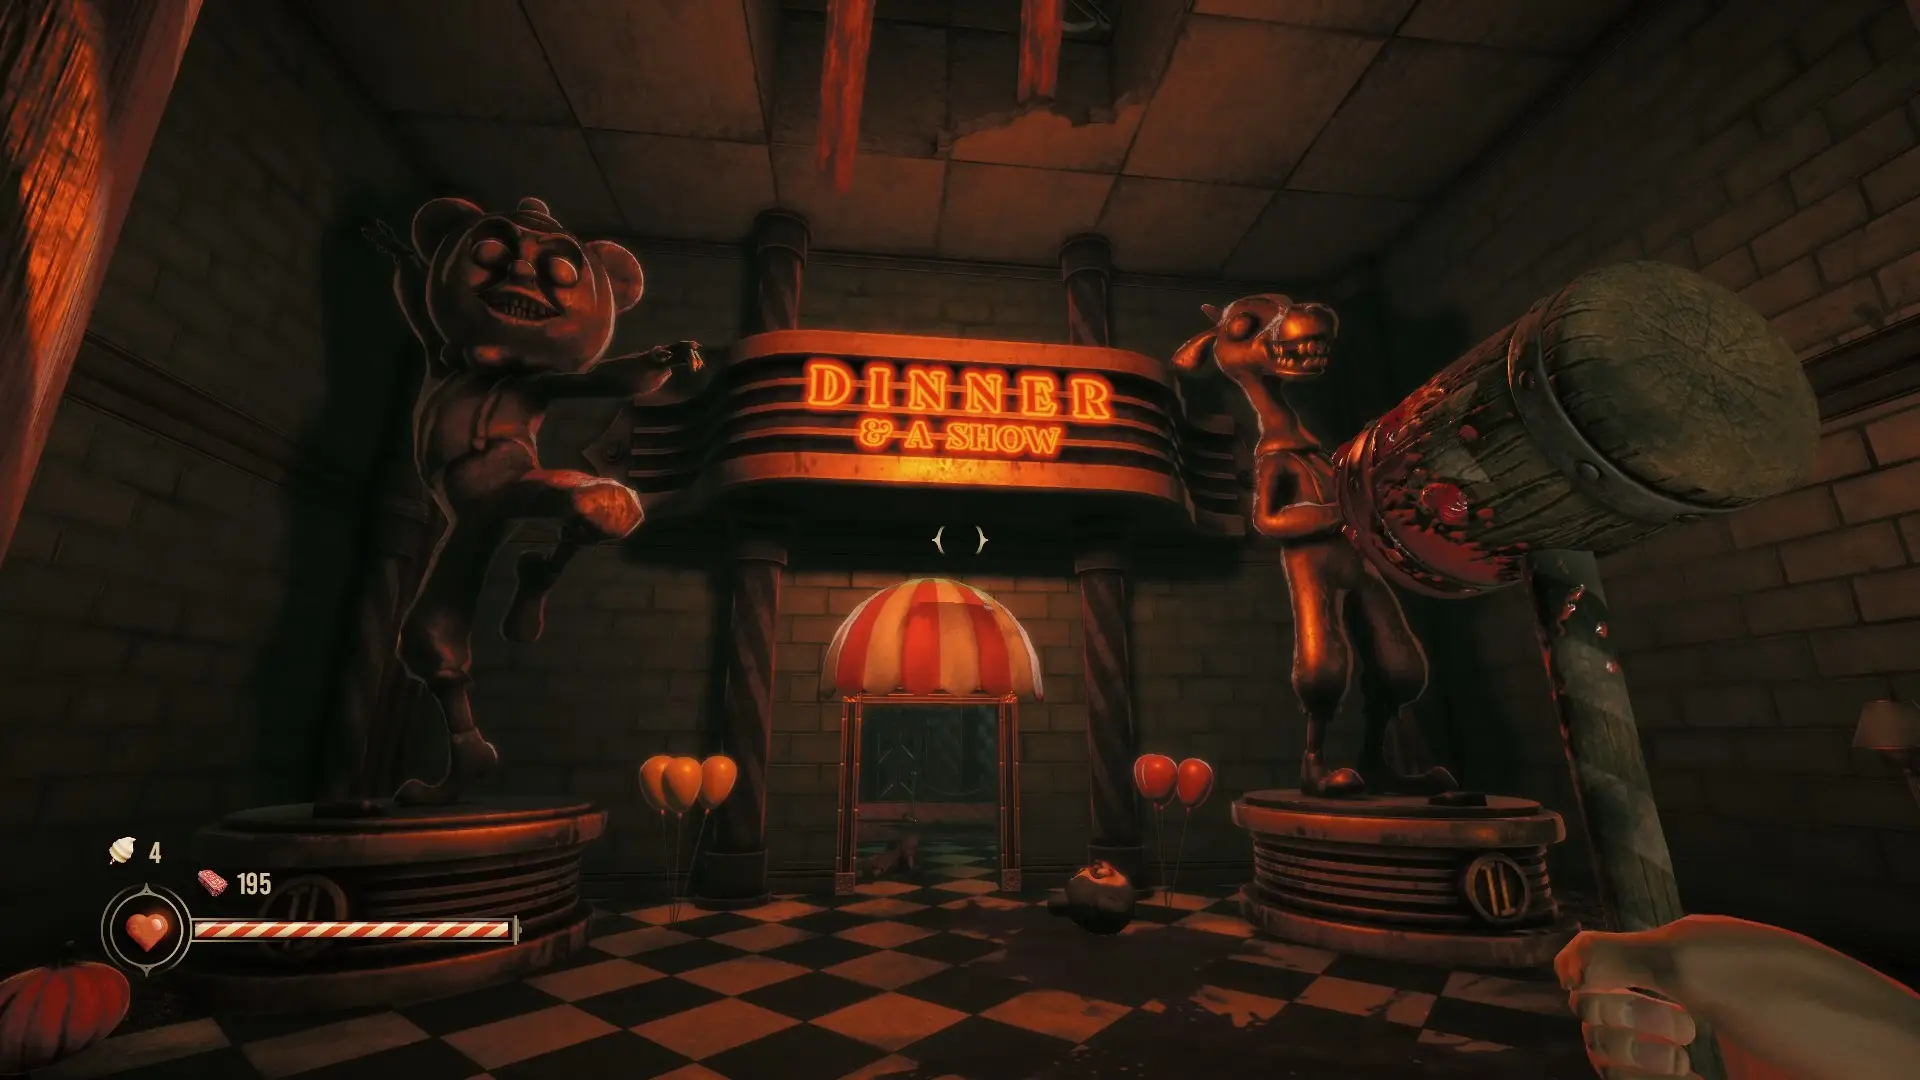
Continue to the dinner and a show area and be ready to fight enemies as soon as you’re close to it. Obviously, I’m going to slide under the planks that say no sliding on the right side of this next room, letting me grab a bunch of tickets.
Then, it’s time to actually go through the door, where you’re once again met by more enemies. Go through the next door for a checkpoint, and you’re now in the dining hall. Listen to the TV, then go through the dining room. There’s not much here, but you can pick up some tickets and you get Miss Fire, a gun, from the stage.
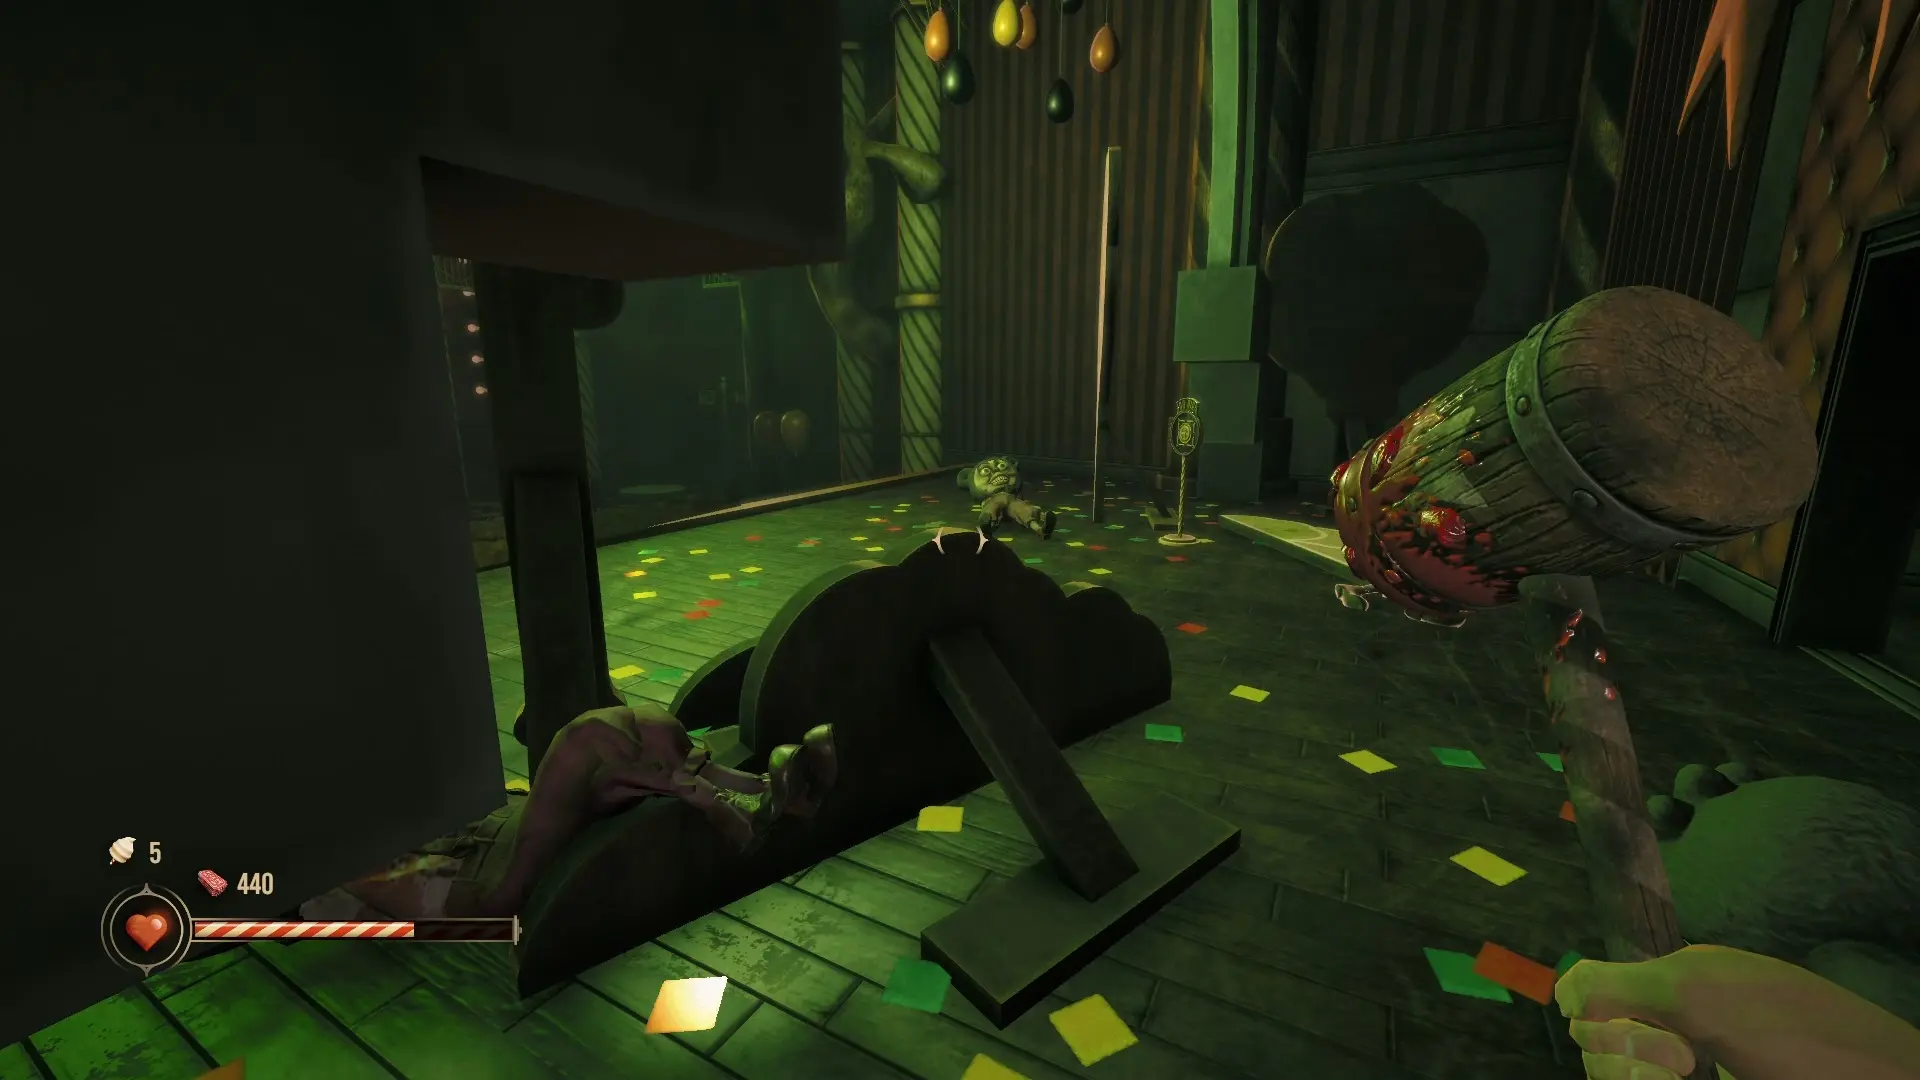
As soon as you start to leave, the door closes and you’re ambushed by enemies. There are a mix of melee and ranged enemies, so I stayed behind a piece of the stage for cover, forcing the enemies to come to me. Don’t worry about using ammo here, as you can loot the enemies for bullets after.
Go into the room behind the stage and flip it. Get back on the stage, then the plank, and turn left to get to the second secret area of the family center.
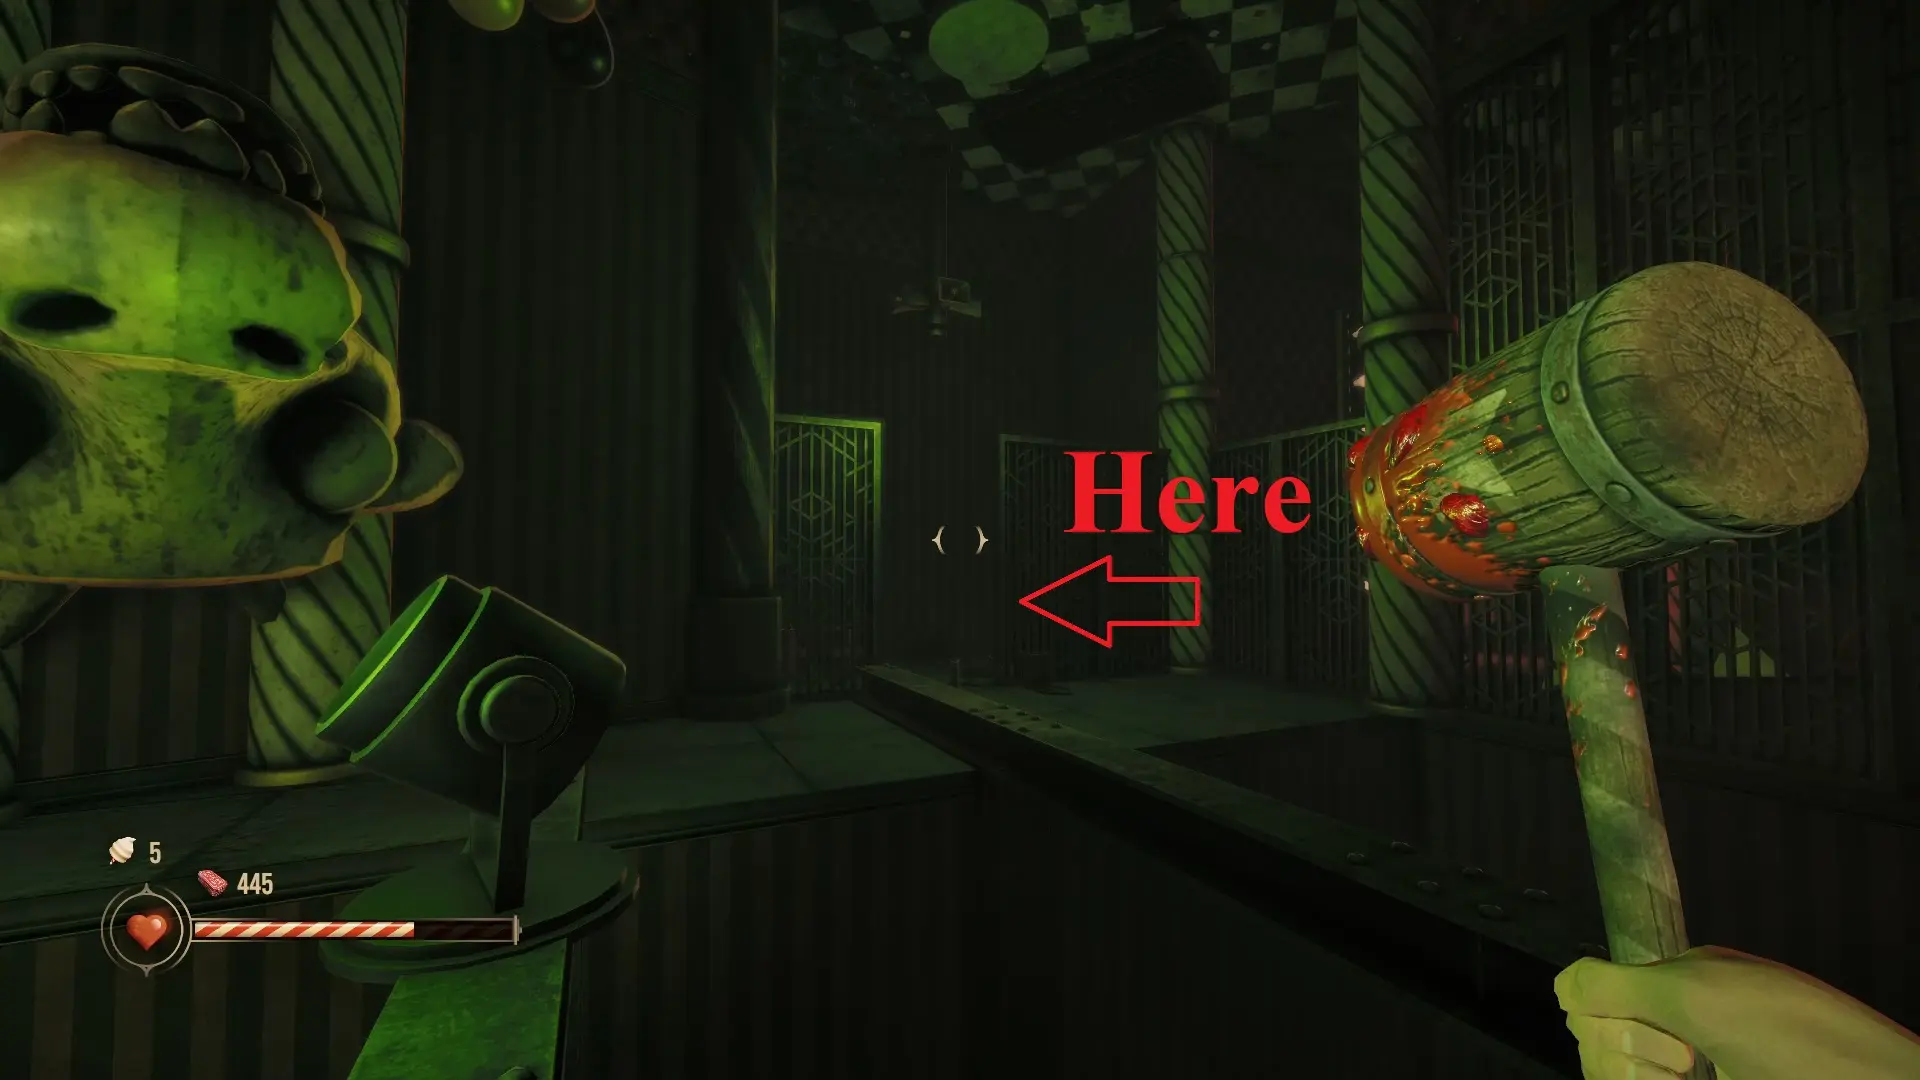
From here, backtrack your path through the dining hall now that it’s upside down. After you meet Gordon, there’s a lever you pull to the left. To the right of that lever, you break the grate and head into the vent.
Out of the vent, you’ll face more enemies. Then, you can grab the red key to get into Quackin’ Cocktails.
Hotel Quackin’ Cocktails
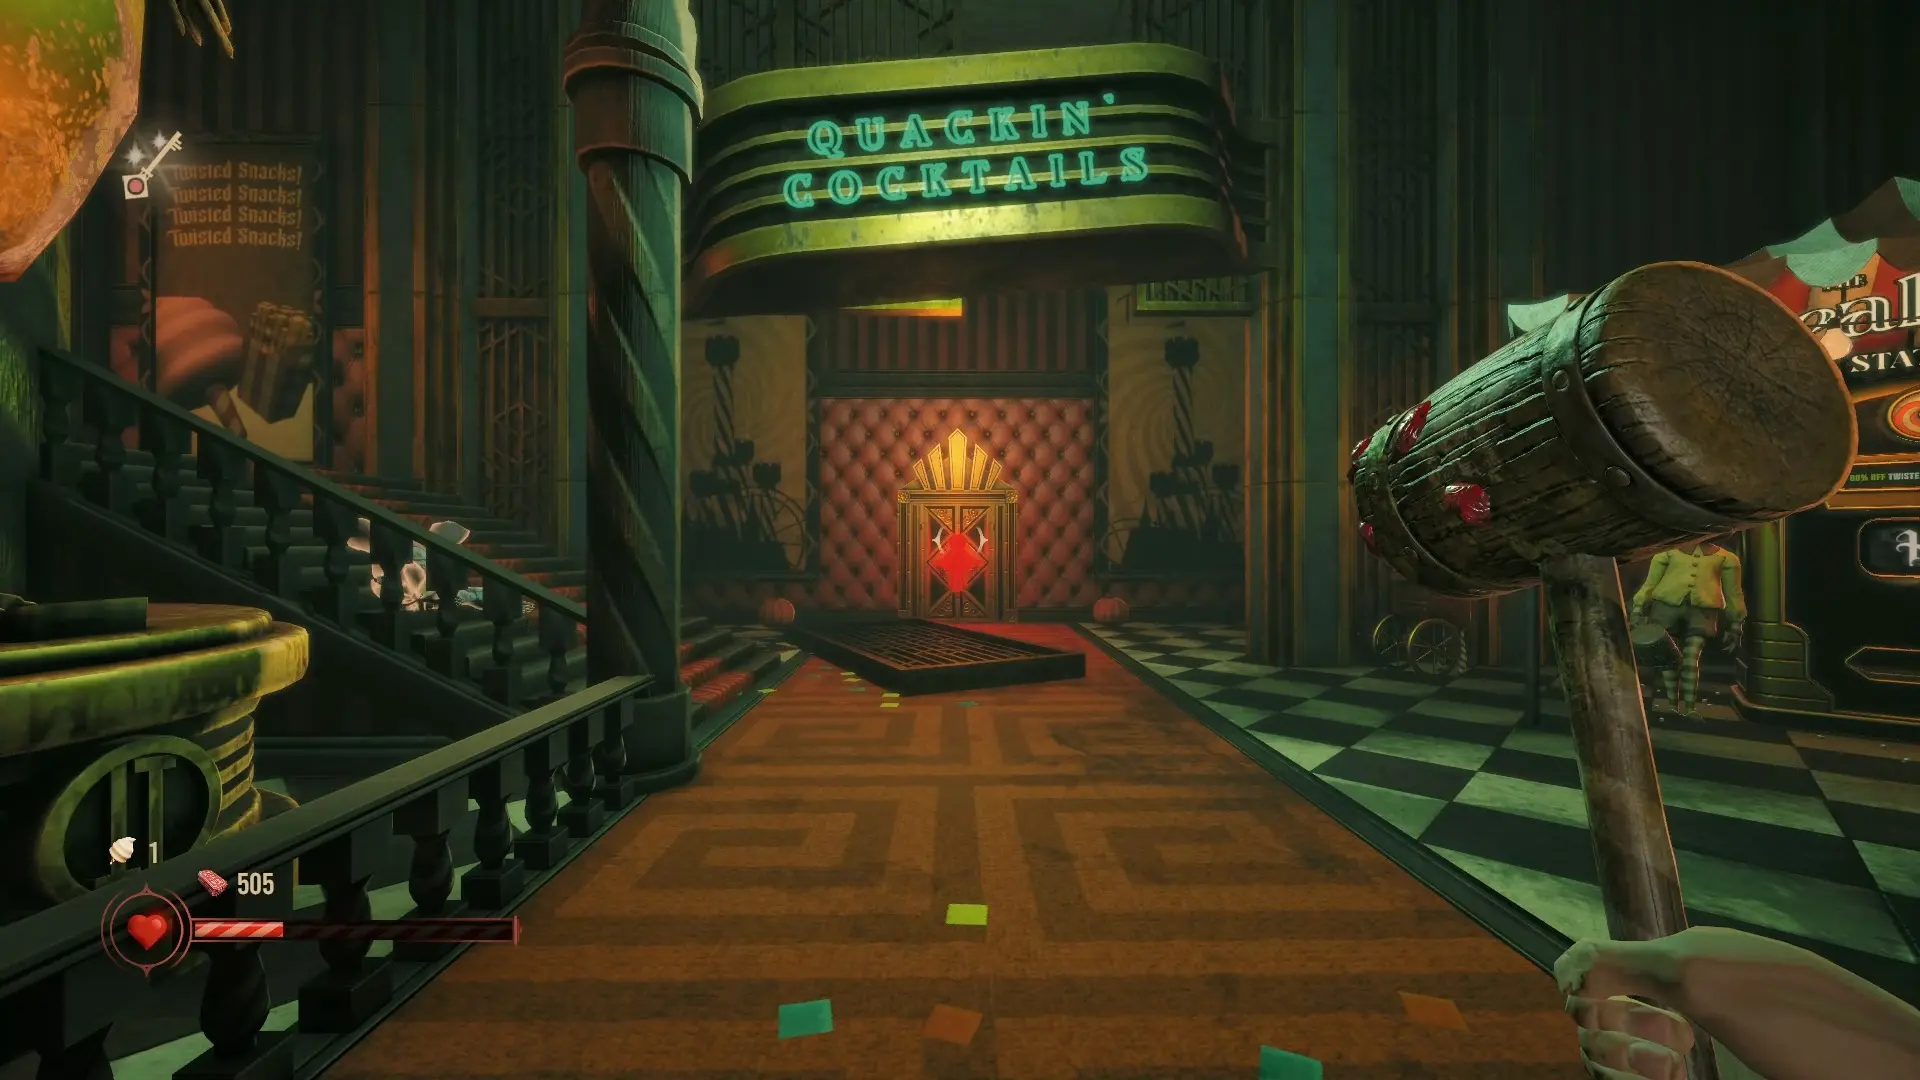
Quackin’ Cocktails has only one secret area, so let’s get to it. Inside, you’ll find some containers that you can spend tickets to open in exchange for food and ammo.
You can then find more tickets on the upper and lower levels of the dining area here, then head through the door to the kitchen. Just kidding. It locks and you have to fight another ambush of enemies. Defeat them, then you can enter the kitchen.
After fighting Mr. Quackers, hit the panel with stairs on it to flip the staircase in the dining area, letting you move on through the new path. Sprint and jump over the trap door to avoid damage.
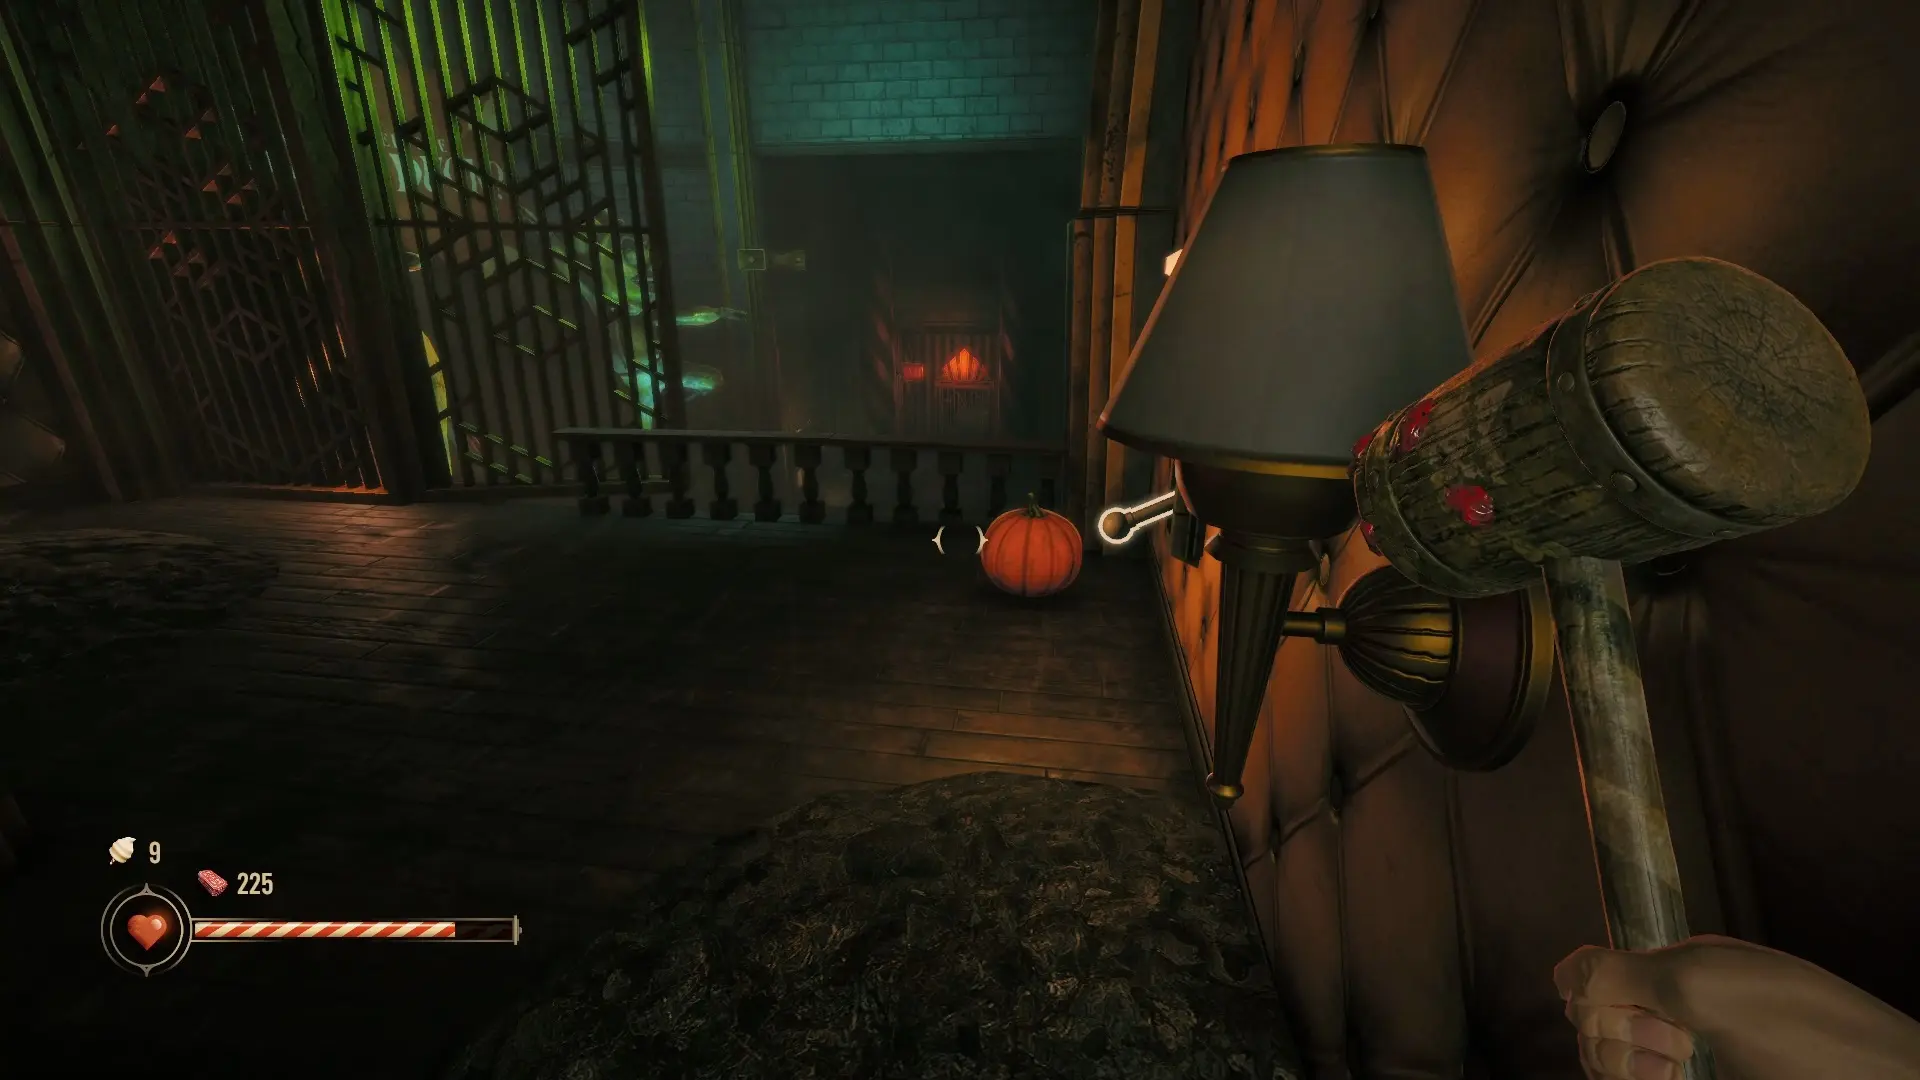
Continue through the hallway to enter a room with a lever immediately on the right wall that you want to pull. Jump to the lower level, defeat the enemies there, then continue through the door that you just opened with the lever.
Through the door, you get to watch a new video on the TV of Vincent’s past. Now, go to the right. Instead of going up the stairs, go into the little side room and behind the statue for the secret area of Quackin’ Cocktails.
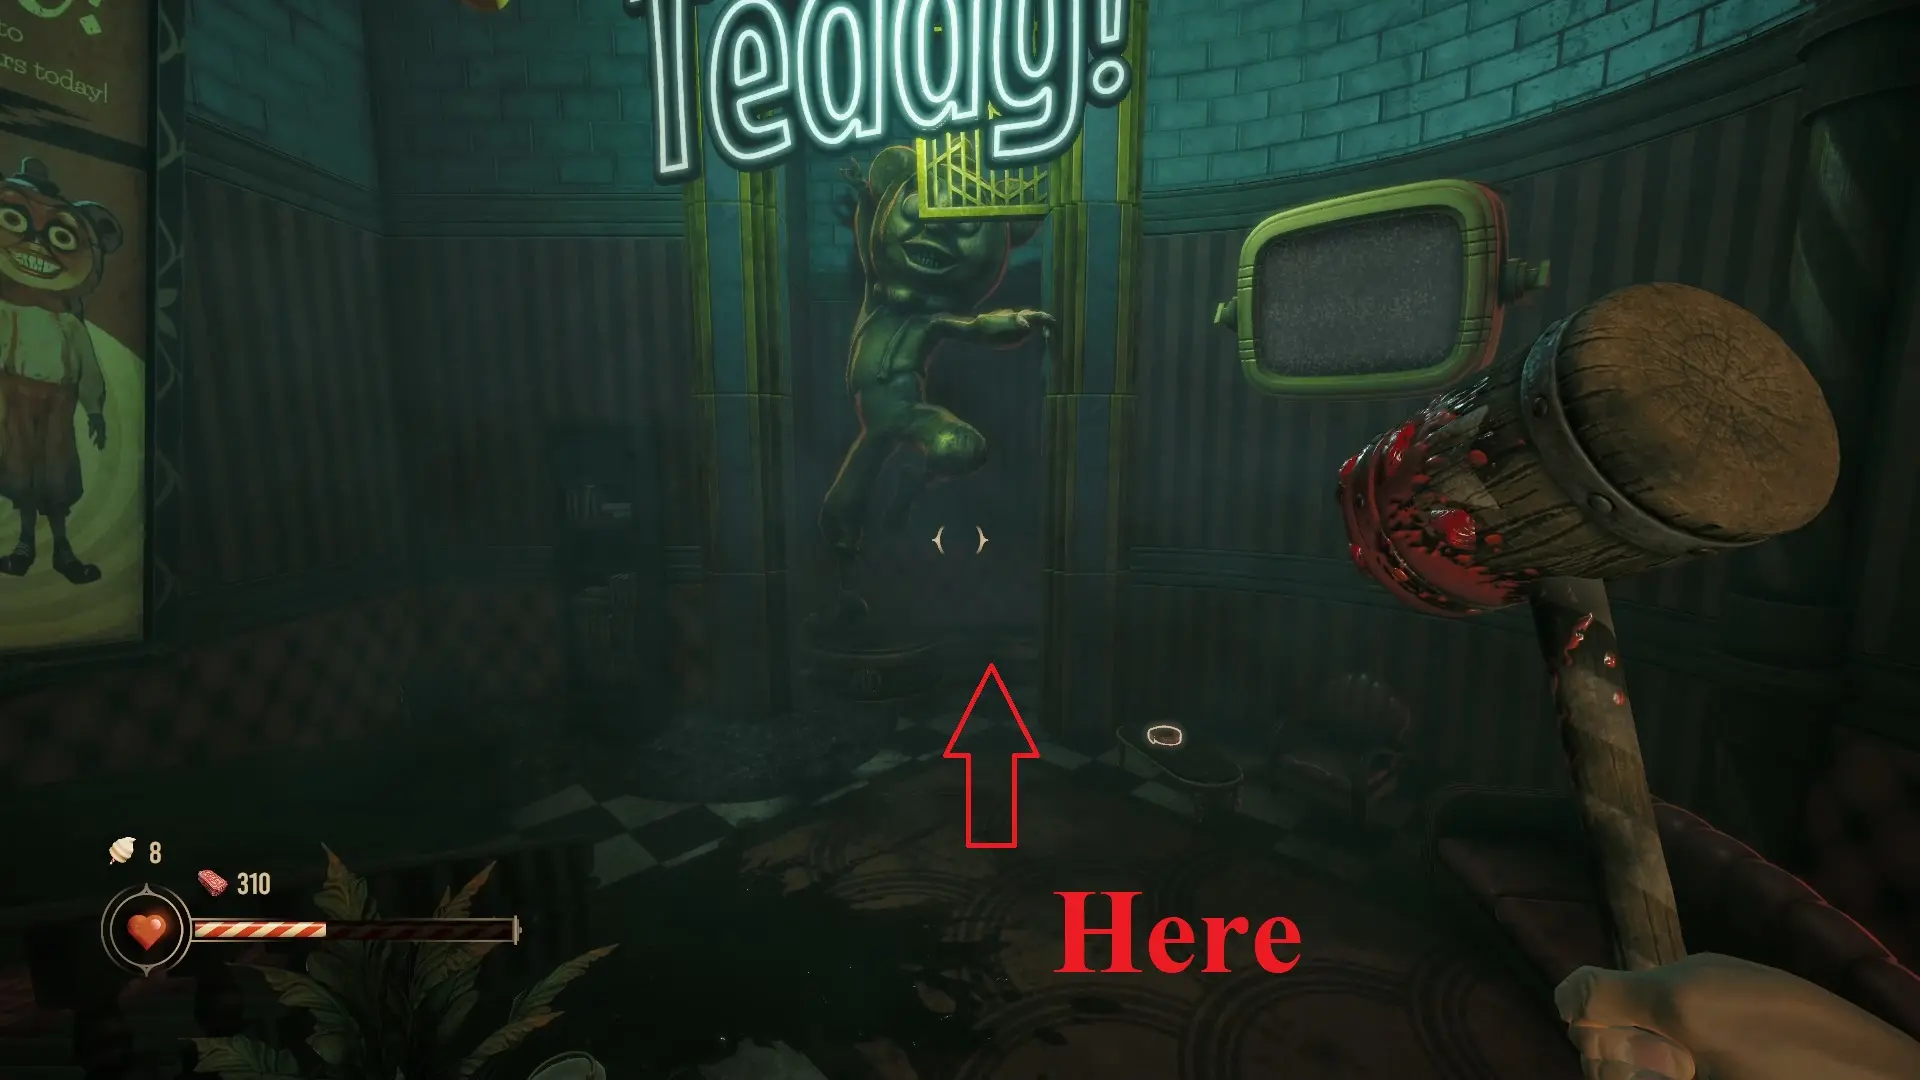
Then, return and go up the stairs you passed by, letting you return to the family center and finish this section. After this, you’ll finally be able to enter the bedrooms that were unavailable to you earlier.
Hotel Bedrooms

The bedrooms have only one secret area, and that’s in the Honeymoon Suites area. But we can’t get in there yet, so start by heading into the Economy Suites after Mr. Twister talks to you through the TV again.
As you go through the first hall, you’ll reach another door for the Economy Suites, and in front of it, you get your second gun. Enter the next room and get ready to fight the enemies that swarm you when you step inside.

Then, head up the stairs and use the button to flip the staircase, letting you progress into the next area.
In the next area, you’re attacked by some more enemies, but your new Ticklin’ Tommy gun makes quick work of them. Continue through the hallway and you’ll find a door on the left before the spike trap that you’re able to enter. This room lets you go through a spinning hallway to reach a lever that opens the grate in the room where you came from so you can progress that way now.

Now, you can explore the open room by the spikes or head back the way you came from. I only got about 60 tickets from exploring by the spikes, so it’s good if you need tickets, but you won’t miss anything if you skip it.
Exit the hall and use the button to your right to switch the stairs again. Then, head through the formerly-grated area and use the switch to move the bridge. You will be attacked as soon as you press it, but then you can backtrack to the beginning of the bedroom section and get passed the gaping hole.

Of course, when you jump across, you’re met with enemies. Take care of them and head through the Guest Services door. Here, you pick up the key needed to enter the Honeymoon Suites, meaning it’s time to backtrack all the way to the door in order to use it.
Use the key, kill the enemies, and hop up to the floor on the left. There’s only one path available to you here, but there’s a sneaky My. Quakers that will try to jumpscare you on the way through. You’ll get a chance to upgrade your weapons and buy ammo at the stop of the stairs. Finally, you reach another Honeymoon Suites door to go through.
After you spot Charlotte, go left into a room where the floor is partially missing. The secret area for this section is in the room across the missing section.

After getting the secret, hop down and go through the vents in the missing floor area. You then reach a room that looks like a dead end, but you actually need to use the strategically-placed planks to get to another vent.

This takes you to the area you saw behind a grate earlier, where you pick up the key to the lounge. Use the key and you find a concerning number of presents to open to refill ammo. Then, grab the Twisted Token on the ground and head down into the lobby.

Remember how we couldn’t get all the secrets in the lobby earlier? Well, now we can pick up what we couldn’t before.
So, leave the hotel and use the bridge to get back to the lobby, but be prepared to be attacked on your way through.
Hotel Basement and Return to Lobby
The token that you got at the end of the previous section is used to enter the basement of the lobby, which you likely saw earlier but couldn’t do much with that observation.
At the bottom of the stairs in the basement, turn right and turn right again. There’s a poster that says “Treats Here.” When you get close to it, enemies pop out and attack you. Then, you enter the now-revealed room for the only secret area in the basement.

From here, turn around and go down the actual path.
You get another message from Mr. Twister, then break the planks to the left to get into the next hallway where you find a lever. This opens the grate to the harpoon, which you can now go grab and use to pull yourself to the upper level.

Use the grapple points to exit the basement, picking up the Mermaid Palace ticket at the end.
But before we use the ticket, we’re going to grab the second lobby secret.

Turn to the right when you exit the basement to find an arrow on the ground pointing at a wall. Walk through that wall for the secret area. Then, it’s time to go to Mermaid Palace.
Mermaid Palace

On my first run, I got access to the east poolrooms, but not the west. So, I’ll put the east poolrooms first and then the west secrets.
East Poolrooms
In the east poolrooms, go to the left and use the wheel to access the Shart Gun. Continue into the hallway to find ammo in the rooms and a lever in the room at the end that opens the grate by the pool.
The first secret is in the shower room behind a wall where you find vents. The secret is behind a grate in them.

Go through the grate and into the vents, then the water to find a lever. This lever opens the grate on the upper level that covers a grapple activator.
In the next area, you find a Real Boy Station. The second secret is down the hall with the water flowing. In the hall by the dead Seahorse Sam, you’ll spot a grate in the corner you can grapple into for the second area.

From here, head to the small pool to get a wheel that you put in place in the area behind the spiked grate that drops down. This lifts the obstacle barring the hallway, and you’ll have to run to get through it. This gets you to the Crimson Pearl.
Also Read: Big Walk – Full Walkthrough & Puzzle Solutions
West Poolrooms
Maybe you got the west option first. Either way, when you get to the fire, you’ll find the first secret in a vent up and to the left.
The other secret location is in the Lockers, which looks almost the same as the shower room in the East Poolrooms. The area you want to get to is a small ledge on the left where there’s a gap above one of the showers.
The Crimson Pearl
Land on the grates and go into the water. There’s a vent hidden here that you can break, which is the first secret area of this location.

Then, go back up and head down the only available path, leading to planks you break for the next path to a grapple activator. Hit it and use the code 1326 on the keypad to enter the VIP area.
This leads to a cutscene with Charlotte followed by a fight with a lot of enemies that spawn in. Use the ammo in the area to keep your guns loaded, then dive into the center pool to get the Restroom Key.
When you enter the restroom, turn left and go up to the ledge for the second secret area here.

Then, turn the opposite way and drop into the sewer.
There are no secrets in the sewer. You find Piper, a lever, and Charlotte’s hand, which you’re unable to keep. The lever lets you grapple to the next area, where you’re told about spiders.
Naturally, you’re going to be chased through the sewers by spiders, so follow the signs on the walls.
Of course, Charlotte is now in the Clown Casino, so it’s time to go back to the lobby and head there.
Clown Casino

First, follow the tickets in the lobby and grapple up to the VIP area, where you get the Fairy Wings. You also get the ticket to the Clown Casino, letting you use the elevator to get there.
Before you enter the casino, you cross a bridge. When you leave the elevator, turn to the right and go down to the ledge for the only secret area of the bridge.

Then, use the Fairy Wings to get across the gap and head into the casino. After a message from Mr. Twister, head into the first area and get ready to fight.
Grab the spade block from by the clown head to put on the platform in front of the Slot Machines door, and then you can enter and find your first secret of the area.

Enter and go across the first gap, then turn around to see an area below where you came from. This is the location of the first secret area.

Then, use the lever in the alcove to rotate the jackpot and continue forward.
At the end of the hall, you can enter the room across from the entrance to get another block, then use it at the top of the stairs to open the grate. In the next room, you get the Bubble Gun and fight another group of enemies.
After that, you can go up into the newly unlocked area and see Mr. Twister again. Then, pull the lever to the right. Jump across the spikes with your wings.
In the next area, you can go through and find a lever to remove the grate. Then, once you pass through, look up and to the left to find the grapple point that will get you to the second secret area of Clown Casino.

Grab the key and head to the Giggle Coaster next. The Giggle Coaster is nice in that you basically have one path to follow. However, when you see the “Ticklin’ Tommy’s” sign on a stage, look for a sign that says “Stairs” to find the only secret in the area. Then, ride the coaster back to the main area where you’re directed back to the lobby.
In the lobby, you’re directed to the east lounge to get the Bouncy Shoes. After that, Mr. Twister tells you to exit the lobby and head back to the courtyard by the beach to meet him. This is where you started the game.
Fairground Forest

Because we got the Bouncy Shoes specifically to do this section, expect a lot of jumping to get around here. The first secret is actually tough to miss. Almost immediately upon entering, you see a stone that has a big rotating spider. Hop onto that stone for the secret area.

You can get on it by using the path that goes up to the left and dashing with the Fairy Wings.
Now, go up the path normally until you find the gate with broken planks, behind which you can get a chair with the heart back to stick onto the big closed gate. The second chair is in the Leroy Lion area right past the sign.

You can now use the chairs to jump over the wall. In the next area, you want to head through the tent along the only path open to you, which leads to a fight section. If you need ammo or food, there’s plenty you can pick up along this path. Then, you pick up the Sling Snipe and open the Thunder Tracks gate.
The second secret comes when you’re riding the cart. On your right, you’ll see an area with a few boxes, and that’s where you unlock it.

From here, you get to enter the next area of the Fairground.
Godmother Maze
When you enter, look for the section that has lights on to the left. Behind it, you’ll find the first of two secrets in this area.

The second secret is actually in the same area. In the back, you see a big statue. Head behind it for the secret area, completing this location quickly.

Then, it’s time to enter the maze. Just kidding. The gate closes and you’re ambushed by enemies again. After that, you get an update from Piper that Charlotte is in Lightspeed Land and you have to go through the maze for a jetpack to get to her.
Lightspeed Land
Similar to other bridges, you can grab two secrets on the pass to Lightspeed Land. The first one is to the right when you exit the elevator. Hop onto the ledge and around the corner.
The second secret is when you have to grapple to progress. Go to the left instead and through the jumping section to find the second secret area.

From here, go along the path to the right and keep climbing until you find Piper again, who directs you to continue onward.
The next area is Lightspeed Land, where you find the final secret. First, head into the Martian Discovery area. You’ll lose all your weapons when you fall down here. Leave the room through the vent in the ceiling and start looking for your lost weapons.
You get another gun to use in the meantime to help you get through the enemies. When you reach an area with ride tracks, you want to jump over to the ledge on the right and enter the opening to reach the last secret of Twisted Tower.

Then, return to the tracks and go through the exit to get outside. You’ll pick up Miss Fire and Ticklin’ Tommy out here. Once you ride the cart, you’ll be able to get the rest of your weapons.
The weapons are in a room with a Real Boy Station. The immediate next room is another area where you have to fight an ambush of enemies. After clearing them, rotate the pauser for the cart and return to ride it again. The ride takes you to the key you need to open the Galactic Cinema.
Final Boss

There are no secret areas in Charlotte’s Castle, but after you scale to the top, you’re met by Mr. Twister for a final fight. While the shifting arena can be frustrating, the mechanics are straightforward.
Look around for the activators you used for grappling throughout the game. When you hit it, giant red orbs appear on Twister’s balloon.

Those red orbs are its weak spots. Hit and break every orb to defeat Mr. Twister and save Charlotte.
Once you reach the end, you can go back into Twisted Tower through Adventure Plus, opening up the areas you might not have gotten during your first run.
