

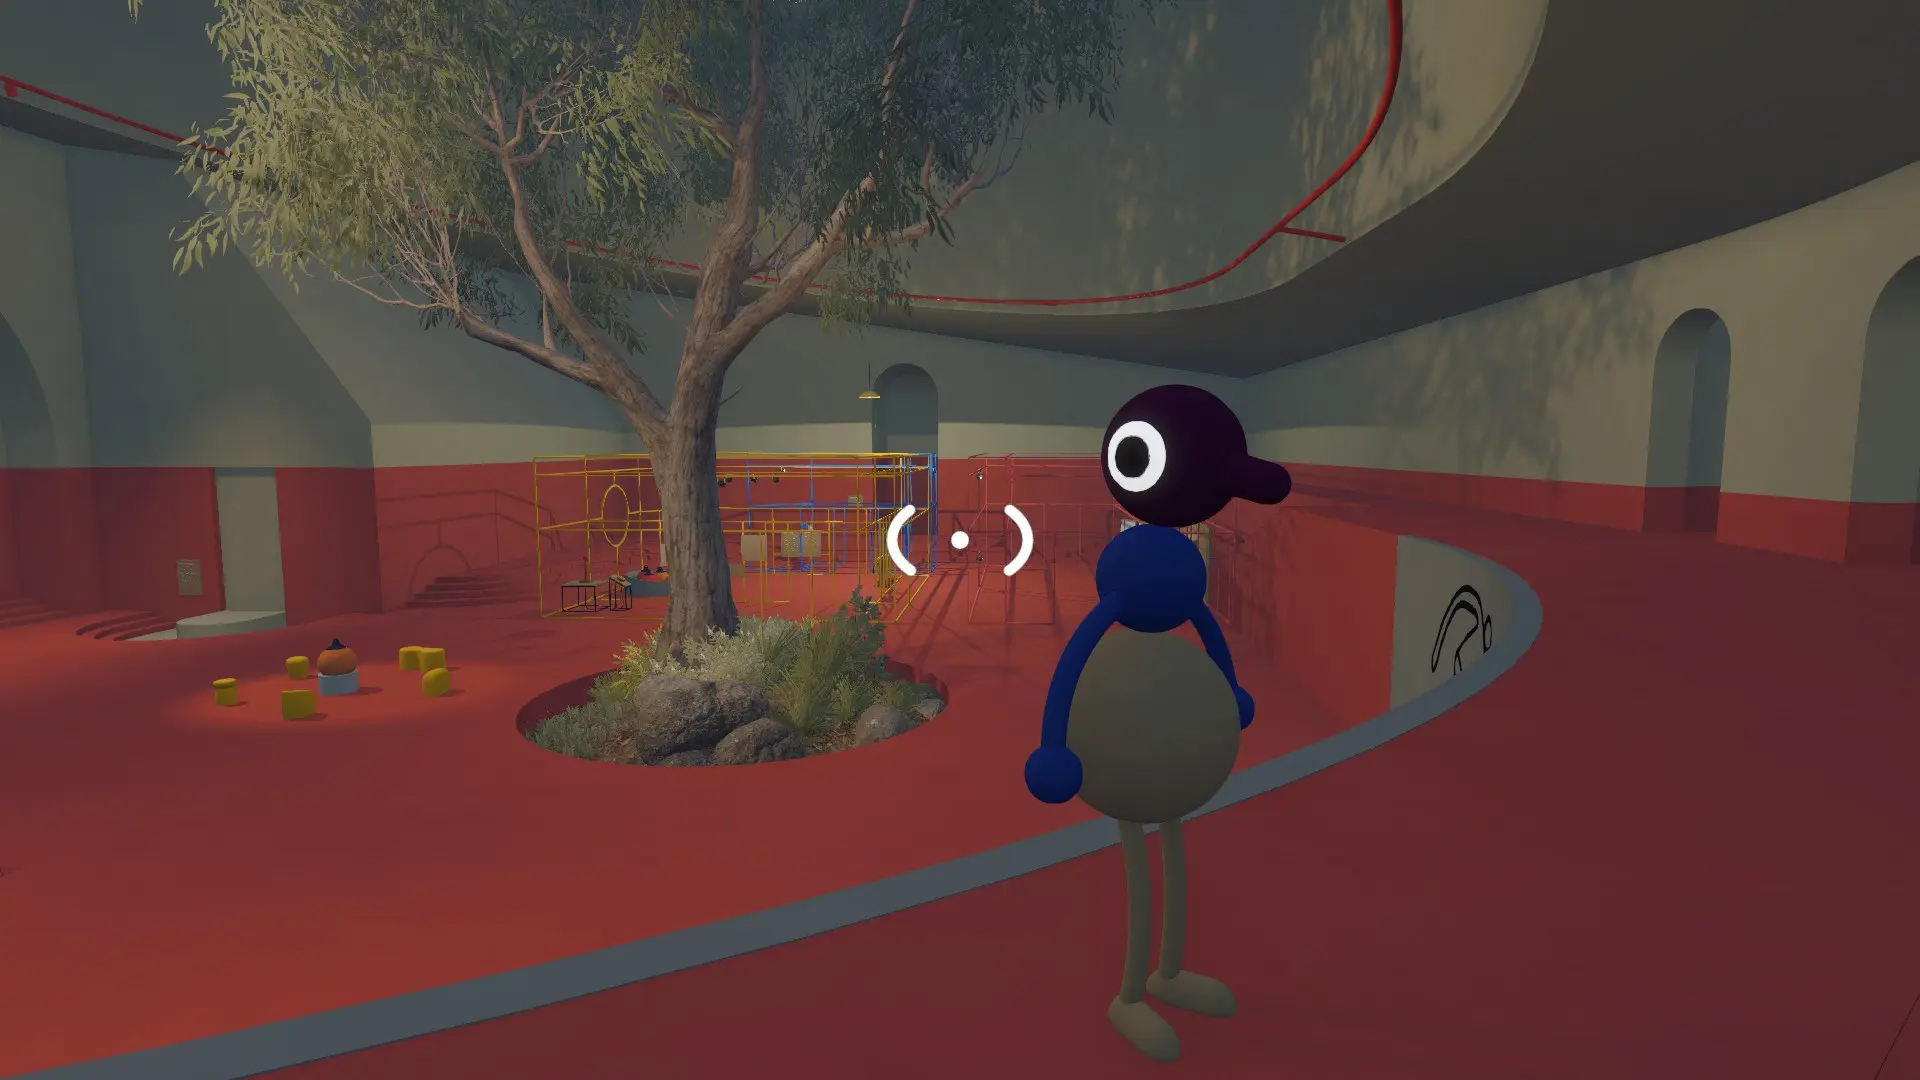
Big Walk is a new multiplayer game where teamwork is key. After you go through a short tutorial that teaches you the basics of how to play the game, you’ll be sent off into the first main area, where you start working together to solve puzzles in order to continue progressing.
The game is separated into five main areas that each have a set of puzzles across roughly a dozen total biomes requiring multiple players to work together. You’re rewarded with red blobs that you’ll use to unlock the key at the end of each area. Here are all the puzzles you’ll find in Big Walk along with their solutions scaled for a two-player game.
On This Page
What is Big Walk?
| Developer | House House |
| Publisher | Panic Inc. |
| Platforms | PC, PlayStation 5, Nintendo Switch 2 |
| Genre | Adventure |
| Number of Players | Minimum of 2, Maximum of 12 |
| Release Date | August 4, 2026 |
Big Walk is the newest game from House House, the developers behind Untitled Goose Game. This time, you’re forced to work together to solve a series of puzzles that reward you with red blobs you’ll use to unlock the key that each of the five main areas have. This key is then used to access the next main area.
What makes Big Walk unique is that it encourages you to not be in voice chat with your friends. In fact, communicating only through the methods that are provided for you in the game is ideal for the best experience. This means you’re supposed to solve puzzles that rely on teamwork with limited communication and many gestures, turning the game into a hilarious, albeit frustrating, team-building exercise.
How to Enable Co-op in Big Walk
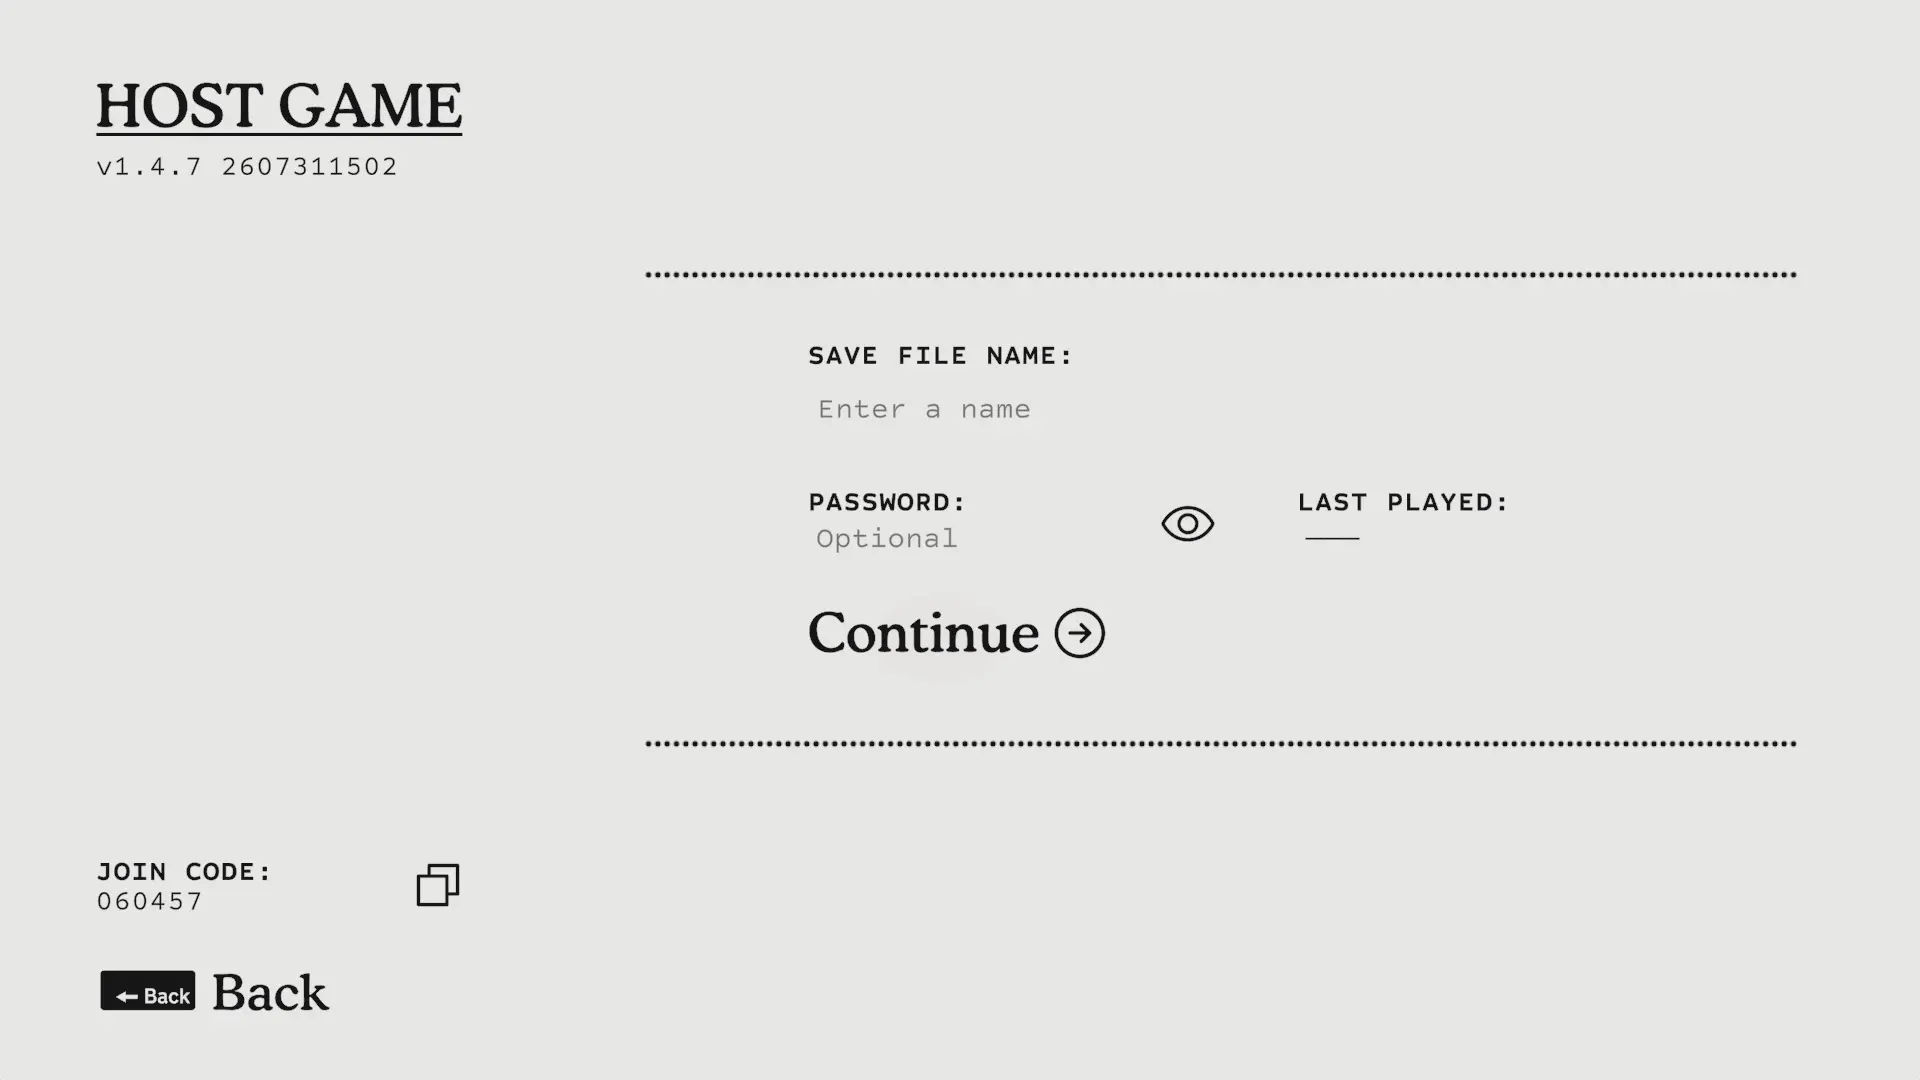
Since co-op is required in Big Walk, it’s important to know how to set it up. Luckily, it’s quite easy for both the host and the players joining the session.
When you launch the game, you have the option to host or join a session. If you’re hosting the session, you’ll pick the number of players you’ll have and decide if you want to set a password for the session. You’ll also spot the session ID number on this screen that your friends can enter to join, but you can find it again while in the game if you open the menu and select “Session Details.”
Once the host has started a session, the players joining should pick the “Join Session” option in the menu. This gives them the option to enter the session ID. However, if you’re friends on the platform being used—I used Steam and am Steam friends with my co-op partner for this game—the game will appear as an option that you can select from the menu, letting you skip entering the ID. You still have to enter the password if one is set, though.
Tips and Tricks for Getting Started in Big Walk
The controls and design of Big Walk is simple, but that doesn’t make the game easy. Here’s some advice I wish I had at the beginning.
- You can pick up your friends to reach high places.
- It’s a good idea to light up the light balls you find along the paths for when night falls.
- You throw objects farther when you aren’t holding them over your head.
- You must cut the key into shape using the small cutters before you can use that key.
- You can get a map after getting the key from the Red Tower.
- Taking the time to explore each area tends to make solving the puzzles there easier.
- The first area has a stage with paints and a brush that you can use to paint your friends.
First Key—How to Open the Red Drawbridge
For the first key, you need to solve four puzzles to collect red blobs. This is essentially how you’ll progress through Big Walk, as each main area requires you to unlock a key before you can move on.
Yellow Crane Puzzle
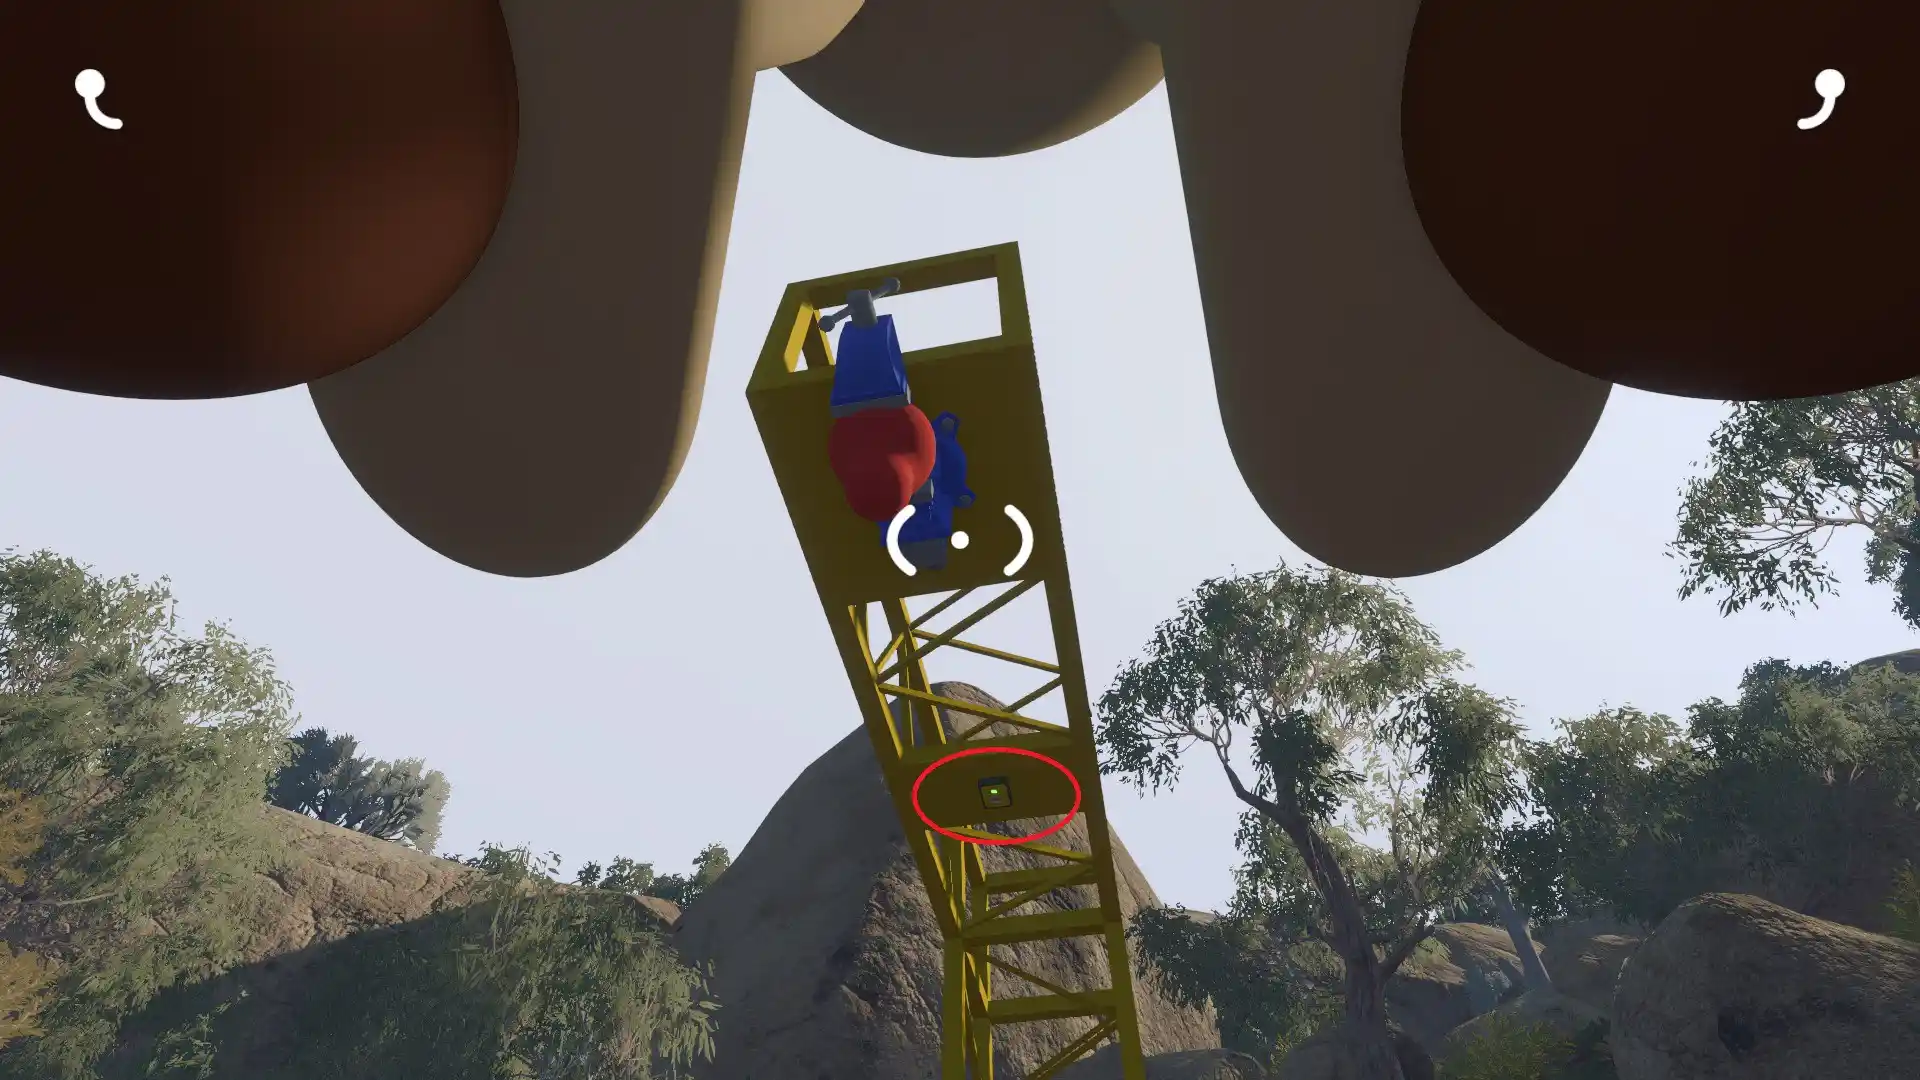
When you enter the big area, follow the slow down and you’ll come to a structure on your right. Pick up your friend so they can reach the button. This frees the red blob that the structure is holding. You need four of these blobs.
Telescope Puzzle at the Orange Platform
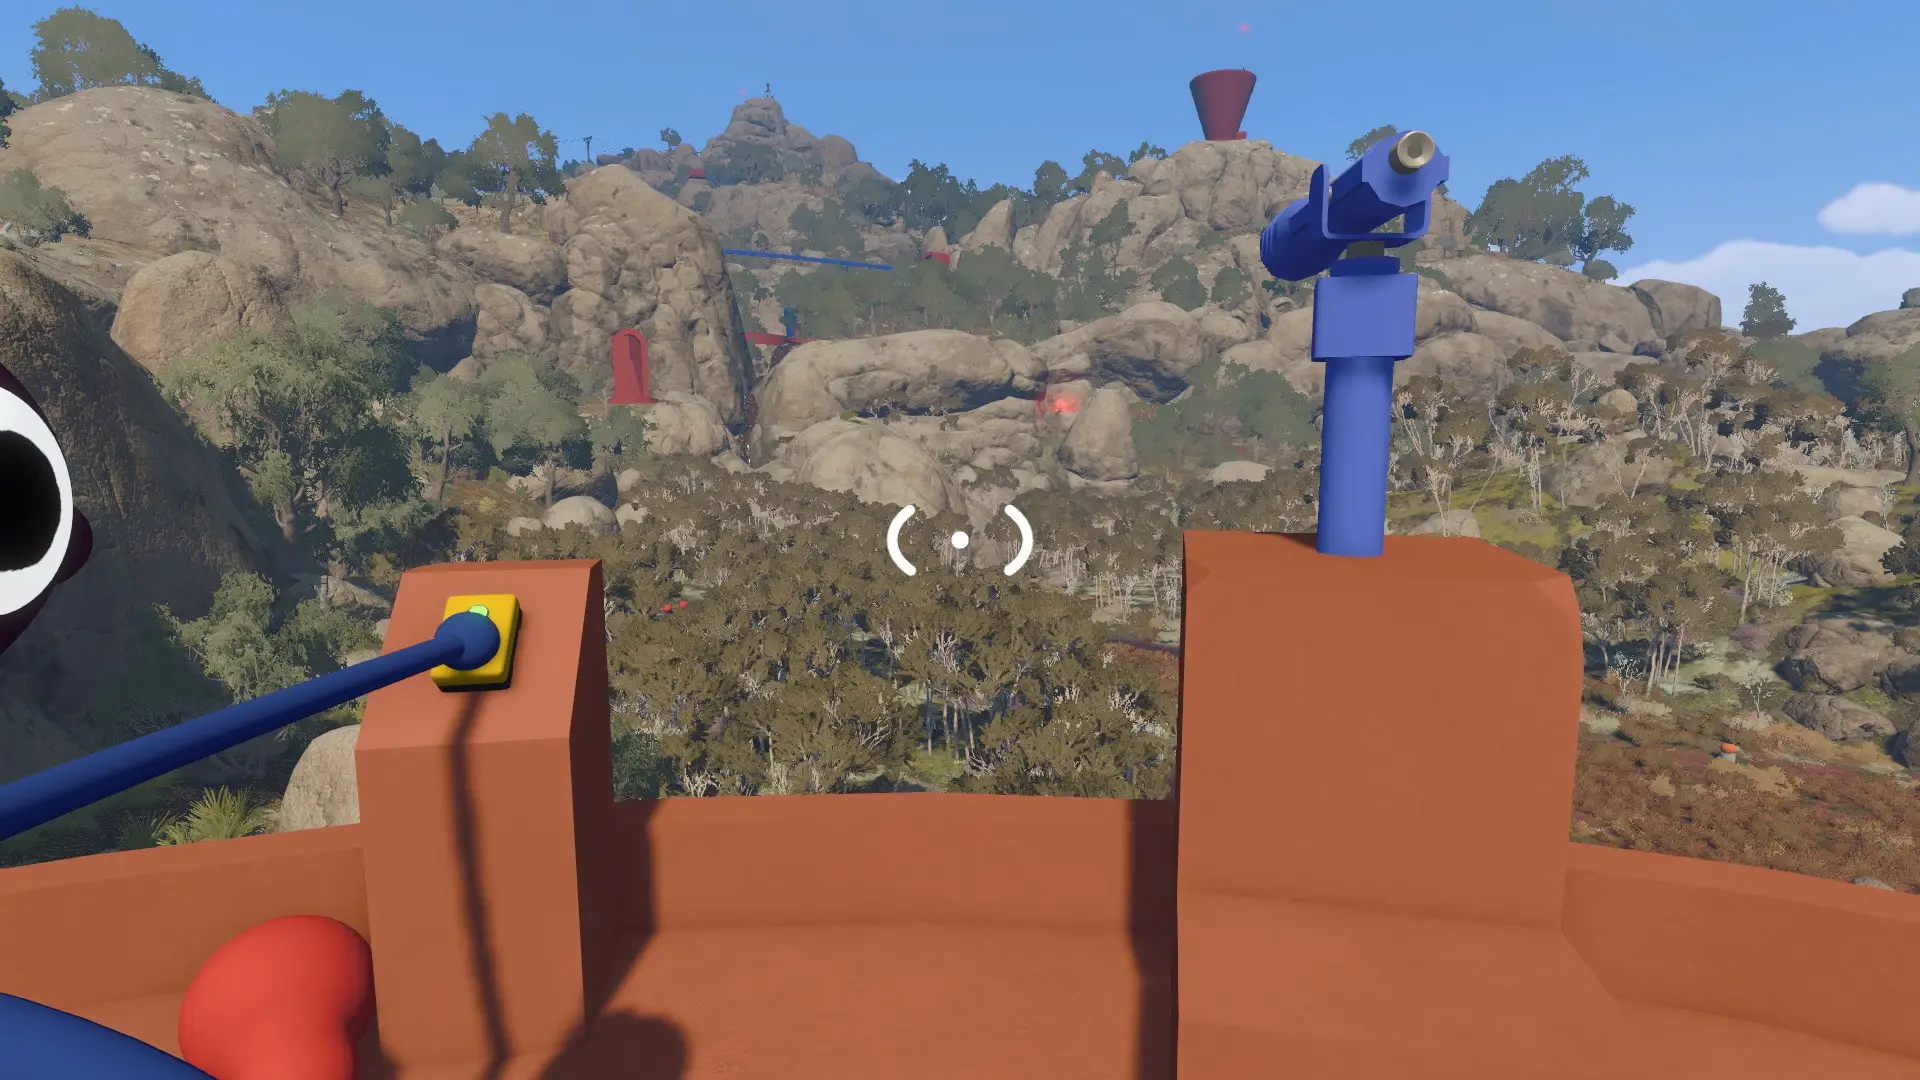
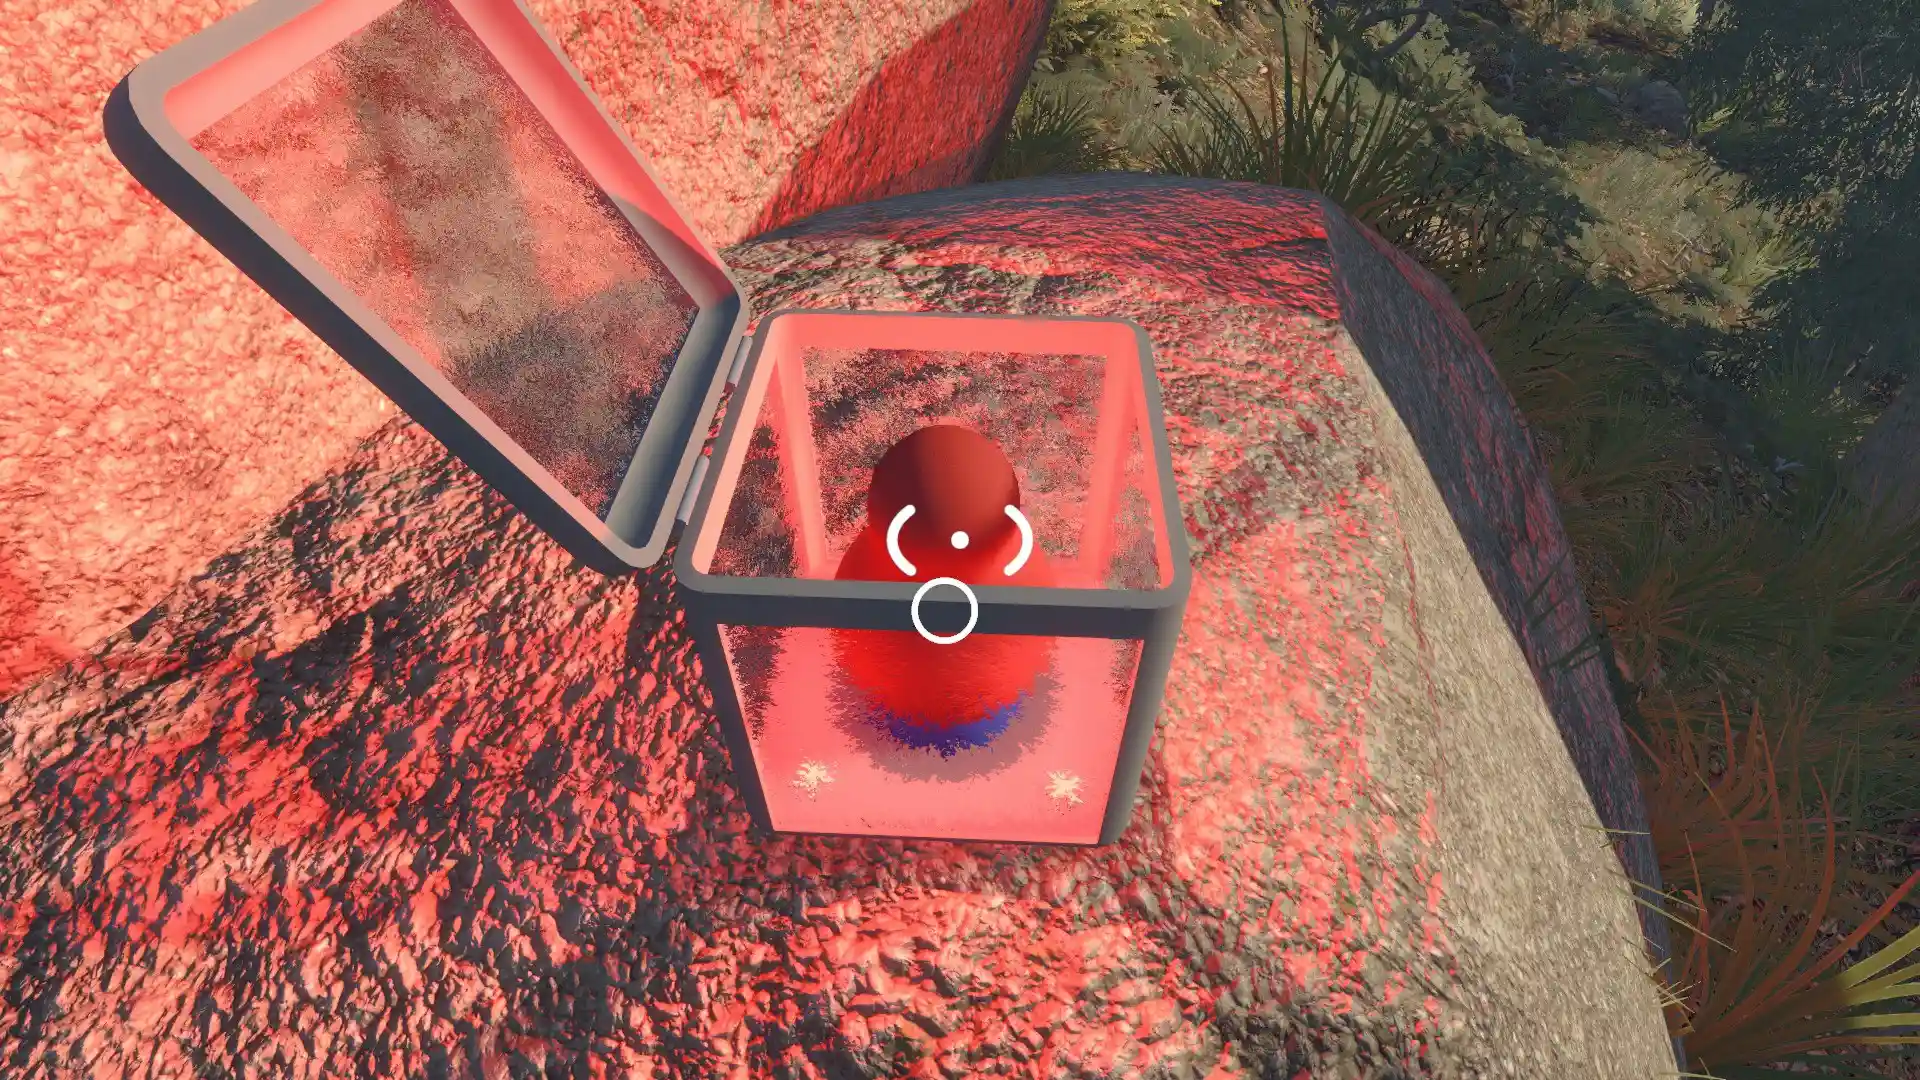
I continued forward from here, as you’ll end up at the lookout where there’s a telescope and a button. If you look through the telescope, you find a box with another red blob in it. You or your friend need to hold the button down, as this opens the box and shines a red light that makes it easier to find the box. Then, whoever isn’t holding the button has to go collect the red blob.
We met back up at the box in the middle that’s filled with paints, which acts as a good landmark and lets you paint each other’s characters to change your color.
If you continue behind the paints, you’ll find the beach. There are four slots for the red blobs. Have your friend hold the button down to pop them into their slots.
Timed Switches at the Green Pillars
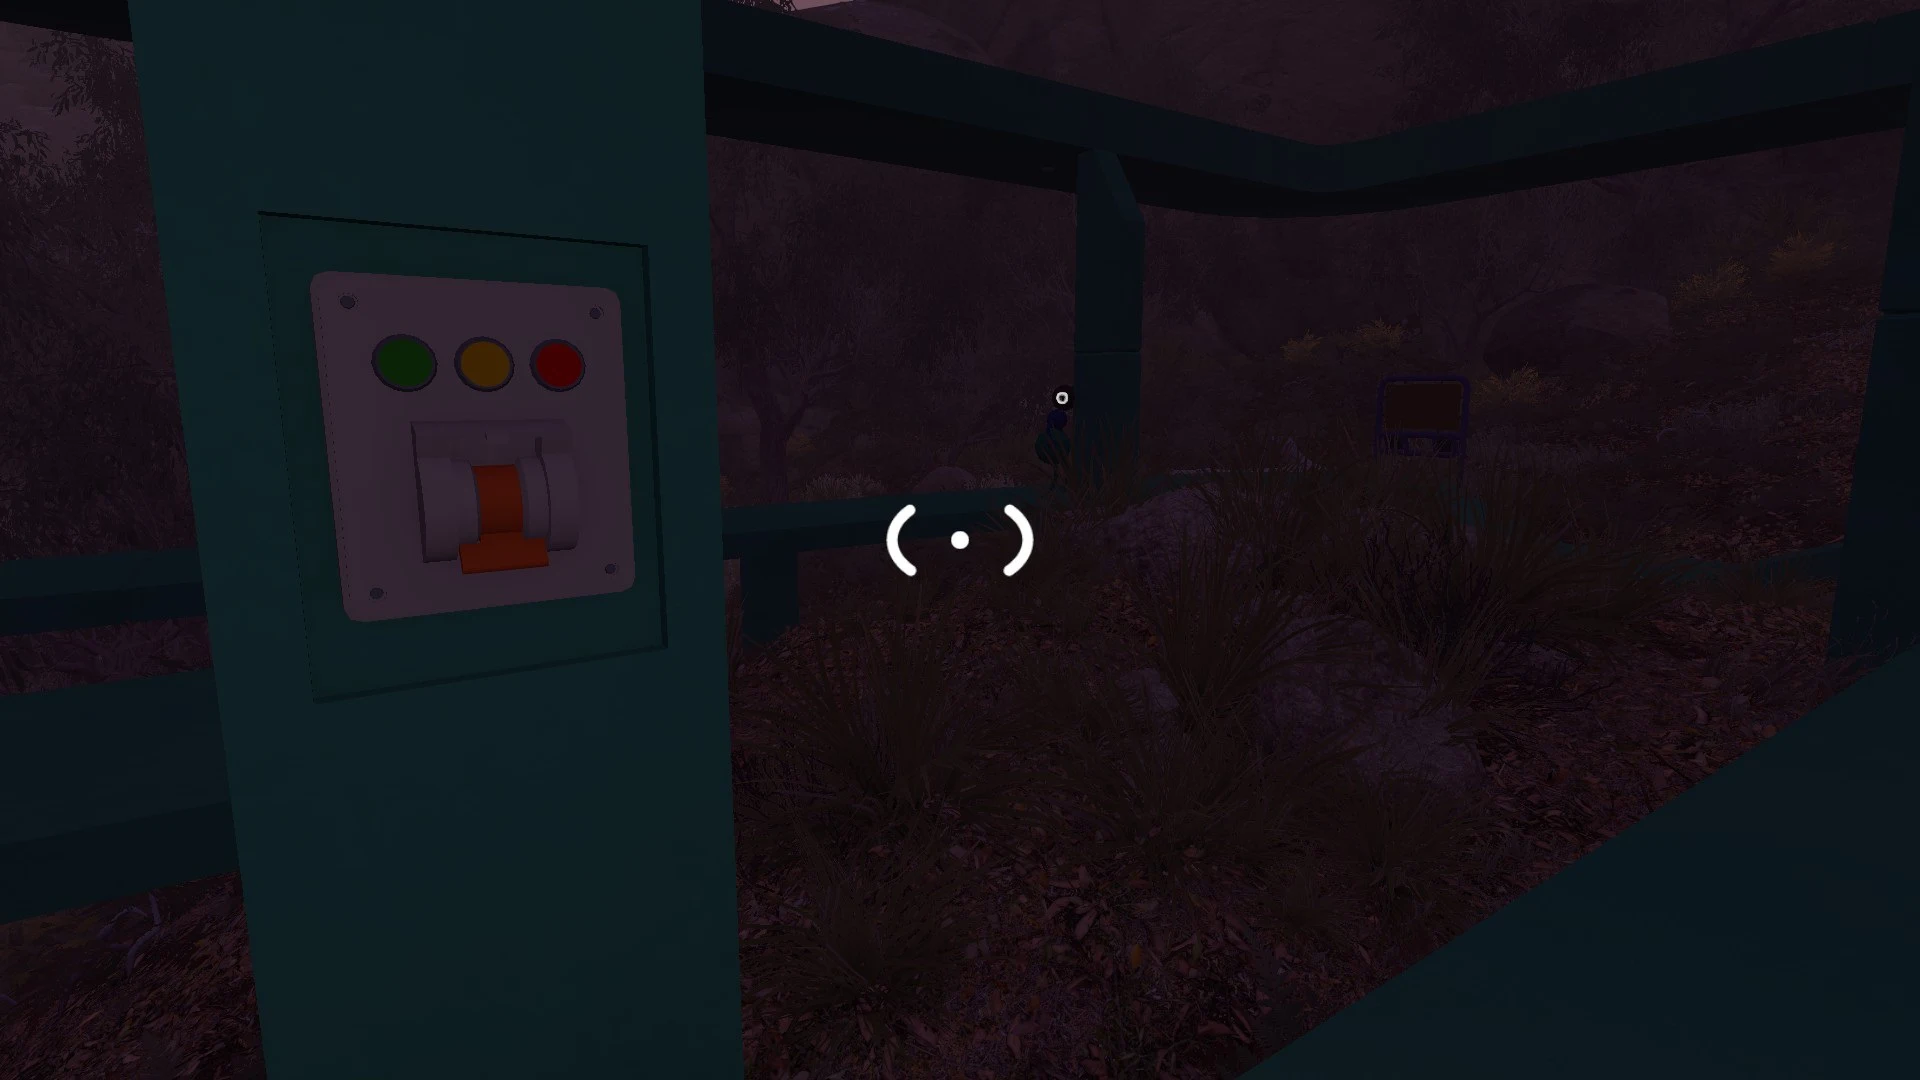
Now, you need the other two red blobs. So, you’re going to turn around and follow the rocks on the right side. This takes you to a big green structure with a red blob in a clamp. You and your friend will find buttons on the pillars that need to be hit at roughly the same time. I was only on two-player mode, but I imagine that there will be a number of buttons that matches the number of players in your game here.
After you hit the buttons, the clamp lets go of the red blob.
Symbols Puzzle at the Blue House
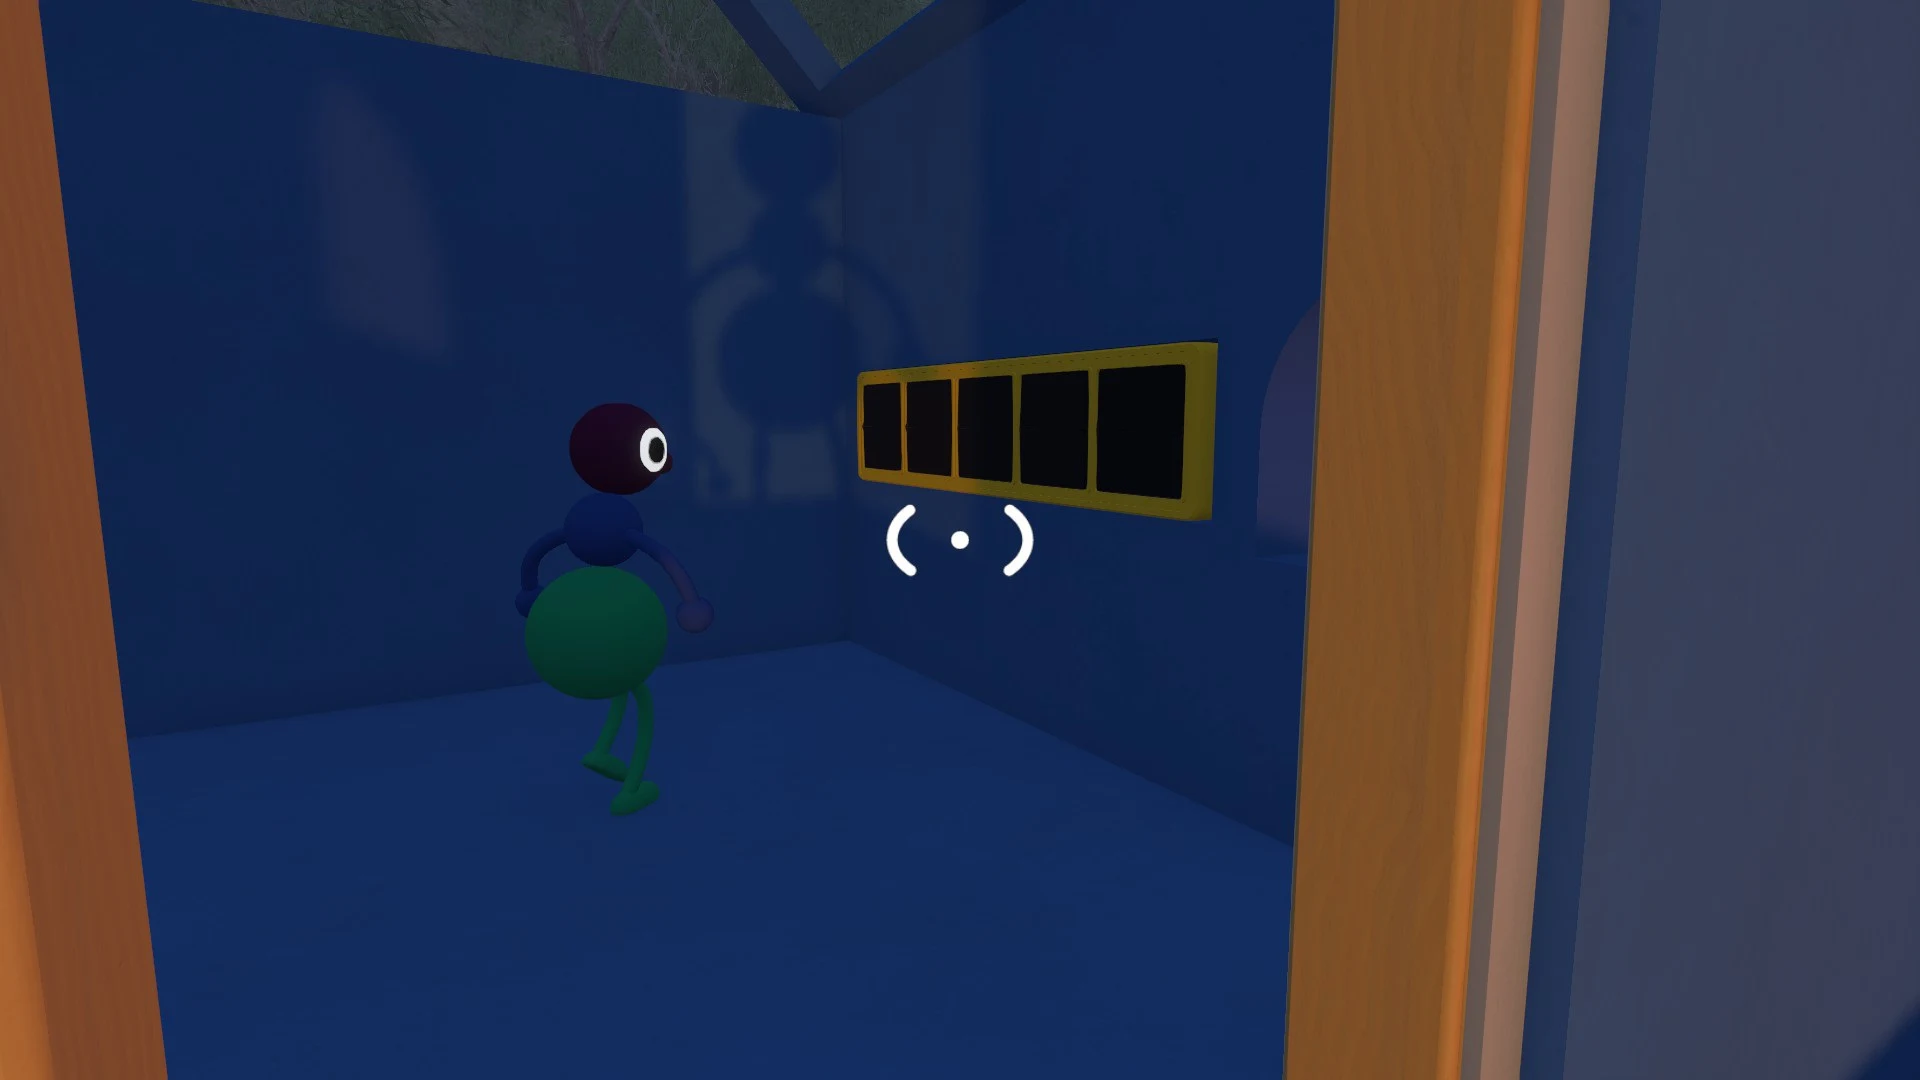
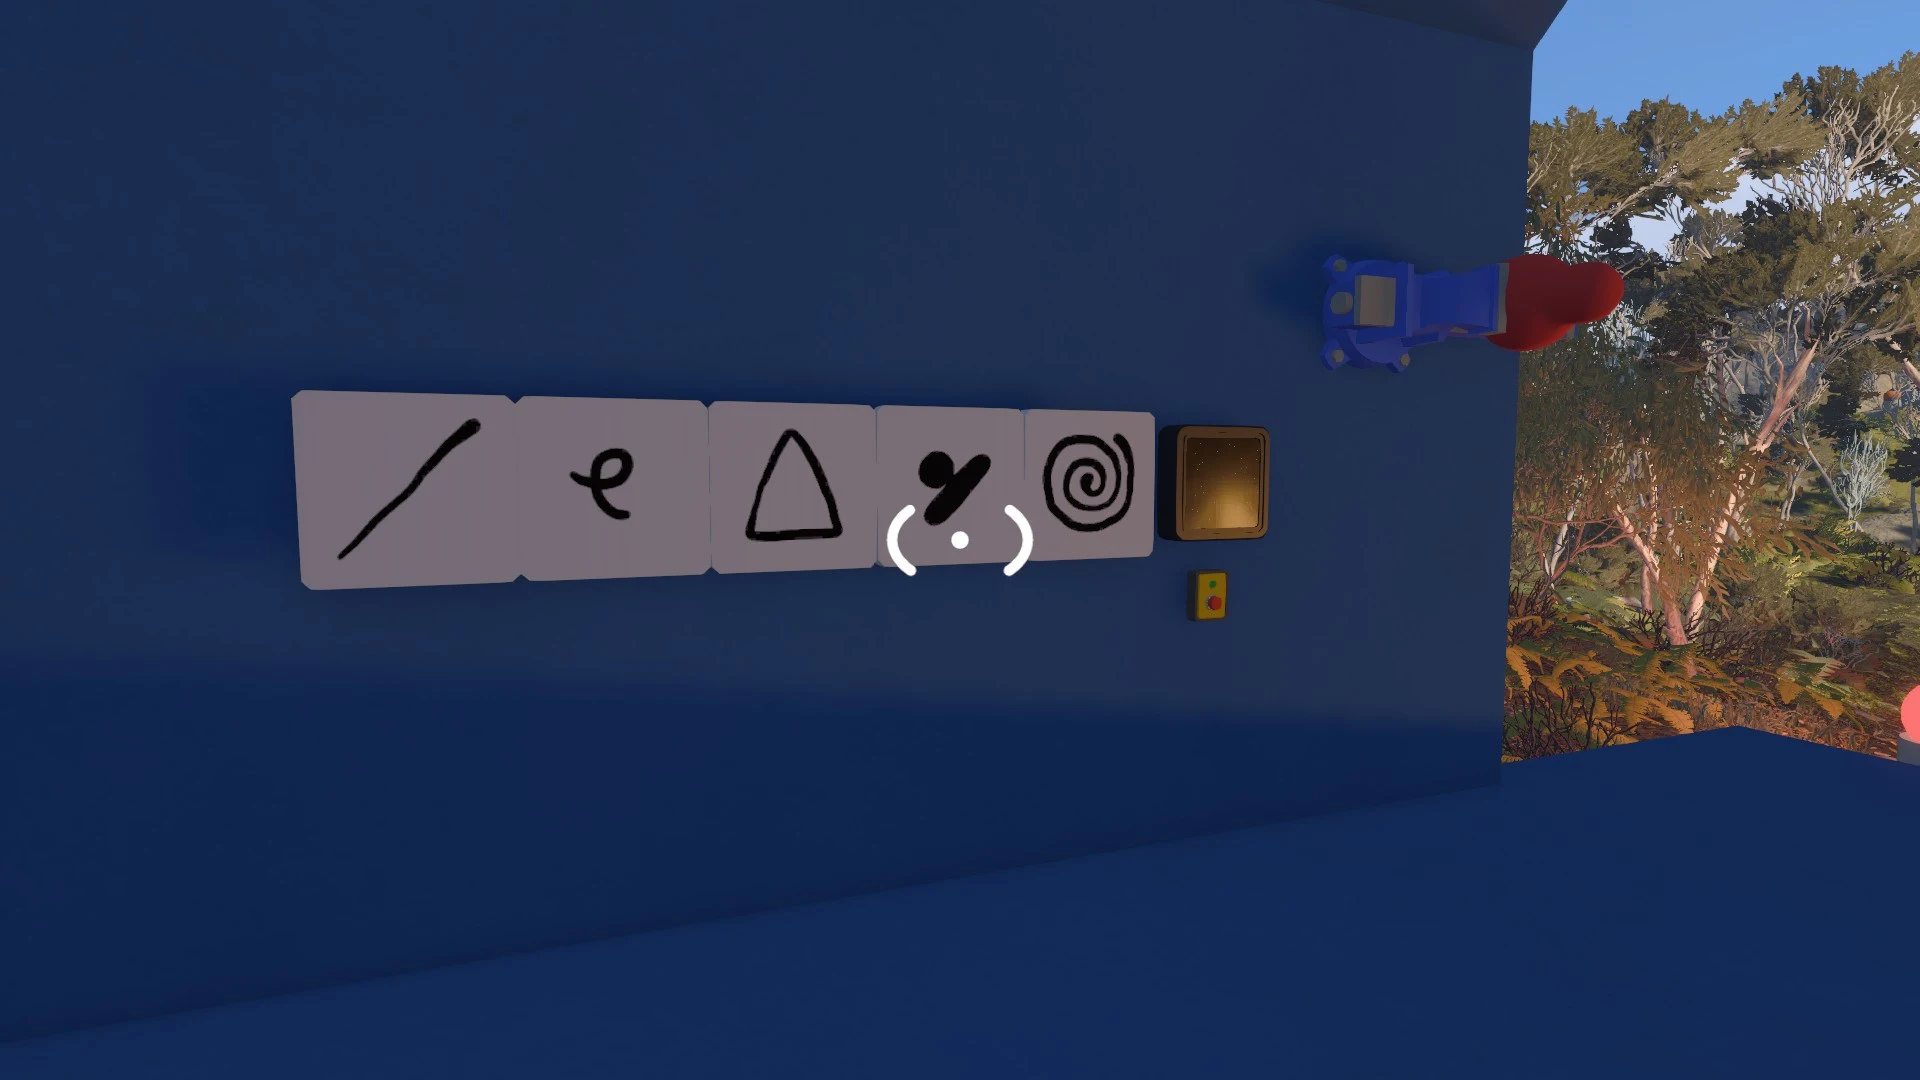
Continue along the right wall until you reach a house. One of you goes inside and closes the door, which makes a series of shapes appear. The one outside uses the tiles on pegs to recreate that series on the wooden plank with holes. Once you have the tiles in, press the button to the right to free the red blob.
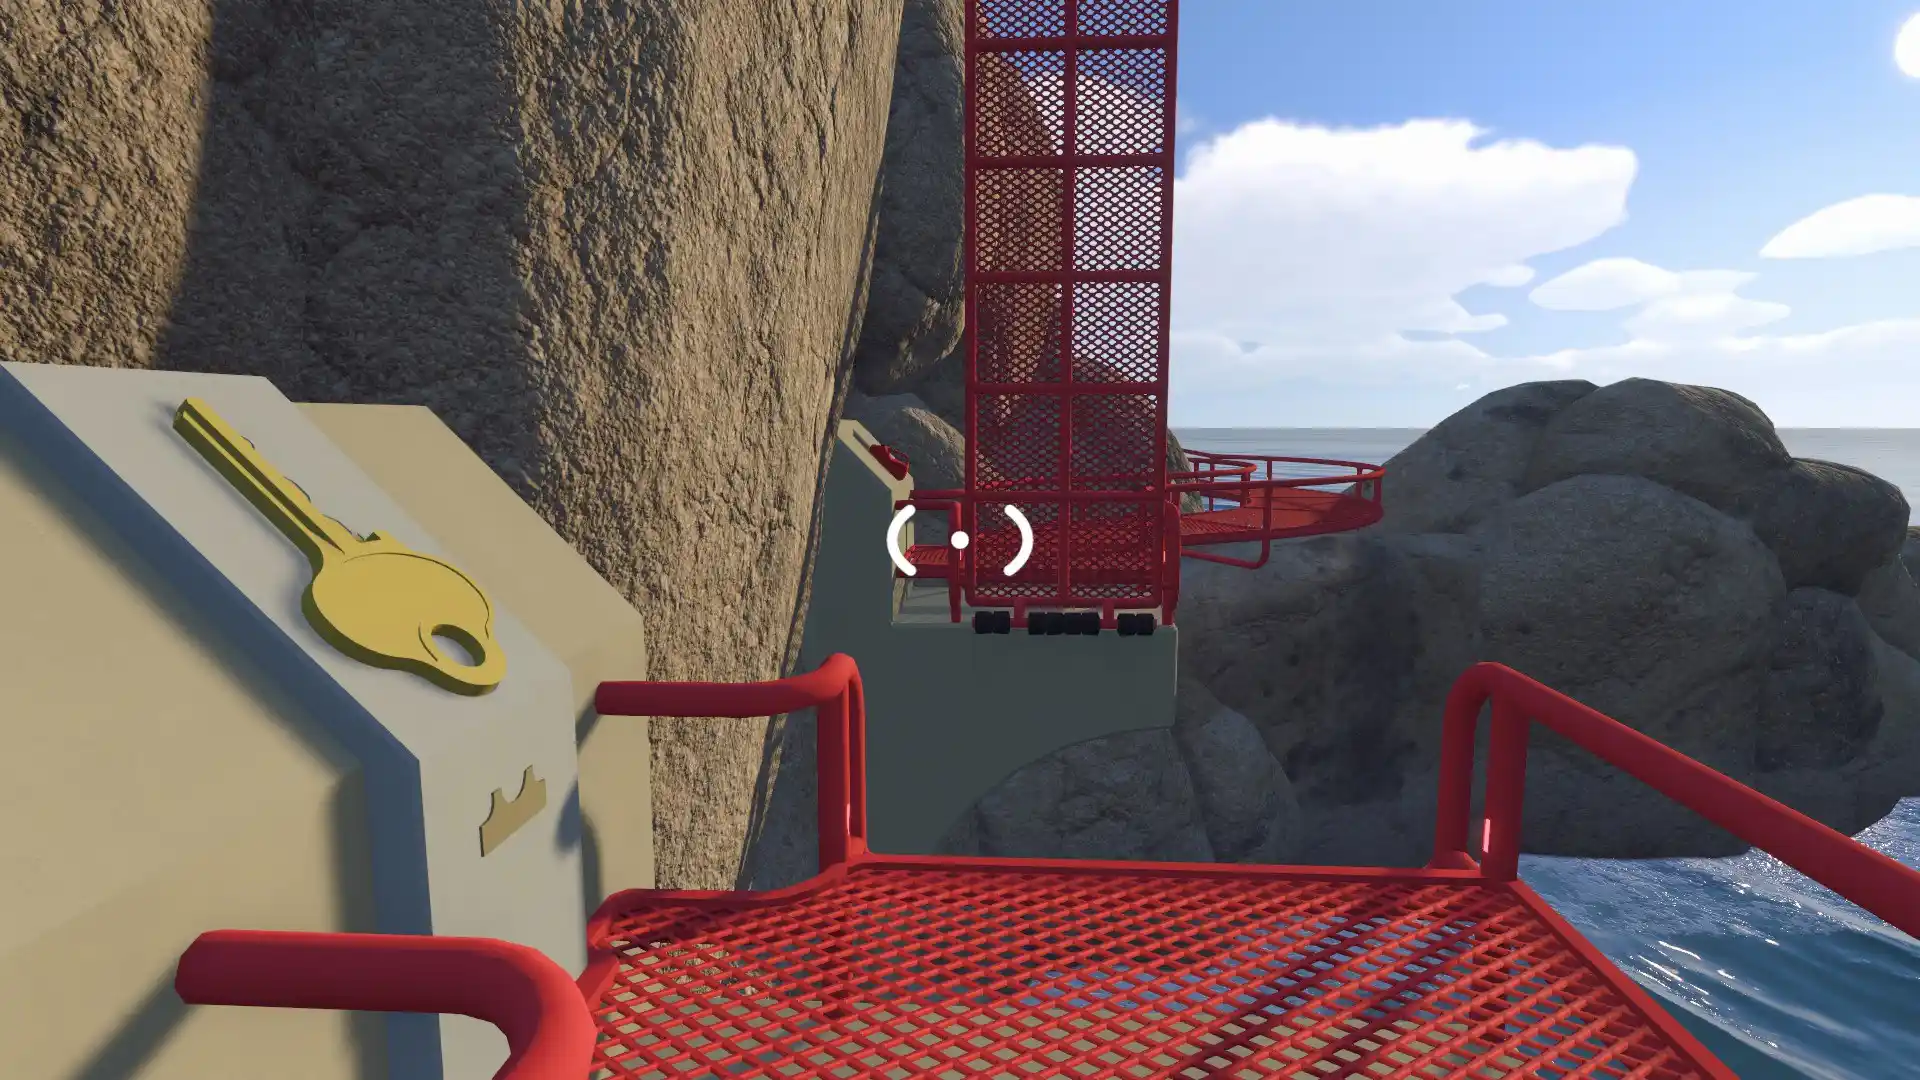
All that’s left to do is put the blobs in their spots on the beach, grab the key, cut the key into shape using the pedestals nearby (they direct you to the next pedestal after each one), and head to the red staircase to go to the next area.
Second Key—Red Tower Puzzles
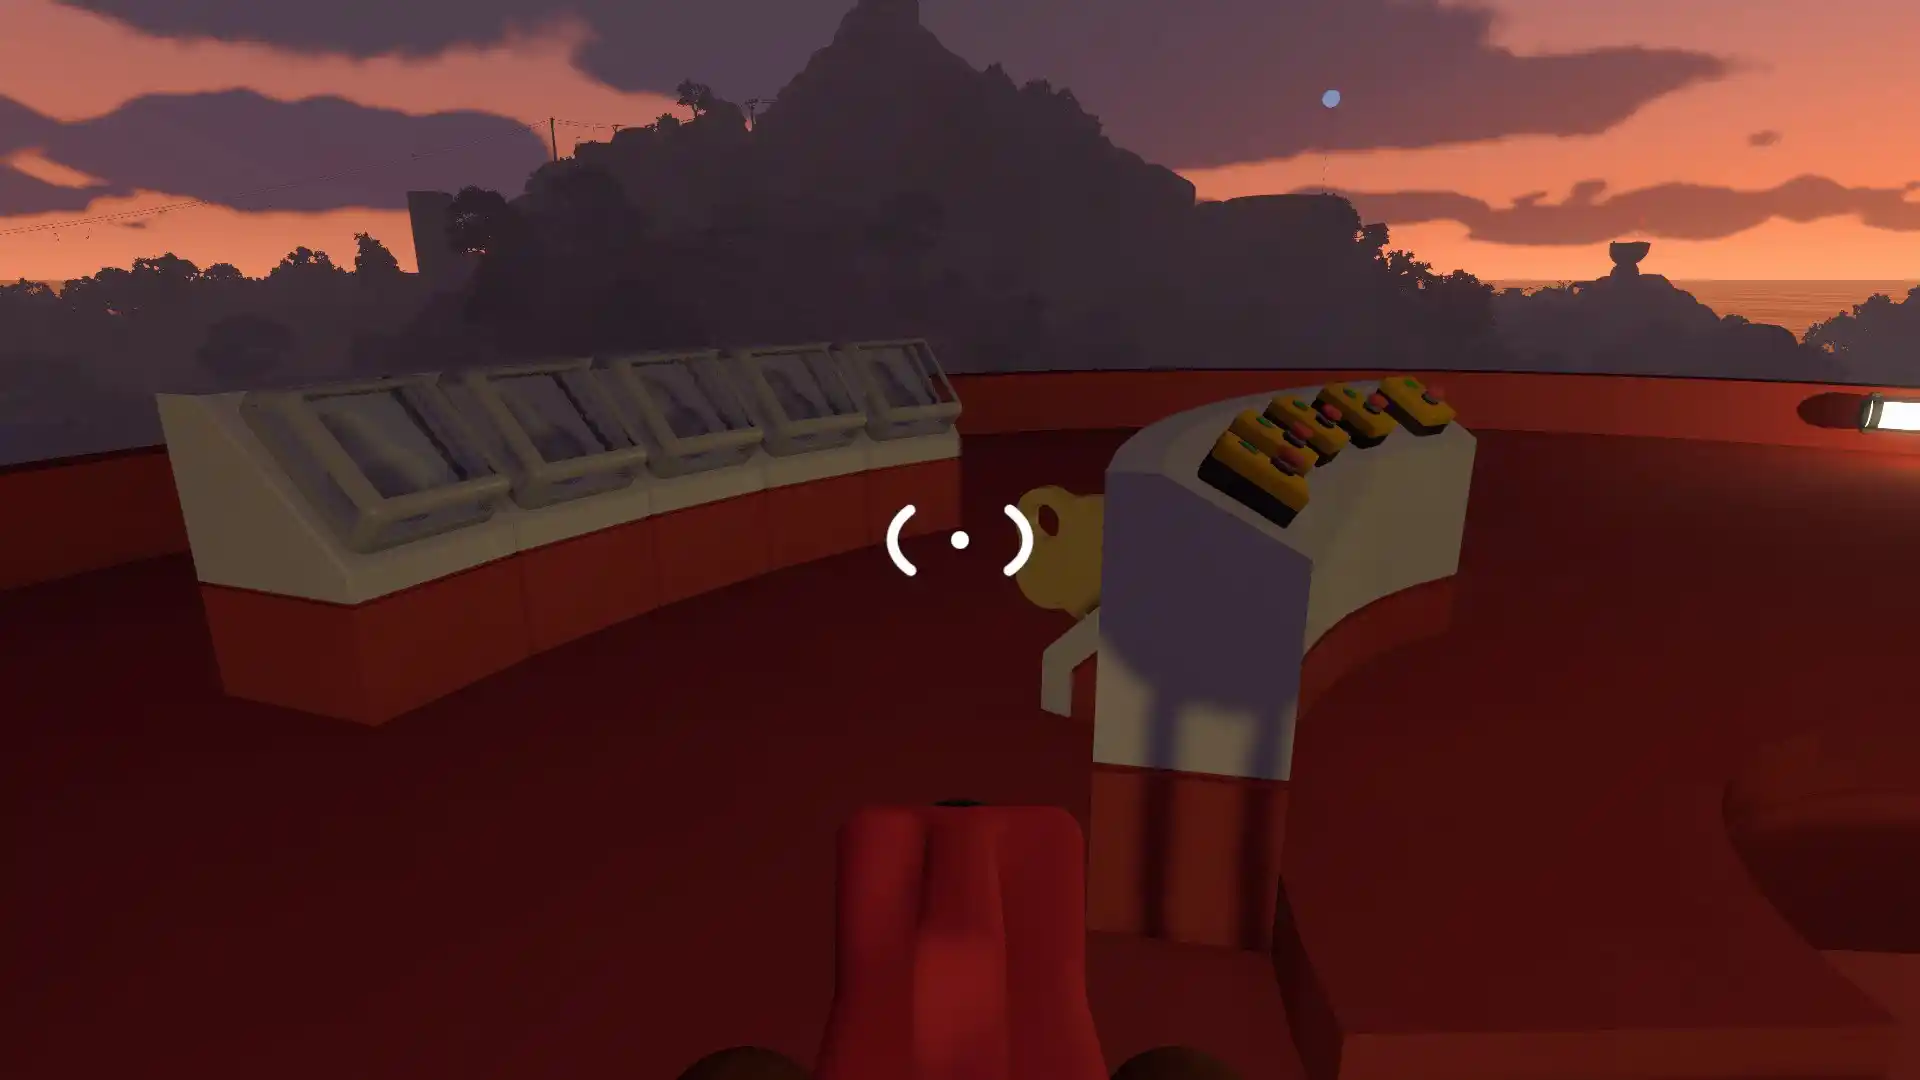
For the second area, you’ll take the path to the right. The key is found at the top of the big red building, and this time you need 5 of the red blobs to get it. That means it’s time to follow the reddish paths to the puzzles of this area.
Basketball Puzzle
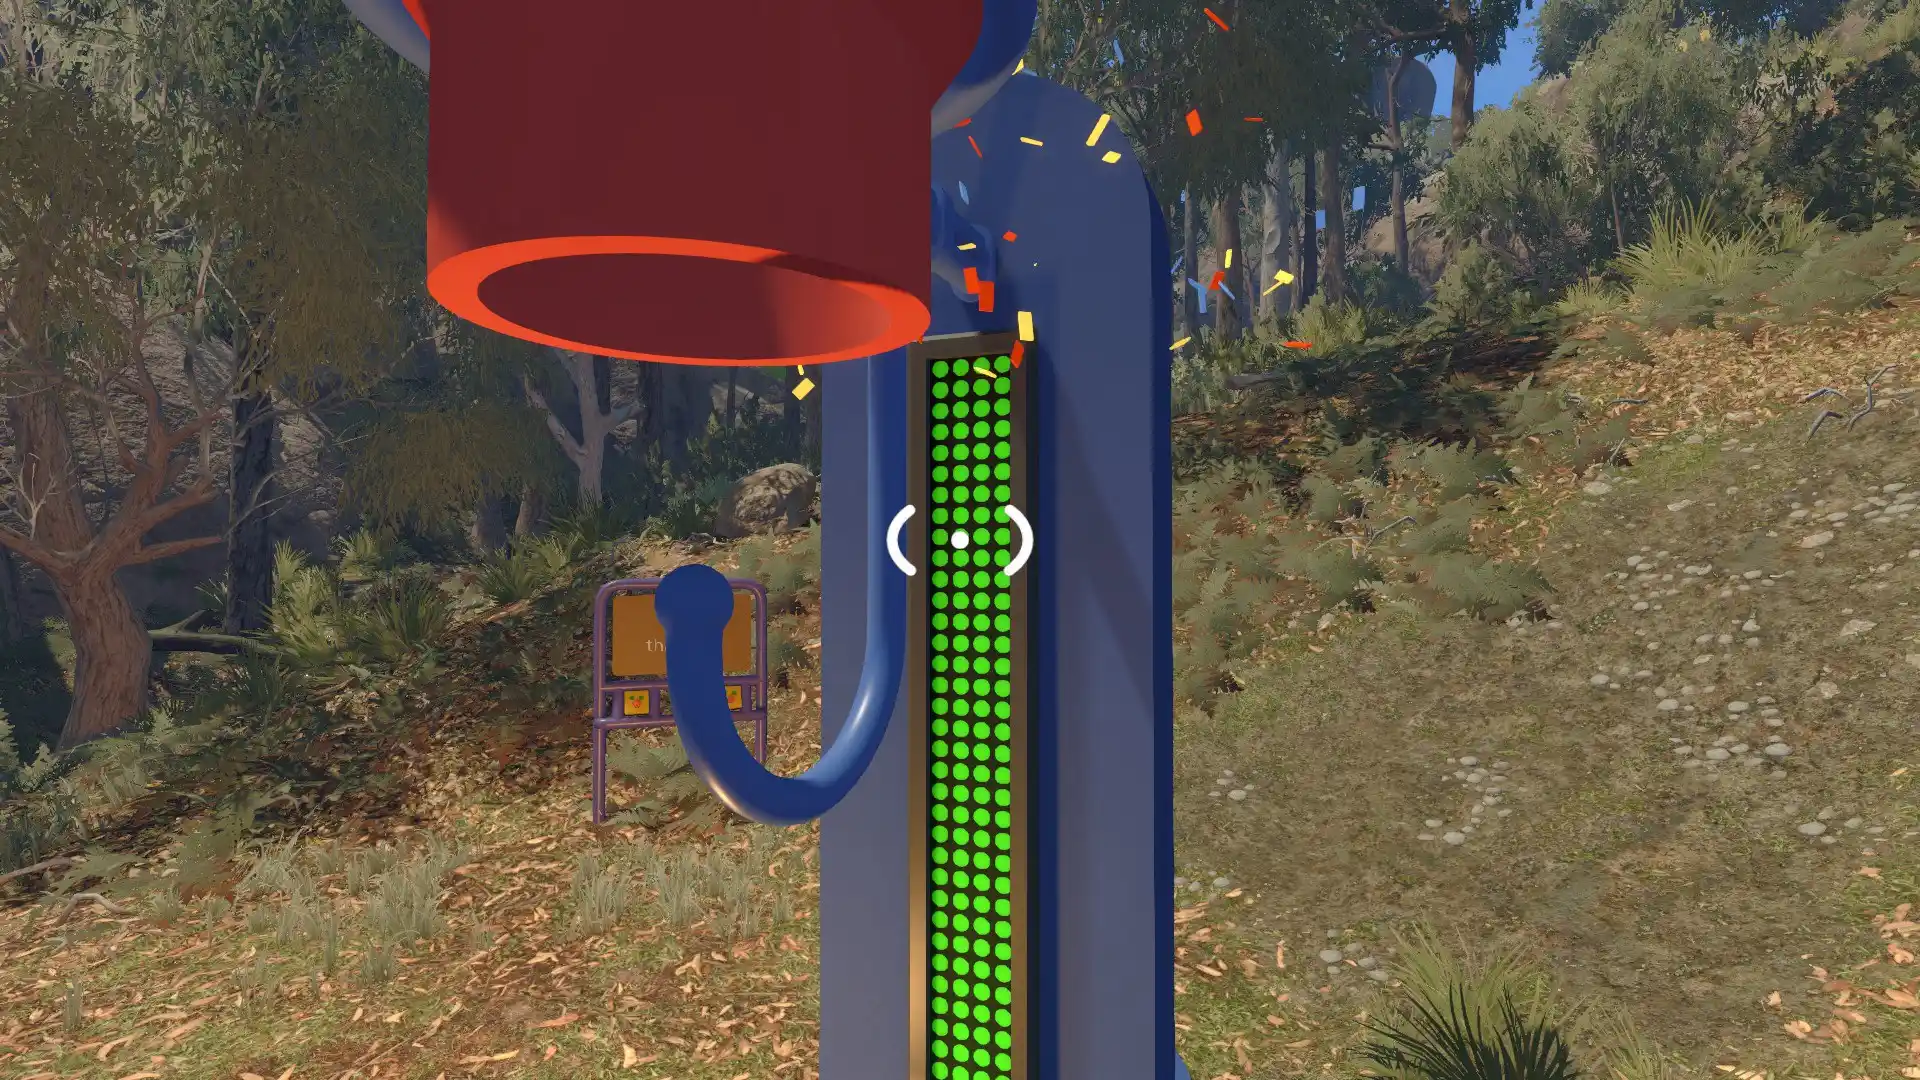
Down one of the paths is what appears to be a basketball hoop with a light-up ball on the ground nearby. You need to get the ball into the hoop repeatedly until the lights on the stand are all on. I had my friend pick me up so I was closer to the hoop, making it easy to grab and throw the ball into it. Once the lights are all on, you can get the red blob from the clamp on the back of the stand.
Train Station Cannon Puzzle
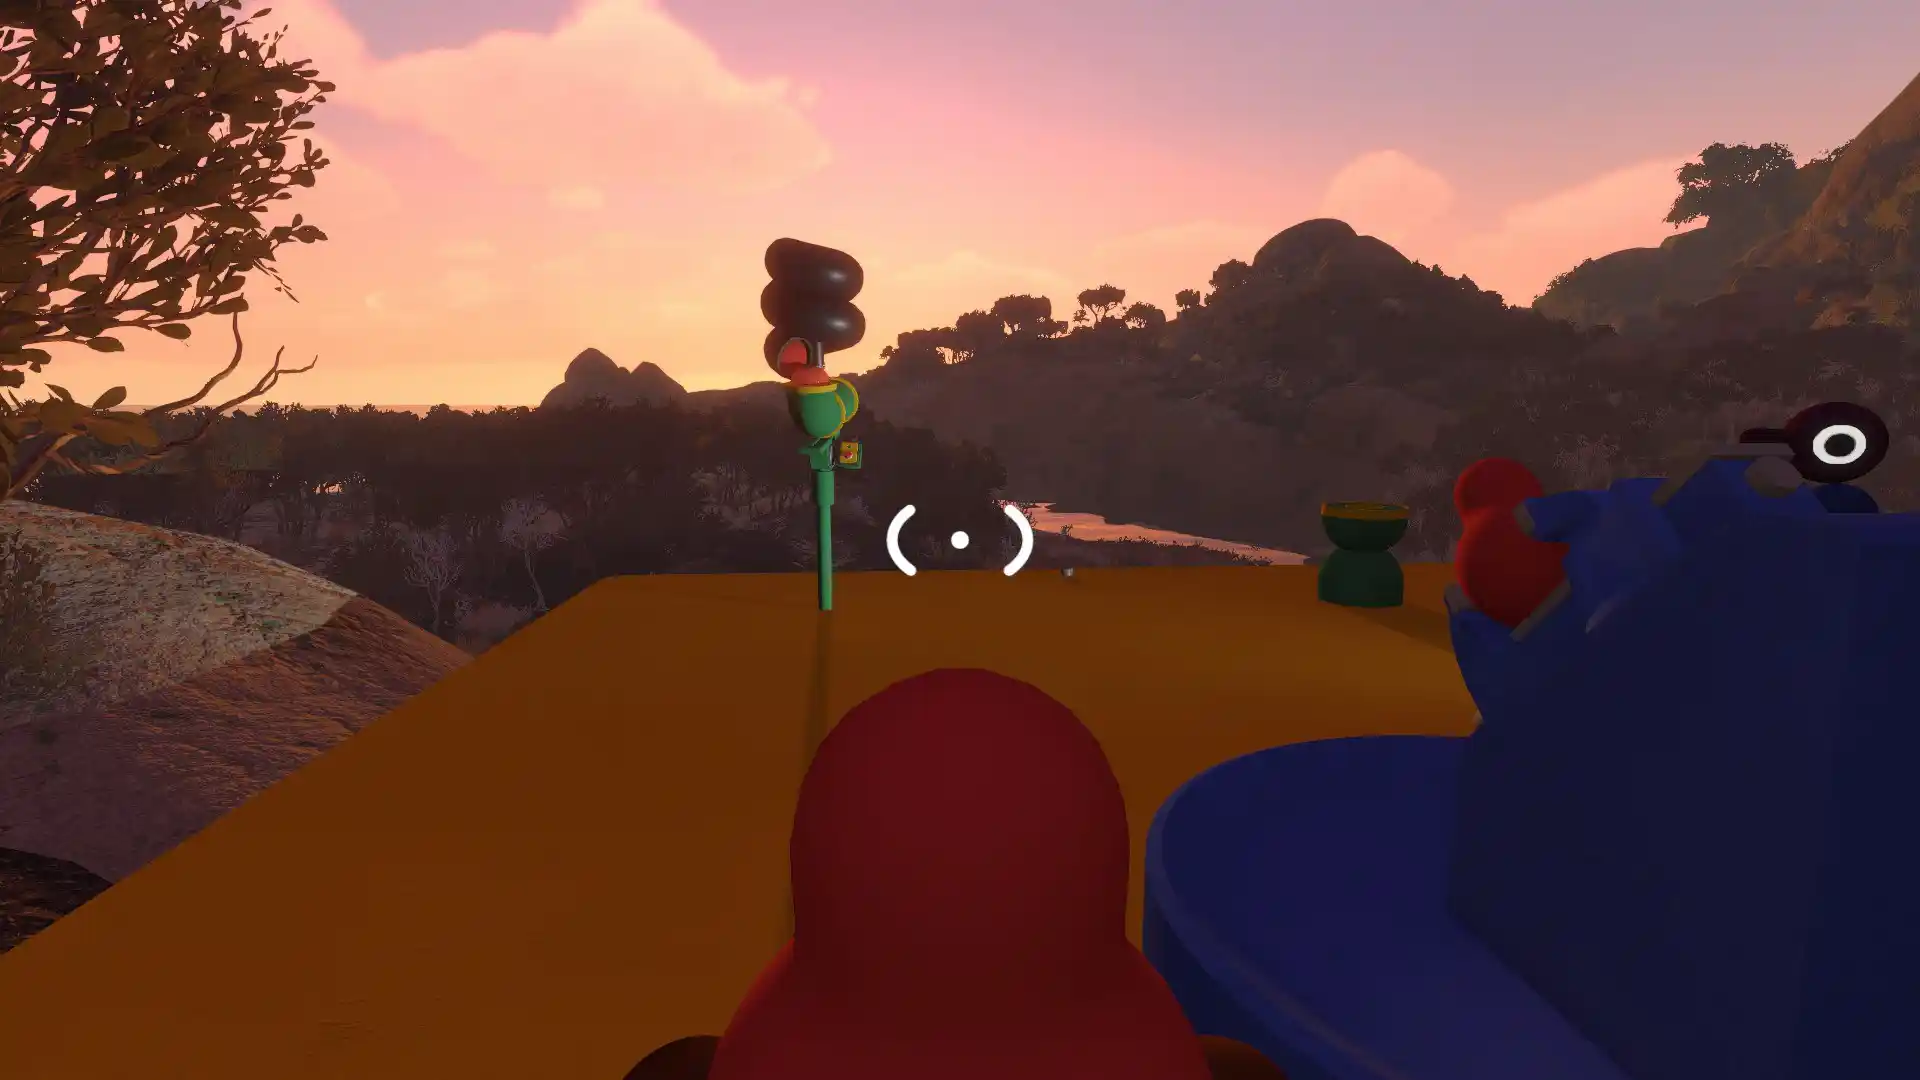
Continue along the left side to reach another puzzle. This one has a device with a button that launches a tomato-shaped kitchen timer. You need to get this timer into the blue-ish pedestal next to the launcher.
To do this, have one person launch the ball and the other person waiting in the field around where it lands. Grab the timer, then sprint up to the rock right in front of the platform. Throw it to your friend and have them place it on the pedestal to complete the puzzle. You won’t have enough time to take it to the pedestal yourself.
Yellow Maze Puzzle
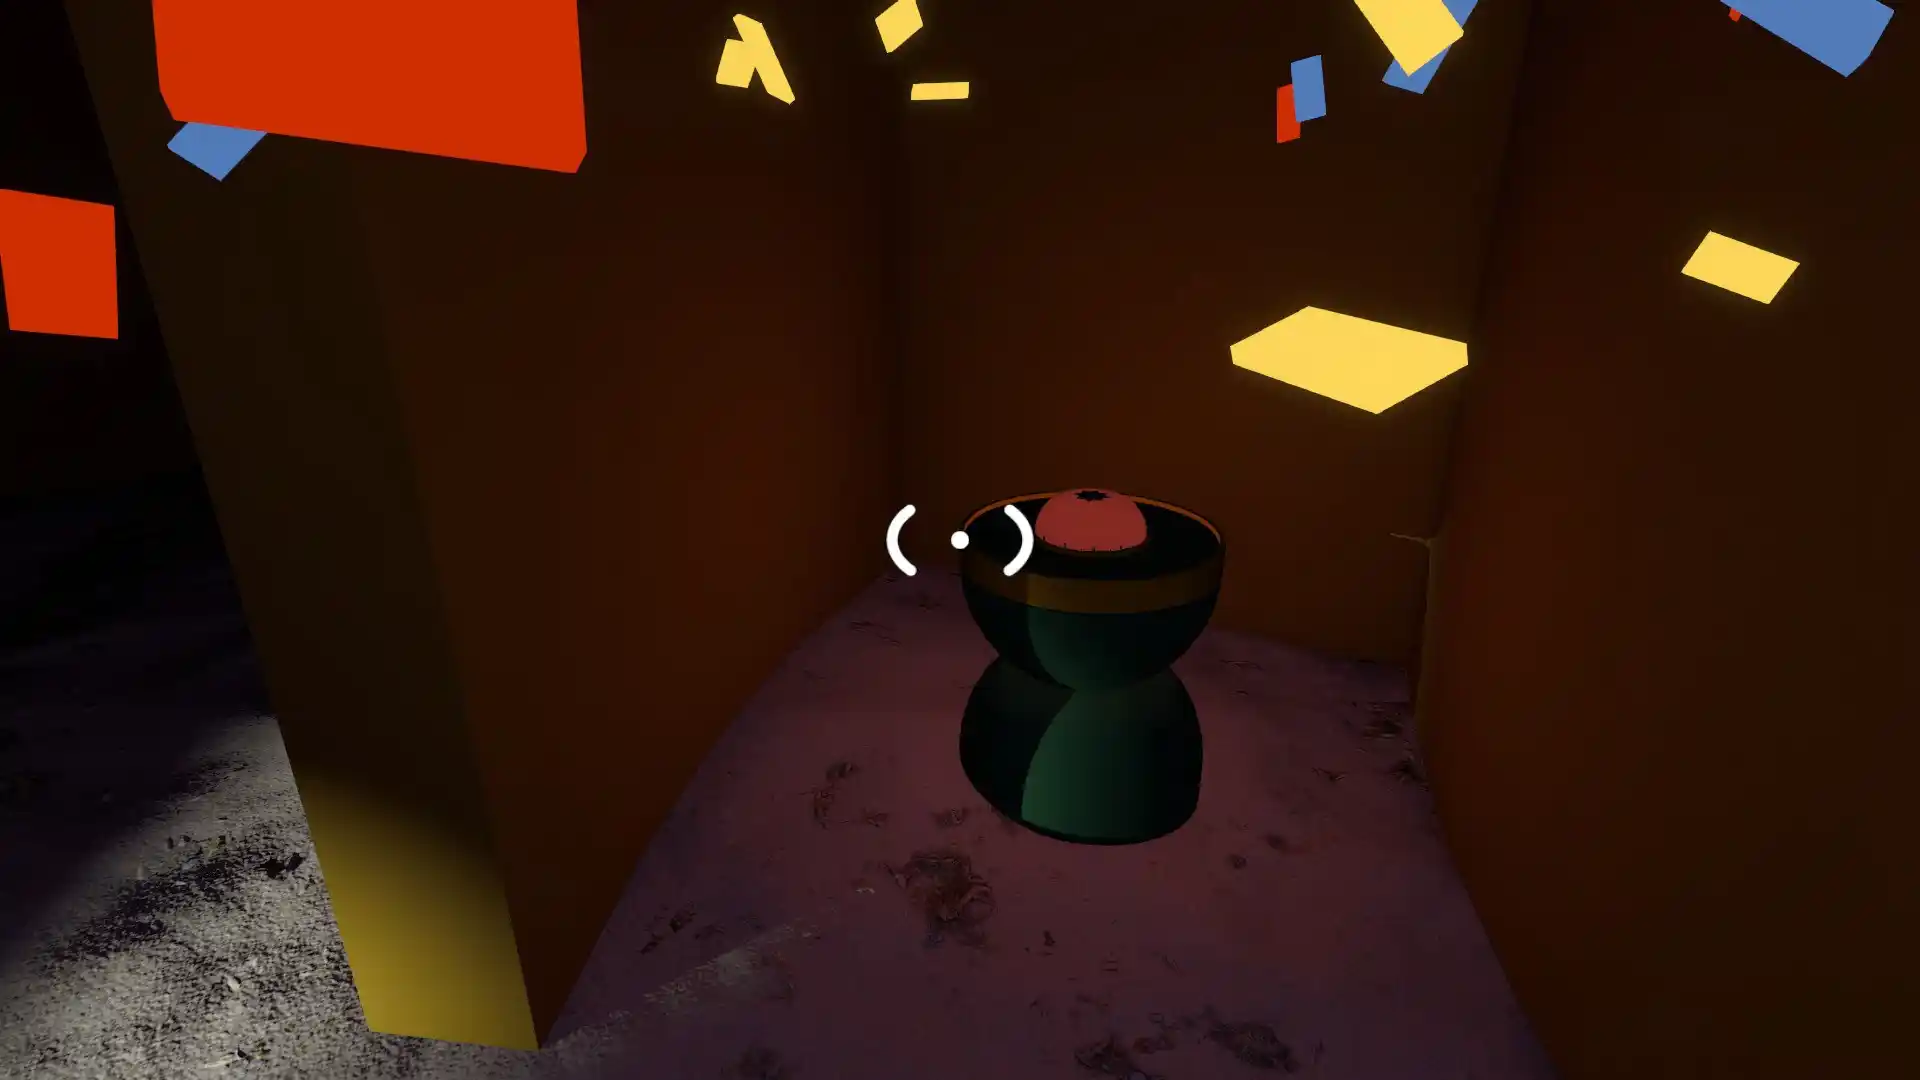
Over by the beach, you find a maze with a red blob in a clamp at the start. For a two-player game, there are two paths. So, you each go down one. One of you will find a structure that dispenses the tomato-shaped kitchen timers at the end. The other one finds a pedestal for the timer at the end.
There are circular openings in the walls, and there’s one that is close enough that you can pass the timer to your friend so they can place it before it bursts, solving the puzzle.
Lightswitch Puzzle in the Green Room
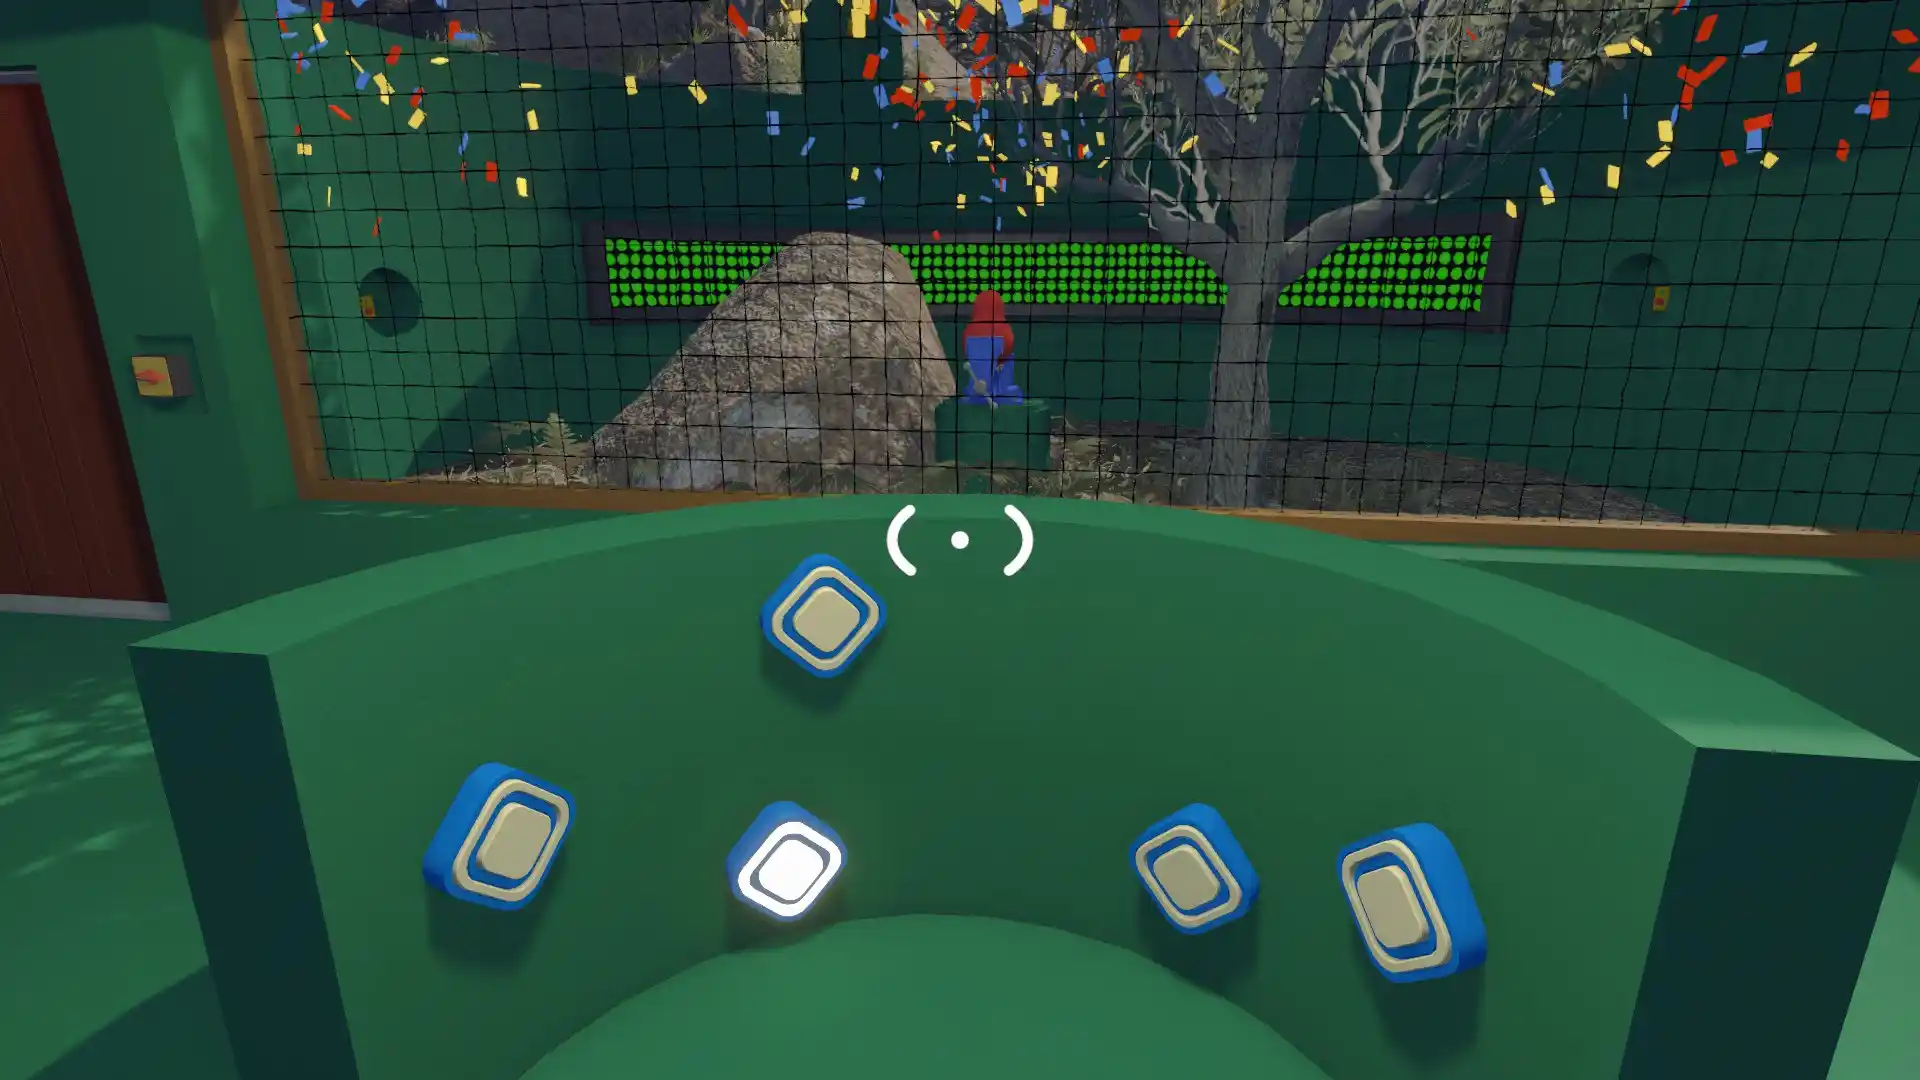
Behind and to the left of the maze, you find a structure that has a series of buttons and a sectioned off room. One of you goes into the room and closes the door, which activates a series of diamonds on the structure in the middle of the room.
Each diamond matches the location of a button, so you have your friend press the buttons until the bar on the wall is completely lit. Then, the clamp releases the red blob.
Mountain Gesture Puzzle
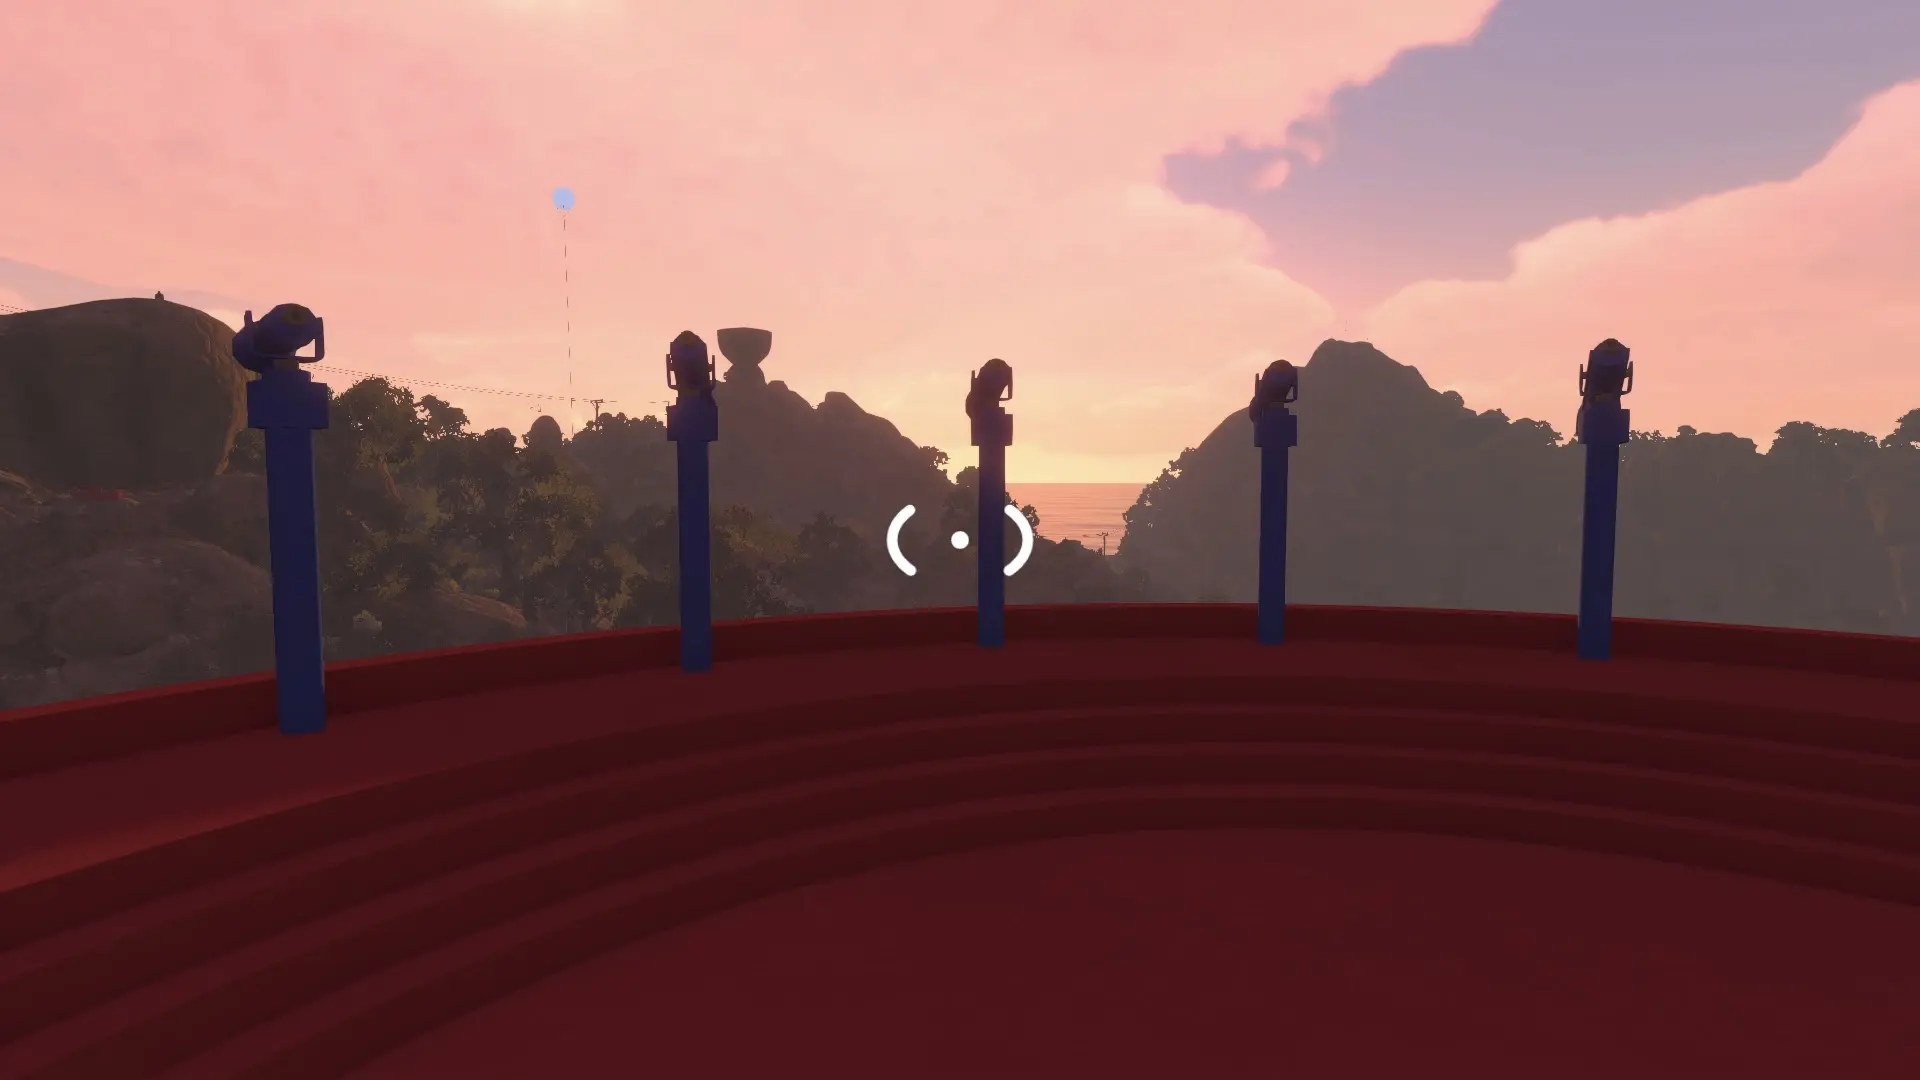
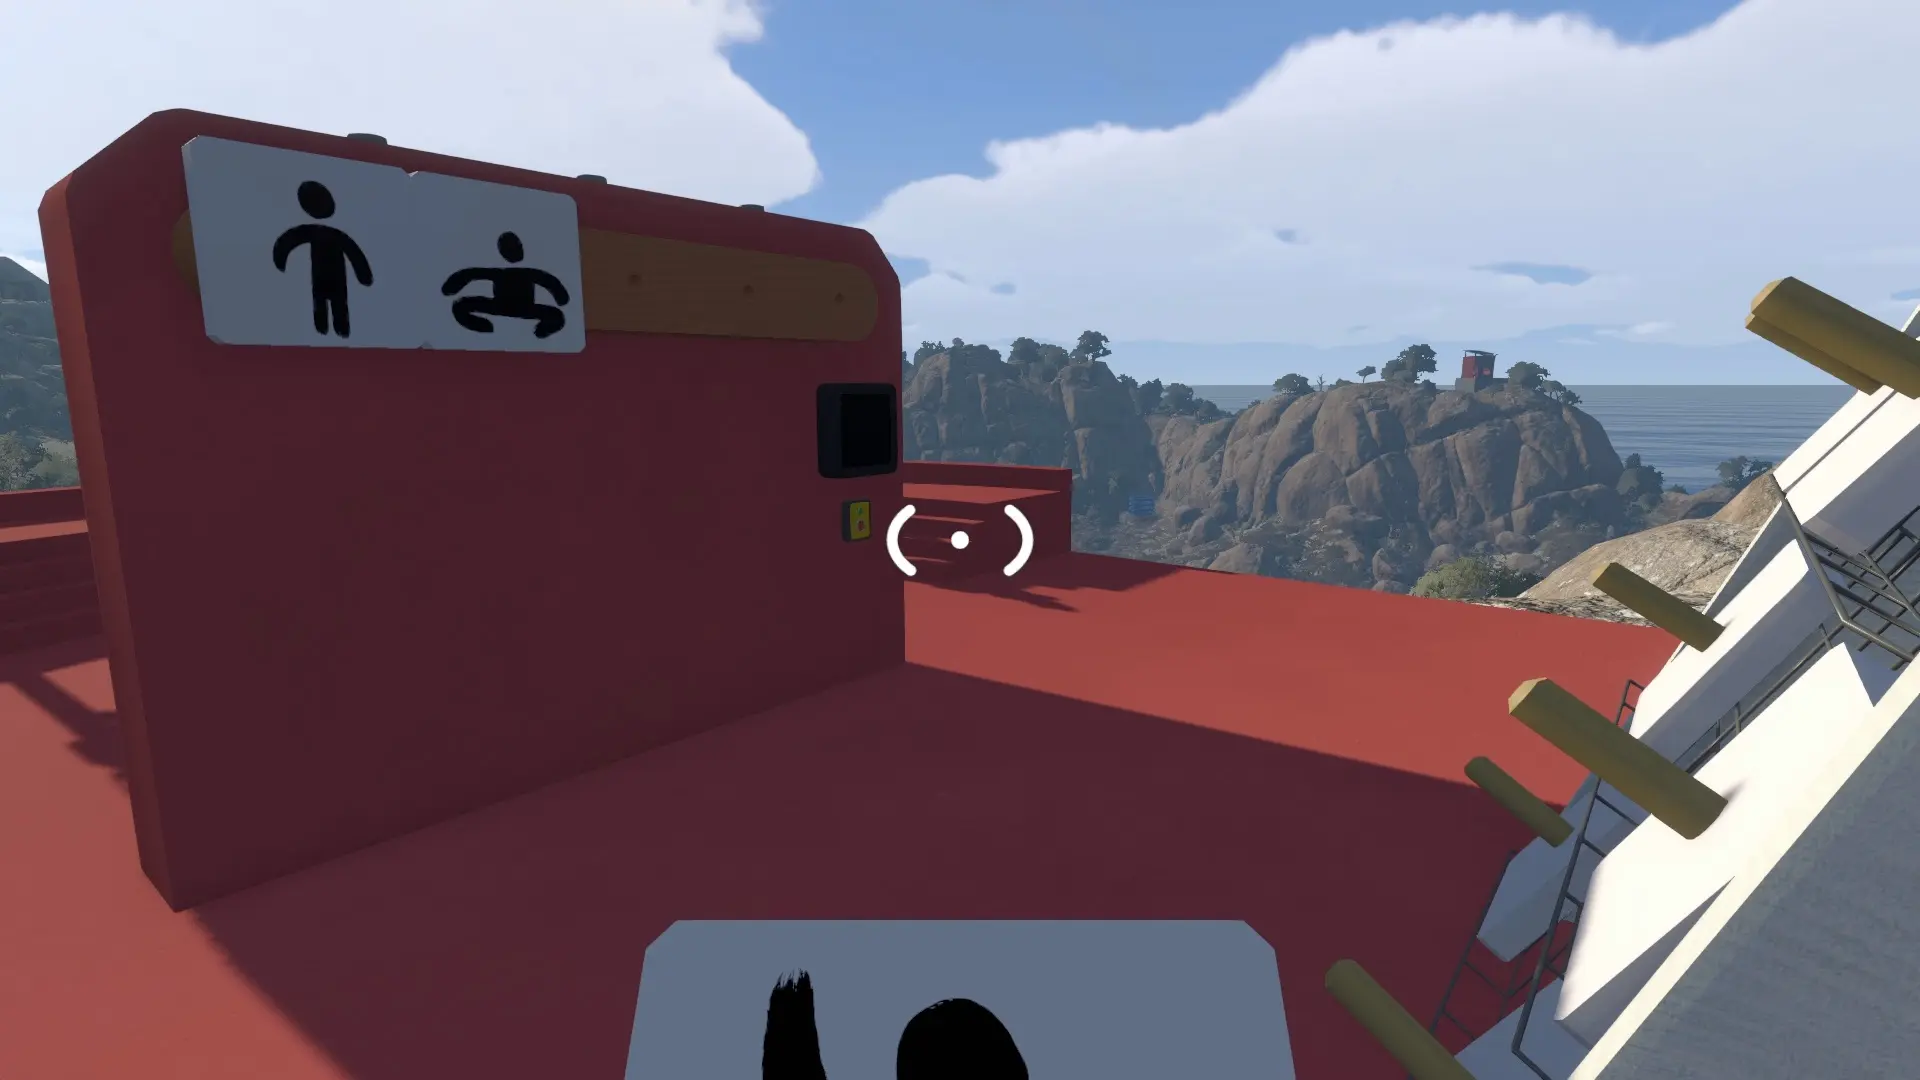
You’ve probably spotted what looks like a partial ski ramp at the top of a mountain in the area. That’s the location of the mountain gesture puzzle. One player needs to go to the top where a set of telescopes and cards are located. Then, you direct the other player to the locations each telescope points at.
Those locations each have a gesture that players needs to communicate to the player on the mountain, and then you pick the cards that match the gestures and put them in the board with pegs. Once you finish, press the button to check you’ve done it correctly. If so, the red blob will be freed from the clamp.
Since this is the fifth red blob, you can head back to the Red Tower and grab the key. You’ll need to cut it into shape using the set of cutters that start with the one right outside the tower’s entrance.
Unlocking the Map and Compass
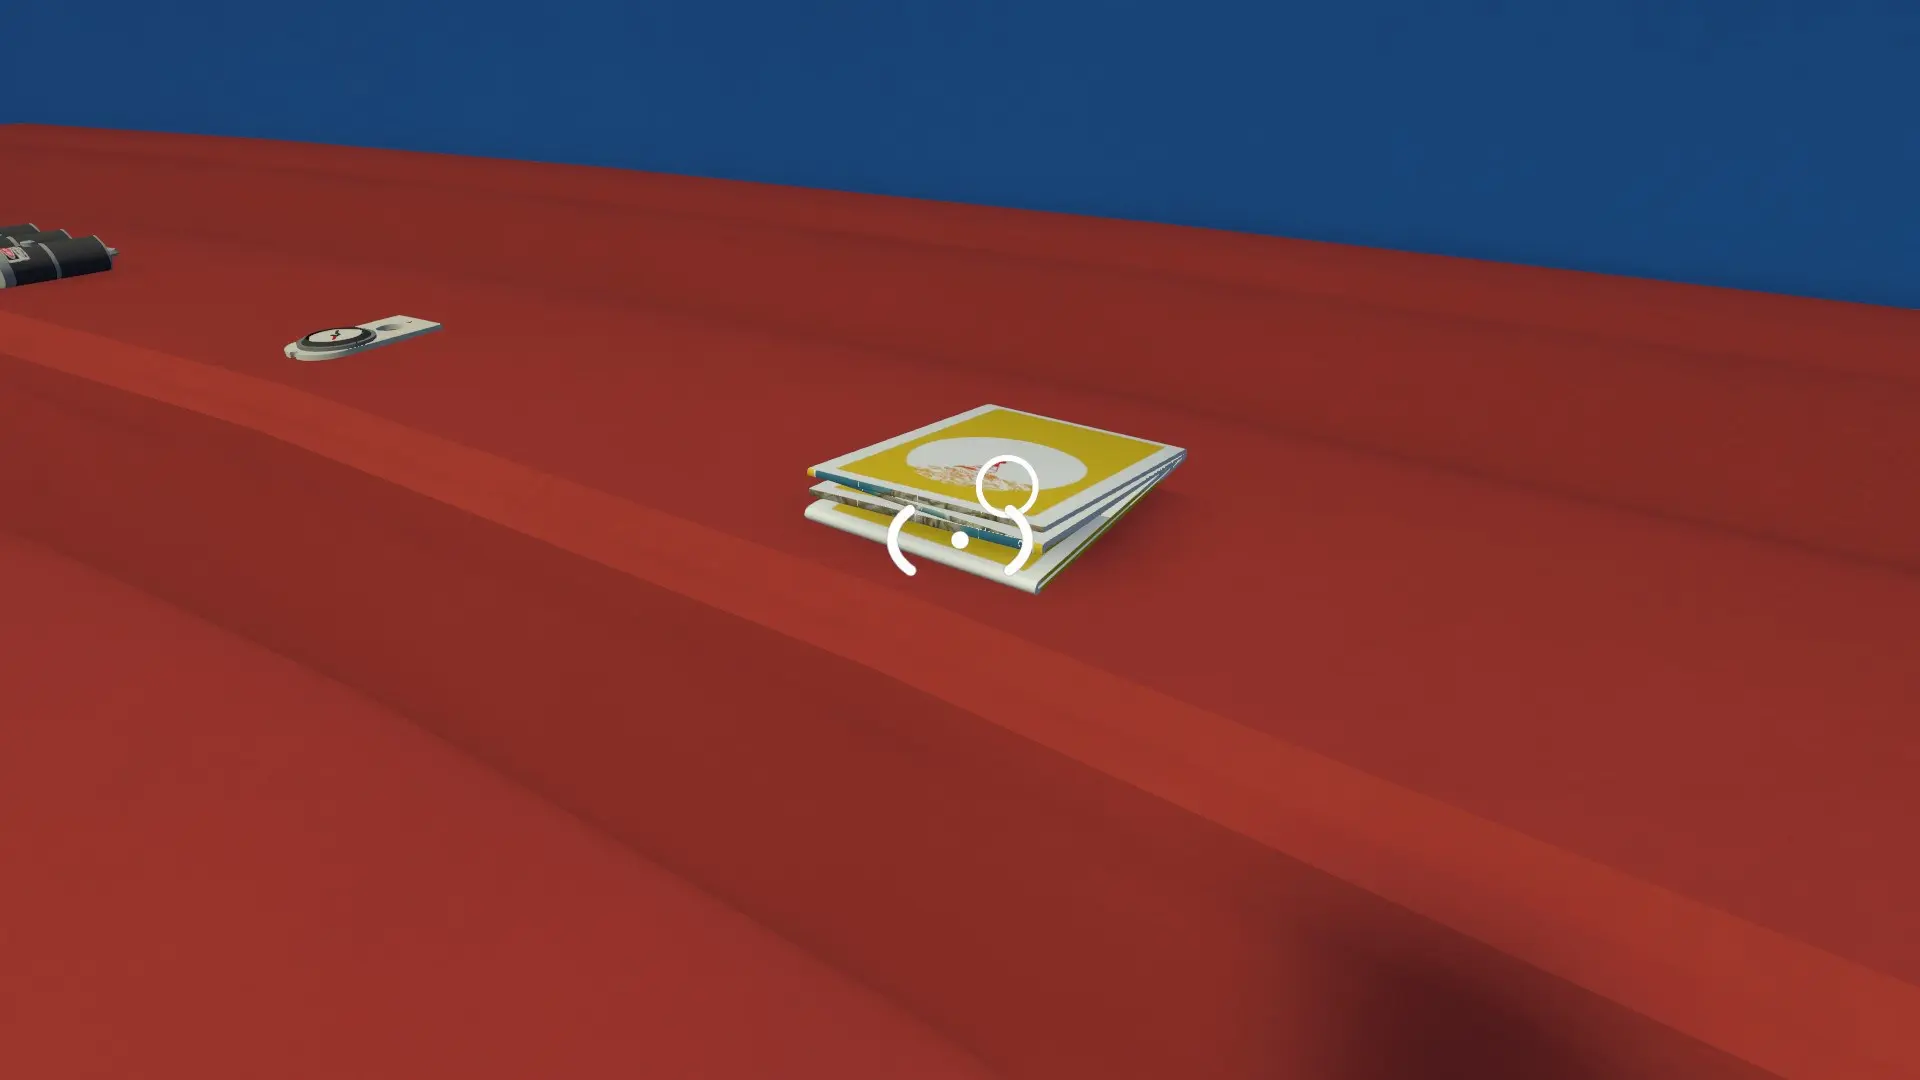
The red key cutters lead you right to a staircase in a green hallway, at the top of which is a pedestal that you place the key in. Behind the door that opens, you’ll find a large map that shows you each red blob and if you’ve gotten them yet or still need to get them. You’ll also find a map, compass, and some laser pointers.
We’re going to work on the green tower next, and the first puzzle we’re doing requires the map, so you or your friend will want to carry it along.
Third Key—Green Tower Puzzles (Activate the Ski Lift)
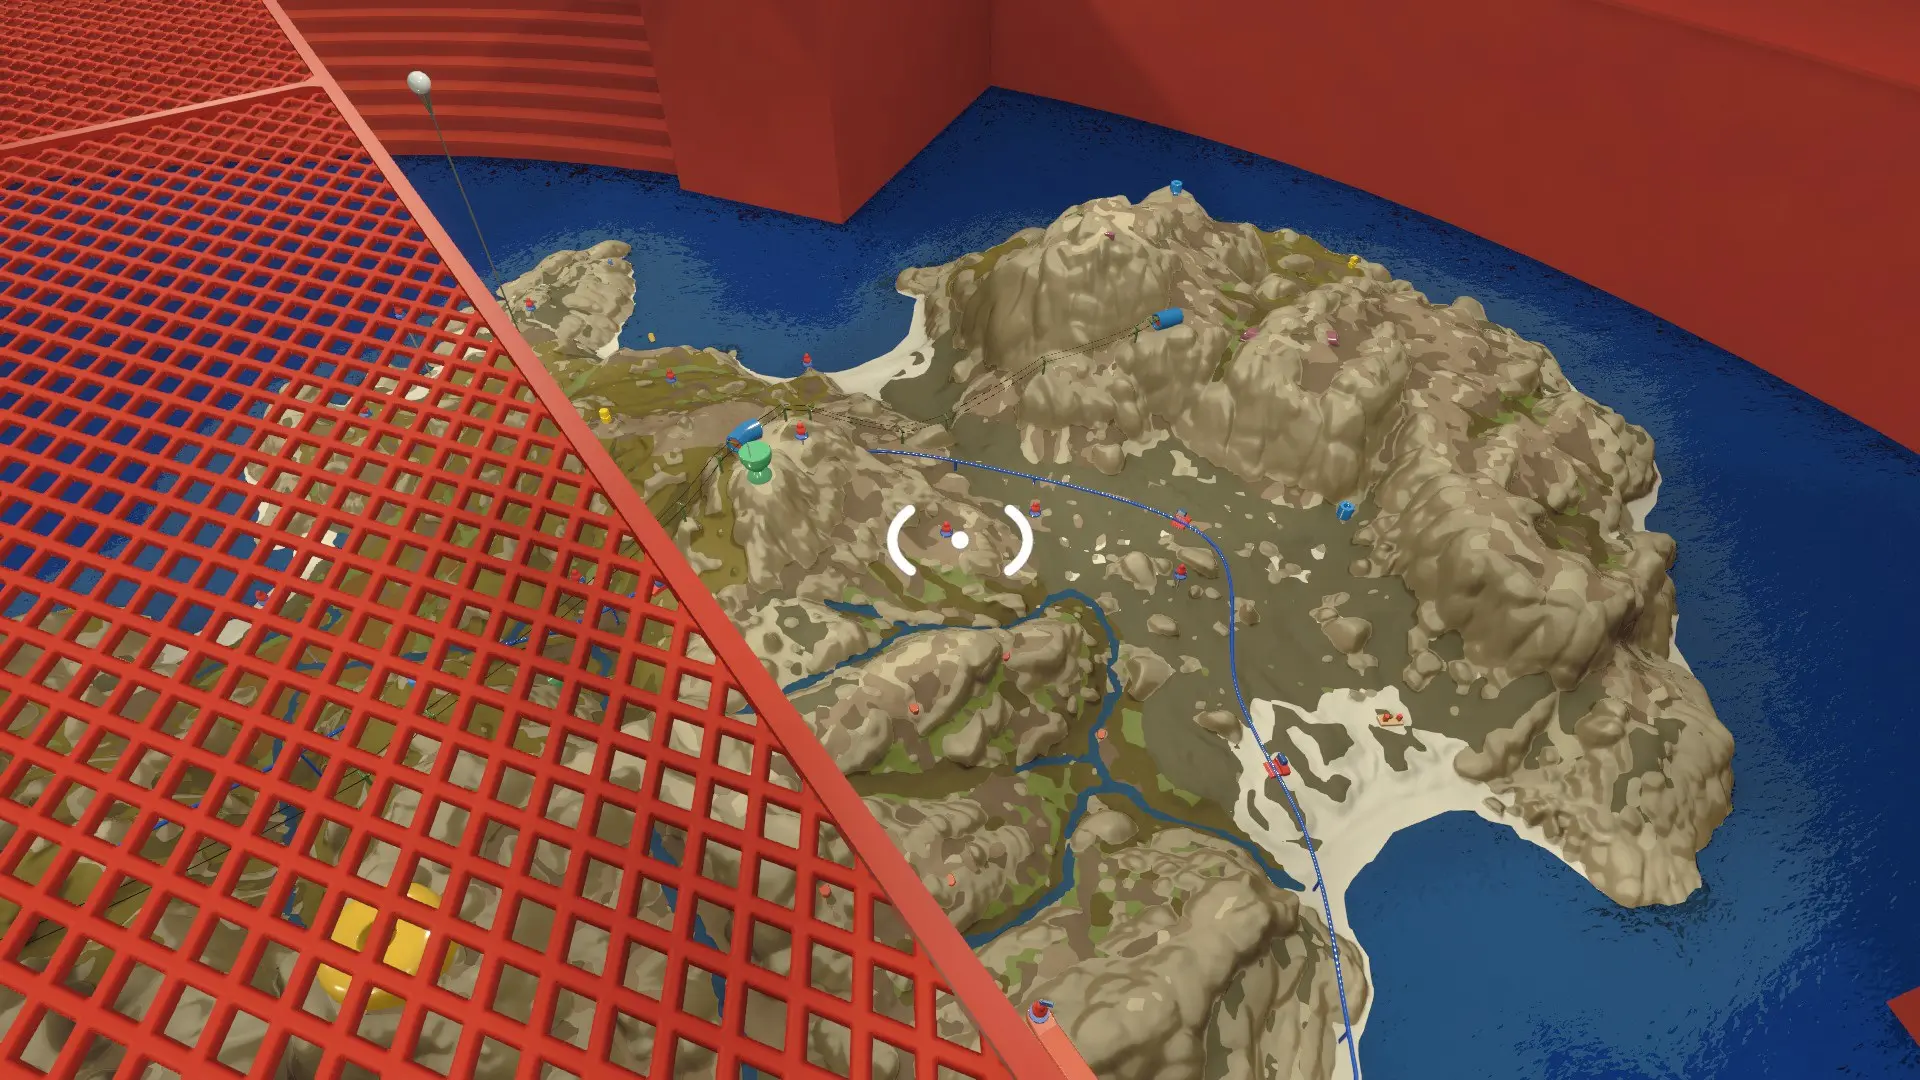
With the drawbridge open and the red tower complete, we’re moving onto the green tower next. Make sure at least one player in your group has the map for this first puzzle, which makes use of coordinates on it.
4166, 1899 Coordinate Puzzle
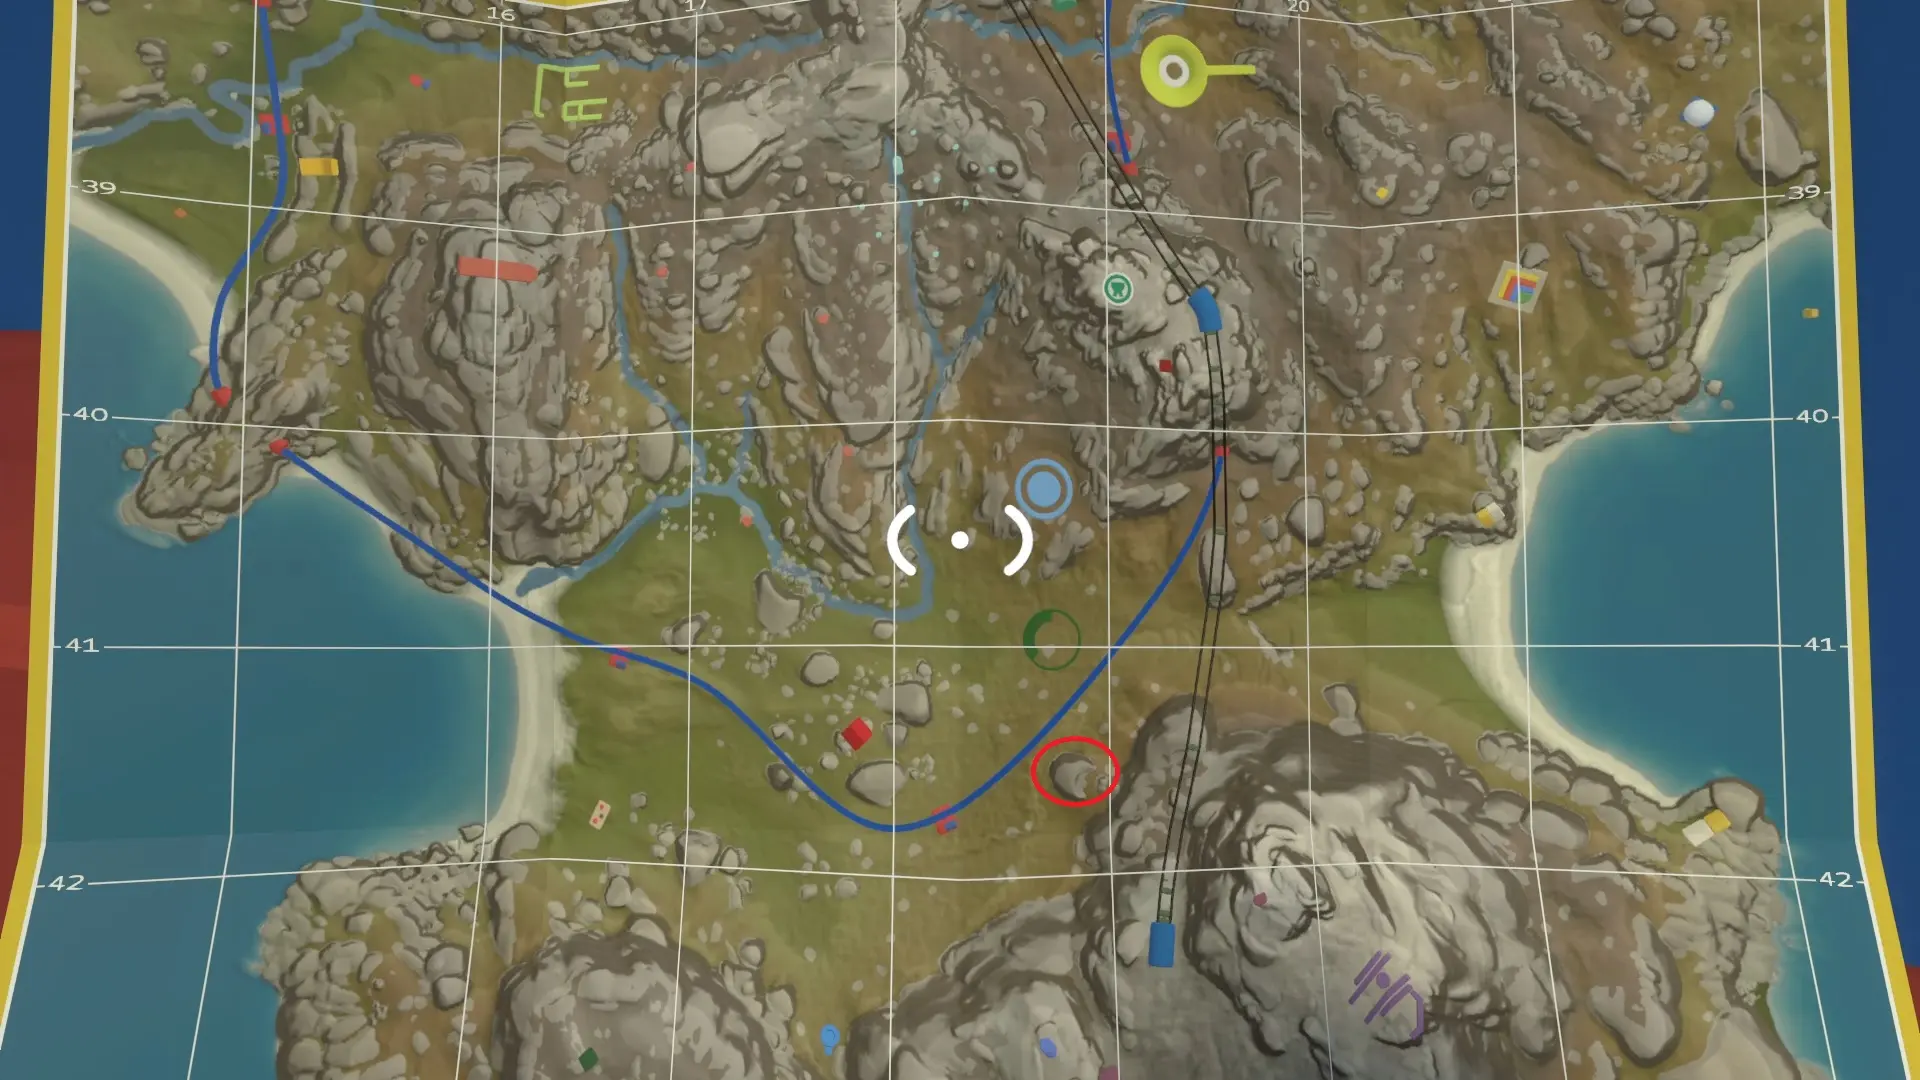
While doing the red tower puzzles, you likely came across a structure that had a red blob in a box and a sign with “4166, 1899” written on it. You can now open this box by having one player stay near it while another player uses the map to go to the coordinates on the sign.
At the 4166, 1899 coordinates, you’ll find a switch tucked behind a rock. Hold the button down so that your friend can grab the red blob from the box, completing this puzzle.
Orange House Puzzle
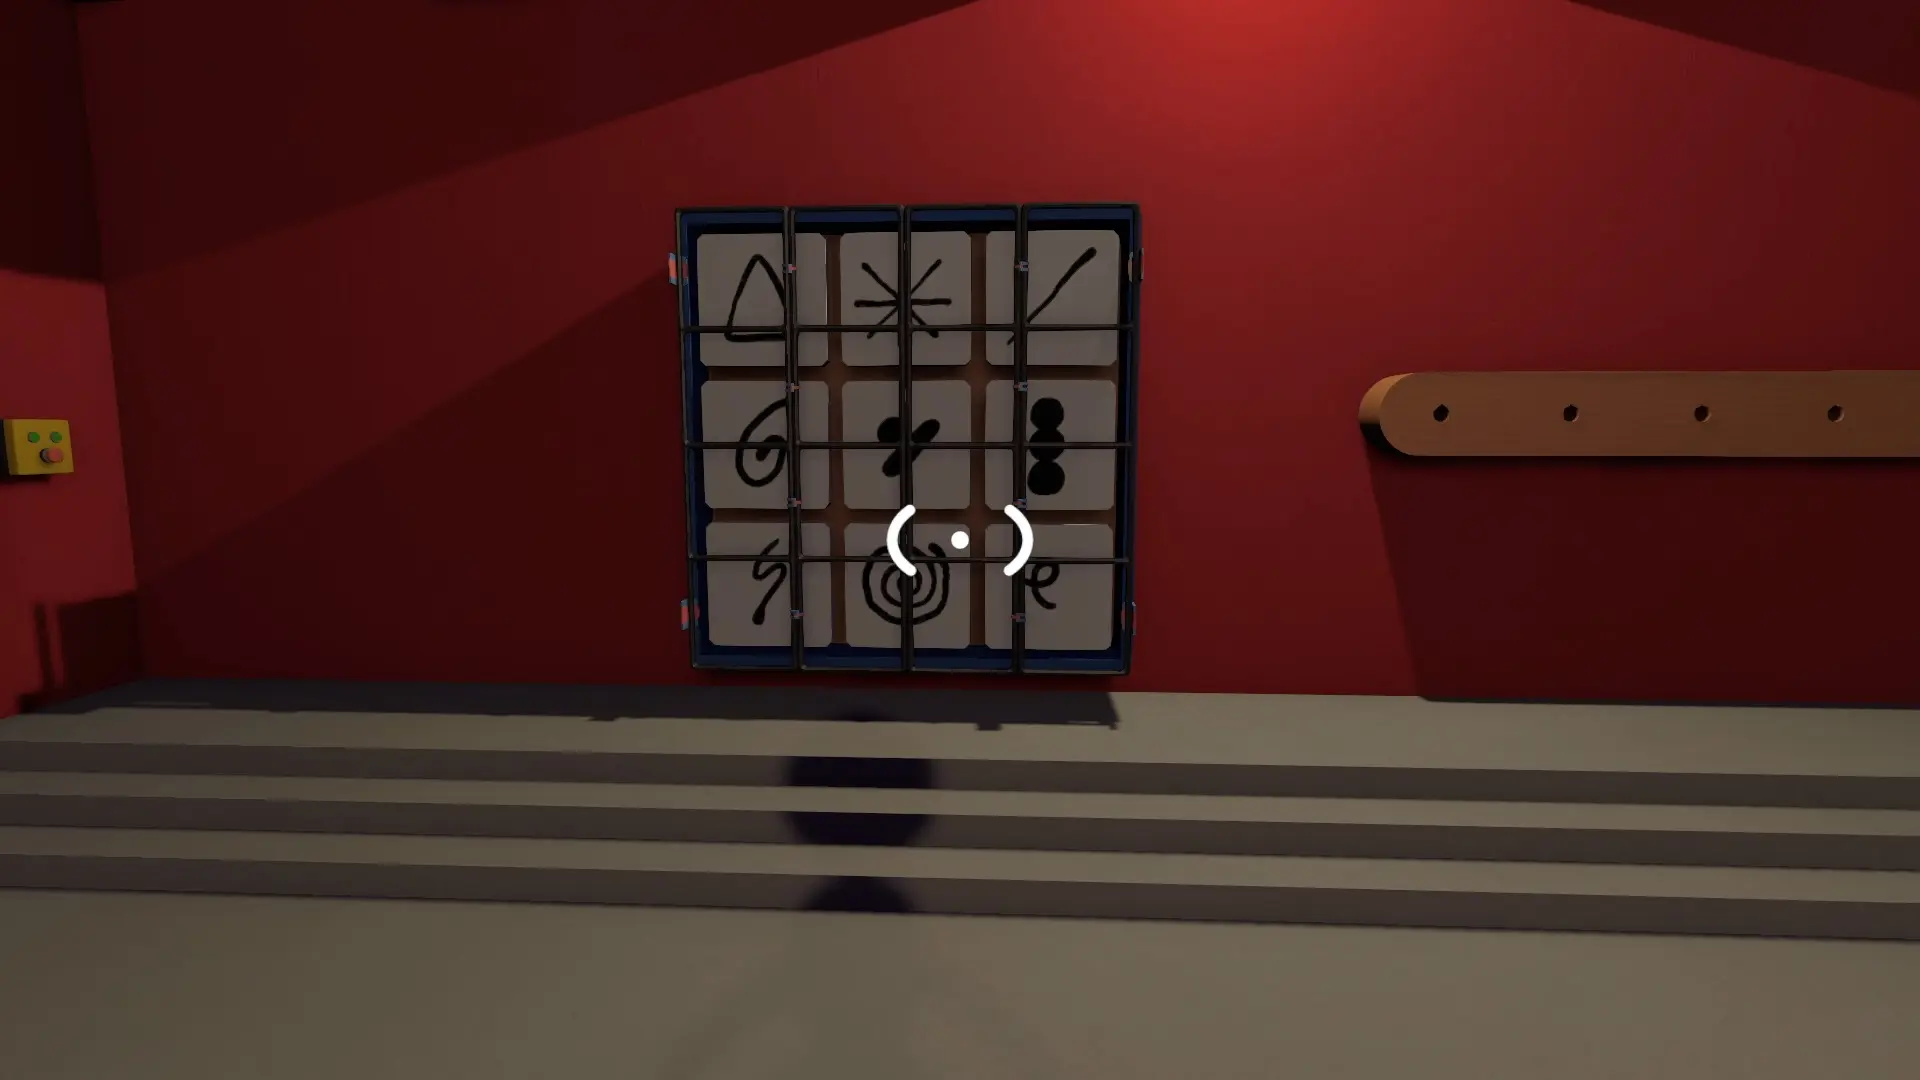
In the orange house, you’ll find one side of the room has a set of tiles and a board you can place them on, while the other side is rather empty. Here, you also find switches on opposite sides that you and your friend need to hit at the same time, which brings up a wall to separate you.
The player on the side that was empty will see a series of symbols displayed that they need to communicate to the person on the side with the tiles. Once the tiles are placed on the board in the correct order, you can hit the switch by the screen to confirm the order, which completes the puzzle.
Blue Signal Faces Puzzle
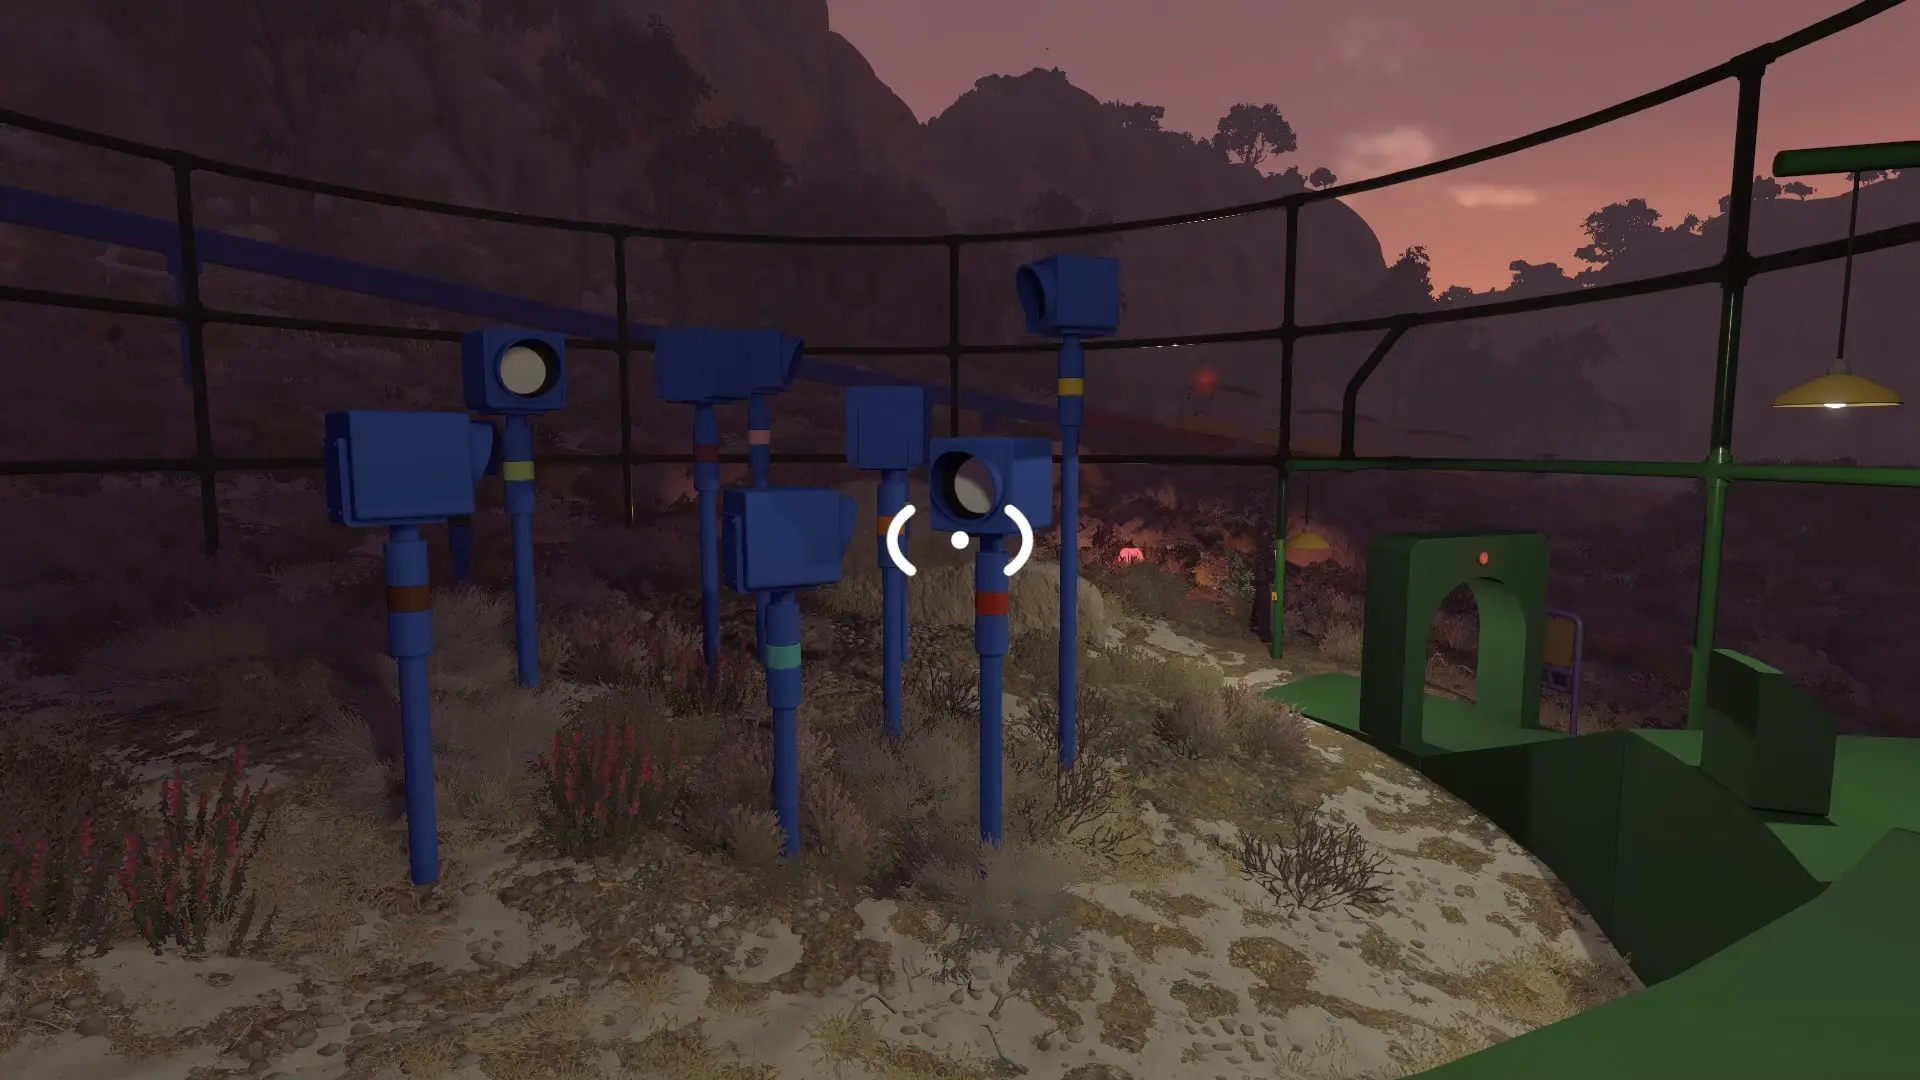
This puzzle features a number of blue signals facing different directions. When activated, some will have the image of a face flash on them. You need to arrange yourself and your friends in a way that you can see every signal in order to count the number that have faces flash on them.
Once you combine your numbers, use the buttons on the wall to enter your answer into the black panel. Then, check if you were right using the button to the right of the panel, completing the puzzle.
Yellow Guess Who Puzzle
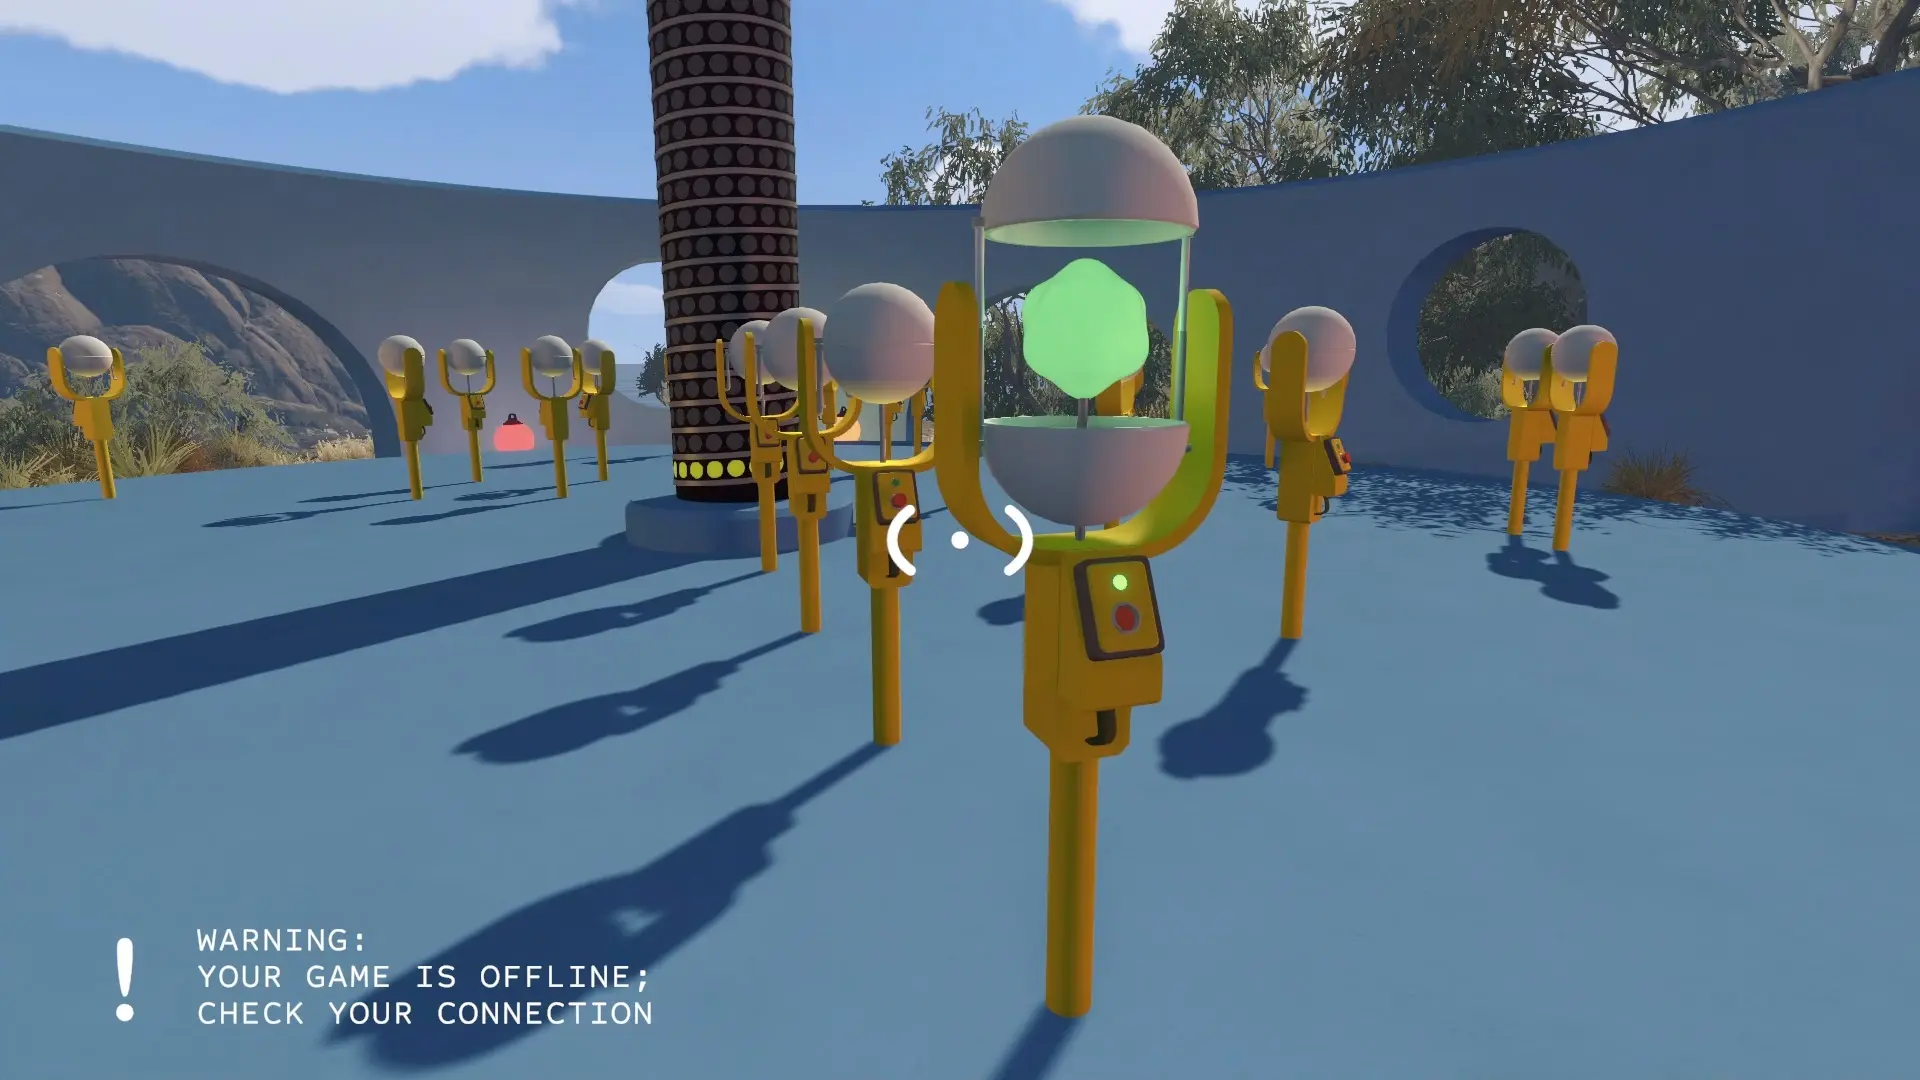
This is the puzzle with all the little stands that look like people. The idea is that you have to find which ones have green in their spheres and fill up the bar in the middle. You can interact with the stands after pressing the button next to the clamp that holds the red blob.
I couldn’t see any way to tell which ones have green aside from trying them and memorizing which have green and which have red. If you select a red one, you have to hit the button again to start over. Once you go through and pick all the green ones without opening any red ones, you’ll complete the puzzle.
Distant Lights Puzzle
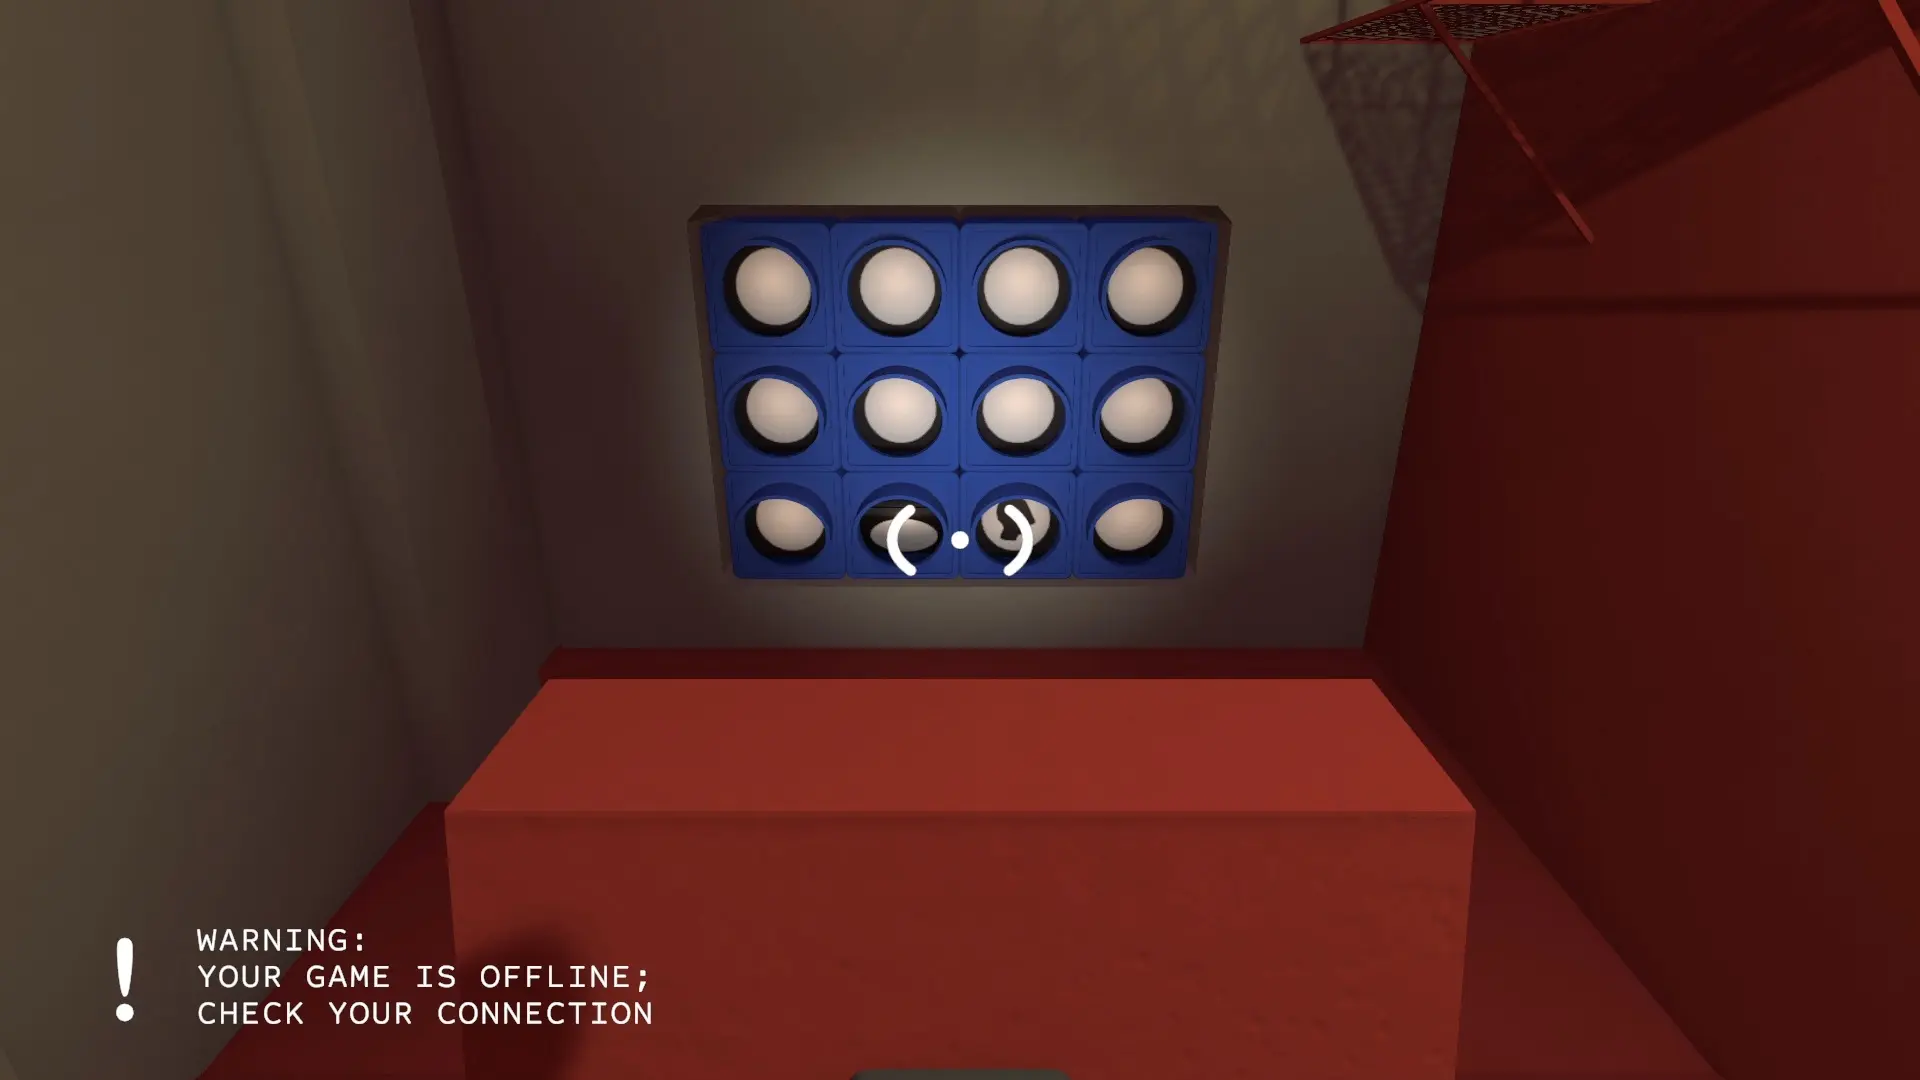
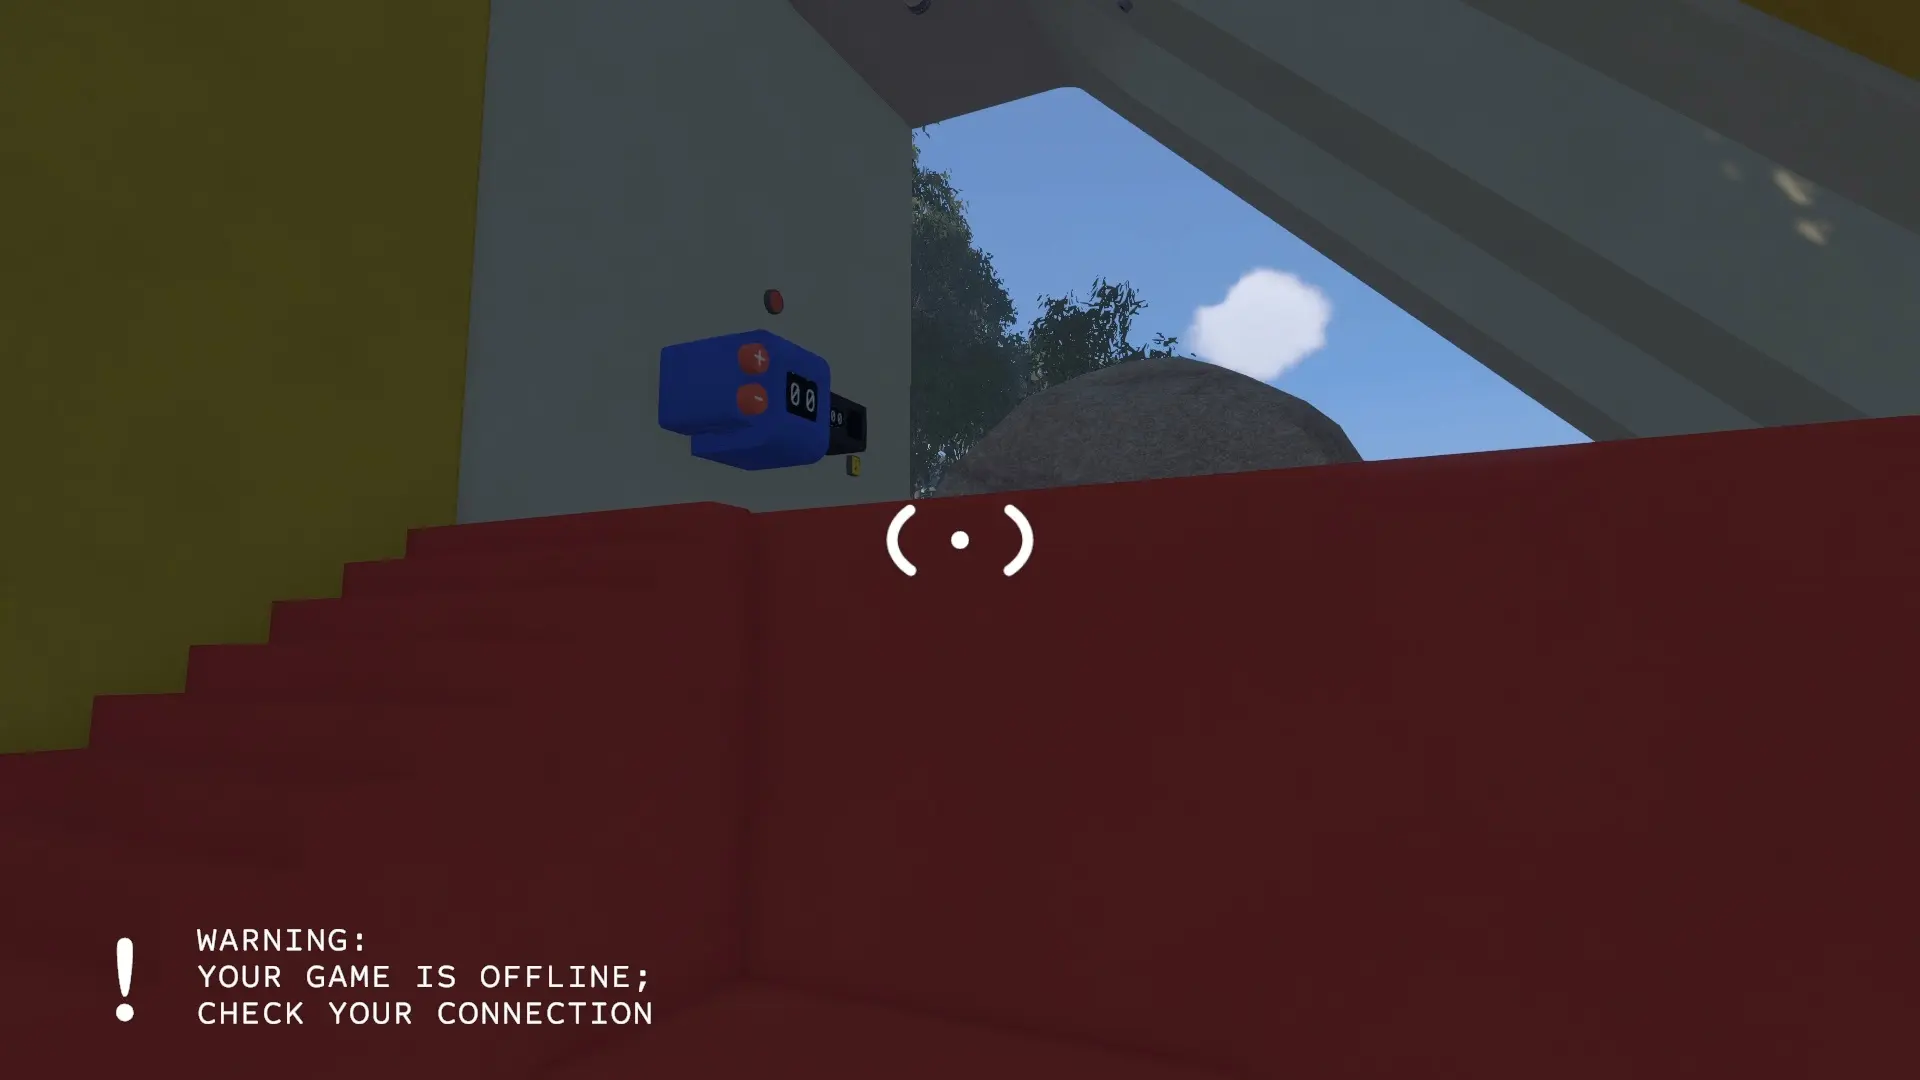
This puzzle uses two buildings on the southeast beach, meaning you’ll need at least one person in each building. One building has a panel where you input a number as your answer. The other building has a set of lights similar to the blue signal puzzle.
The player in the building with lights has to close the door to interact with anything inside. Then, you press the button in front of the lights to activate them and count the number of faces that flash on them. Once you have a number, you need to communicate it to your friend in the other building.
Using walkie-talkies is the easiest method, but there’s also a peg board and tiles on the second floor that you can create a system of numbers for and use instead. For the pegboard, you hit the button next to it after you place your tiles, and it’ll shoot away to the other building.
Since the green tower requires five red blobs to unlock the key, you should now have enough to head back and pick it up. Then, you need to use the cutters around the base of the tower to cut it into shape, which then unlocks the ski lift.
Fourth Key—Blue Tower Puzzles (Activate the Train)
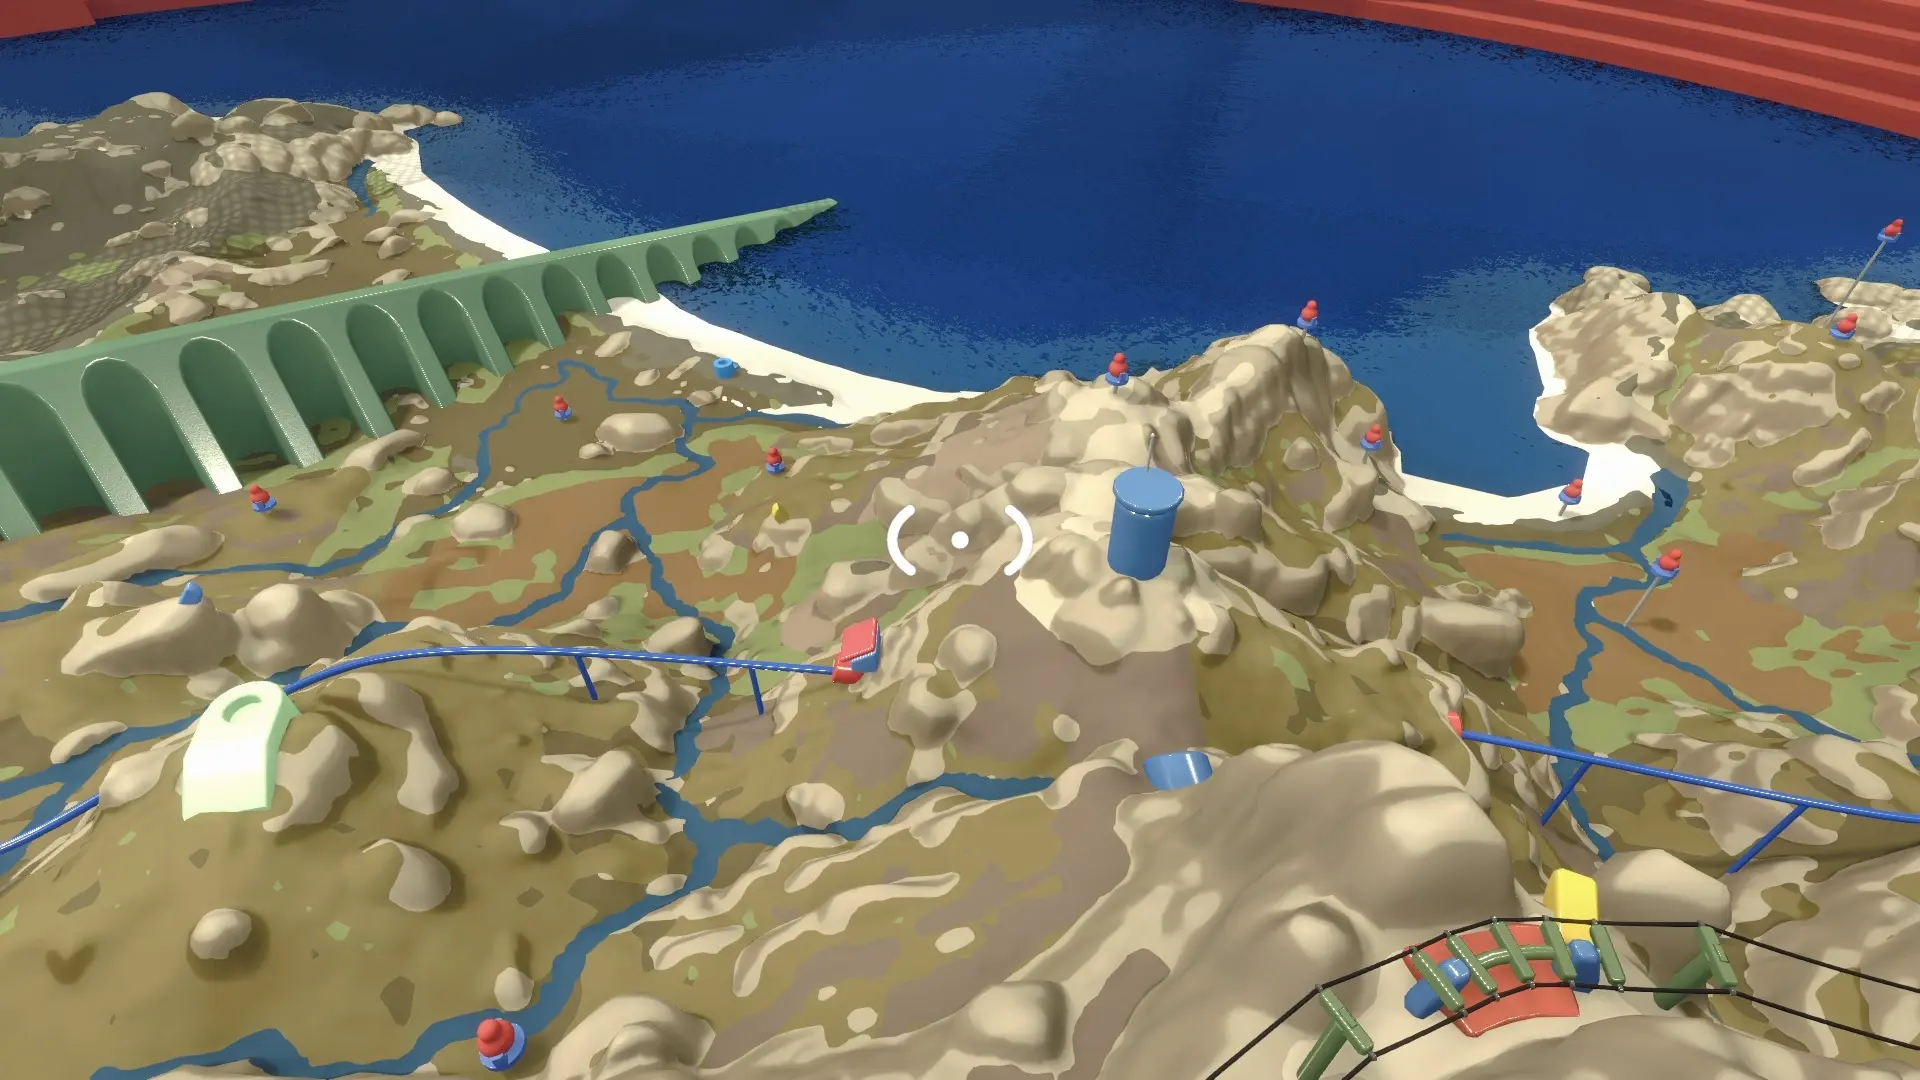
Blue tower requires another five red blobs to unlock the key, and at this point, you might be coming across puzzles in a different order than I am. That’s totally fine, and it’s likely to happen, considering that the map is quite open for you now. By the end of this guide, we’ll get through every puzzle anyway.
Golf Puzzle
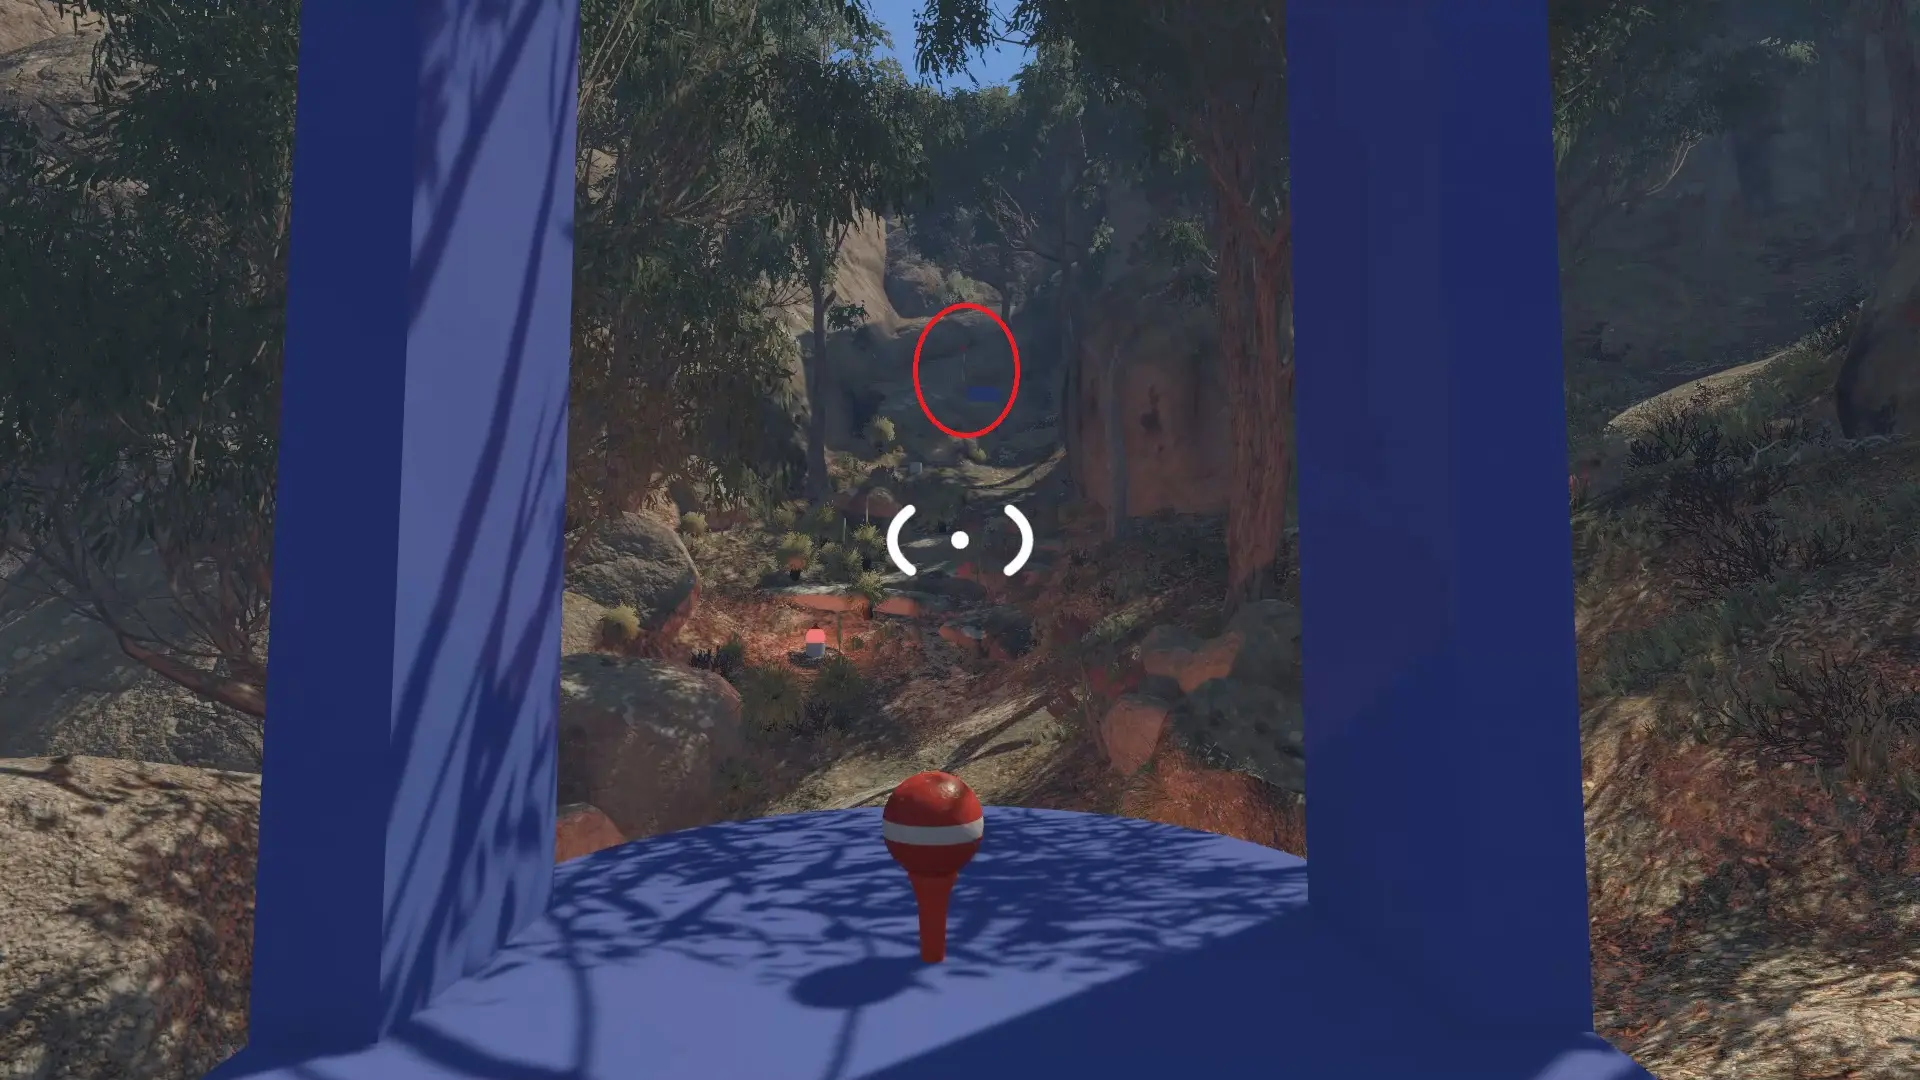
The golf puzzle is simple in theory, but it can be messy in practice. At the start, you find a ball on a tee. The red flag in the distance marks where the ball needs to go. The hard part is that you can’t move when you pick up the ball, so you have to throw it.
I found it helpful to have my friend stand in the area of where I was throwing the ball, and then I would stand where they were aiming, because we were concerned about losing track of the ball if it started rolling down the rocks.
50/50 Puzzle
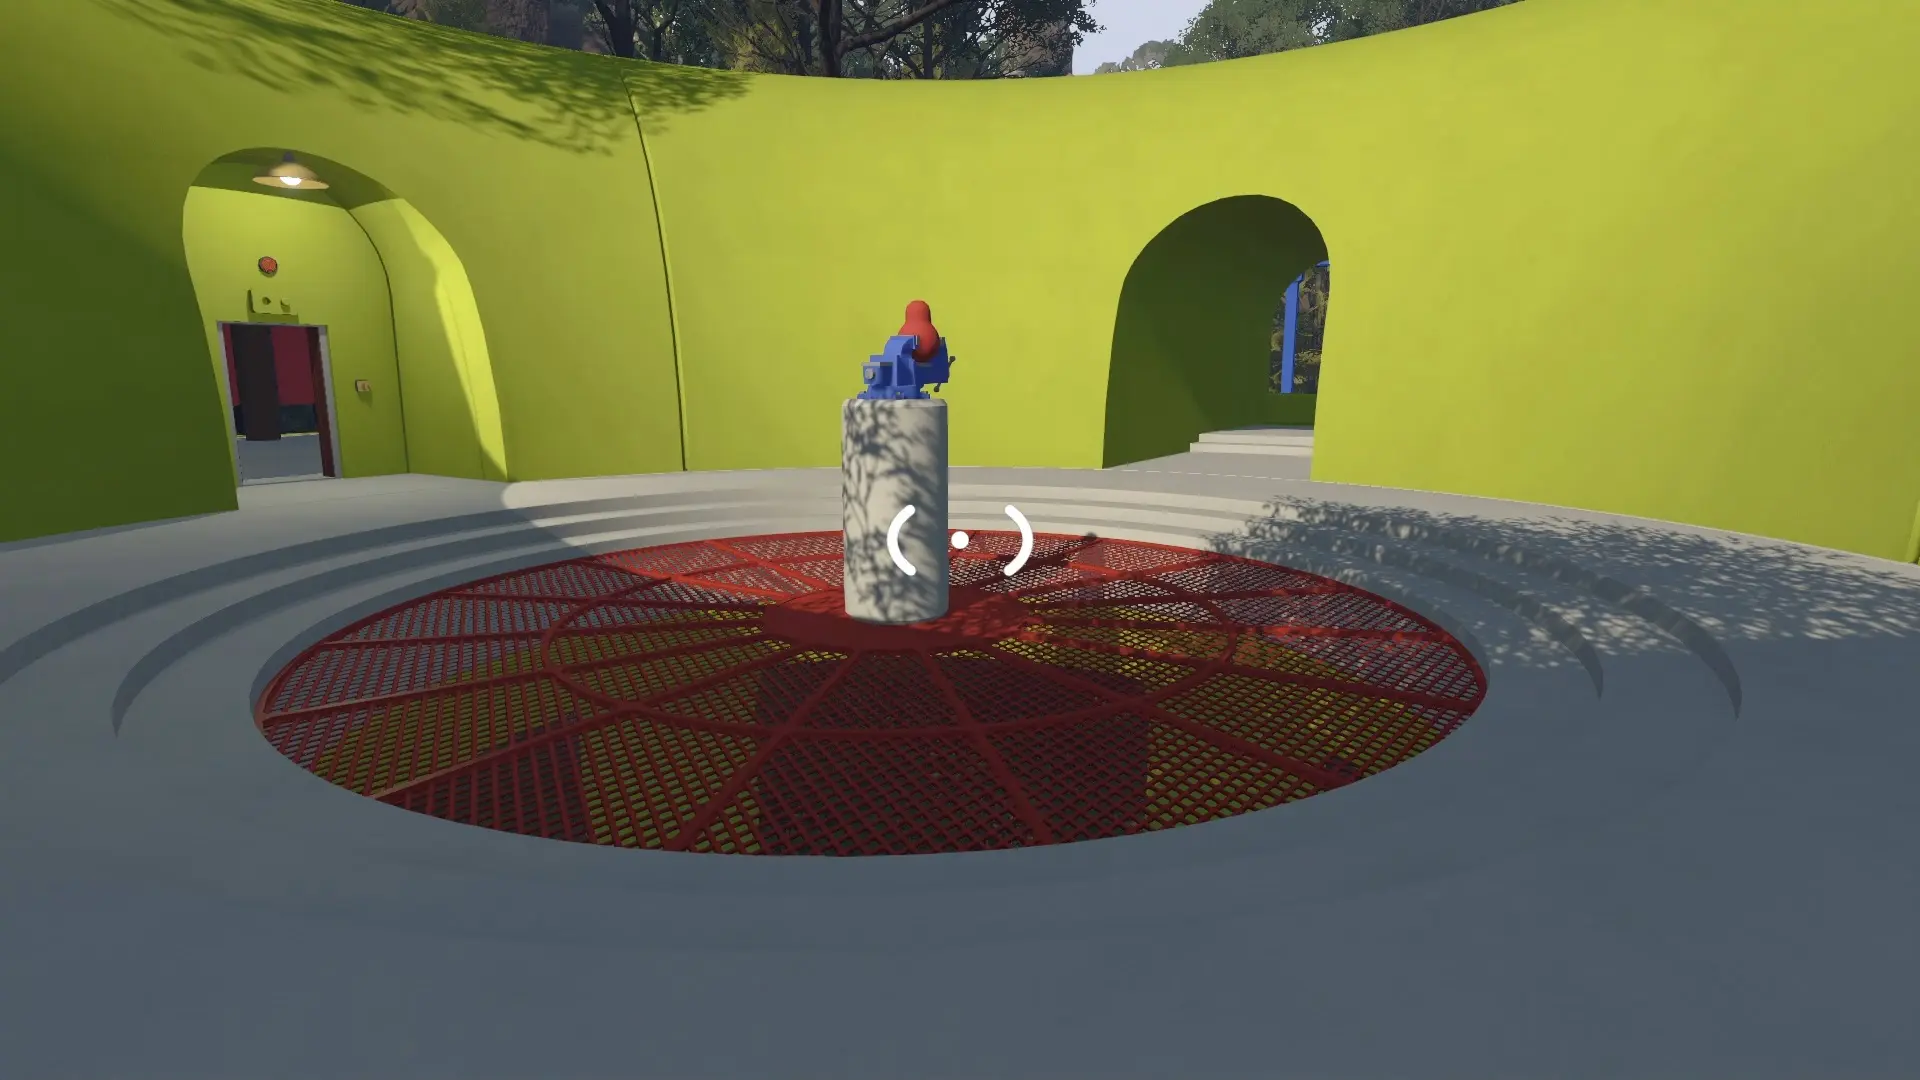
This puzzle has you and your friends split the work. Since I’m in a game scaled for two players, there were two rooms on opposite sides of the clamp. You have to go into the rooms and close the door behind you to see the images on the tiles.
One person has the first two tiles on the peg board, and the other person has the last two. You need to use the speaker to communicate with each other in order to create the full set of tiles correctly on both peg boards. Then, you both hit your button on the right side of the board at the same time to complete the puzzle.
Masked Obstacle Course Puzzle
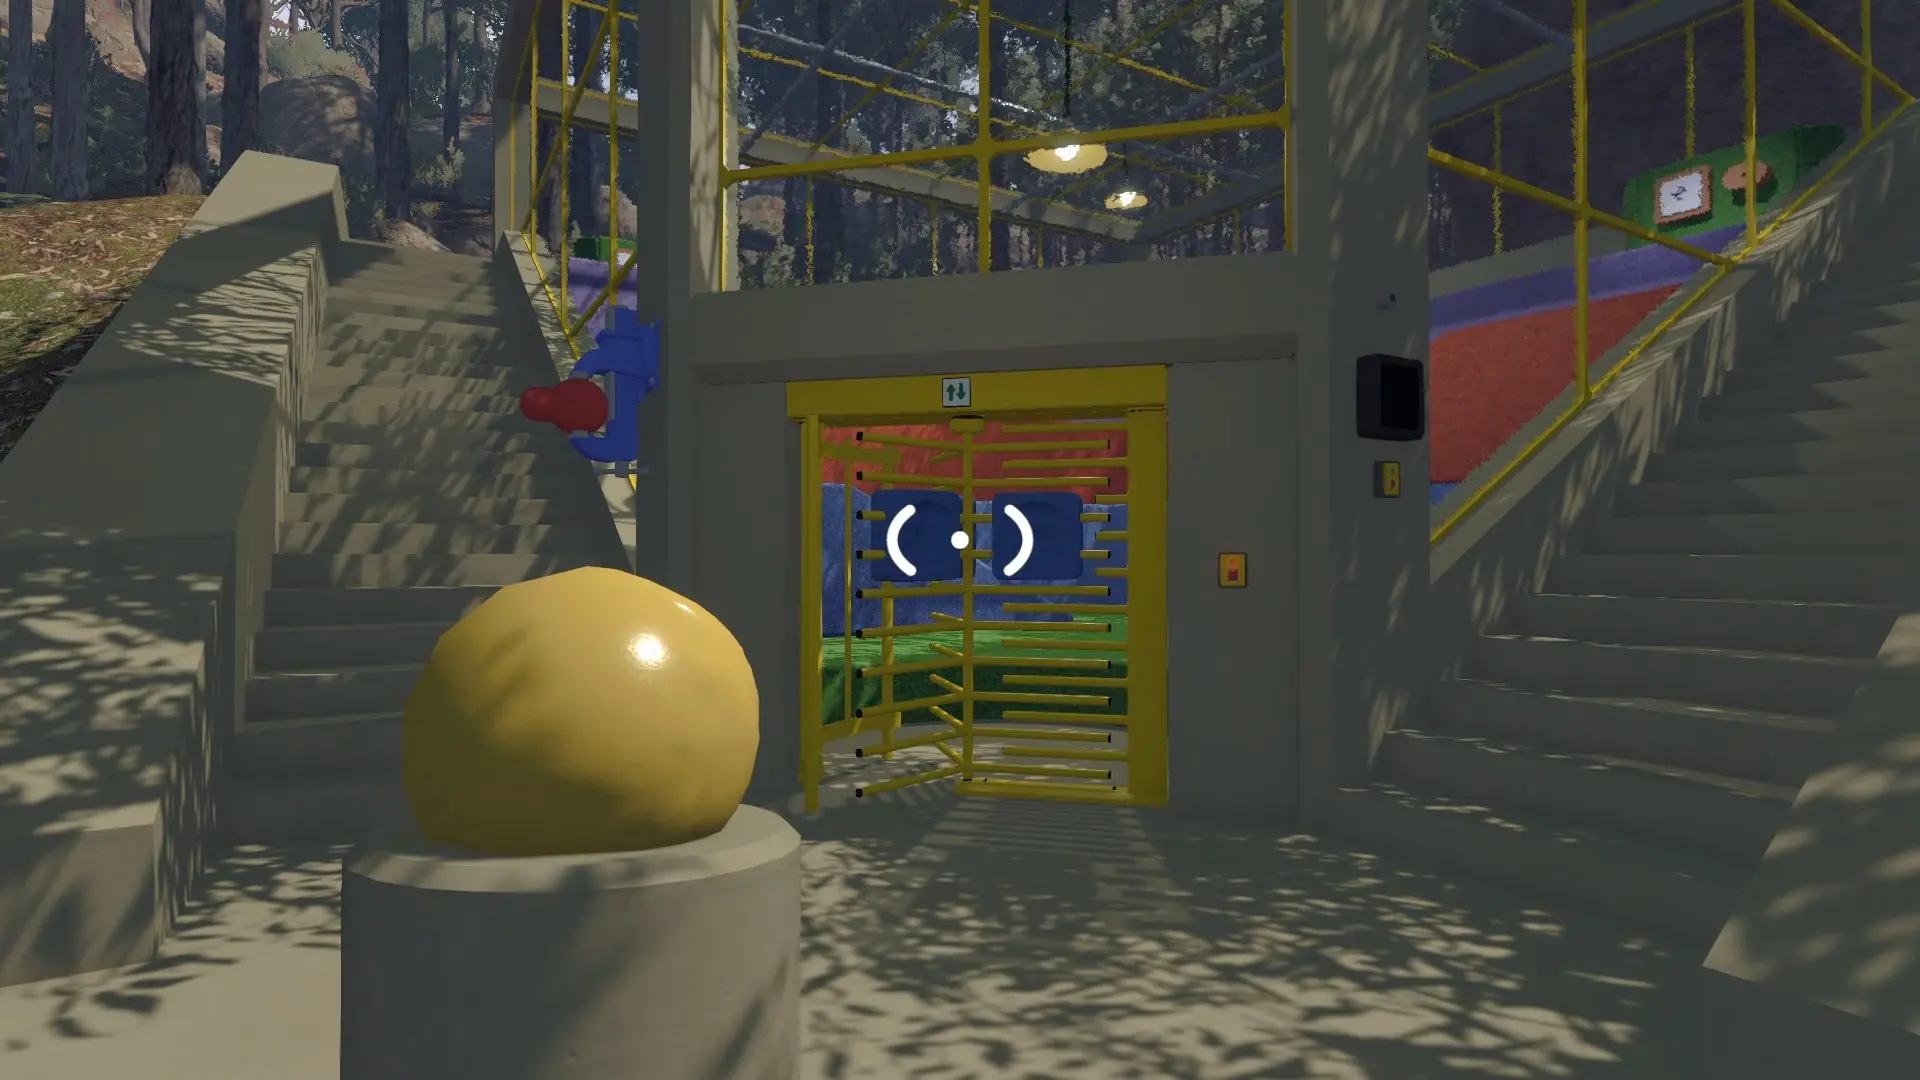
If you’re ready to test your abilities to give and follow instructions, then head to the puzzle to the southeast of the 50/50 puzzle. This one has one of you put on a mask and enter a cube. The player outside the cube has to relay instructions to the masked player with the goal of matching the tiles inside the cube so they make a pair using the extra tiles available next to the wall.
It’s simple in theory, but communication in a game like Big Walk is intentionally difficult.
Puzzle Hunt Puzzle
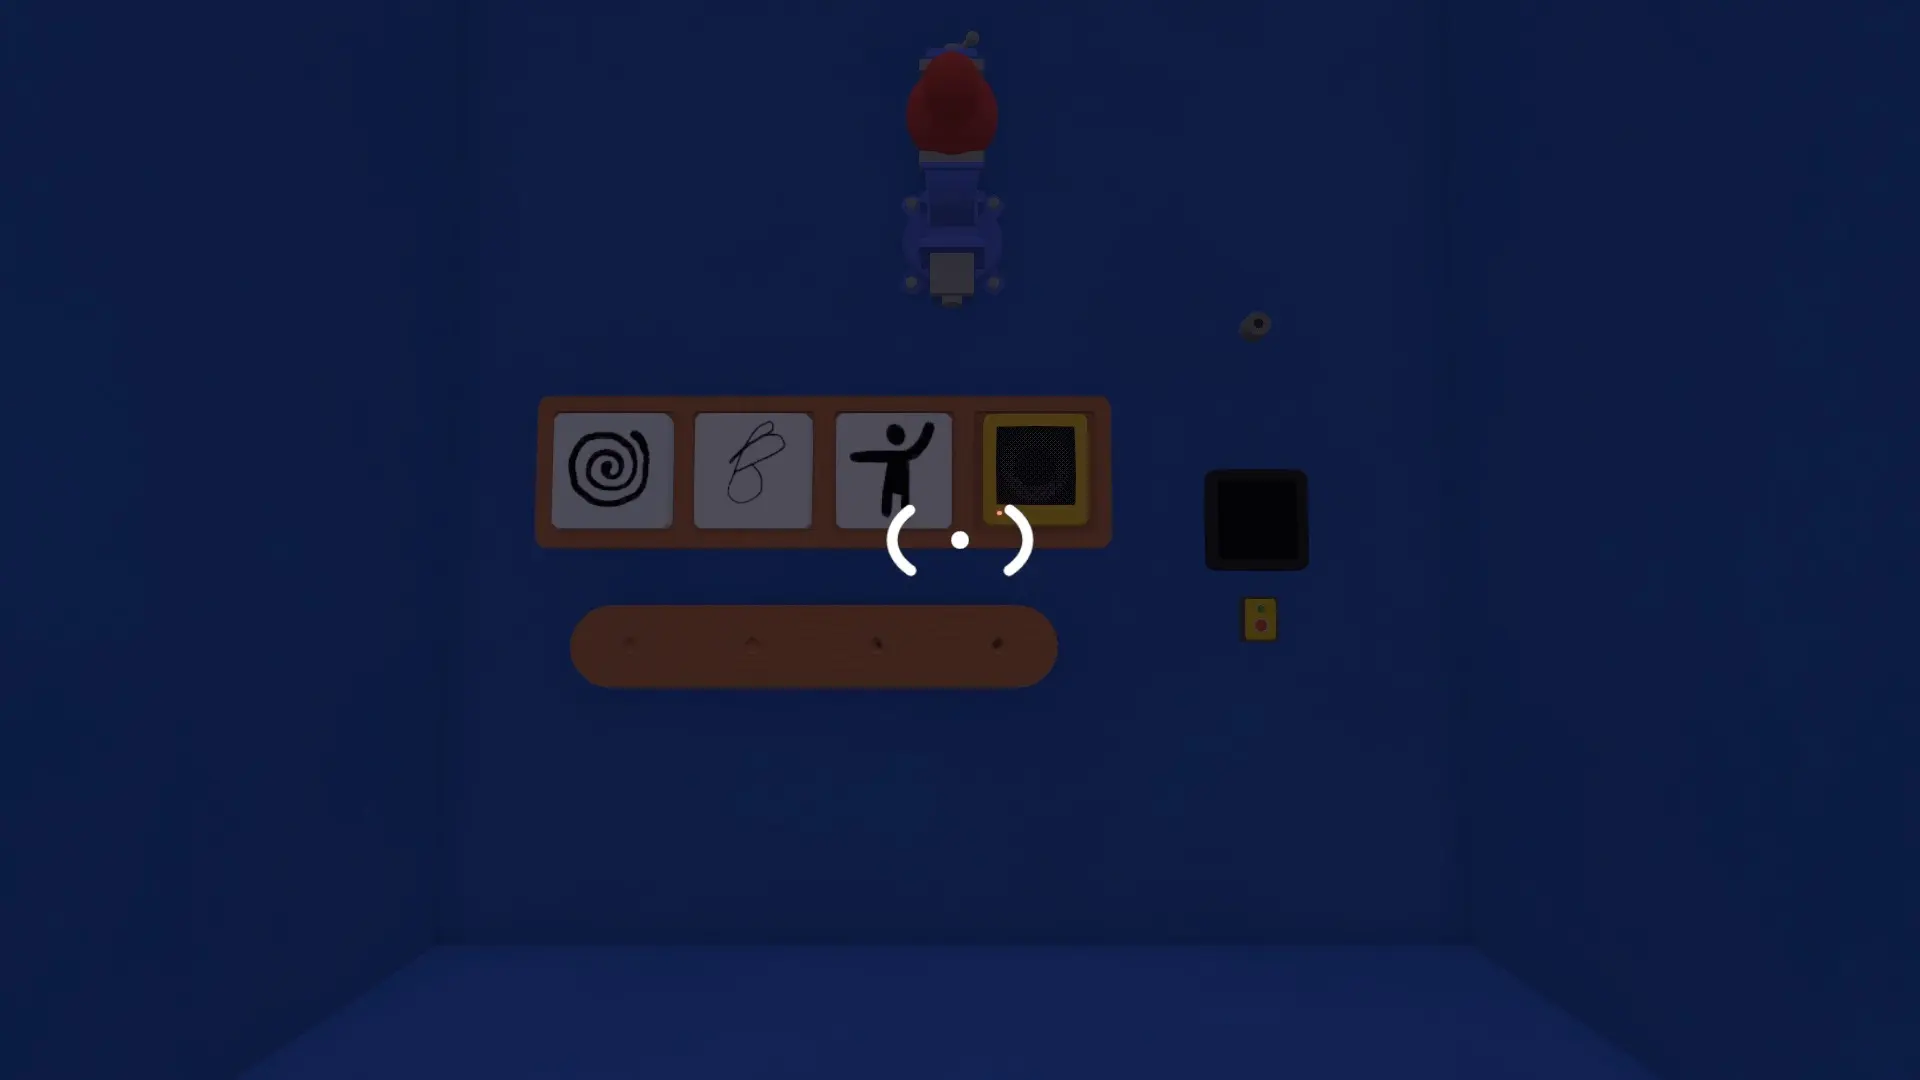
This puzzle is a bit of a pain, and because it’s randomized, I can’t give you exact answers as the symbols you have to get will be different than the ones that appeared in my game. However, I can at least tell you how the puzzle works.
When you arrive to this blue structure by the eastern beach, you’ll find a peg board that has tiles depicting sounds and symbols corresponding to other puzzles. You need to go to the other puzzles and find the same symbols and bring them back to place on the peg board. Then, hit the button on the right to complete the puzzle.
Also Read: Twisted Tower Full Walkthrough
Seaside Timed Button Press Puzzle
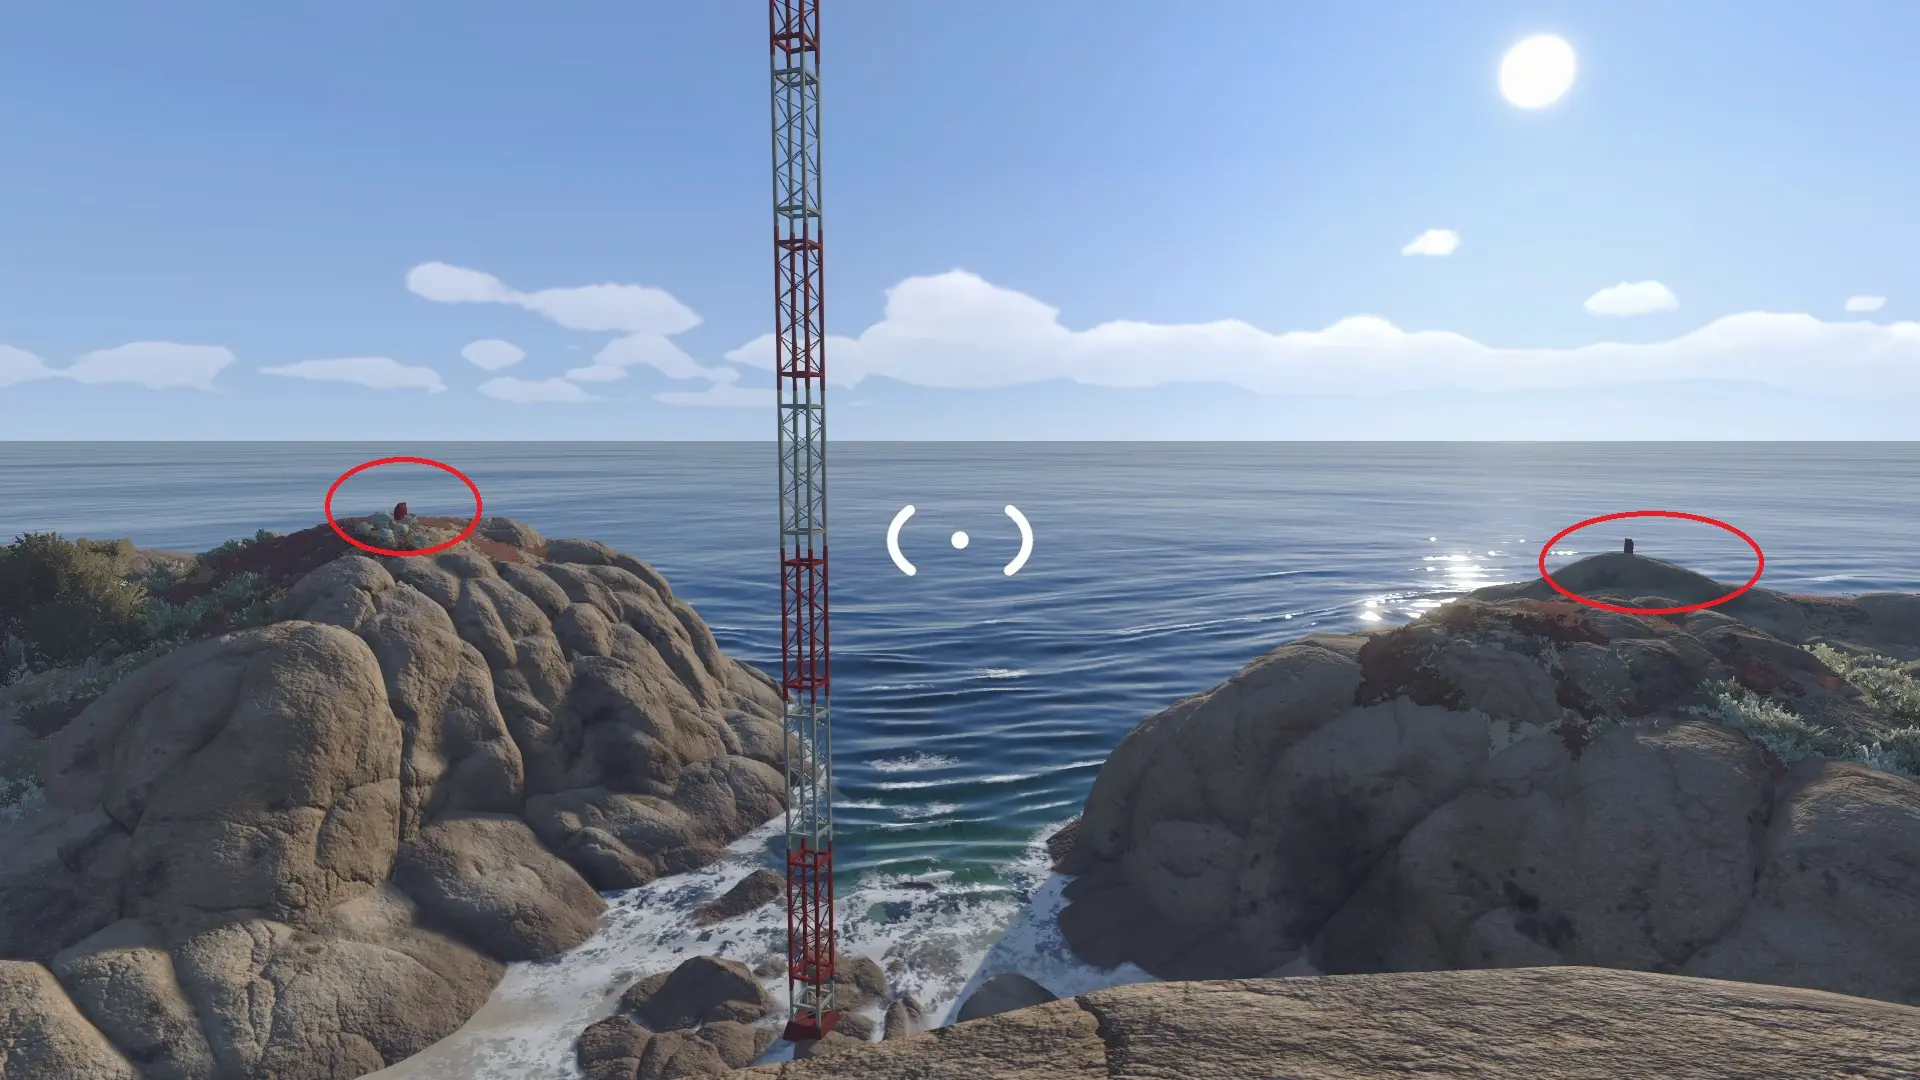
To the north of the puzzle hunt puzzle, there’s a tall tower holding a red blob. This is definitely one of the easier puzzles, making it a great option for collecting the final red blob for the blue tower. All you have to do is go to the buttons around the tower and press them at the same time.
From here, you should have five blobs that you can use to get the key from the blue tower, which you’ll then cut and use to activate the train.
Fifth Key—Yellow Tower Puzzles (Open the Tunnels)
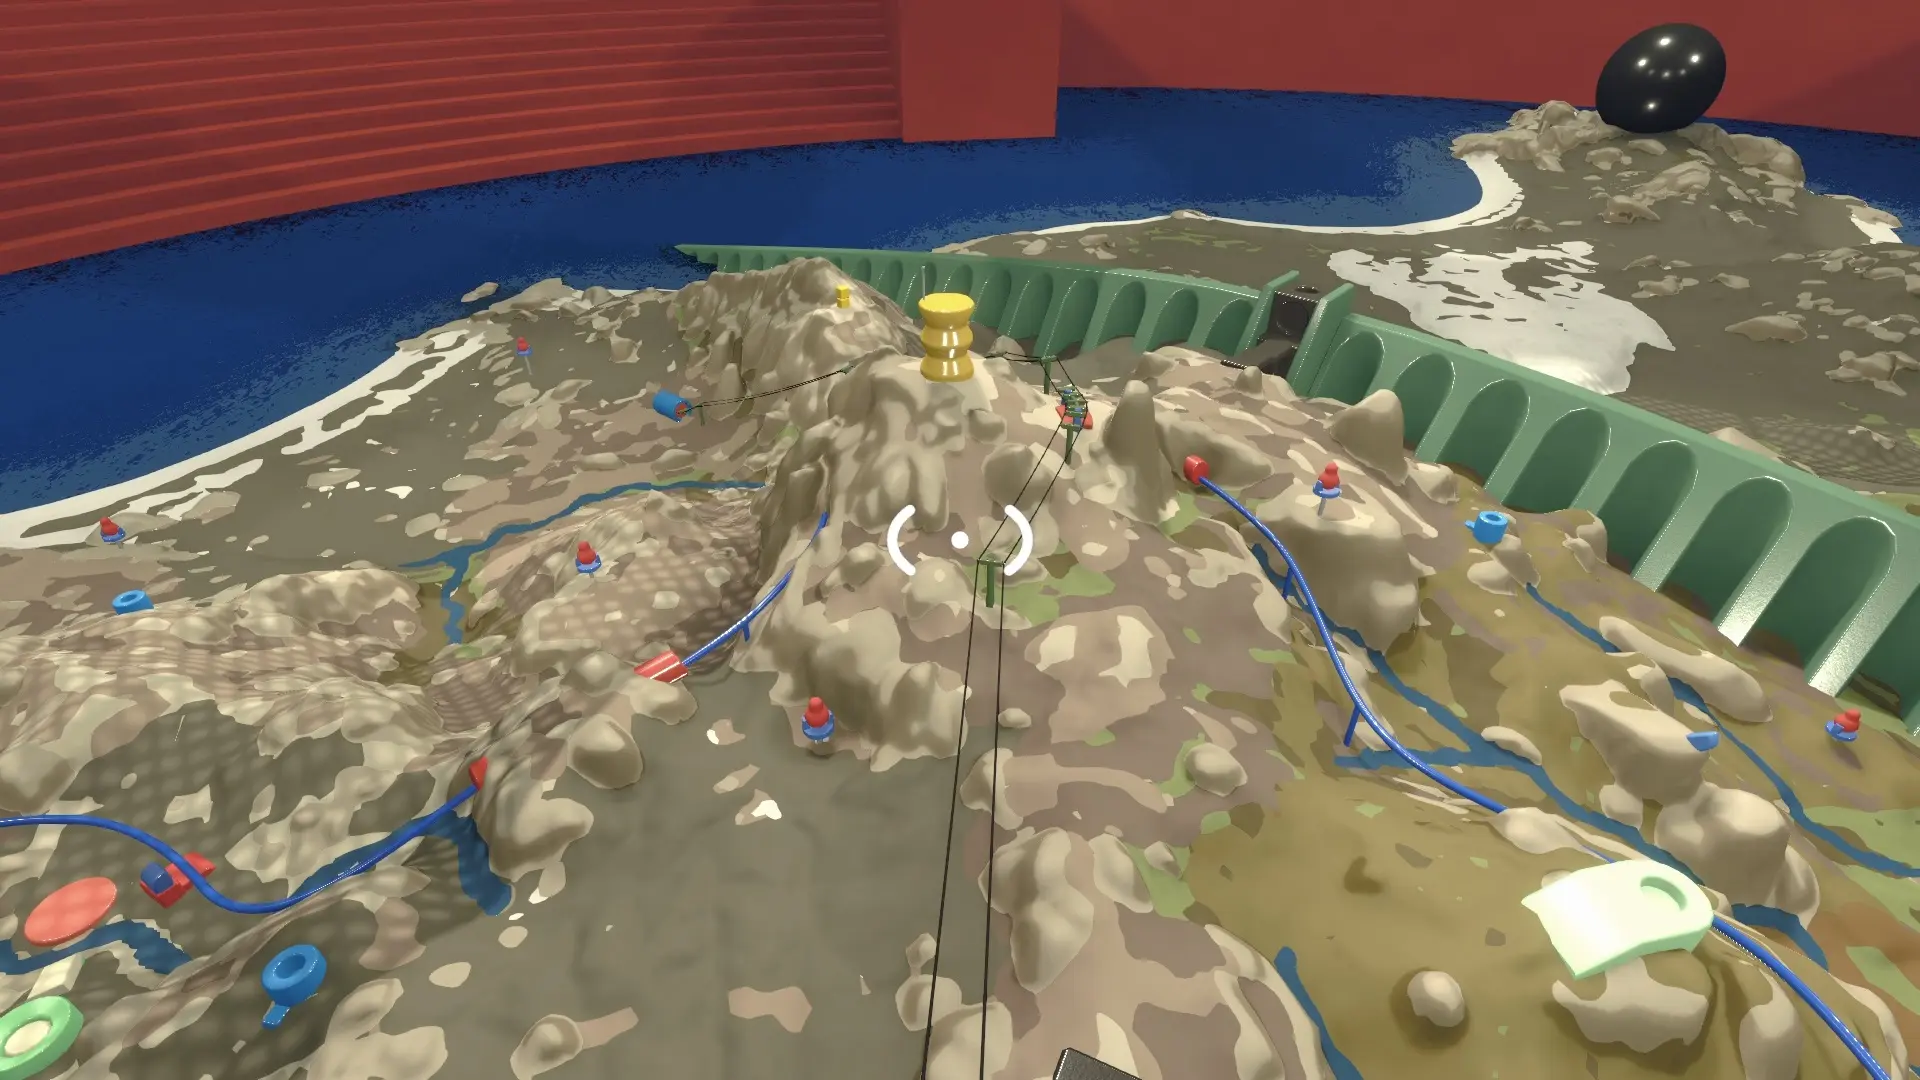
Because of the way I came across puzzles, I started collecting red blobs for the yellow tower by continuing to do puzzles on the eastern side of the map. However, if you’re by the yellow tower, you’ll be able to find enough puzzles nearby to get the five red blobs you need for the tower’s key.
Microphone Box Puzzle
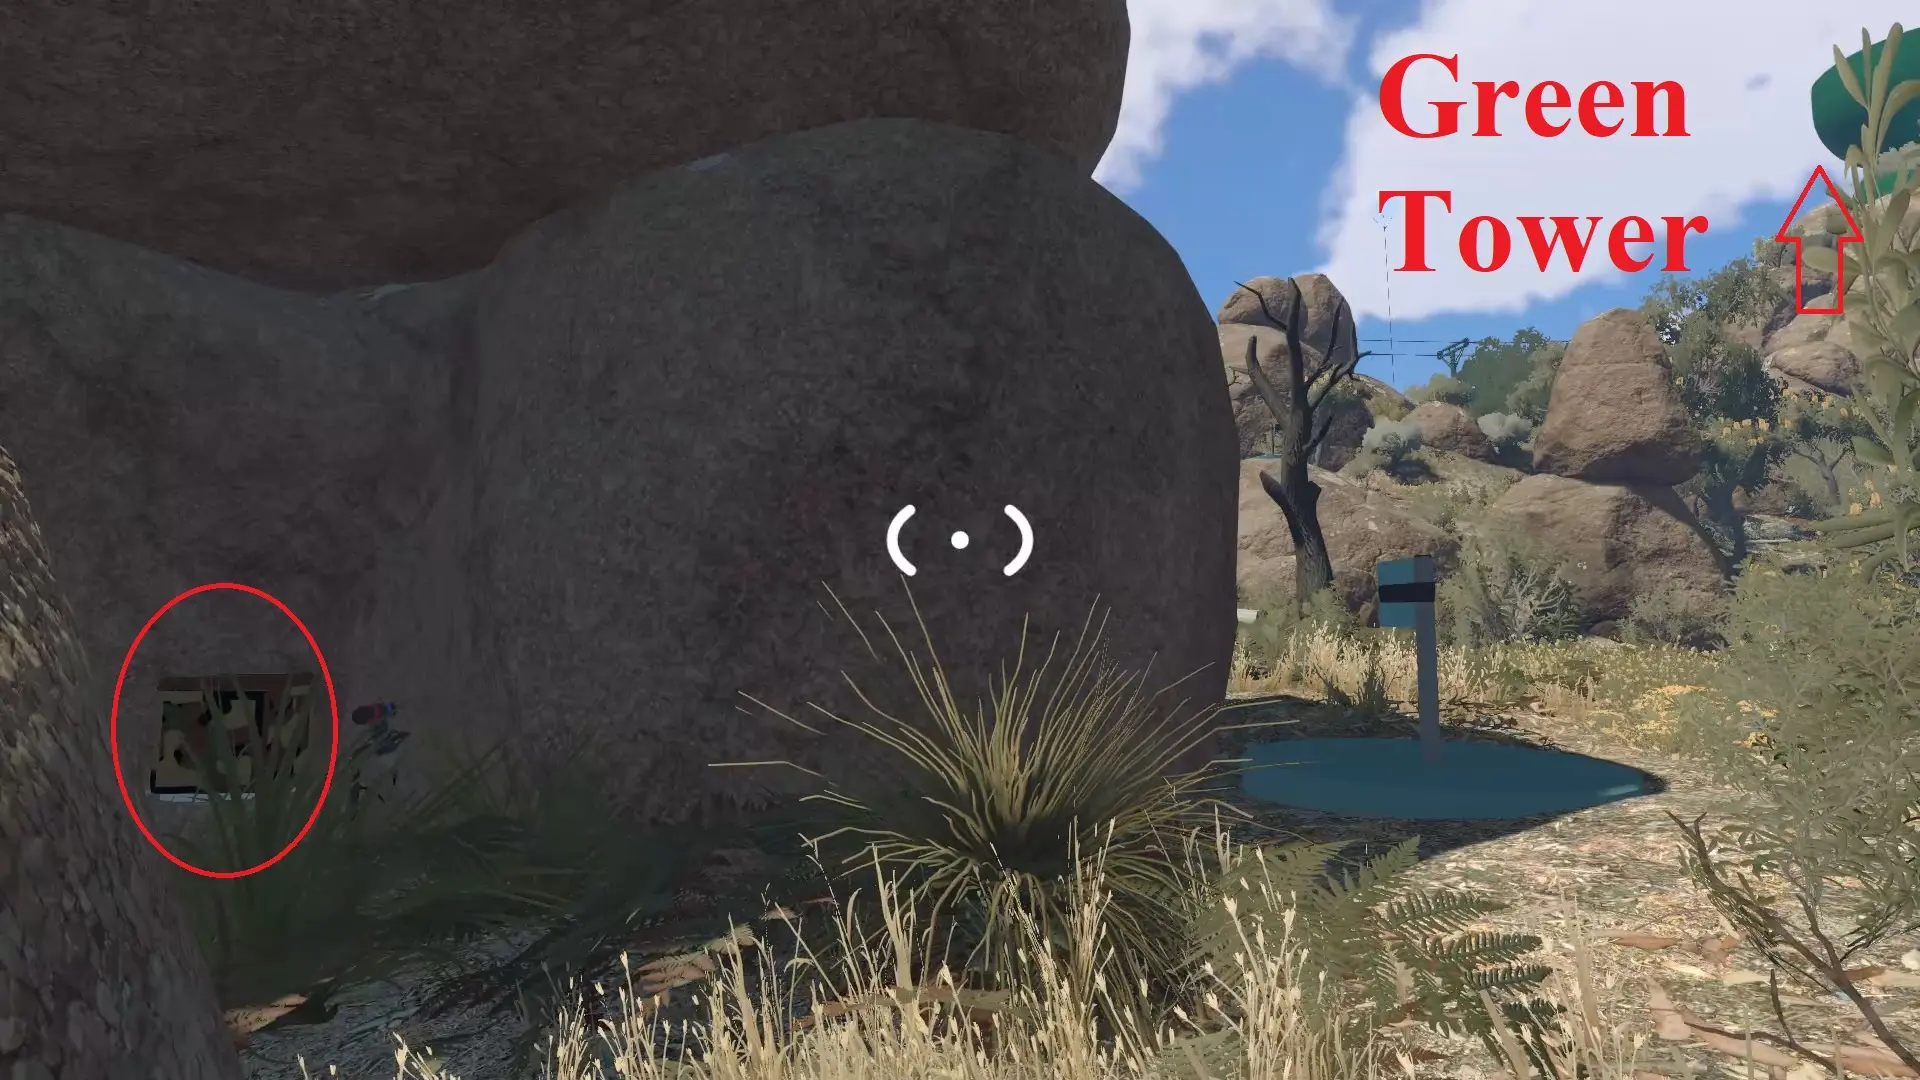
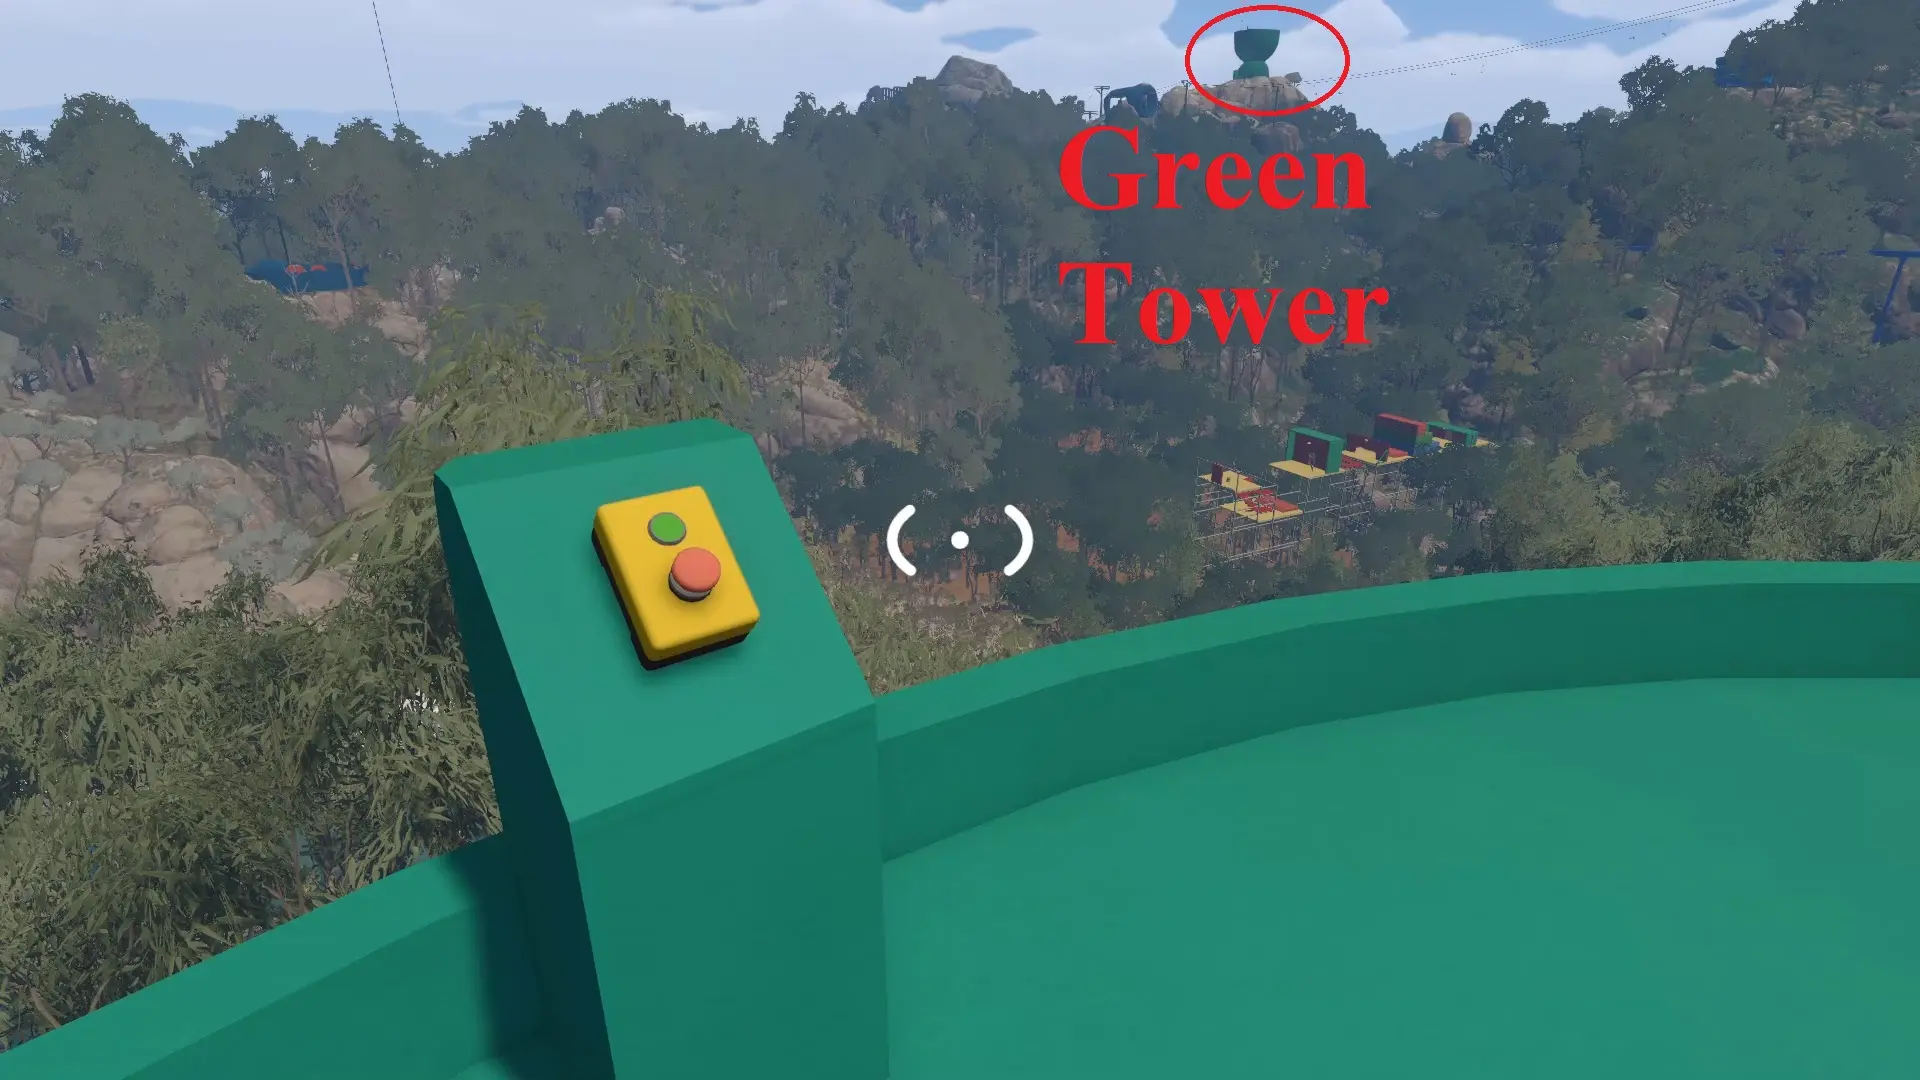
This puzzle is tucked in the mountains by the green tower. However, there are two parts to this puzzle. One person needs to be at the green chair to hit the button when the other player reaches the microphone box, and the chair is located on the eastern shore. This opens the box and lets the player take the red blob out of it.
Having the walkie-talkies for this puzzle is definitely required, but you could take a flare gun and use it to signal you found the box.
Invisible Ink Puzzle
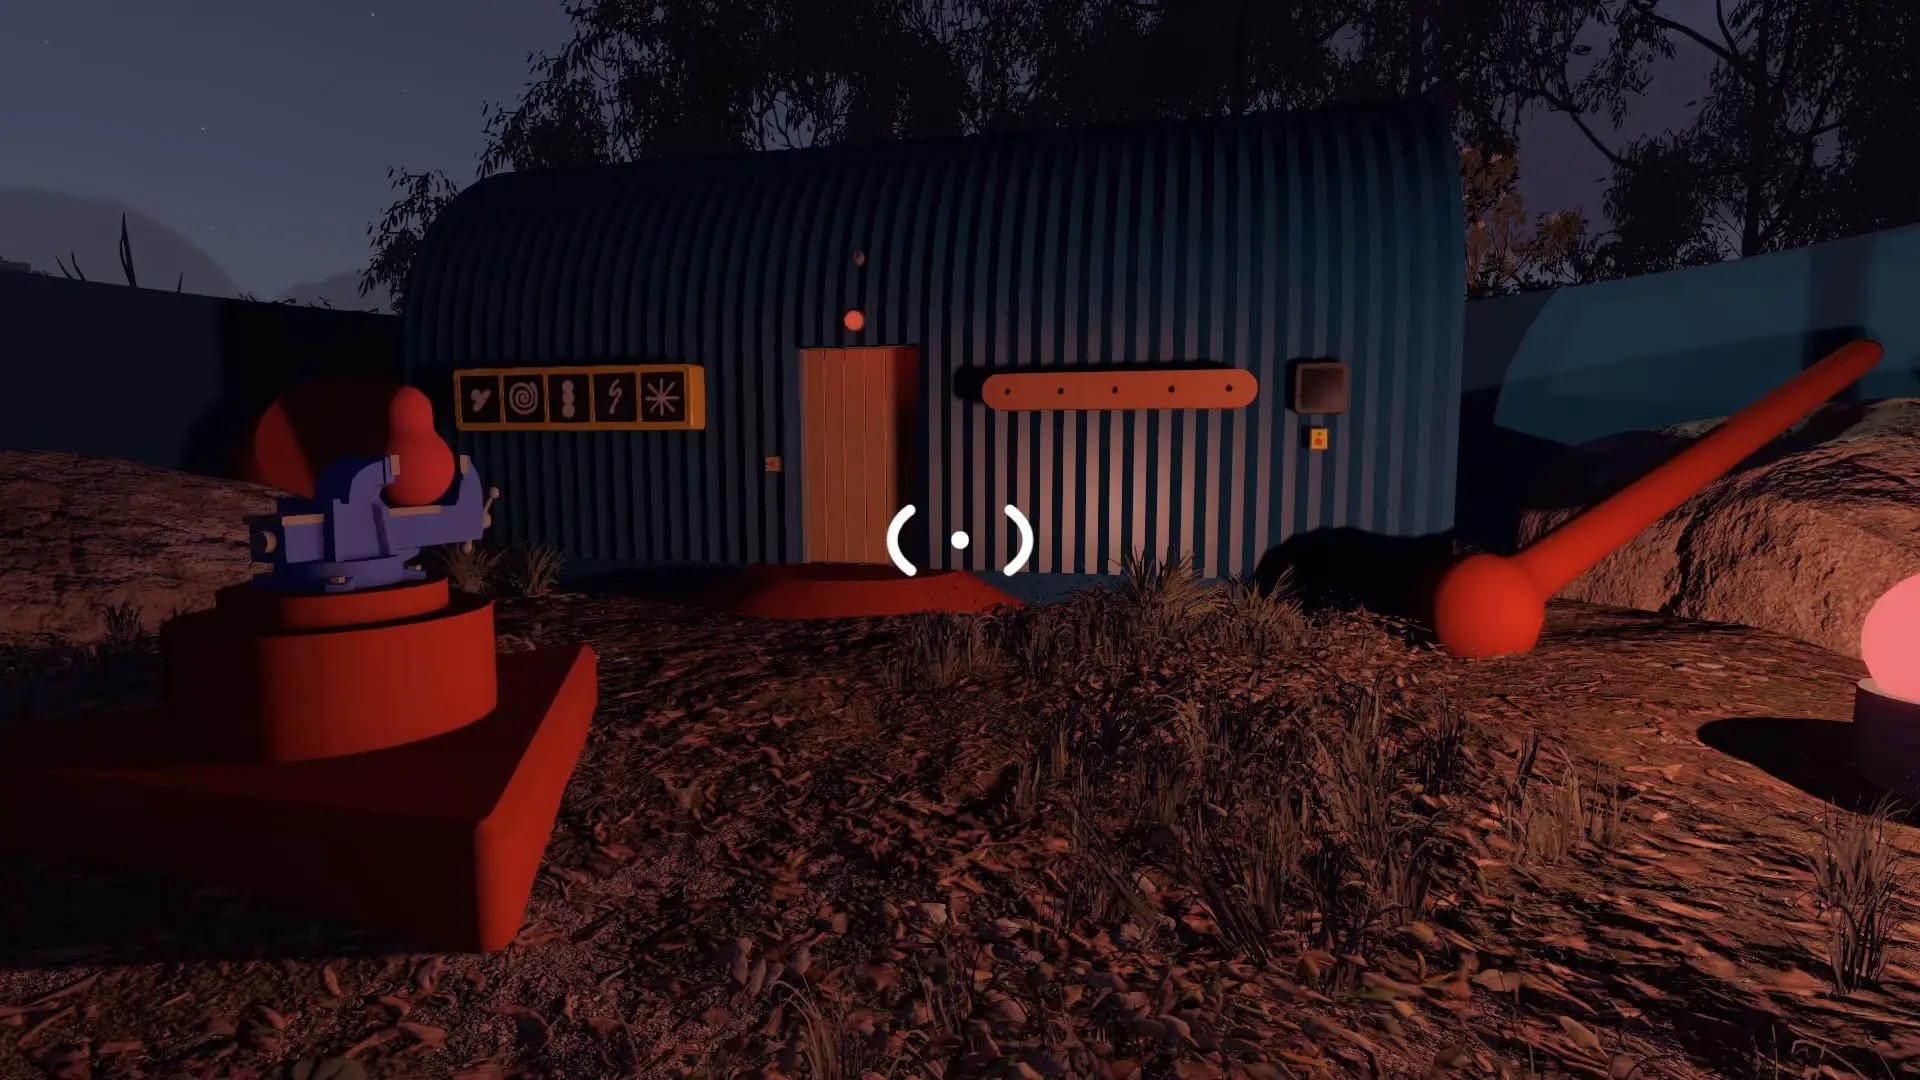
You find a blue building that has a set of symbols to the left of a door and a peg board to the right of the door. Inside, you need to close the door behind you and have your friend hold up the tiles on the platform so you can see the symbol on them with the telescope. The symbols are invisible otherwise.
Go through the tiles and find the ones that match the symbols outside, then repeat the pattern on the peg board to complete the puzzle.
Double Turnstile Puzzle
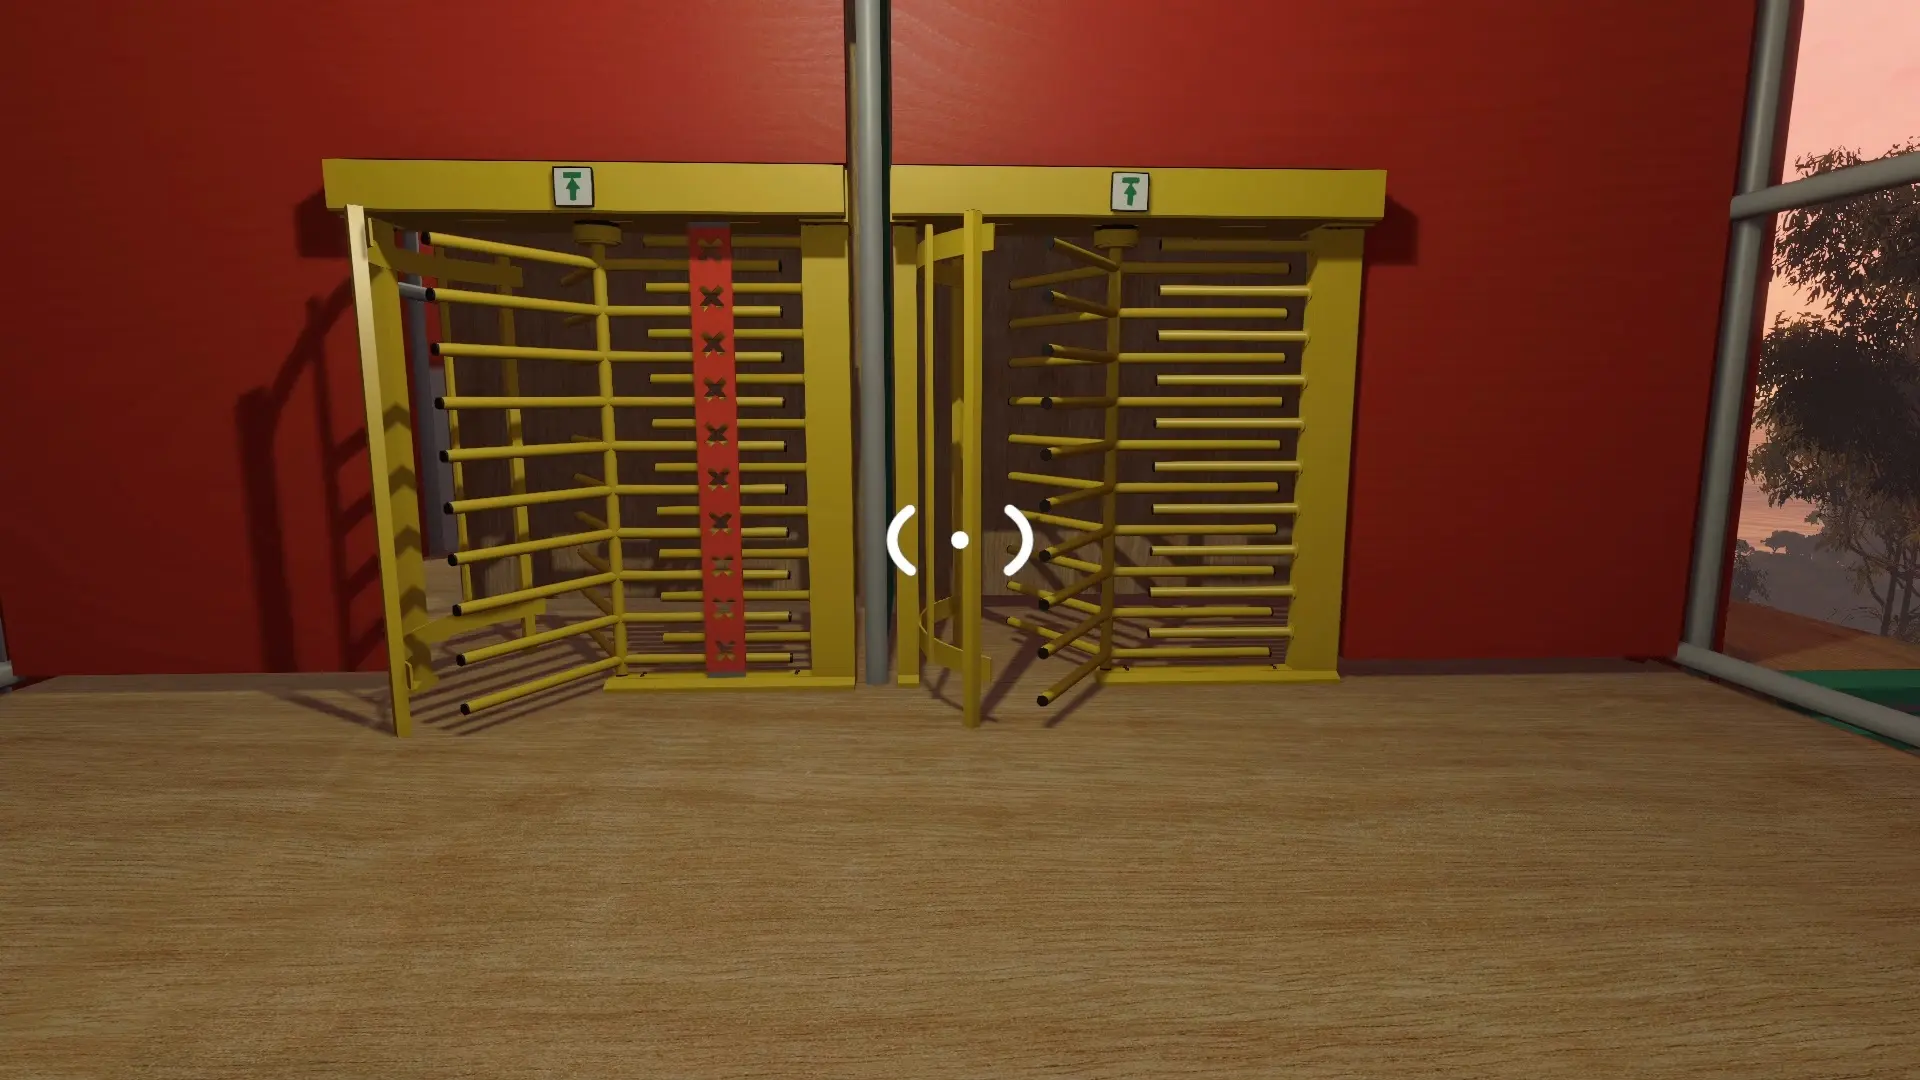
This puzzle is right by the button for the music box puzzle, putting it on the east side of the blue tower. You find a building that has two turnstiles, meaning you have to enter one side and your friend enters the other side.
On the left, you have a set of tiles with symbols and a peg board. On the right, you have symbols arranged in a certain order. The goal is to communicate the order on the right to the player on the left so they can recreate it on their peg board and complete the puzzle. Once you enter a turnstile, you can’t exit through them before completing the puzzle.
Five-Minute Timer Puzzle
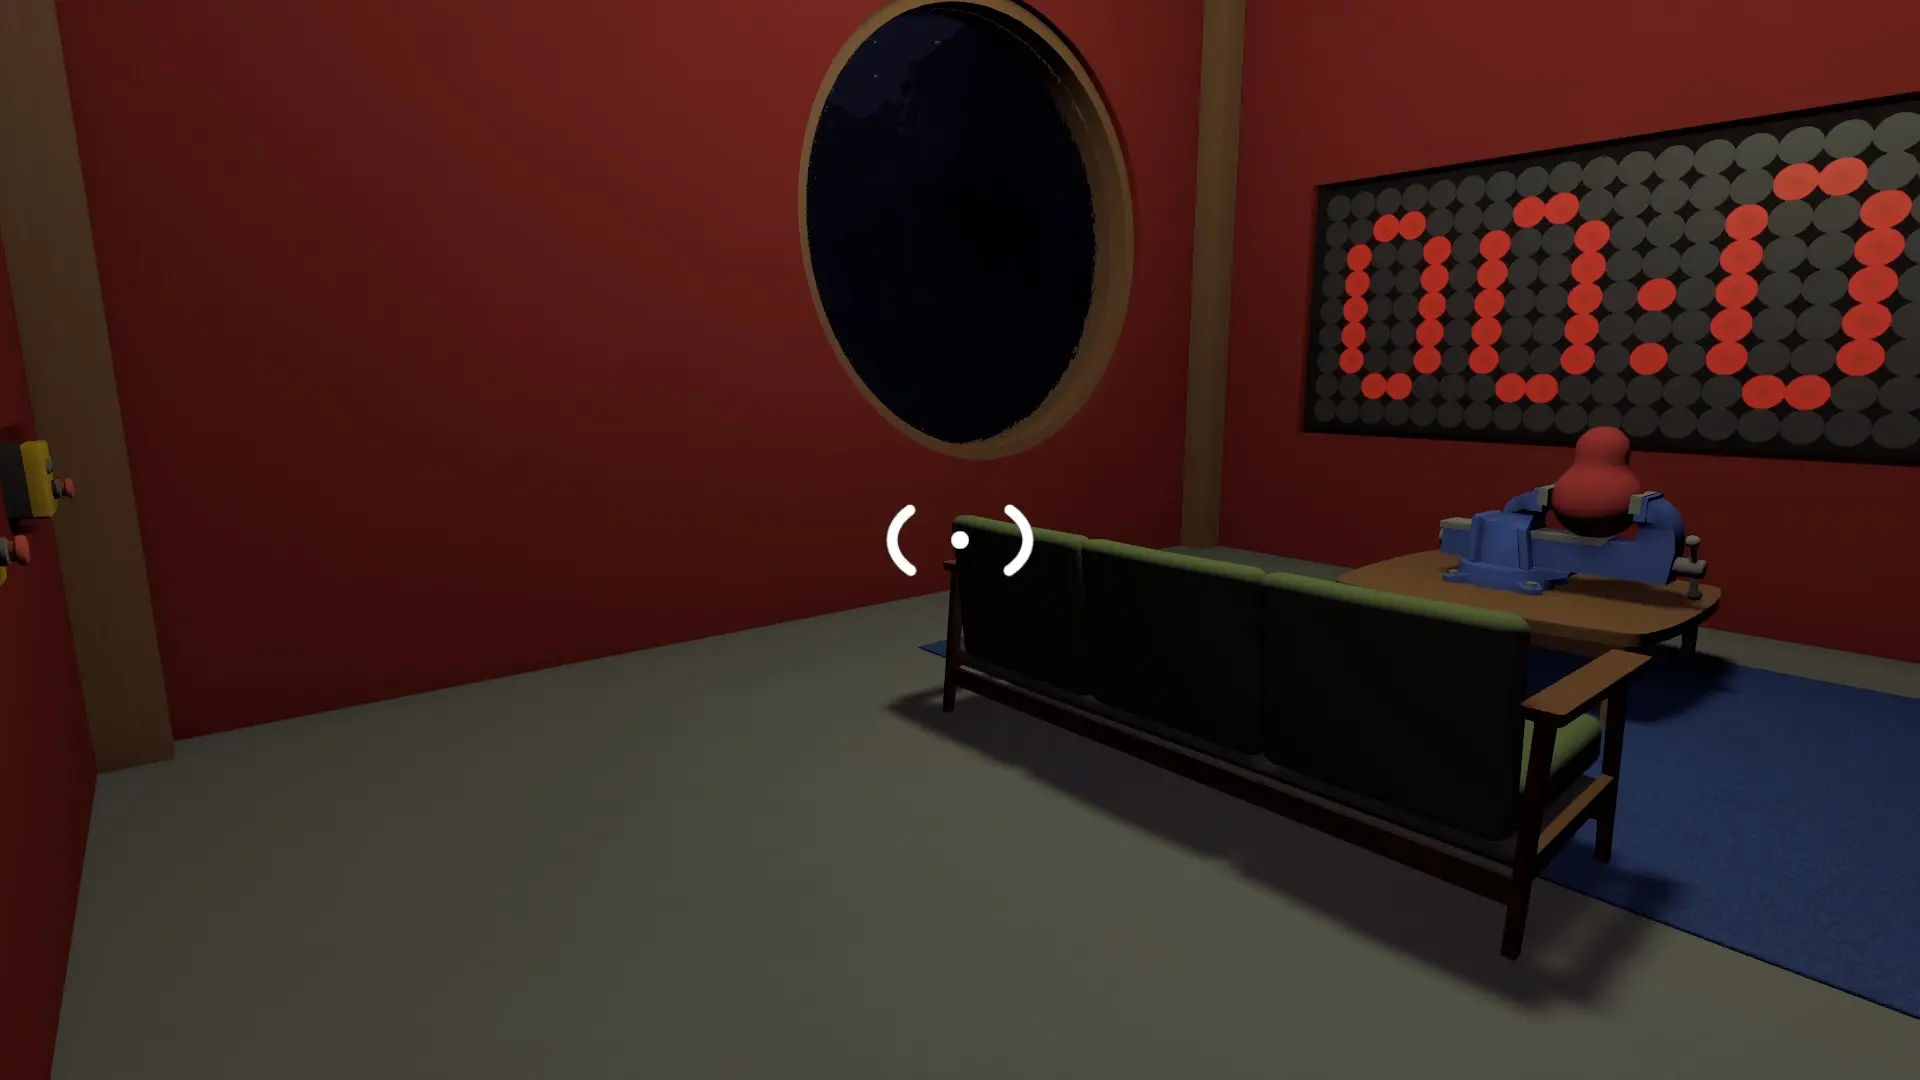
This house has buttons on the back wall and a large timer on the opposite wall. All you need to do is press and hold both buttons until the timer hits five minutes, releasing the red blob.
Cliffside Obstacle Course
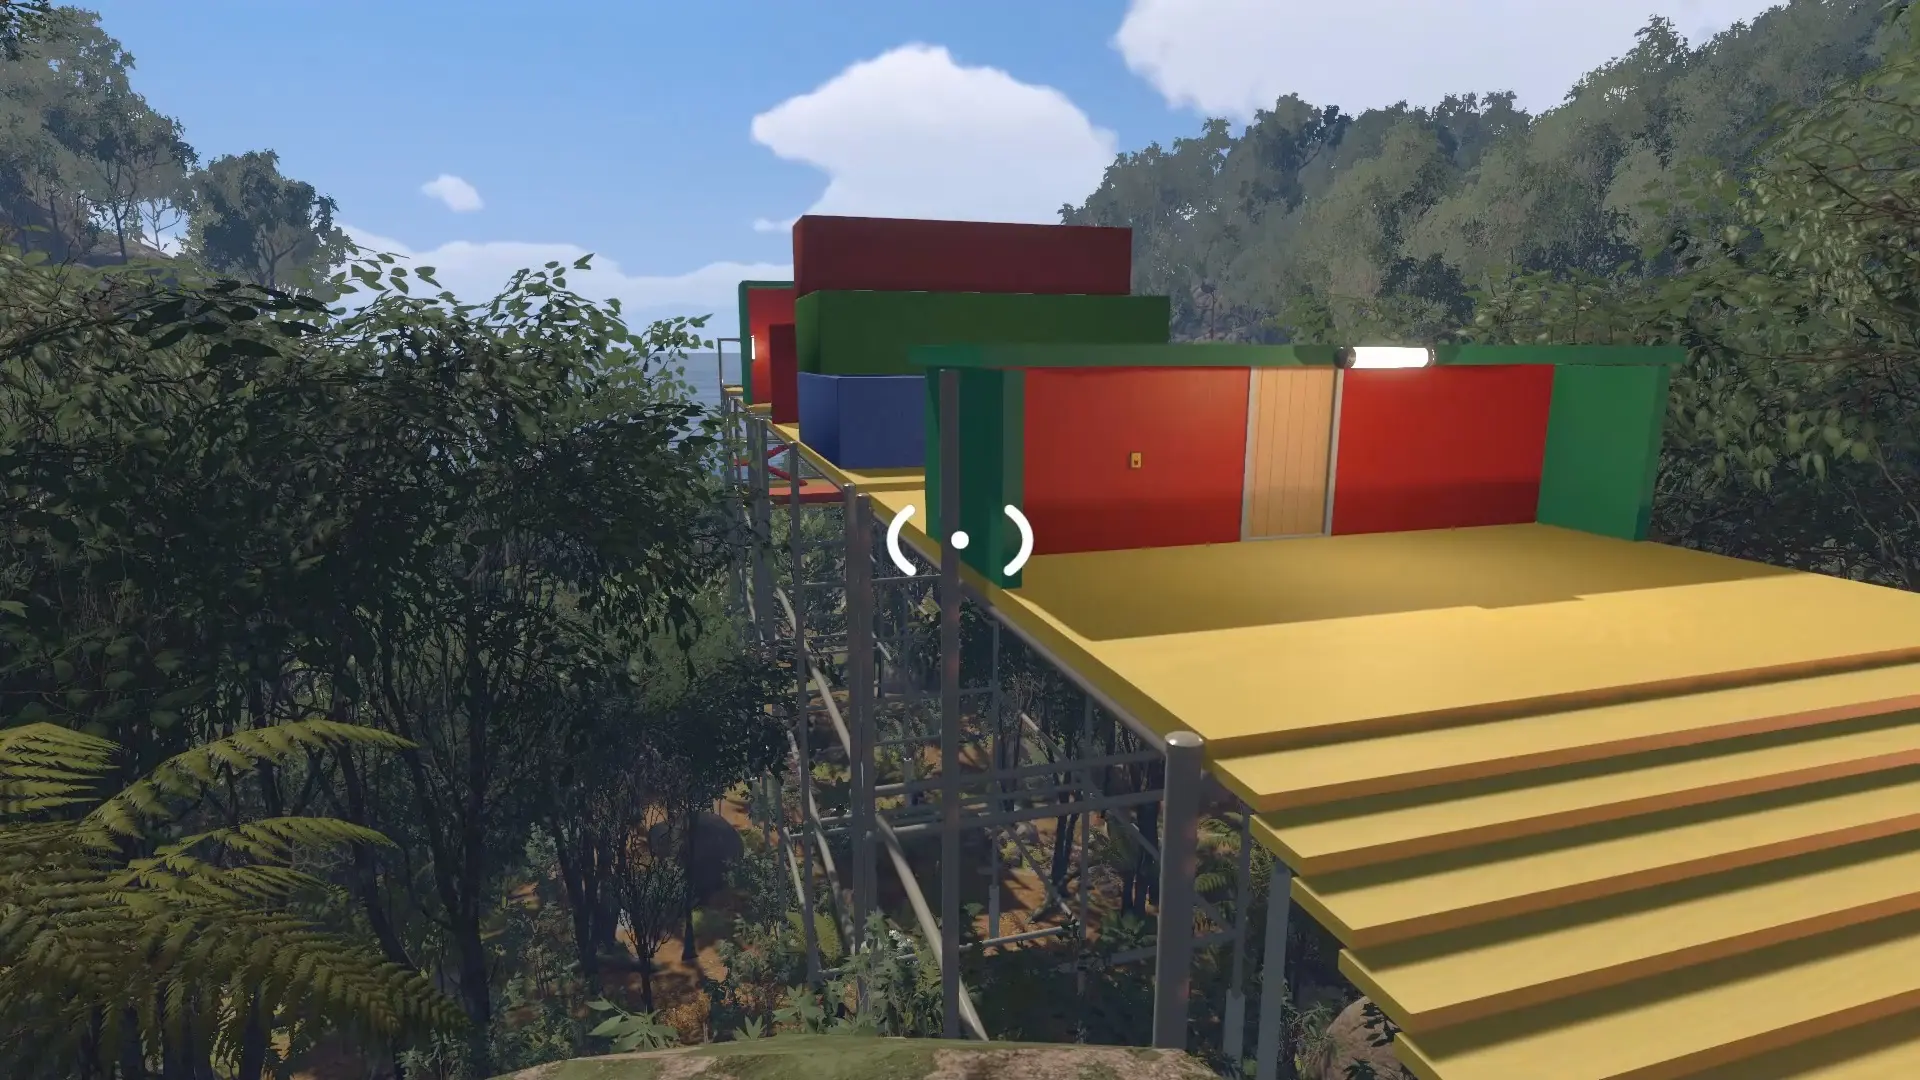
For this puzzle, you need to lift your friend over the initial wall so they can open the door for you to proceed, and the rest of the course follows that logic. You need to help each other over and through the obstacles, hit switches at the same time, and get a timer to the end of the course to complete the puzzle.
This red blob is your fifth one, so you can go back to the yellow tower, get its key, cut it into shape, and then use it to unlock the tunnel system, which makes it easier to get around the mountainous areas of the map. From here, you just have the black tower left.
Sixth Key—Black Tower Puzzles (Unlock the First Ending)
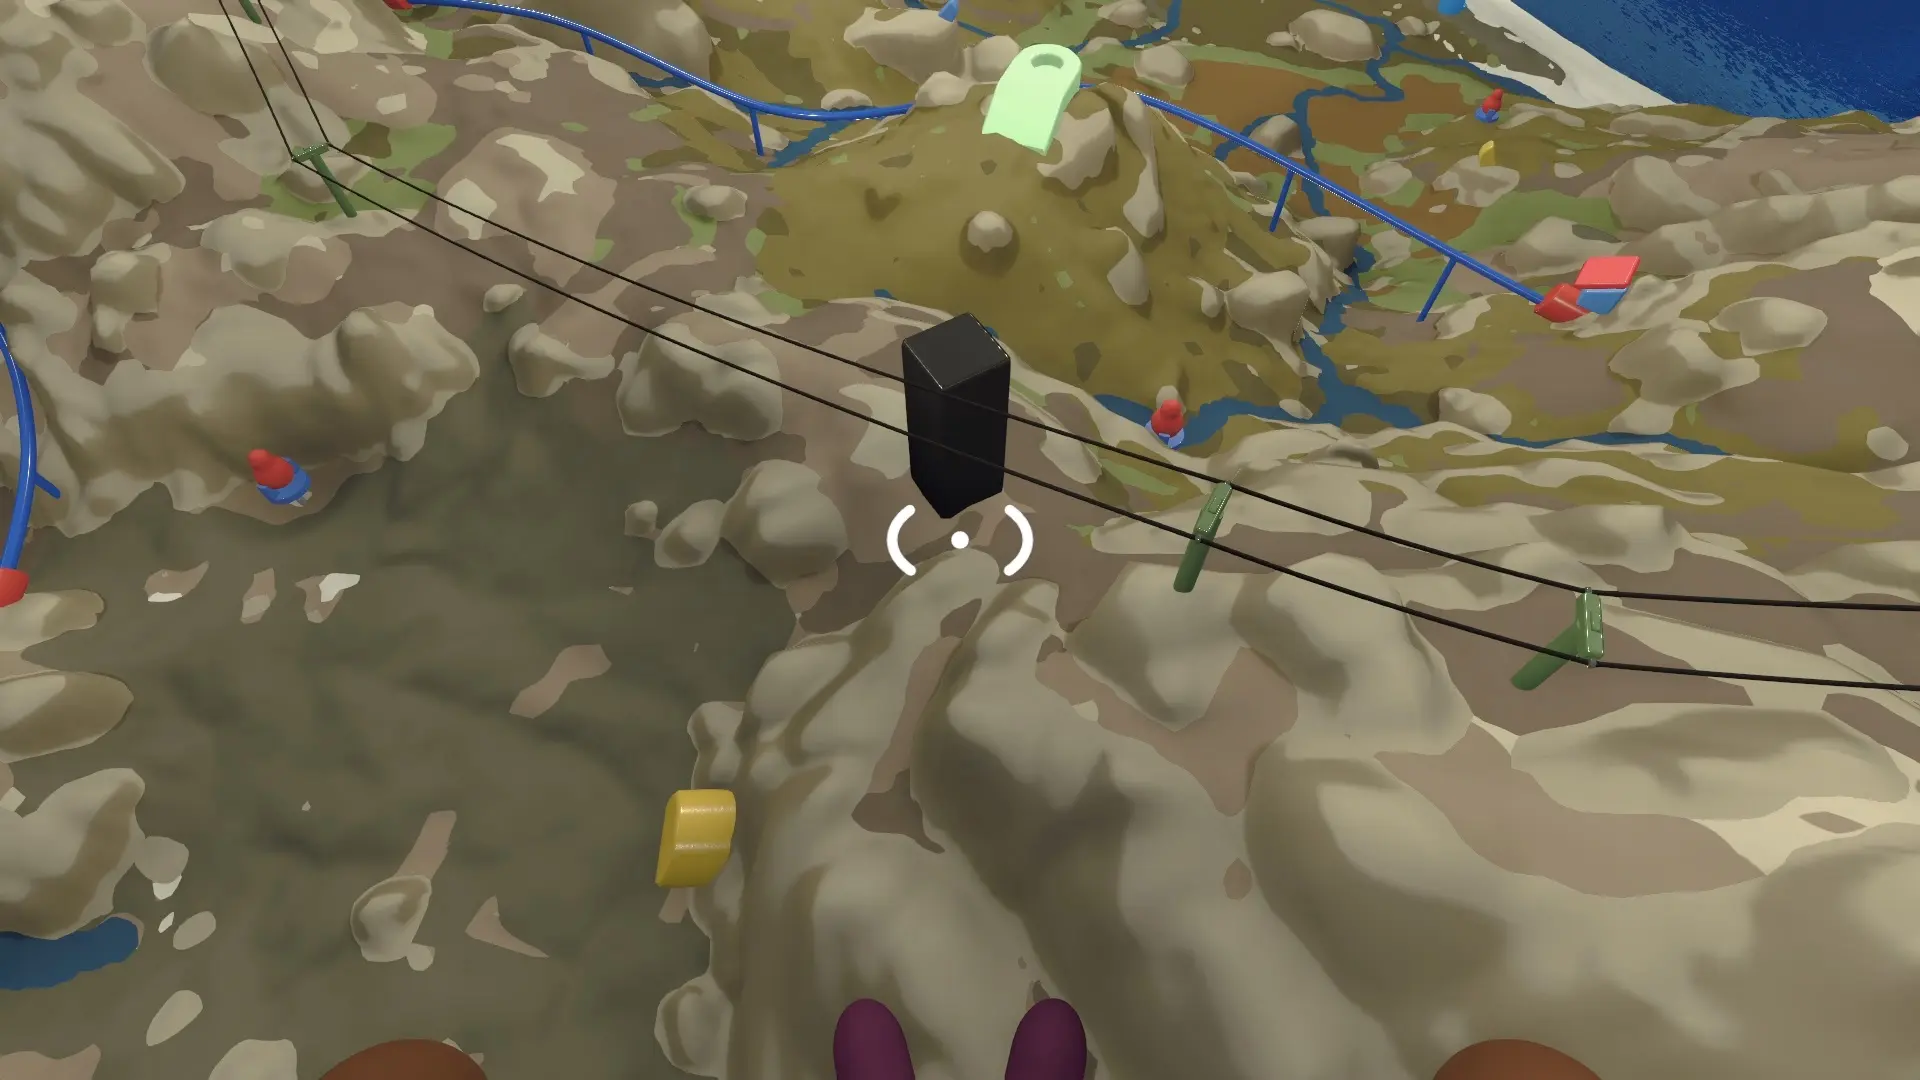
The black tower is your last tower, but it requires six red blobs instead of five. Once you have all six in their places, you’ll be able to open the black sphere and unlock the first ending for Big Walk.
At this point, you have access throughout the map and can move quite easily, so the six puzzles you end up doing might not match the ones I ended up doing, and that’s completely fine. You just need any six red blobs.
Interrogation Puzzle
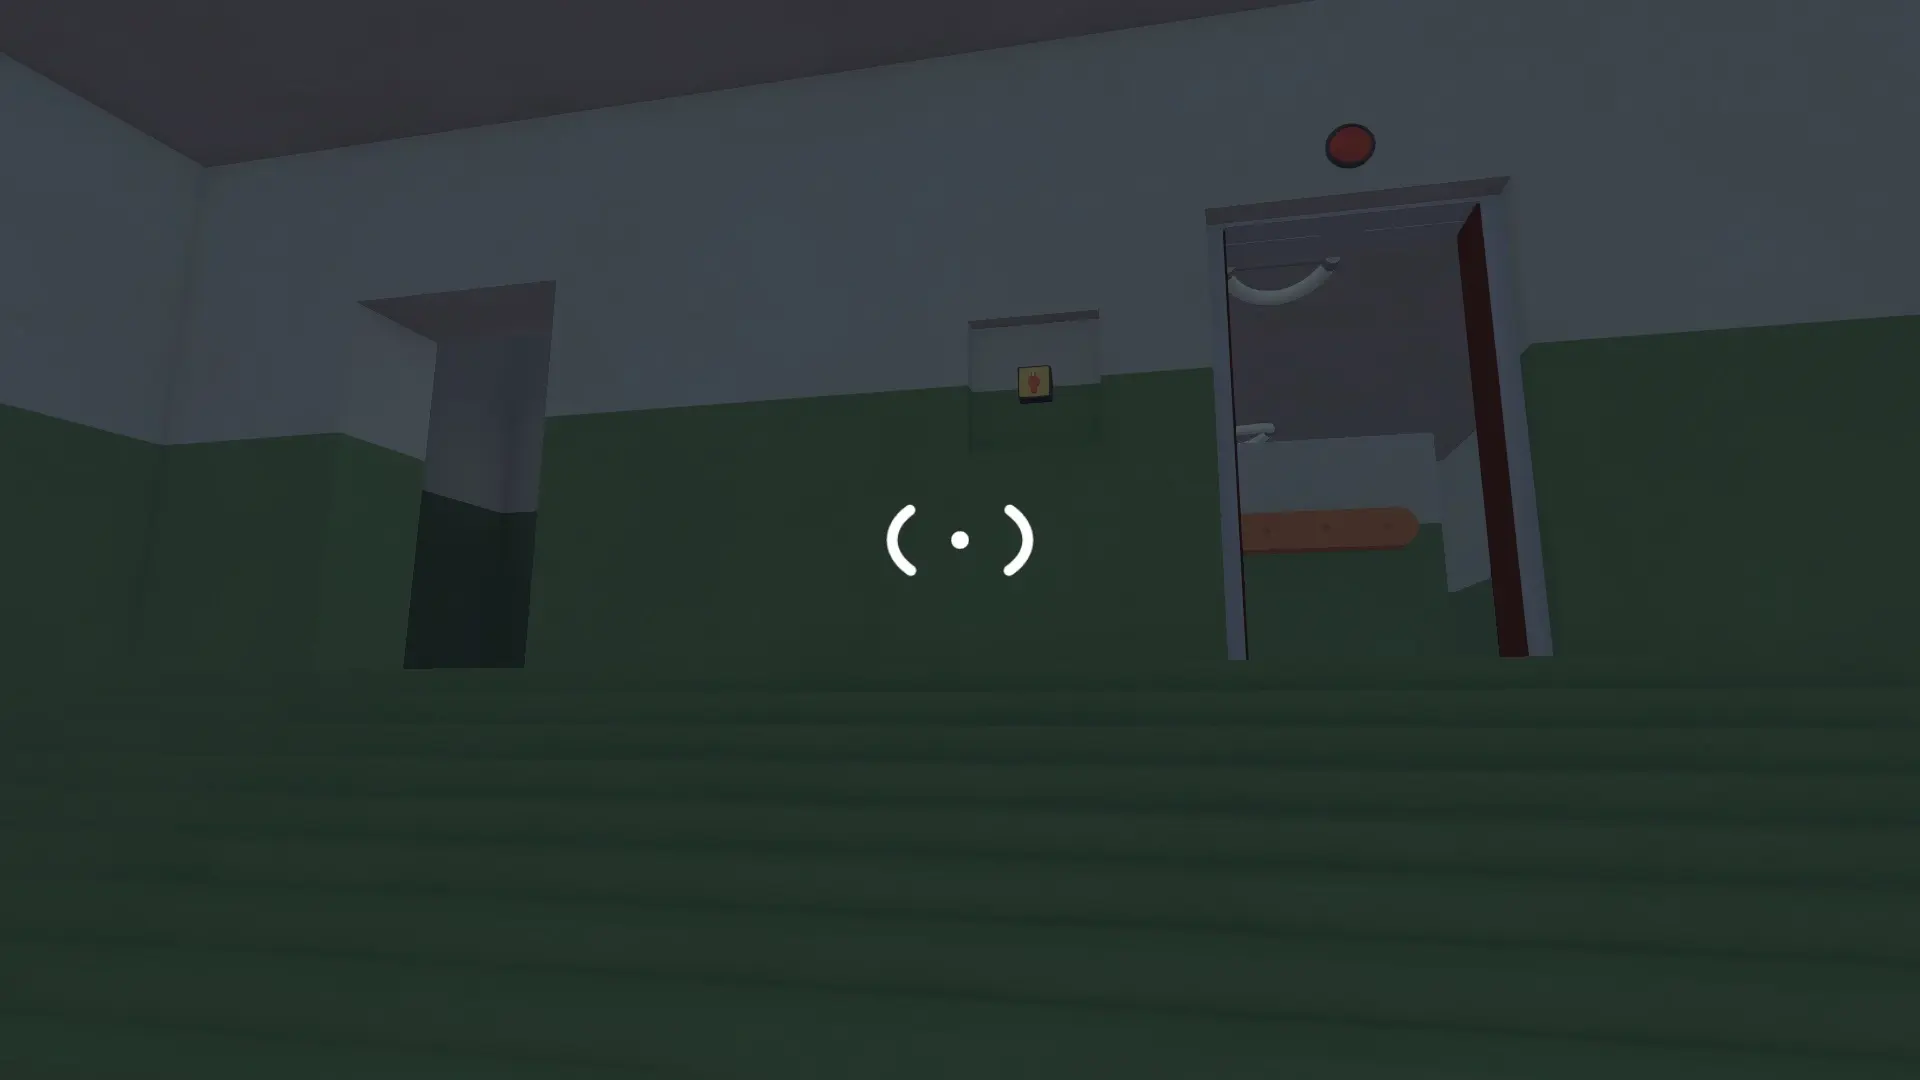
Located directly to the east of the black tower, there’s a building with two doorways. The path on the left will show you a series of symbols, and the path on the right has a peg board and set of tiles that you need to use to recreate the series from the left.
To do this, you need to use the glass wall and lights to communicate the right order of symbols to complete the puzzle.
Double Cliff Lights Puzzle
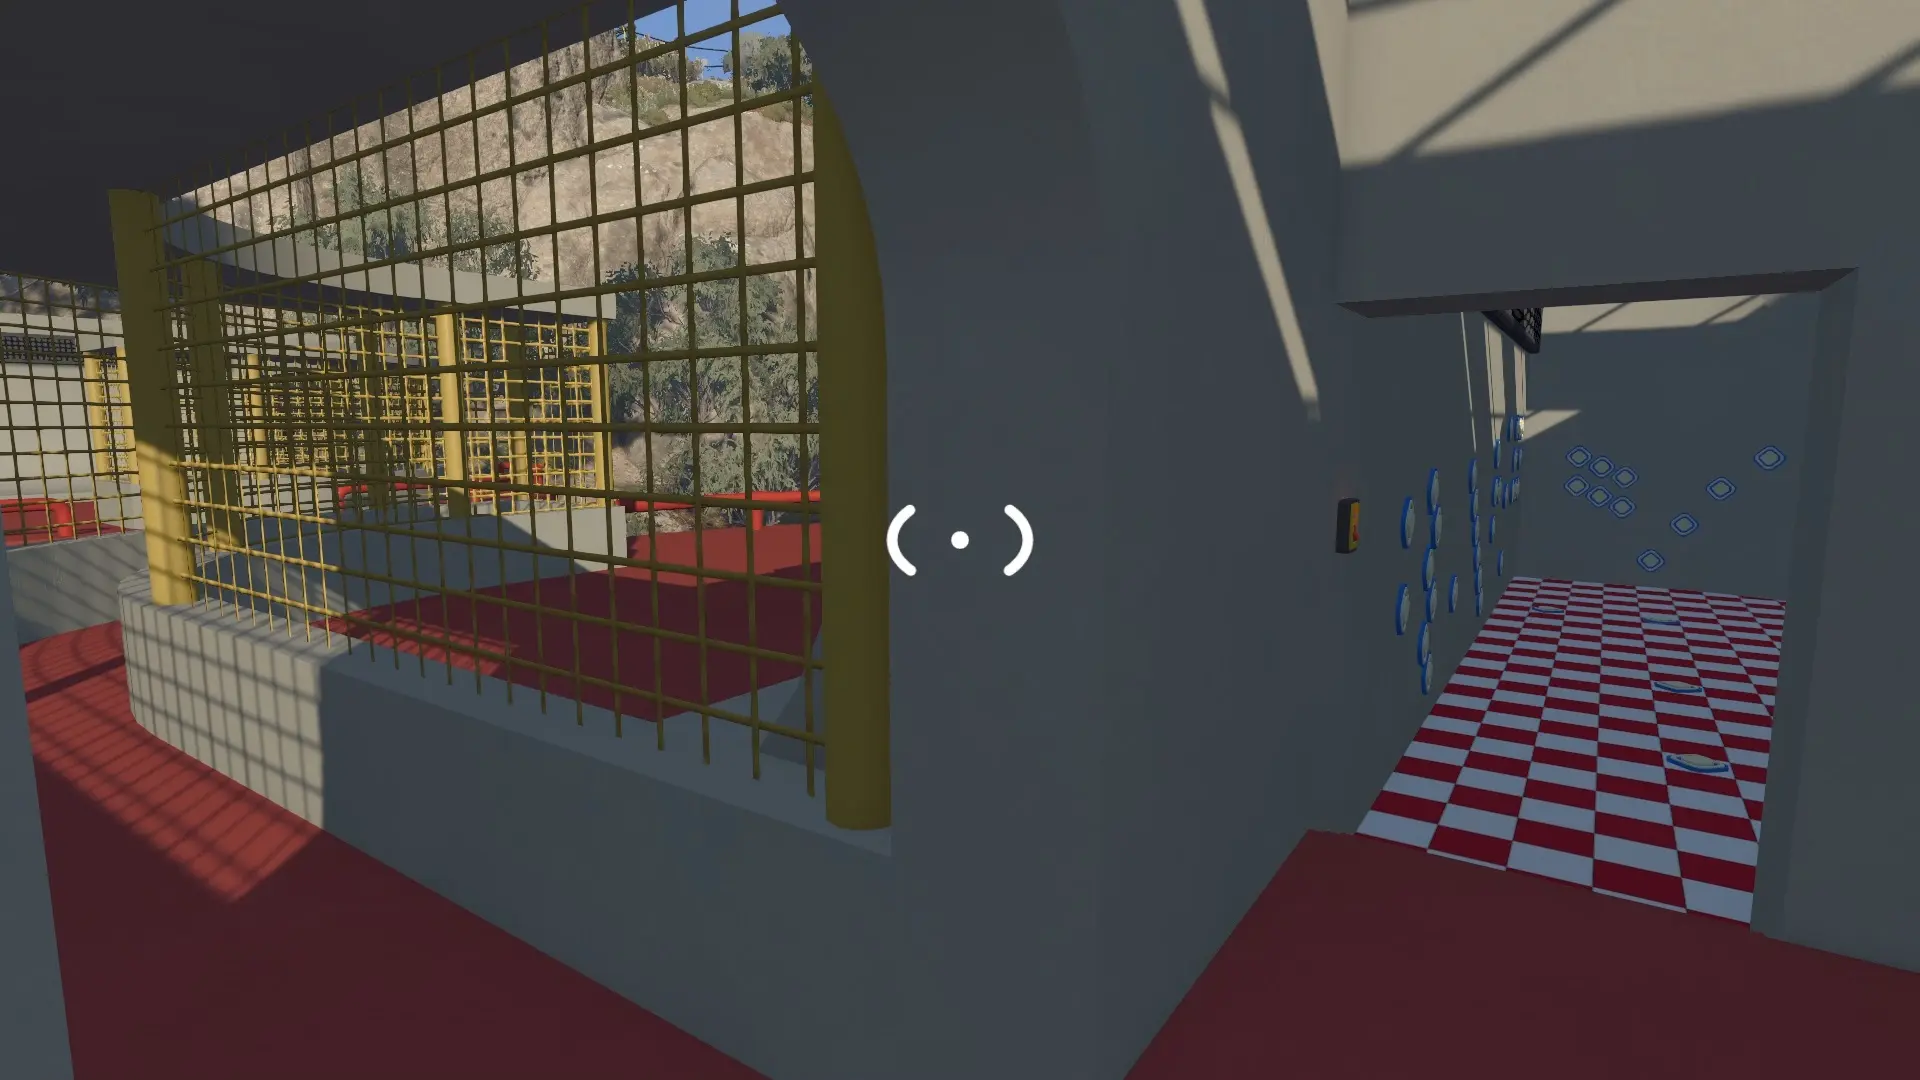
This puzzle is to the east of the yellow tower. You have two platforms facing each other over the train rails. You each go to one platform and enter the building. I was in the one farther east and had to communicate which light needed to be pressed in the opposite building, as I had the active lights in my building.
The buildings have a caged section outside you can use for communication between each other.
Kettle and Dots Puzzle
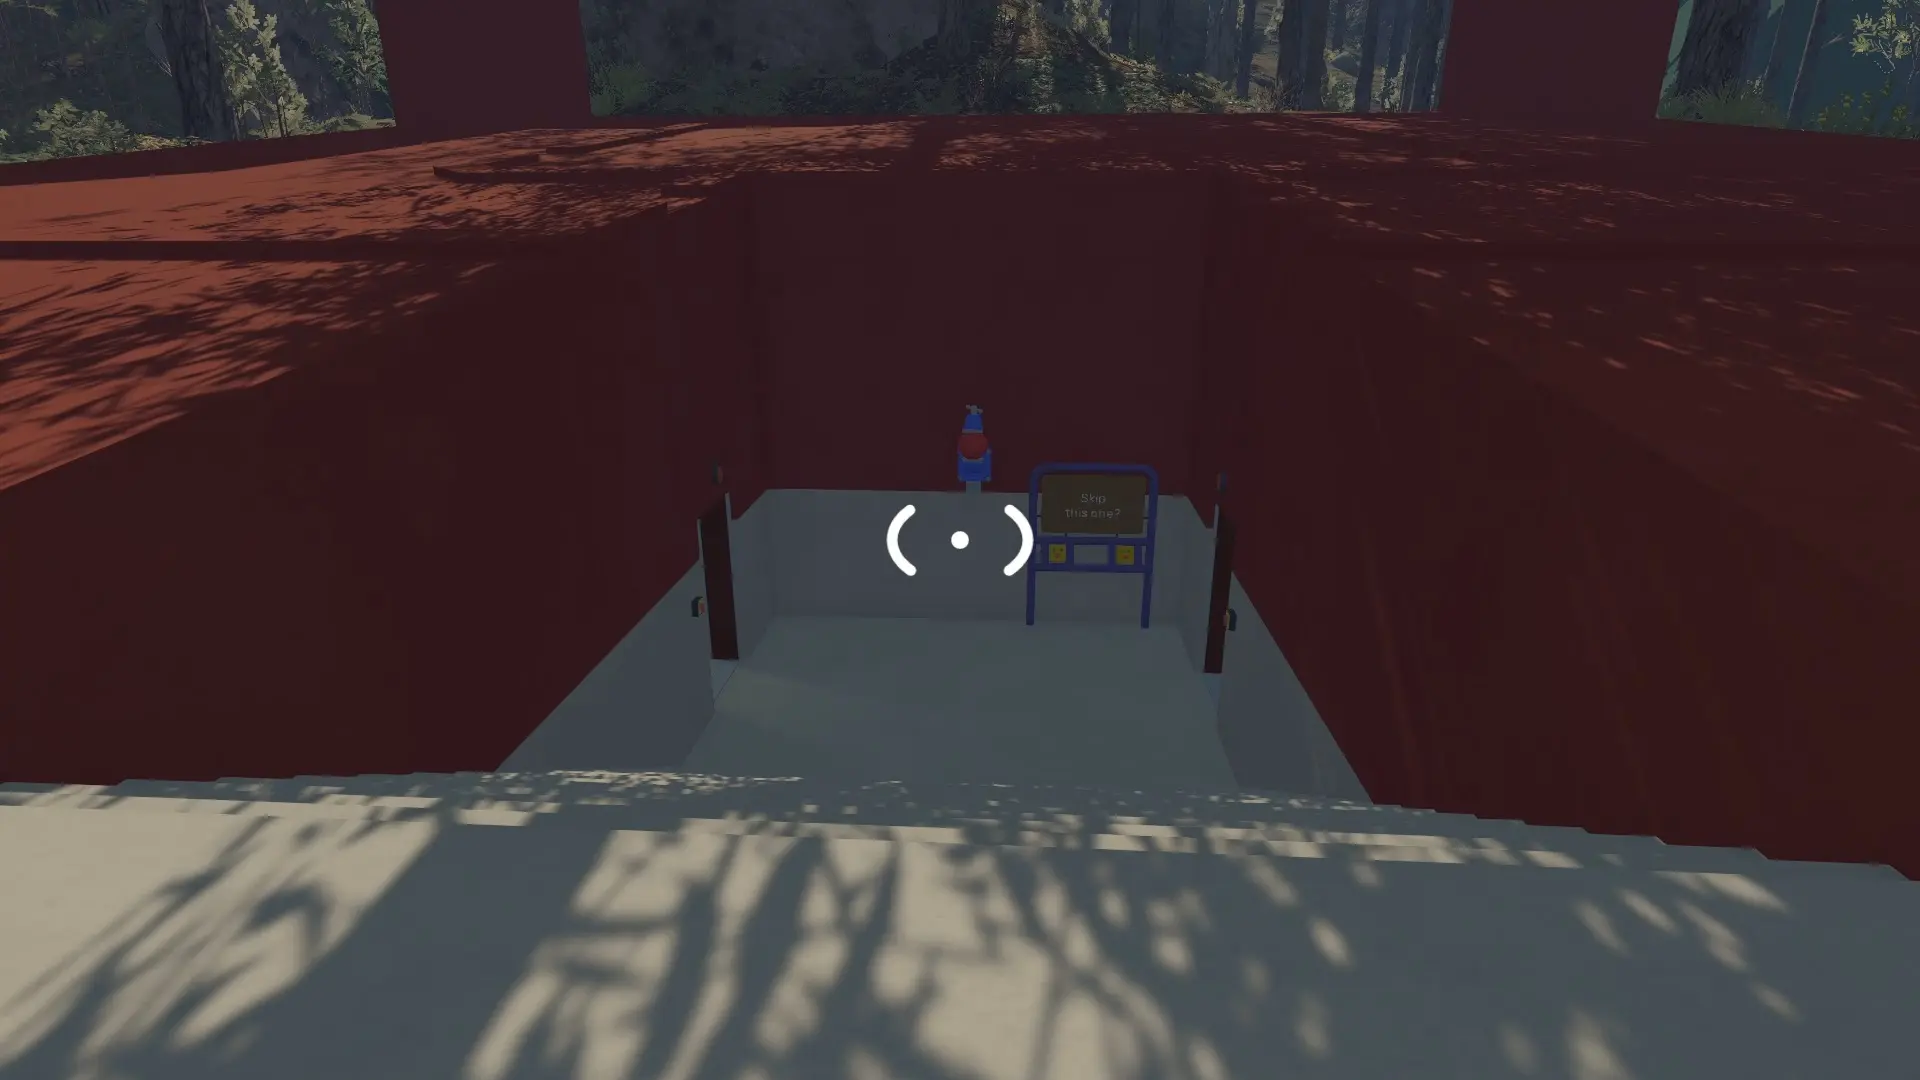
This is the big red square to the east of the cliff puzzle and slightly north. You and your friend have to go into opposite doors. The right side has a series of dots in specific positions on the wall along with a bunch of kettles you’re supposed to use to communicate the dot positions to your friend.
Meanwhile, your friend on the left side has a set of tiles that all have dots. They need to put the dots in the right pegs to match the sequence on the right side.
Camouflage Box Puzzle
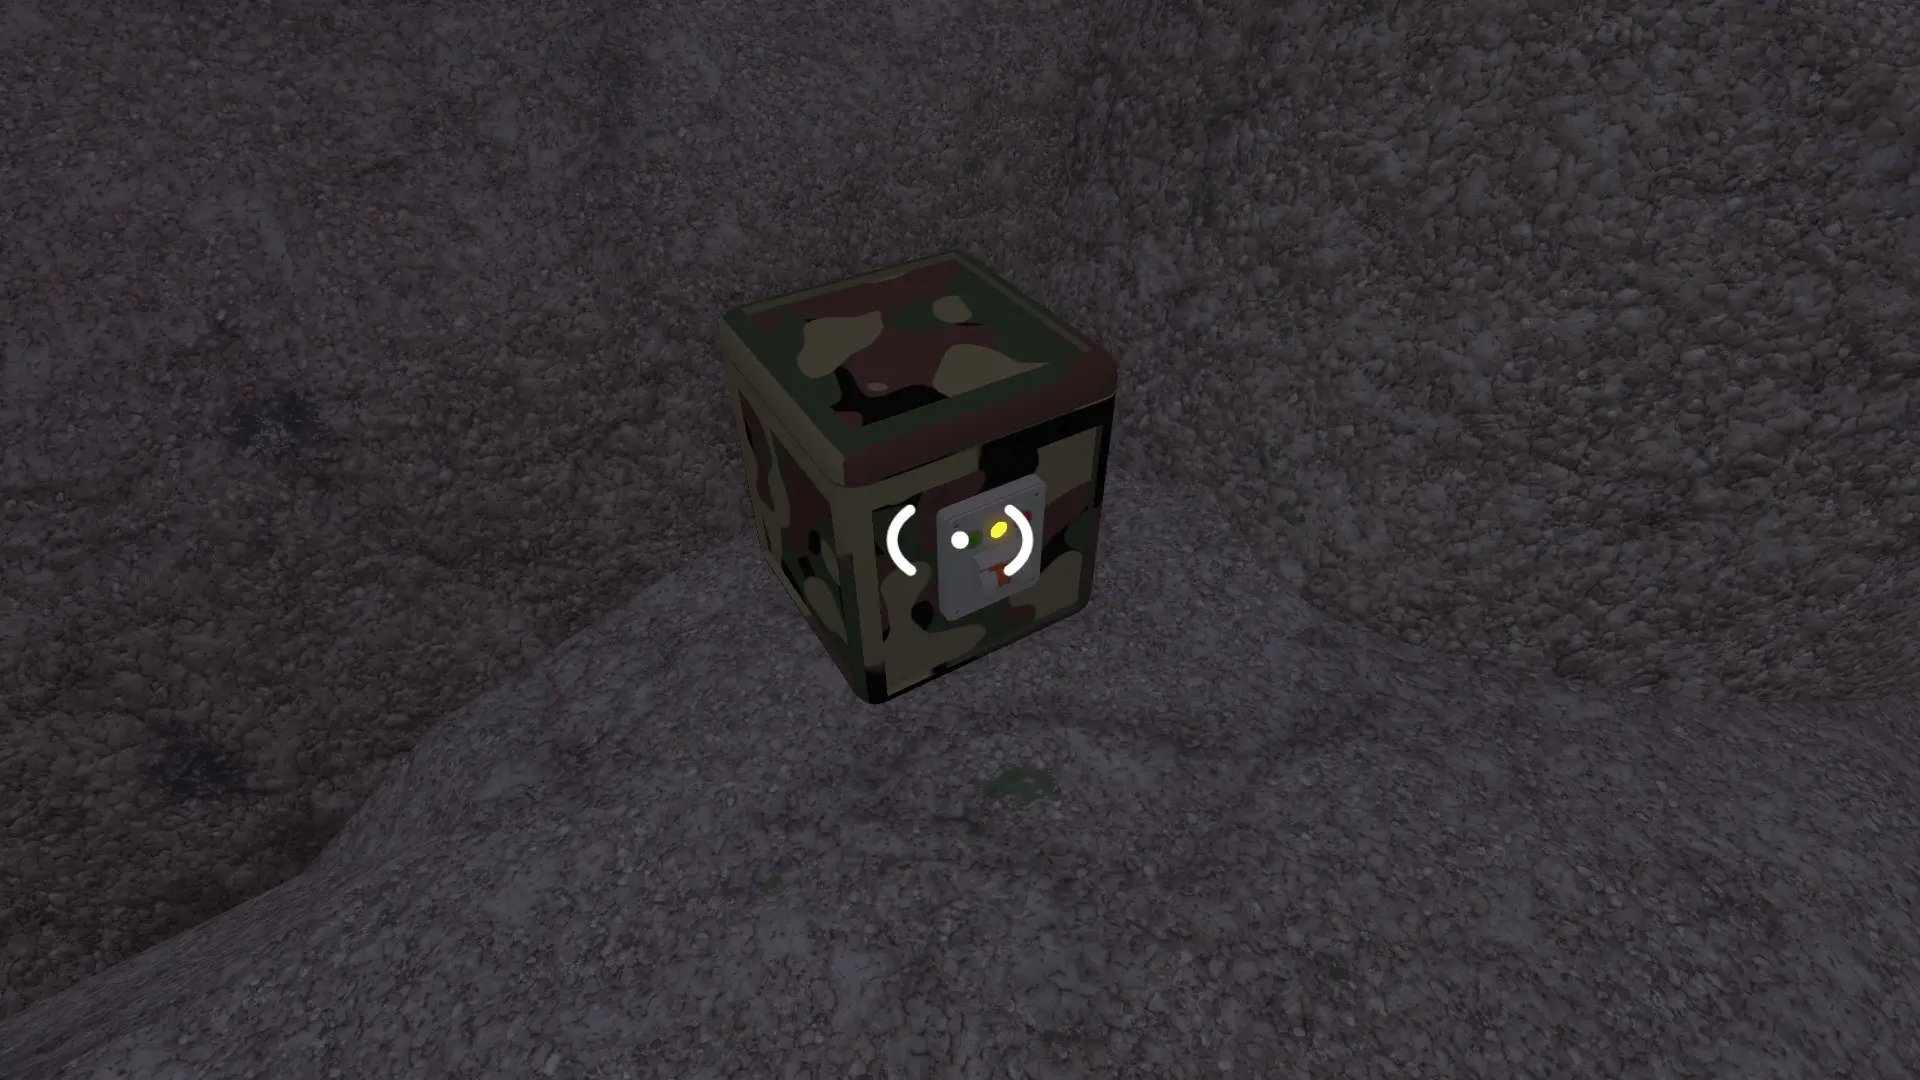
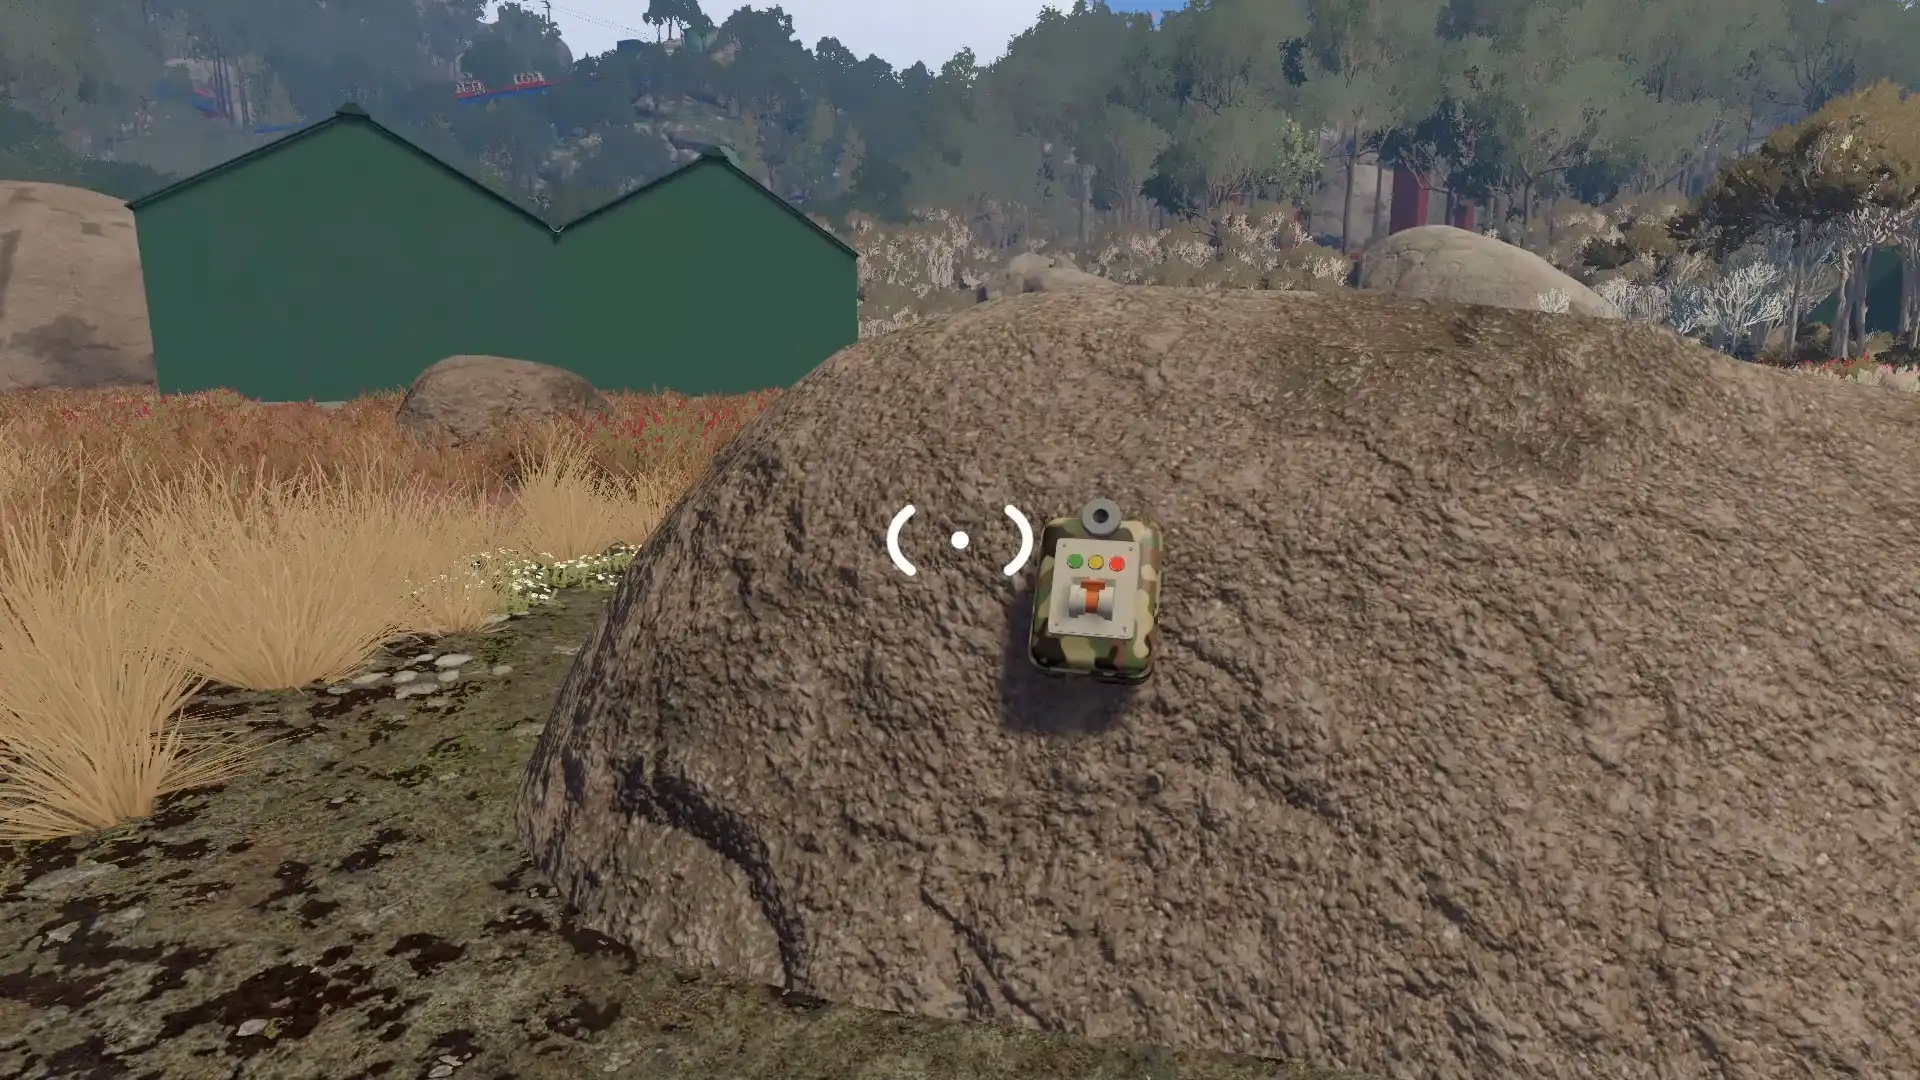
To the east of the kettle puzzle, you’ll find another camo box on a rock. One player needs to stay with the box with the other player heads to the switch located behind the large blue warehouse. Hold the switch down so the player by the box can grab the red blob from inside.
Blue Warehouse Puzzle
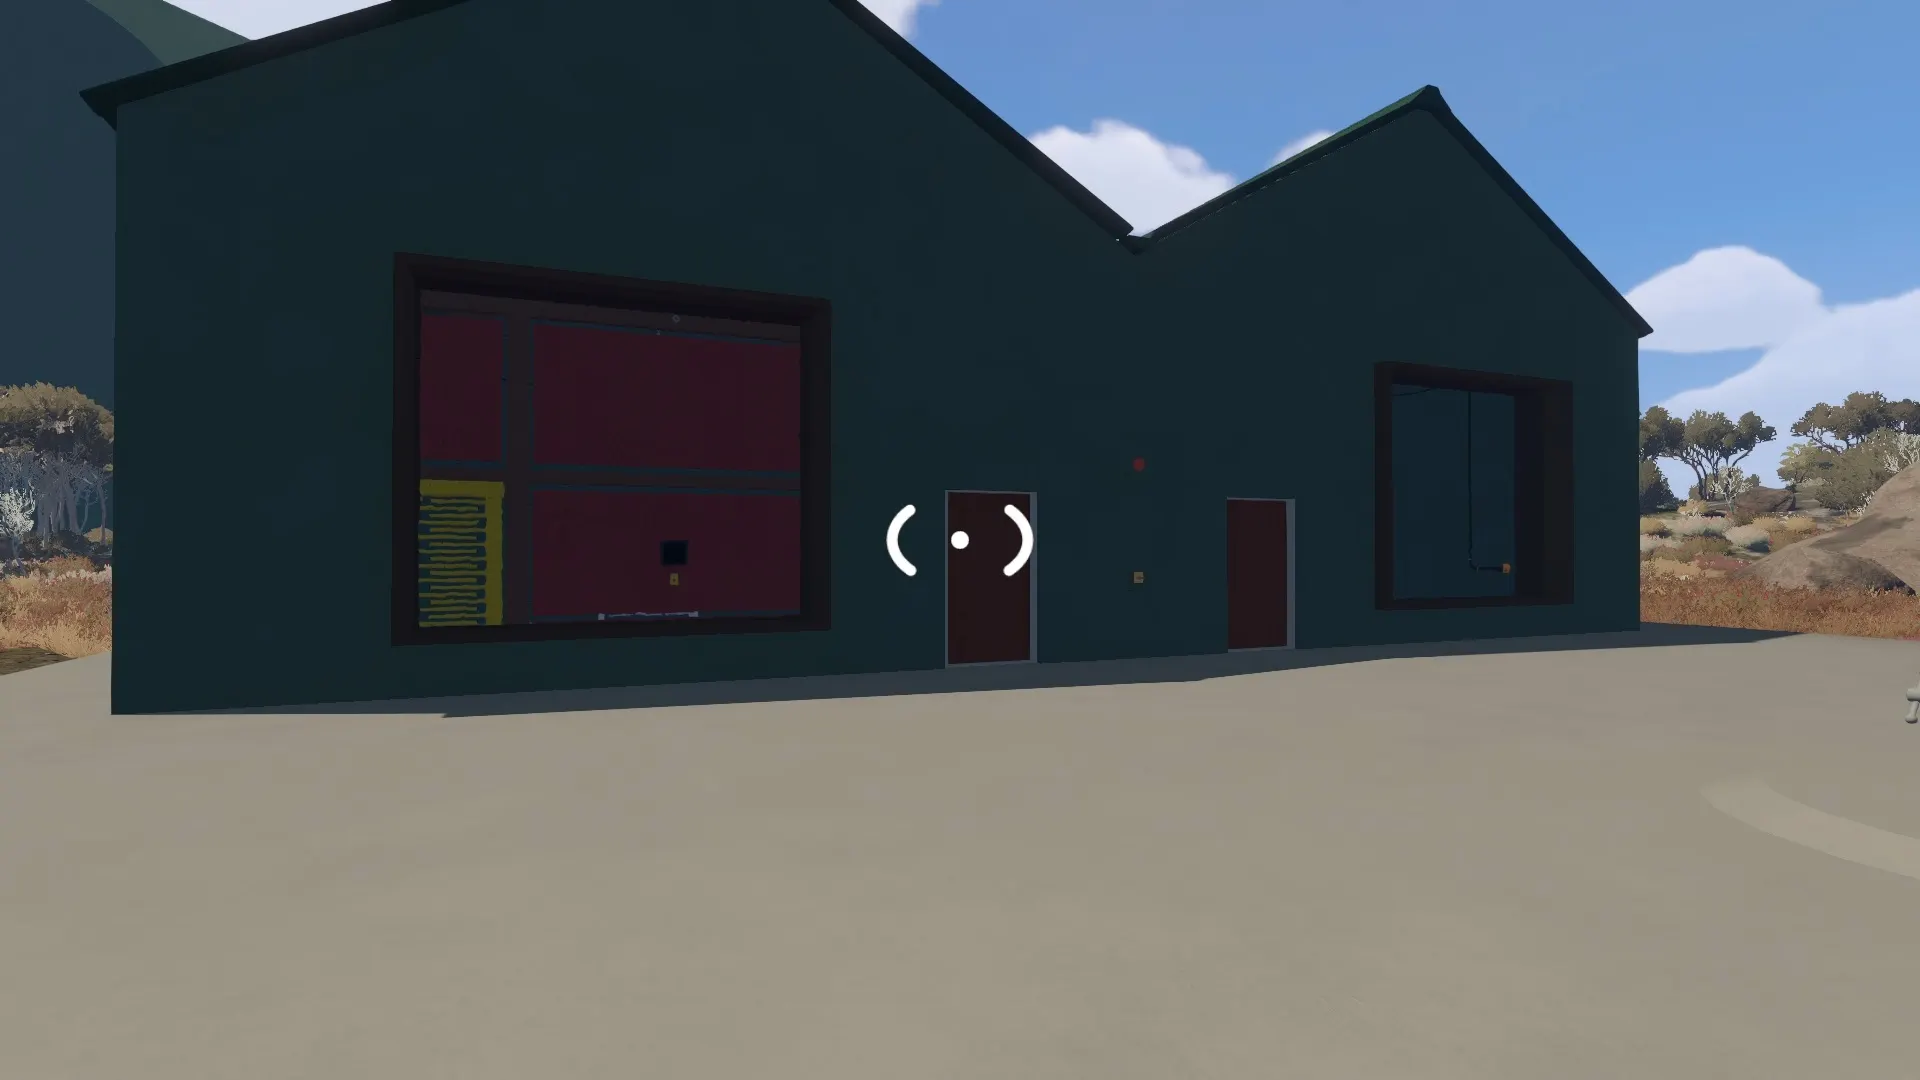
Since you’re already by the blue warehouse, it makes sense to do this puzzle. Plus, I found it to be among the easier options. You and your friend go through the separate doors. Inside, you have to communicate the order of symbols from one side to your friend so they can recreate it on a peg board to complete the puzzle.
Masked Long Course Puzzle
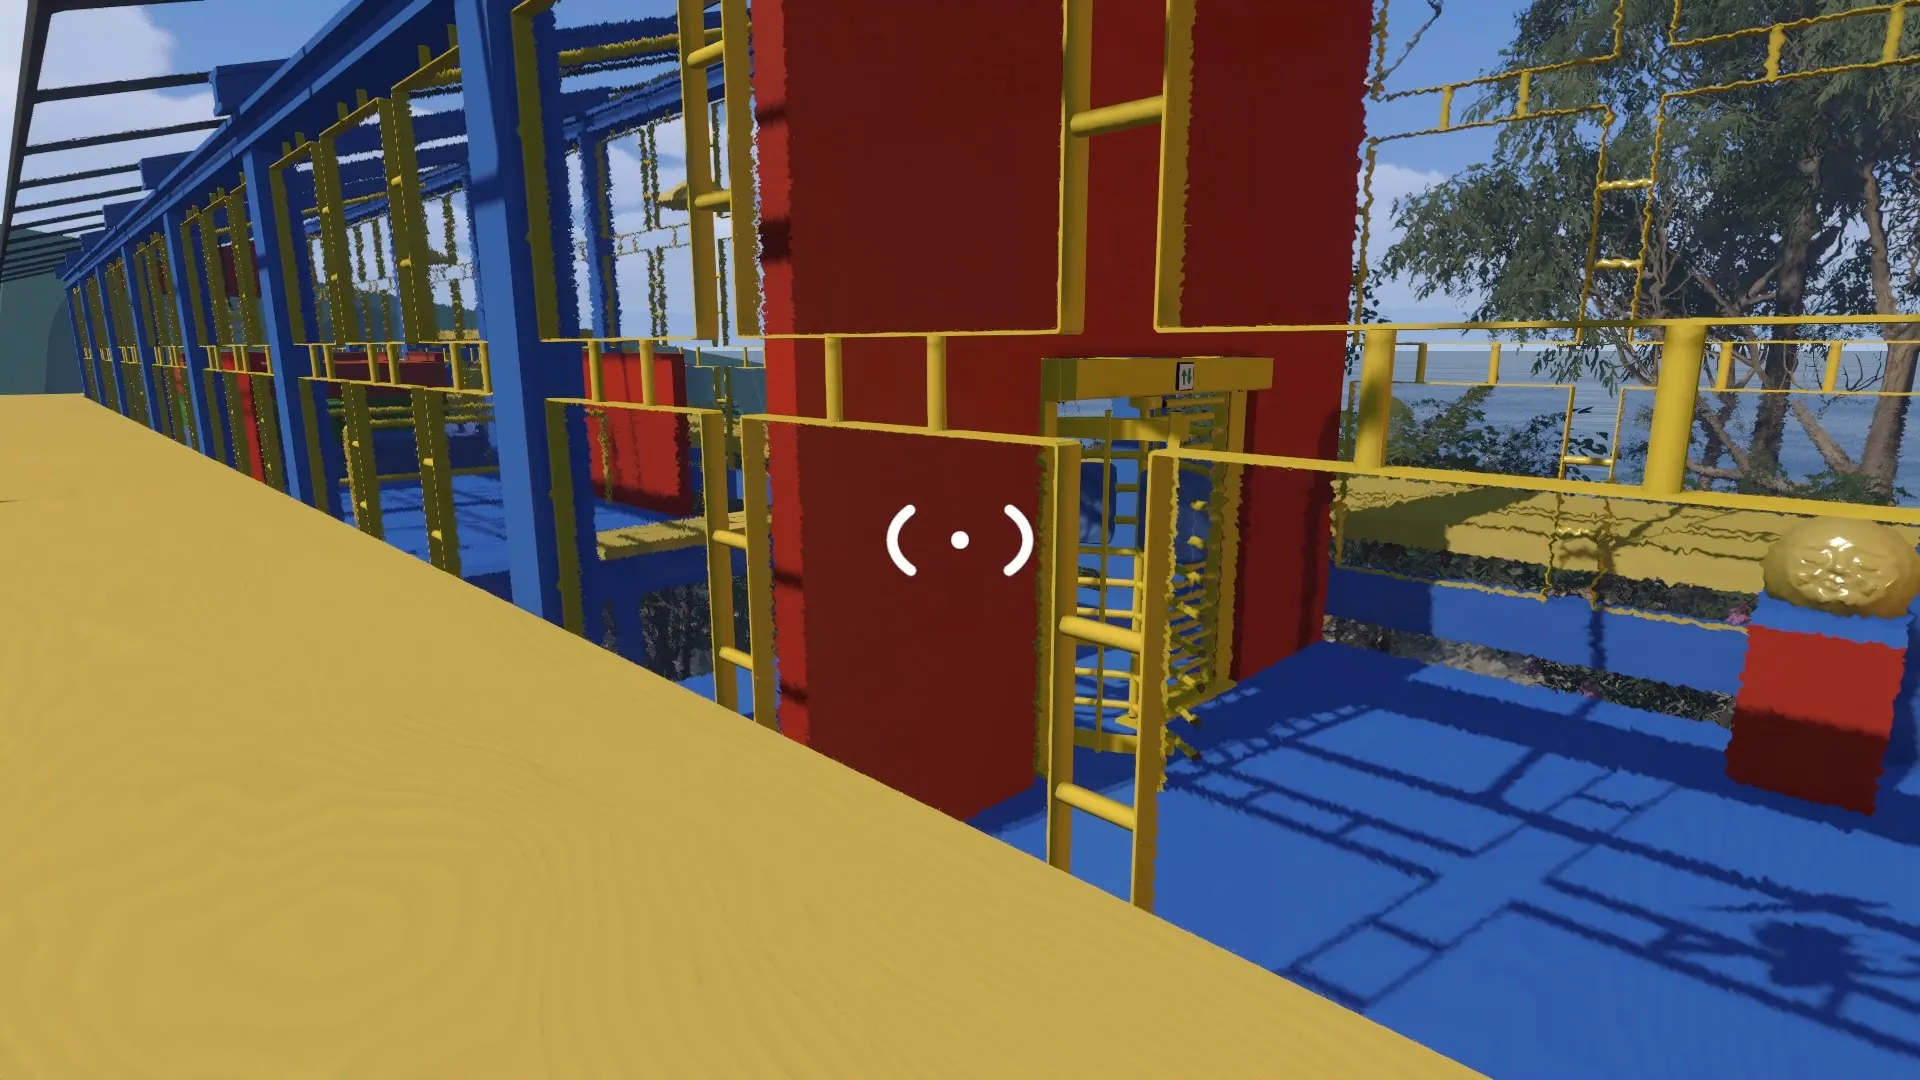
To the south of the blue warehouse, you’ll find a puzzle that might look familiar if you did the earlier masked obstacle course puzzle. This is another puzzle that requires one player to wear a mask while other players help them navigate through a longer obstacle course. It can be difficult, but the communication limitations in Big Walk make it quite entertaining to complete this puzzle.
That makes six puzzles, so it’s time to go back to the black tower and grab the key that will unlock the first ending.
Unlocking the First Ending
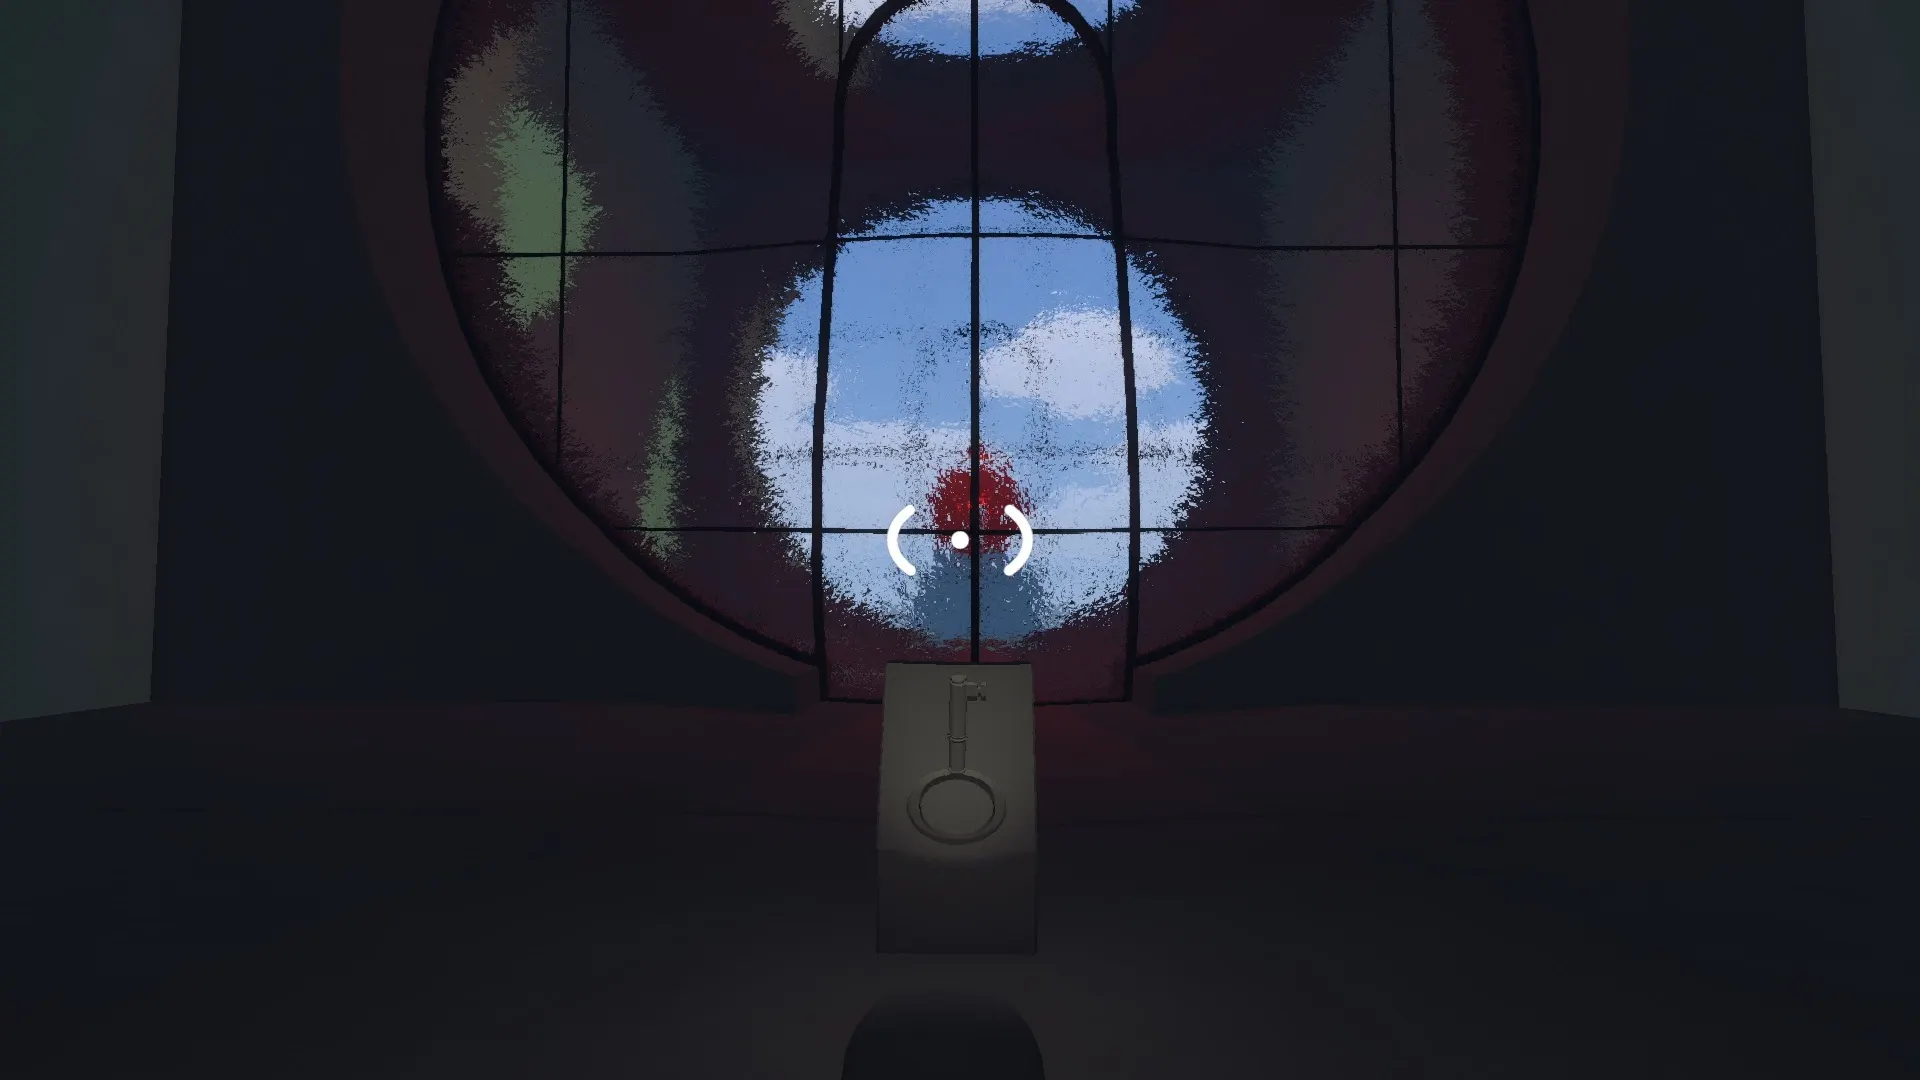
Once you have the key from the black tower, you’re finally heading to the wall almost directly to the north. Specifically, you want to head to the glass-covered opening. There’s a pedestal there for the key, and once you go through the wall, look for a room next to the black sphere.
From here, you’ll be able to open the sphere, see a cutscene, and then go towards the water to find a structure that will give you the first ending for Big Walk.
How to Unlock the True Ending (Big Game Achievement)
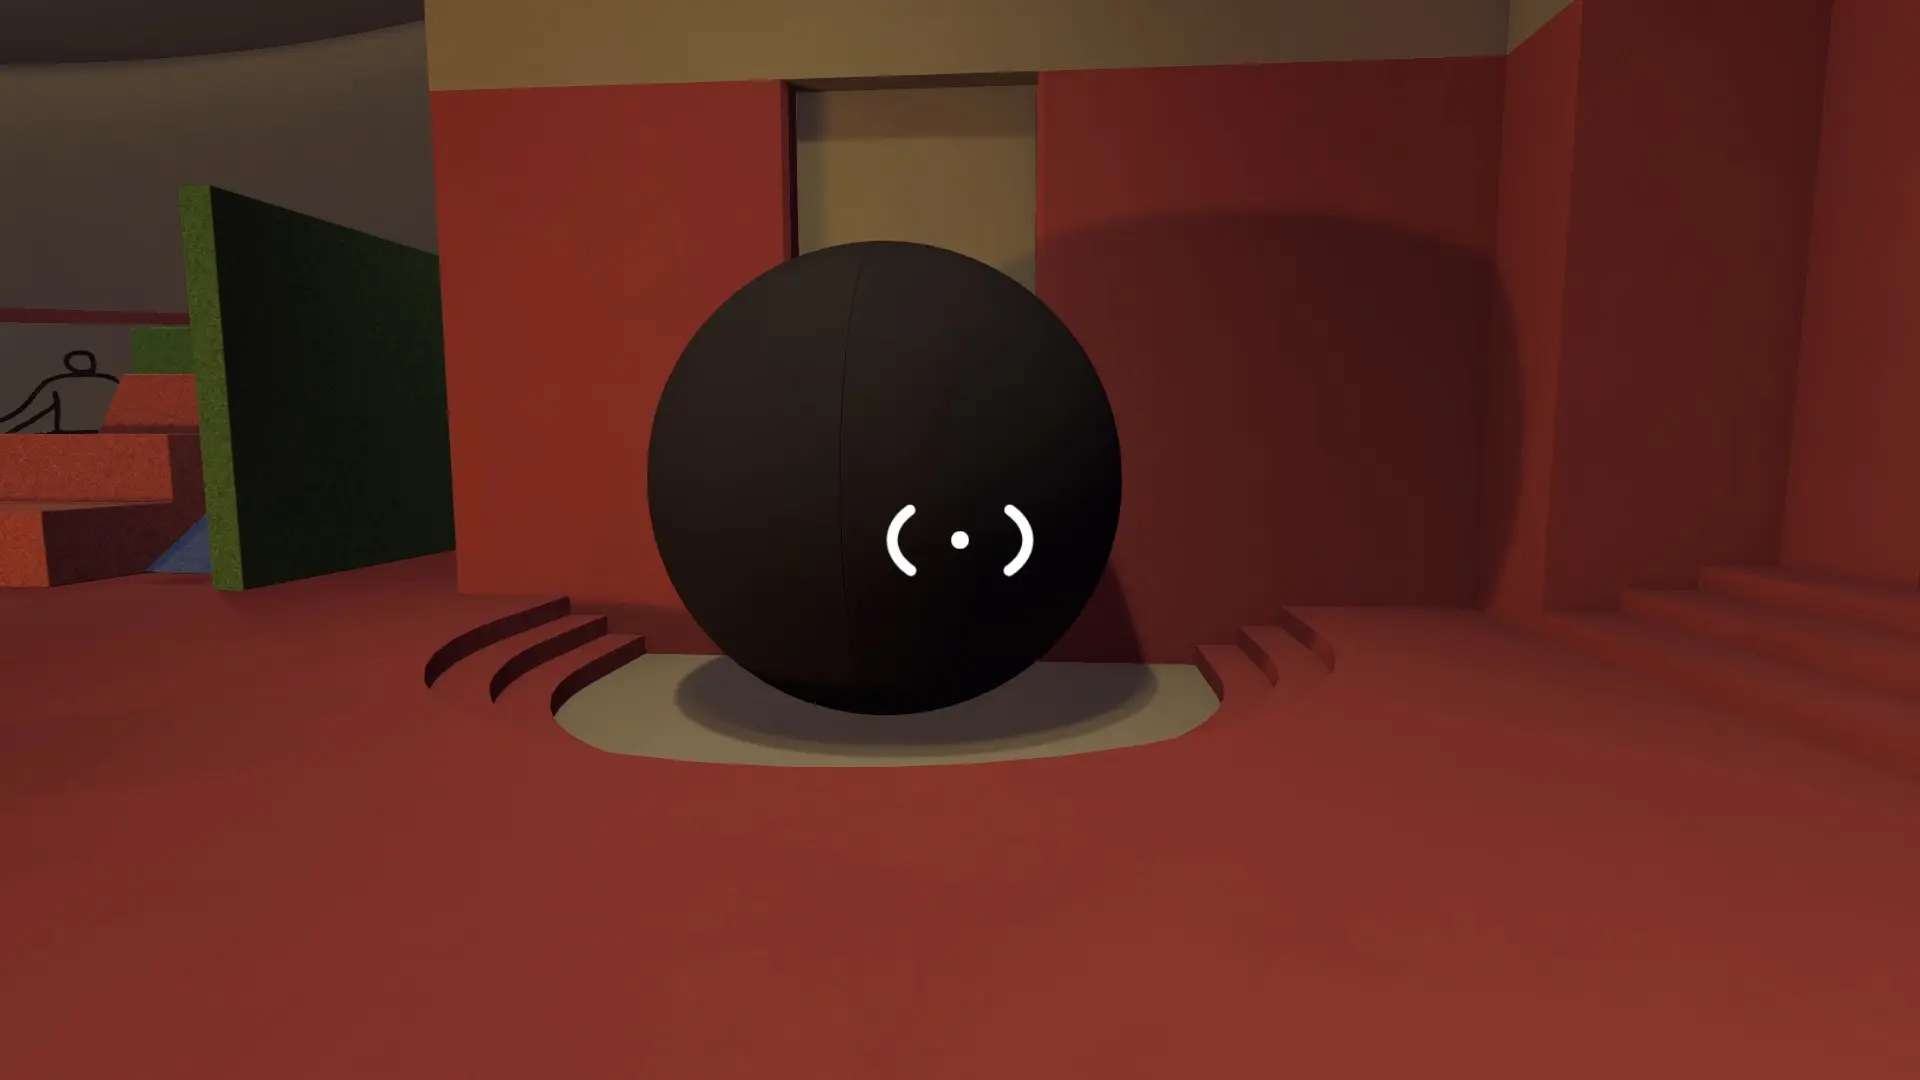
After witnessing the first ending, you have two tasks to complete in order to unlock the true ending, which earns you the Big Game achievement.
- Complete the remaining puzzles on the island.
- Complete the seven purple puzzles that pop up after the credits.
The purple puzzles are puzzles you’ve already completed, but now with an element that increases the difficulty. However, the mechanics behind each of the purple puzzles are unchanged, so you’ll already know how to solve them. This gives you a key that you’ll take to the room by the broken black sphere at the spawn location, which then lets you see the true ending.
These are the seven puzzles you have to revisit as purple puzzles:
- Golf Puzzle
- Cliffside Obstacle Course
- Cliffside Lights Puzzle
- Blue Warehouse Puzzle
- Musical Match Puzzle
- Double Turnstile Puzzle
- 30-Minute Timer Puzzle
Instead, the hard part will be going through the remaining puzzles, so I’ll go over them here along with the purple puzzles that are in the southwest corner of the map.
Double Press Puzzle
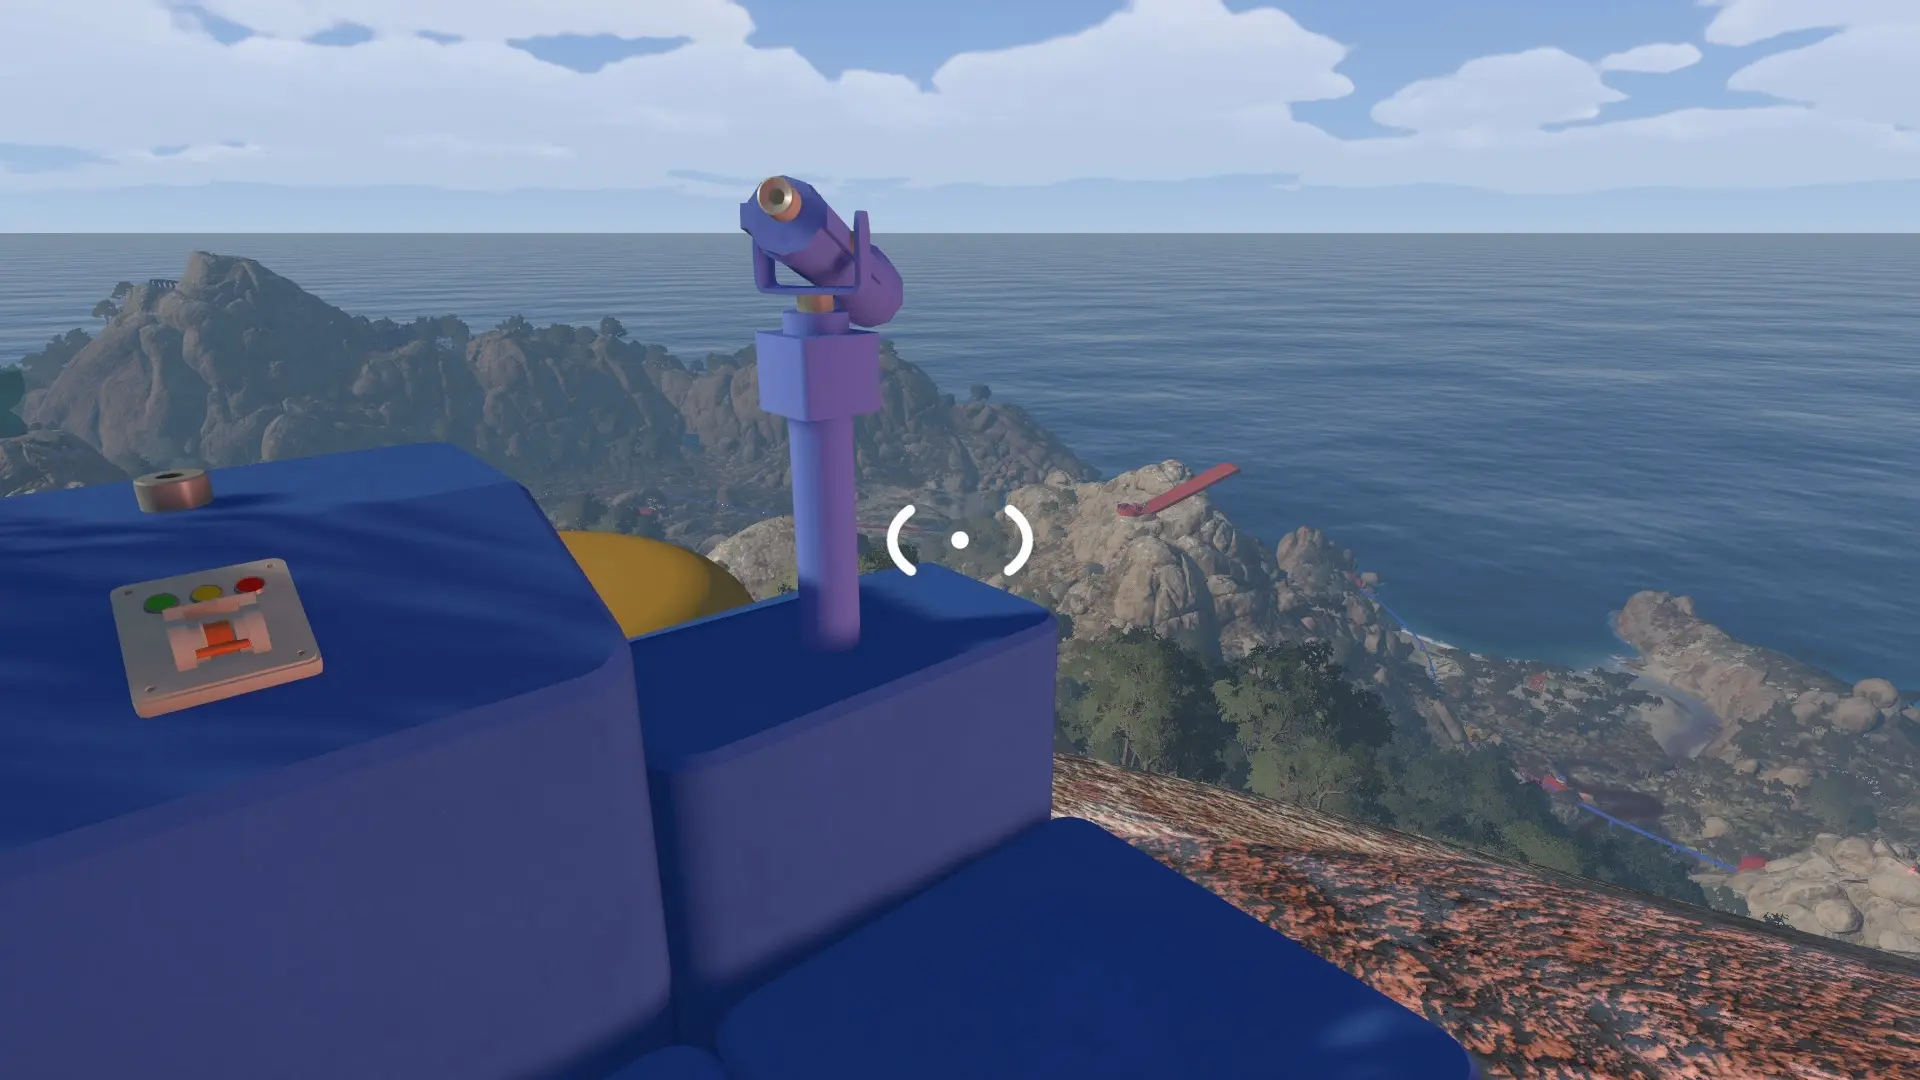
This is on the mountains by the black tower. You find a switch with a telescope pointing at the location of a second switch near the shore to the south and slightly west. One player waits at the mountain switch for the other player to arrive at the beach switch. When you both press your switches together, the puzzle is completed.
Passing Puzzle
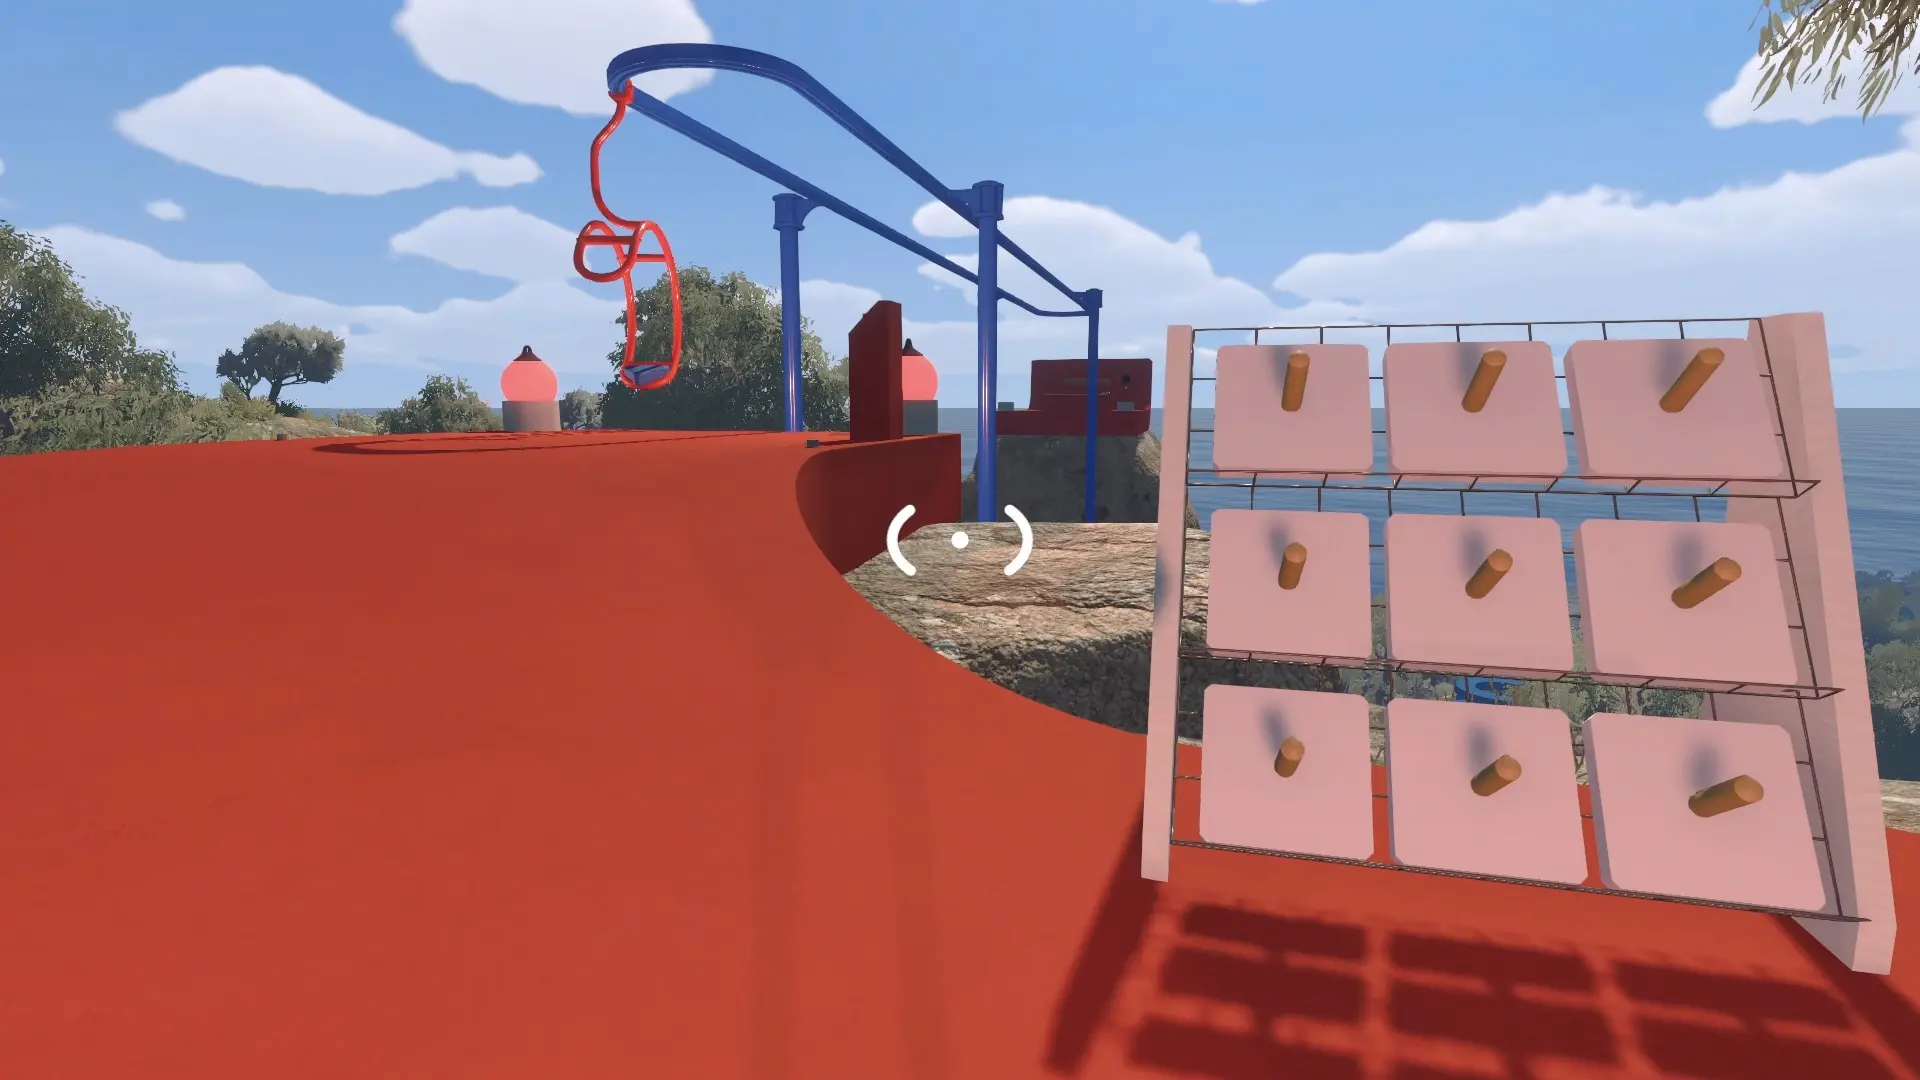
Located north of the previous puzzle, this puzzle features a tiny chair lift that you need to use to pass tiles with symbols over the gap in order to fill in the sequence on the other side. When the sequence is filled in, the puzzle is complete. While this is an easier puzzle, it’s more time consuming due to being limited to the chair’s pace.
Blob Climb Puzzle
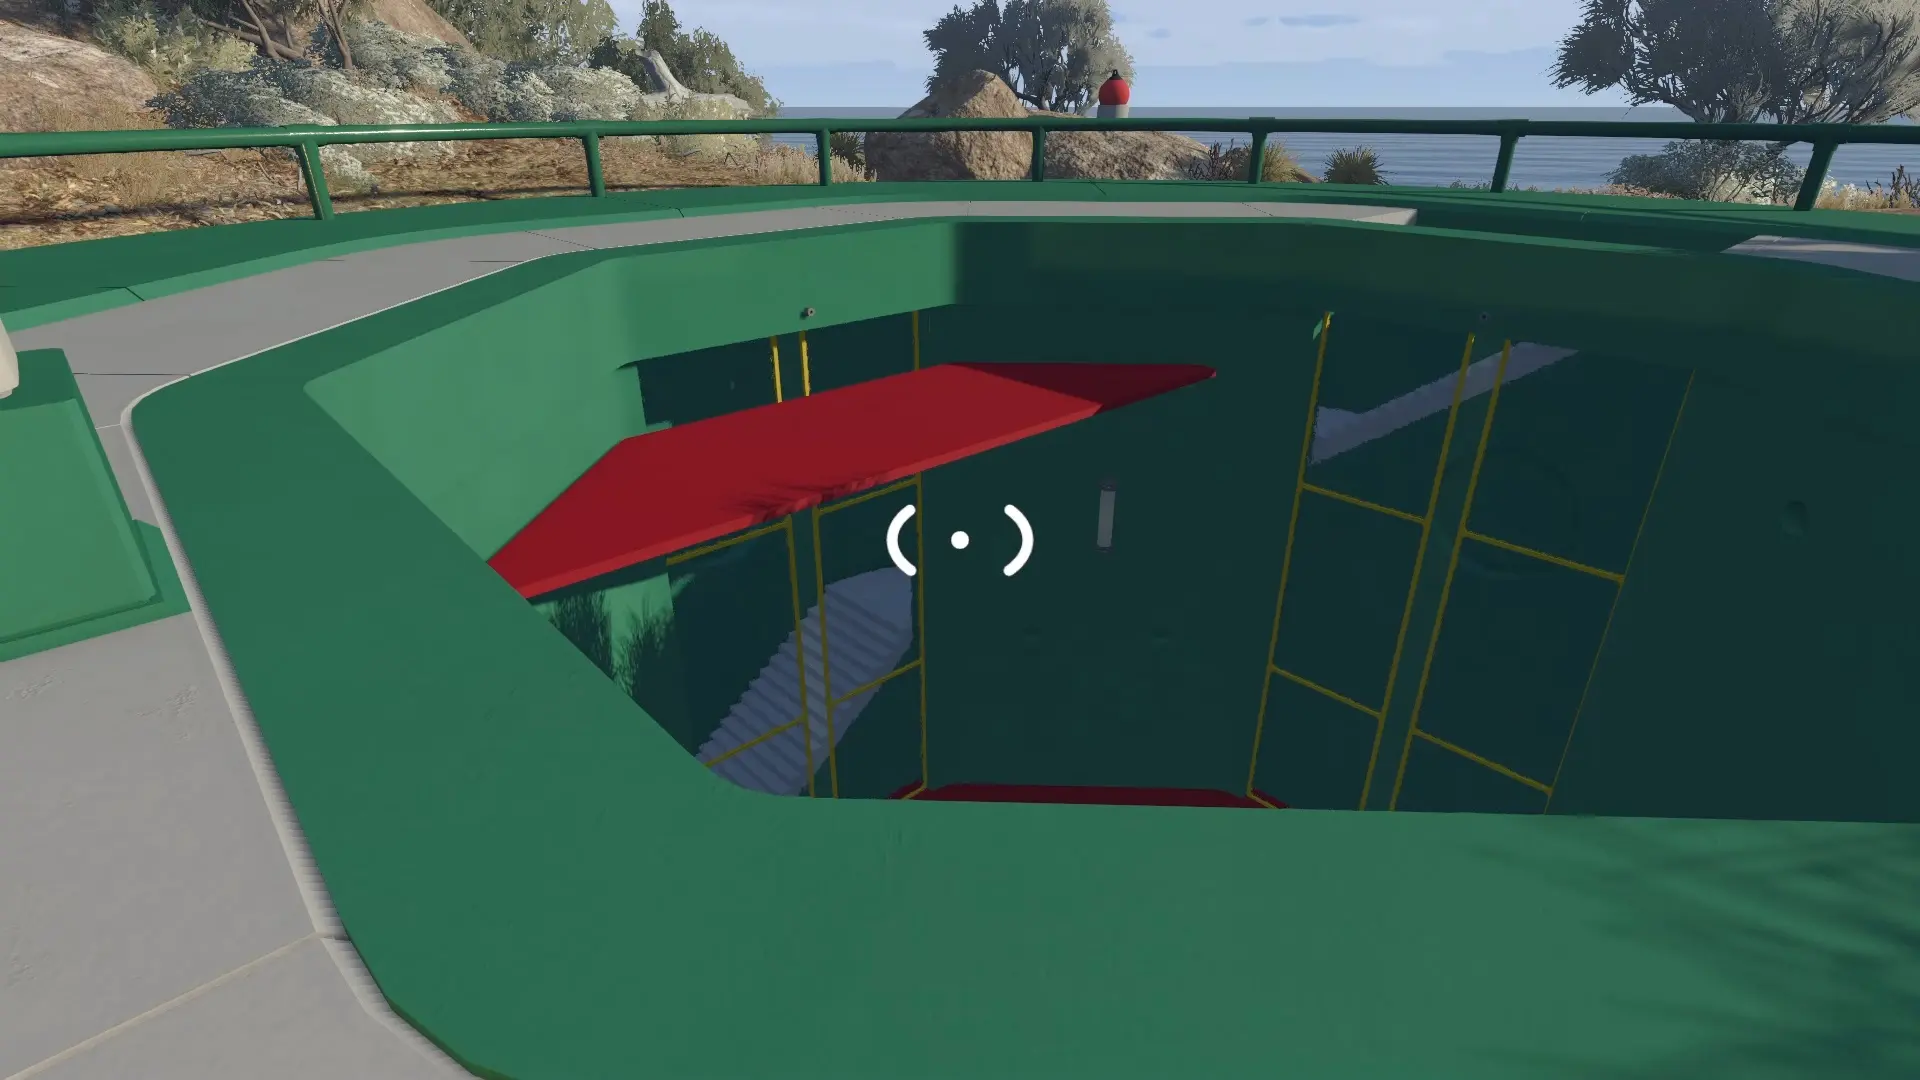
To the southwest of the previous puzzle, you’ll find a circular structure that has a box with a red blob at the bottom. You need to kick the box up the platforms to the top of the structure, where you then place it in the pedestal. It’s another time-consuming puzzle, but not a difficult one.
Black Stage Puzzle
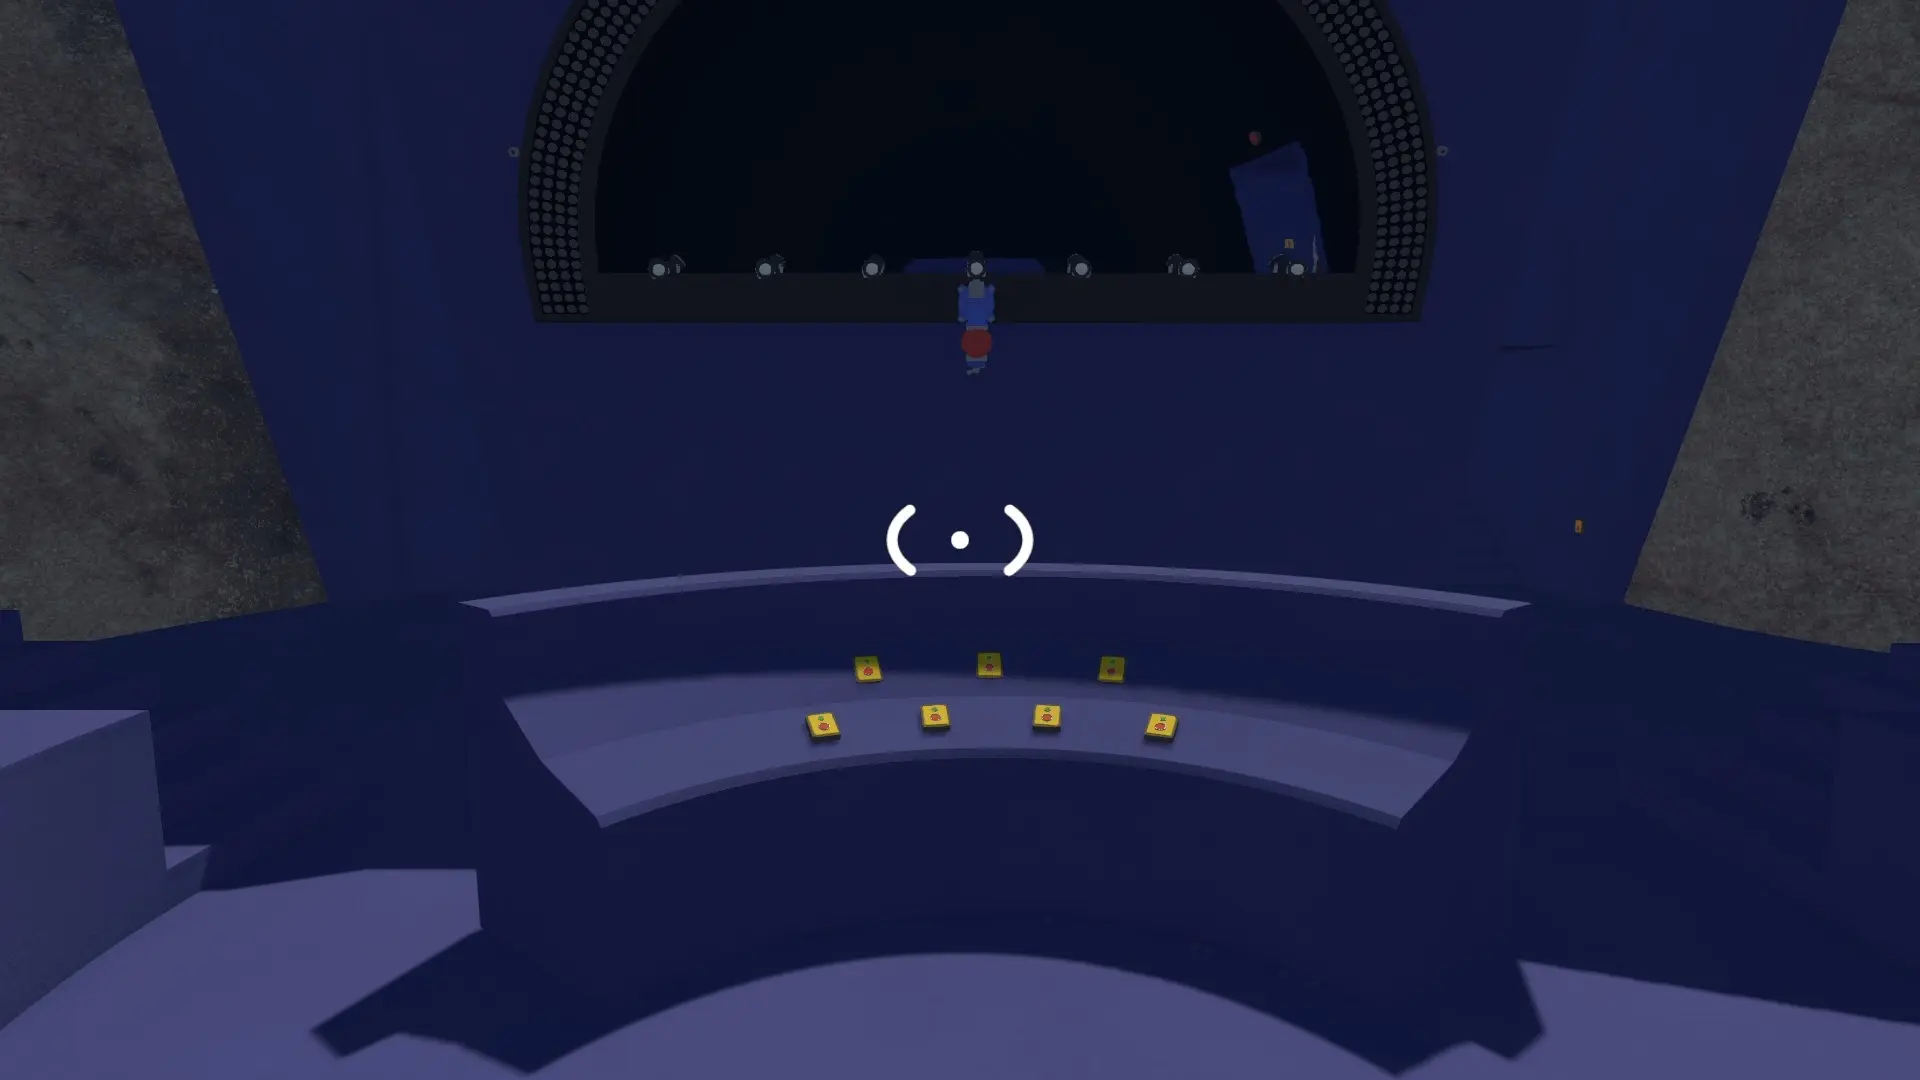
To the North of the previous puzzle, this puzzle has one player go on stage and tell the other player which switches to hit based on the lights they see on stage. If you have extra players, there are chairs they can sit in while watching you figure out the correct switches and complete the puzzle.
Hidden Dots Puzzle
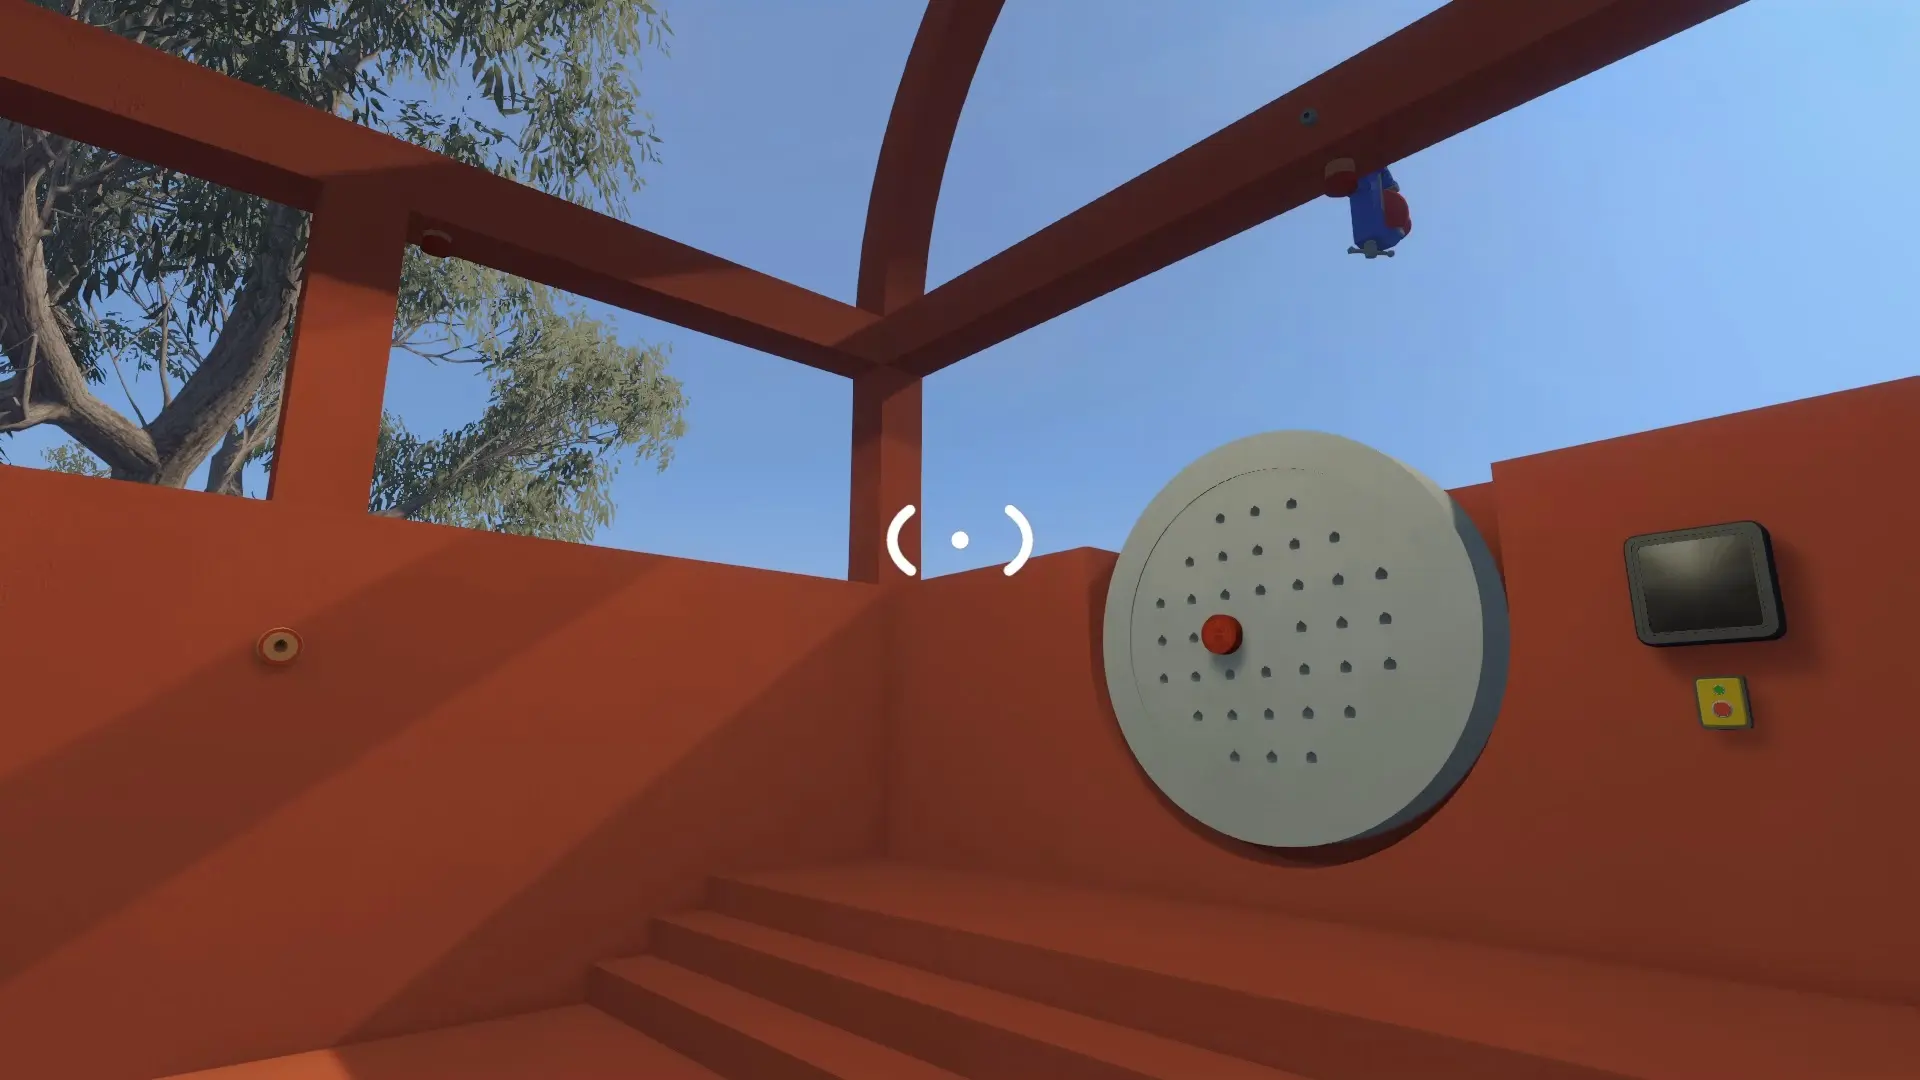
The large red area here has 36 hidden dots (9 yellow, 9 red, 9 blue, and 9 green). You need to find all of them and put them in the peg board at the center. The colors mostly match the area, so red dots are on the red structures, green dots are mostly in the grass, and so on.
Music Match Puzzle
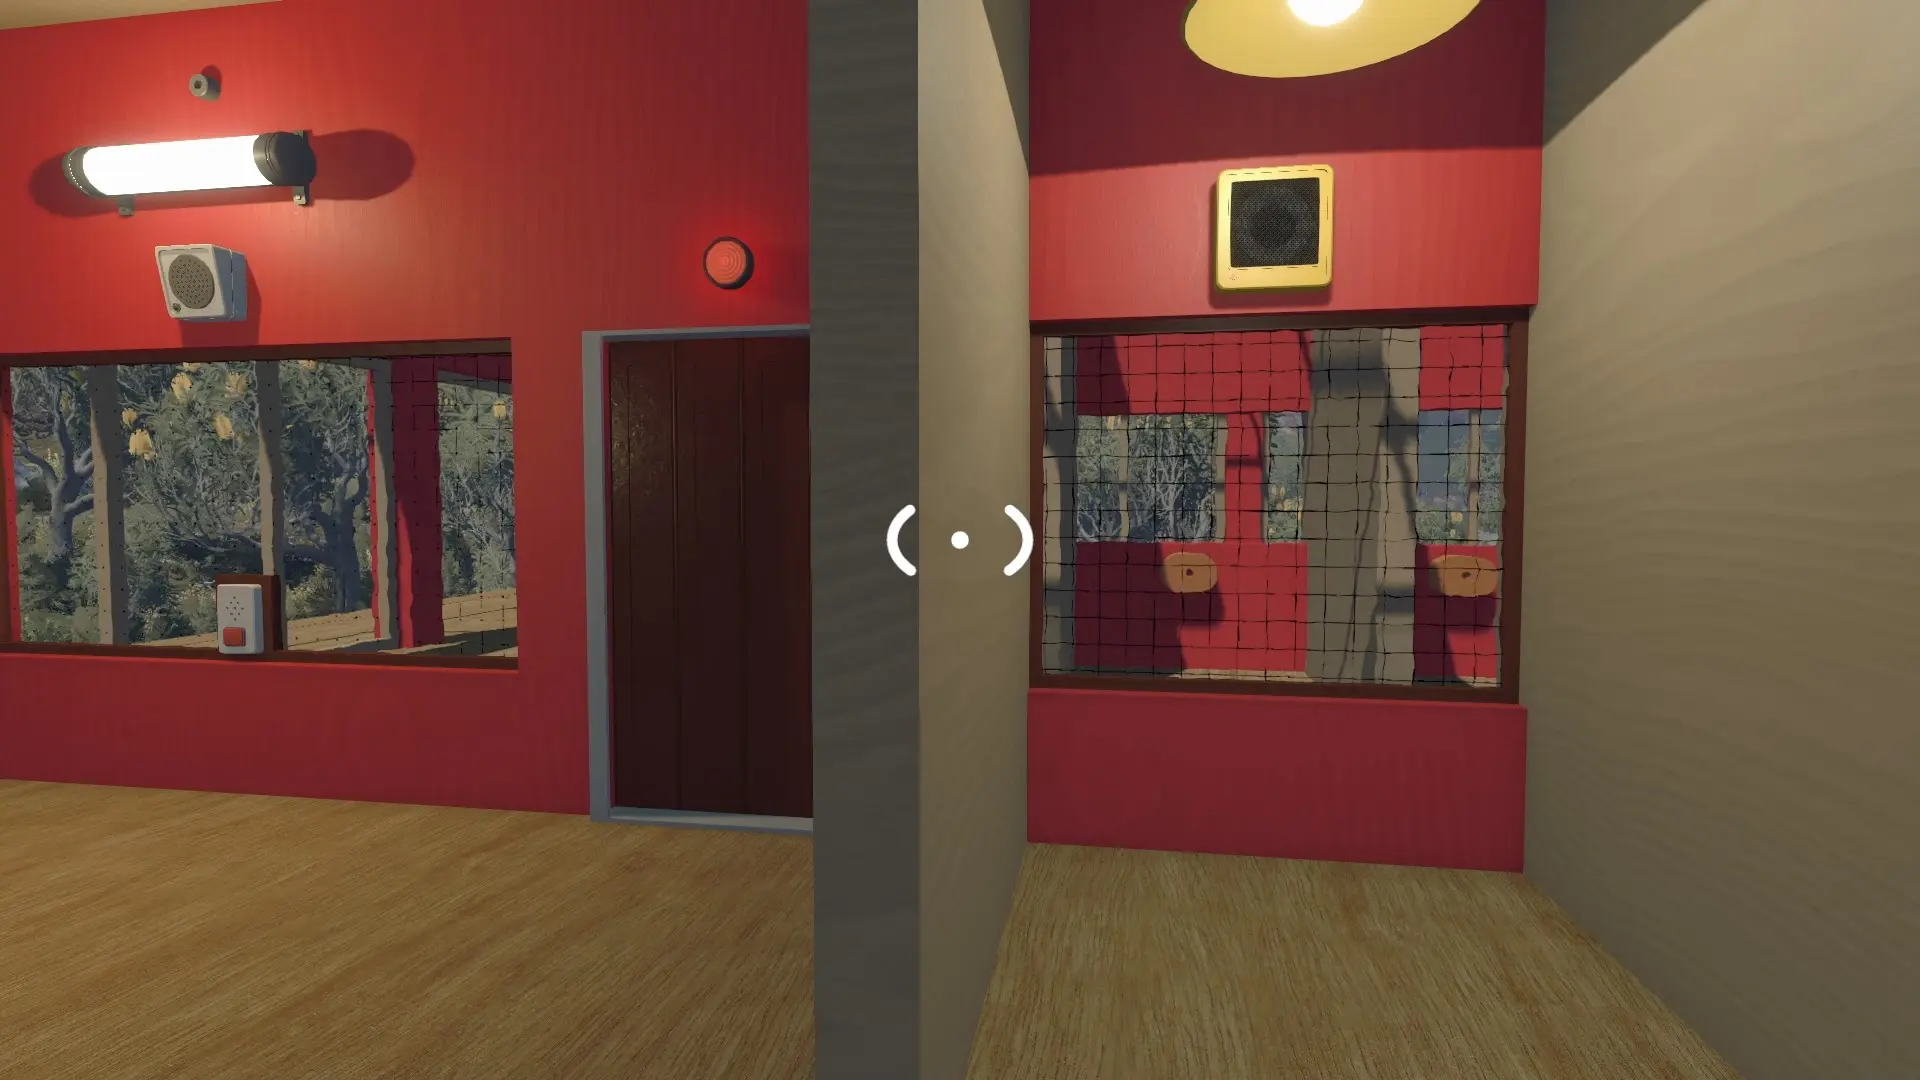
This puzzle has a building with two sides. One side has a series of speakers playing a sound, and the other side has a bunch of speakers on the ground. You need to use the intercom to arrange the speakers from the ground to the pegs that match the speaker on the other side that plays the same sound.
Mic Test Puzzle
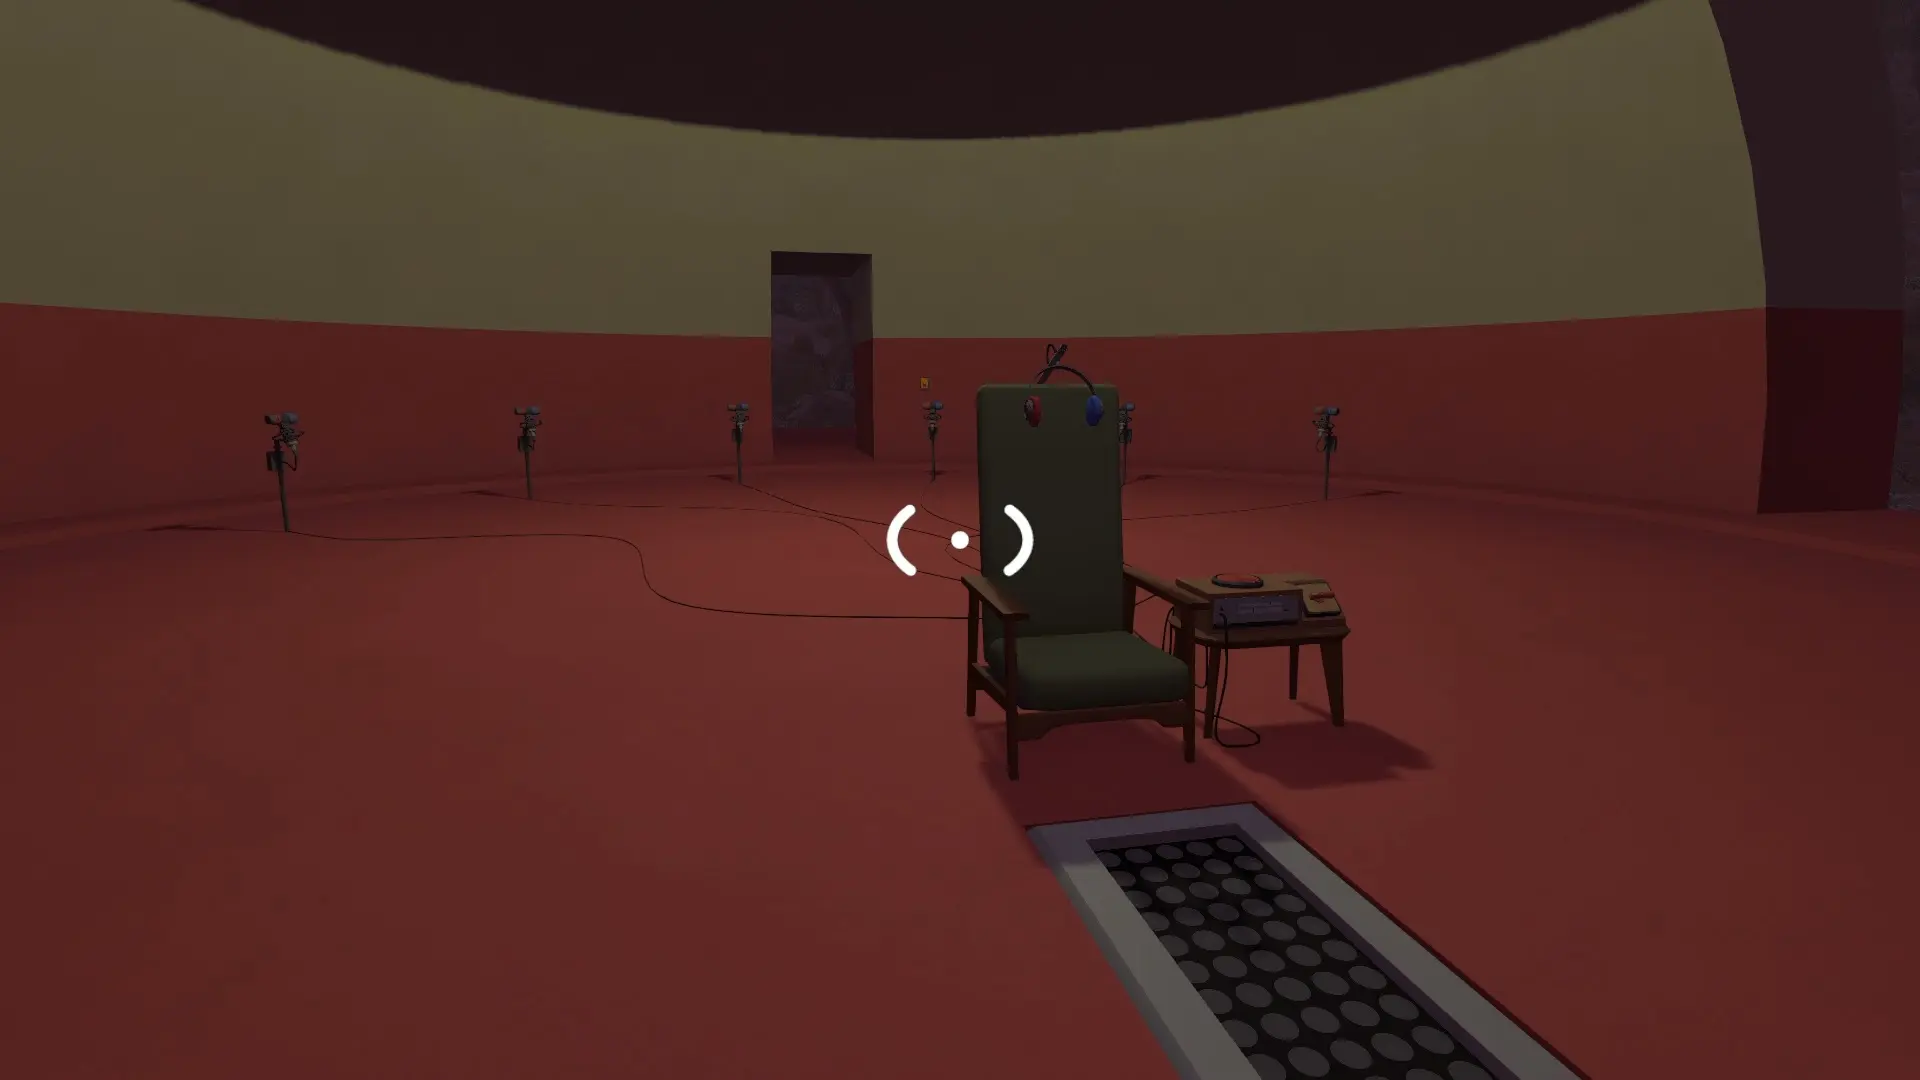
To the south, you find a structure that has multiple microphones and one chair. One player sits in the chair while the other tests the microphones. The player in the chair will hear the correct microphone in both ears. The other microphones will only play from one side of the headphones, letting you find the correct one by listening closely to complete the puzzle.
Beachside Camouflage Box
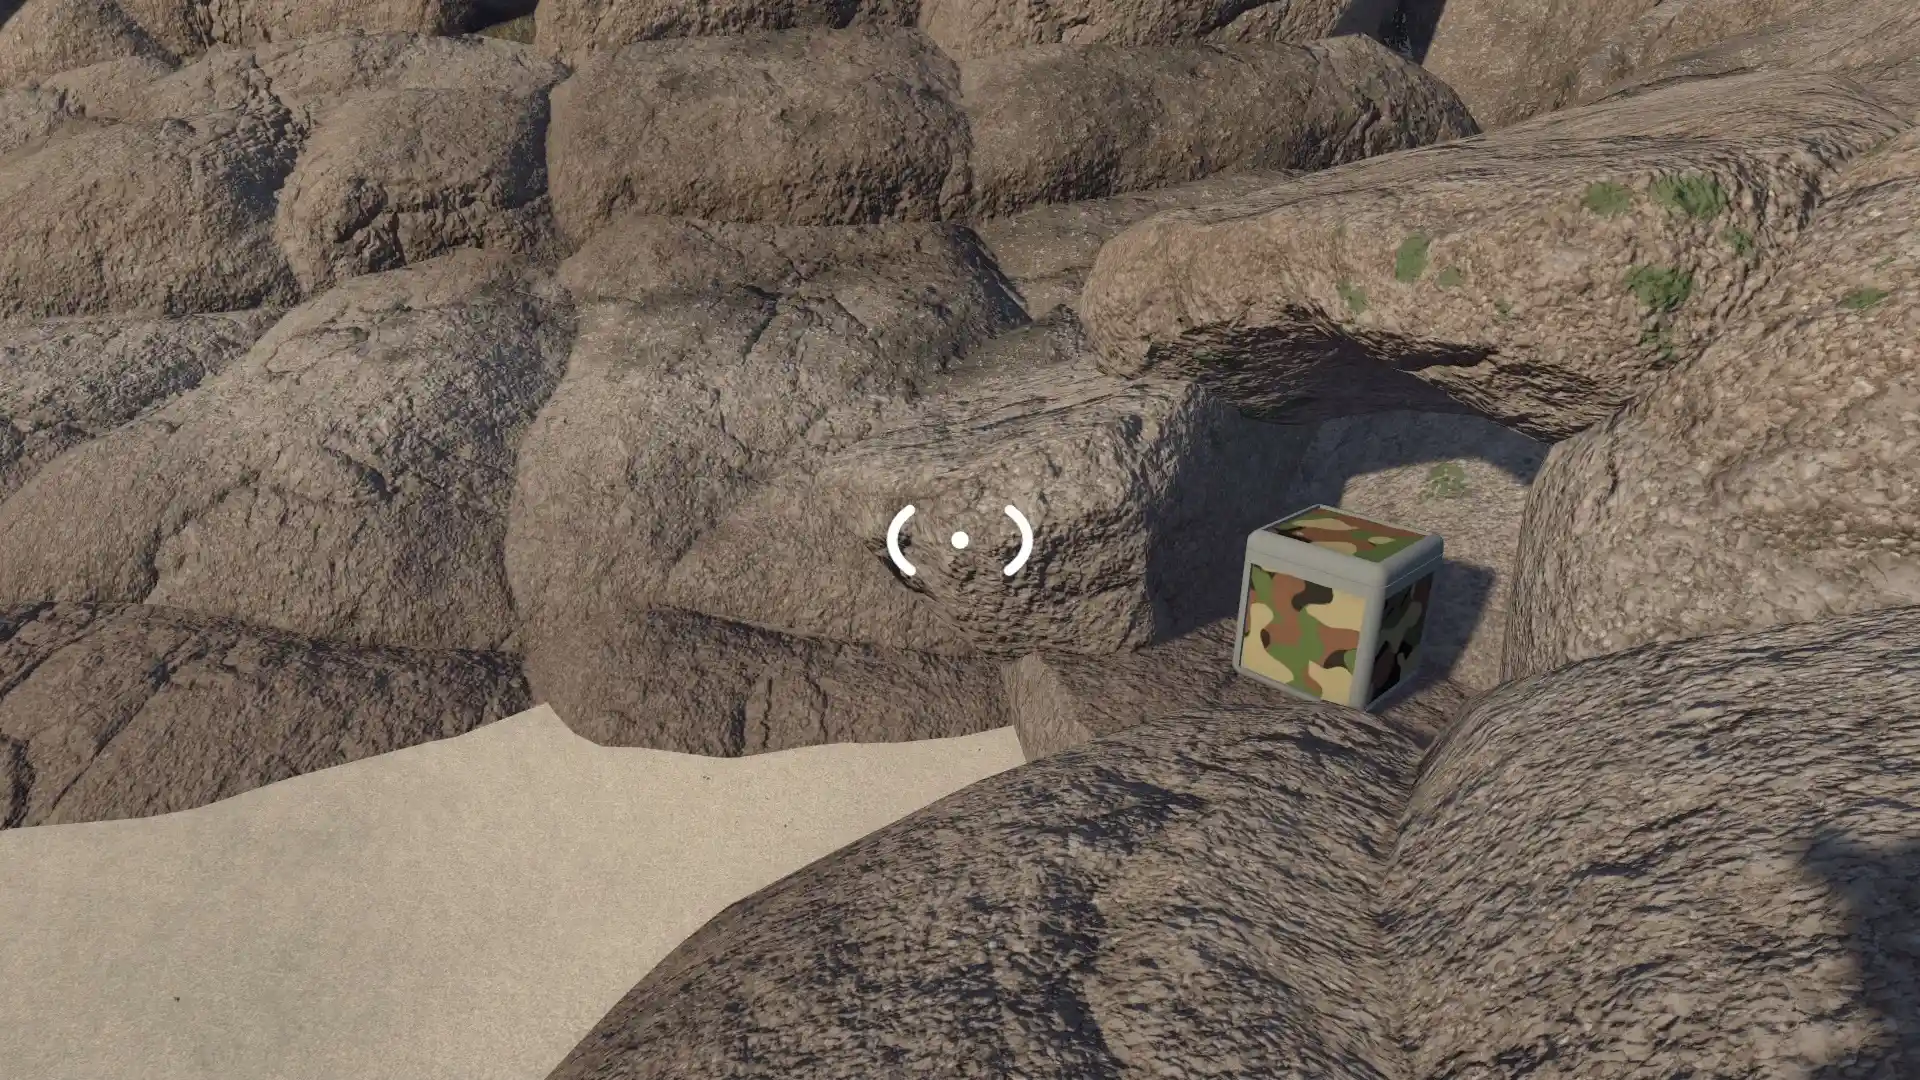
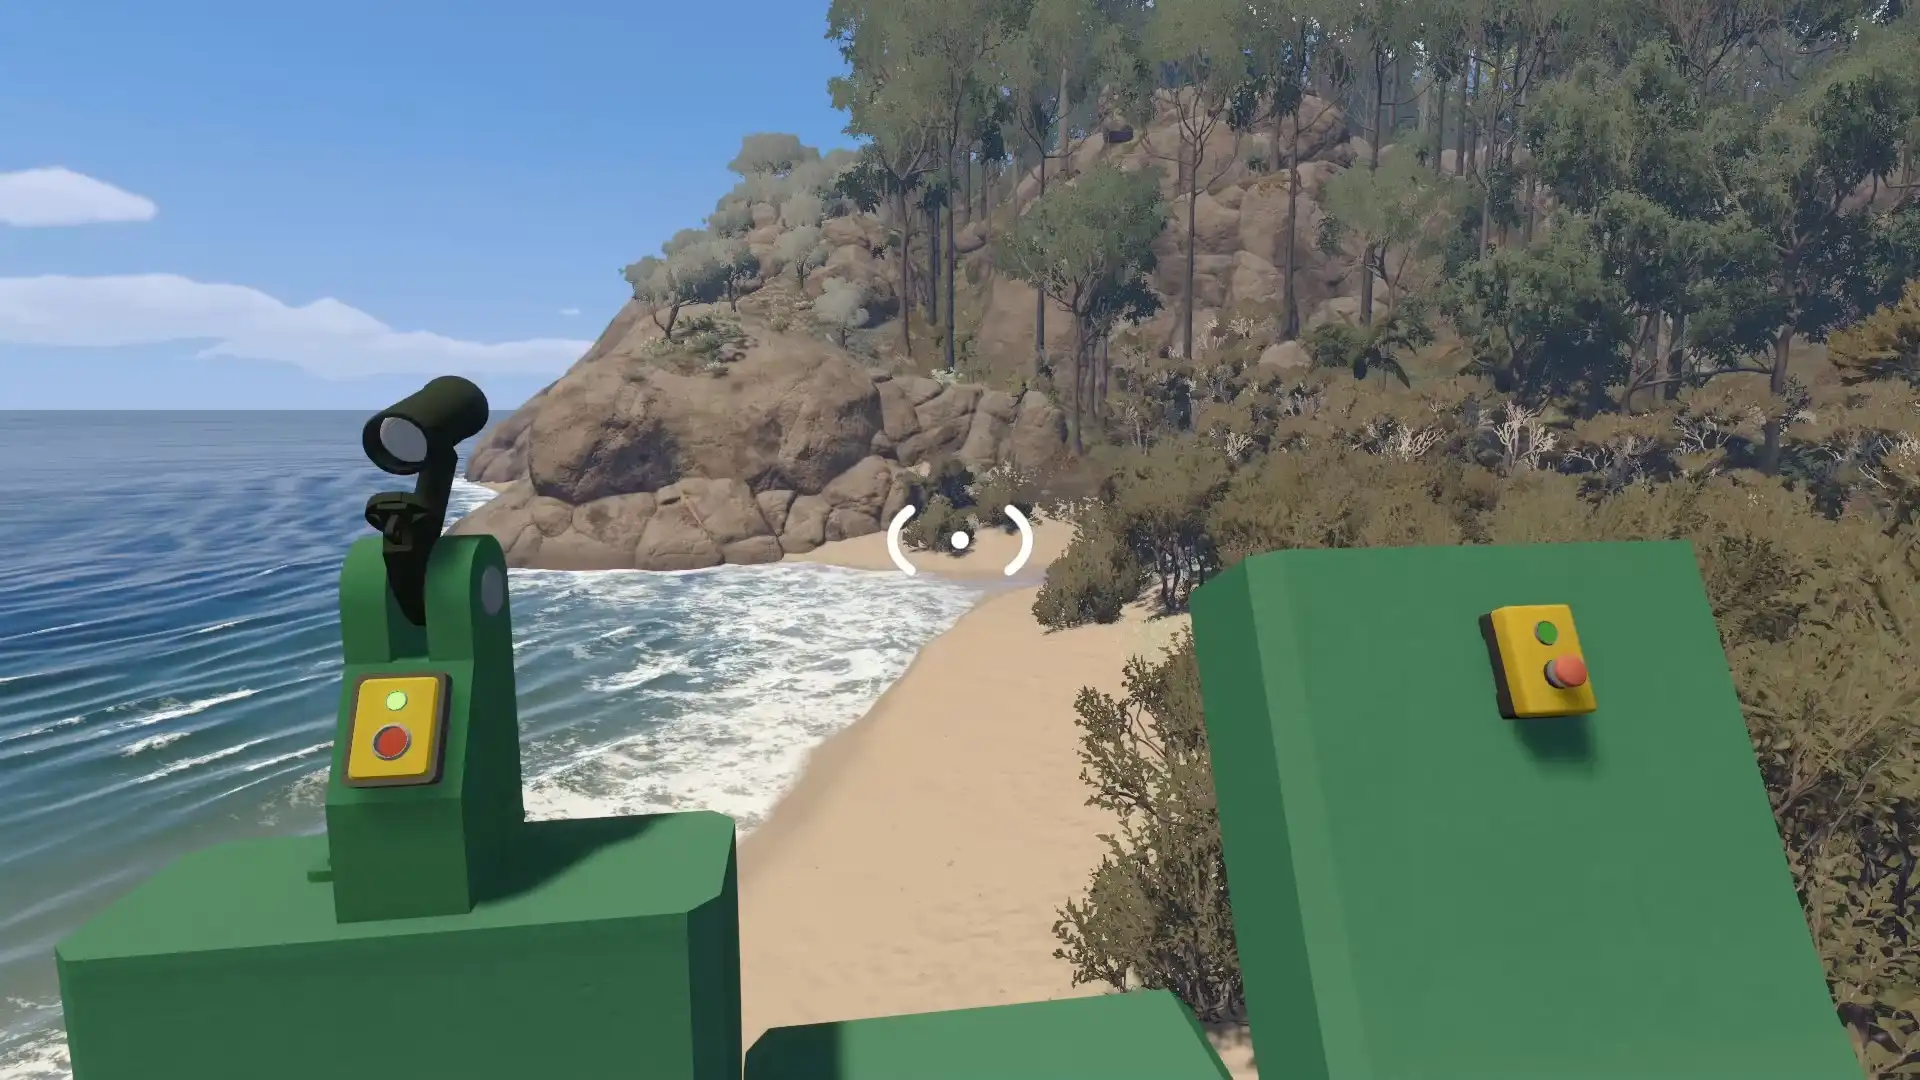
Located to the east of the invisible ink puzzle, you’ll find a camo box in the rocks by the shore. One player needs to stay here while another player finds the switch for the box on the shore to the south of the five-minute timer puzzle. Hit the switch to allow the red blob to be taken from inside the box, completing the puzzle.
30-Minute Timer Puzzle (Purple Puzzle)
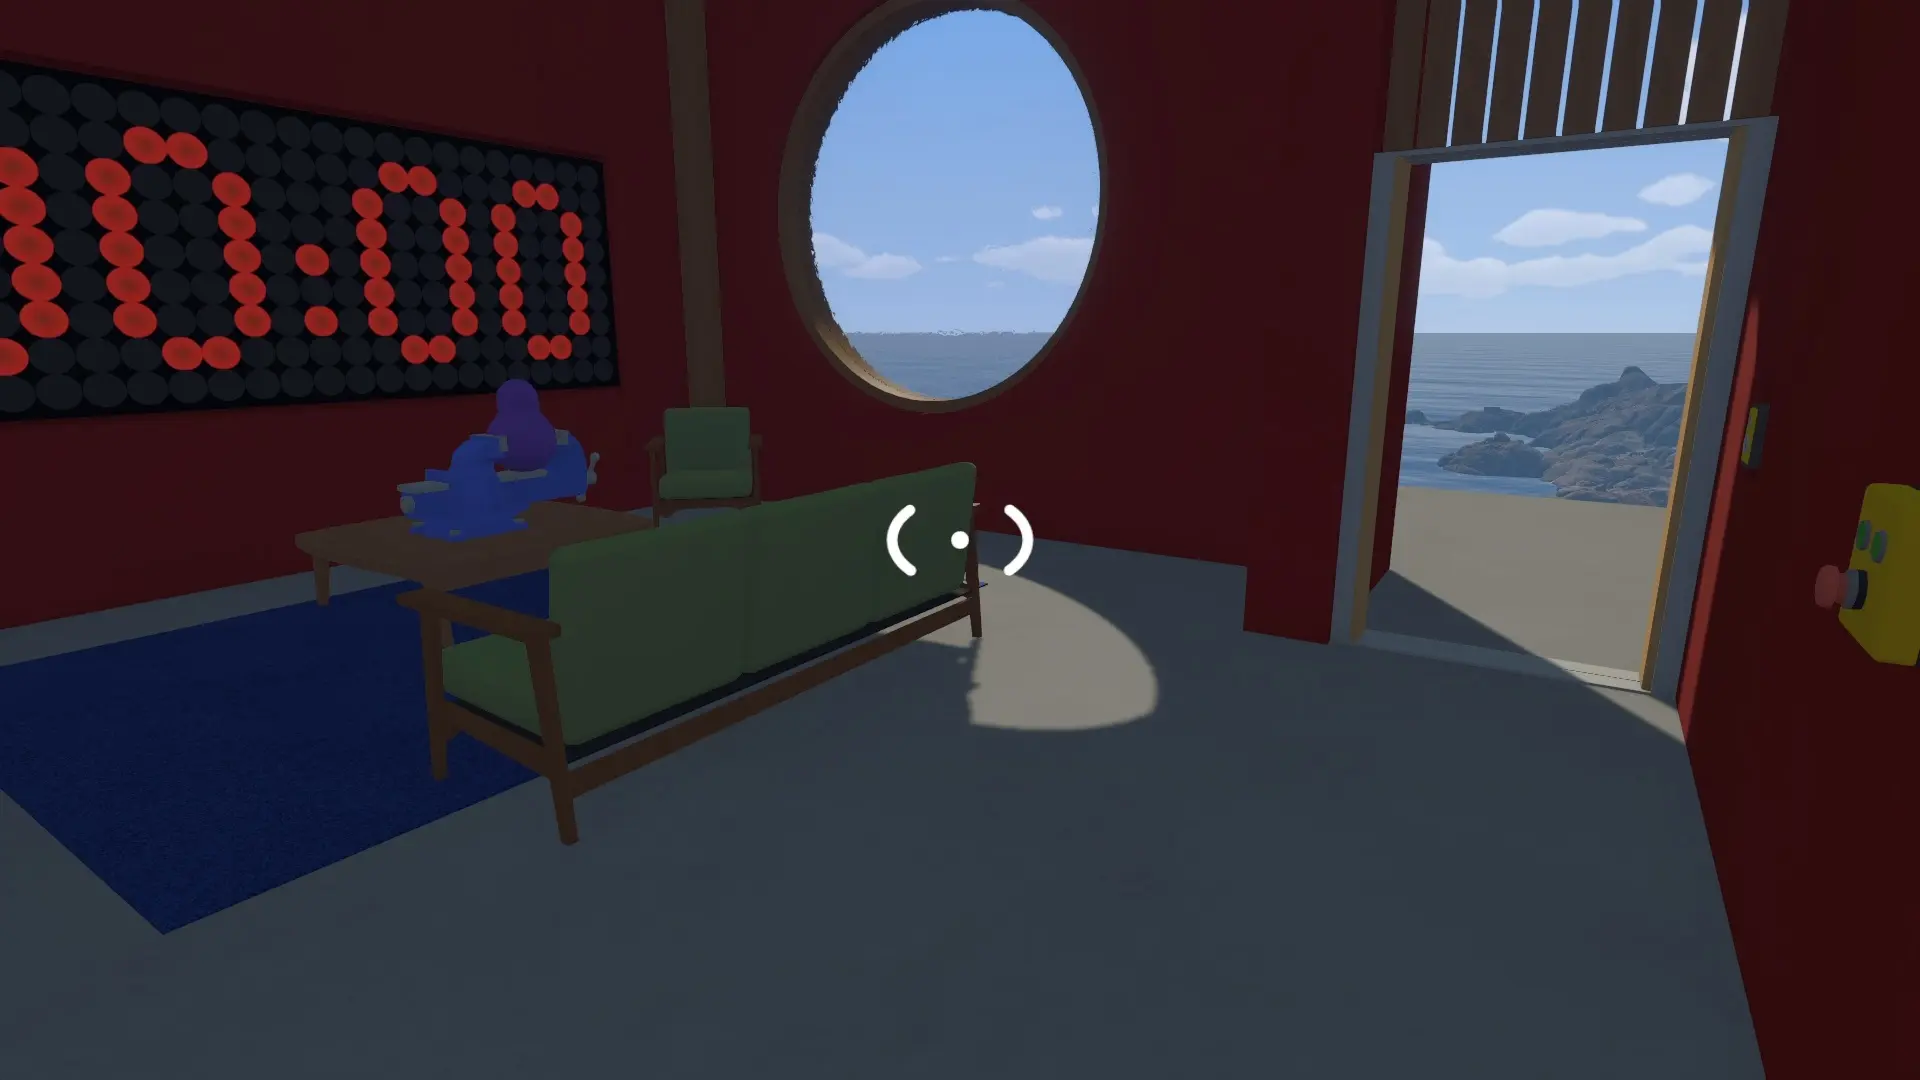
Similar to the five-minute timer puzzle, you need to sit with your friend in this building until the timer hits 30 minutes. Then, the puzzle is complete and the red blob is freed.
Cliffside Lights Puzzle (Purple Puzzle)
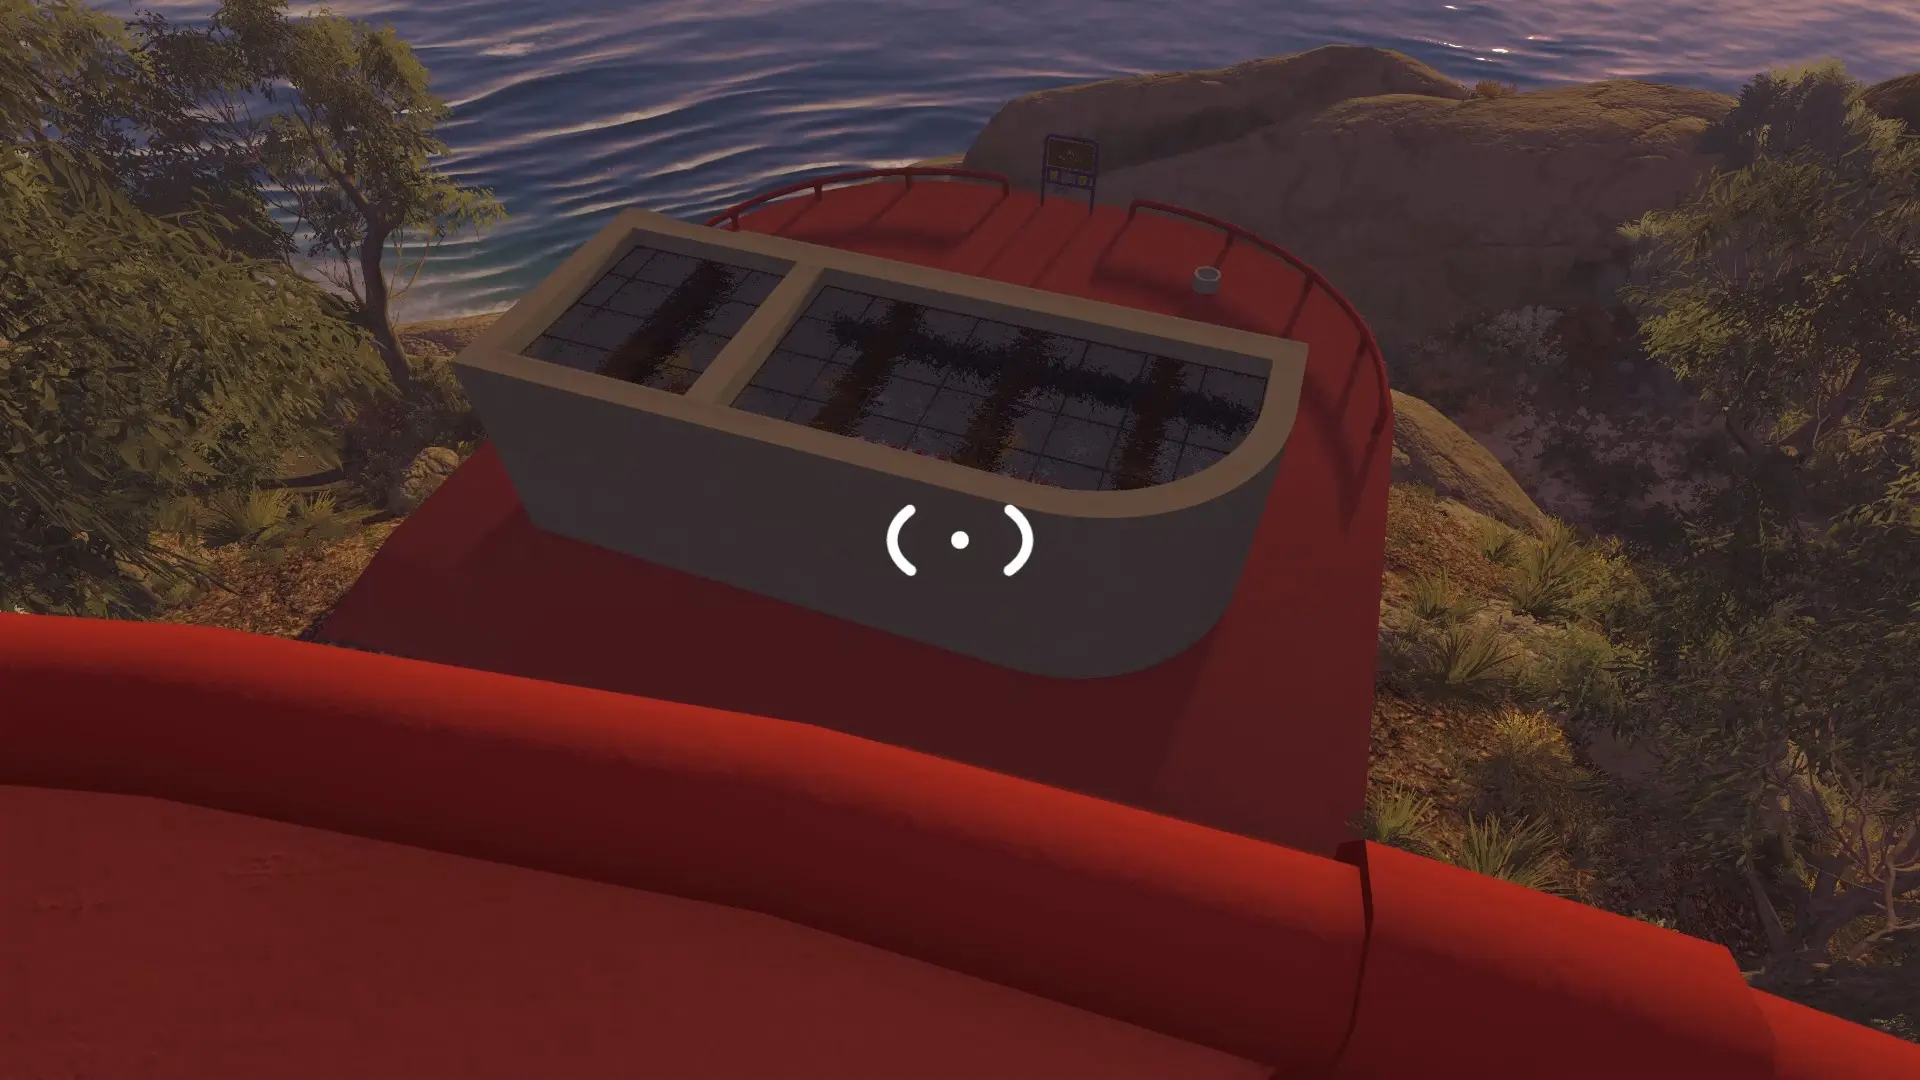
To the south, you’ll find two buildings on red platforms. You each enter a different building. One has lights, and one has buttons. From here, you use the intercom to communicate which button to hit based on the lights that are on until the dot board outside is full, completing the puzzle.
Cliffside Obstacle Course (Purple Puzzle)
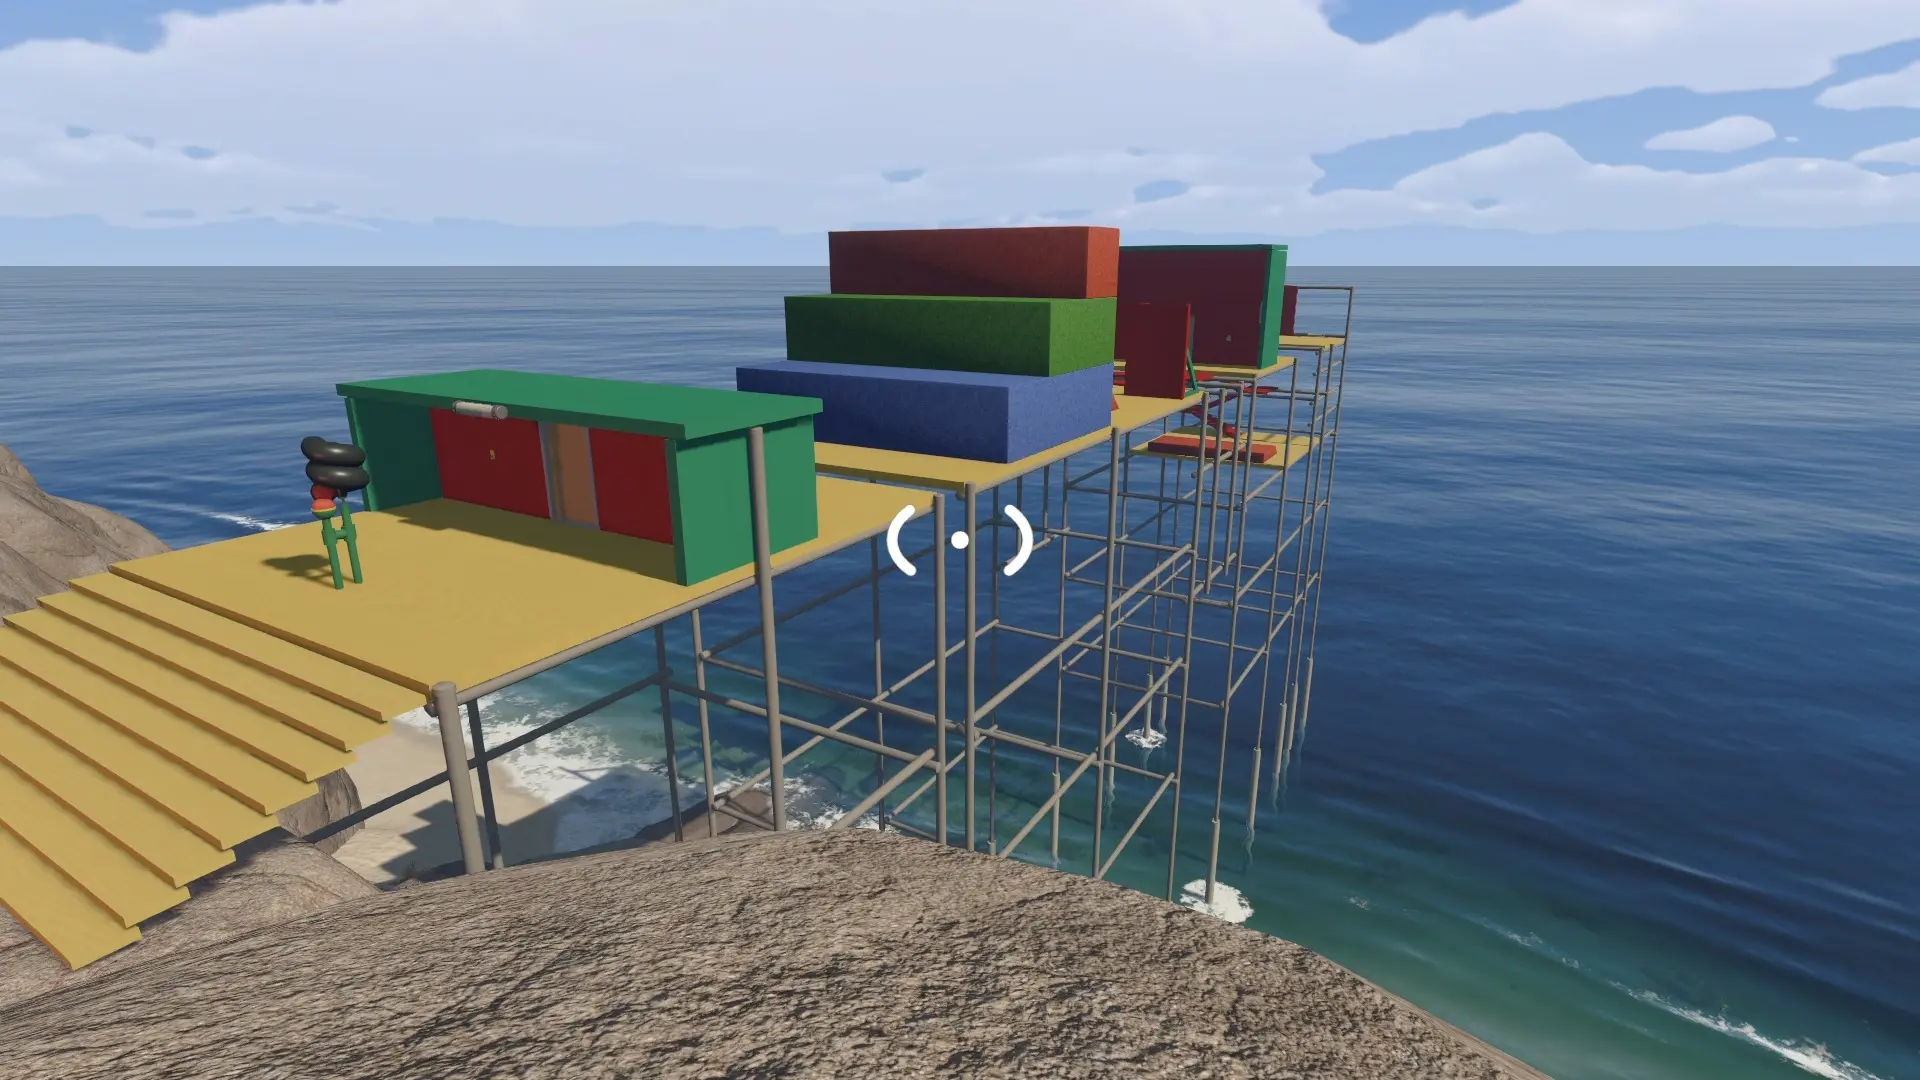
This is a repeat of the previous cliffside obstacle course where you and your friend have to help each other through the obstacles to get the timer to the pedestal at the end.
Music Match Puzzle (Purple Puzzle)
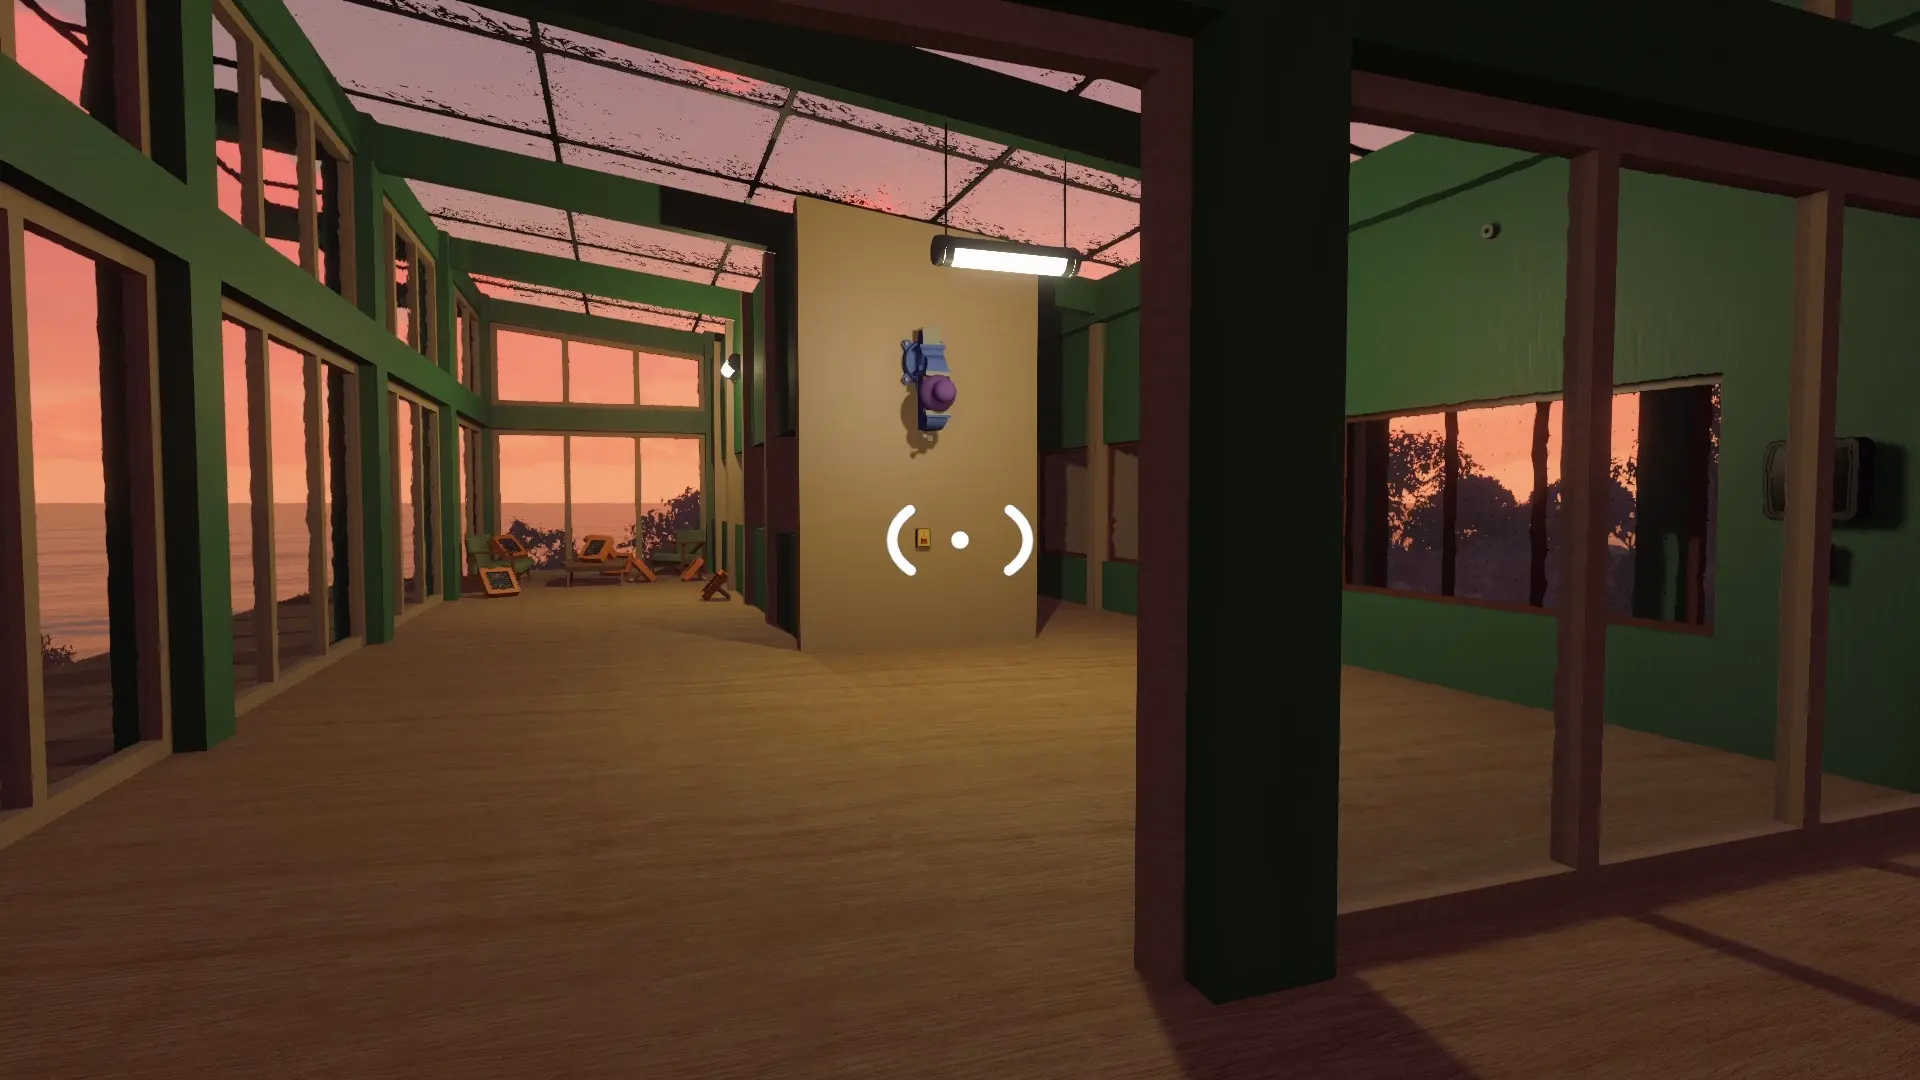
This is a repeat of the previous music match puzzle where you need to match the speakers on one side with the speakers on the other side based on what sound they’re playing.
Blue Warehouse Puzzle (Purple Puzzle)
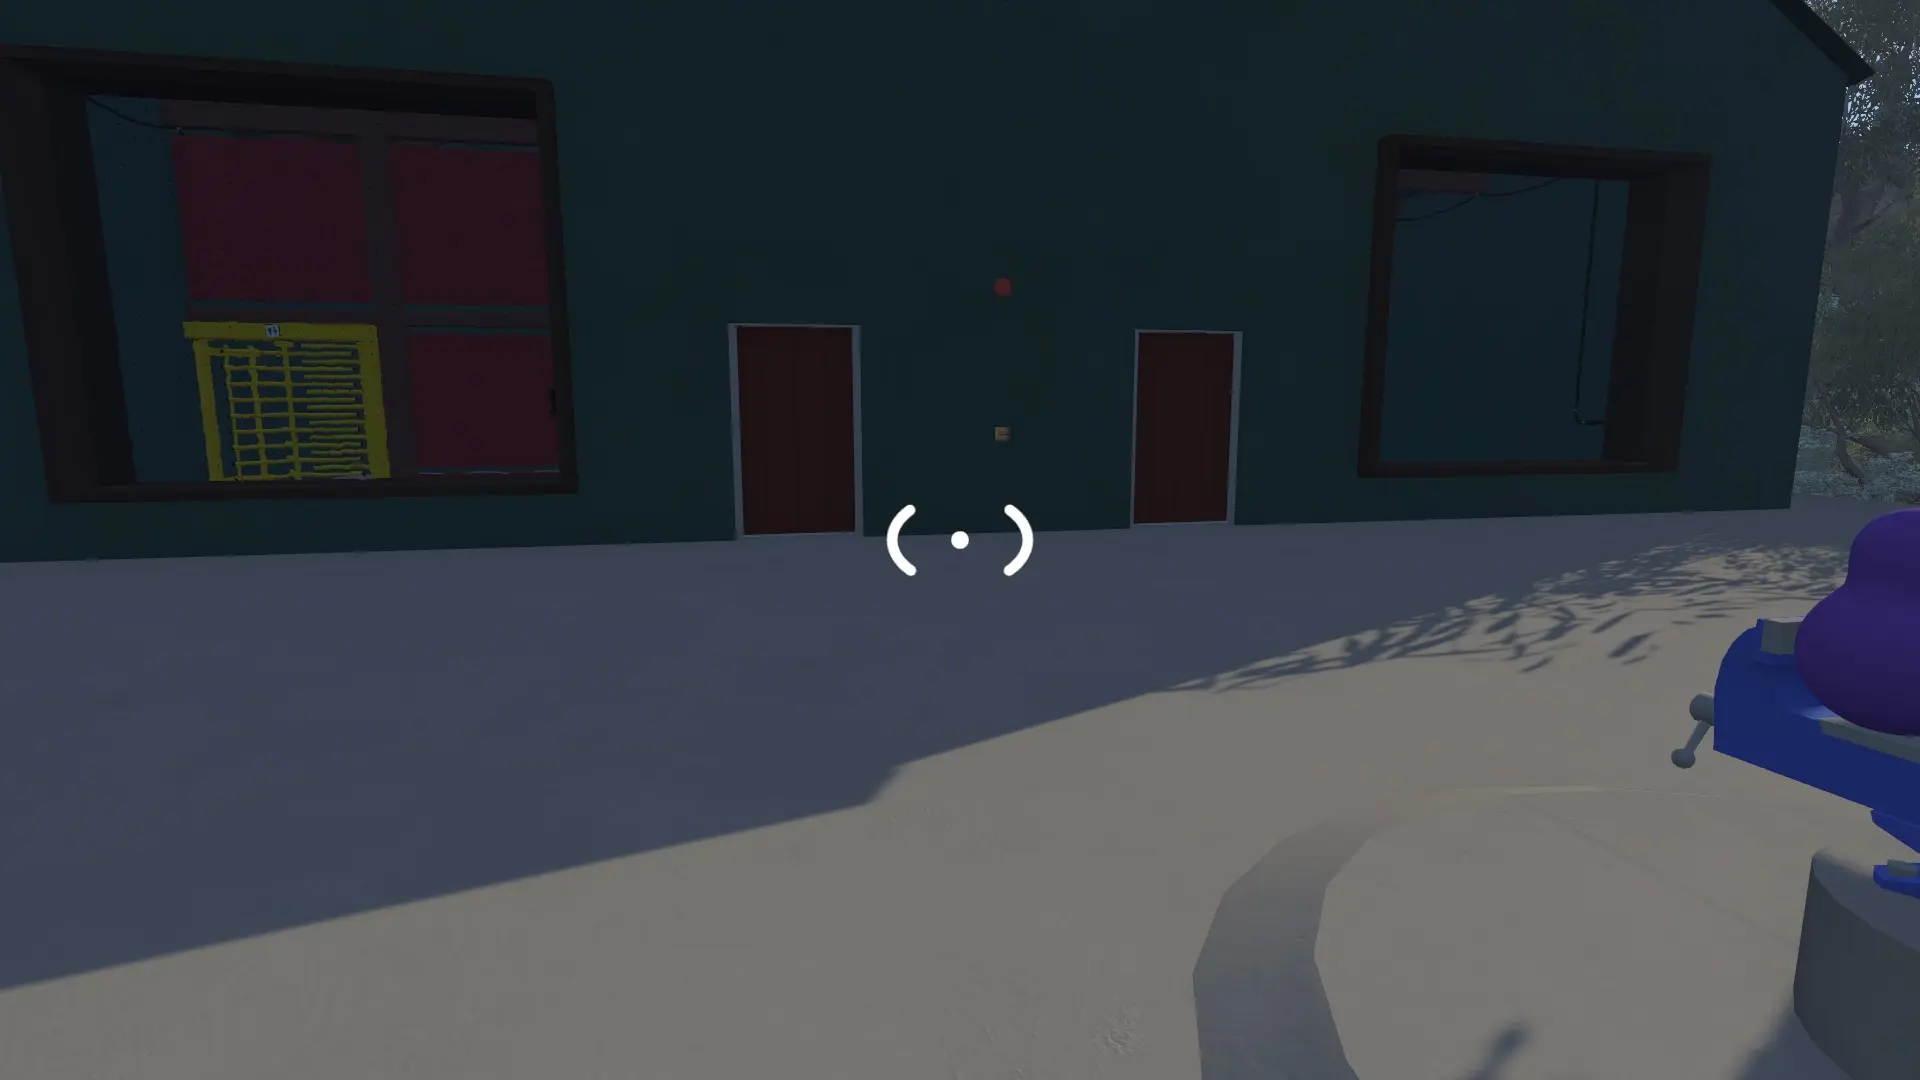
This is a repeat of the previous blue warehouse puzzle where one player has to tell the other one the order of symbols that they need to match on their side of the warehouse.
Double Turnstile Puzzle (Purple Puzzle)
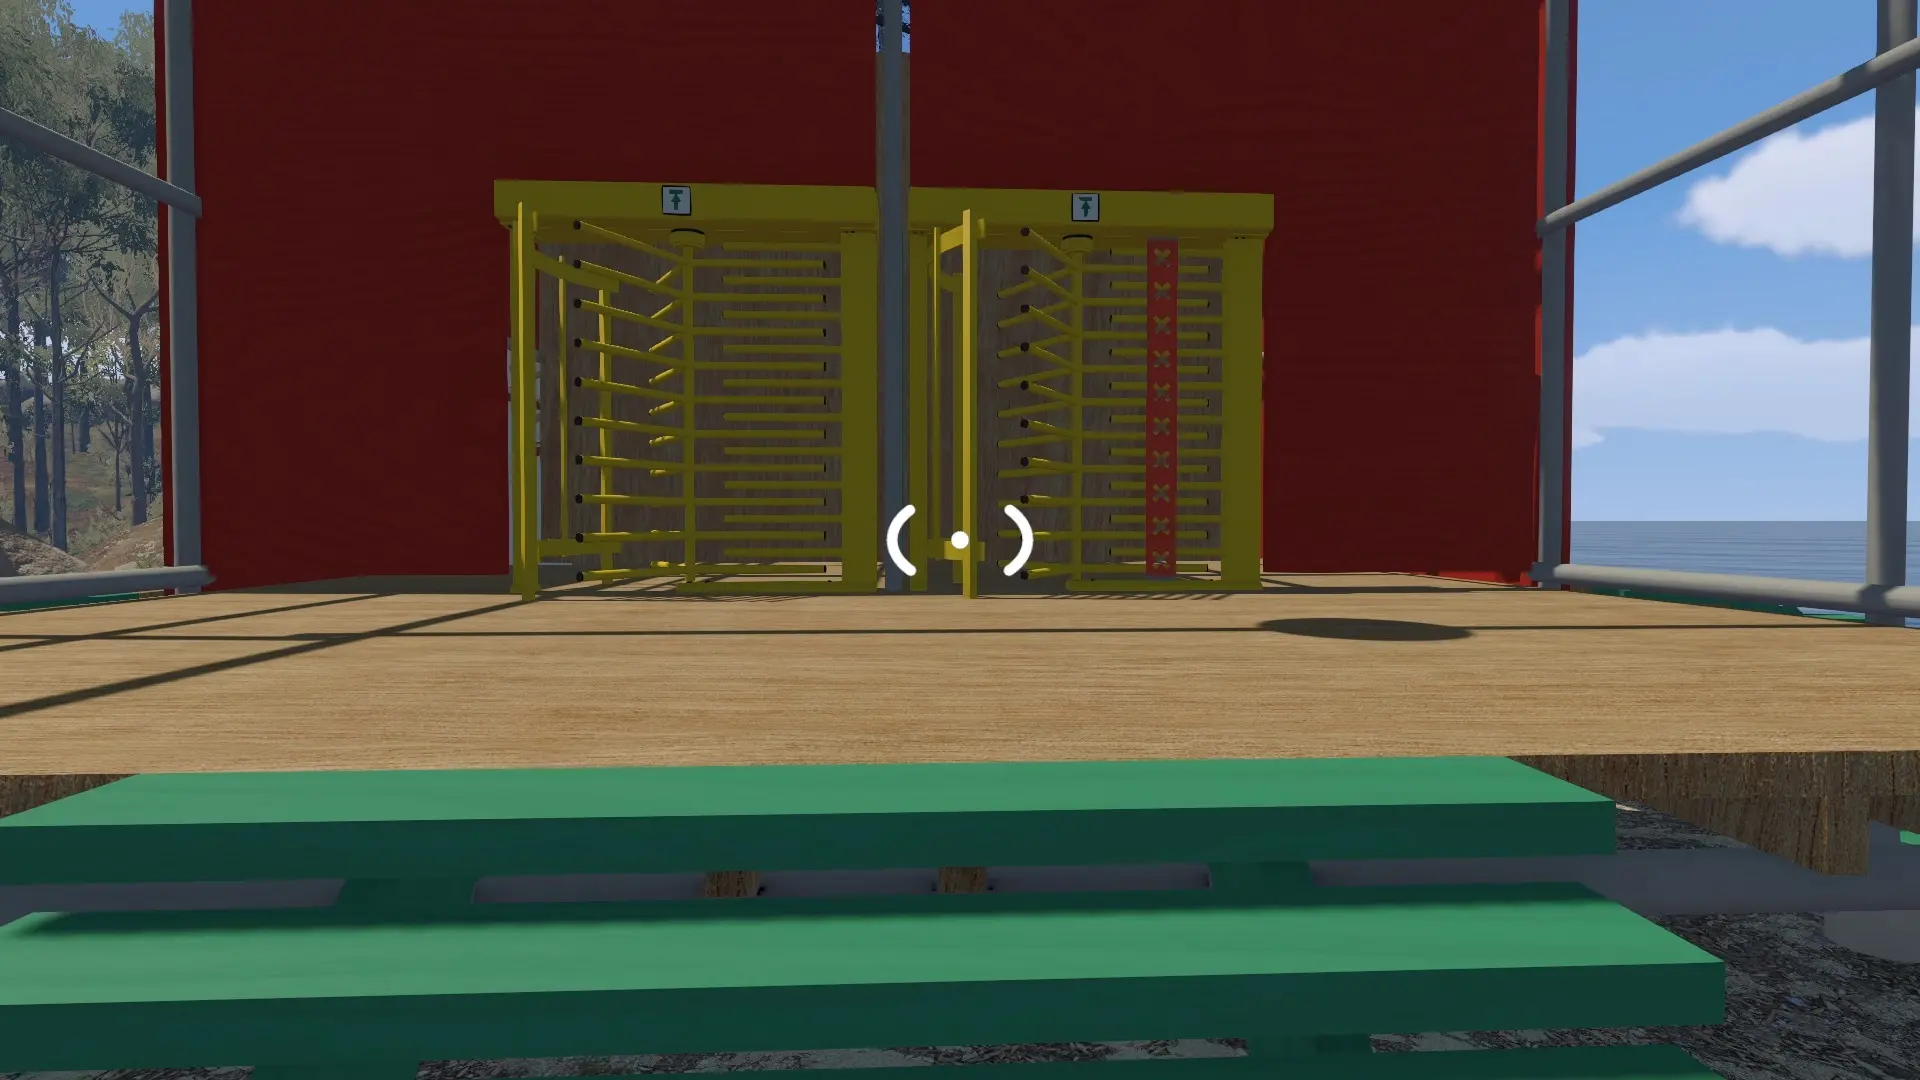
This is a repeat of the earlier double turnstile puzzle. Each player goes through a turnstile and you communicate the order of icons on one side for the player on the other side to match and complete the puzzle.
Golf Puzzle (Purple Puzzle)
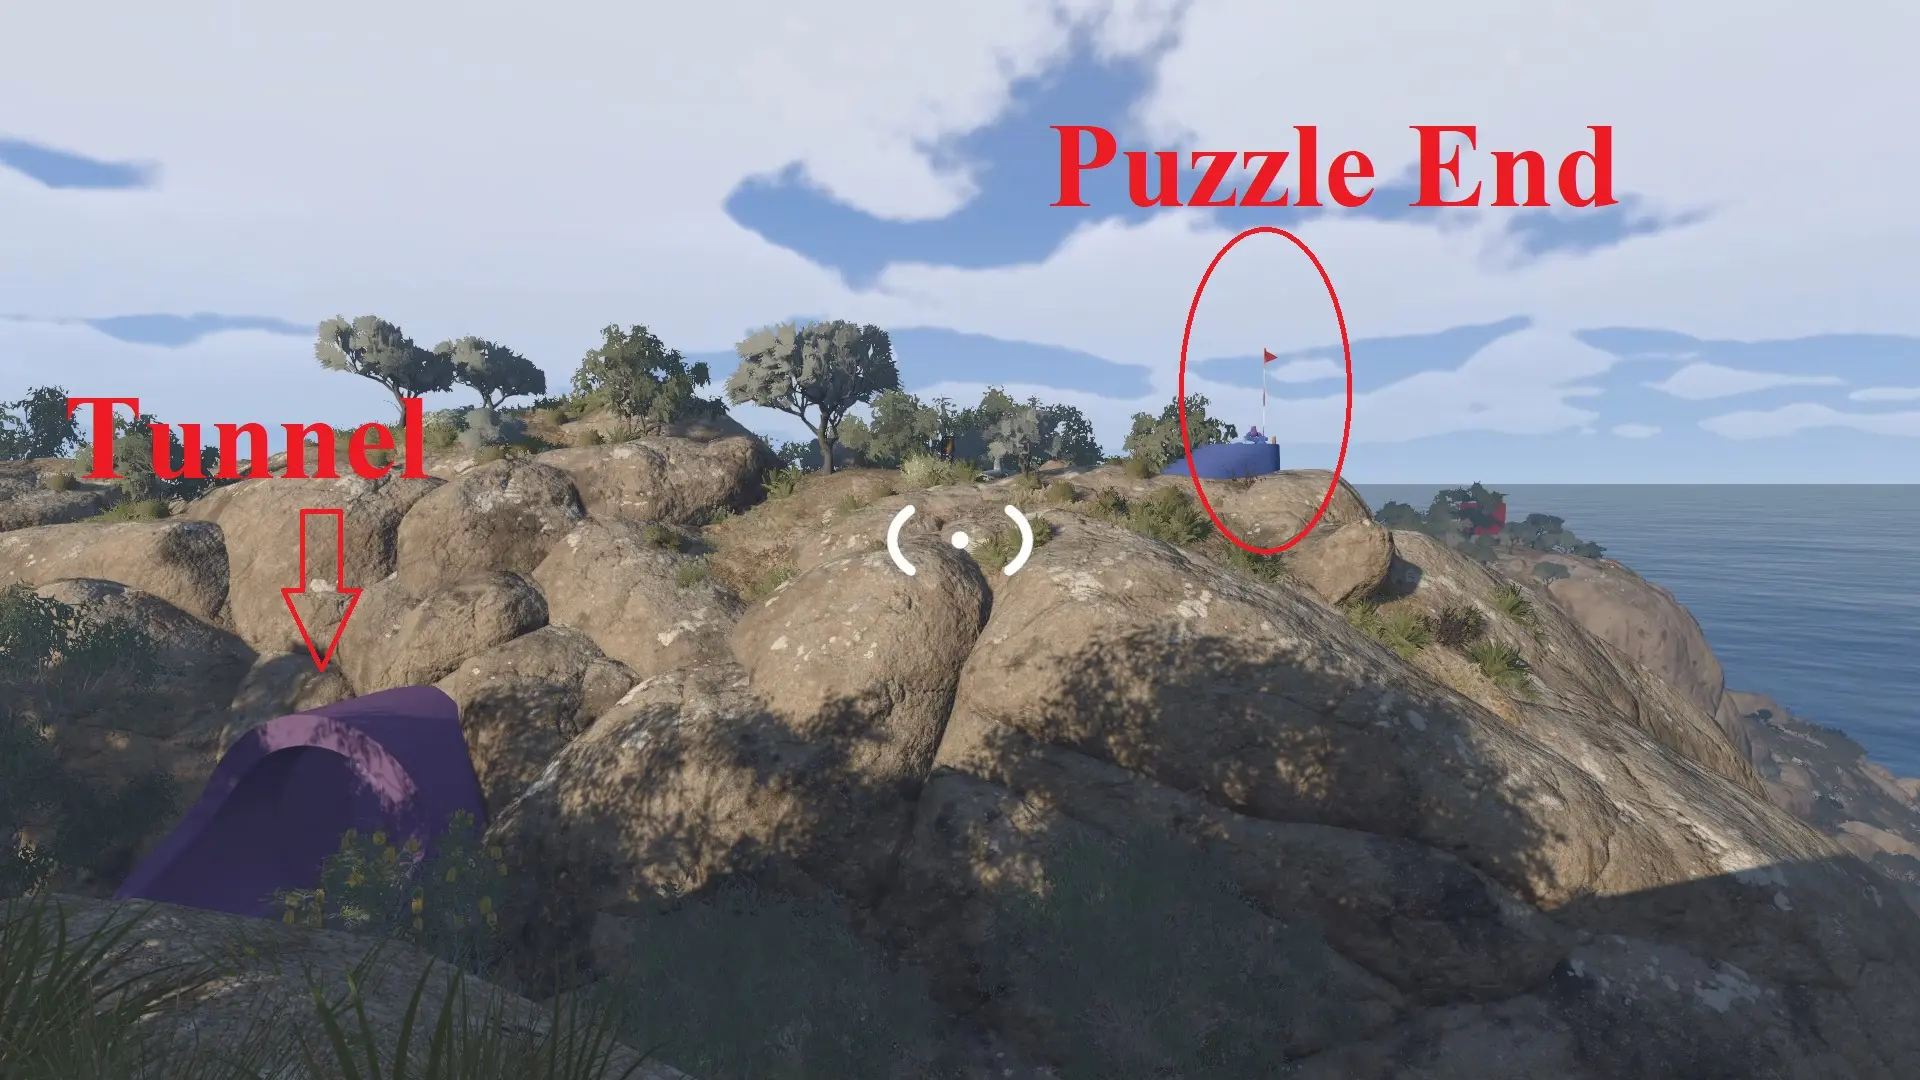
This is a repeat of the earlier golf puzzle. You need to get the ball to the location marked with the flag. Because the location is a bit annoying to reach, you want to use the tunnel by the ski lift to get on the right hill, which is shown in the image above.
Get the Silver Key
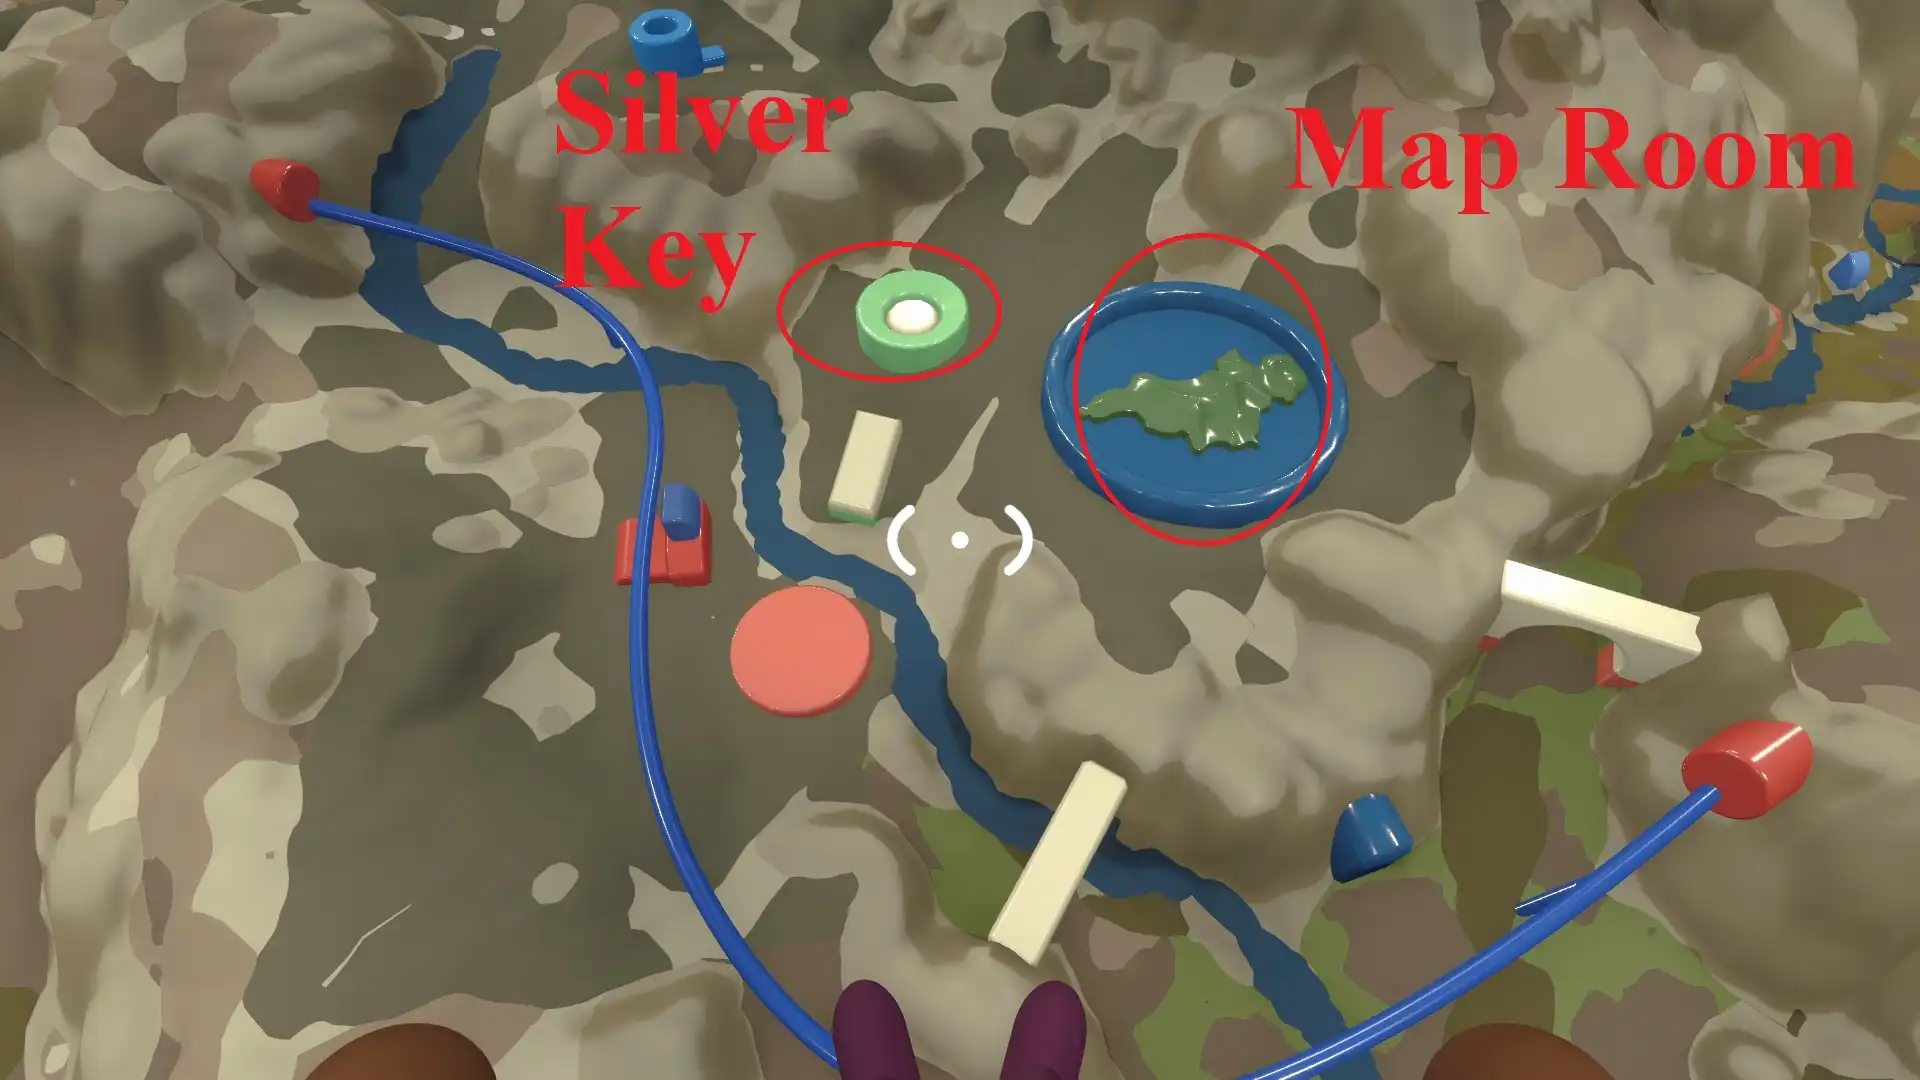
Now, you’ll take the blobs to get the silver key, which will let you get into the secret room through the now-open black sphere back at spawn. The silver key is found in a structure by the spawn location and map room, and I included an image from the map room with the key’s location circled. That’s also where you put your purple blobs.
With the key in hand, you can fully complete Big Walk and see the true ending.
