

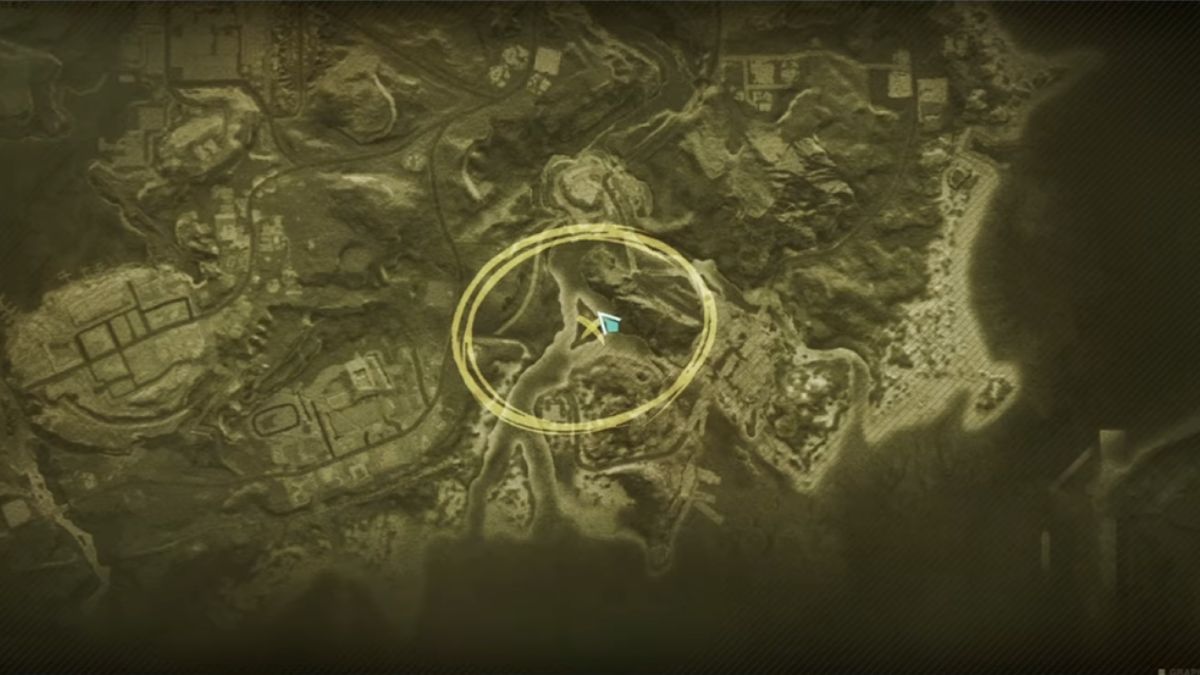
Once Human has a pretty memorable story, but what people love the most about the game isn’t the main quest. The side quests, puzzles and hundreds of other activities spread out around the huge open world captivate the players’ hearts and keep them coming back to the game.
Devious Painting is one of these side activities you can complete for some cool rewards. In this quest, you’ll have to hunt down Devious Paintings in all six regions and interact with them to get a map that you can track down to claim your rewards. In this guide, we’ll walk you through the steps to complete all the Devious Painting puzzles in Once Human. Let’s get started.
How to Complete the Devious Painting Puzzles in Once Human
Completing the Devious Painting side quest in Once Human involves finding all the paintings and hunting down the locations marked on the map.
Here’s how to get to each paintings and loot crate:
Devious Painting #1: Broken Delta
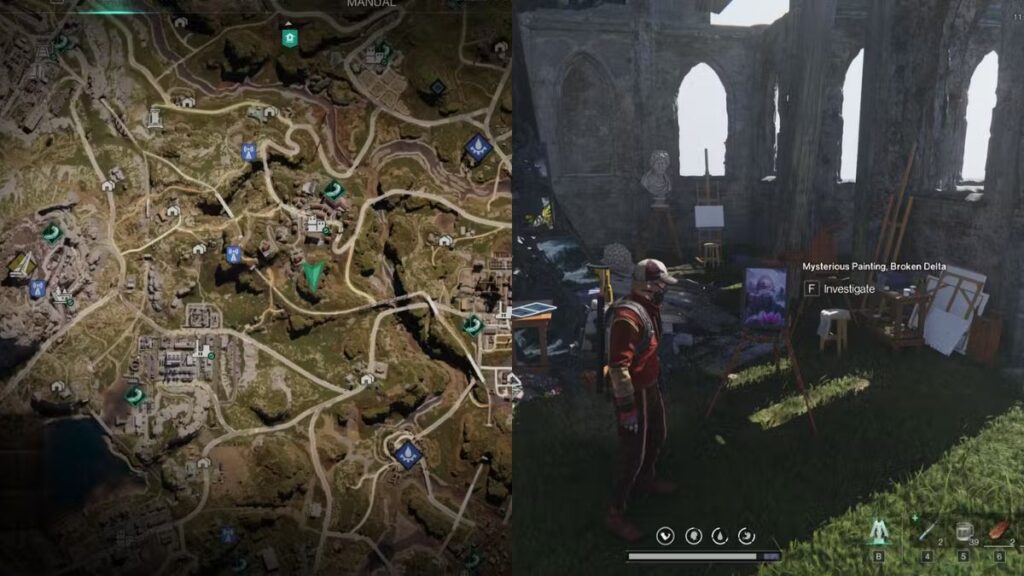
To get the first Devious Painting, head to the Broken Delta region at coordinates 5441,-5963. The location is just northwest of Meyer’s Market. When you get to the spot, you’ll notice an abandoned workshop. Use your Spacetime Skill to get the painting.
To find the location marked on the map, go south from Meyer’s Market and look for a purple glow in the distance. Head towards the glow and interact with it to claim your loot. The exact coordinates are 5744, -6818.
Devious Painting #2: Iron River

The next Devious Painting is located in the Iron River Region. Head north from the Dayton Hospital to coordinates 5889, -4257. Use your Q ability to reach the building and claim the map.
To solve the map location, go to the Mirage Monolith in the same region and head north. The crate will be waiting for you on the side of the road at coordinates 6649, -2540.
Devious Painting #3: Chalk Peak
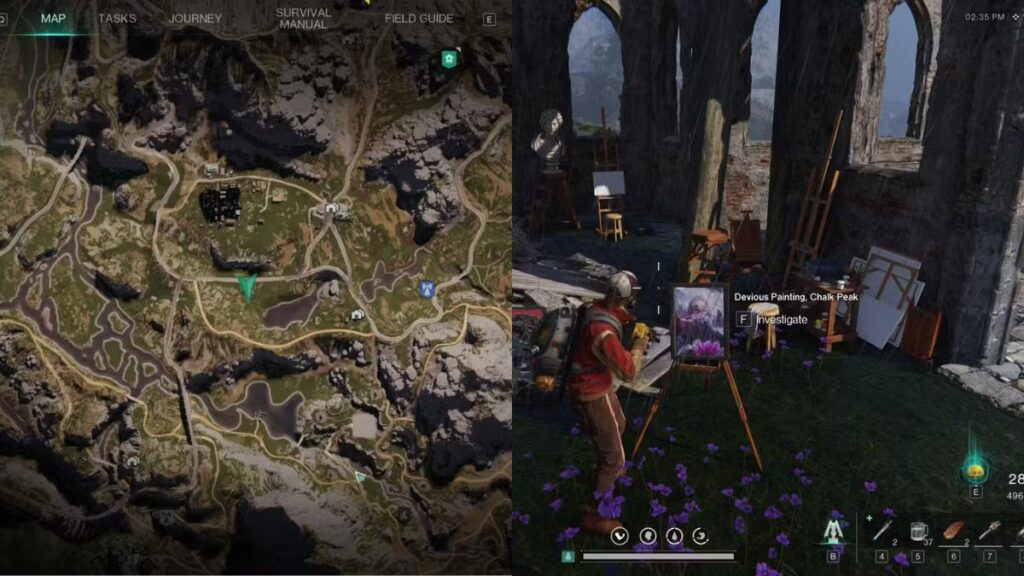
The next Devious Painting is located in Chalk Peak. From the Tall Grass Inn settlement in the region, make your way southwest to coordinates 668, -6165 to collect the map.
Move northeast to coordinates 1936, -5099 from here to find the loot crate.
Devious Painting #4: Red Sands

Red Sands is a late-game region in Once Human, so make sure you bring plenty of firepower. You’ll find the Devious Painting at coordinates 4744, -2131.
Once you retrieve the map, go north to find the loot crate at coordinates 4558, -1093.
Devious Painting #5: Blackheart

For the Blackheart Devious Painting piece, head to coordinates 5374, 142, right by the teleporter, and look for a decrepit building. Go inside and use your Q skill to find the map.
For the loot crate, you want to head north to coordinates 4779, 1480 just east of the White Cliff event.
Devious Painting #6: Dayton Wetlands
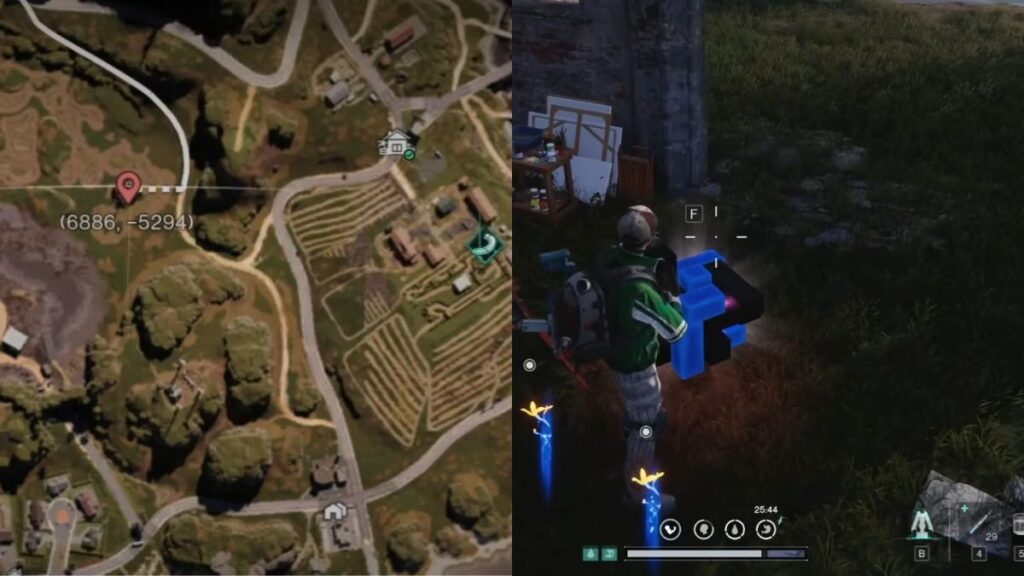
The final Devious Painting location in Once Human is in Dayton Wetlands in coordinates 6886,-5294. You’ll find a broken-down monolith near this location. Head to the building to get the map.
The loot crate for this map is located to the east of the spot near the river. The exact coordinates are 6483, -5794.
For each of the loot crates you uncover, you’ll be rewarded with Controllers, Stellar Planulas, Energy Links, and a random weapon accessory. Feel free to check out our other guides on the game, including How To Get Hug In A Bowl Deviant and How To Get To The Morphic Shop.
