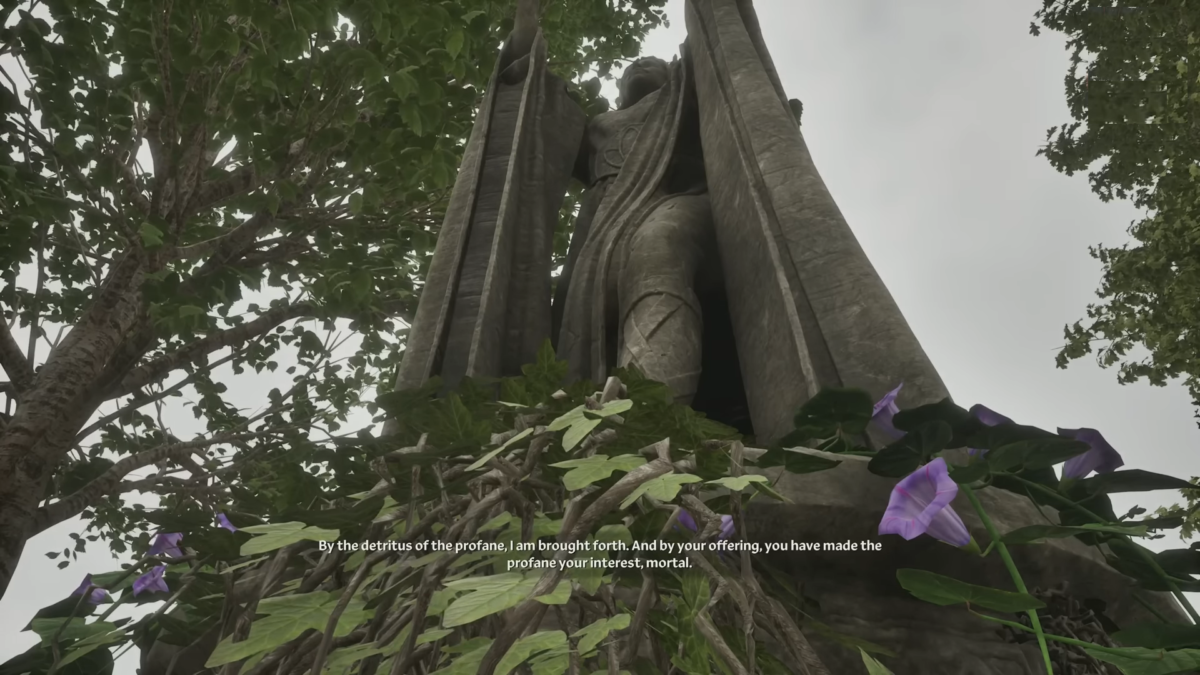
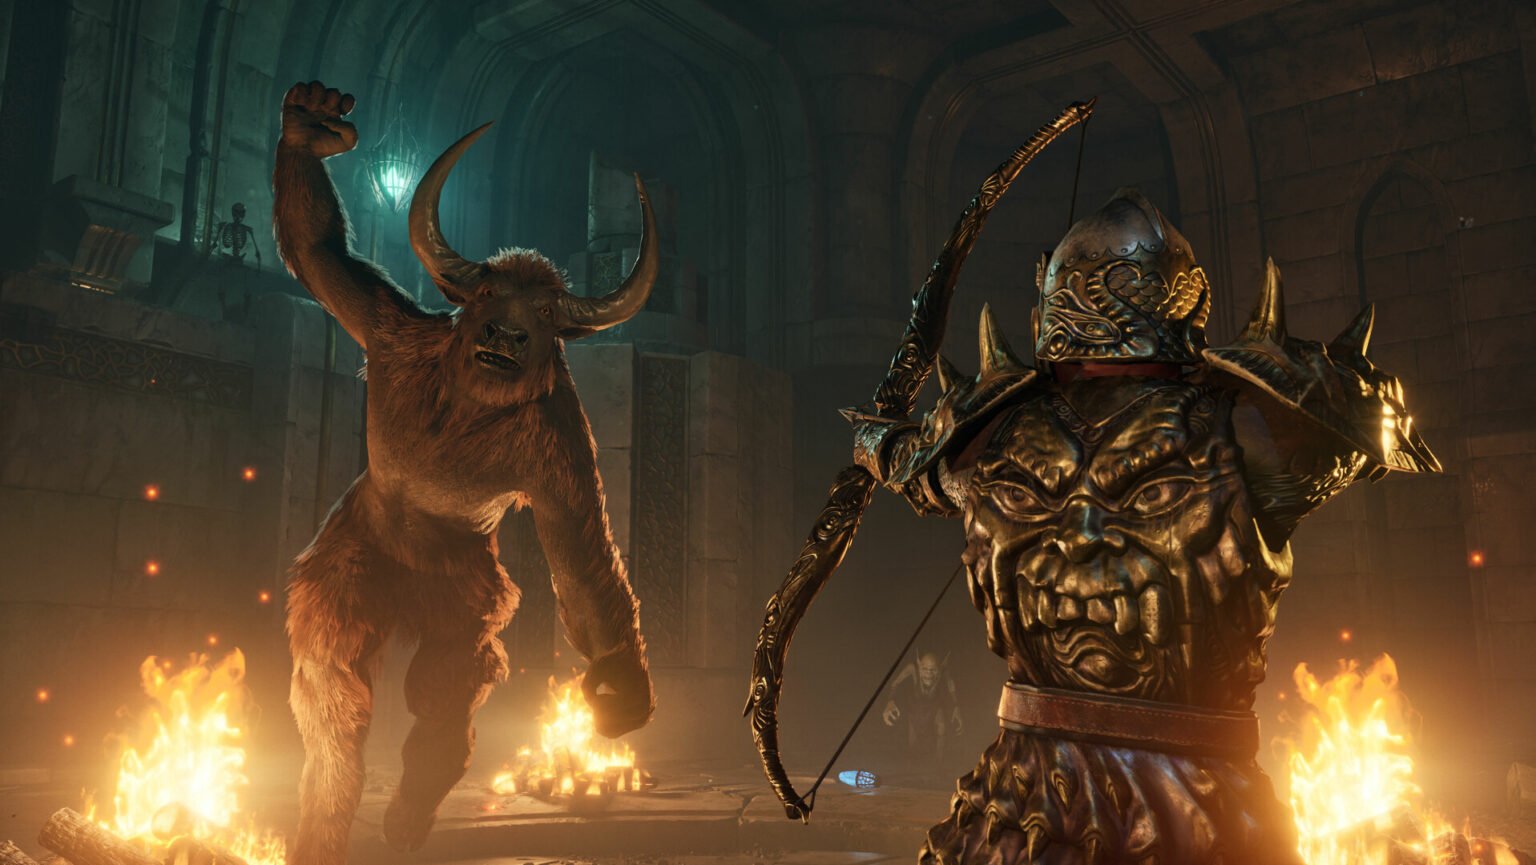
Daedric Artifacts can be a game breaker in any Elder Scrolls game. They are powerful, and some of them can make you feel closer to god. But they will not come easily, all of them are hidden behind quests, you must go out of your way and look for these shrines, and offer specific items to start the quest. Here in the guide, we will give you all the details on finding Daedric Artifacts in Oblivion Remastered.
List of Daedric Artifacts in Oblivion Remastered
Every Daedric Artifact is a reward that is only obtainable after completing a specific Daedric Quest, which has you heading over to a specific shrine and offering items. Each shrine will require specific items and a level attached to it. We have listed out the details on the level requirement and items needed to start the quest.
#1. Azura Star

Fame Gain: Fame +1
Required Level: Level 2
Item Requirement: Glow Dust
Where to Find: Head north of Cheydinhal to find the Shrine of Azura. Here, speak to the NPC Mels Maryon to begin the quest. He will ask you to get Glow Dust samples as an offering to the shrine.
Glow Dust Location: Just kill any Will-o’-the-Wisp found in dungeons. The glowing creatures are immune to normal attacks and poison and use magic. While at the beginning of the game, you won’t be able to take them down, it is better to use magic or hand-to-hand combat to take them down.
- Once you have acquired the Glow Dust, return to the Shrine of Azura either at dusk (5 to 7 AM) or dawn (5 to 7 PM) to make the offering.
- Our next task is to head to Gutted Mine, found southwest of the Shrine of Azura. Get inside the mine, kill all the Vampires. After clearing the mine of vampires, return to Azura at any time to complete the quest. That’s it, now you have an Azura Star in your possession.
Note: When you are going against vampires, the chances of contracting Porphyric hemophilia are higher, which turns you into a vampire. So, make a quick save before entering the mine. Use any fire spell to kill the vampires before they get to land any hit on you.
#2. Goldbrand
Fame Gain: Fame +1
Required Level: Level 20
Item Requirement: Daedra Heart
Where to Find: Head southeast of Cheydinhal, and you will come across the Shrine of Boethia. Here, you must offer the Daedra Heart to the shrine to activate it.
Daedra Heart Location: Take out any Dremora and Xivilai monsters found around the Oblivion gates or inside the gates. It’s not going to be easy taking Dremoras down, you must be at level 20 or more to encounter these enemy types around Oblivion gates.
- Handing the Daedra Heart will trigger the dialogue between you and Boethia. After the dialogue exchange is over, head through the blue portal nearby to enter the challenge area.
- You will spawn in a challenge area, where you must make it through nine rounds of tough battles to earn the title Boethia’s Chosen.
Tip: Pack as many potions as you can before heading through the blue portal. The enemies can be relentless, but you can always use the Lava around the arena to your advantage.
- After defeating the final opponent in the arena, take the portal back to the mainland. Interact with the shrine, and Boethia will give you Goldbrand as a reward for surviving her challenge.
#3. Masque of Clavicus Vile

Fame Gain: Fame +1 or 0
Required Level: Level 20
Item Requirement: 500 Gold
Where to Find: The Shrine of Clavicus Vile is located east of Gold Road. The quest involves a lot of decision-making, and you must complete it to get the last Daedric artifact in the game. Check out our guide to get the artifact and make the best decision in the quest.
#4. Saviour’s Hide

Fame: Fame +1
Level Requirements: Level 17
Required Item: Wolf Pelt or Bear Pelt
Where to Find: Head south of Imperial City, and you will come across Hircine’s Shrine in the Great Forest. Here, speak to Vajhira and tell him that you are a Hunter. She will then ask you to bring a Bear or Wolf pelt as an offering to the shrine.
- Get the pelt either from killing wolves or a bear, return to the shrine, and then you will get the strange request of getting a Horn for a Unicorn in Cyrodiil.
- Head towards Harcane Grove, located southeast of the Shrine of Hircine. You will be facing Minotaurs guarding the Unicorn, you can either kill the Minotaurs to make the fight a bit easier. Or go directly to attack the Unicorn in the middle.
- Take out the Unicorn, get the Horn, and return to the Shrine of Hircine to receive the Saviour’s Hide armor piece. A light armor that comes with a 25% Resist Magic enchantment.
#5. Volendrung

Fame: Fame +1
Level Requirements: Level 10
Required Item: Troll Fat
Where to Find: Head to the Shrine of Malacath on the Gold Coast road, north of Anvil. Here, you will need to offer Troll Fat to the shrine as an offering.
Troll Fat Location: You will be able to find Troll Fat in Alchemy shops, or just by killing any type of troll in the game.
- Our next location is to get to Drad’s Estate, where you must talk to Drad about Ogre slaves. Now you have to make a decision:
- If you go against slavery, you must talk to Lady Drad to learn the information about the Slave Ogre location.
- If you support slavery, then Drad will talk about the location of Ogre’s slaves.
- The final task here is to free the Ogres in the Bleak Mine, located north of Anvil. Lockpick the door and enter the mine, free the ogres. Once freed, they will help you take out the guards in the mine. Now return to the Shrine to get the Volendrung as a reward for quest completion.
#6. Ebony Blade

Fame: Fame +1
Level Requirements: Level 15
Required Item: Nightshade
Where to Find: Head to the Shrine of Mephala, located east of Silver Road, in the Great Forest. Here, talk to Dredena Hlavel NPC to learn about the offerings. She will ask you to offer the shrine Nightshade.
Nightshade Location: You will find an abundance of Nightshade plants in the West Weald area of the game. Another great location would be around the area of Ra’sava Camp.
- After you find the Nightshade, bring it over to the Shrine of Mephala. Mephala will ask you to head over Bleaker’s Way and kill the leaders Hrol Ulfgar and Nivan Dalvilu, and frame the entire crime scene as a family dispute.
- Head over Bleaker’s way, go inside Nivan Dalvilu’s house, and find the Dalvilu Ceremonial Dagger.
- Now go to Hrol Ulfgar’s house and get the Ulfgar Family Ring.
- After all the stealing is done, you can now kill both of them, plant the Dalvilu Ceremonial Dagger in the body of Hrol Ulfgar, and plant the Ulfgar Family ring in the body of Nivan Dalvilu.
- After planting the evidence, talk to the family members of both Hrol and Nivan’s sides. Make them hate each other and leave for the Shrine of Mephala and receive the Ebony Blade as a reward.
#7. Ring of Khajiiti

Fame: Fame +1
Level Requirements: Level 10
Required Item: Ectoplasm, Bone Meal, or Mort Flesh
Where to Find: You must get to the Shrine of Meridia to start the Daedric quest to get the Ring of Khajiiti. We have a quick and simple guide to help you find the Ring of Khajiiti as easily as possible.
#8. Mace of Molag Bal
Fame: Fame +1
Level Requirements: Level 17
Required Item: Lion Pelt
Where to Find: You will find the Shrine of Molag Bal west of Imperial City, in the middle of the Great Forest, southeast of Hackdirt. Here, talk to Amir, he will ask you to offer a Lion Pelt as an offering to the shrine.
Lion Pelt Location: Just kill any random mountain lions in the area to get the pelt, you will also find it inside random loot sacks. The spawn rate of the mountain lion goes up when you are above Level 15. After making the offer to the shrine, Molag Bal will ask you to entice a pacifist Melus Petilius to hit you with a Cursed Mace.
- You will find Melus Petilius near his wife’s grave between 10 in the morning and noon. Melus will be spending his time near his wife’s grave.
- Before you start to attack him, you must drop the Cursed Mace on the ground near Melus. Now, cast an aggressive spell or just hit him with your bare fist.
- After taking a few blows, Melus will grab the Cursed Mace on the ground and start to attack you. Here, don’t try to heal, your job is to take all the hits until you die.
- When you die from the Cursed Mace attacks by Melus, you will respawn at Molag Bal’s Shrine and receive the reward Mace of Molag Bal.
#9 Ring of Namira

Fame: Fame +1
Level Requirements: Level 5
Required Item: Lower your personality below 20
Where to Find: Head to the Shrine of Namira, located southeast of Bruma. Once you are in the location, talk to Hjolfrodi the Harrier. You will not need any offering item to interact with the shrine, instead, you must drop your Personality to 20 pts or lower.
Tip: You can lower your personality to 20 or lower by drinking Cheap Wine found in any Inn.
- Once down to 20 on Personality, head to the Shrine of Namira and interact with it. Namira will hand over Namira’s Shroud spell, and she will ask you to go over to an Ayleid Ruin Anga found south of the Shrine of Namira.
- Inside the Ayleid Ruin, select Namira’s Shroud and cast on any Priest of Arkay found in the ruins. Here, you should let Forgotten kill them. Once the Forgotten kills four priests, you can return to Namira’s Shrine and receive the Ring of Namira as a reward.
Note: Don’t kill the Priest of Arkay by any weapons, you don’t kill them or you will not receive the reward at the end.
#10. Skeleton Key

Fame: Fame +1
Level Requirements: Level 10
Required Item: None
Where to Find: Head to the Shrine of Nocturnal, found west of Leyawiin. Here, you must recover the Eye of Nocturnal from thieves and bring it over to the shrine to get the Skeleton Key as a reward. We have an easier guide to help you find the Skeleton Key quickly without any hassle.
#11. Spell Breaker

Fame: Fame +1
Level Requirements: Level 10
Required Item: None
Where to Find: You will find the Shrine of Peryite south of Silverfish River. Around the shrine, you will find five worshippers, but all of them are frozen. Here, interacting with the altar in the middle, Peryite will speak to you and ask you to go to the realm of oblivion and rescue the souls of his followers who are frozen.
- You will get transported to the Realm of Peryite. Here, you must recover five souls before heading back to Cyrodiil. The best way to handle the area is to follow the smoke trail, since the island is in a circular shape. You will easily find the smoke trail leading you to the souls you need to rescue.
- Here, you must rescue the souls of Kewan, Maren the Seal, Romayn, Mirie, and Er-Teeus.
- Each soul is located next to a bonfire, so follow the smoke trail, find the soul, free it, then immediately move to the next one. After you have recovered five souls, you must head back to the original location of the island, where Peryite spawned you.
Here, you can use the gateway to head back to Cyrodiil and be rewarded with the Spell Breaker that comes with a 30% Spell Reflection enchantment.
#12. Sanguine Rose

Fame: Fame +1
Level Requirements: Level 8
Required Item: Cyrodilic Brandy
Where to Find: Locate Shrine of Sanguine, northwest of Skingrad. Here, talk to Engorm, and he will ask you to offer Cyrodilic Brandy as an offering to the shrine.
Cyrodilic Brandy Location: You will find the brandy in the houses of many Noblemen in the city. You can also buy the Cyrodilic Brandy at The Lonely Suitor Lodge down in Bravil.
- After offering the Cyrodilic Brandy to the Shrine of Sanguine, the next objective is to get to Castle Leyawiin to attend a Dinner Party. To enter the party, you will need an invitation.
- Just wear a valuable dress and jewelry, and you will fit right in with the crowd. Having a good disposition with the guard outside the castle will help you let you in the party.
- Make a quick save before heading inside. Once you are inside, wait till all five people in the dining room, then cast the Stark Reality spell on all five people to prank them. All five members will be stripped down to their undergarments, which includes you. All of your money is gone, along with everything else.
The guards will get inside and try to arrest you for causing the debacle. Here, you make a run for it, or you can spend some time in prison. Just run to the Shrine of Sanguine, where you will receive your lost possessions and the Sanguine Rose as a reward.
#13 Wabbajack

Fame: Fame +1
Level Requirements: Level 2
Required Item: Lettuce, Lesser Soul Gem, and Yarn
Where to Find: Head over to the Shrine of Sheogorath, found northwest of Leyawiin, nearly at the border of Elsweyr. Here, talk to the NPC Ferul Ravel to learn about the offerings to the shrine. You must bring over Lettuce, Lesser Soul Gem, and Yarn.
Location of Lesser Soul Gem: Head over to any local mage’s guild to find the Lesser Soul Gem. Lettuce and Yarn can be found in many houses.
Return to the Shrine of Sheogorath and make the offering. We will get a quest leading us to Border Watch, located south of the Shrine of Sheogorath. Get inside the Border Watch settlement, talk to Ri’Bassa, and let him know that you are a Travelling Scholar. Get the disposition to 60 or more, and he will start talking about the Three Signs of prophecy.
- First Sign: Head to Border Watch Inn, inside, steal the Olroy Cheese from the display on the right. You can steal the key from the innkeeper or lockpick the display case at night, or kill the innkeeper to get the key and the cheese.
- Head to the center of the town, and add the Olroy Cheese into the cooking pot. This will make the giant rats show up. This sudden turn of events will make Ri’Bassa place Rat Poison bait around the area to fend off the rats. Pick up any one of the rat poisons Ri’Bassa has set up.
- Second Sign: Take the rat poison, head to the sheep’s pen past the inn in Border Watch. Now add the rat poison inside the feeding trough. Which will poison all the sheep, and they will die from eating the food from the feeding trough.
- Third Sign: It is the simplest one; head to the center of the town, and look up at the sky until the sky turns a dark orange hue. Soon, flaming dogs will start to fall from the sky.
That’s it, now head back to the Shrine of Sheogorath, you will get Wabbajack as a reward for causing chaos at the Border Watch.
#14. Skull of Corruption

Fame: Fame +1
Level Requirements: Level 5
Required Item: Black Soul Gem
Where to Find: Travel to the Shrine of Vaermina, southwest of Cheydinhal. Here, talk to Aymar Douar, and you will get asked to offer a Black Soul Gem as an offering to the shrine.
Black Soul Gem Location: Head to Howling Cave and take out any Necromancer bosses; they have a 25% chance of carrying a Black Soul Gem. Another method includes crafting it, you must have a Grand Soul Gem and then take it to the Necromancer Altar found in Fort Linchal or Istirus. Once you place the empty Grand Soul Gem on the Altar, cast the Soul Trap spell to transform the gem into a Black Soul Gem.
- Now our job is to steal an orb found in Arkved’s Tower. The tower is located southwest of Cheydinhal. Get inside the tower, kill anyone who gets in your way until you reach the Arkved’s Death Chamber. Here you can grab the orb off the table in the room and leave. You can leave the room via the trapdoor inside the Arkved’s Quarters.
That’s it, now return to the Shrine of Vaermina to get the Skull of Corruption as a reward.
#15. Oghma Infinium

Fame: Fame +1
Level Requirements: Level 20
Quest Requirements:
- You must complete all 14 Daedric Shrine quests that list include the Clavicus Vile quest.
- You need to have completed the “Blood of the Daedra” quest.
Where to Find: The Shrine of Hermaeus Mora can be found northwest of Imperial City, within the Jerall Mountains region. Here, Hermaeus Mora will task us to capture the souls of ten different races in Cyrodil. He will hand us a Hermaeus Mora’s Soul Gem and Soul Trap spell to carry out the task.
You must capture: Altmer, Argonian, Breton, Bosmer, Dunmer, Imperial, Khajiit, Nord, Orc, and Redguard.
Best Place to Find The Races:
Most Daedric Shrines will have a variety of worshippers, you will come across people from a wide variety of races hanging around the shrine. Since you have already completed all the Daedric quests, you can kill the worshipper and trap their soul in the Soul Gem. They will not put up any fight, since most of them are common citizens without holding any weapons.
You must cast Hermaeus Mora’s Soul Trap spell first, before killing the desired NPCs. After your kill, the soul will get locked inside the Soul Gem. One of the best spots for hunting the NPCs will be Peryite Daedra Shrine, southeast of the Imperial City. If you are missing a Race here, you can head towards any of the Daedric shrines mentioned above.
Once you have gathered all the souls, you need to head back to the Shrine of Hermaeus Mora to get the Daedra artifact Oghma Infinium. When you read the book, you will get three options: Spirit/ Shadow/ Steel. Choosing a path will raise two of your attributes and three skills by 10 points.


