

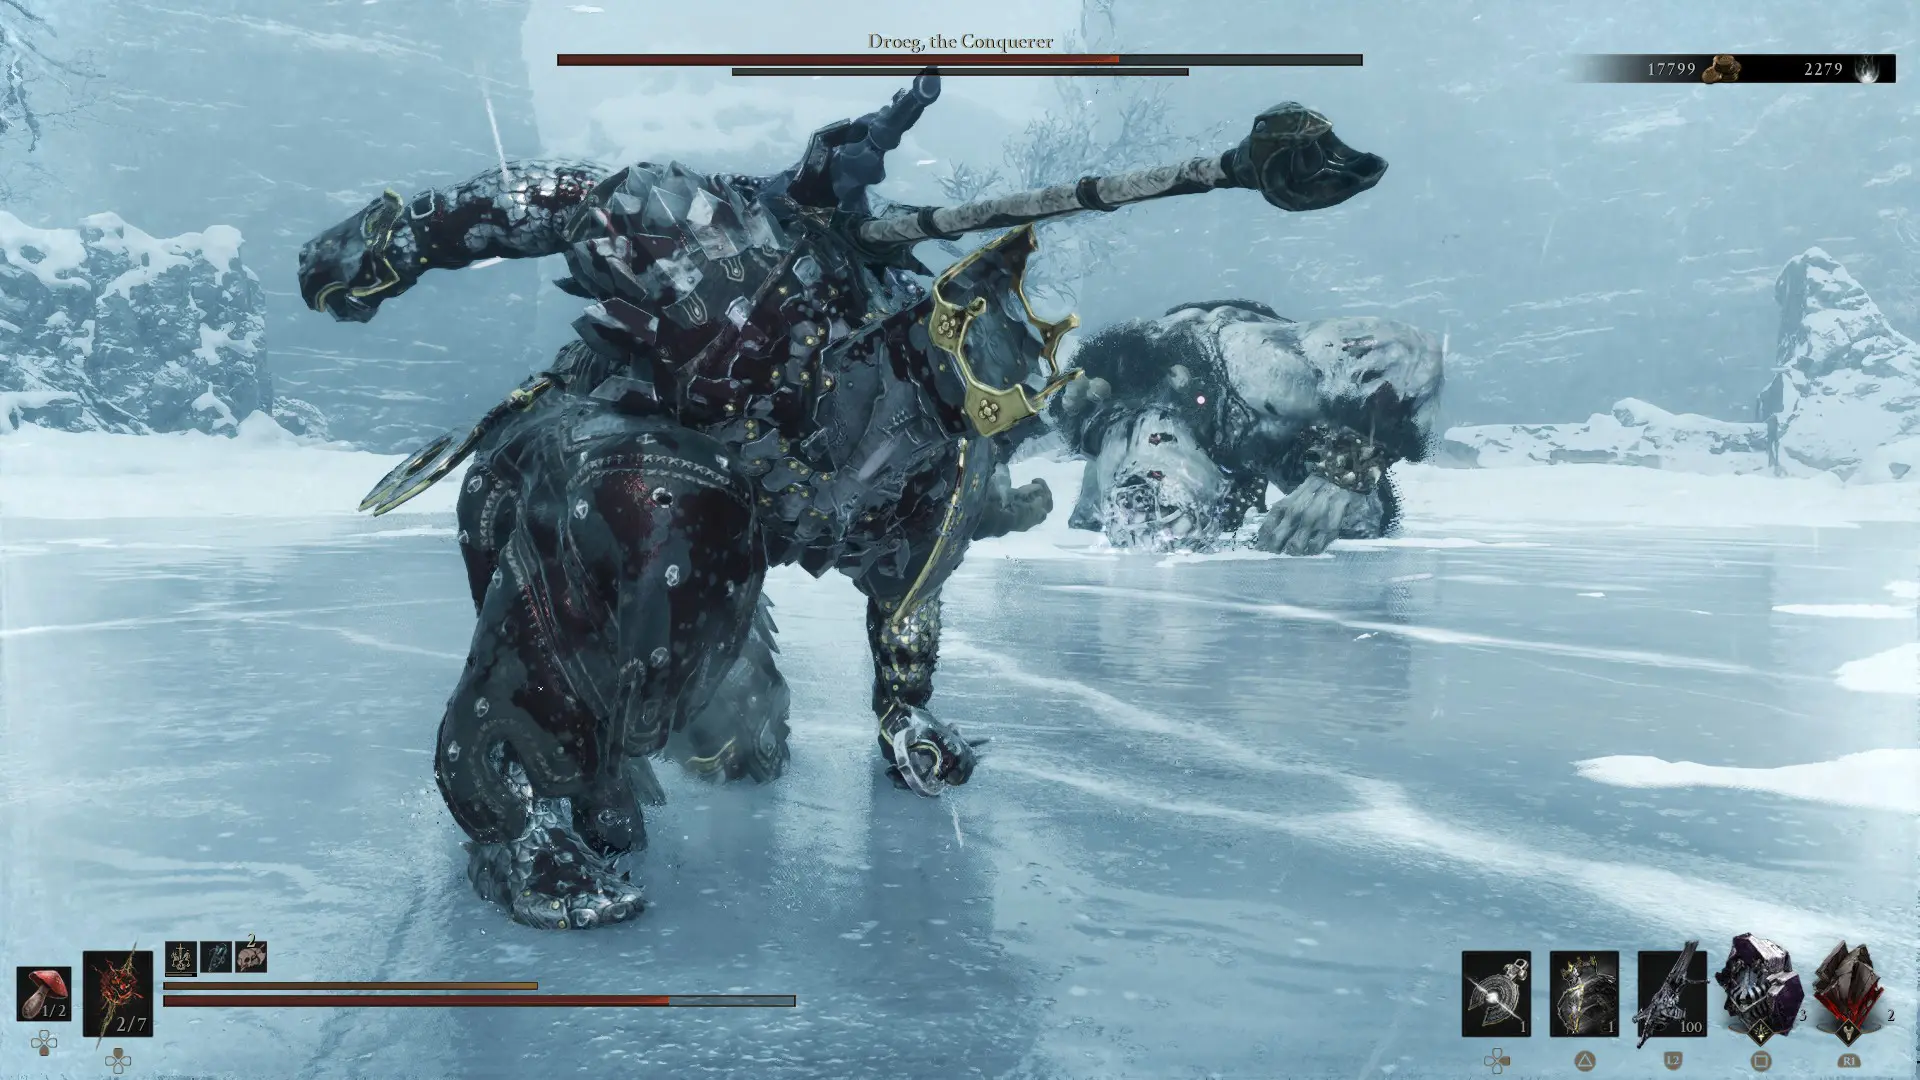
Mortal Shell 2 has made massive improvements from it’s first entry, while still maintaining its strongest pieces. Alongside the phenomenal presentation and theming of the original Mortal Shell, Mortal Shell 2 brings back one of the original game’s shells, Eredrim. If you want to all in on Break Damage, Freezing, and making the most of Ripostes, you’ll want to take a look at the Mortal Shell 2 Best Eredrim Build.
Eredrim is an absolute bruiser, shrugging off blows and beating down every enemy he comes across. With just a single skill he can deal huge damage to Frozen foes, and his entire tree has plenty of powerful options. With his unique Slaughterer buff, Eredrim can execute enemies once they fall under certain HP thresholds, and build up his own defenses.
If you’re all about parrying, staggering, and proving your superiority over the enemy, read on to learn the perfect way to build Eredrim. He’s my current focus when it comes to learning, since Parrying is unique for every enemy. It’s been so satisfying to put him together though, let me show you!
Eredrim’s Best Abilities
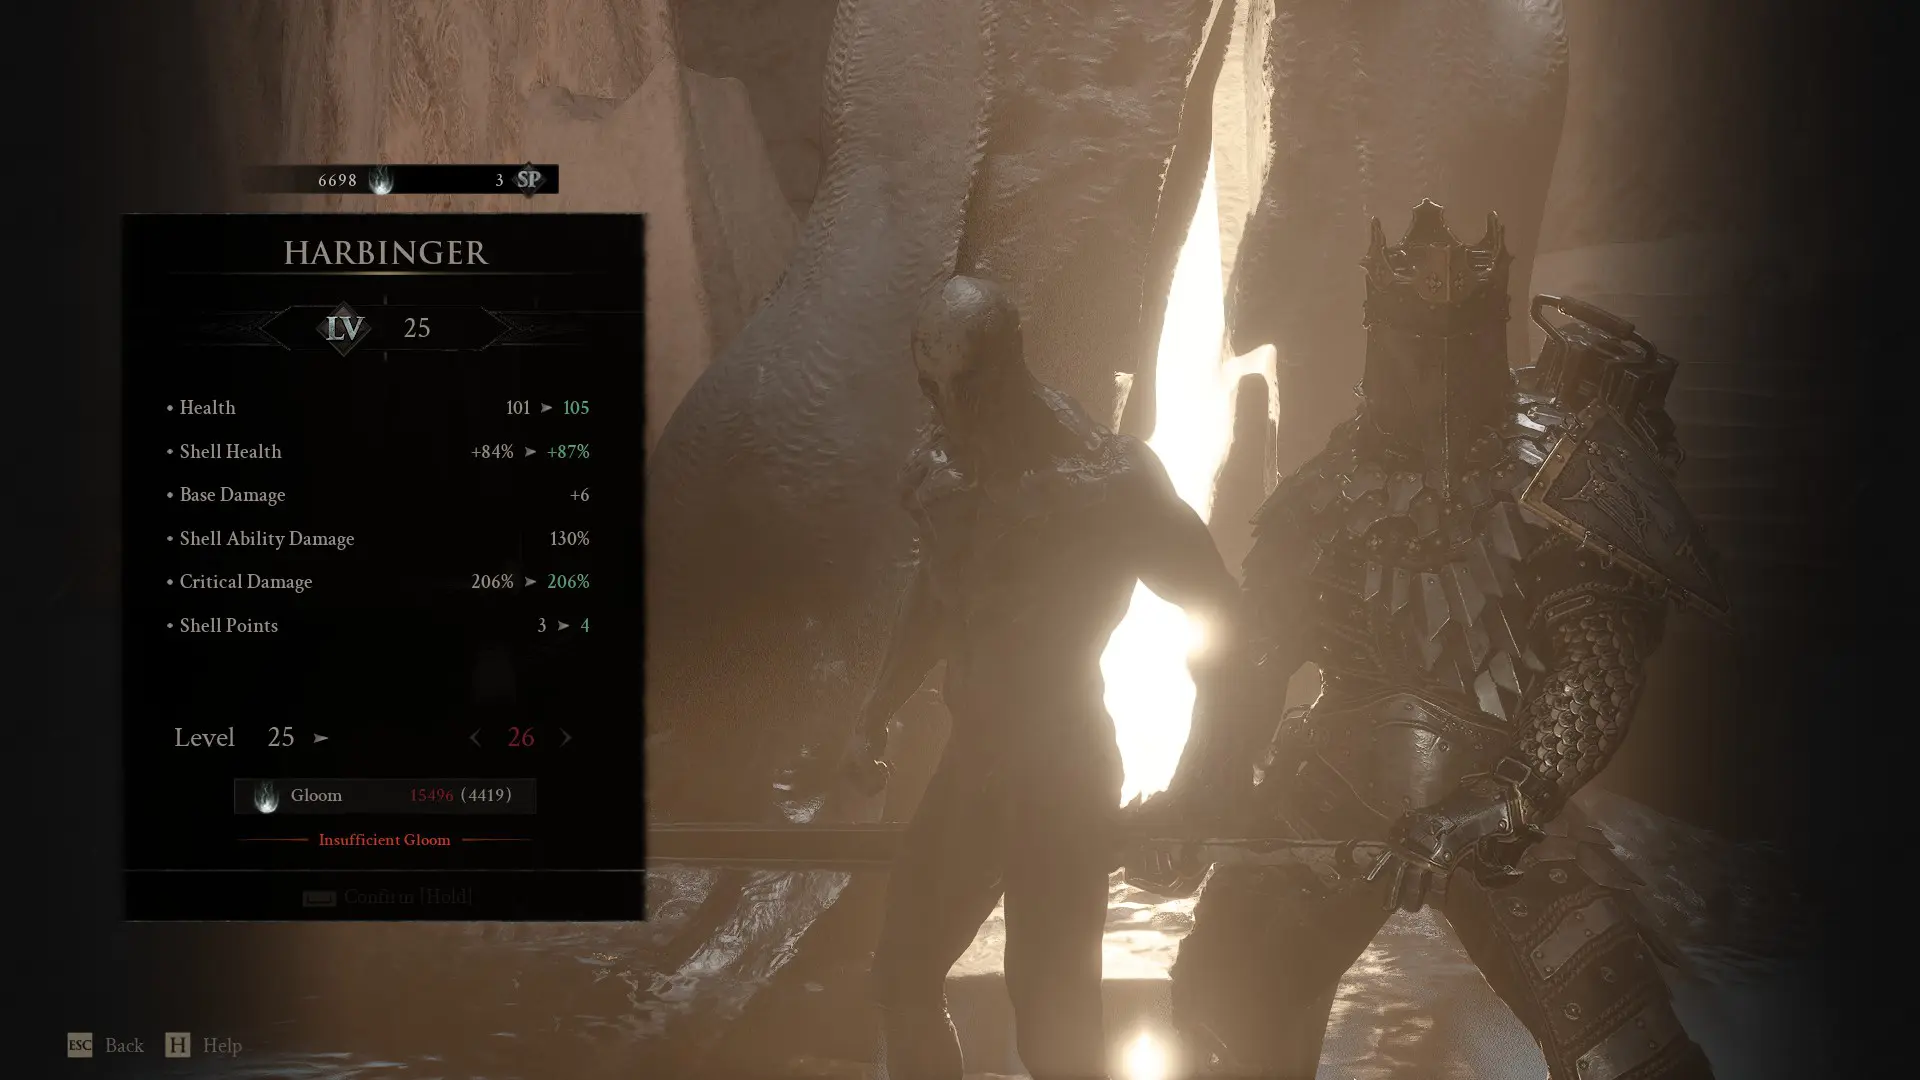
We’ll start by checking in with Zhirelle, the Shellkeeper, in order to set up Eredrim’s Shell Abilities. Eredrim is all about taking the enemy’s force and redirecting it back at them, punishing them for crumbling. With all these options, it’s a little intimidating to get started, but I’ll walk you through!
Eredrim is best when focusing on his excellence at Breaking enemies down and building up his Slaughterer stacks. For each stack of Slaughterer, Eredrim raises the low HP threshold required to execute enemies, instantly killing them if they fall low enough.
While he has the smallest interaction with his element of any of the Shells, leveling his one Frost skill to gain an immunity to Frost is a godsend, especially when clearing the Conquered Temple. He additionally deals double damage to frozen foes. Easy enough to proc, without focusing to hard on the element.
Additonally, Eredrim has 2 active abilities, a chargable Shoulder Bash that deals huge Break Damage, and an Ethereal Diapason that sends out a shockwave to Stagger and deal Break Damage. Both are great for forcing Ripostes and keeping a lock on multiple enemies.
| Shell Upgrade | Shell Points Spent | Effect |
| Alacrity | 10 | Shoulder Bash charges 30% faster, both Shoulder Bash and Ethereal Diapason cost less Resolve, and when you kill an enemy with a Riposte, all of Eredrim’s abilities are free for 8 seconds. |
| Massacre | 6 | Ripostes grant 3 Slaughterer stacks, and killing an enemy with a Riposte grants a full 10. |
| Apathy | 6 | Eredrim gains Frost Immunity and deals 200% damage to Frozen enemies. |
| Tank | 6 | Each Slaughterer stack provides 0.2% damage reduction. |
| Radiance | 1 | Ethereal Diapason deals 30 damage and 50 Break Damage to all enemies. |
| Persistence | 3 | Eredrim only loses 50% of his Slaughterer stacks when resting and being Severed from the Shell. |
| Seal Affinity | 6 | Eredrim has a wider Parry window, and deals +35% damage on Riposte. |
With this loadout, Eredrim becomes a force to be reckoned with, shrugging off plenty of damage and opening up the hardiest foes in record time. Frost up an enemy, batter them down, and stun them on loop to leave them reeling.
Eredrim’s Best Gear
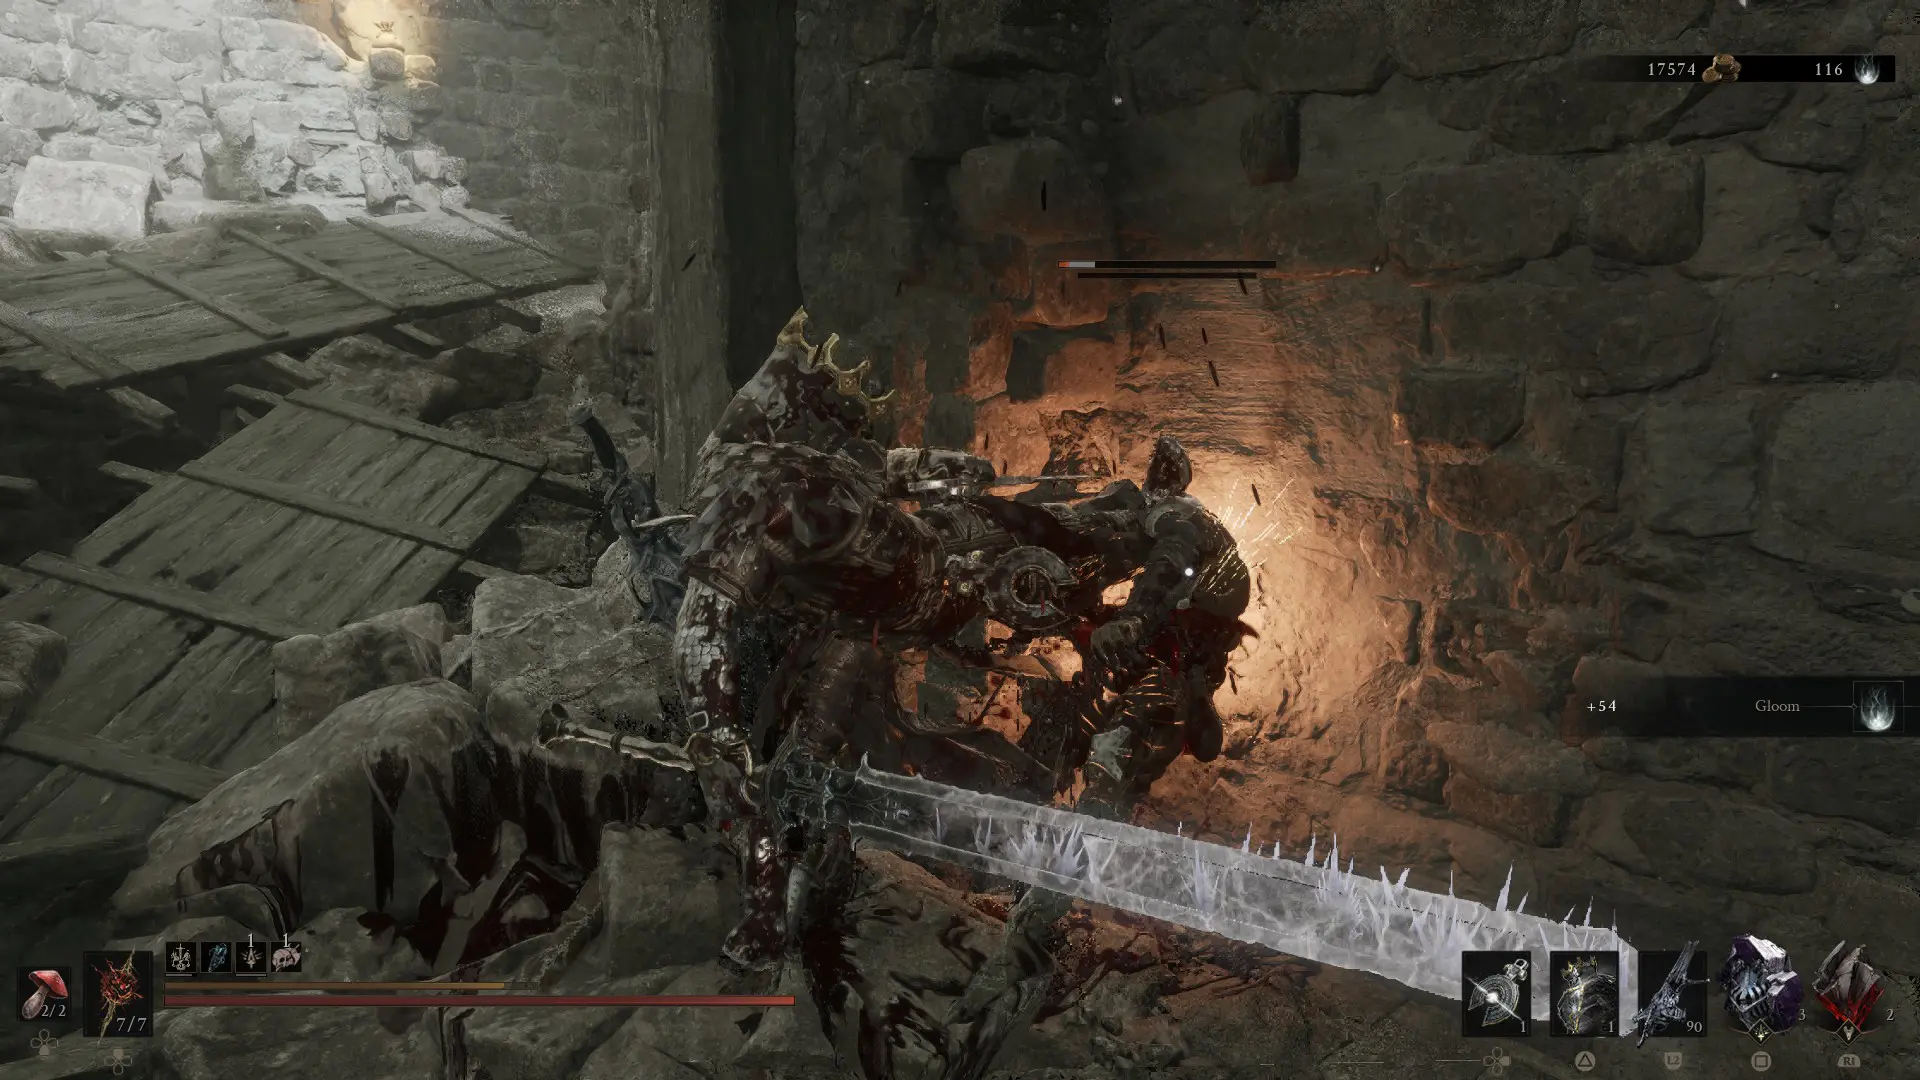
For weapons, each Shell has a best in slot that feels designed for them, and the Eredrim is no different. He’s all about massive damage and chipping through the Break Gauge, punishing any flinch with devastating pain. I love the skill expression on this Shell, and I can’t recommend him enough if you like a challenge.
For Eredrim’s Weapon, the Great Martyr’s Blade is the only melee weapon with a Frost infusion, making it a great choice inately. It also has great range once you get used to it’s oddly poke focused moveset, with solid damage to back it up and stellar Frost affliction once infused.
When it comes to Sidearms, this is a situation where the Triarch Repeater is a great option, not just for it’s Frost Infusion, but it’s Break Damage application. With the proper supporting Tarstones, Eredrim can turn the sheer barrage of bullets into a potent tool for chipping down the enemy Break Gauge from a safe distance.
For Eredrim’s Seal, its a choice between the Untarnished and Infinite Seals, both of which enable parries. The Infinite Seal provides better Break Damage, but only Parries, no blocking. This makes the Infinite Seal far more dangerous, so I recommend the Untarnished Seal for general play. It’s what I use!
Eredrim’s Best Tarstones
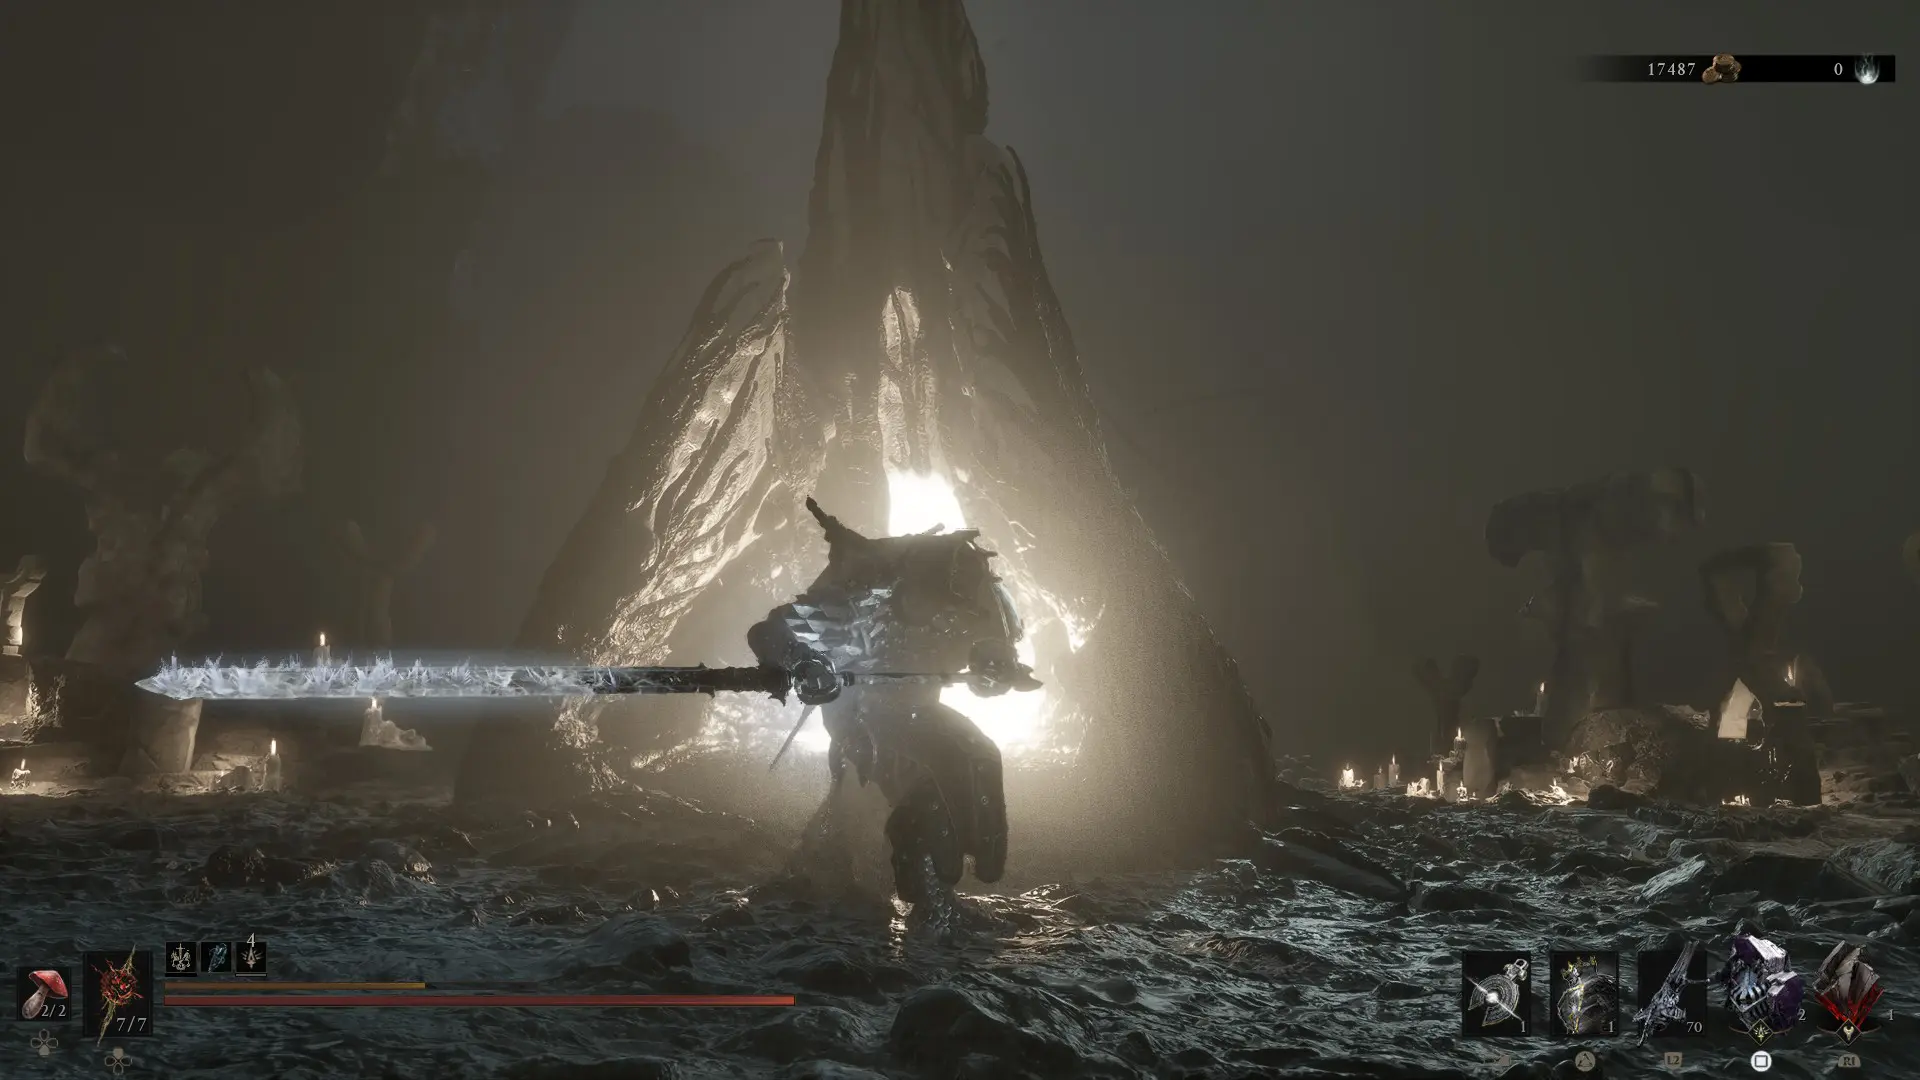
Now it’s time for the Tarstones, each of which is incredibly important to enable Eredrim’s proper strengths. These active and passive effects manipulate how each part of a Shell’s kit functions, enabling the weak and turning the powerful tools into absolute gamechangers.
Passive Tarstones
| Tarstone Name | Effect |
| Retribution Stone | Increases Riposte Damage by 20% |
| Headsman’s Stone | Increases Melee Crit Damage by +100% |
| Auspicious Stone | Increases Melee Crit Chance by +18% |
| Marksman’s Stone | Increases Ranged Crit Chance by +15% |
Combat Tarstones
| Tarstone Name | Effect |
| Clerik’s Stone | Heavy Combo gains a new finisher with increased Crit Chance. |
| Rupturing Stone | Ranged critical hits deal Break Damage. |
Tarstone Infusions
| Tarstone Name | Effect |
| Warden’s Stone | Consume 30 Resolve to infuse the Great Martyr’s Blade with Frost. |
| Frostshard Stone | Consume 20 Resolve to infuse the Triarch Repeater with Frost. |
Tarstone Abilities
| Tarstone Name | Effect |
| Acolyte’s Stone | Consume 40 Resolve to bury the Great Martyr’s Blade into the ground. If Infused with Frost, the attack launches a wave of ice. |
| N/A | At current, the Triarch Repeater doesn’t have any Ability Tarstones. |
With this loadout, Eredrim can easily tear through Frozen enemies, staggering anyone who doesn’t succumb to the cold and tearing them down from range. Look Ripostes for massive damage at every possible opportunity.
Now that you’ve got Mortal Shell 2’s Best Eredrim Build, make sure you’ve scouted out every inch of the Marrow Keep, just in case. Eredrim not your flavor of frontline? Why give our Proxima guide a peek? She’s your Shell if you want Lightning and true stunlocks.
