

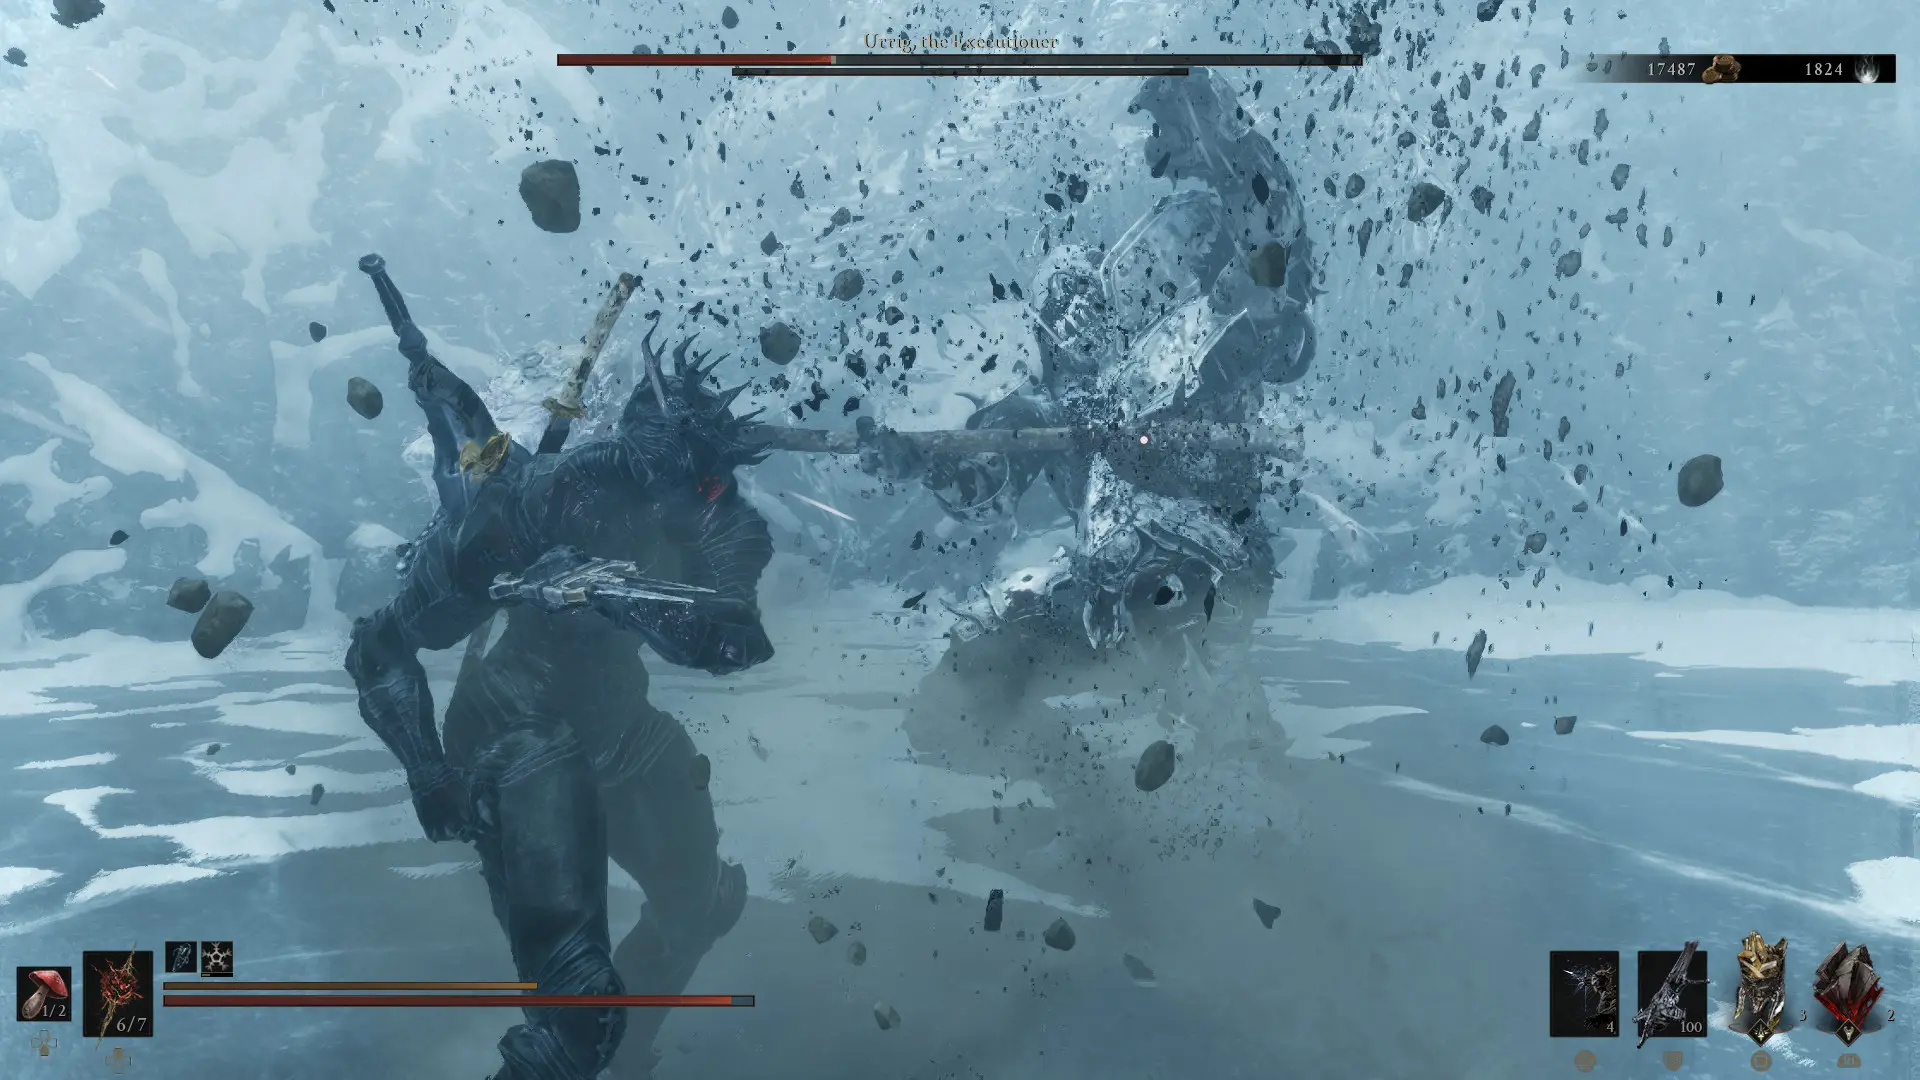
In Mortal Shell 2, the playable Shells vary heavily in playstyles and game plans. We’ve got rogues, summoners, and a wide variety of front line warriors. Proxima is one of the later, a Lightning based fighter who can force even bosses to stagger on demand. I’ve put together Mortal Shell 2’s Best Proxima Build, weapons, abilities, and Tarstones all.
Proxima is a fun, fast version of a bruiser- almost the opposite of Eredrim in Mortal Shell 2, getting bonus AOE control thanks to her mastery of Lightning damage, scaling permanent damage buffs against certain enemies, and the best Coin farm grind in the game. She’s a fantastic all arounder, and a great pick to stick with considering how early you can find her.
Sneaking and shanking is one thing, but sometimes superior tech is all it takes to turn the tide. Let’s drag the enemy close and figure out exactly how Proxima likes to dismantle them.
Proxima’s Best Abilities
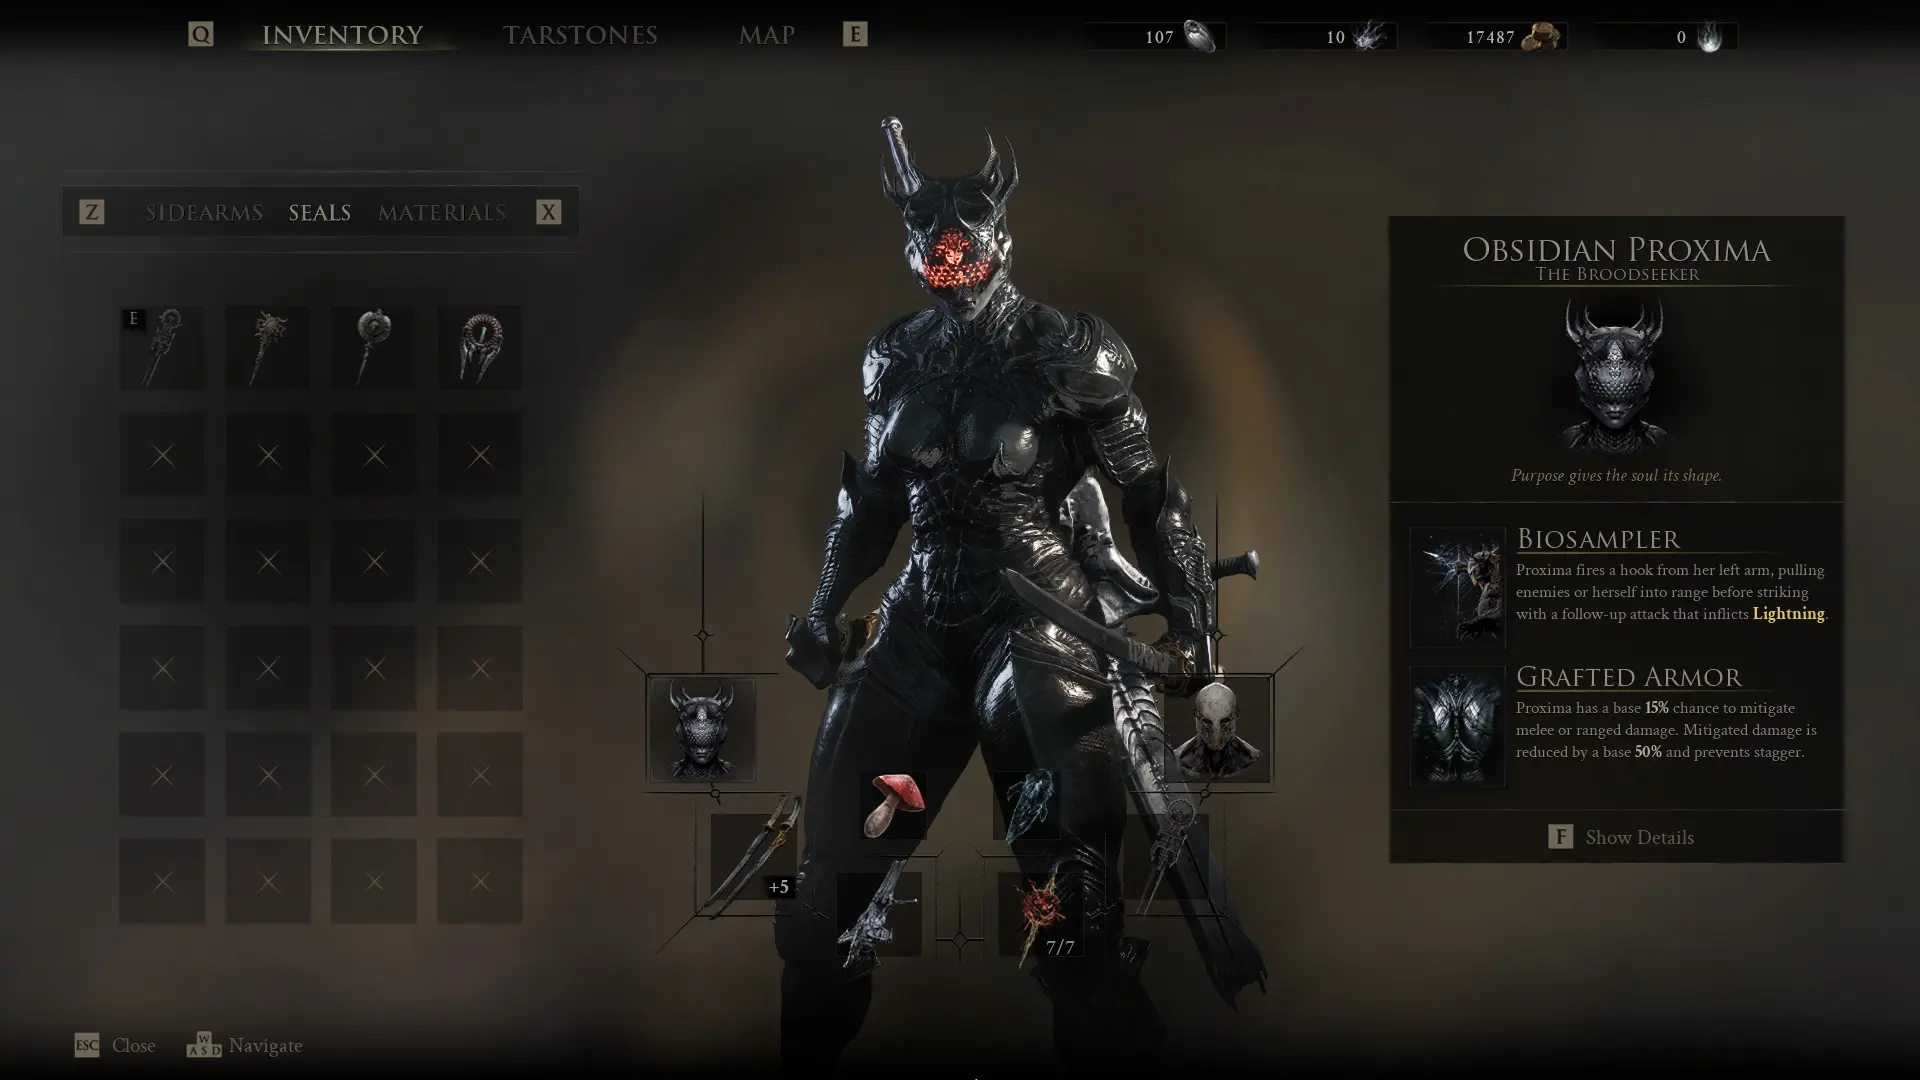
Zhirelle is our first stop, where Shell Abilities can be bought and resold. After you finalize your Bond with Proxima, you’ll be able to select skills from any of her four tiers, each of which have massive passive and active upgrades for her kit.
I had the best time focusing on magnifiying the power of Proxima’s already great Biosampler, an active ability that can instantly stagger almost any enemy on demand. With upgrades, Proxima will never flinch while casting it, and she can trap the enemy in a Stasis field, opening them up to follow-up attacks.
Uniquely, her Biohunter upgrade lets her stack permanent damage buffs against certain enemies, as long as she takes the time to sample them individually. With the following abilities, Biosampler becomes a cheap, easy to operate nuke that leaves the enemy stumbling for any kind of follow-up, while Proxima heavily buffs any Lightning she’s brought along with her.
| Shell Upgrade | Shell Points Spent | Effect |
| Ampereon | 6 | Proxima gains Lightning Immunity, and her Shock damage and radius is doubled. |
| Exoshell | 1 | Proxima gains +100% chance to activated Grafted Armor while using Biosampler |
| Biohazard | 10 | Biosampler deals 180% damage and inflicts 5 bonus Lightning stacks |
| Biohunter | 6 | Proxima gains a 1% damage buff every time she Biosamples an enemy, permanently. This stacks up to 30%. |
| Seizure | 3 | Biosampler inflicts 20 stacks of Stasis, 50 splash damage, and 100 stagger damage. |
| Discharge | 6 | Biosampler knocks back enemies hit and triggers a Lightning Storm. |
Additionally, if you’ve got bonus Points, consider Collector, an Ability that lets you scavenge sellable samples from defeated enemies. Each sells for about 250 Coins, and when fully upgraded, every enemy has a 25% chance to drop you. This can easily spiral, giving you a full coffer in no time at all.
Proxima’s Best Gear
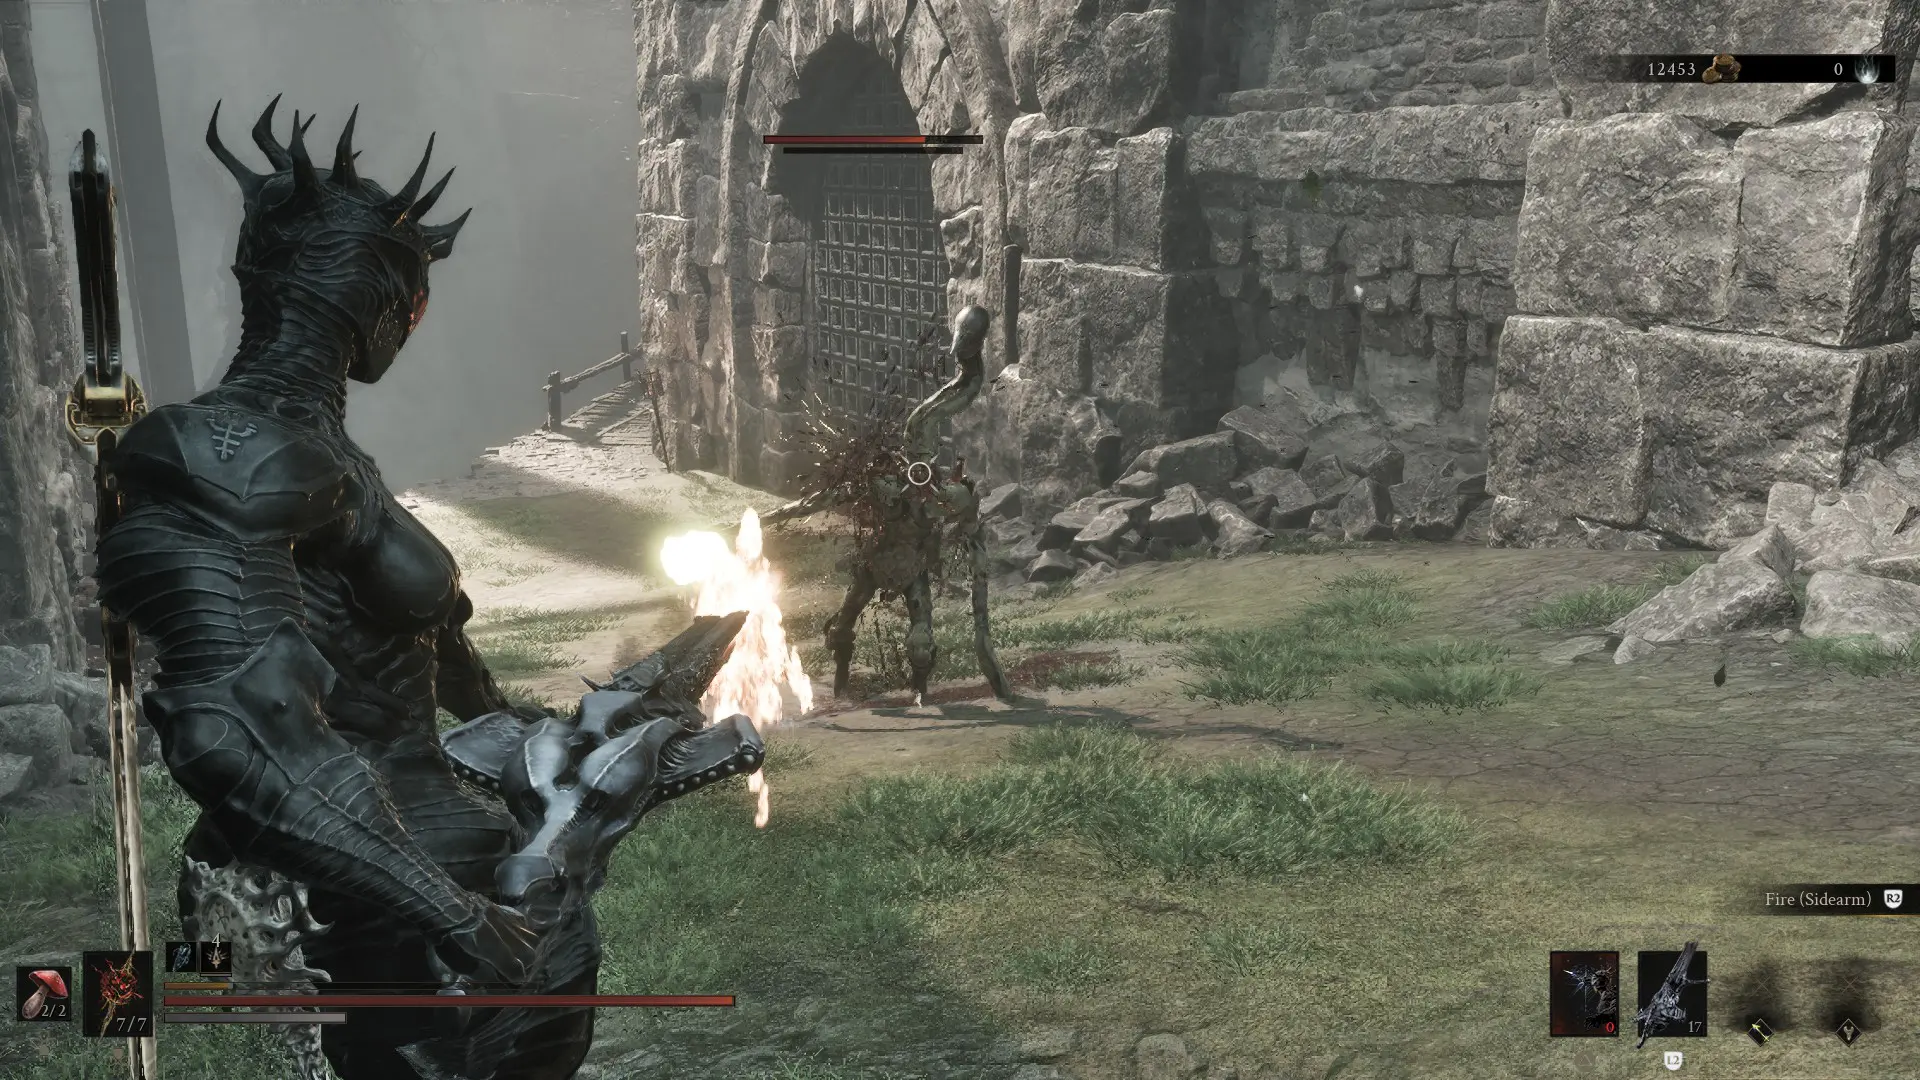
When it comes to the tools of the trade, Proxima wants to hit hard and fast over and over. She handles quick weapons like a dream, rapidly applying and detonating her Lightning bursts so the enemy never gets a chance to breath. I love supplying her with Stagger and Break Damage, while keeping the Lightning up 24/7.
When it comes to her Weapon, the Axatana works wonders for Proxima, and while I may prefer the Axe and Dagger as a weapon, only the Axatana fits our purposes and can be infused by the Voltaic Crown Tarstone, a keystone of this build.
For Proxima’s Sidearm, we have two choices, the Triarch Repeater and the Salvaged Trebuchaxe. The Triarch Repeater is absolutely best in slot for pure projectiles down range, functioning like a chaingun in any other game, while the Trebuchaxe has much more damage per shot. It even has an Ability Tarstone to fire a barrage of projectiles, perfect for crowds. Generally, the Triarch Repeater is better for an easy slot in, so let’s stick with that.
The Seal is up to preference, but with how easily Proxima can loop staggers and stuns, the Untarnished Seal works great. Plenty of enemies have weaker, telegraphed wake up attacks when they’re trying to get back on their feet, which the Untarnished Seal can easily handle.
Proxima’s Best Tarstones

With the implements decided, we’re on to the final touch, the Tarstones! Tarstones come in a variety of passive and active effects, each of which can seriously add up to a monstrous build once you’ve got everything laid out. Every Tarstone discussed below will be shown at full strength, so make sure you’re keeping yours up to date!
Passive Tarstones
| Tarstone Name | Effect |
| Retribution Stone | Ripostes deal +20% damage |
| Auspicious Stone | Increases Melee Crit Chance by +18% |
| Headsman’s Stone | Increases Melee Crit Damage by +100% |
| Marksman’s Stone | Increases Ranged Crit Chance by +15% |
Combat Tarstones
| Tarstone Name | Effect |
| Duality Stone | Your Light Melee combos hit twice |
| Rupturing Stone | Ranged Critical Hits deal 20 Break Damage |
Tarstone Infusions
| Tarstone Name | Effect |
| Voltaic Crown | Consume 30 Resolve to infuse your melee weapon with Lightning |
| Voltaic Amber | Consume 20 Resolve to infuse your sidearm with Lightning |
Tarstone Abilities
| Tarstone Name | Effect |
| Hexpod Core | Perform a series of Katana slashes, stacking Warp and dealing massive, unstaggerable damage. |
| Tarred Fragment | Fire a series of linked, chained projectiles |
With this loadout, Proxima covers the entire battlefield in arching, shocking pain. Staggers, stuns, and massive damage across the board, even minibosses are subject to getting stun looped time and time again.
With Mortal Shell 2’s Best Proxima build finished, there’s still plenty to do. Take a look at Tiel’s best build if you want to slink through the shadows rather than take foes head on. You never know how you’ll pocket a small fortune either, thieving or no.
