

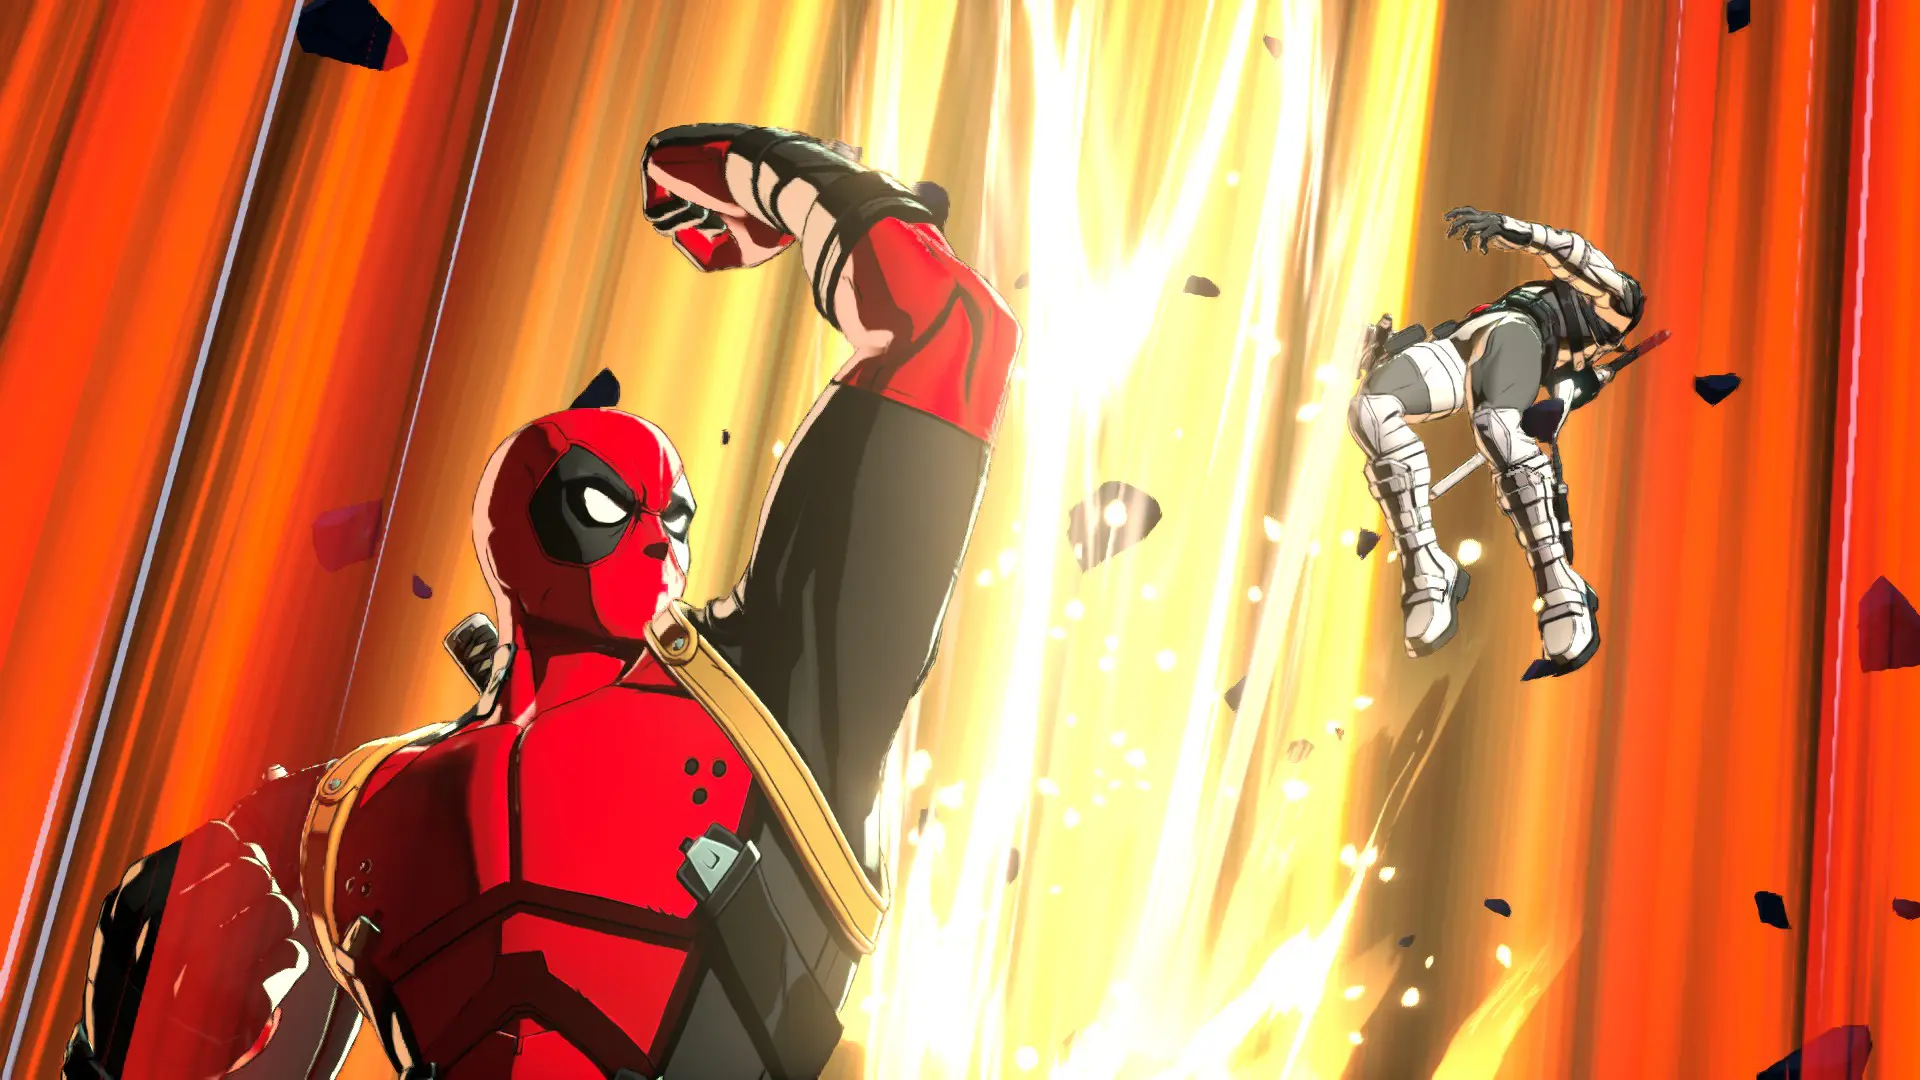
Marvel Tokon: Fighting Souls is finally here, and now we enter the period of time where everyone desperately attempts to learn their favorite characters. A few heroes and villains have caught my eye, especially the man who falls right down the middle.
Deadpool is a personal favorite, he’s both very effective and incredibly fun. If you’re any kind of fighting game fan, his wealth of references and clear love for the FGC make him a real feel-good hero. We’ve already gone over the secret commands hidden in his movelist, so let’s finally learn how to play Deadpool!
Deadpool’s Kit
Deadpool is a blend of references and love letters to every corner of the fighting game community, and that’s left him with the tools to be a really solid all-rounder. He’s got all the basic tools you need to be stronger in a fighter like Tokon, alongside the unique panache of his Healing Gauge.
A few of Deadpool’s Unique actions, as well as his back Assist, see him stab himself, dealing self-damage and leaving behind the HP lost as Healing Gauge. He also gains a small amount of Healing Gauge when blocking Skills. When Deadpool has Healing Gauge, he can utilize his powerful Fourth Wall Attacks, variants of his specials with even more flexibility.
Finding moments to hit yourself to set-up heavy combos and nightmarish pressure is where a lot of the skill on Deadpool comes in, and acts as a major part of learning how to play Deadpool.
Unique Button – Meat Shield
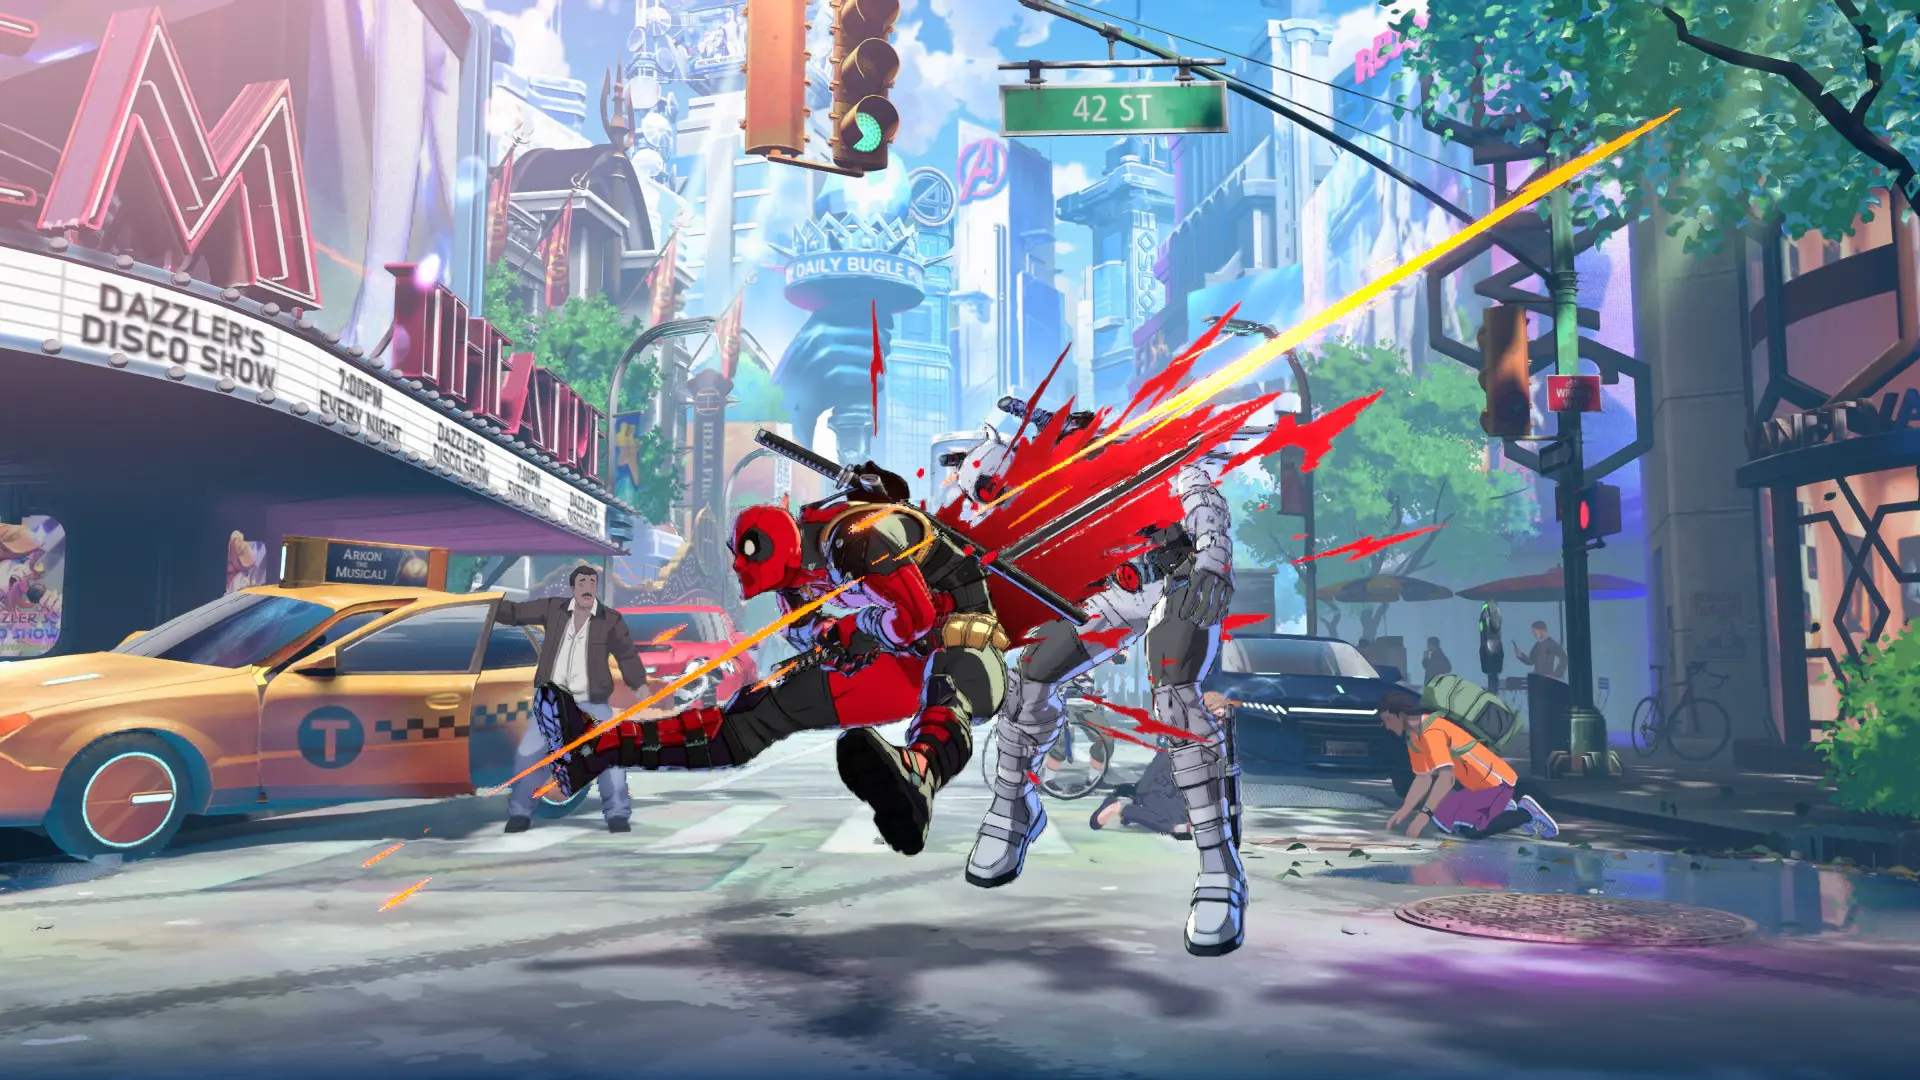
Deadpool stabs himself through the belly, hitting any enemy immediately next to him and draining his HP for Healing Gauge. This attack can be charged, becoming unblockable and repeating once. After this charged variant, Deadpool will crumble from the pain.
The standard version of the attack can be canceled into special moves, allowing Deadpool to combo off his own stabbing or call in an assist off of the unblockable version.
If used while crouching, Deadpool instead splits his own stomach, launching a blood projectile upwards. This projectile can also be special canceled out of and drains Deadpool’s health for the Healing Gauge.
Best Used When: The enemy is cornered or you’re covered by an assist. The crouching variant is great for anti-airing and juggling.
Forward + Unique Button – Collateral Damage
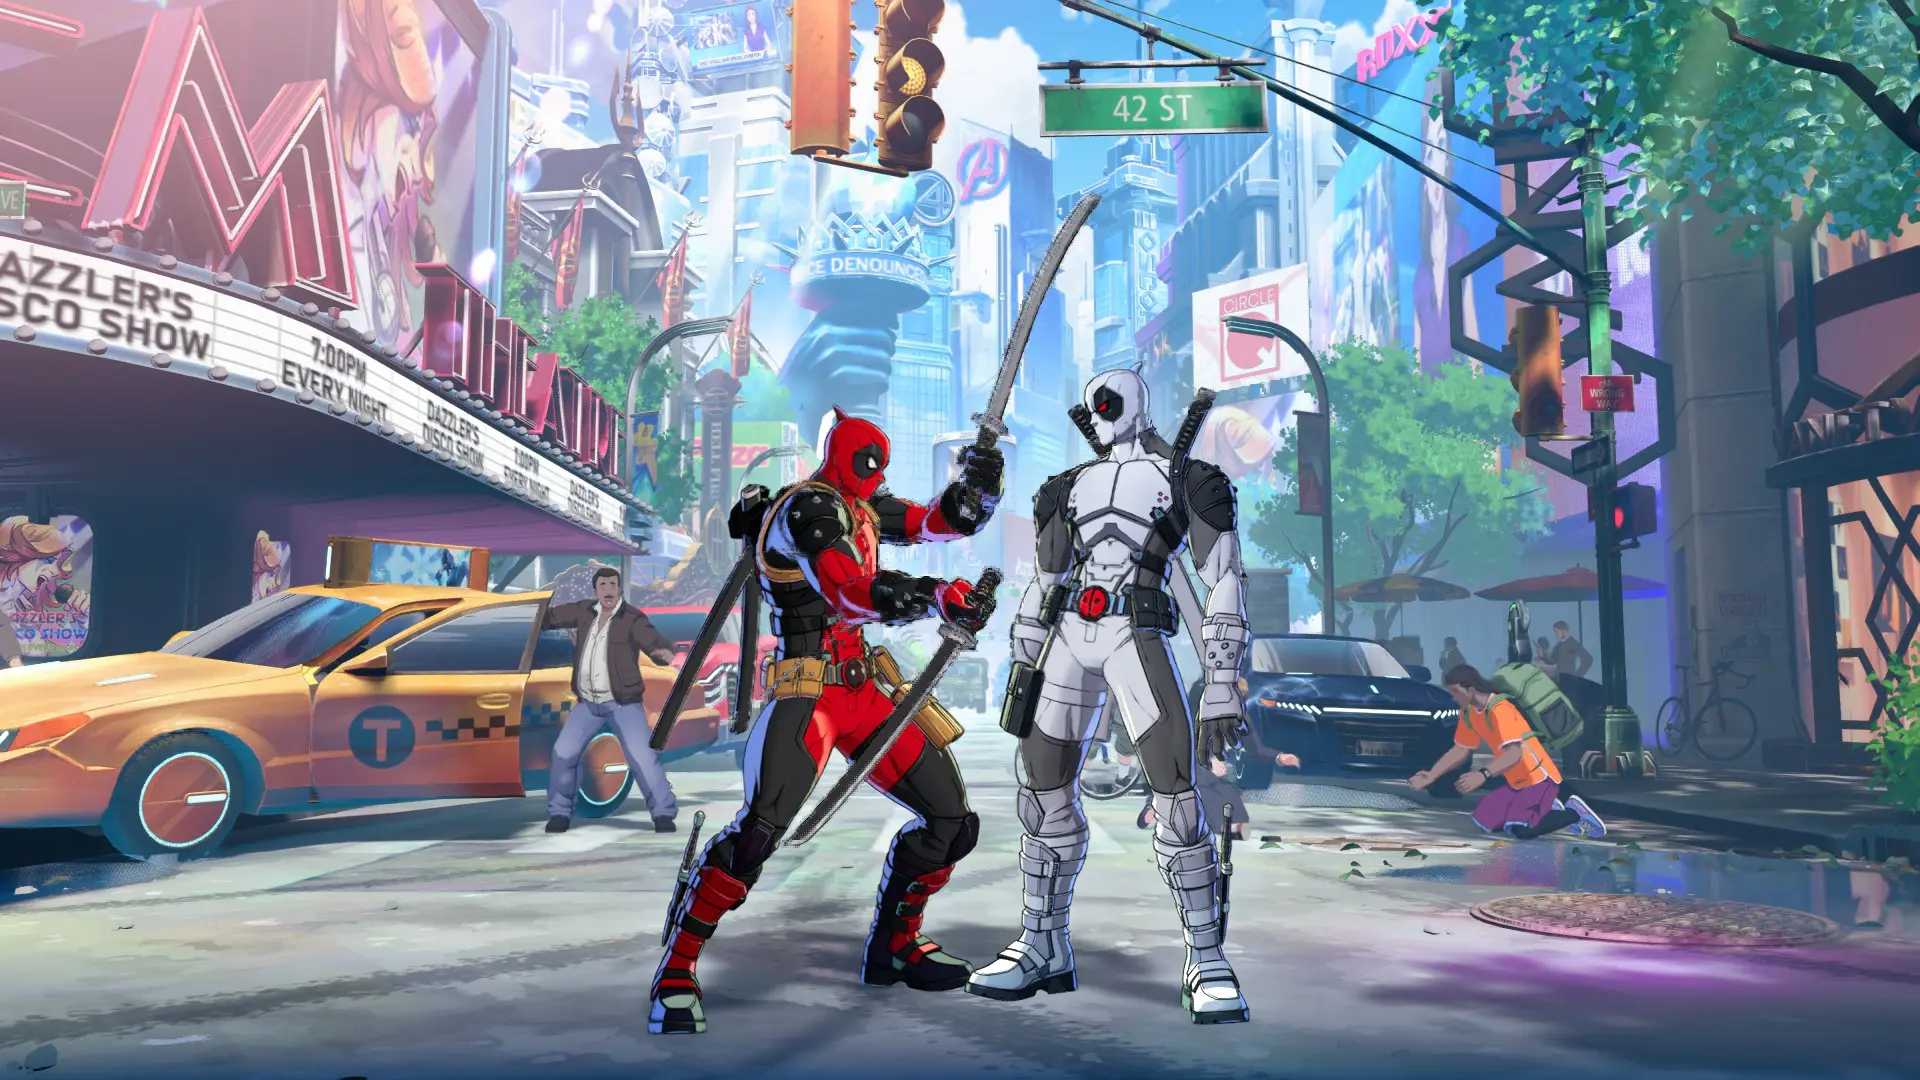
Deadpool spins his swords, tanking any attacks that hit him without flinching. He still takes full damage, but all damage taken is converted to Healing Gauge. This gives Deadpool plenty of Healing Gauge for his Fourth Wall Attacks and allows him to shake off and punish some attacks if he has the HP to spare.
Not super functional as an attack, but a fun “win-more” tool that gives Deadpool more time to work with the strongest parts of his kit.
Best Used When: You can tank telegraphed, incoming damage.
Back + Unique Button – Faulty Grenade
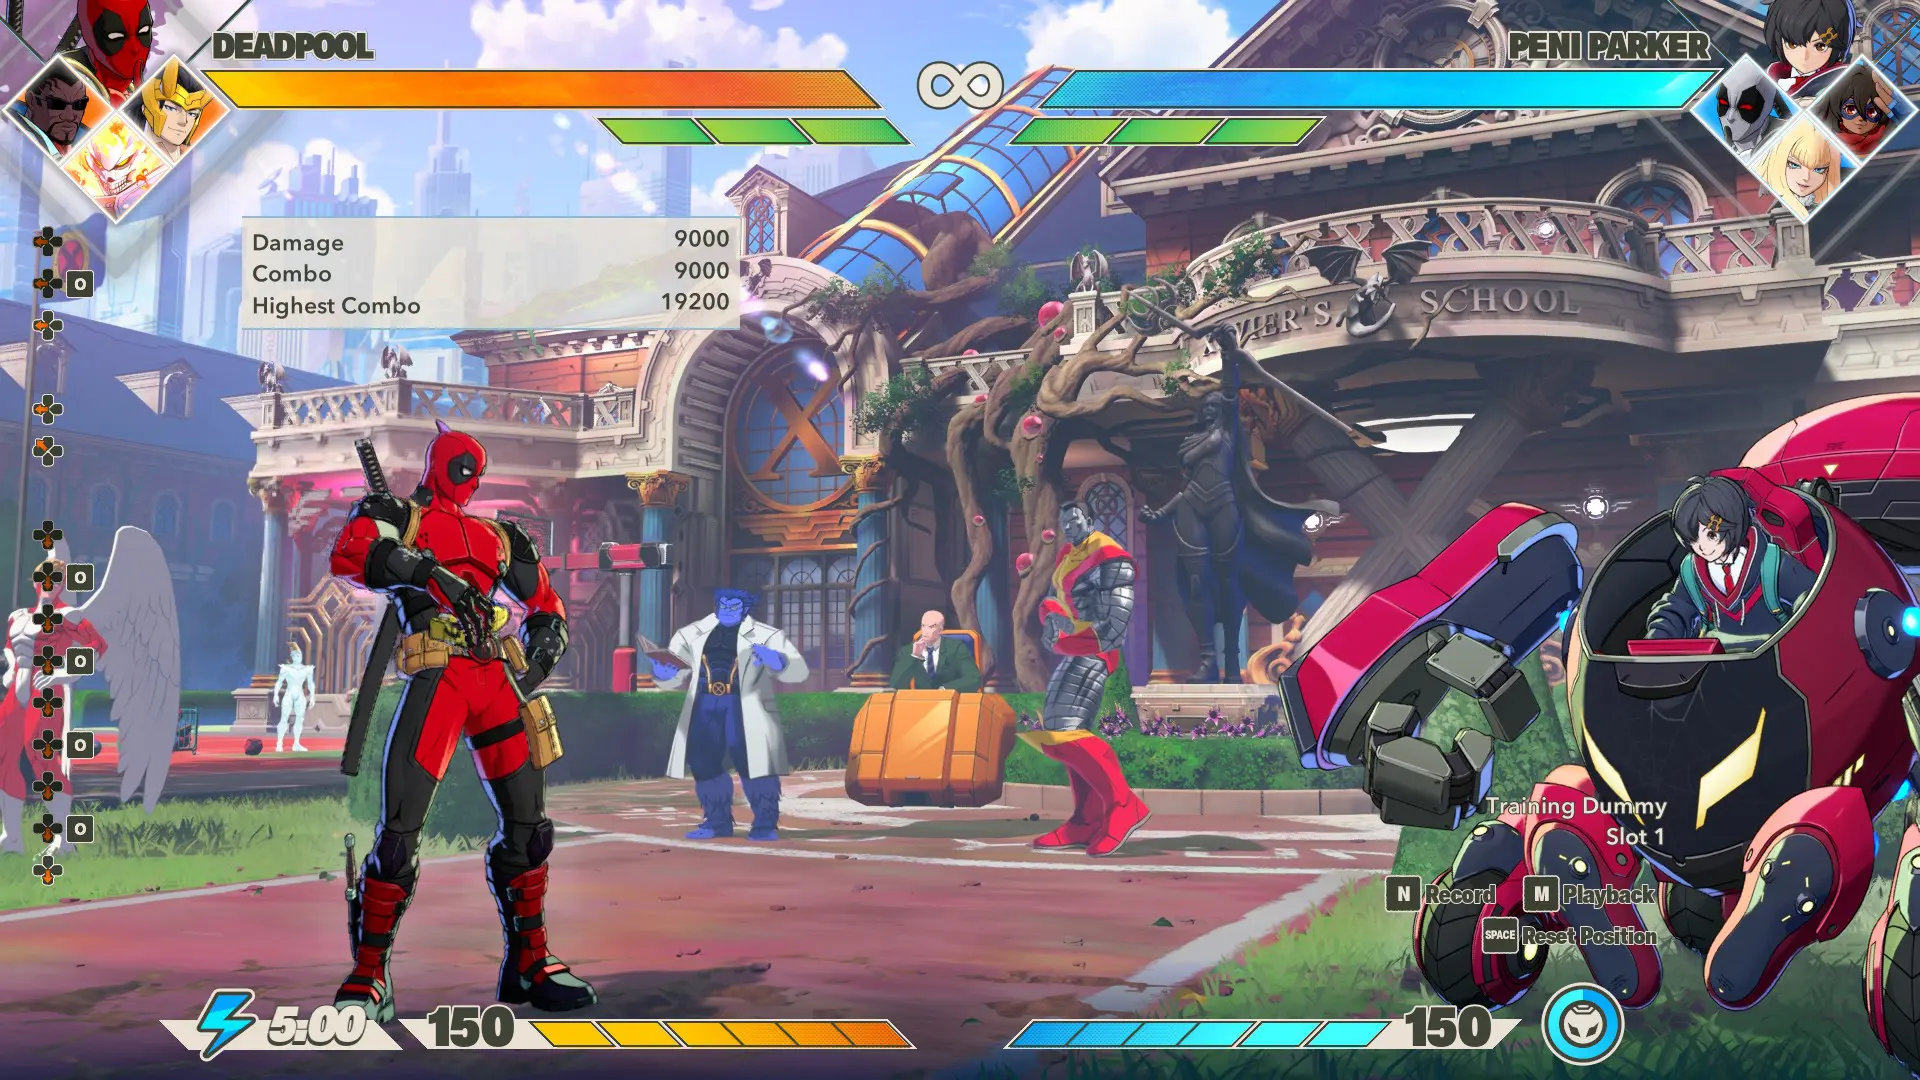
Deadpool equips one of three random grenades, either an Explosive, Incendiary, or Stun. The grenade has a 5-second fuse and will detonate when the fuse reaches 0 or Deadpool takes a hit. A few of Deadpool’s Fourth Wall Attacks are modified if he’s holding the right grenade, giving him an incentive to use certain attacks.
Inputting back and the Unique Action button while Deadpool is holding a grenade will toss it forward, either flying straight ahead. If the fuse has enough time, Headpool will fly in, holding the grenade near the enemy. Both players can hit Headpool to send him and the grenade toward the other player.
Deadpool’s grenades give him a few very useful ranged tools, each of which can be utilized to double down on different Fourth Wall Attacks. His Stun grenade especially gets value.
Best Used When: You have time to set up pressure, or the enemy is far away.
Aerial Unique – Headpool Hover
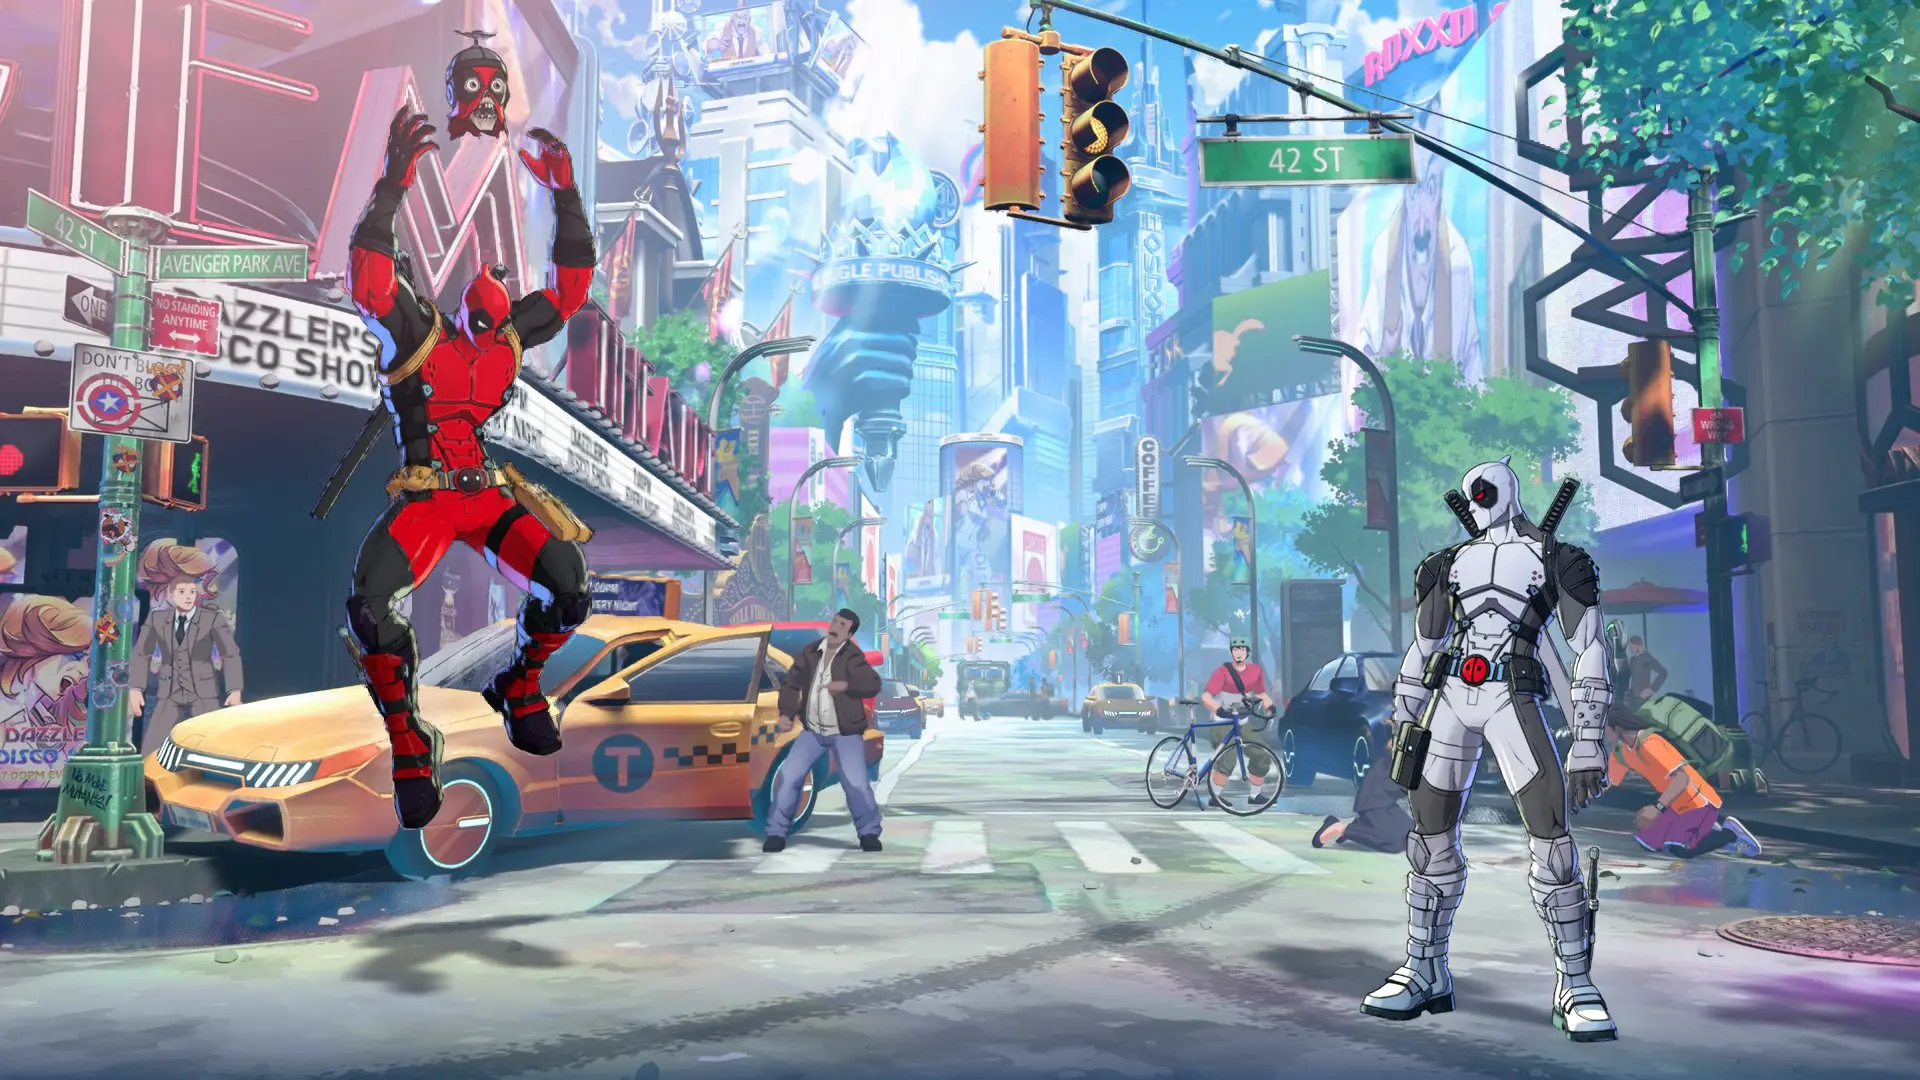
Deadpool uses Headpool to float in the air, giving him an air stall. Pressing Unique again drops Deadpool straight downwards. Pressing Light, Medium, or Heavy tosses Headpool at the opponent, with the button pressed altering the angle of the throw.
Best Used When: You need to stay airborne.
Unique Button + Light/Medium/Heavy – Roman Cancel
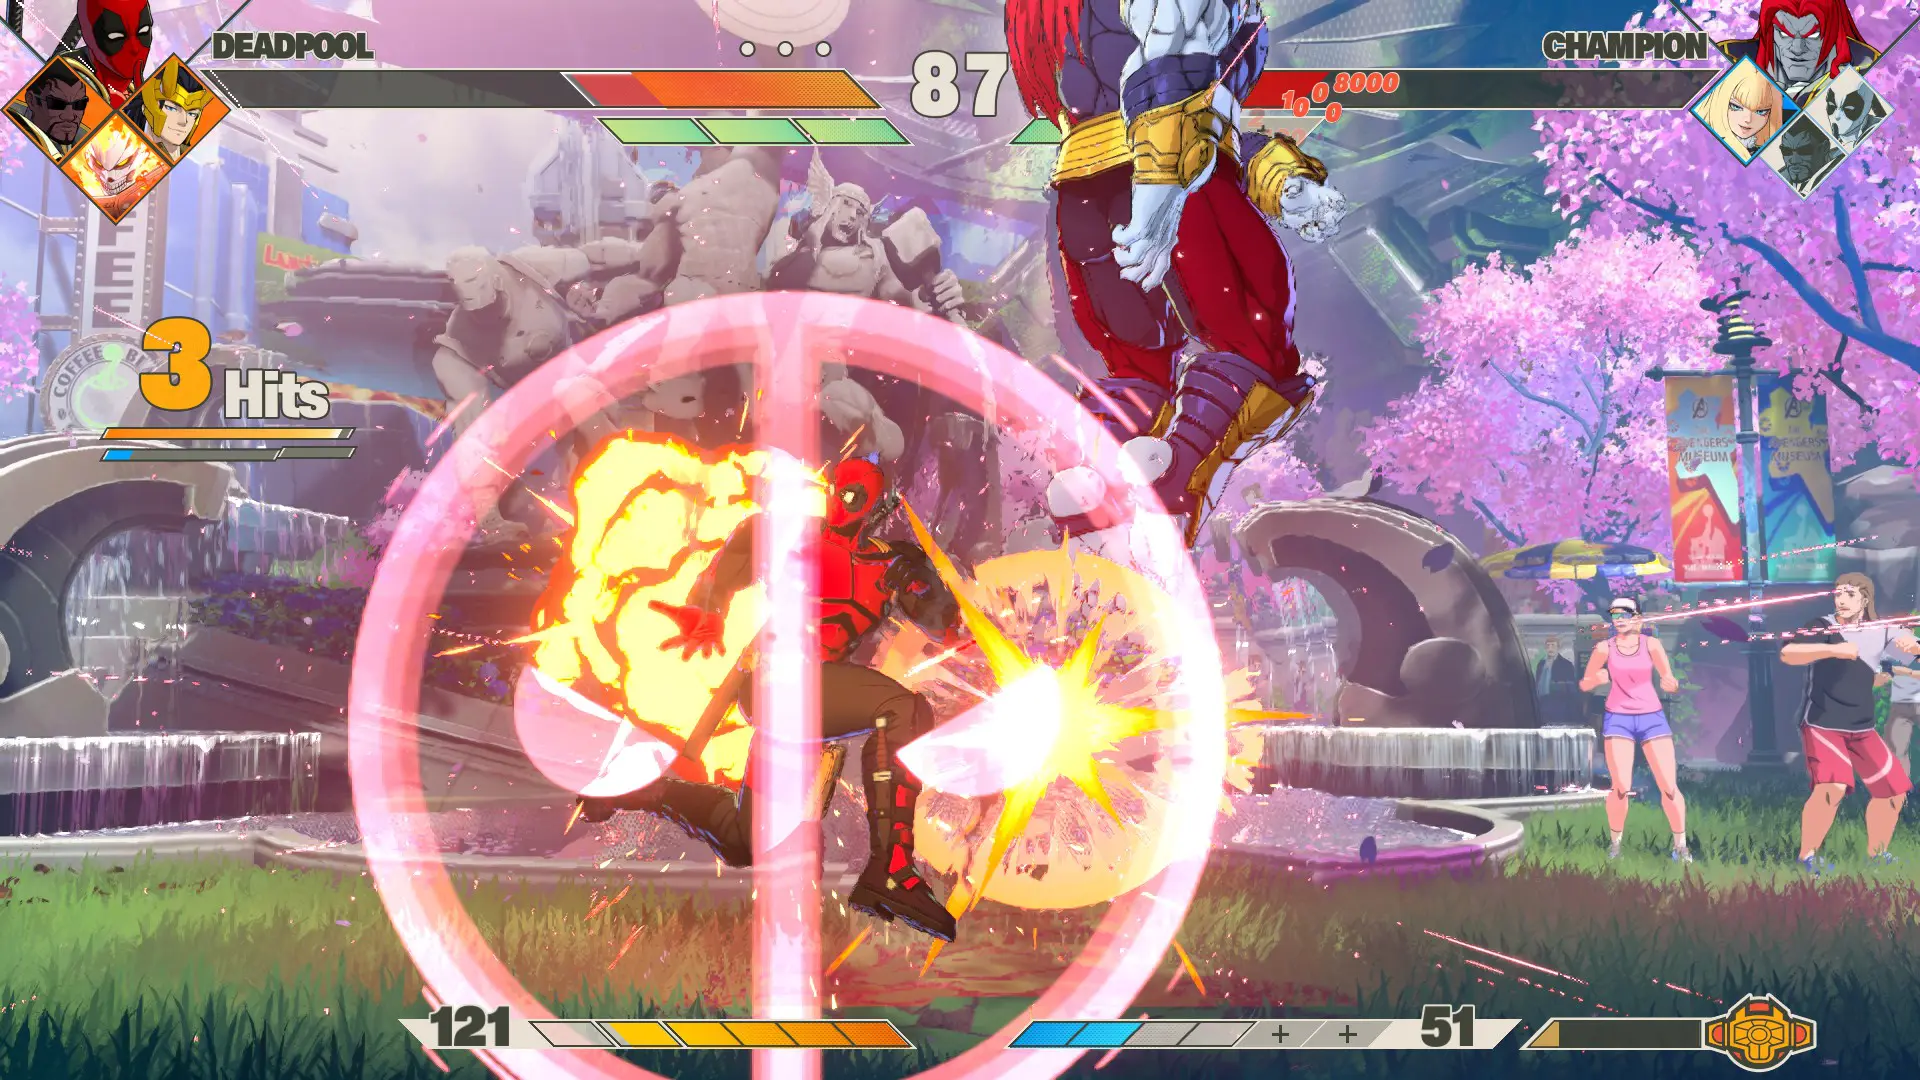
Deadpool explodes, canceling the endlag of an attack that landed and dealing damage to himself. The damage is converted to Healing Gauge. The explosion launches the enemy straight up before they fall back down, giving Deadpool a chance to extend his combo.
This gives Deadpool wild combo routes, but it can be difficult to link into due to its point-blank range. Catching the falling opponent is a tight window, so don’t try to extend afterwards with slower attacks.
Best Used When: You’ve started a combo and need to extend it.
Forward Quartercircle + Light/Medium/Heavy – Trigger Happy
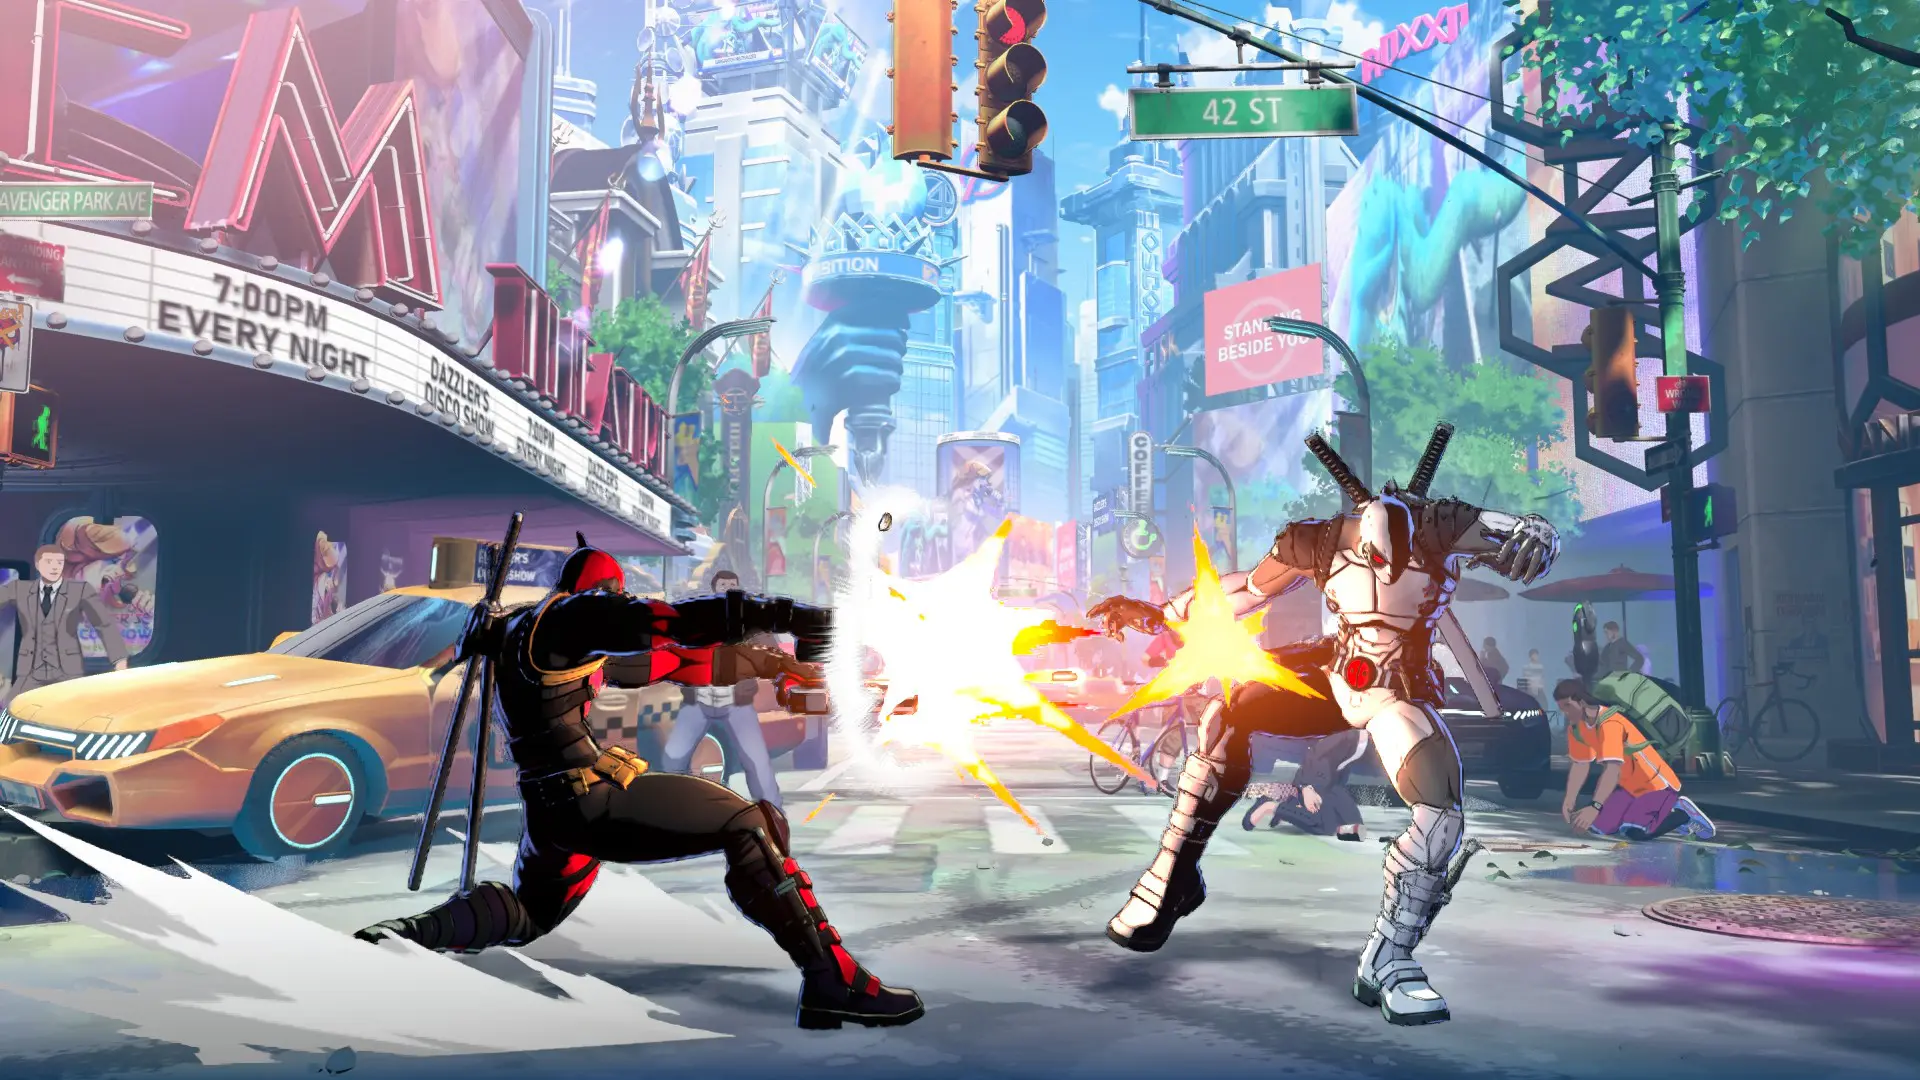
Deadpool pulls out his dual pistols, firing rapidly. Using Trigger Happy in the air firing the guns downwards at a diagonal angle, covering plenty of screen space. The number of bullets fired is tied to the button pressed, increasing with the button’s strength.
The Heavy variant of Trigger Happy slightly launches enemies in place for Assist follow-ups and thrives in projectile wars. The angle of his aerial variant is also incredibly useful, punishing bad approaches easily. Deadpool performs Trigger Happy as his Shooter Assist attack.
Best Used When: You want to keep the enemy away or close out a combo without meter.
Forward, Down, Forward Diagonal + Light/Medium/Heavy – Chimichanga Chop
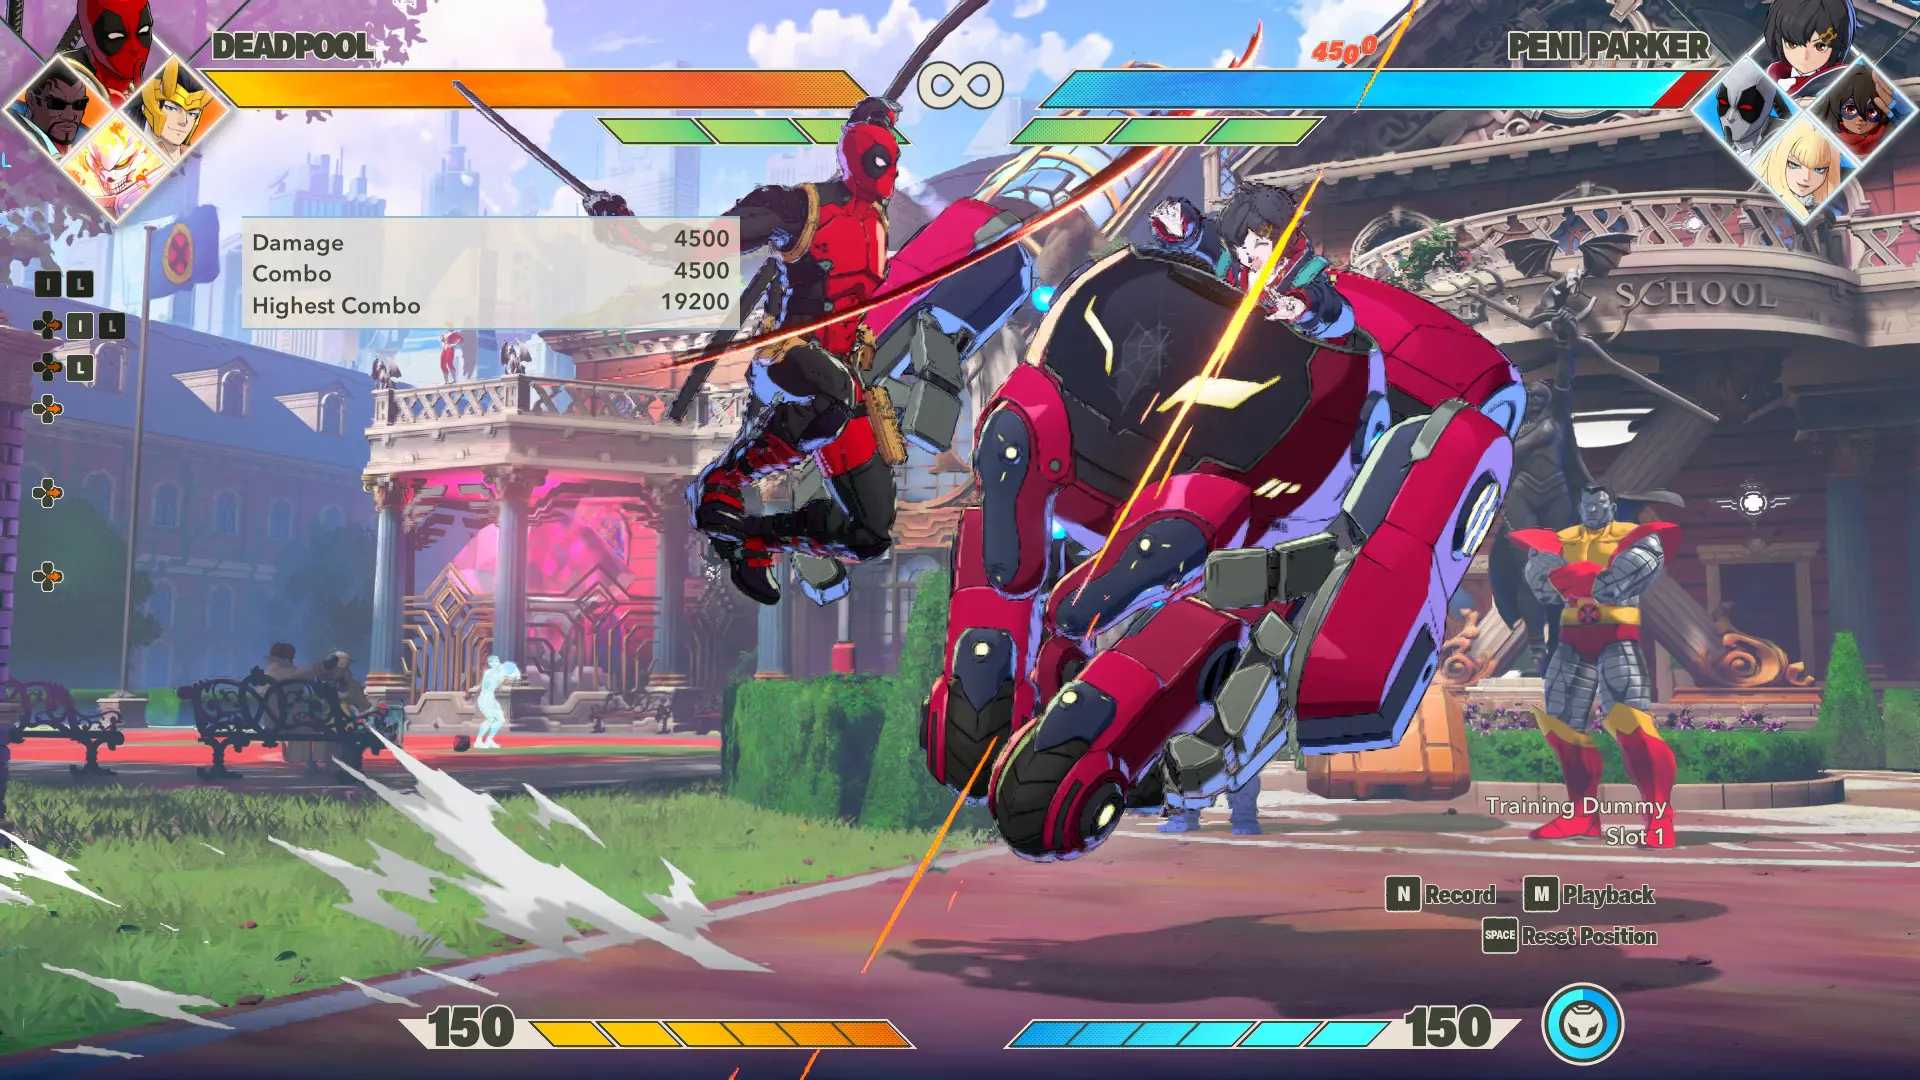
Deadpool swings his swords upwards, rising into the air. The attack gains aerial invulnerability partway up, making it perfect for sniping overly aggressive enemies out of the air. The height is based on the strength of the button used for the input. The medium version can’t hit crouching opponents, while the Light version can cause stage transitions.
After he reaches the apex of his rising slash, Deadpool swings a second time to slam the enemy down. A fantastic anti-air option that Deadpool also utilizes as his Vertical Assist, giving the team an on demand anti air/aerial conversion option.
Best Used When: The enemy is trying to jump in on you.
Backwards Quartercircle + Light/Medium/Heavy – Slice ‘n Dice
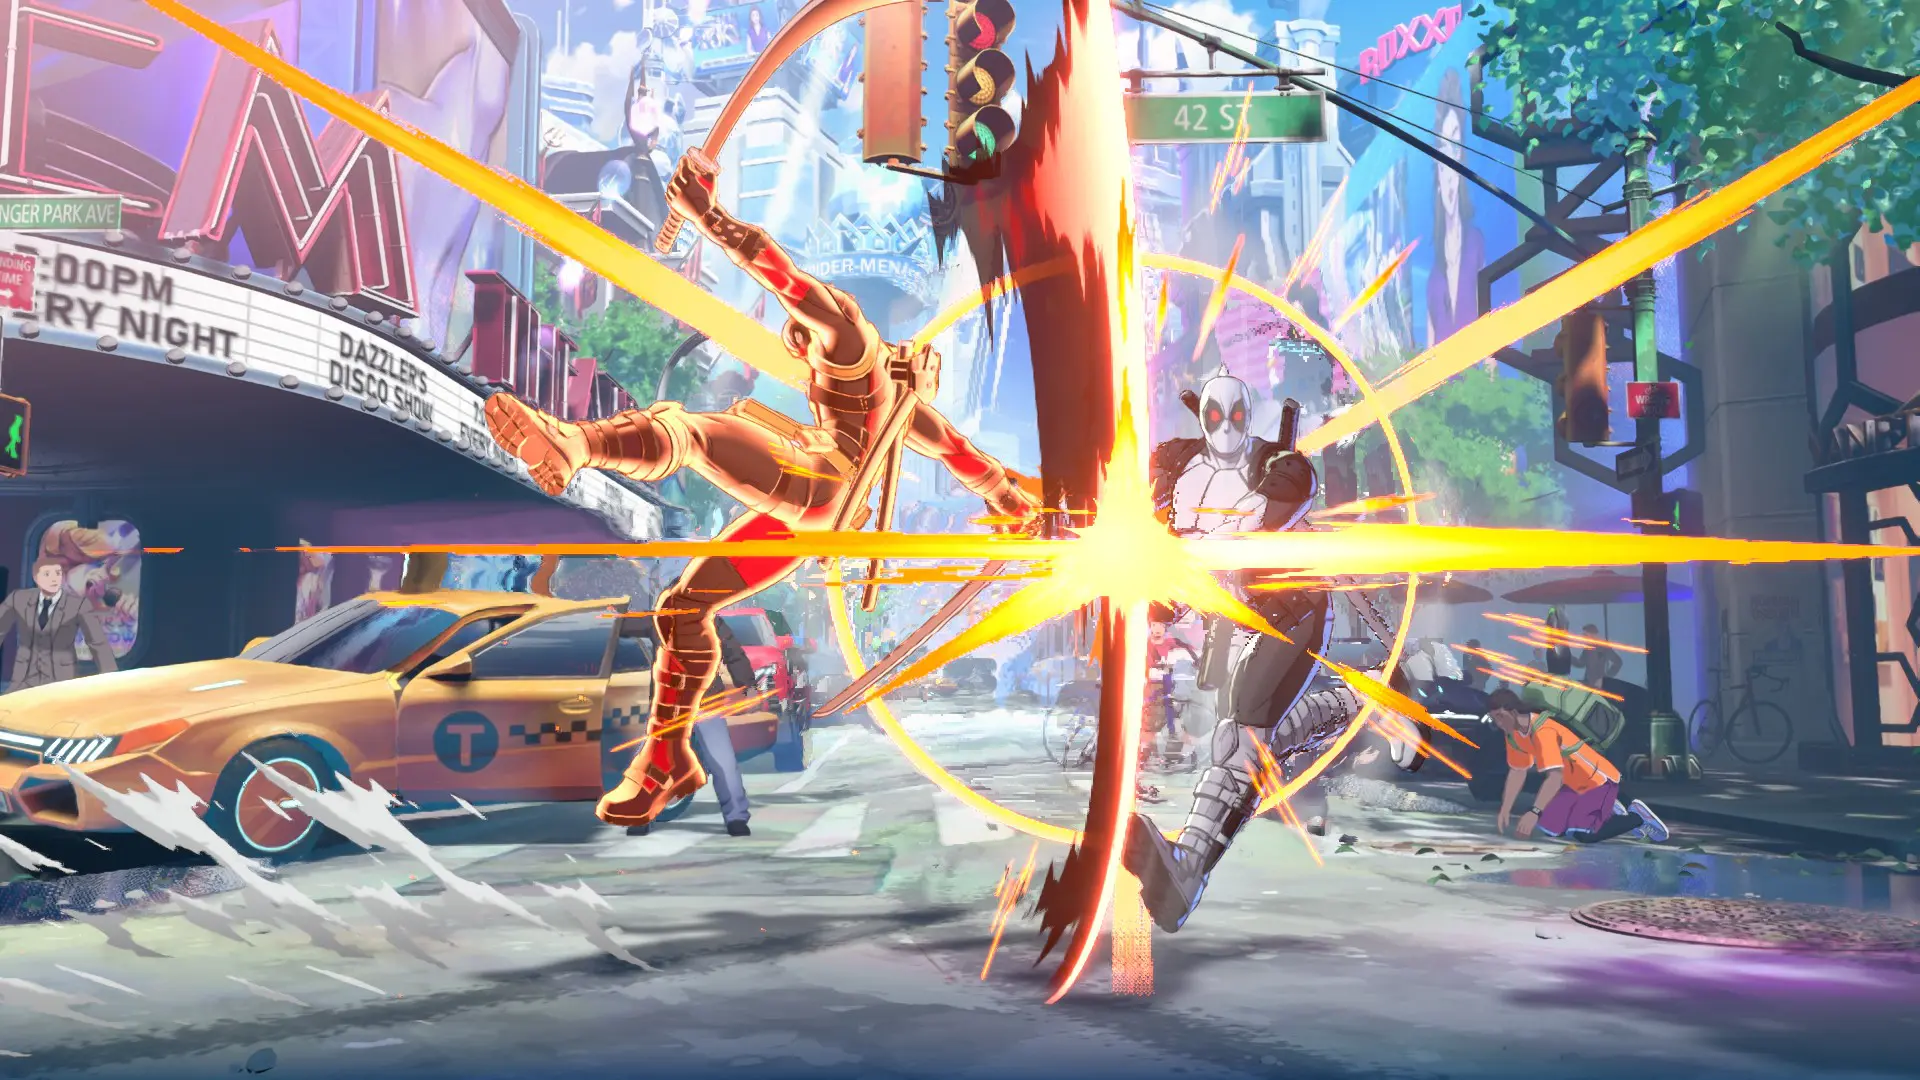
Deadpool rapidly rushes forward, slashing the enemy twice once he reaches his maximum distance. The distance is based on the strength of the button used for the input. The Light and Heavy variants can launch enemies for stage transitions.
A nice punish for when the enemy uses committal attacks, and you’re out of range for your standard buttons. Great for rapidly closing the distance.
Best Used When: You need to close the gap.
Down, Down + Light/Medium/Heavy – Death From Above
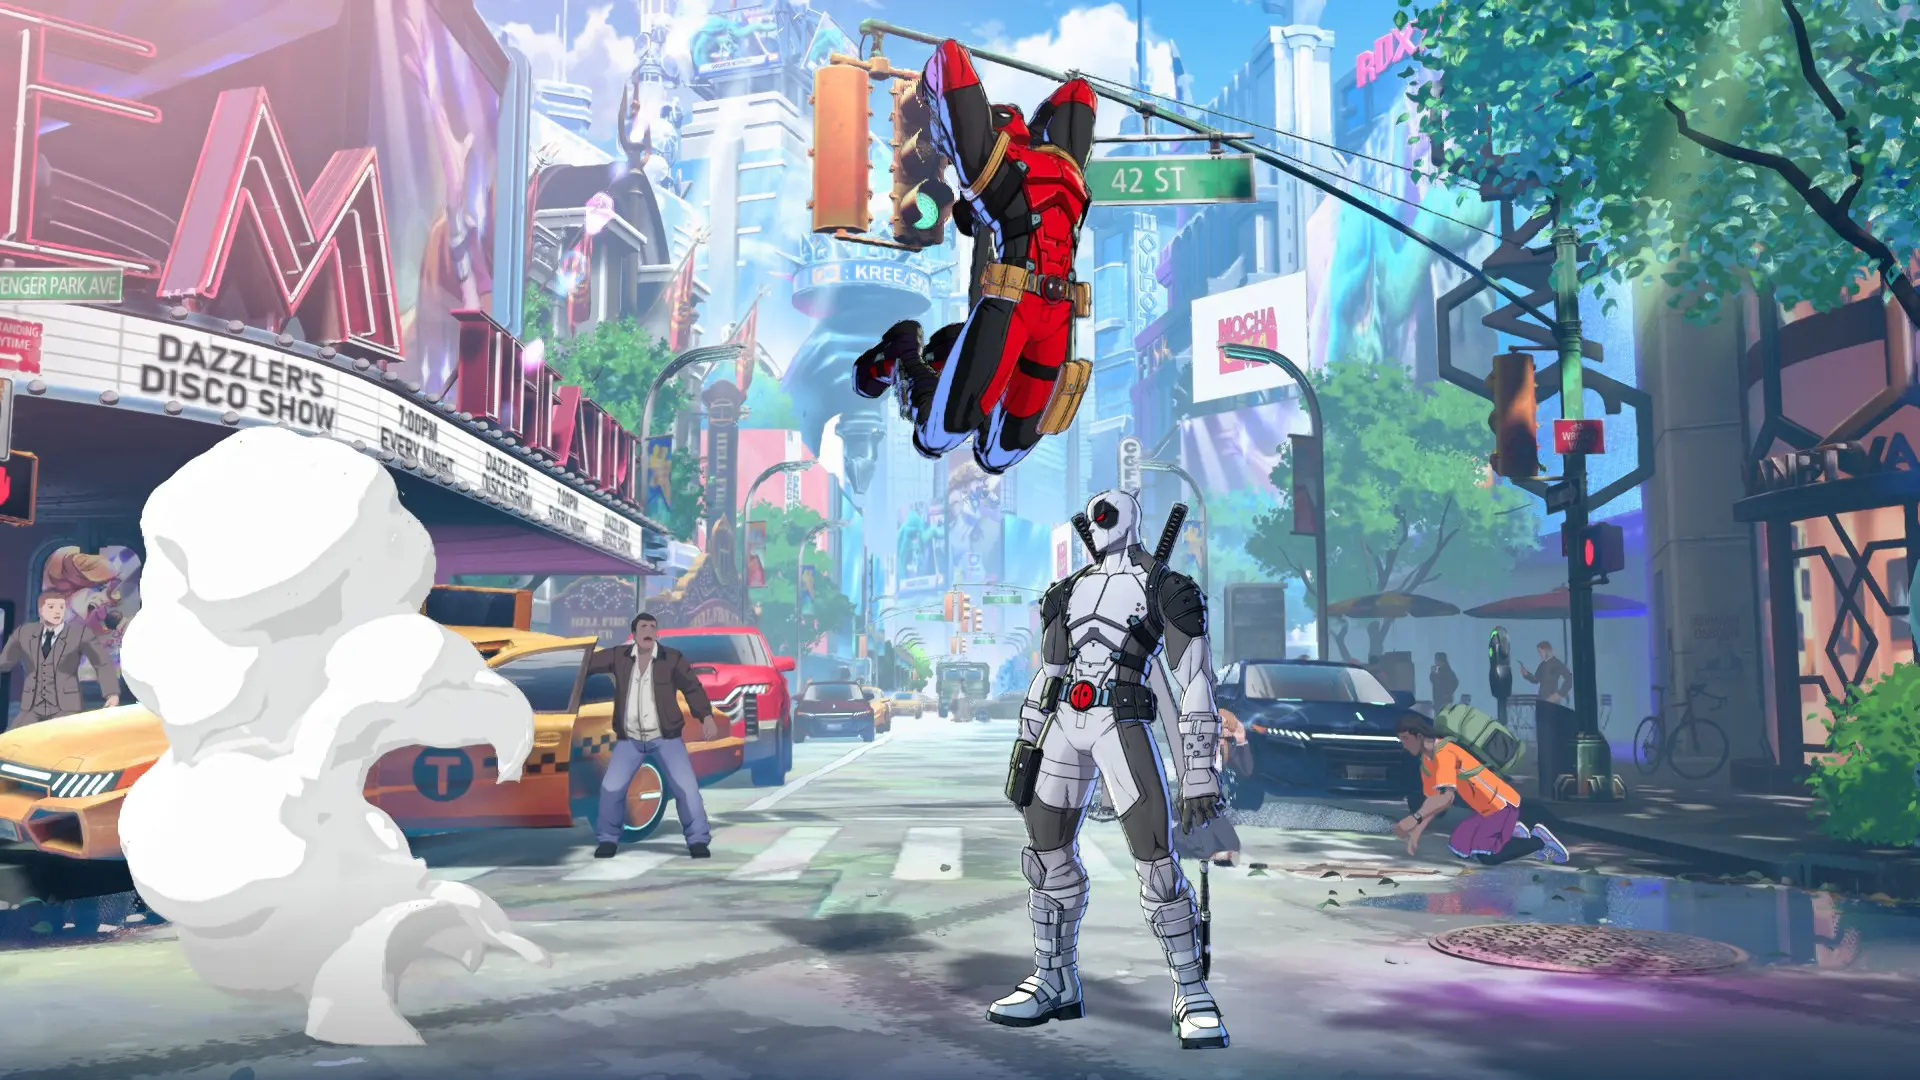
Deadpool leaps upside down above the opponent, with his exact distance based on the button pressed. If an attack button is pressed while in the air, Deadpool will flip upside down and swing, with the button changing the angle of his attack. Light ends right in front of the opponent, Medium leaps behind the enemy, while Heavy leaps high into the air before falling.
The Medium and Heavy variants cannot be performed if Deadpool is too close to the ground. A solid mixup tool when paired with assists, can open enemies for combos or link certain strings; just be careful of getting anti-aired.
If used in the air, Deadpool commits to the slash immediately, with shorter hops and quicker swings.
Best Used When: It’s time to mix up the opponent or you need to mix up your descent timing.
Fourth Wall Attacks
A category of Deadpool’s special attacks requiring him to have Healing Gauge ready to use. Each Fourth Wall Attack is accessed by inputting his standard special inputs with the Medium button. These Fourth Wall Attacks grant him almost double the special moves of other characters, allowing for a myriad of options.
Quartercircle Forward + Medium – Rope-a-Dope
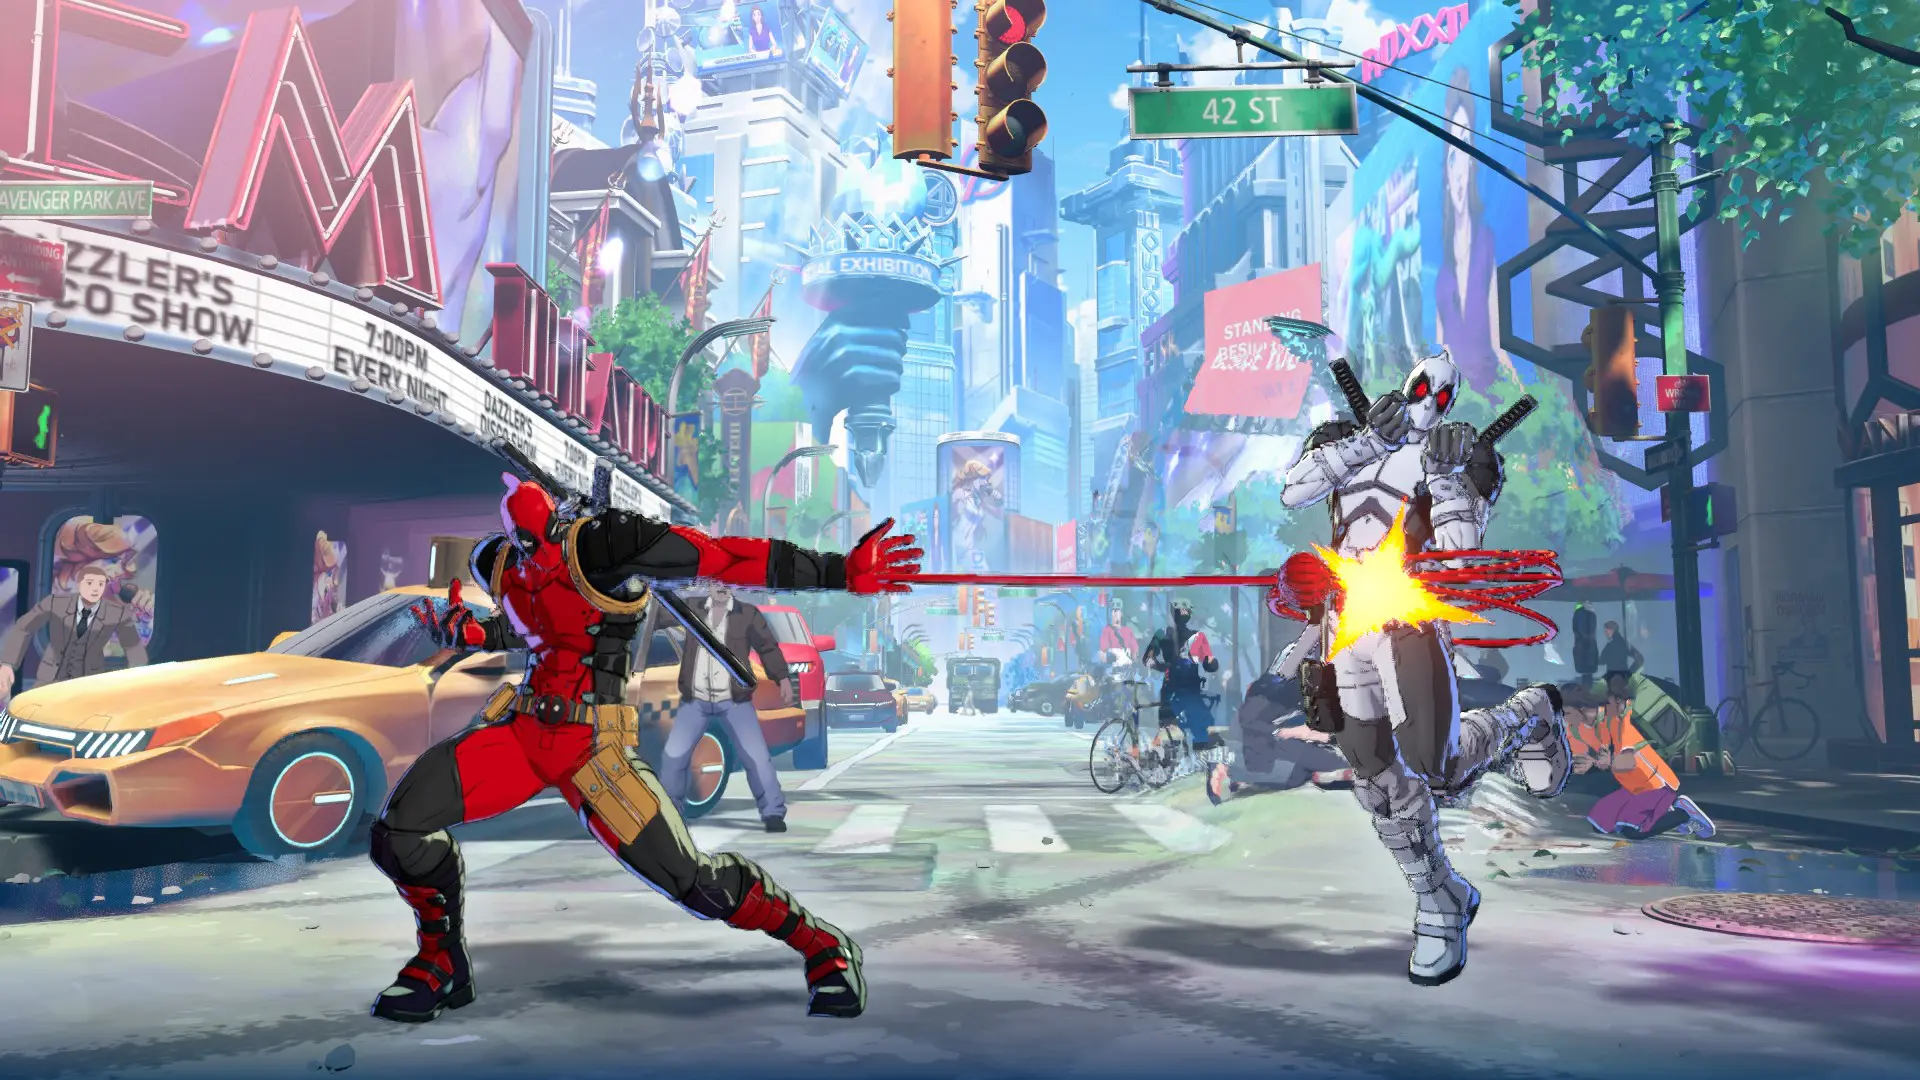
Deadpool throws a rope forward, mimicking Scorpion and yanking any enemy hit towards him. An attack button can be hit twice afterwards to link into an uppercut and an explosion. Hitting the inputs as Deadpool hits the enemy boosts the damage.
A great punish tool that hits practically full screen, use it to catch enemies who think they’re safe outside your range. It’s possible to combo off of the explosion if you’re quick enough.
Best Used When: The enemy has committed to an action or has whiffed an attack.
Aerial Quartercircle Forward + Medium – Random Bullshit, Go!
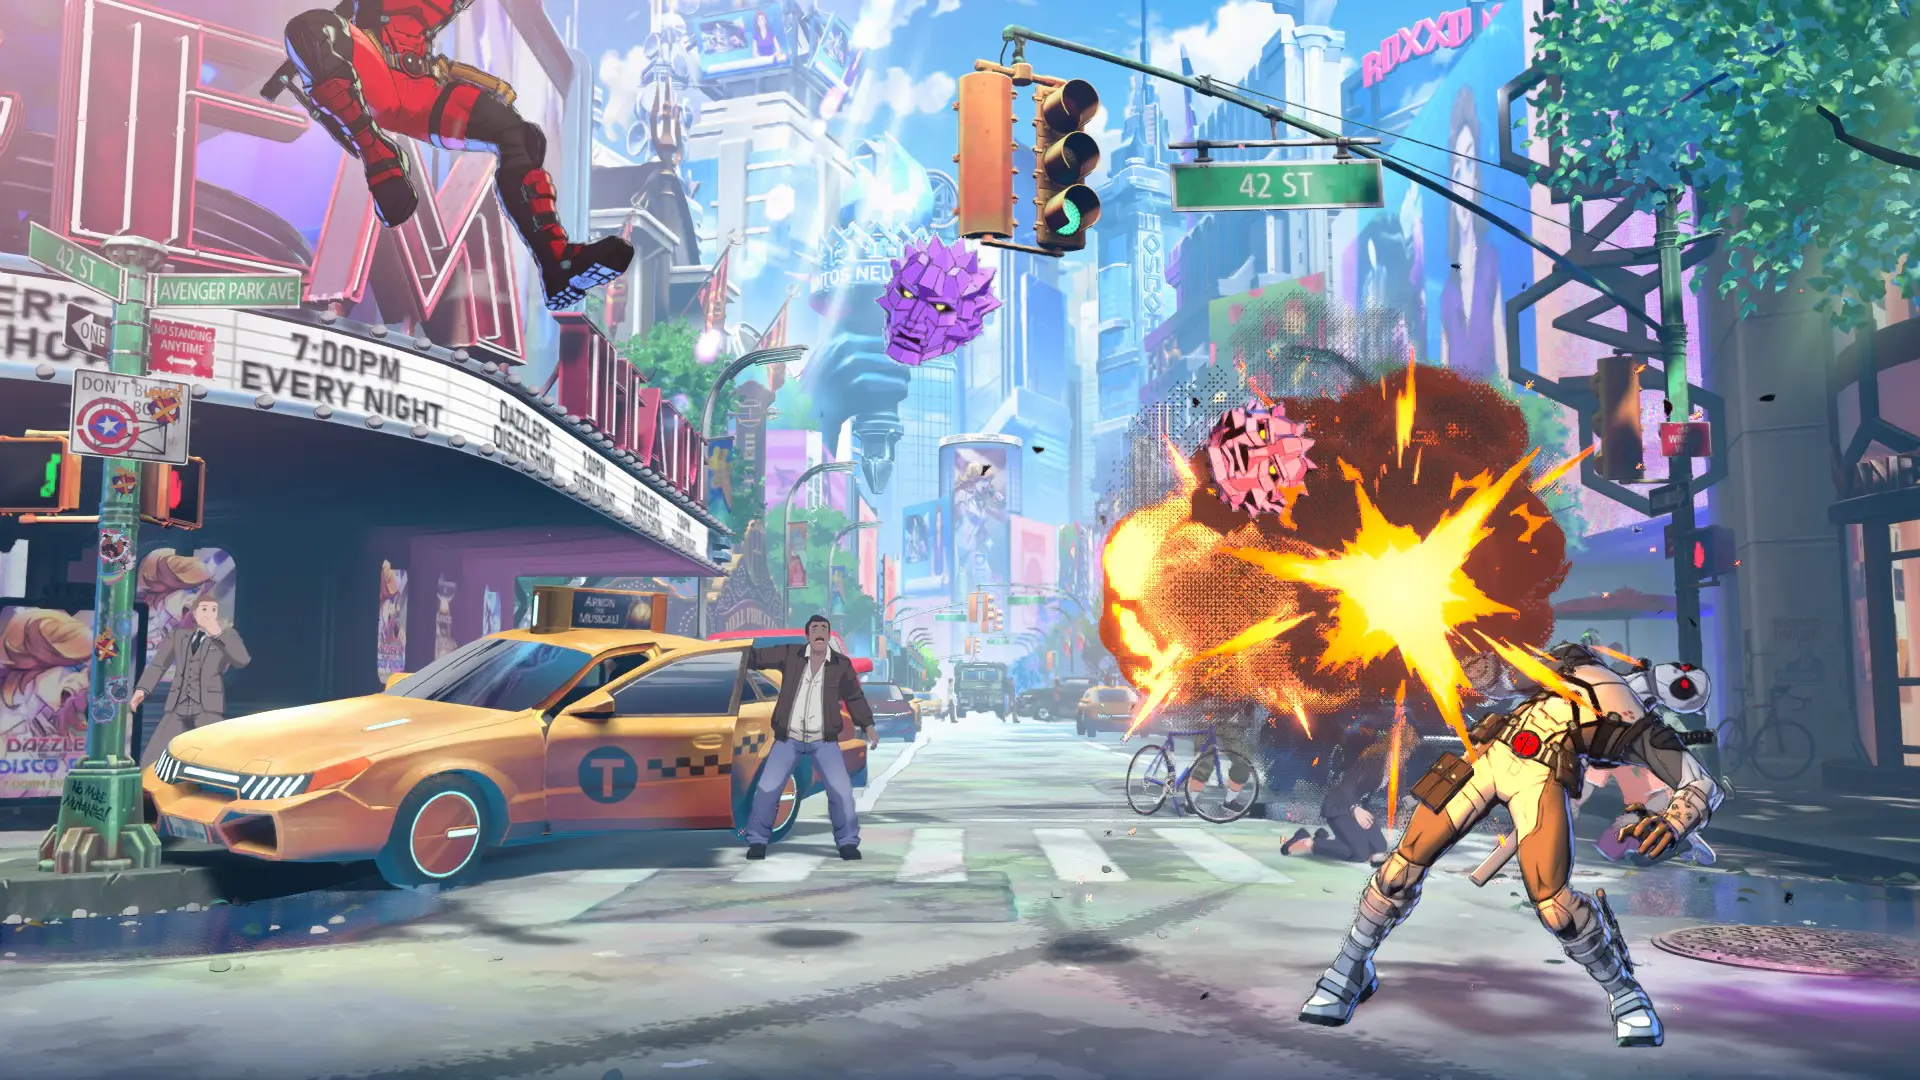
Deadpool rapidly tosses tiny versions of the final boss from PlayStation All-Stars, dealing slightly more damage than his standard aerial Trigger Happy. The attack lasts a long while, enabling assist calls to easily link.
Other than the longer animation, this attack doesn’t do much that Deadpool’s normal aerial option doesn’t.
Best Used When: The enemy is trying to approach.
Forward, Down, Forward Diagonal + Medium – Lightning Tornado Upper
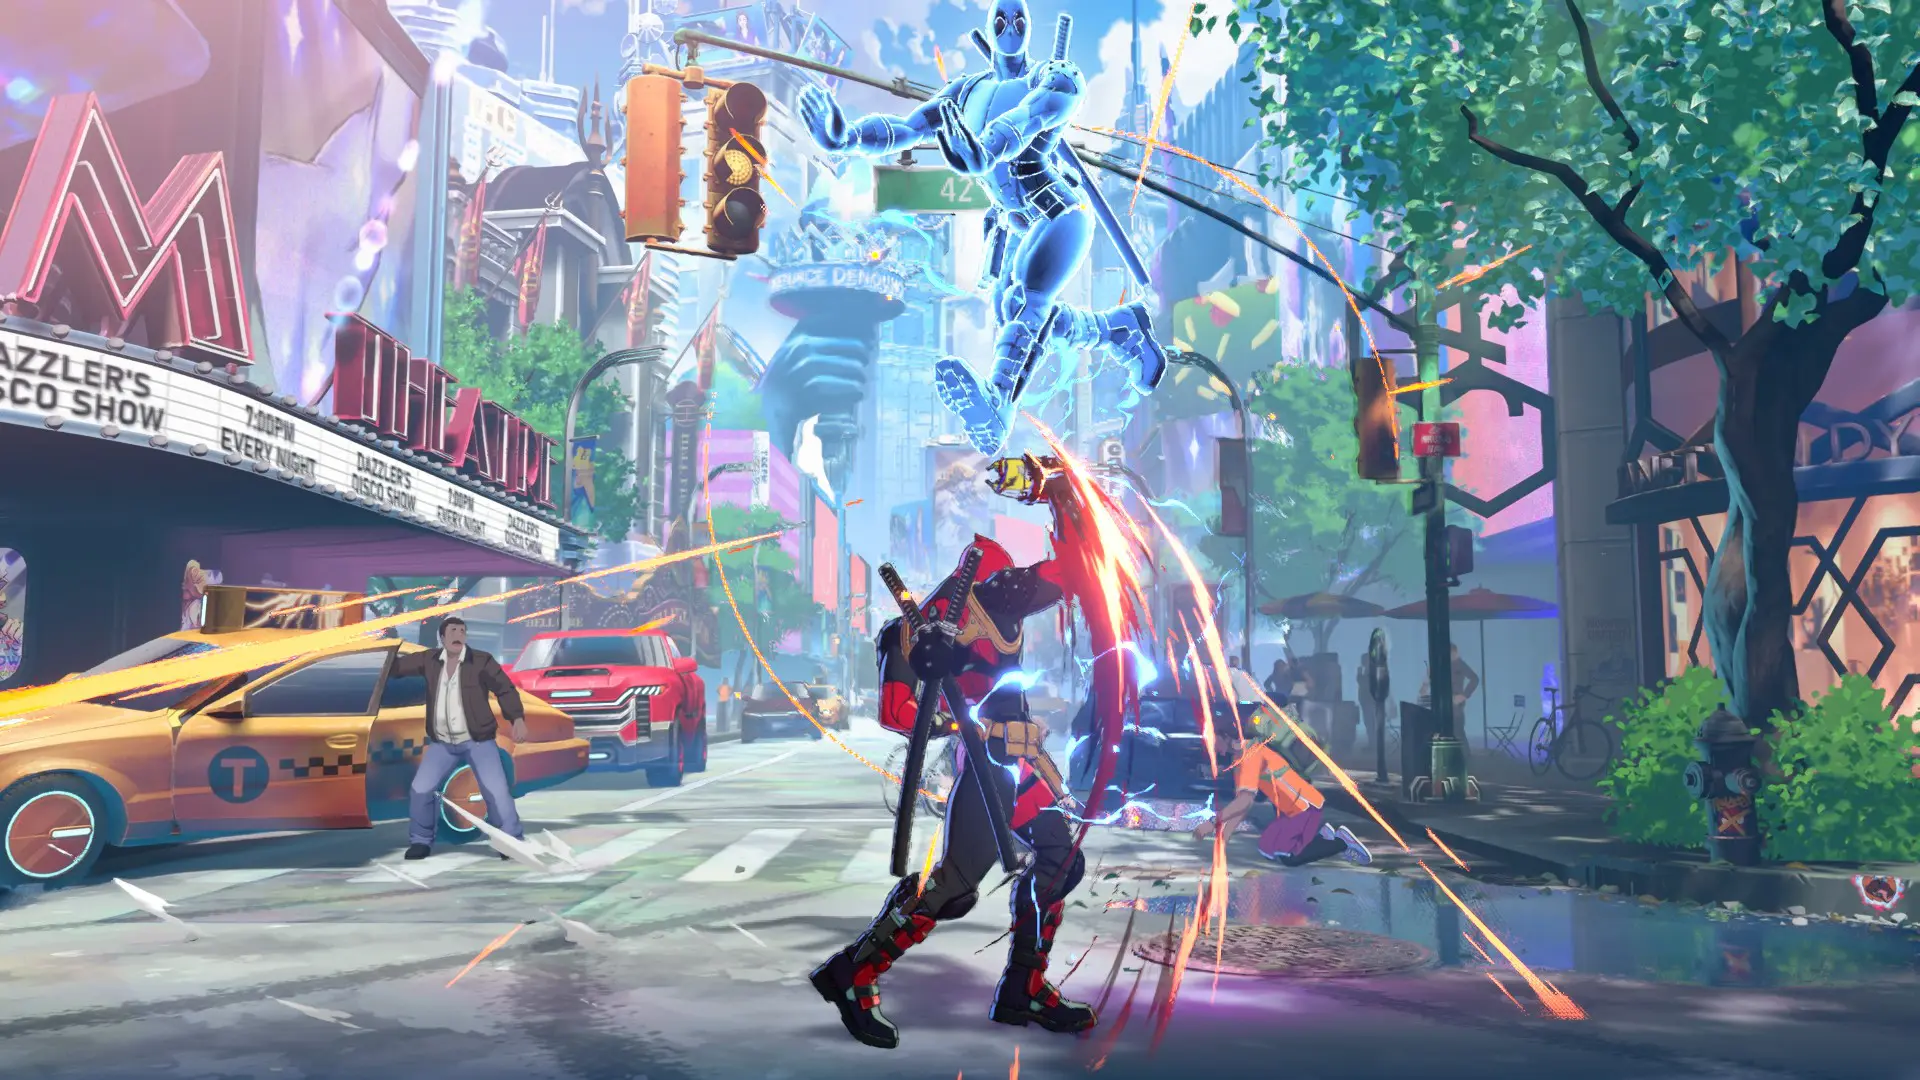
Deadpool surges forward, swinging upwards and mimicking the Mishima’s Wind God Fist. Lighting Tornado Upper doesn’t connect on crouching opponents, launching enemies hit.
If Deadpool is holding a Stun grenade, the attack becomes an Electric Wind God Fist, dealing more damage, launching at a better angle, and can be repeated once. If repeated, Deadpool consumes the Stun grenade.
One of Deadpool’s best combo tools and a personal favorite special move, Lightning Tornado Upper is a fantastic, easy-to-use option that can gap close, combo off most hits, and enable wild damage.
Best Used When: You’ve managed a solid hit or can outspeed the enemy at close range.
Quartercircle Back + Medium – Burning Haymaker
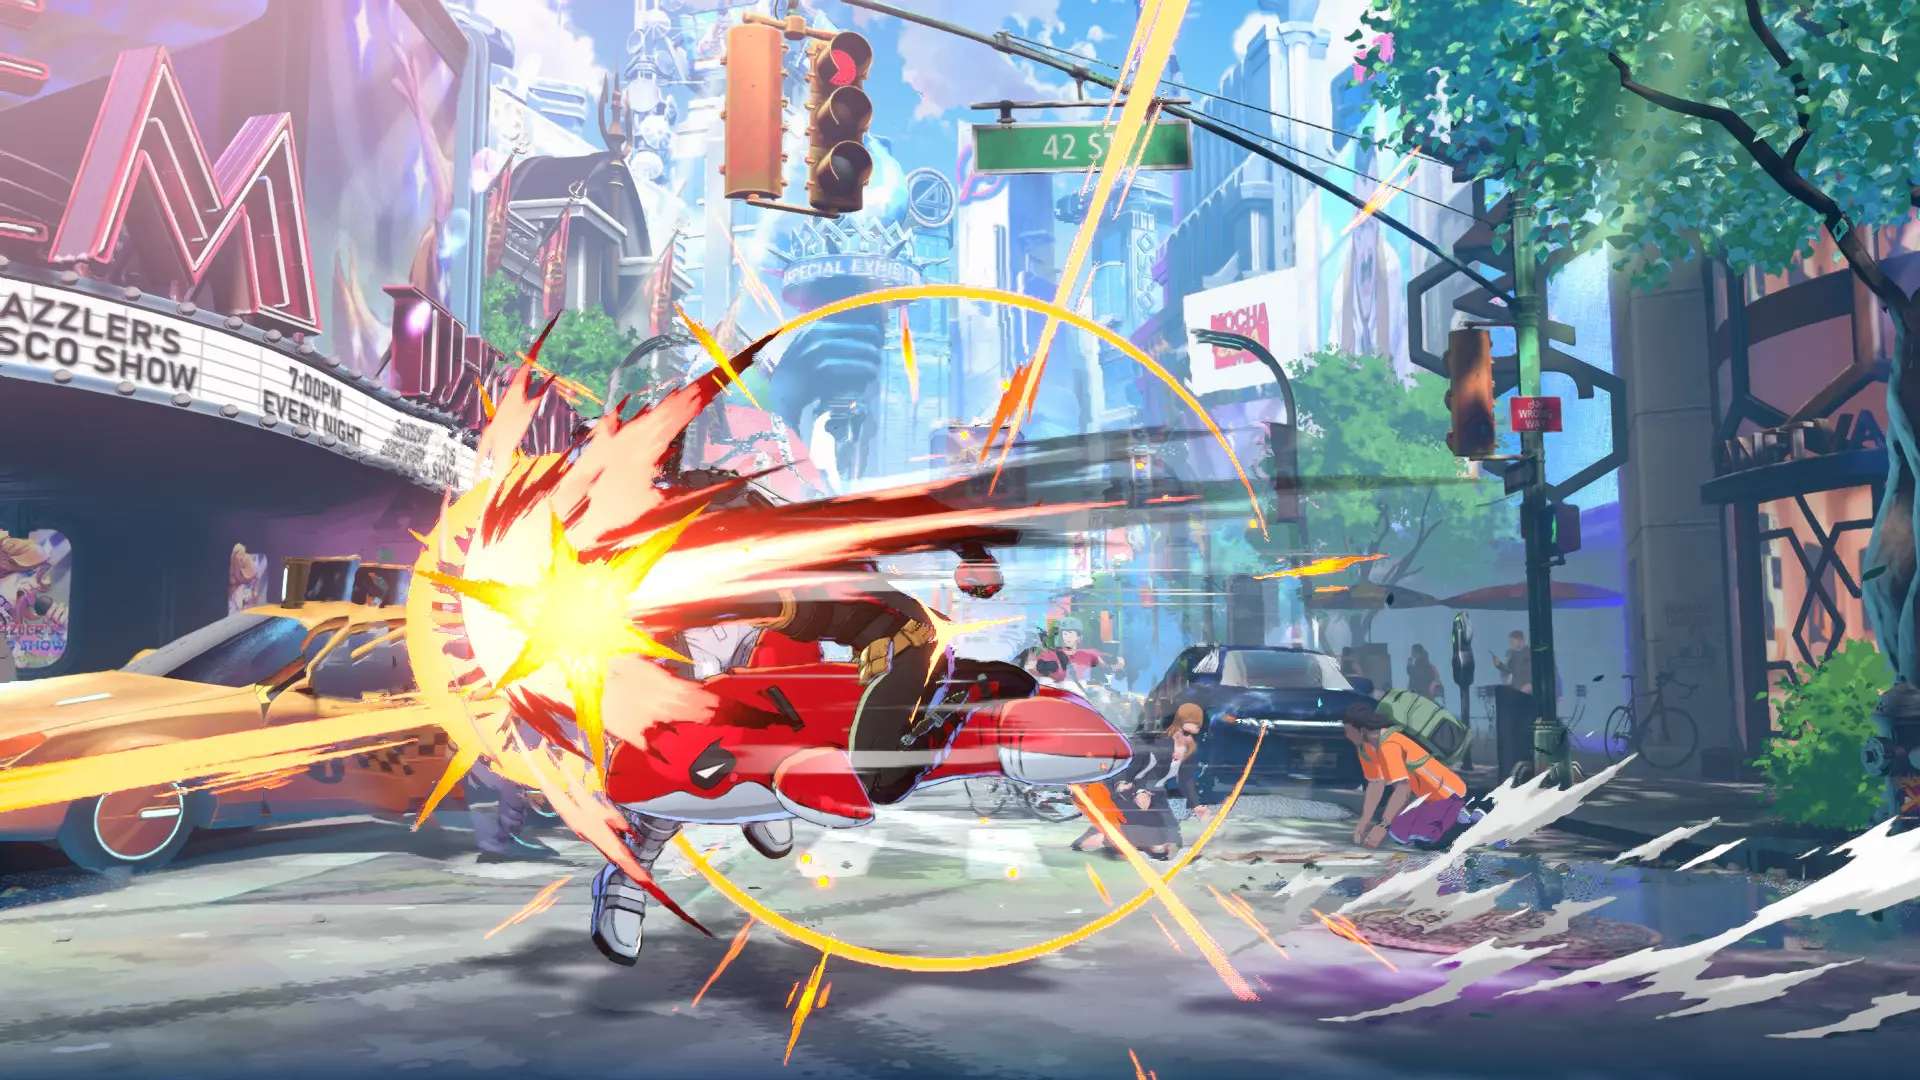
Deadpool rides forward on an inflatable orca, mimicking May’s Totsugeki. If Deadpool is holding an Incendiary grenade, he performs a Falcon Punch when he reaches the opponent. This attack is great at closing the distance and hit-confirming off of decent ranged normals. On hit, the enemy is sent flying, sliding full screen if you can follow them to the corner.
Best Used When: You need to close the gap or close out a combo.
Aerial Forward, Down, Forward Diagonal + Medium – Foot Dive
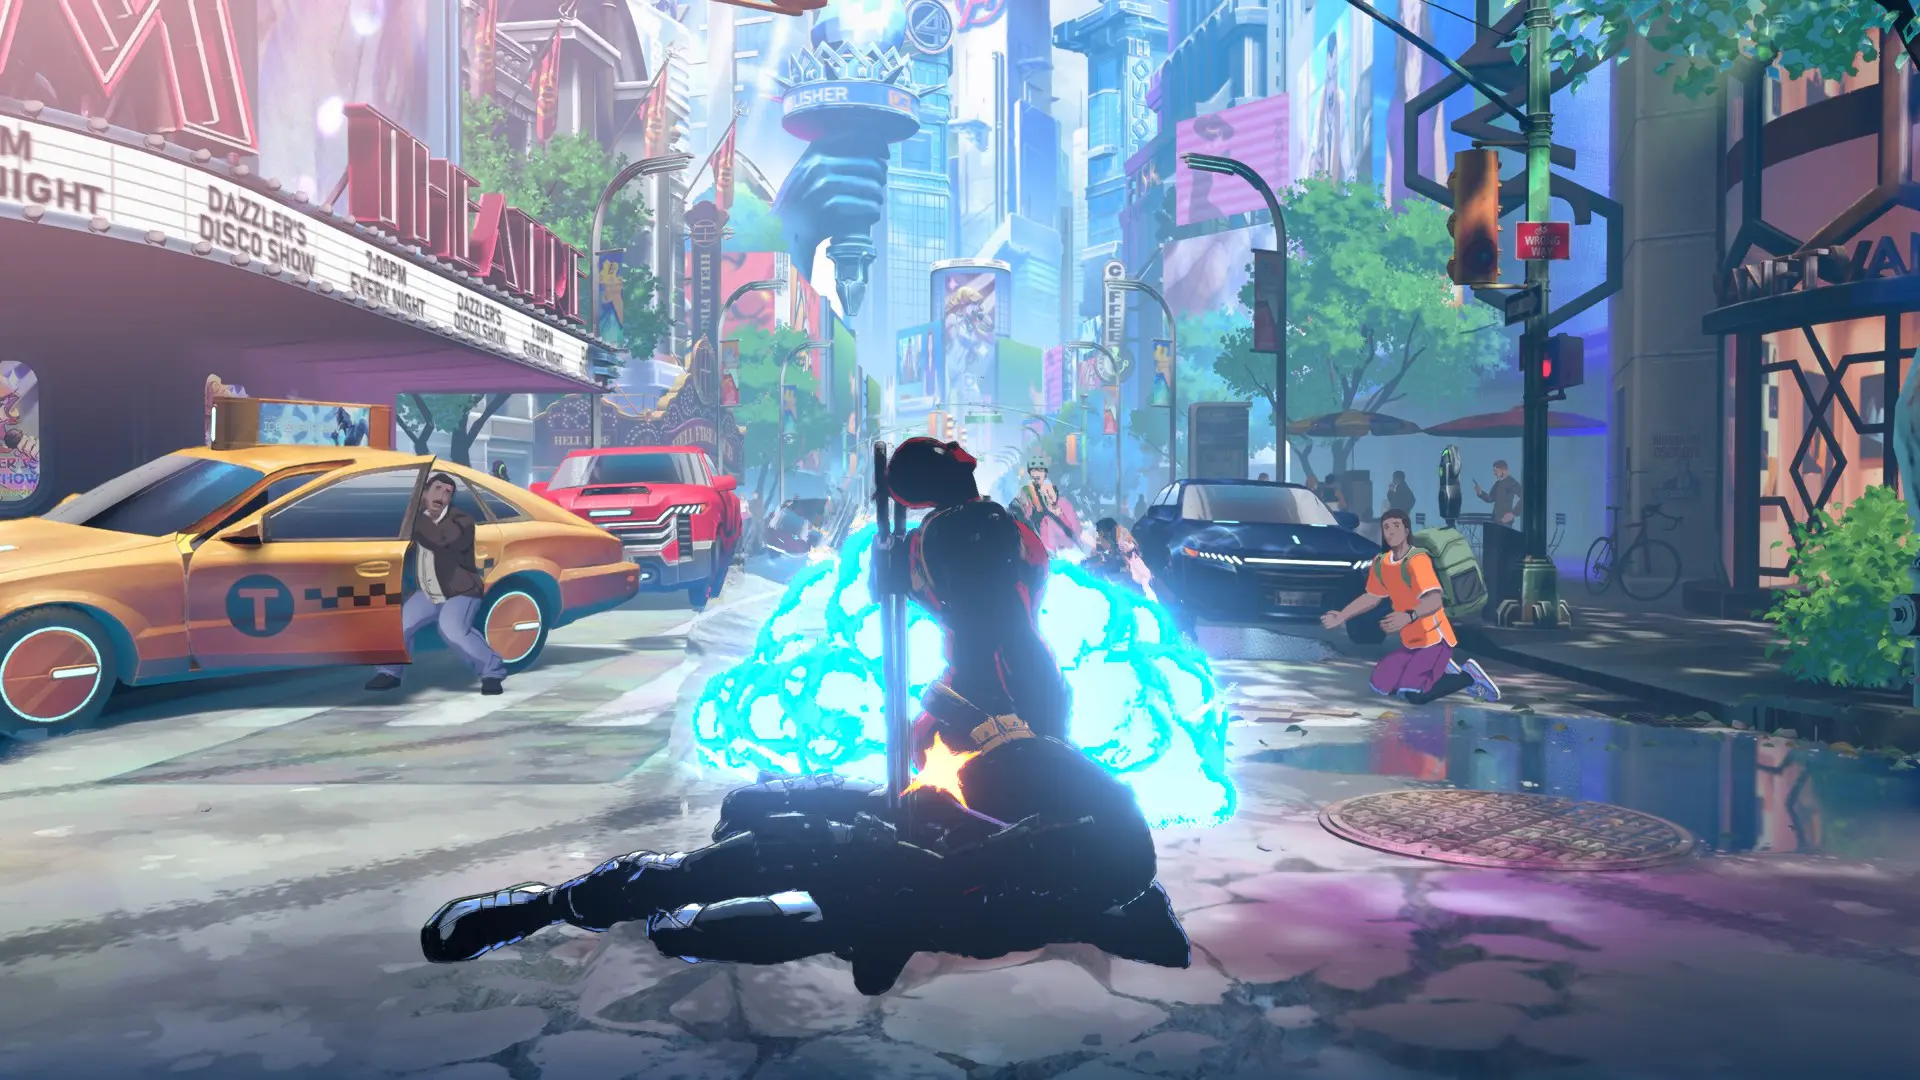
Deadpool performs a rocket-powered divekick based on Doctor Doom’s MvC 3 special move. The standard input rockets diagonally downward, while performing a down, down input instead will fly downward at a steeper angle.
Deadpool can alternatively use the move after the medium version of Death From Above if he has Healing Gauge. If used this way, Deadpool can repeat the dive on hit. If Deadpool has an Explosive grenade equipped, the follow-up will lead to a huge finisher, dealing extra damage.
While not quite as insane as it was in MvC 3, Foot Dive is still a great tool to dominate aerial screen space and approach safely.
Best Used When: You’re ready to put on the pressure or want in on the opponent.
Deadpool’s Assists
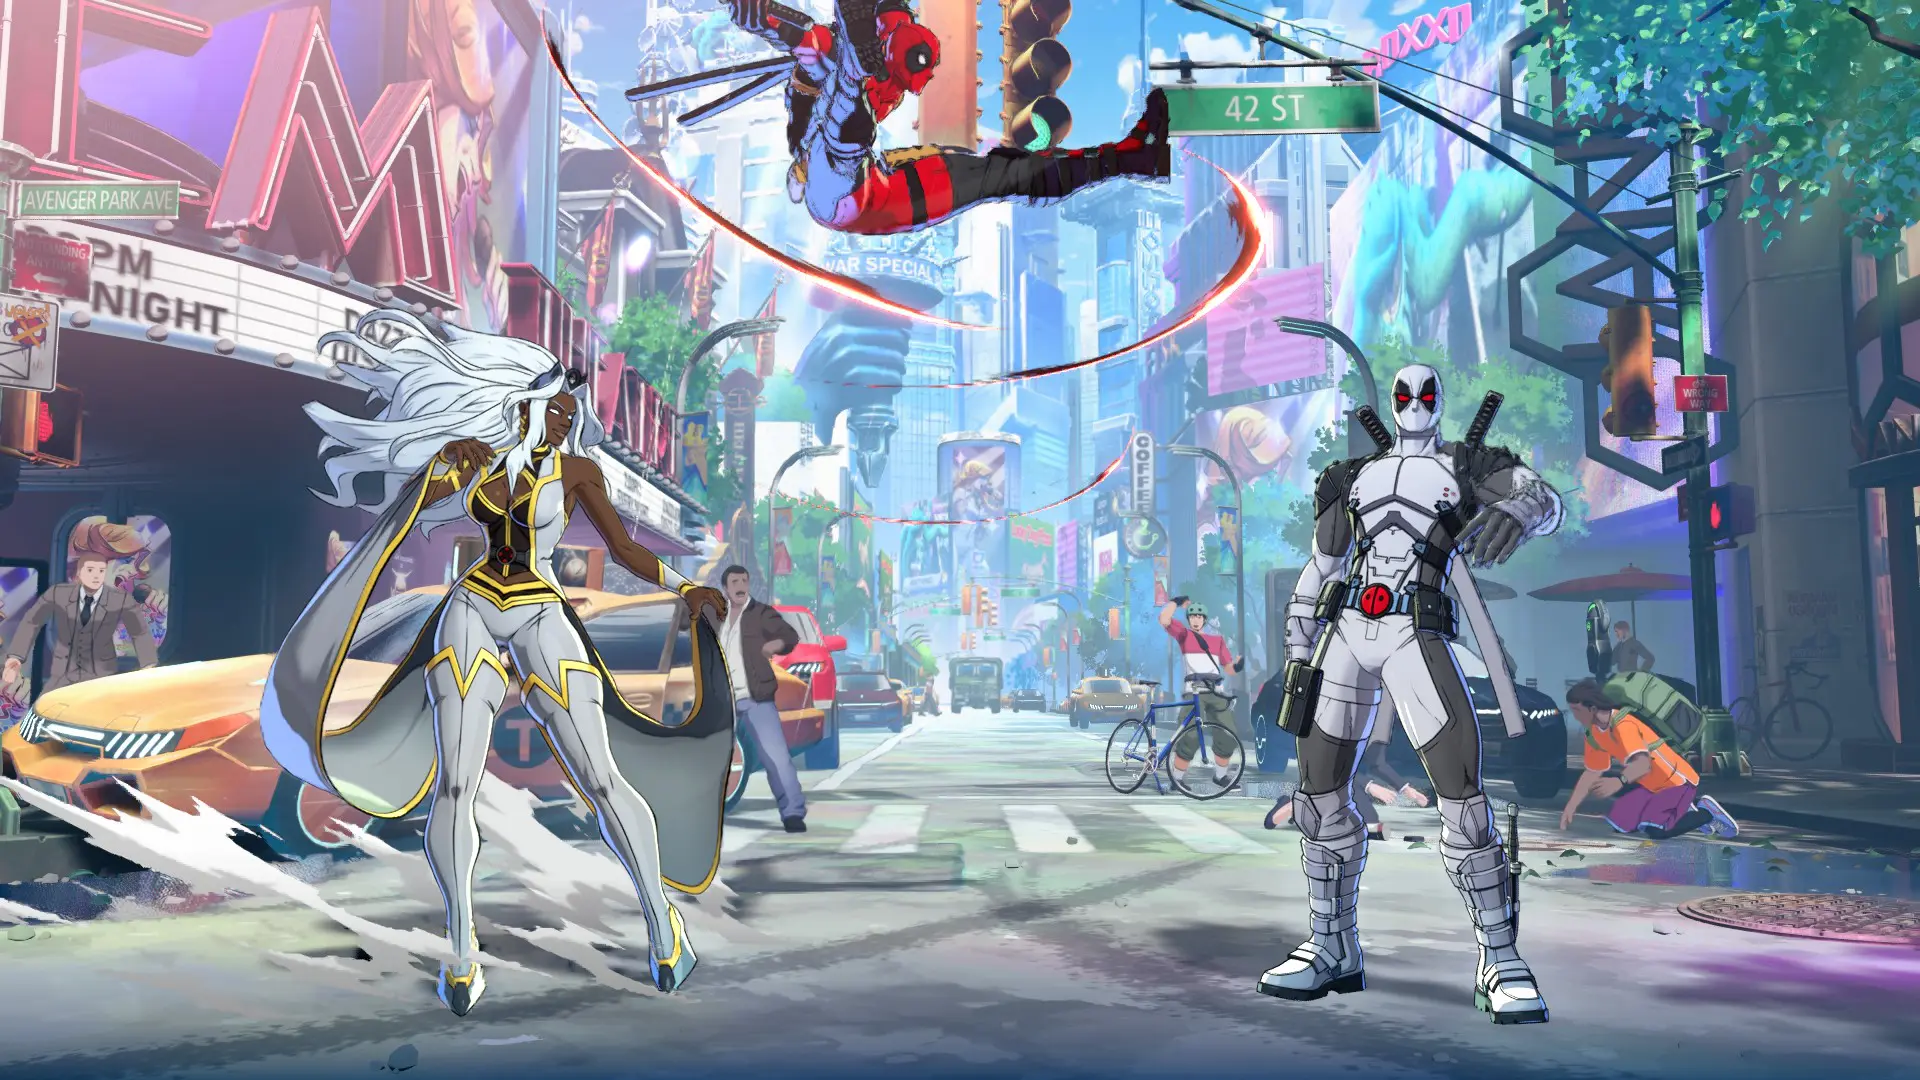
Deadpool’s Assists are super solid, no matter his position. Based on where you place him, he can provide ranged cover, a DP, or stack the Healing Gauge. Deadpool can be swapped in immediately if any of his assists land. Let’s take a look at each.
- Assemble Assist Shooter: In position 2, Deadpool performs Trigger Happy, firing both of his handguns.
- Assemble Assist Vertical: In position 3, Deadpool performs Chimichanga Chop, rising into the air with the enemy.
- Assemble Assist Assault: Deadpool performs Meat Shield twice, comboing the opponent. If he’s hit before he can stab himself, Deadpool will perform a Roman Cancel.
His Assault variant is especially effective, taking space even if the enemy tries to stuff him out. No matter where in the team you place him, Deadpool will find value.
Deadpool’s Supers
Deadpool has the standard three supers on offer, with a few secret ones if you can find the inputs. Since these supers offer no tactical advantage, we won’t be discussing them here. Instead, we’ll be looking at practicual applications and bonus effects from his normal Supers.
Quartercircle Forward + Medium + Heavy – Super Skill – Fever Dream
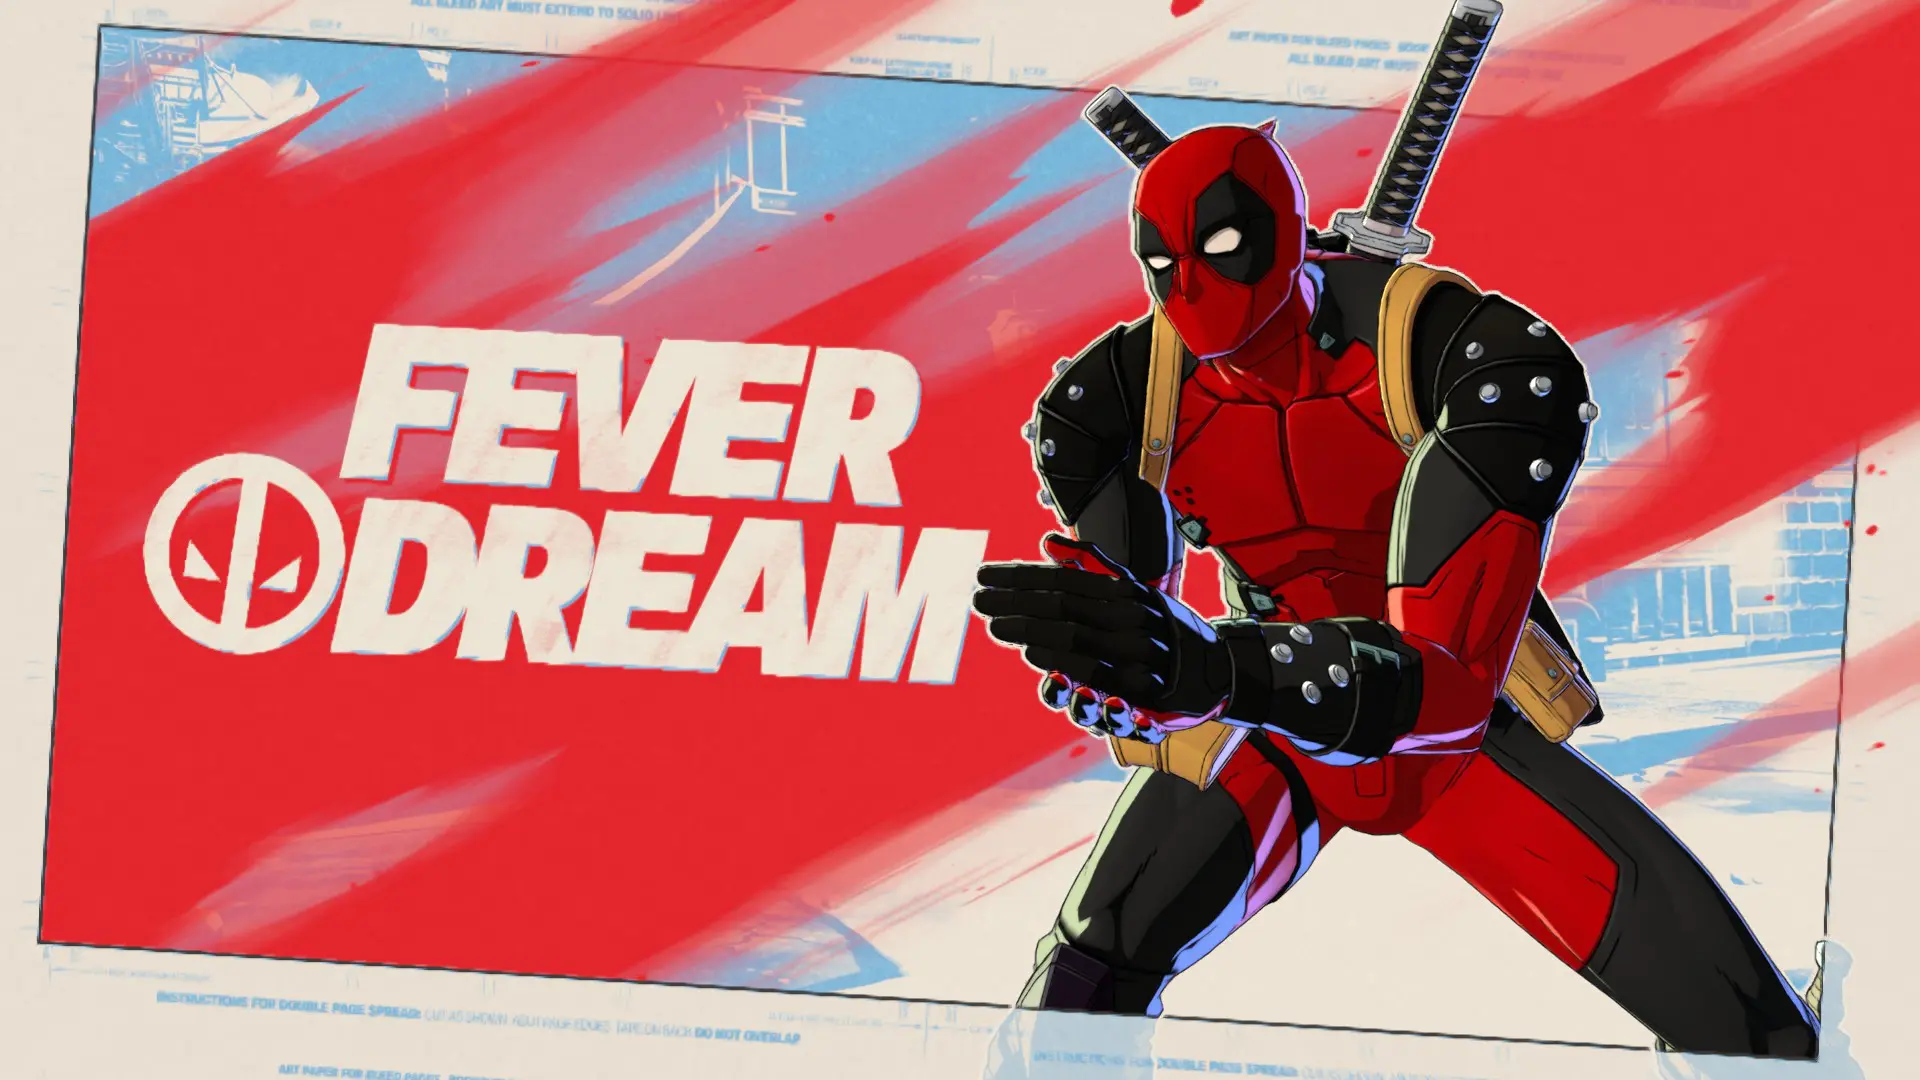
Deadpool dashes about half the screen’s worth of distance, catching any enemy hit with a barrage of fighting game references. This super does solid damage and is very easy to combo into at the end of his strings.
Fever Dream costs 50 Skill Gauge and is automatically used at the end of his Medium auto-combo if you have the bar for it.
Halfcircle Back, Forward + Medium + Heavy – Ultimate Skill – Deadpool Corps
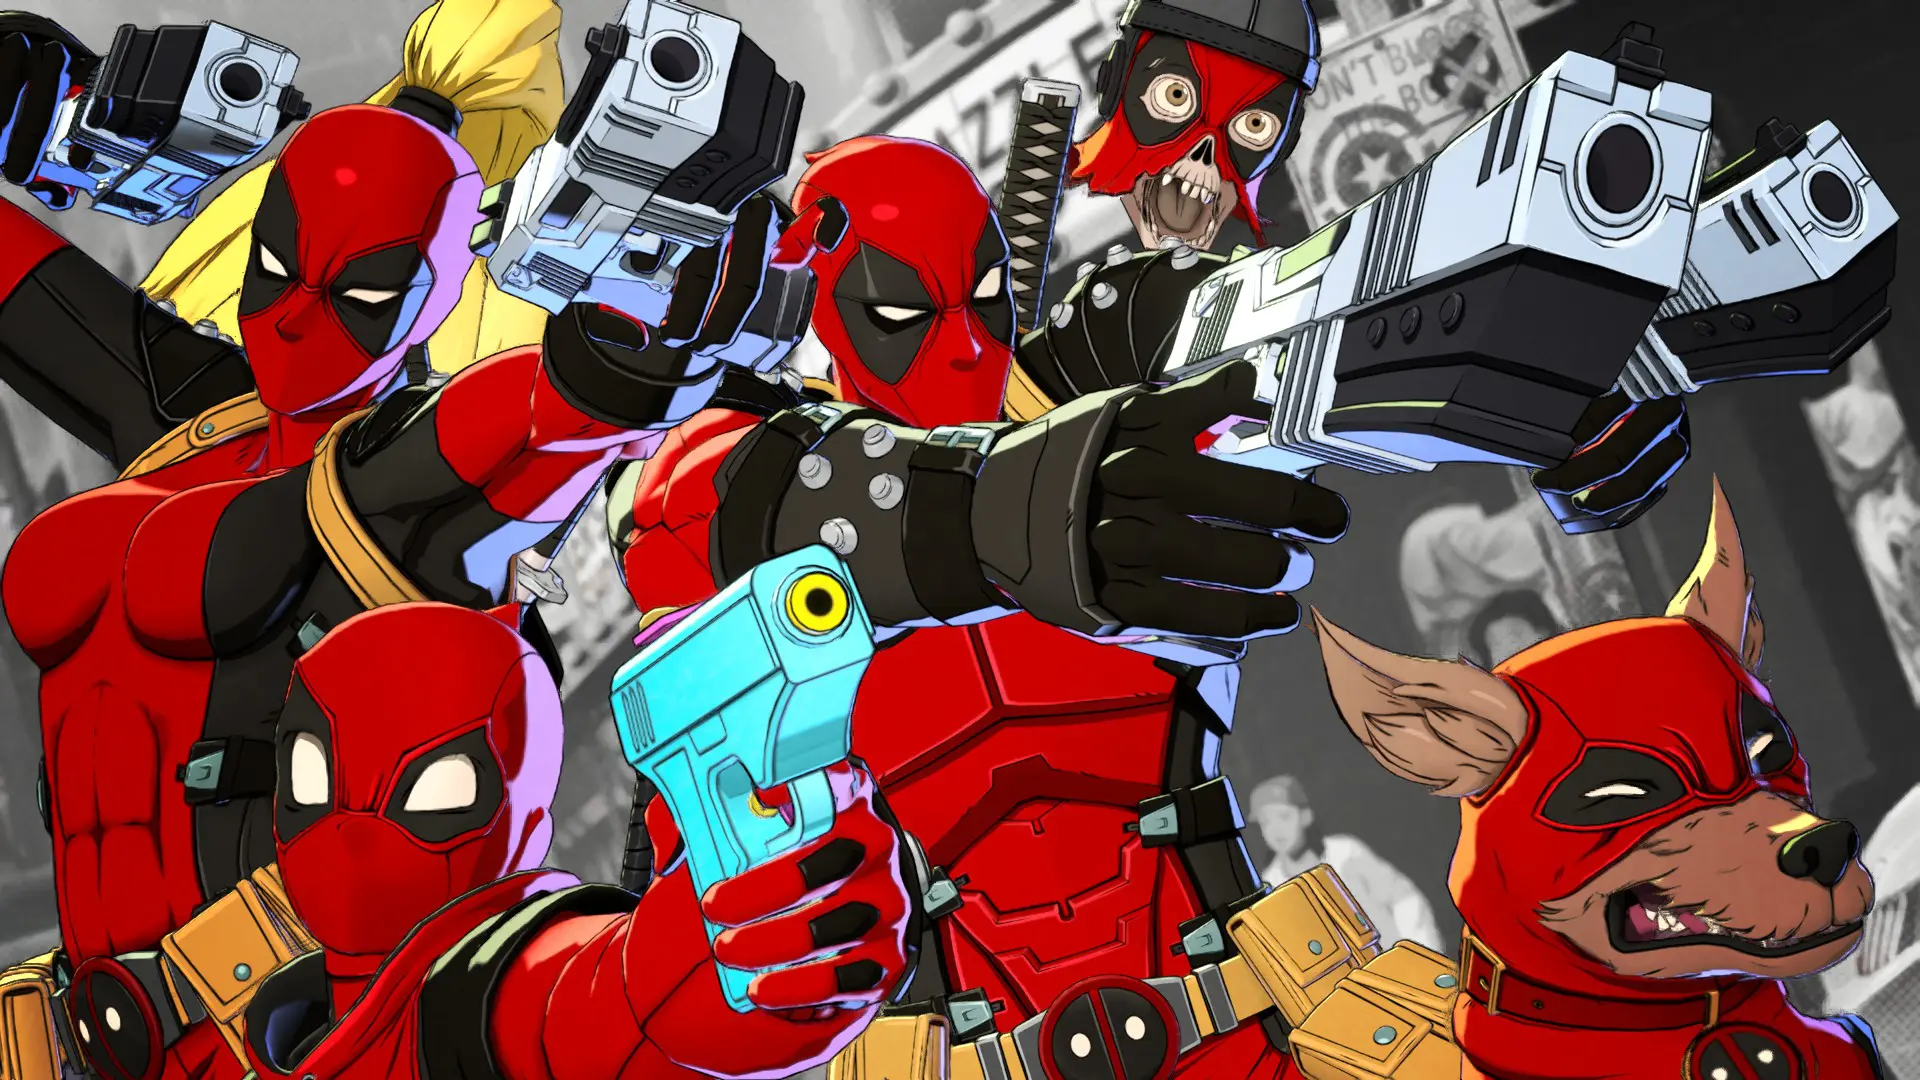
Deadpool summons the Deadpool Corps and performs a Volcanic Viper with his inflatable orca. This attack rises upwards, trapping the enemy if they’re caught in the attack. At the end of the attack, as long as it wouldn’t kill him, Deadpool take a small chunk of damage in exchange for Healing Gauge.
Deadpool Corps costs 100 Skill Gauge and will automatically be used at the end of a Heavy auto-combo if you have the bar. The upward angle makes this attack work as an anti-air, as well as a solid combo ender.
Quartercircle Forward + Light + Assist – Tokon Assemble
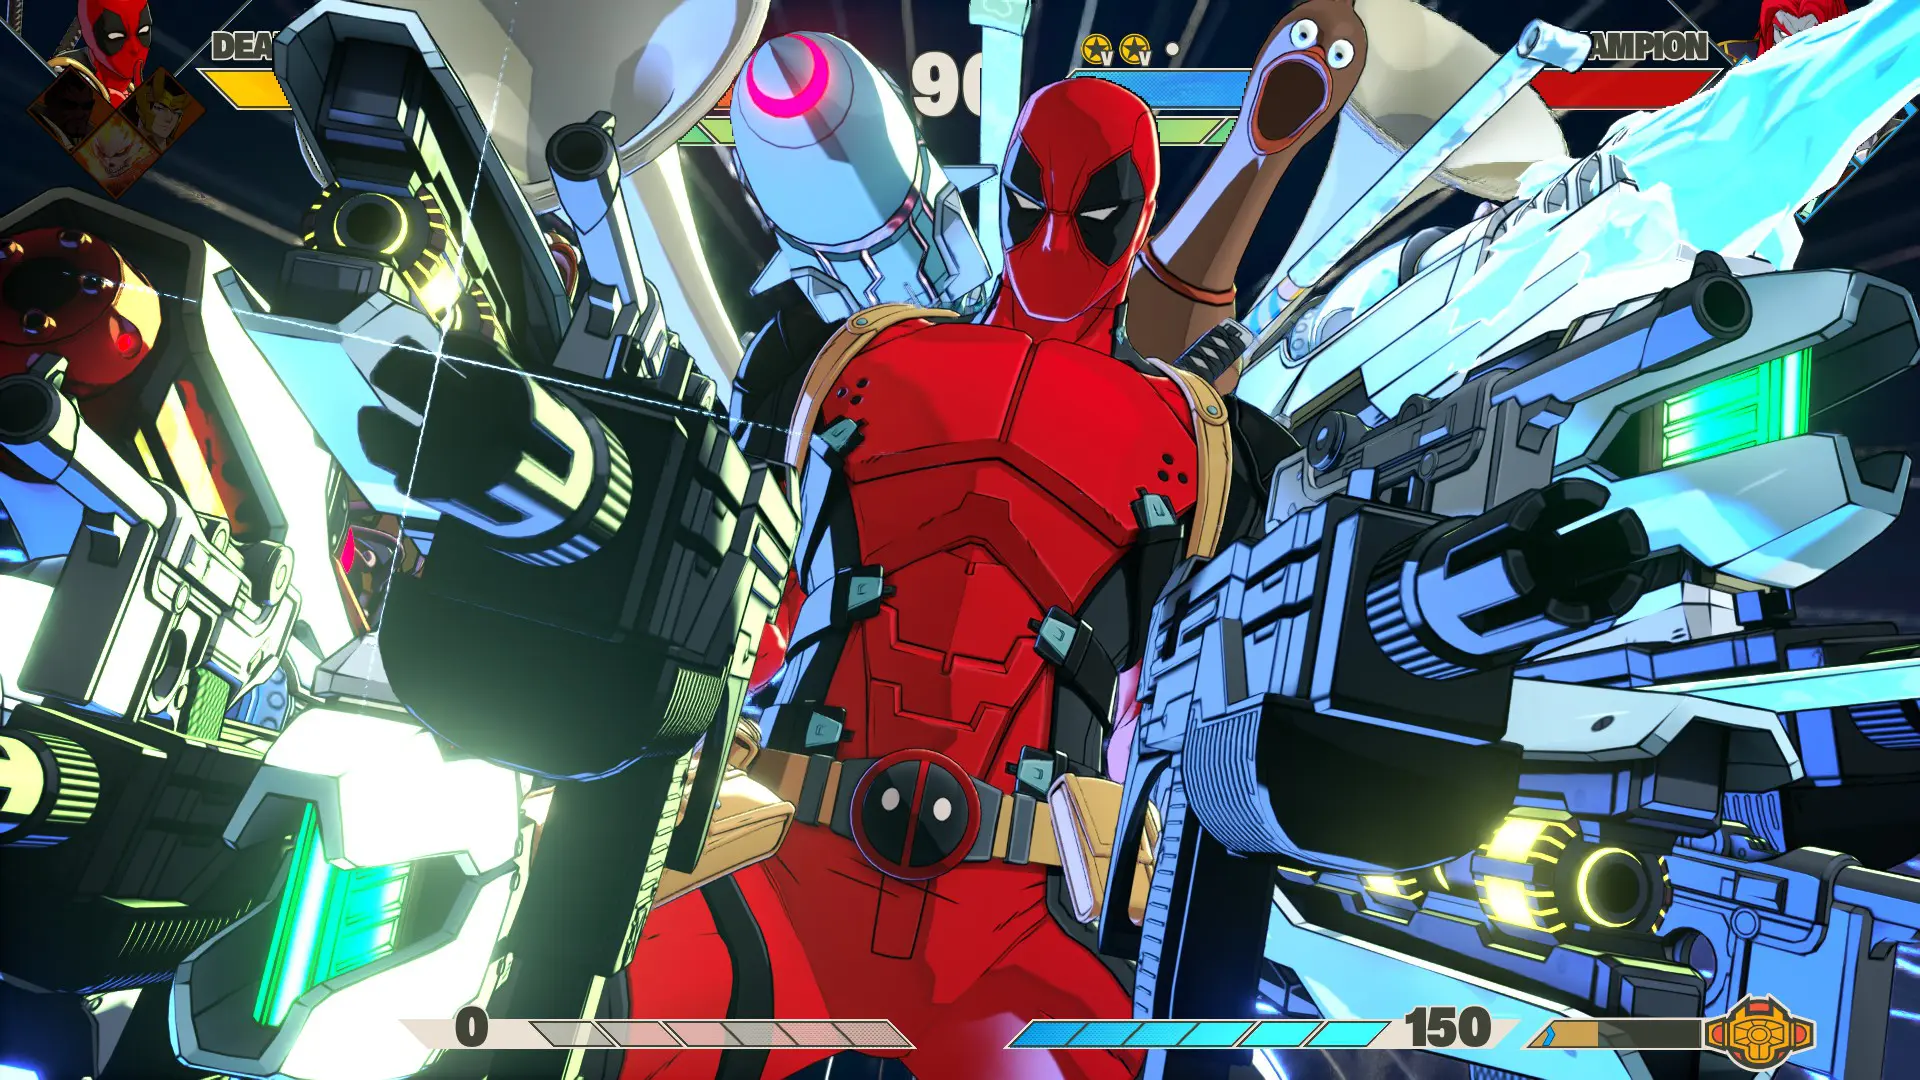
Only usable with a full 150 Skill Gauge, the entire team assembled, and if you’re only one round away from losing, Deadpool’s Tokon Assemble starts with a straight slash. If successful, the entire team batters down the enemy before Deadpool punishes them for attempting to rage quit.
Not exactly practical, but a seriously heavy hitter that’s all too satisfying to land. If every condition is met, Deadpool will perform this attack automatically at the end of a Light auto-combo.
How to Play Deadpool
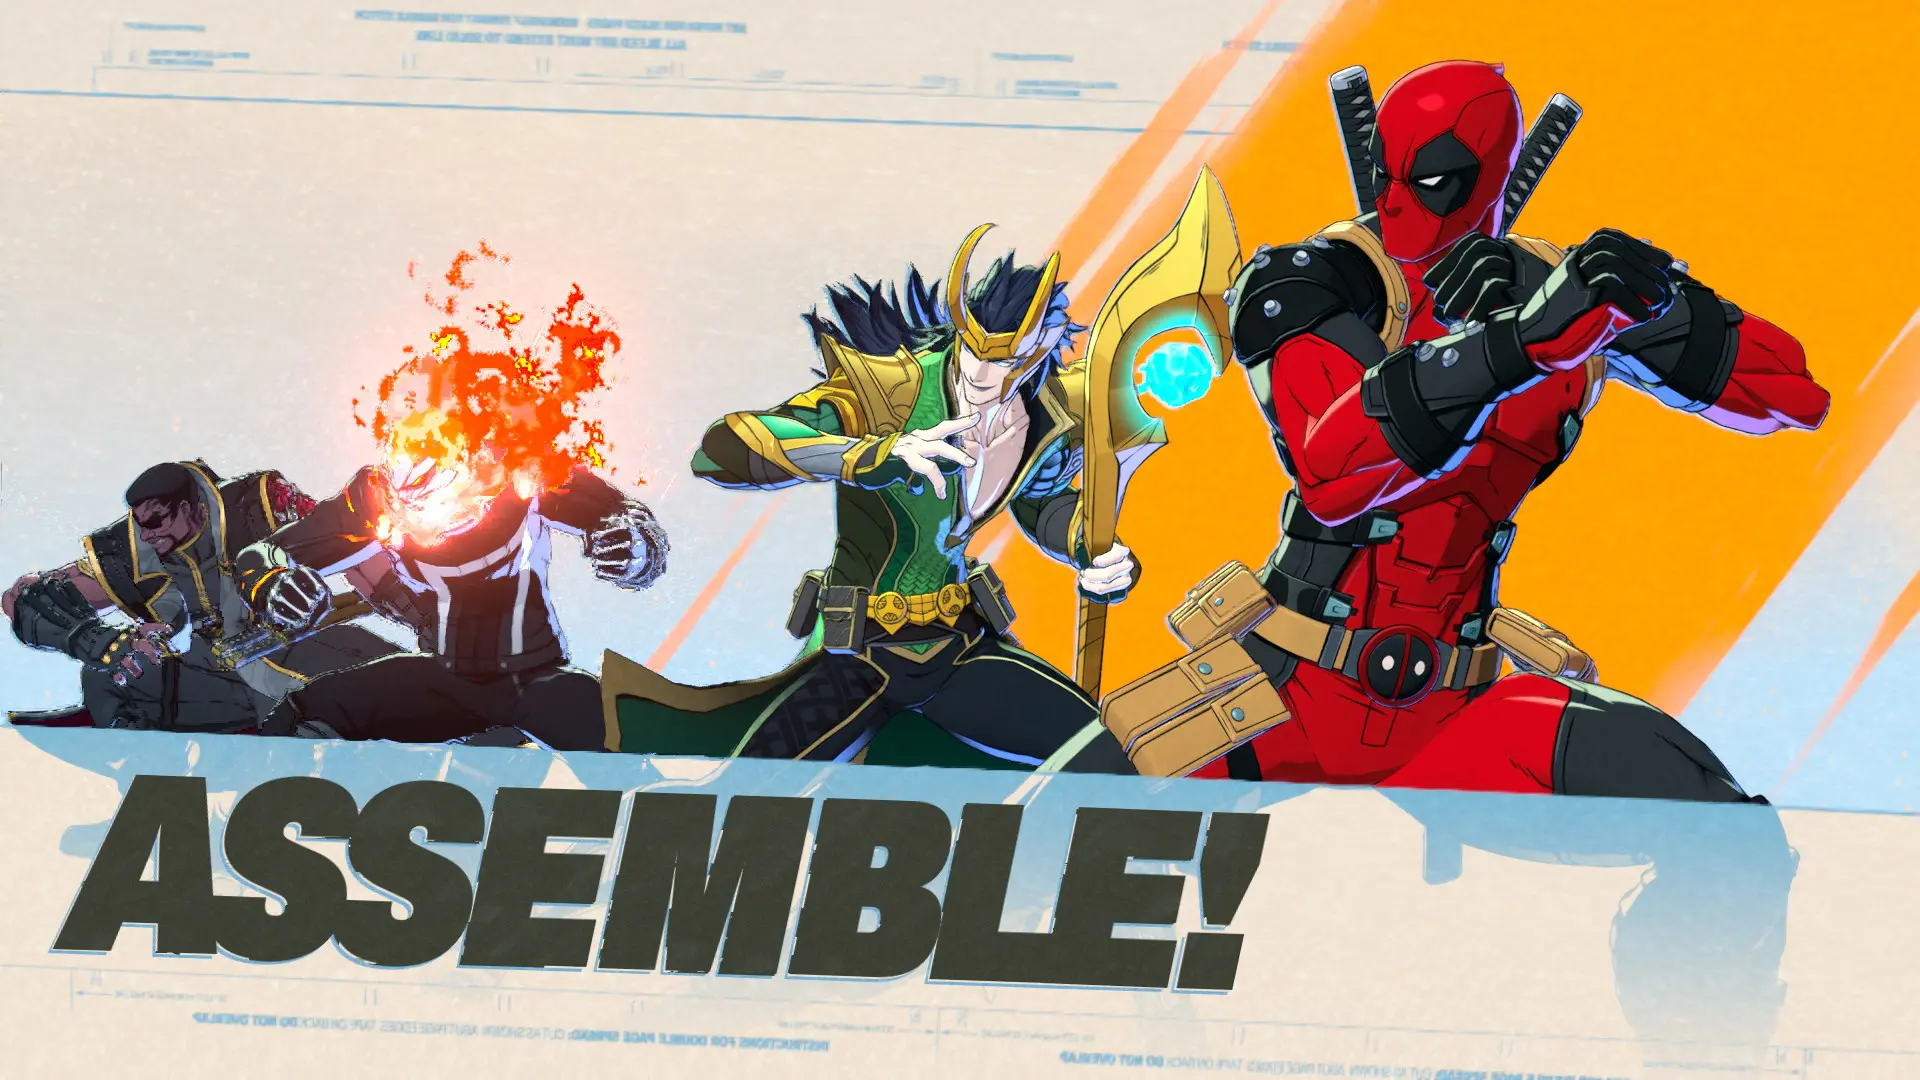
Deadpool, thanks to his sheer myriad of options, is a fantastic all-rounder who rewards aggressive, seat-of-your-pants play. He thrives in either all-out rushdown teams or more reactive lineups, able to both lead the charge and hold the line and respond to bad choices.
Both Deadpool’s standing and crouching Medium attacks take solid space without being too slow, making them great spacing tools and combo starters. Use his guns and grenades to chip down attackers and force them into an awkward position before you close the gap.
For general neutral, safe specials to find your footing include…
- Trigger Happy, for keeping the enemy at bay.
- Faulty Grenade, for preparing your approach
- Death From Above, to psych out the enemy with easy left-right 50/50s with your assists.
At close range, threaten with Meat Shield or a jump in Heavy for real heavy-hitting combos, while maintaining Healing Gauge for the right opportunity. His Stun grenade-amplified Lightning Tornado Upper is a seriously fantastic tool to abuse. It can anti-air, it can combo start, it can link out of normals. I don’t glaze it for no reason!
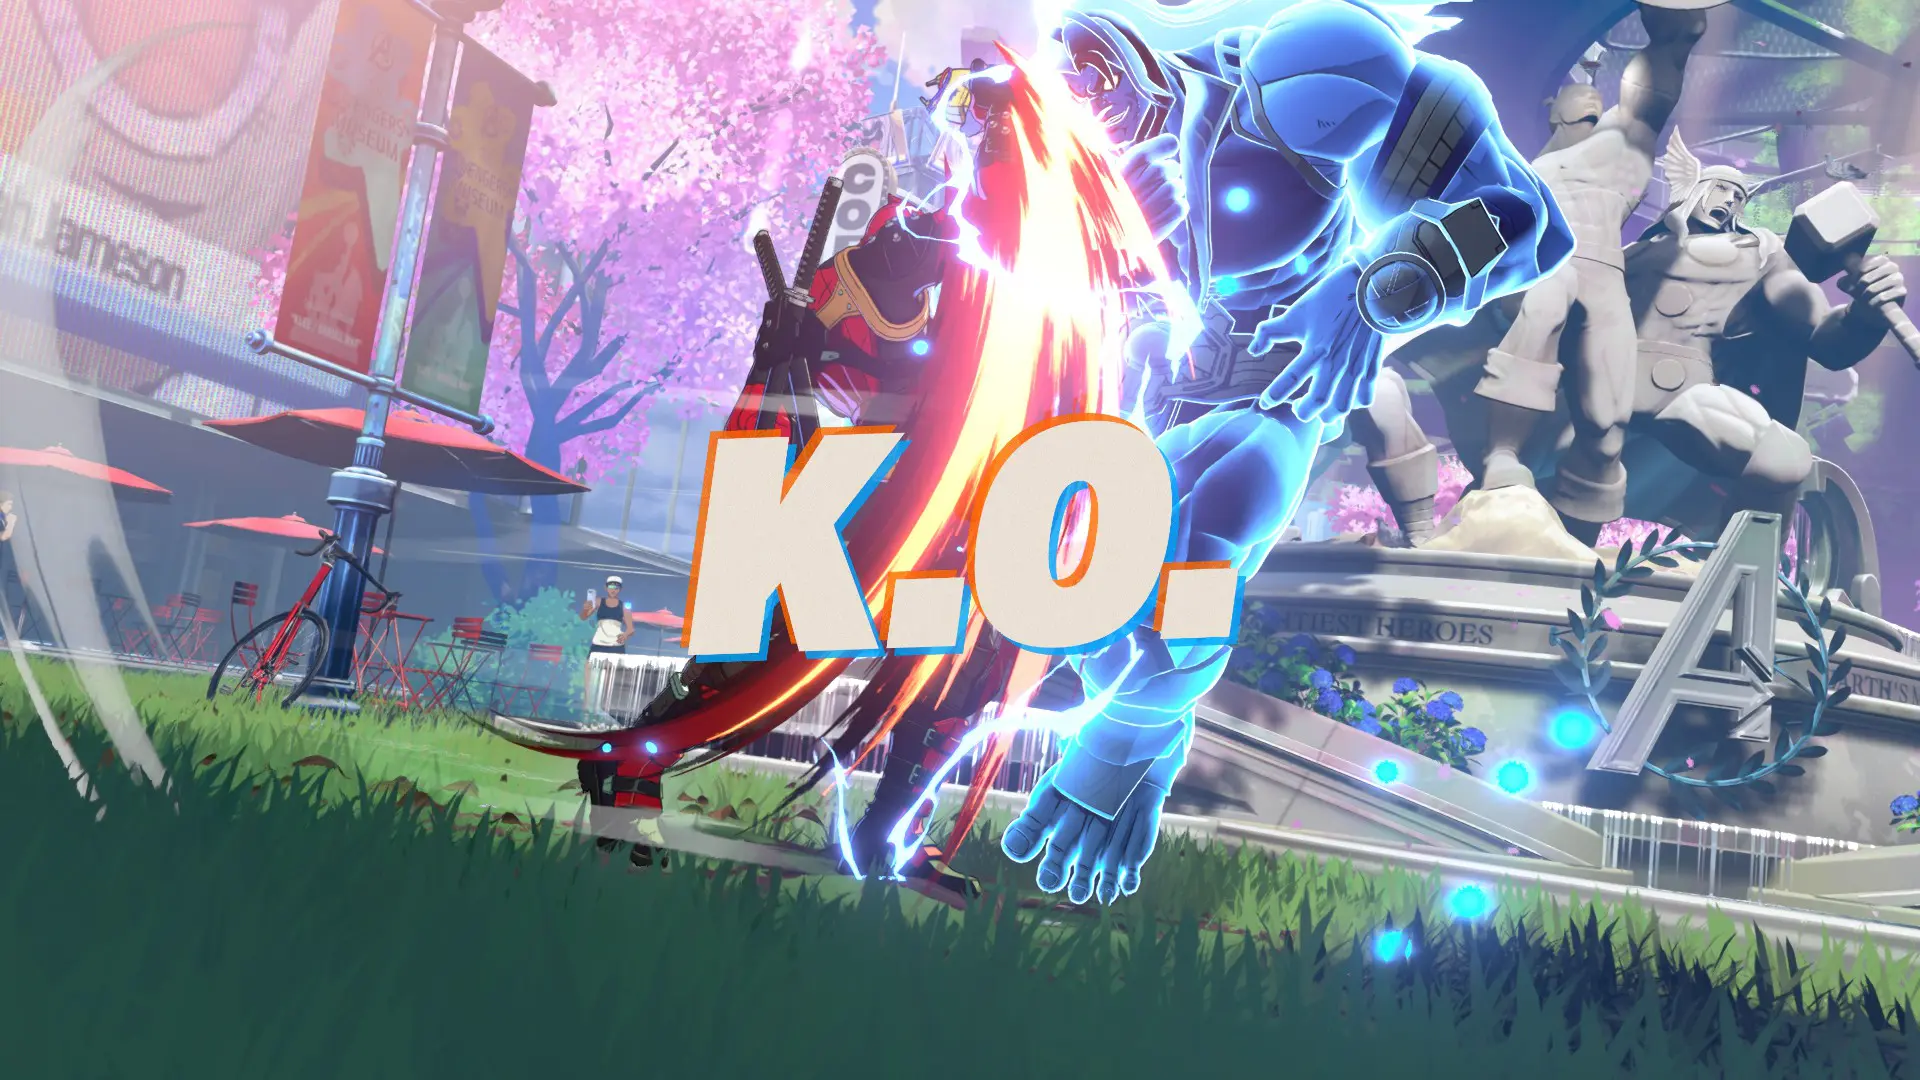
Deadpool really thrives against enemies with less range than him, thanks to his sizable normals and a stupid amount of projectiles. If the enemy swaps in a Wolverine or Captain America, it’s Wade’s time to shine.
Overall, Deadpool can use his Light normals to catch overconfident enemies and start combos, while abusing his Fourth Wall Attacks to either continue combos or close them out. Whenever you arm a Faulty Grenade, consider whether or not you can make use of the amplified move the nade is associated with; remember…
- Explosive Grenades buff Foot Dive
- Incendiary Grenades buff Burning Haymaker
- Stun Grenades buff Lightning Tornado Upper
Deadpool’s Best Teams
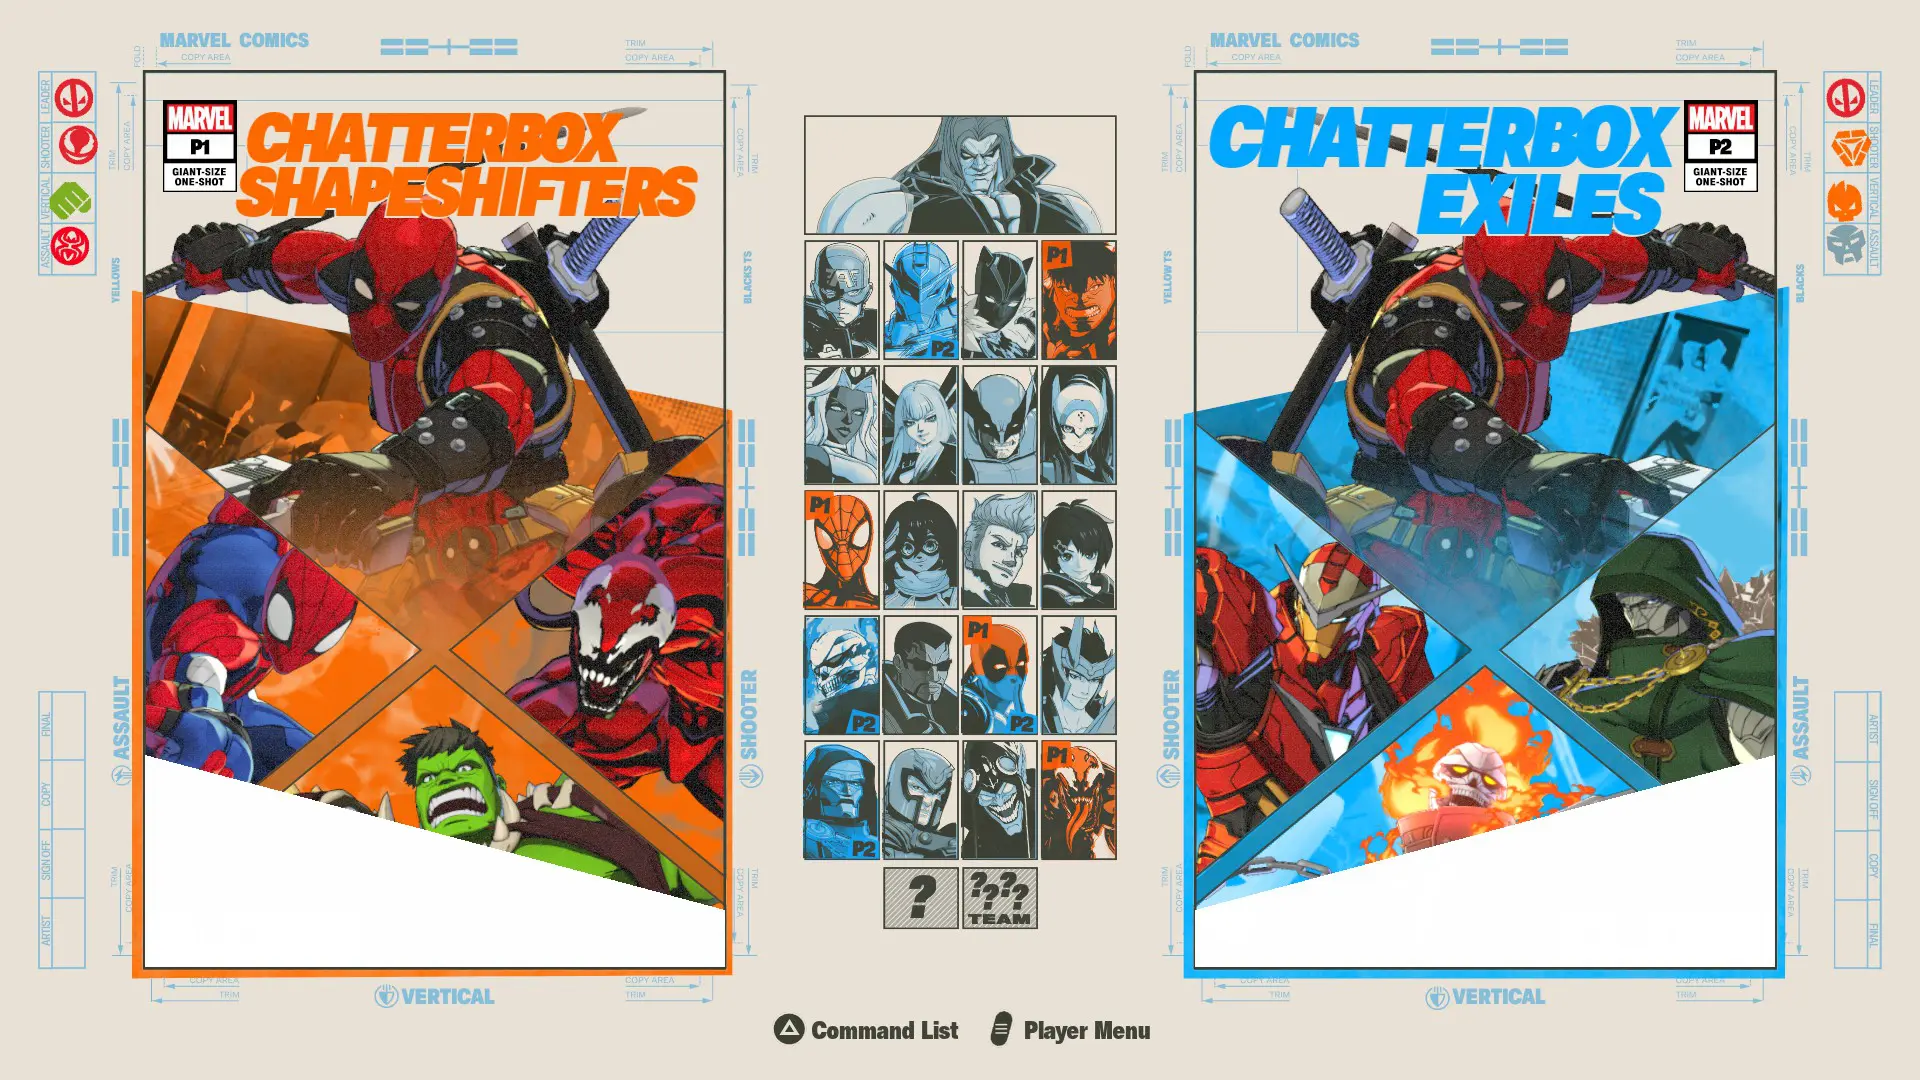
Team building is a major focal point of Marvel Tokon, and Deadpool’s role as a powerful point means he can make the most of many of the best Assists in the game. I’ve been practicing with two lineups for him, the Chattering Shapeshifters and the Chattering Exiles.
Chattering Shapeshifters
Here, Deadpool utilizes the strong coverage from Carnage and Hulk to keep the enemy blocking, allowing him to maintain pressure and set up his mix. Once you unlock Spider-Man, use his assist to confirm off of Deadpool’s openers and keep combos going.
With Hulk protecting above you, Carnage covering the front, and Spidey there to lock them down when you’ve opened them up, Deadpool can hit all the buttons he’d like.
| Role | Character | Reason for Running |
| Starter/Position 1 | Deadpool | Our point, the head honcho. Solid range, a frankly hard-to-remember amount of attacks, and real damage. Deadpool takes some time to learn, but he can reward that time handily. |
| Assemble Shooter/Position 2 | Carnage | As position 1, Carnage always starts unlocked and makes an immediate impression. The massive range of his Shooter assist allows for easy conversions and snipes through projectile wars. |
| Assemble Vertical/Position 3 | Hulk | Provides a great anti-air, a mountain of super armor if need be, and constant scaling thanks to his Gamma Rage. Having a big body in the back pocket never hurts. |
| Assemble Assault/Position 4 | Spider-Man | Spidey is our last unlocked ally, and his web-zip assist while at position 4 can enable completely insane combos. Despite his misgivings, Spider-Man works wonders with Deadpool. |
Chattering Exiles
Leaning more into Deadpool’s solid ranged game, this lineup is all about minimizing enemy options. Covered by Iron Man’s beam, Deadpool can approach with impunity and force blocks to set up his Fourth Wall Attacks.
Ghost Rider can extend Deadpool’s aerial hits and substantially help with corner carry. Once they’re locked down, either blocking or getting hit, move in for the kill. With Doom’s assist packing the space laser, enemies are forced to either meet you or eat the mix, something Deadpool excels at.
| Role | Character | Reason for Running |
| Starter/Position 1 | Deadpool | Our point, the head honcho. Solid range, a frankly hard-to-remember amount of attacks, and real damage. Deadpool takes some time to learn, but he can reward that time handily. |
| Assemble Shooter/Position 2 | Iron Man | Stark’s Shooter assist is an all-purpose projectile for fireball wars and conversions. There’s nothing bad about throwing a massive hitbox on the screen. |
| Assemble Vertical/Position 3 | Ghost Rider | Robbie in position 3 allows him to use his Revelator Chain to meet airborne enemies head-on, or combo enemies you’ve managed to anti-air. If the game demands even more range, you can always swap over to Ghost Rider. |
| Assemble Assault/Position 4 | Doctor Doom | His Assault assist is a wild tool for knockdown situations, setting up a massive space laser that forces blocks if you can lock the enemy down, something Deadpool can do easily. |
