


Schedule 1 features an extensive drug-dealing process to get to the final product. One of the things that can make things a bit easier is having the proper equipment to carry out a manual task. Soil Pourer is one of the many equipment or machines the game offers to ease the task of managing plants. To properly use the Soil Pourer, we must have a Grow Tent and a Pot Sprinkler. Once we have all three of these items lined up, we can use them. Here, we will take a look at how to use the Soil Pourer in Schedule 1.
Installing Soil Pourer/ Grow Tent/ Pot Sprinkler
Take out $600 from the ATM for the shopping spree. Now, just move to the north of the map to find the store to get all the equipment.
- Head to Dan’s Hardware store, buy a Grow Tent for $100, and a Soil Pourer for $300. and a Pot Sprinkler for $200.
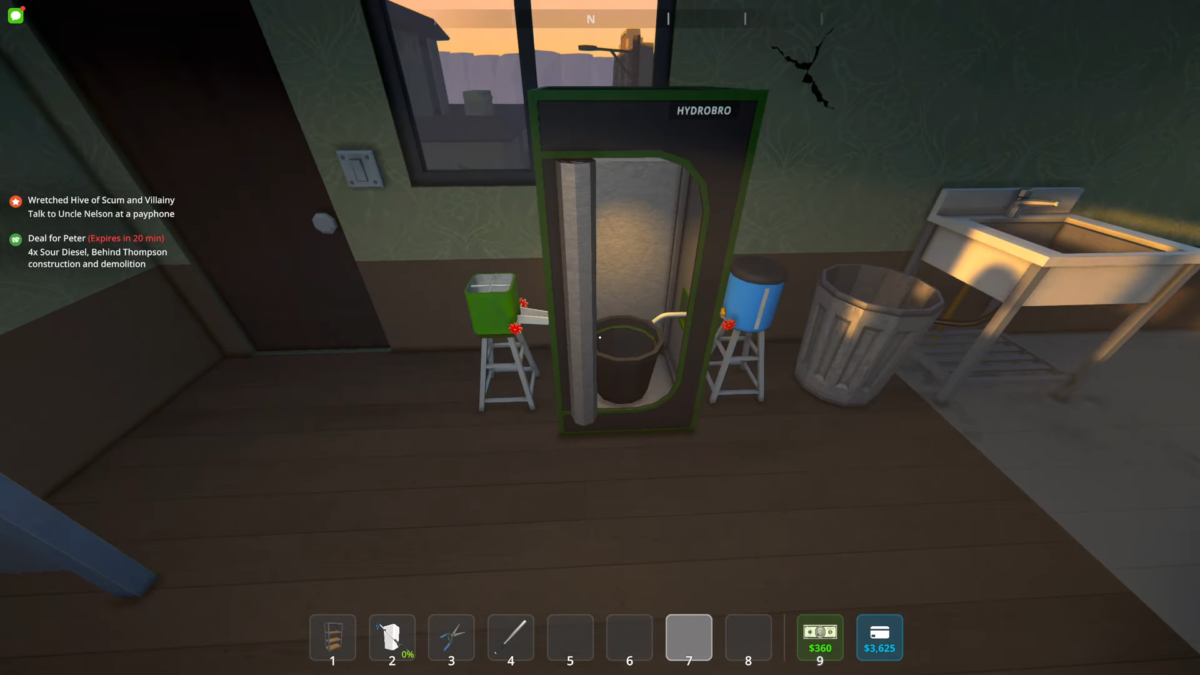
- Once you have all three in your quick shortcut menu, go to your base of operation. It’s time to install all three. Find a suitable spot on the floor. We need to set up all three machines in a single line, so make sure to find a perfect empty spot in your apartment.
- Grow Tent Install: First, set up the Grow Tent; it will take up a small spot. Once the Grow Tent has been placed, we focus on the Soil Pourer and Pot Sprinkler.
- Pot Sprinkler Install: Head to the right side of the Grow Tent machine, and place the Pot Sprinkler, pointing its head towards the Grow Tent’s side.
- Soil Pourer Install: Now, get to the left side of the Grow Tent, and place the Soil Pourer, pointing at the Grow Tent just as the Pot Sprinkler on the other side.
That’s it, now that we have all the machines installed, it’s time to use all of them.
Using the Soil Pourer
Add Soil to your shortcut keys, and interact with the Soil Pourer to add the Soil into the machine. Once all the soil has been poured into the Soil Pourer, interact with it again to Dispense Soil. This will release the Soil from the Soil Pourer into the bucket inside the Grow Tent.
Now, interact with the Pot Sprinkler on the other side of the Grow Tent to add water into the bucket. Once both the soil and water have been mixed in the bucket. It’s time to plant your OG Kush in the bucket, cover it with dirt, and that’s it.
With this part out of the way, check our guides here on how to get the Stash and Dash storage unit in Schedule 1, and how to unlock the Indian Dealer achievement.