


Honkai Star Rail 3.0 now has a bunch of new achievements to get after solving some of the more complex puzzles in the game. As part of collecting all the Nymph Butterflies, you can now uncover the Portentous Goldwoven puzzles. There are four of these puzzles to solve, and each time you solve them, you can unlock a unique Chirping Secret achievement. In this guide we will give you the rundown of how to get all Chirping Secret achievements and how to solve the Portentous Goldwoven puzzles in Honkai Star Rail.
How To Start The Portentous Goldwoven Puzzle In Honkai Star Rail
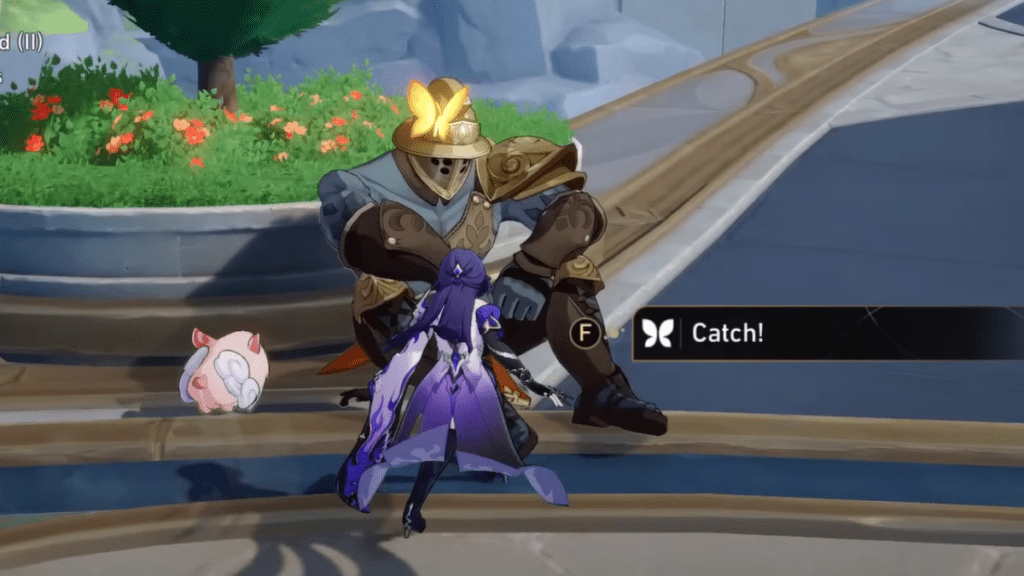
You unlock the Portentous Goldwoven puzzles by collecting 20 Nymph Butterflies in each map of the Amphoreus sub-regions. The region is unlocked by completing the ‘Heroic Saga of Flame-Chase’ mission. Once that is done, explore all the areas and collect Nymph Butterflies. This is a new critter type that is similar to the Penacony origami birds. There are 20 of them to collect per map, but they are easy to identify due to the unique sound they make. Each time you complete collecting the Nymph Butterflies, you can get some strange item that will help you solve the puzzle. Below are the rewards you can collect from each map.
- Abyss of Fate Janusopolis – Puzzle piece
- Strife Ruins – One half of a puzzle scroll
- Bloodbathed Battlefront Castrum Kremnos – The other half of a puzzle scroll
- Eternal Holy City Okhema – No reward but leads to a puzzle location
Portentous Goldwoven Puzzle Solutions
Each time you collect one of the rewards from the maps for finding all the Nymph Butterflies, you can then solve a quick puzzle and get a secret achievement.
Abyss Of Fate Janusopolis
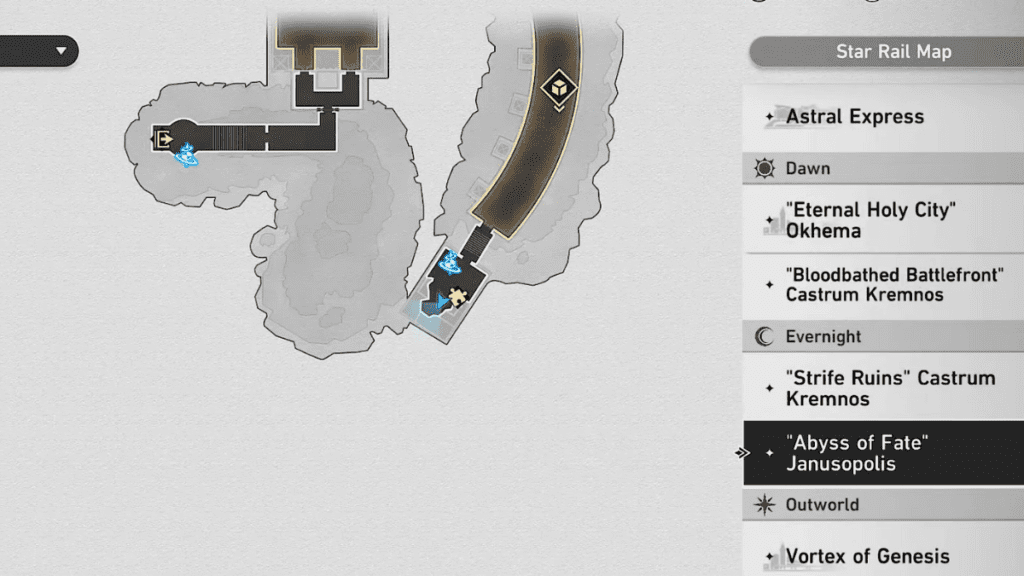
After getting the puzzle piece, head over to the isolated room to find the Prophecy Tablet. The room is on the bottom-right side of the map, and the closest waypoint is the Dreamshroud Mausoleum Space Anchor. But once you interact with the tablet, you will realise that you require 4 more puzzle pieces. You can get them by asking other players to lend their pieces to you. Next, arrange all the five pieces in the following pattern to complete the puzzle.
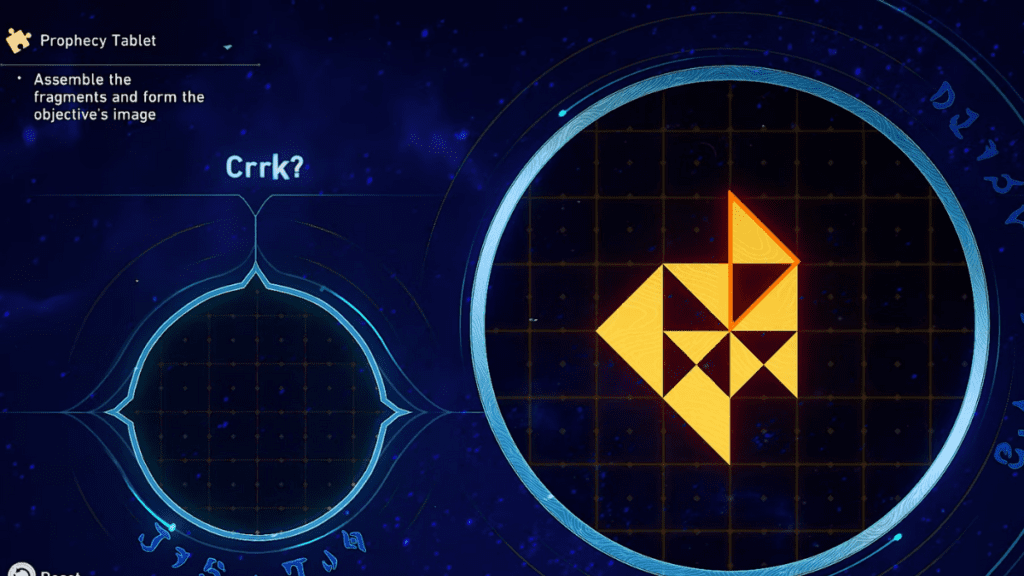
Completing this puzzle will give you the ‘Chirping Secret: Many-Faced’ achievement and a precious chest containing rare rewards.
Strife Ruins and Bloodbathed Battlefront Castrum Kremnos
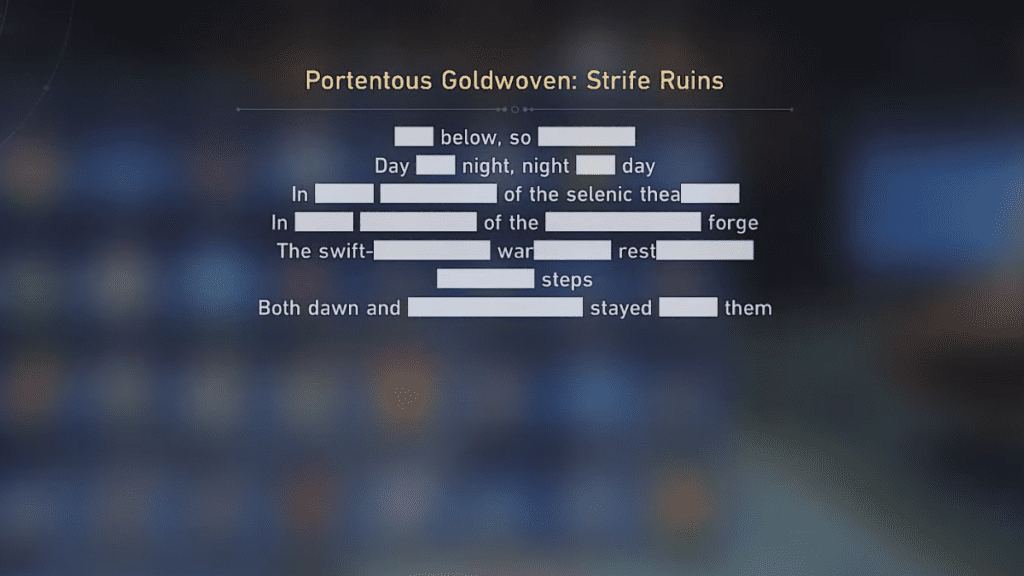
After you have collected both scrolls, join them together to get the completed version of the riddle. The riddle will read as below.
“As below, so above.
Day is night, night is day.
In the center of the selenic theater.
In the vortex of the heliacal forge.
The swift-footed warrior restrains their steps.
Both dawn and Evernight stayed for them.”
The answer to the riddle lies in two different locations. You need to visit the Amphitheater in Strife Ruins and the Soul-Forge in Bloodbathed Battlefront. Once you hit these locations, enter the walking stance and walk to the middle of the area. There will be a Nymph of either Dawn or Evernight that will talk to you and ask you a question. You must answer correctly to complete the puzzle. The answers are given below.
- In the place extinguished of the fiery sun… how many flames still burn bright?
- Answer: 13 Flames
- Under the blade of Strife, how many warriors followed…?
- Answer: 4 Warriors
Completing both these puzzles will give you the Chirping Secret: Fleetfoot Paradox and Chirping Secret: Blemish of Light achievements, as well as a precious chest each.
Eternal Holy City Okhema

Once you reach Okehema, talk to the Garmentmaker to know what to do next. If she isn’t facing the elevator when you come up and is instead turning away, then you haven’t collected all the Nymph Butterflies or collected all the required rewards. You won’t get anything out of her till you complete the task at hand. Next, you will face a mural where you can spot all the Nymph Butterflies on the wall. At the very bottom of the central wall you will find a drawing of pyramids.
From these pyramids a symbol will emerge, and certain butterflies from the surrounding walls will start to flicker. Keep an eye on for ones start glowing, as it can be difficult to understand. You need to also note down which butterflies start flickering to which symbol that appears. There will be four symbols, so the butterflies in different areas will flicker randomly.
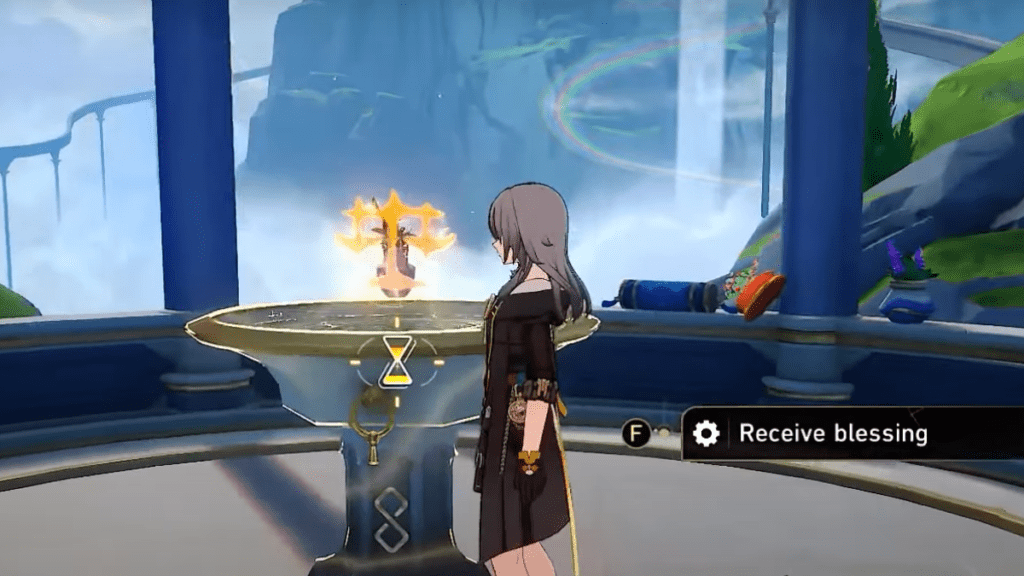
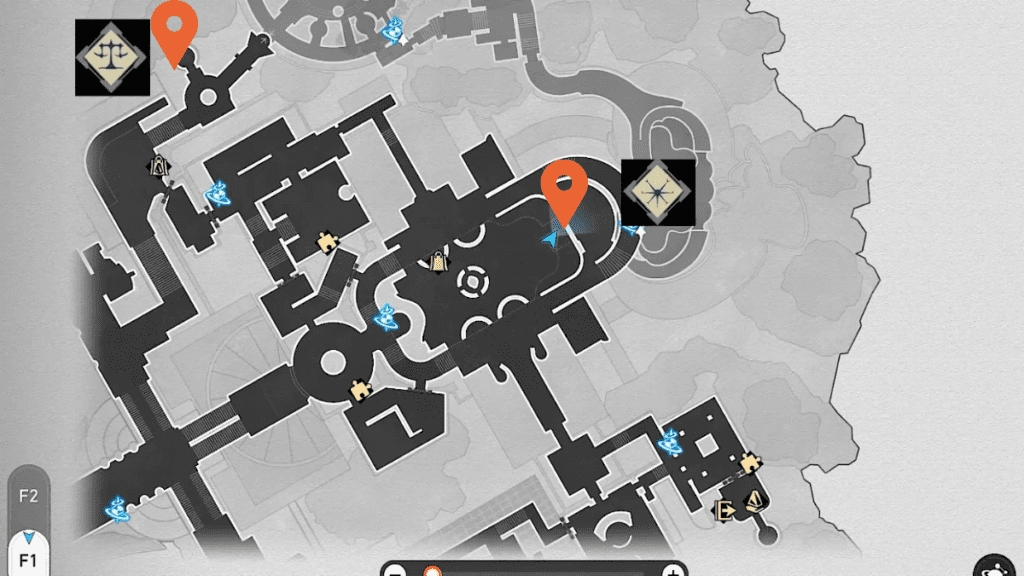
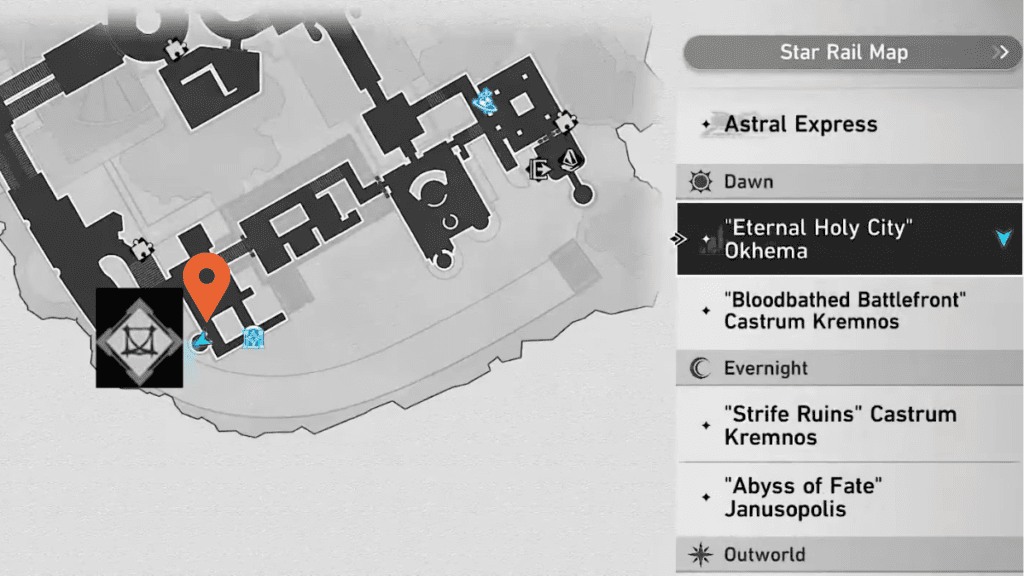
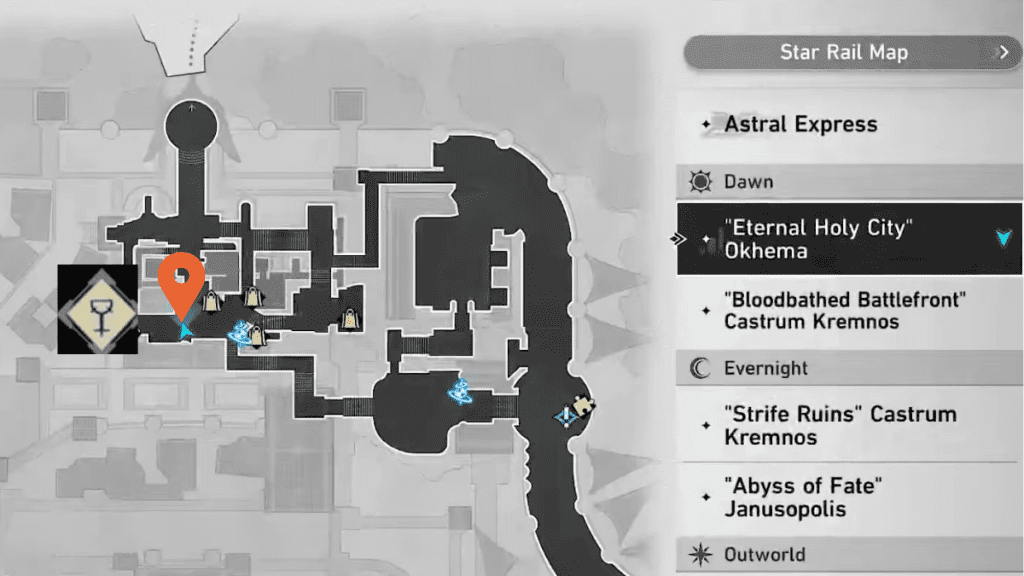
The flickering butterflies symbolize the areas on the map where you can find blessing-fountains. You need to locate these fountains, and once you do, a blessing symbol will appear on them. These have to correspond to the symbols you have seen back in the puzzle area. Below are where the fountains can be found and the symbols they need to represent.
If the fountains show the wrong symbol, you can rewind time to get a different blessing symbol. Once you activate the fountain to get a symbol, and if it so happens to be the correct symbol, do not pick it up. Rather, leave the fountain and head over to the next one. Do this for all fountains, then return to the puzzle area to talk to the Garmentmaker and get a precious chest and the Chirping Secret: Golden Journey achievement.
After completing all the puzzles, you will receive a Hymn tablet per puzzle. Currently, the uses for the Hymn tablets in Honkai Star Rail are unknown, but you can still hold on to them for later use.