


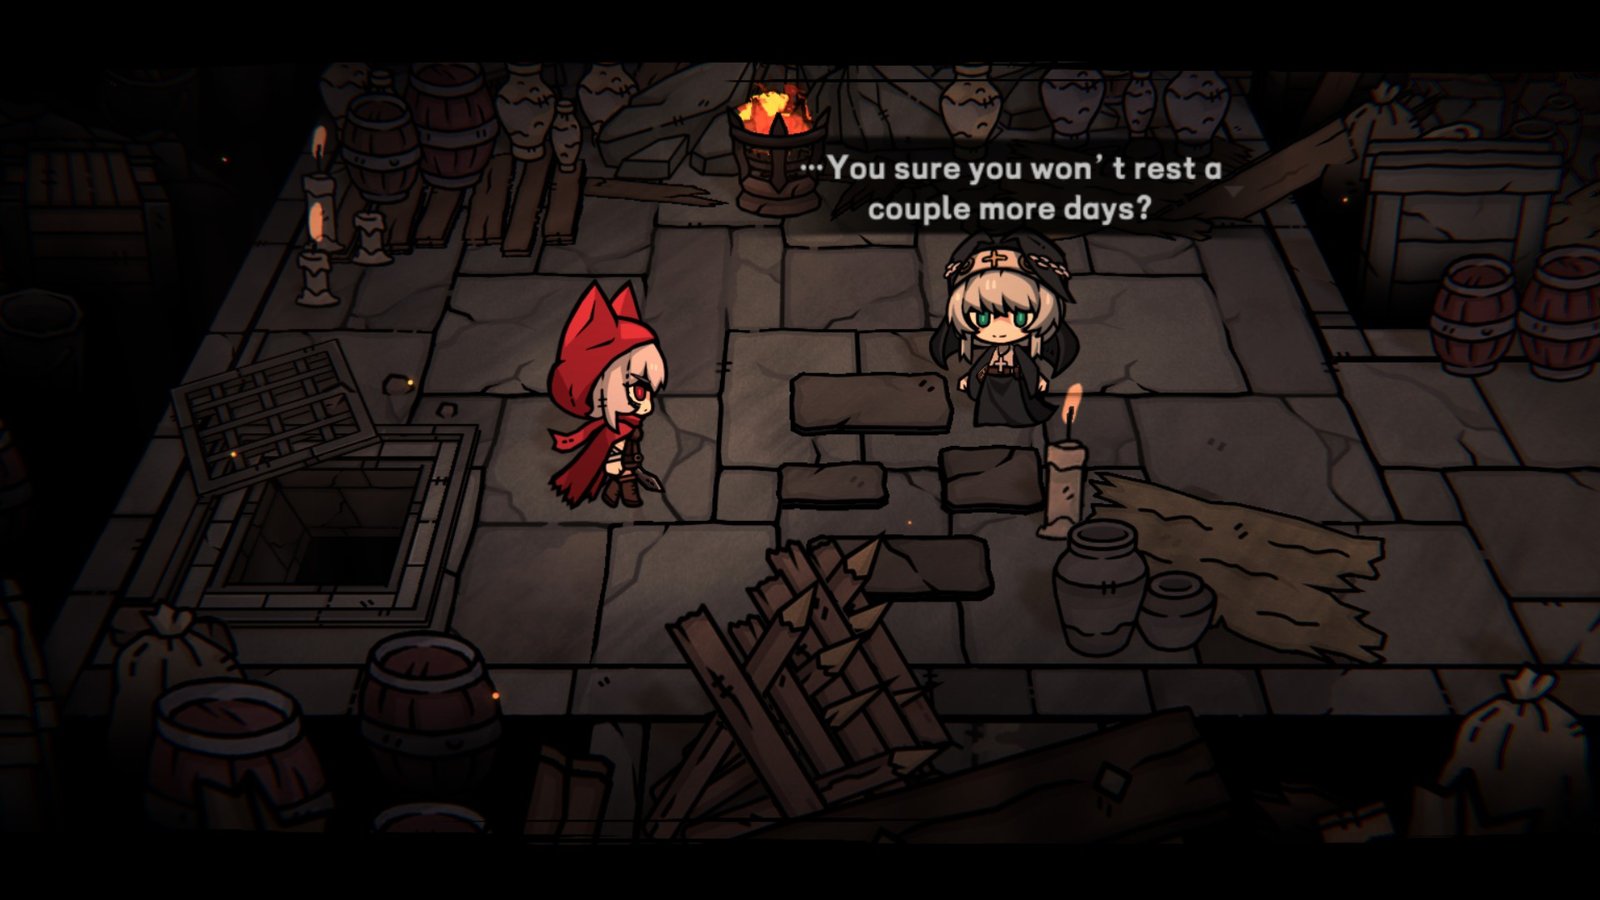
Cinderia gives you plenty of ways to empower yourself permanently between runs, including Witches’ Notes, buildings, and today’s topic, Soulfire Prayer Blessings.
These blessings can be accessed as soon as you return from your first run, offered by Ella right beside your bed. You’ll need multiple resources to snag them, so knowing what’s worth snagging will do wonders.
We’ll go over each of these Blessings and the strength amongst them in Cinderia!
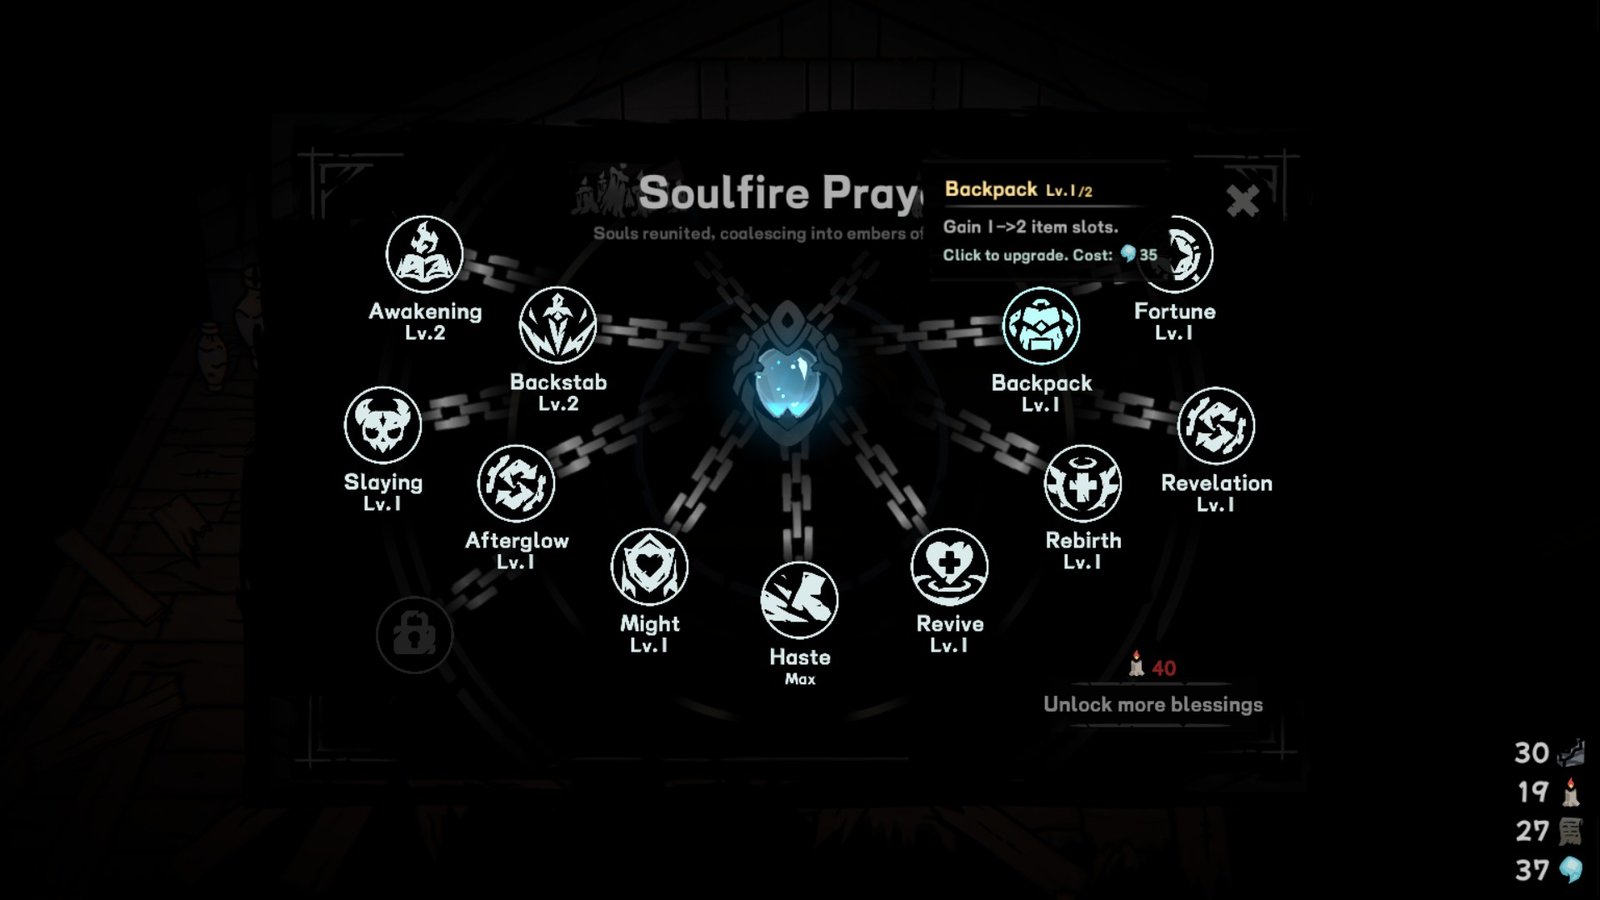
How to Unlock Blessings in Cinderia
Blessings are locked behind two currencies, Candles and Souls.
Candles unlock sets of Blessings for purchase and are used by most permanent upgrade vendors. Candles are some of the rarer items that come from room drops, so try and save them to unlock each Blessing tier as quickly as you can.
Souls are the blue currency used to actually buy and upgrade each Blessing, and is very common. The Soulfire cost of Blessings varies widely, but you’ll gather plenty just by doing runs, and they’re only used here, so get spending.
Both currencies can only be found mid-run from clearing rooms, and I haven’t found a way to expedite the process of searching for either. I CAN confirm that they only come from fights, so avoid Event rooms if you’re really trying to max out your gains.
C Tier
Fortune
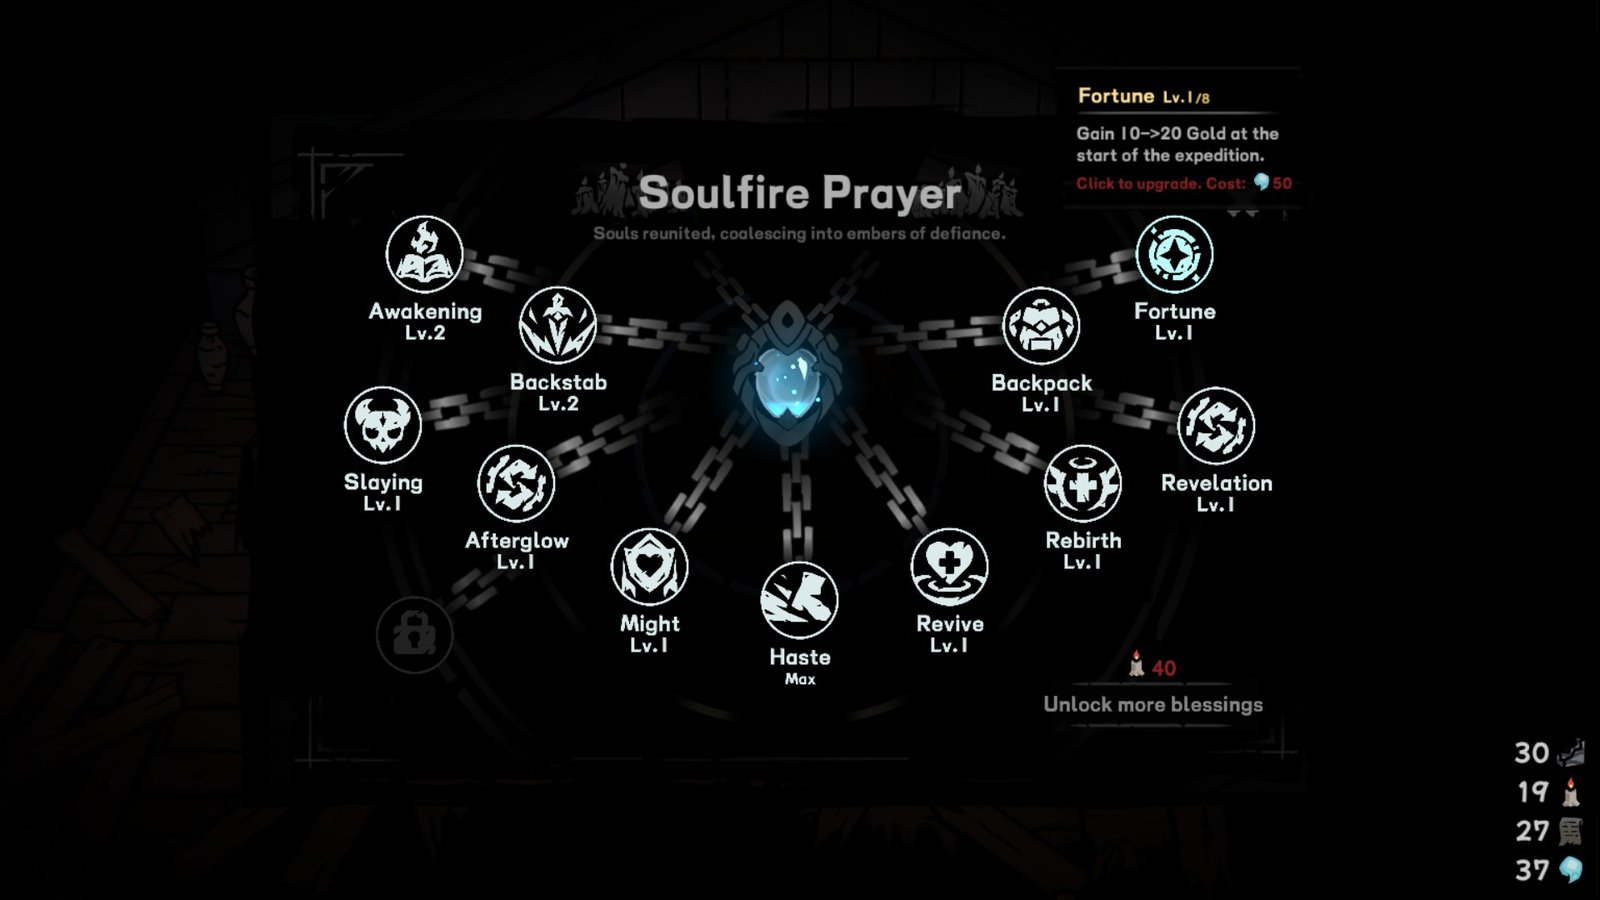
Easily the lowest impact Blessing on offer, Fortune grants 10 Gold on spawn per stack. Still helpful, but the low amount per level and the ease in which you can snag gold otherwise make it a weak upgrade on its own.
With levels, starting with almost 100 Gold is a nice change of pace, but the time and effort required for that can be better spent on other Blessings. Let it sit while you spend your currency on other, higher-impact Blessings to get started.
Revelation
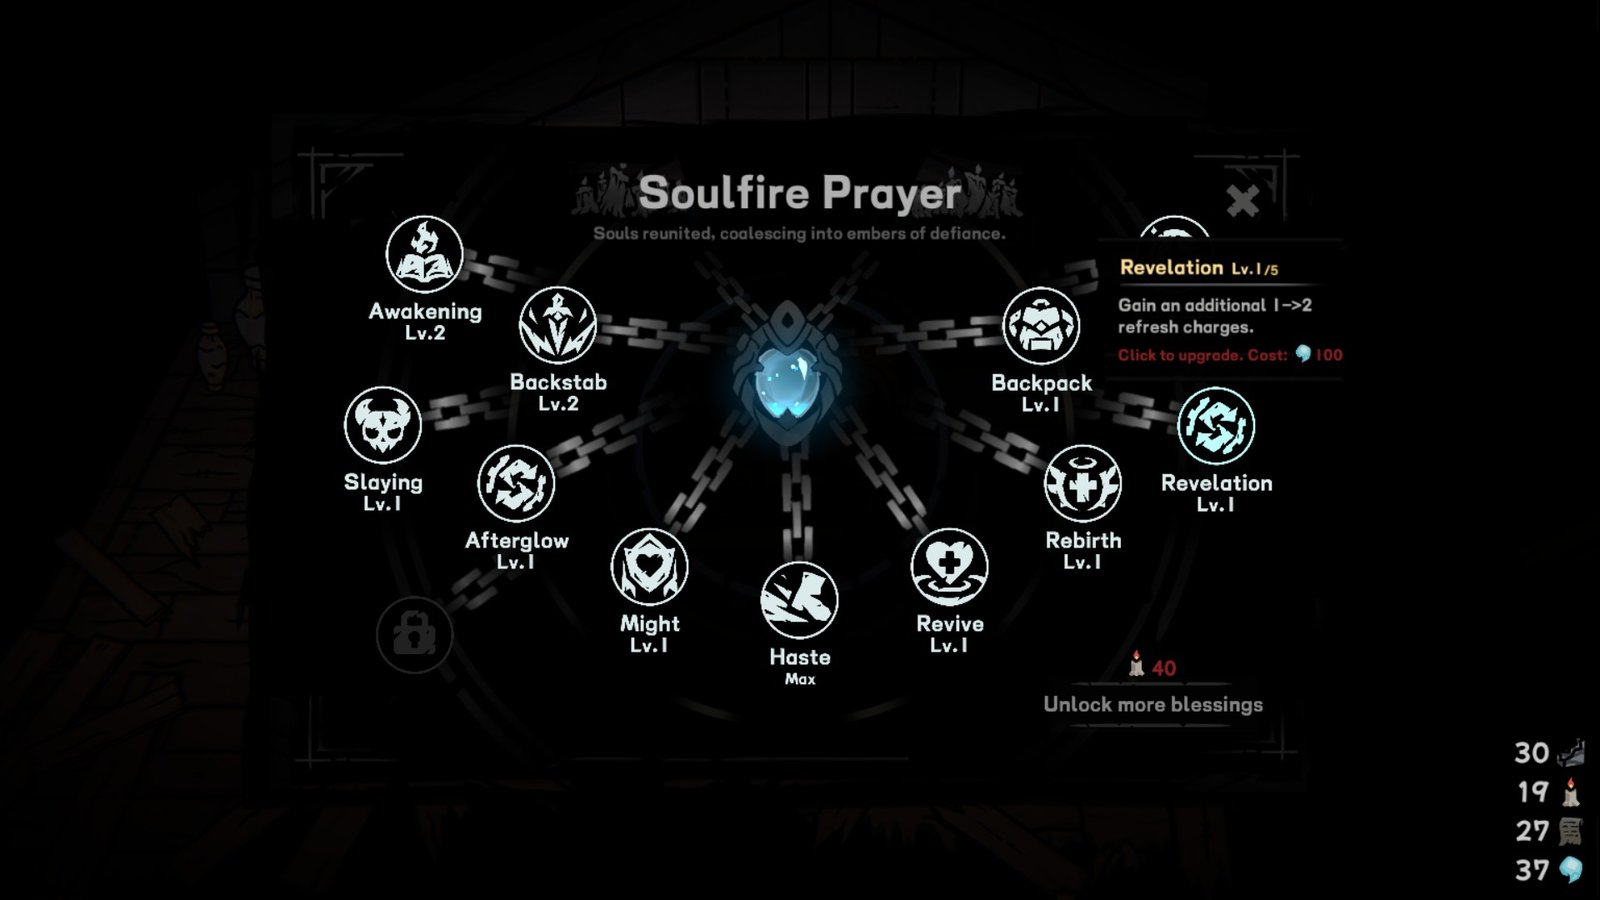
Extra rolls always sound great, after all, they’re bonus chances to get what you actually want, right? Roguelikes will teach you quickly that, at a certain point, you need to be able to roll with what you’re given.
It’s always best to take the better option amongst what you’re given than to roll and hope you get the one choice you want. For every time you get that perfect item, there are a dozen where you’ll be forced to make due with worse offerings.
That’s the trick behind Revelation, and why I consider it a very low priority Blessing. Feel free to pick it up for full completion, but don’t make it any real priority.
B Tier
Afterglow
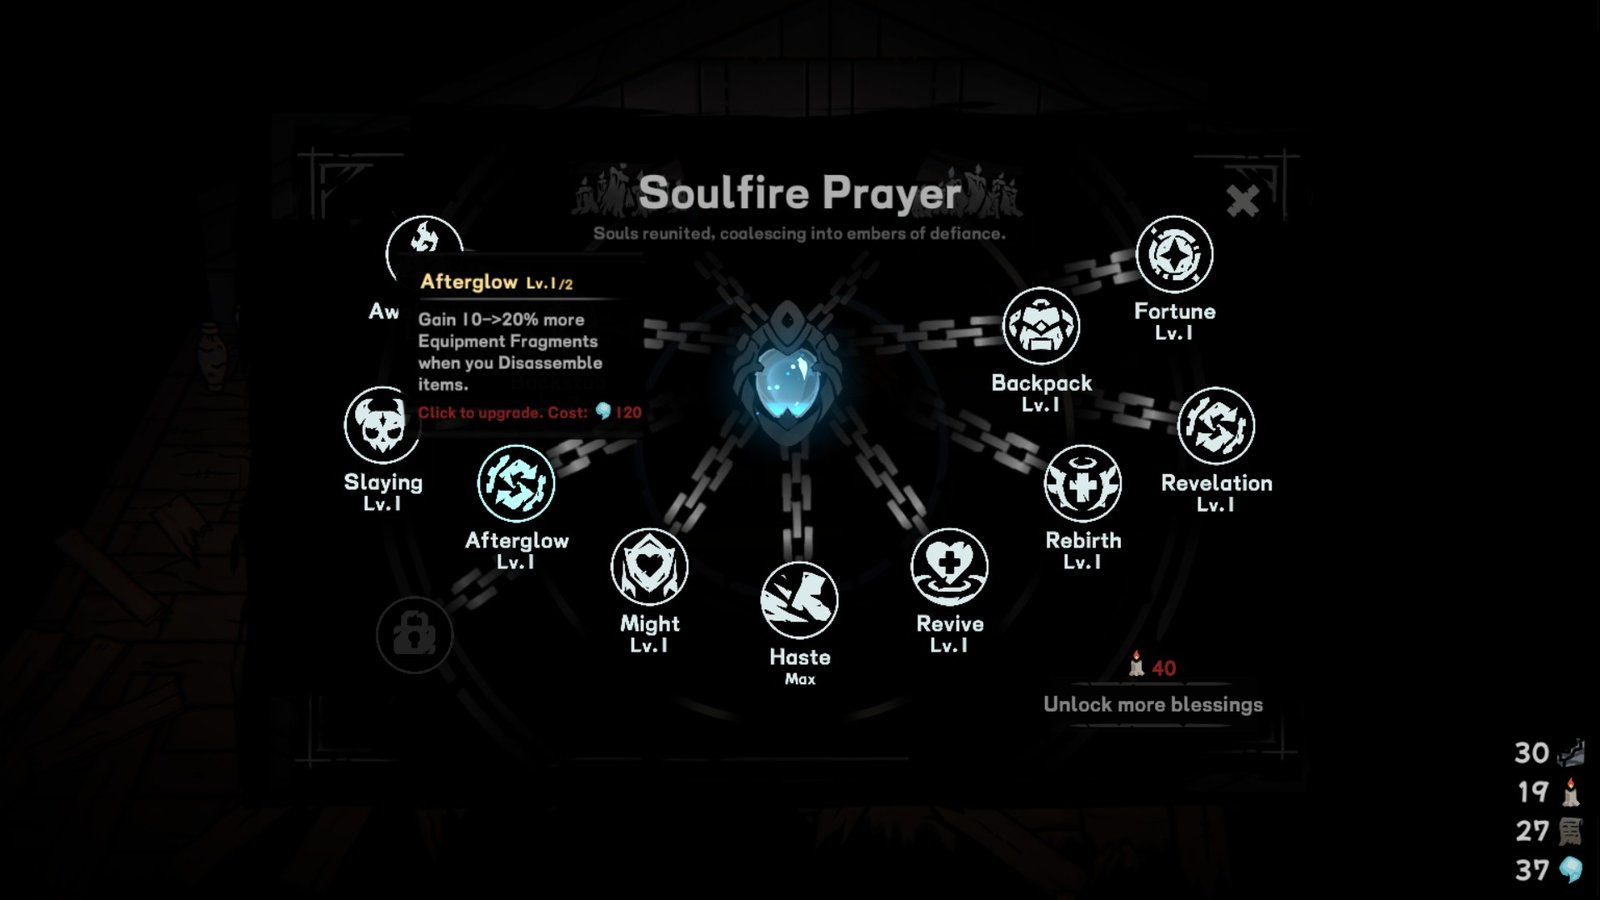
With Afterglow, you’ll gain extra Equipment Fragments whenever you break down a piece of gear. This one is held behind due to the low cap, with two upgrades only increasing the reward by 20%.
Still, getting to upgrade Equipment is a nice bonus both for unique effects and stats, so more fragments are always welcome. Comes easy enough to upgrade once your priority picks are taken care of, enabling faster scaling and higher peaks.
Backpack
The other Equipment-focused Blessing, also residing in B Tier, Backpack grants bonus item slots based on its level. Just like Afterglow, its meager cap of 2 holds it back from being crazy important.
Still, getting one level early is a huge boost, and the dirt-cheap cost makes it easy to scrounge up the currency between bigger purchases. Keep it in the back of your mind between priorities.
Awakening
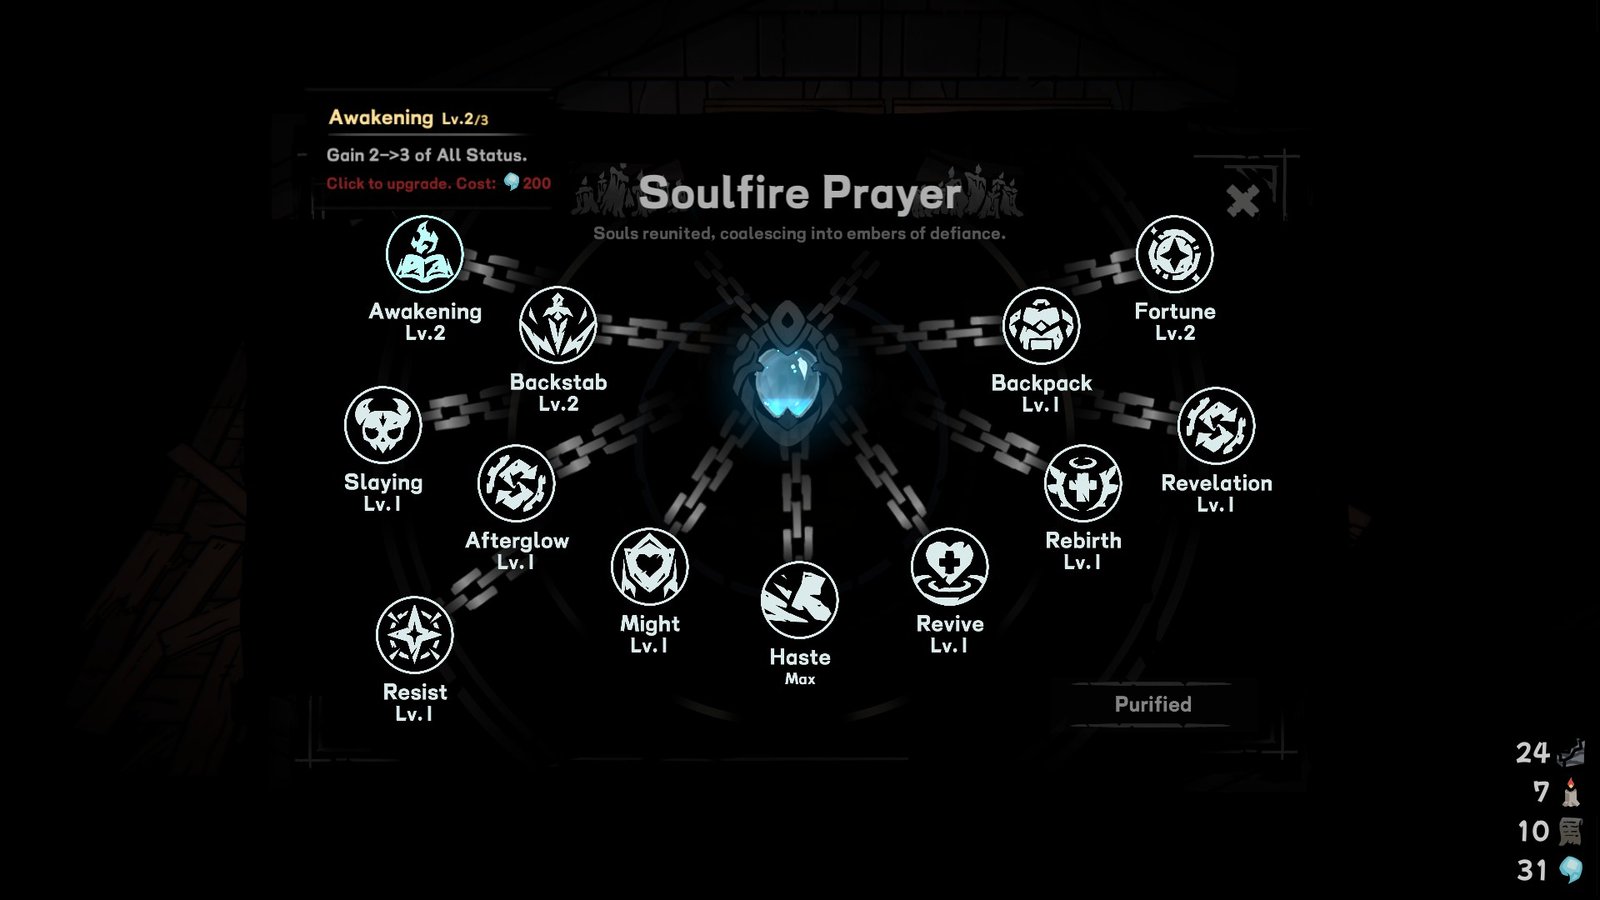
Awakening provides a point in the three passive attributes each character has in Cinderia: Strength, Agility, and Intelligence. These stats are buffed by gear and this ability, improving melee attacks, mobility, and spells, respectively.
These stats are easy to miss while playing, but provide potentially huge buffs the longer a run goes. While having the kickstart is nice, only three points in each makes Awakening a bit weaker than it could be.
Still, more stats means your runs will always be easier with than without, so don’t forget to snag it once you can get past the hefty price tag.
A Tier
Might
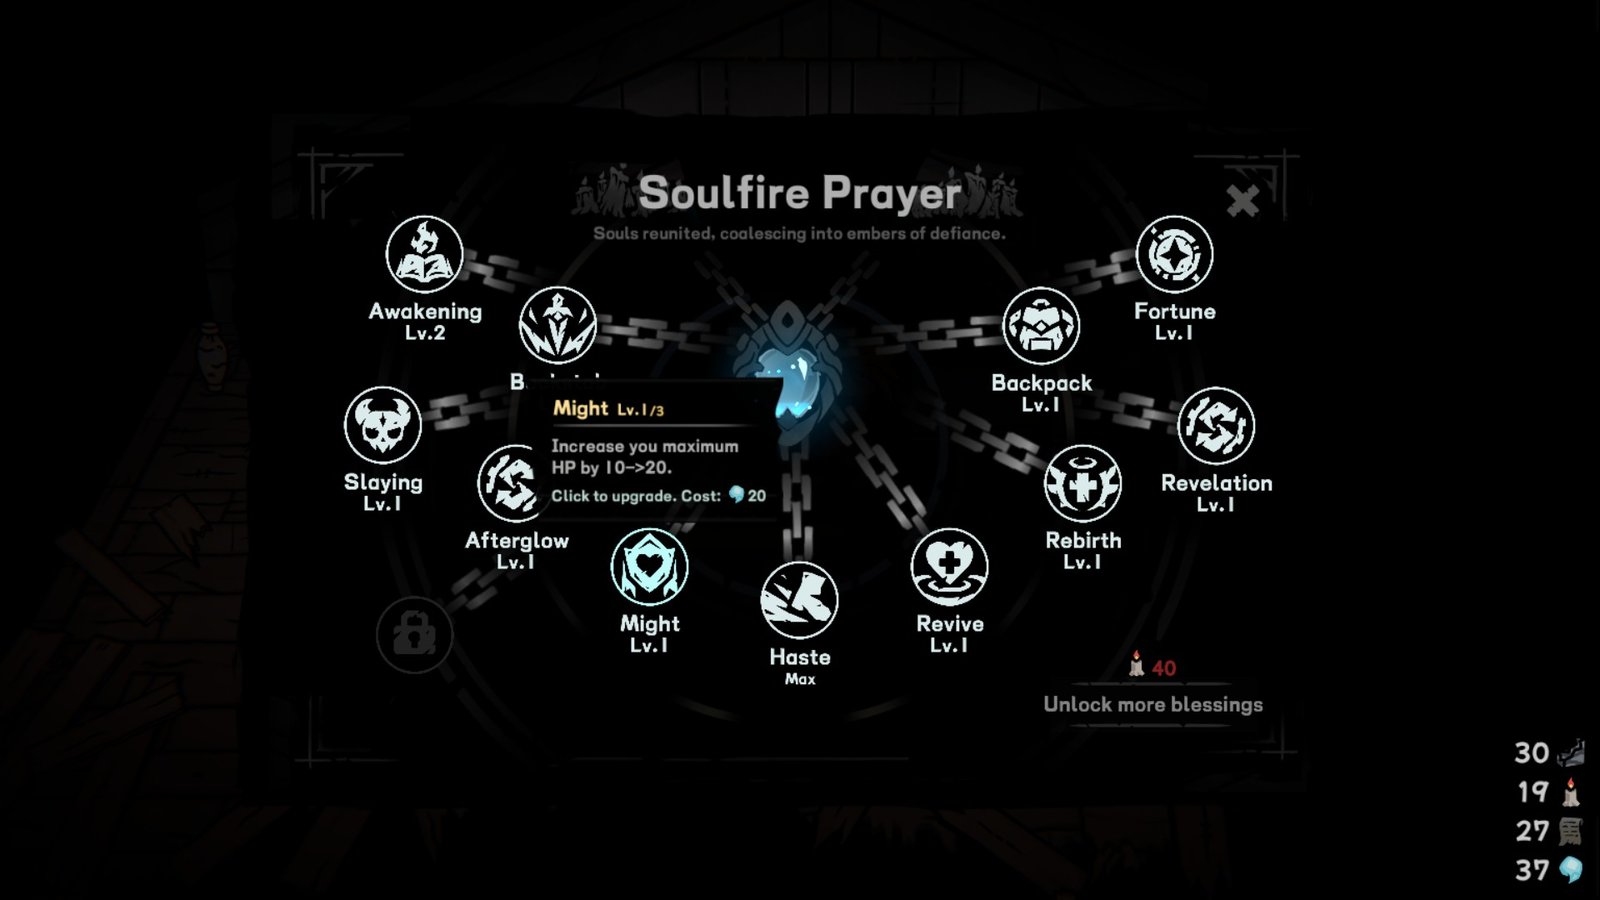
More HP means more opportunities to make mistakes and recover from them, and HP is what Might provides. Every stack will grant an additional 10 HP, which doesn’t sound like a lot, but really matters in a game as low on the damage numbers as Cinderia.
As such, Might is incredibly rewarding for its cost and ease of access, shown off one of the very first Blessings on offer. Level it as you go for some extra breathing room and a much easier time, especially in boss fights.
Slaying
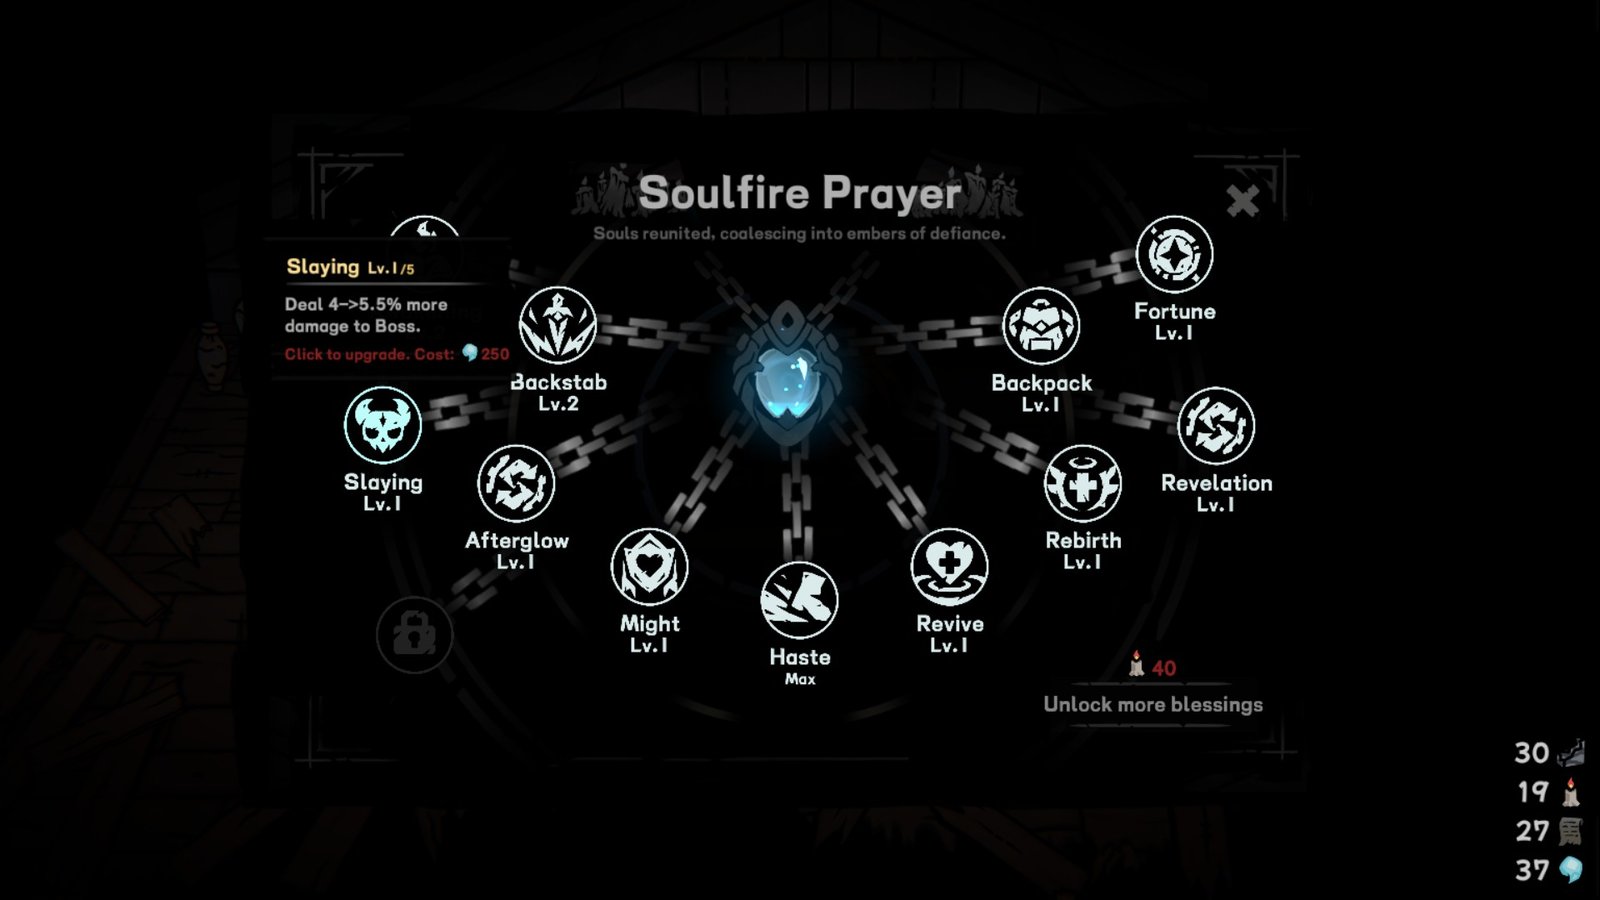
Like most other roguelikes, bosses will be a major pain point in Cinderia. They’re strong, fast, and very tanky if you’re struggling in the damage department. This is where Slaying comes in, granting percent increases to boss damage across the board!
This is a massive comfort pick personally, slowed down only by its late unlock and the quick petering off of its effect via levels. Prioritize snagging one for the big 4% boost, then level it on the side where you can for the gradual increase.
Revive
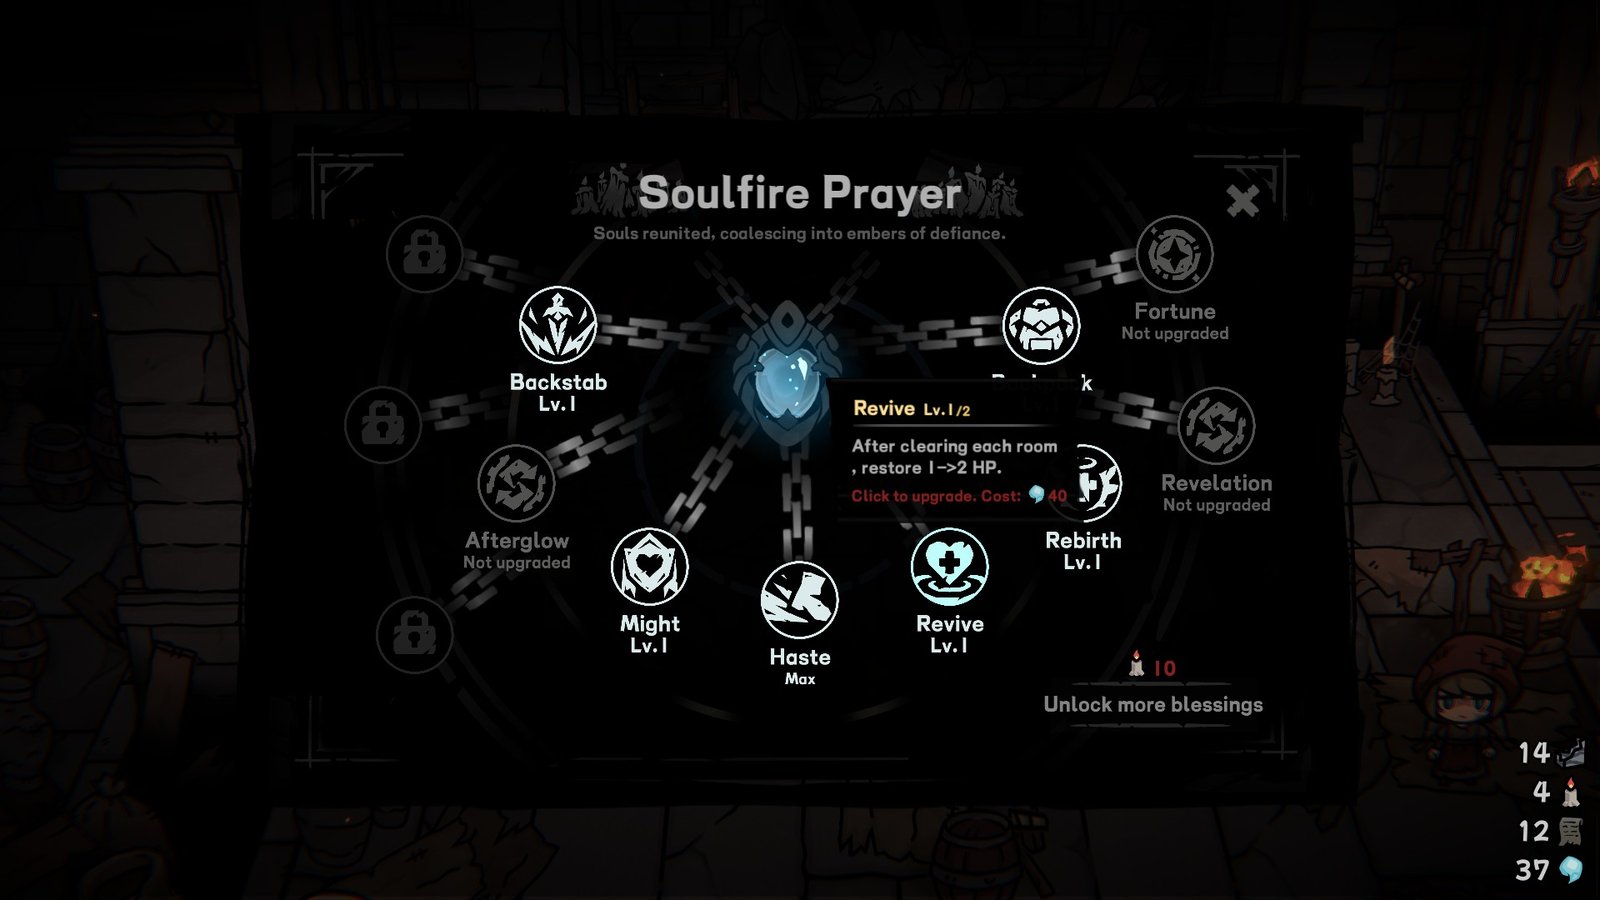
Healing is always nice, and Revive is the easiest consist source of it in Cinderia. When fully upgraded, you’ll regain 2 HP every room, which doesn’t sound like much, but adds up very quick.
Revive does wonders are recovering chip damage you’re bound to take from fights, ensuring you’re healthy for bosses and holding on through the endurance rounds. Another early, cheap Blessing, snag it after the early selections from S Tier.
S Tier
Backstab
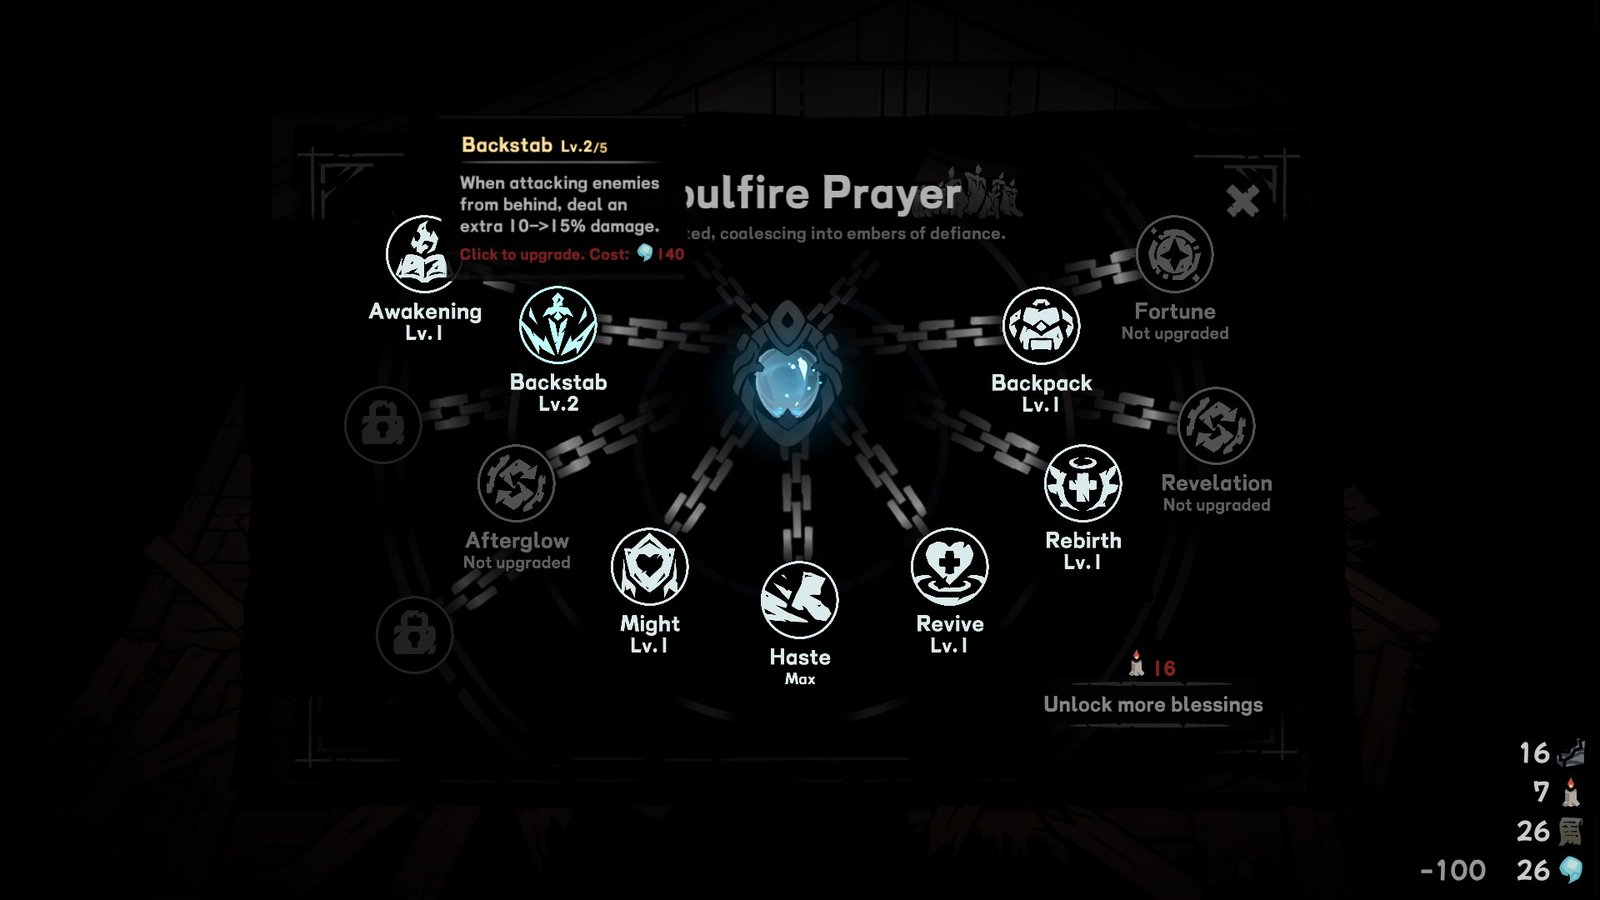
Backstabs are a central mechanic in Cinderia, rewarding solid positioning and quick movement. As such, its important to get the most out of it wherever you can. Locked behind 18 Candles spent, this Blessing can come across as a bit pricey, but it’s well worth it.
At base, backstabs reward you with 20% bonus damage for hitting an enemy from behind. With tiers in Backstab, you’ll be able to raise that to a whopping 55% increased damage. Cinderia is a very high mobility game, making it very rewarding if you can hug behind an enemy.
Definitely an upgrade for the confident, keep an eye on the arrow on the floor. It points in the direction the enemy is facing, making it very easy to tell where you should strike your foe for maximum damage.
Rebirth
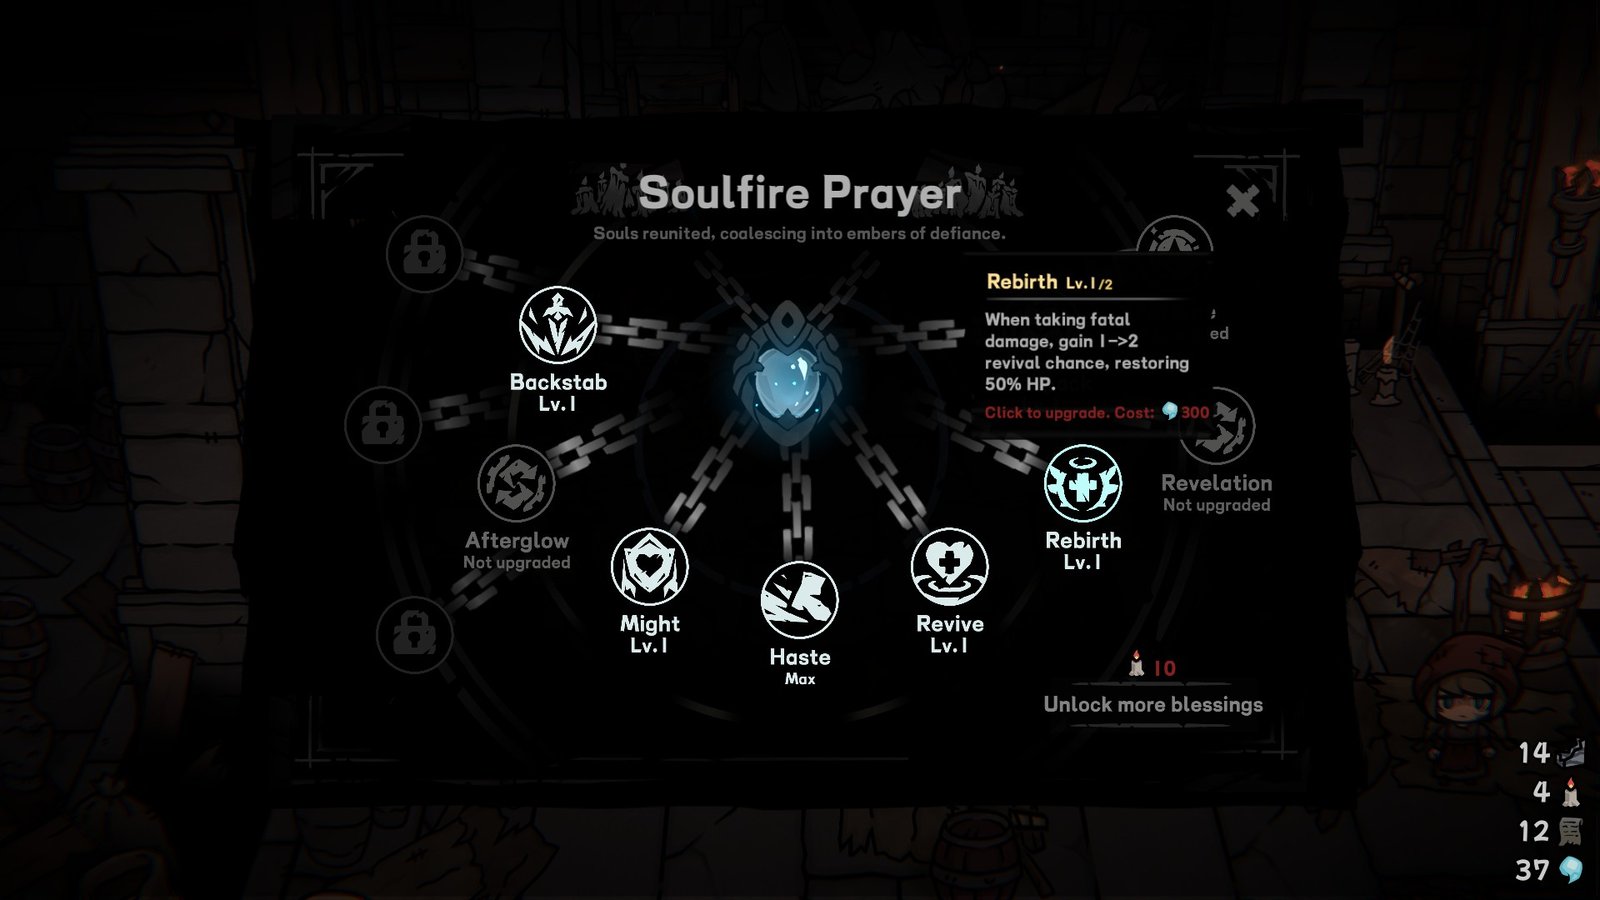
Fans of Hades will remember just how important second chances can be in a hectic roguelike, and Cinderia is no different. Rebirth functions identically to Death Defiance, resurrecting you on death once per tier.
This is a game-changer, giving you extra breathing room in challenging fights and more effective max HP than you can store normally. Even if you’re confident in your skills, some extra insurance never hurts!
Haste
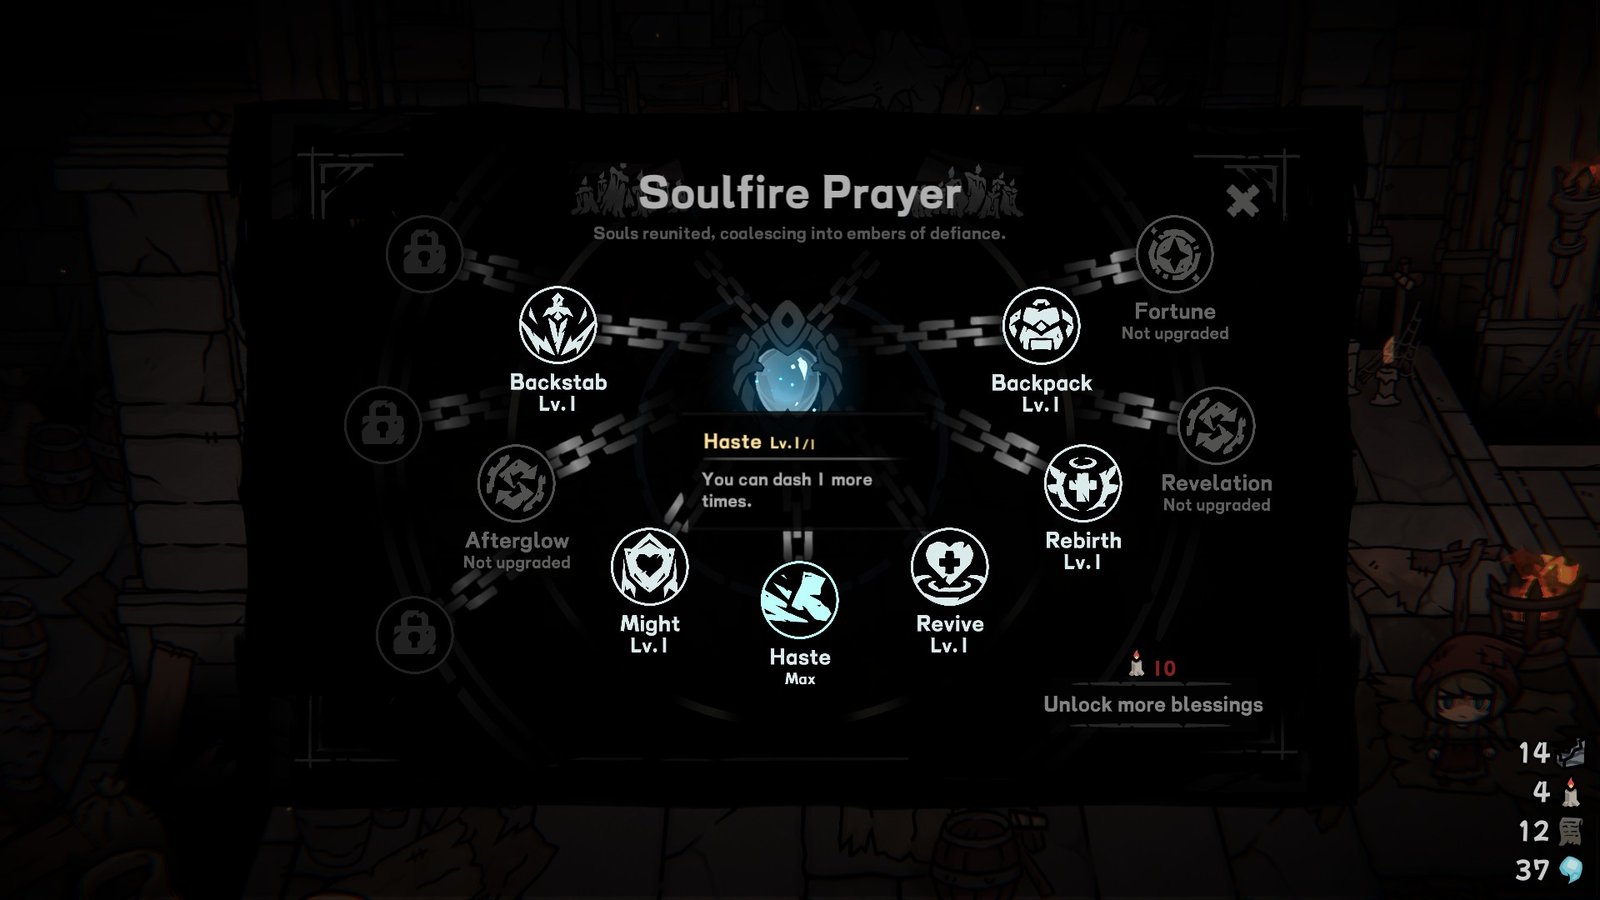
Now, what’s better than healing or rezzing? Never taking the damage at all of course. That’s the point of your dodge, and Haste offers the chance to double up on it right out of the gate.
Haste is a single-time purchase that allows you to dash immediately after your first dash. This not only doubles your invulnerabliity, but allows you to make quick plays across the map, move faster, and recover from poor positioning.
It’s a massive power boost, and should absolutely be amongst your first purchases.
Resist
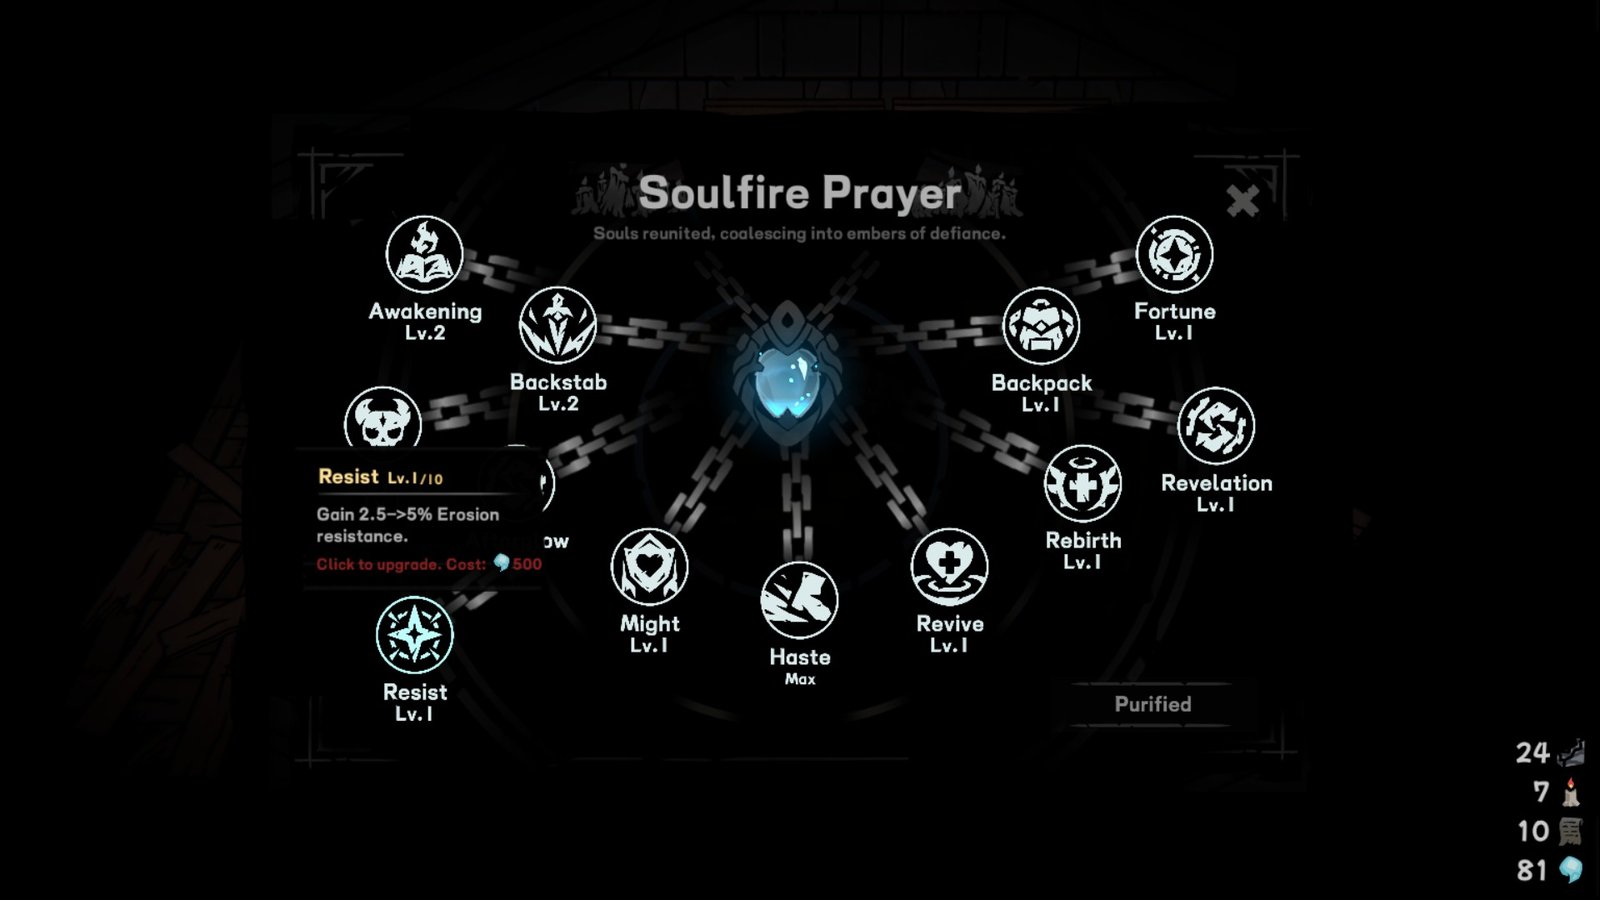
Resist comes in late, is expensive, and is absolutely worth it. Each level grants Erosion Resistance, lowering the Erosion buildup that comes from taking Embers.
Less Erosion means less curses, allowing you to take far more powerful Embers more often, skyrocketing your potential power ceiling and all but removing the threat of curses from the game.
Between the late unlock and hefty price to upgrade, Resist acts as a phenomenal late-game reward, and should absolutely be pursued as soon as you can.