

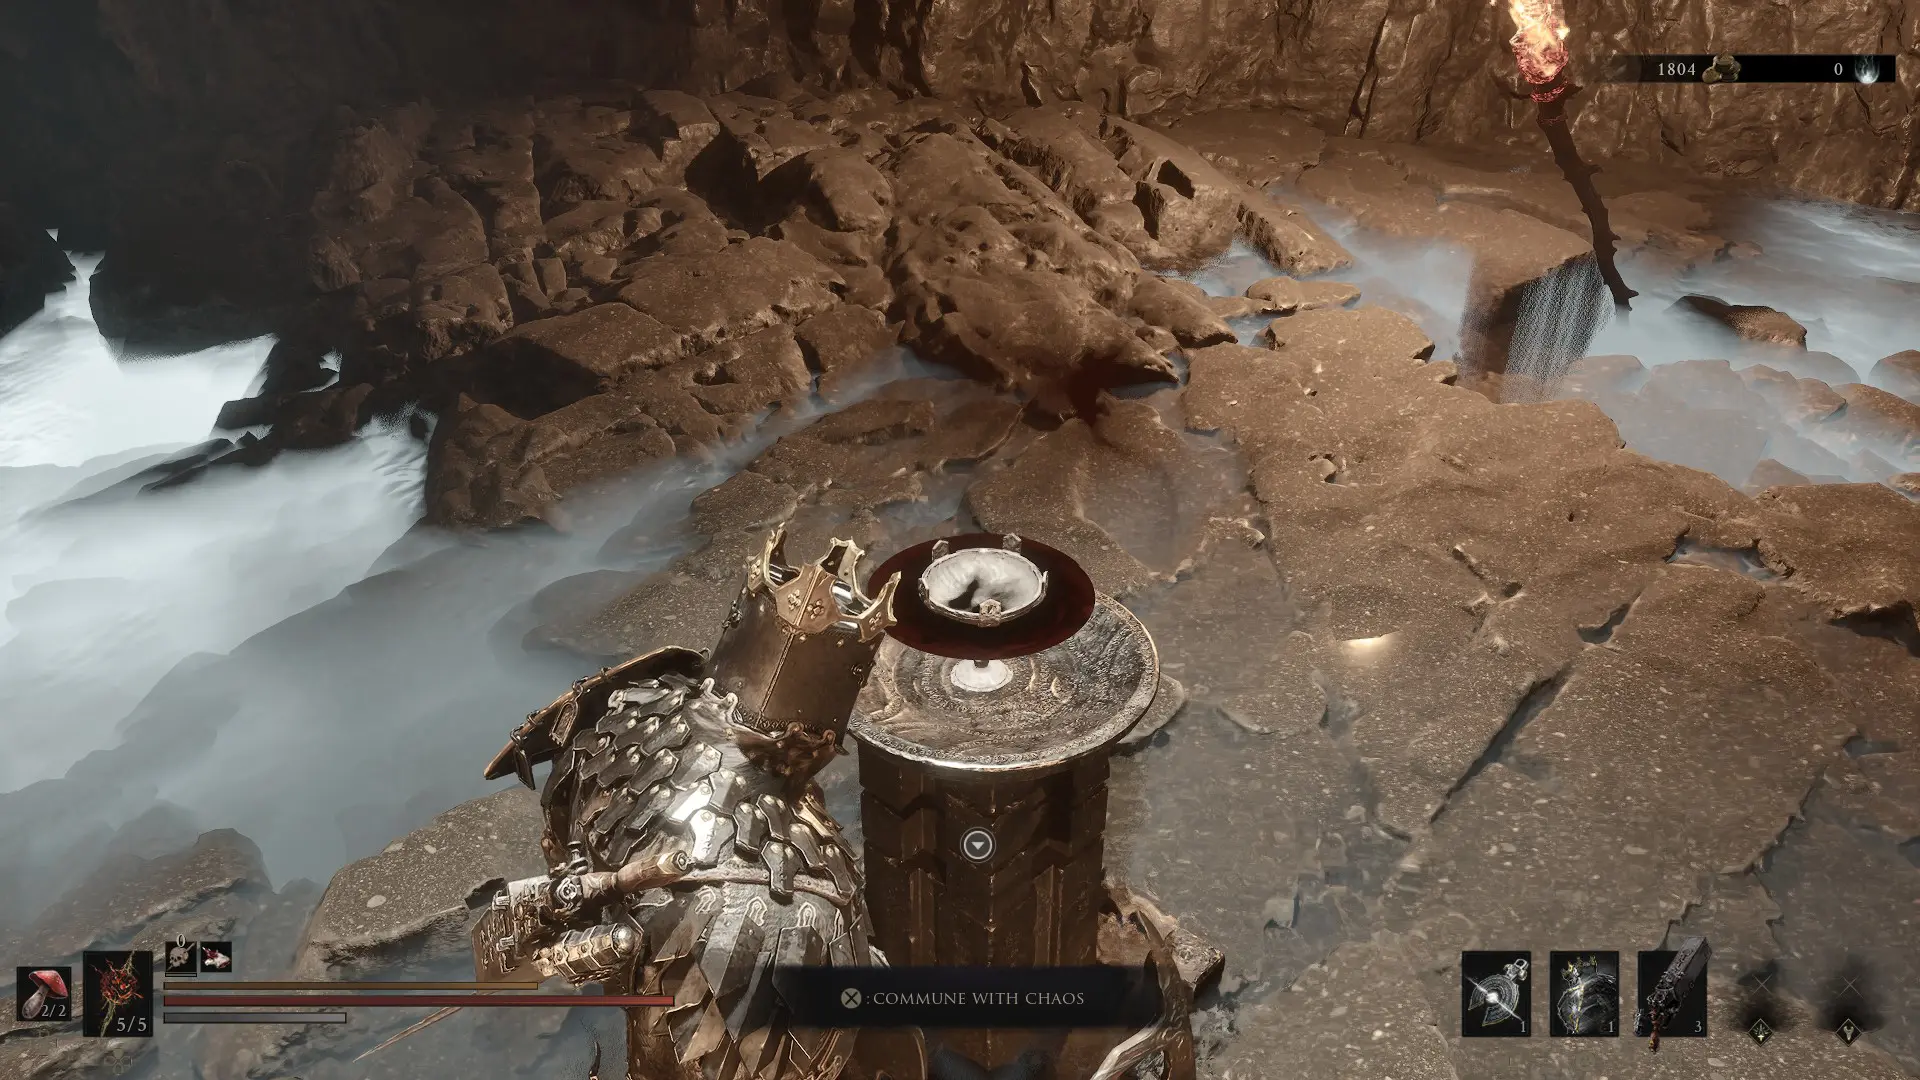
Mortal Shell 2 is chock full of secrets all across its world, with some even hiding right at home. The Marrow Keep has a whole selection of hidden rewards for those willing to look under the covers. This comes to a head with the most ominous prompt in Mortal Shell 2, Commune with Chaos.
This malicious line of text, hidden in the shadows of an illusory wall and tied down with chains, is just the start of an entire hidden dungeon right inside the Marrow Keep itself, the Desolate Keep. This one gave me a run for my money, introducing a few difficult enemies early, but is well worth it for the final reward.
If you’re willing to Commune with Chaos to get your hands on one of only 9 Blackmarrow Keys, allow me to guide you. It’ll be a hell of a struggle, but it’s well worth it, I assure you!
Commune With Chaos
To enter the Desolate Keep, first you need to find it. From the central Marrow Keep Beacon, head left towards the massive room of coffins housing Sester Genessa’s training arena. Instead of heading towards her, hug the stone wall by the ramp you descend to enter the room.
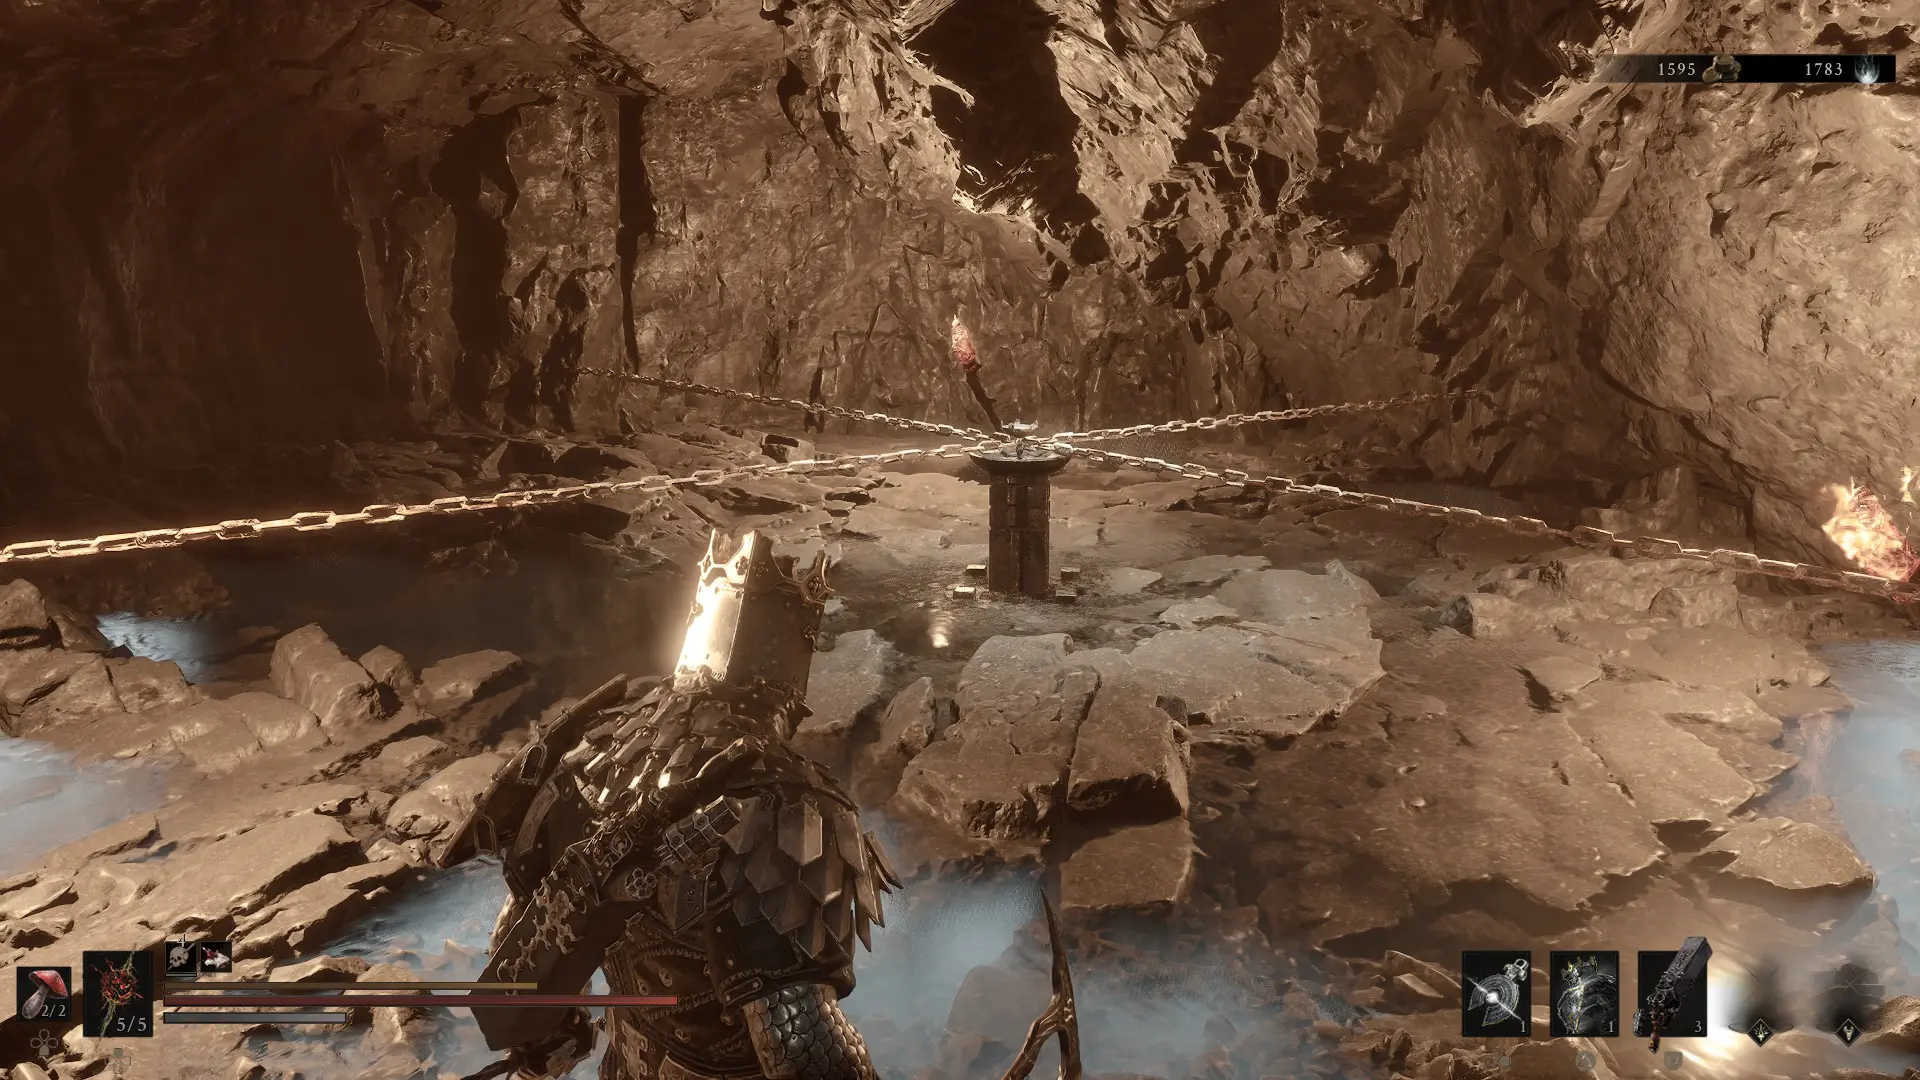
At the end of the wall, beside a torch, you’ll find a white marking painted on the wall. Strike it with your melee weapon to shatter the illusion, revealing a small cave with a goblet in its center. Interacting with the goblet immediately will deal damage to you and send you reeling; you need to free it first.
Shatter the four chains connecting the goblet to the walls with your any attack, ranged or melee. Once all four are destroyed, you can approach the goblet to Commune with Chaos, sucking you into the hidden realm of the Desolate Keep.
Exploring the Desolate Keep
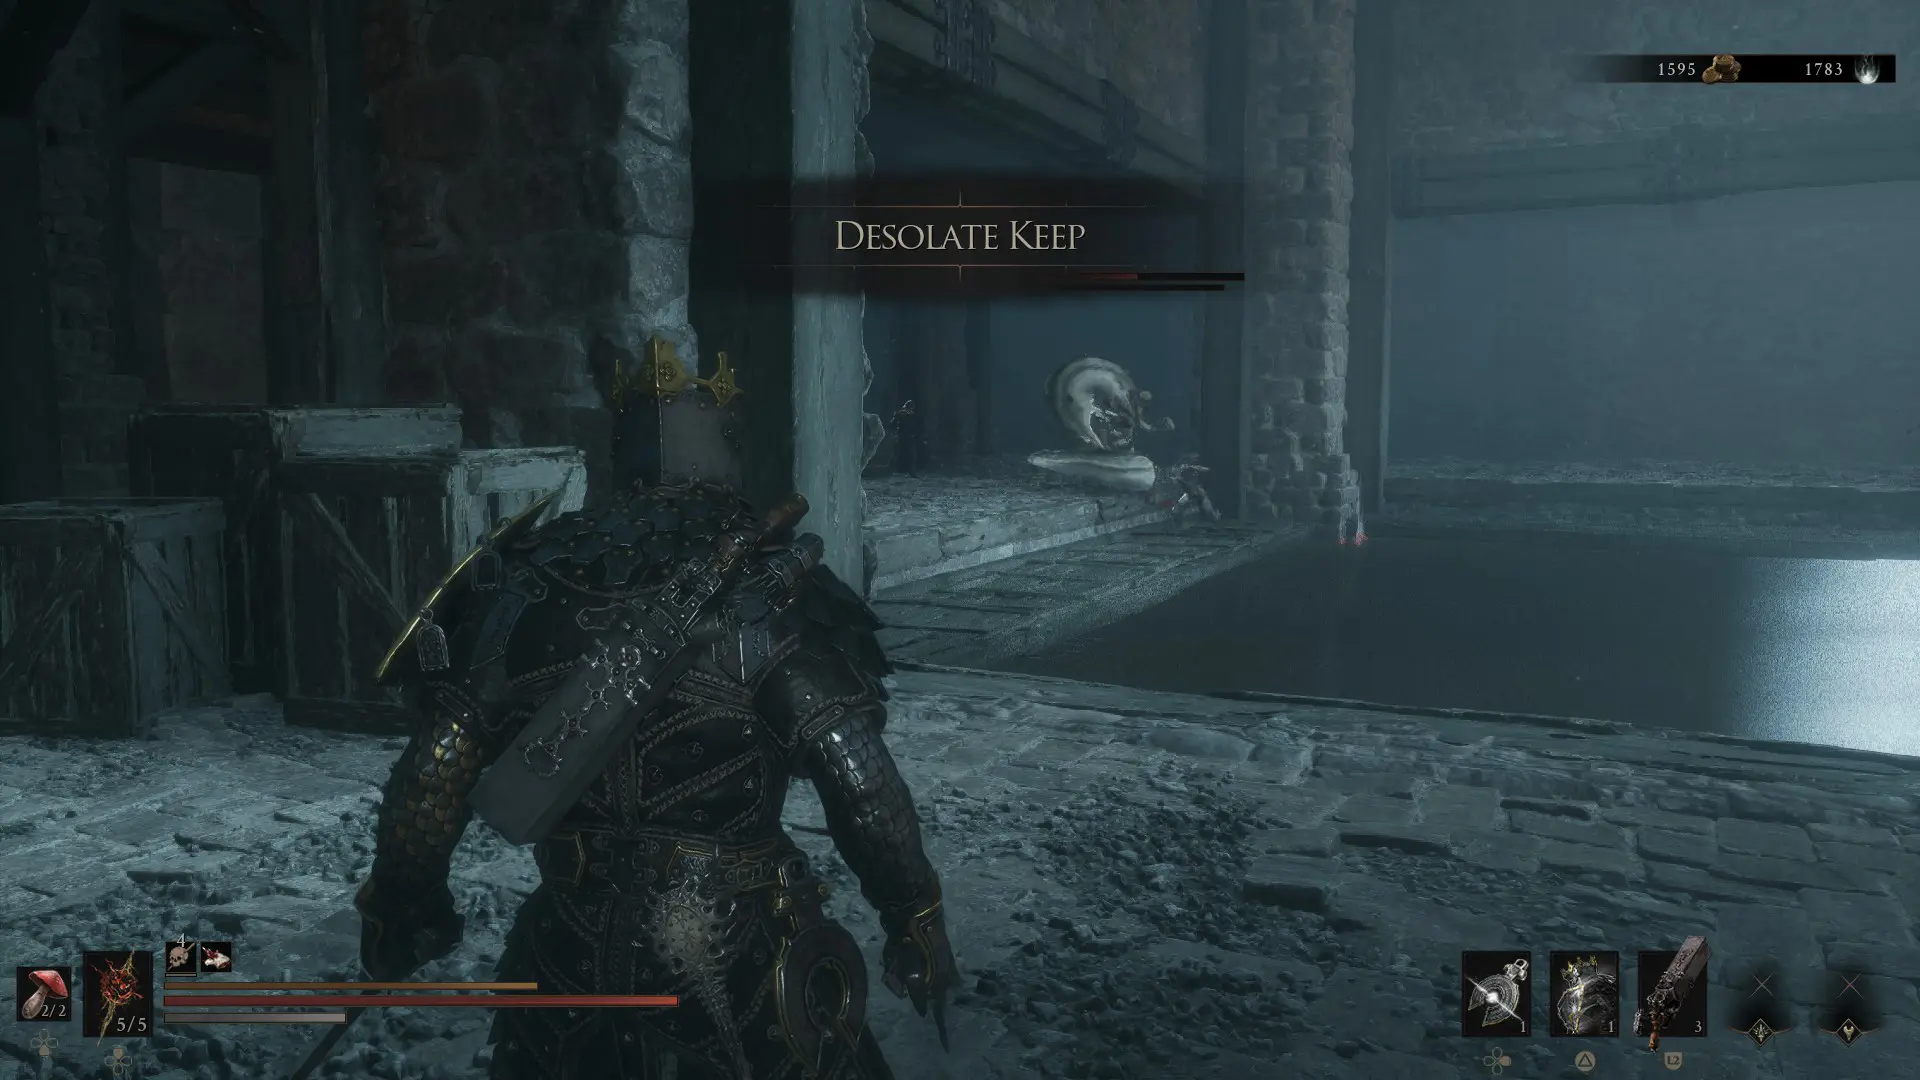
The Desolate Keep is a decently sized dungeon full of back-to-back battles, opening from the very start. You’ll begin in a wide room with a few Soldiers, a Snake, and paths to the left and right. I focused on heading towards the deepest parts of the dungeon first, eager for the Blackmarrow Key at its center.
To this end, proceed towards the back right corner of the room to find a Spear Knight in front of a hidden wall. For most of the doors in the Desolate Keep, you don’t actually have to slay the enemies to continue. If you feel like a fight is going bad, just surge right past the enemy and make some distance.
On the other side of this sliding door is a room full of Soldiers, a Halberd Brute, and two Ballista providing supportive fire from the back. The Ballista punish staying still, though I found that any kind of consistent movement is enough to avoid their salvos.
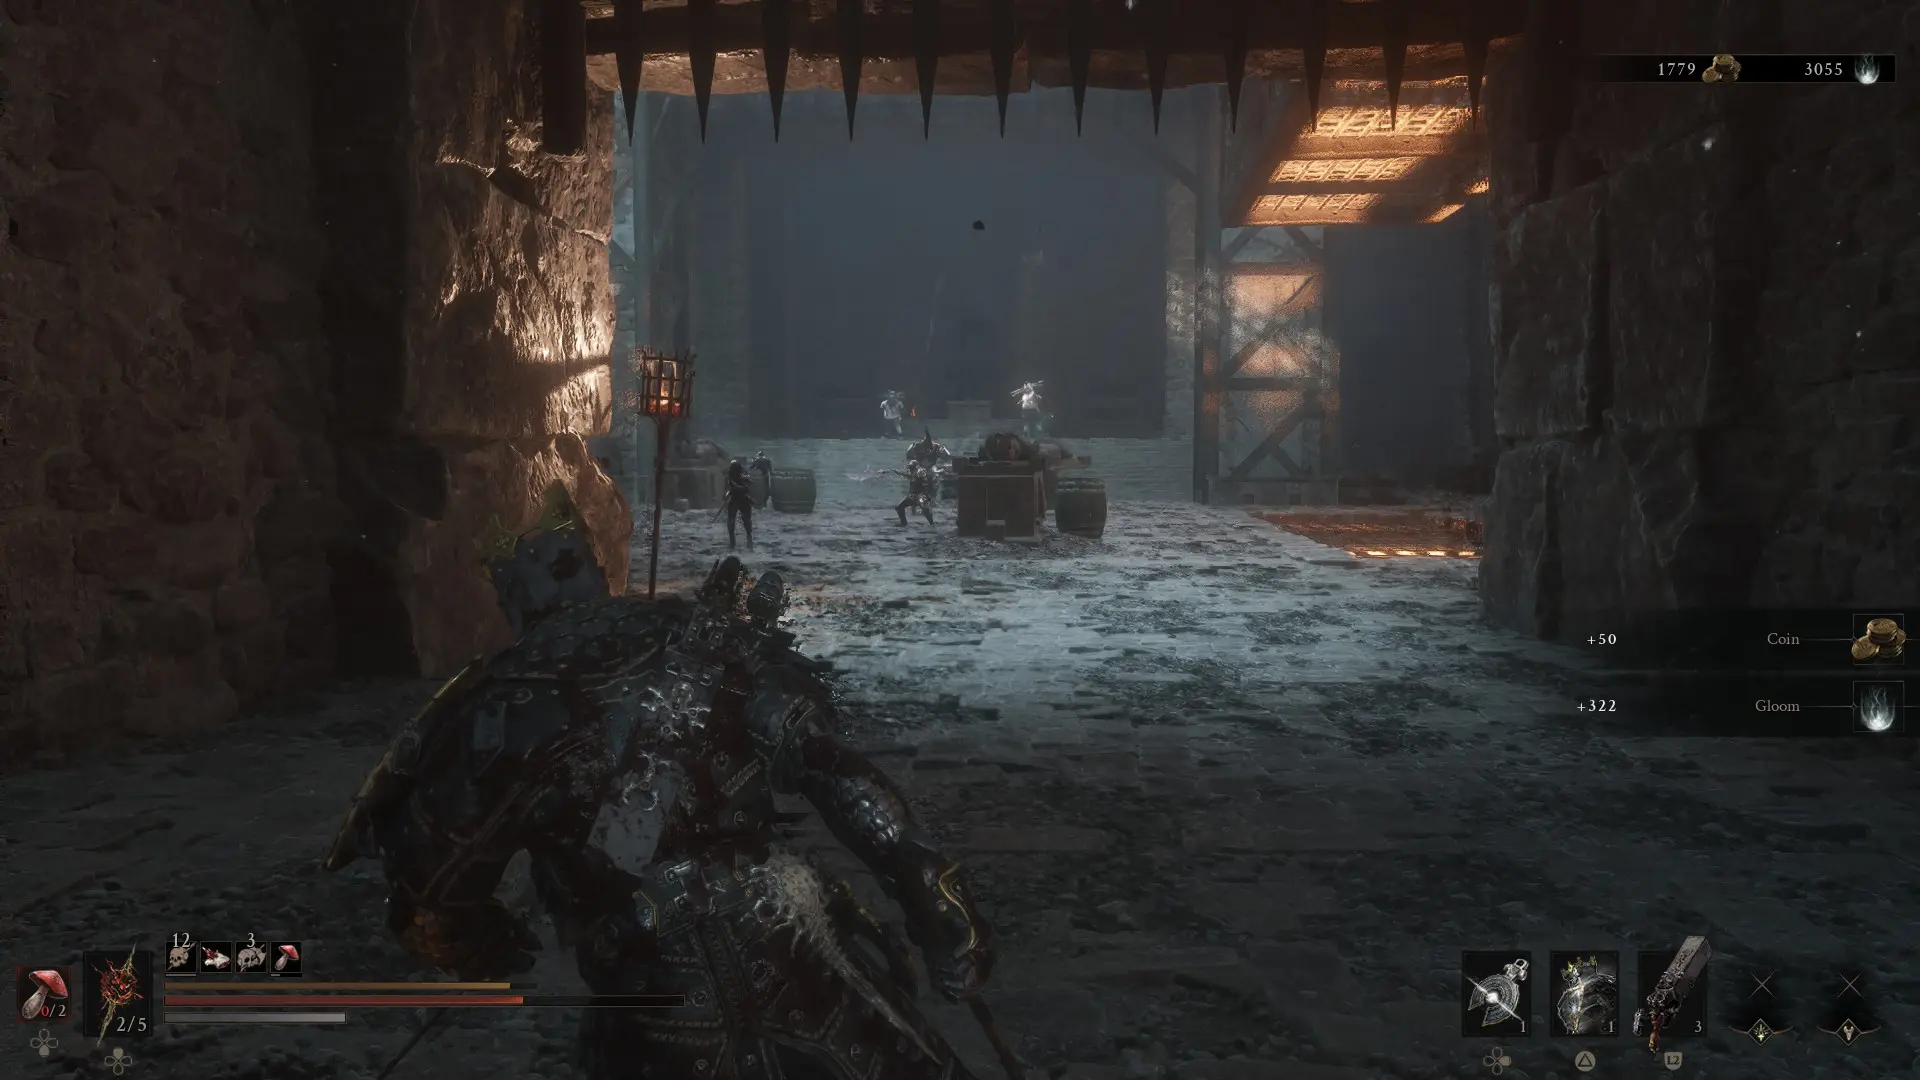
Take space to the right, either avoiding enemies or fighting your way through them. Remember that Armored Soldiers, who make up a good number of the grunt enemies in the Desolate Keep, are far more resistant to flinching from your basic attacks. Rely on your Seal’s defensive option to break their assault when you have to take them on.
The next room takes the form of a zigzagging pathway over a shallow pool of water. The water is infested with poisonous, explosive enemies, while the path is covered by another Ballista at the back of the room and a Snake. Don’t slow down, and clear the room to enter the final passageway.
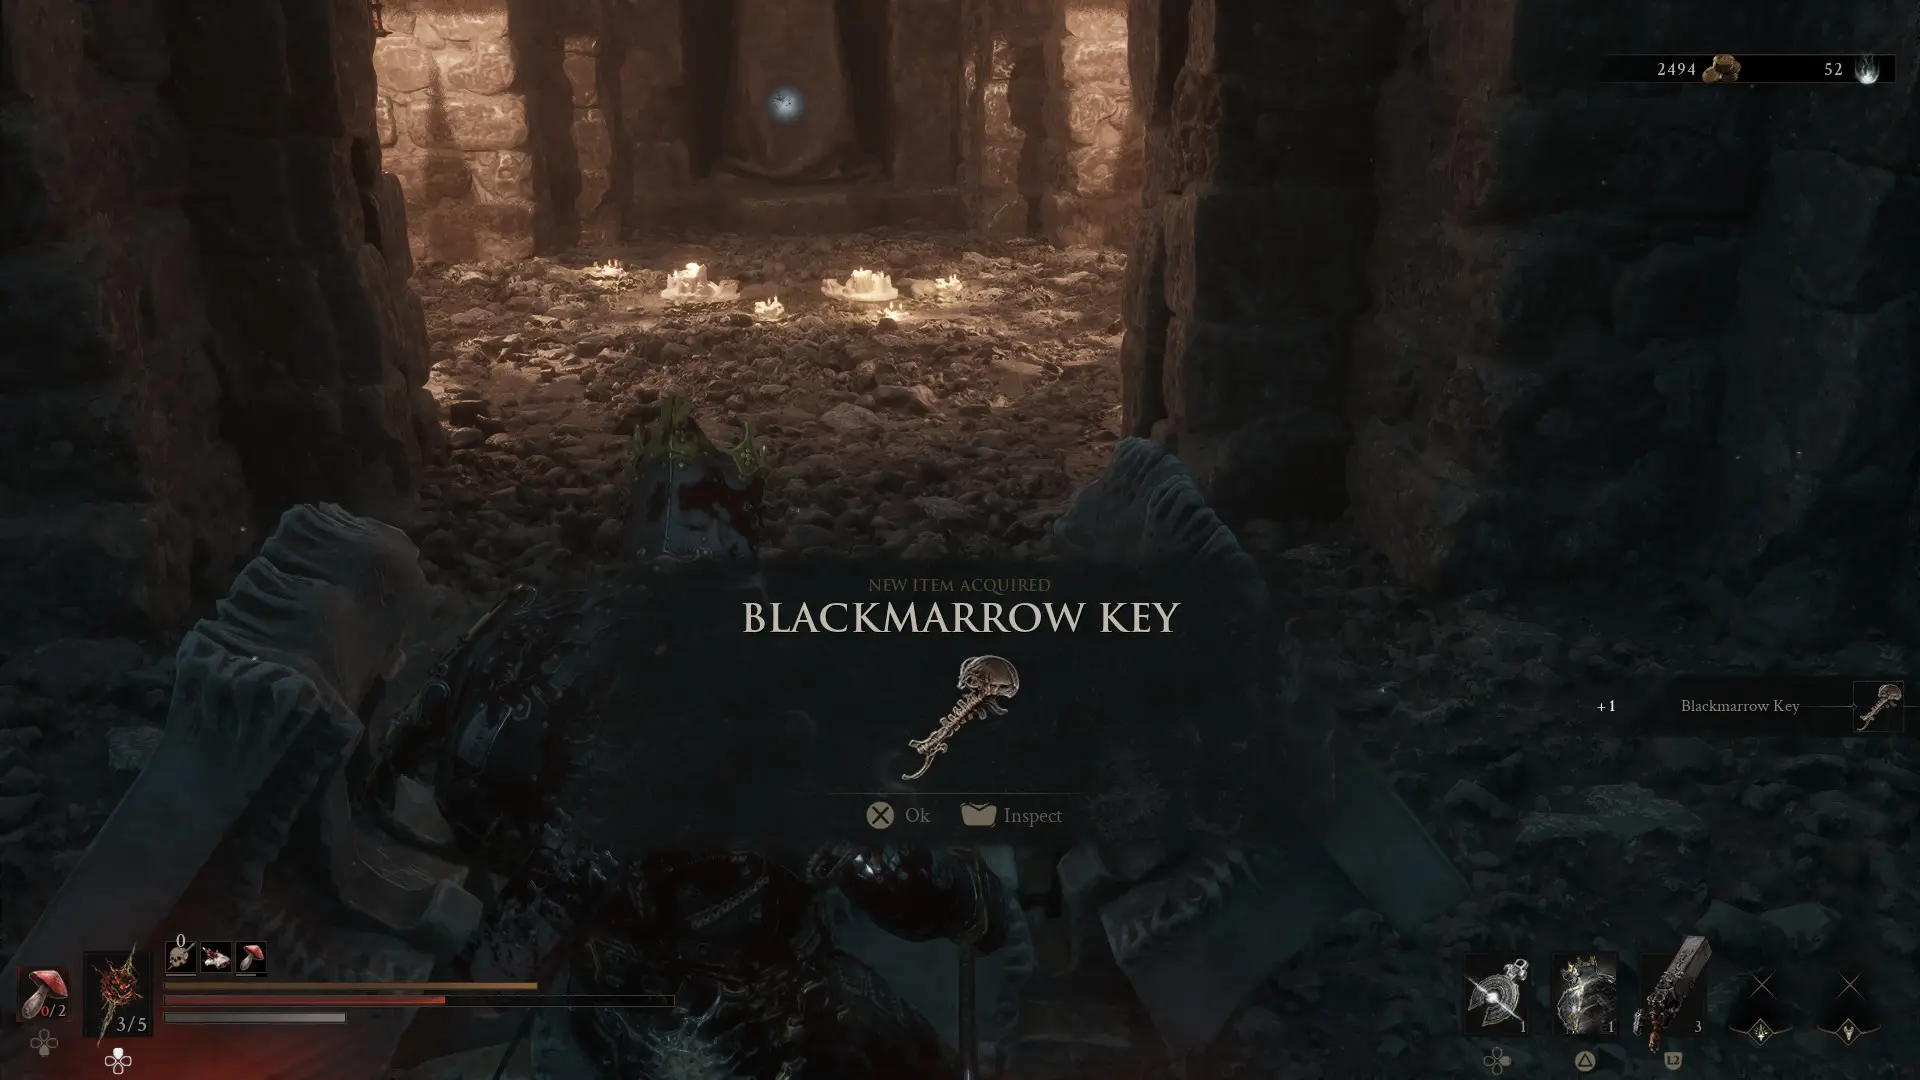
A final few Soldiers and a Spear Knight bar the path to the final chest housing the Blackmarrow Key, though you can honestly just loop around them and use the chest opening animation’s invulnerability frames to ignore their assault. Right behind the chest is a small monochrome orb that will whisk you back the Marrow Keep with your prize.
Using the Blackmarrow Key
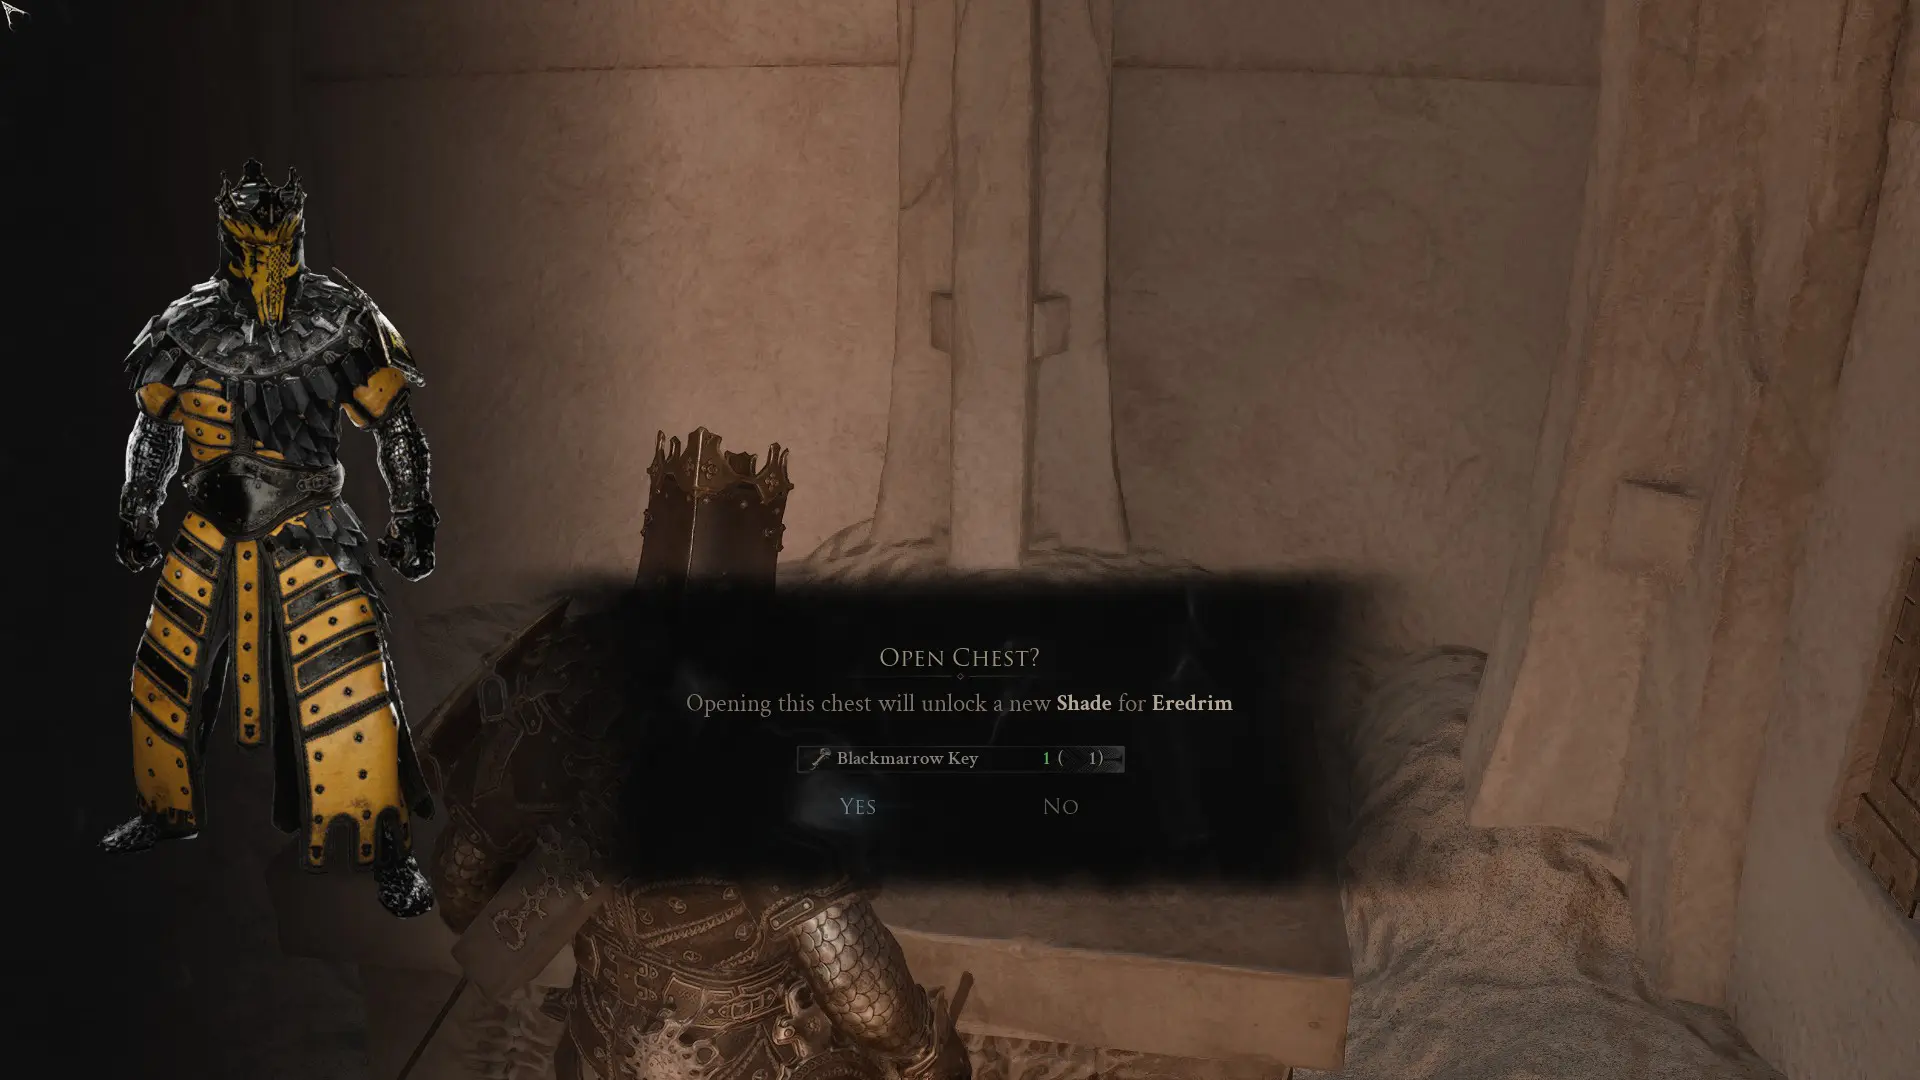
The Blackmarrow Key is one of a set of 9 that are used to unlock special Shades, alternate character colors, for the Shells. Each Shell has one Shade that can be unlocked through chests laid out in the elevator room at the far end of the Marrow Keep.
Simply walk up to a chest to see a preview of the Shade, if you like it, snag it. The other Blackmarrow Keys are sold by the Night Merchant, an NPC exclusive to Night Mode, a special enhanced difficulty mode. Certain dungeons are locked behind this mode, and enemies are much tougher.
That’s the mystery of the Desolate Keep and Mortal Shell 2’s Commune with Chaos prompt solved! Make sure you haven’t missed anyone who needs your help earlier in the game, and that you’ve got the tools to assist them.
