

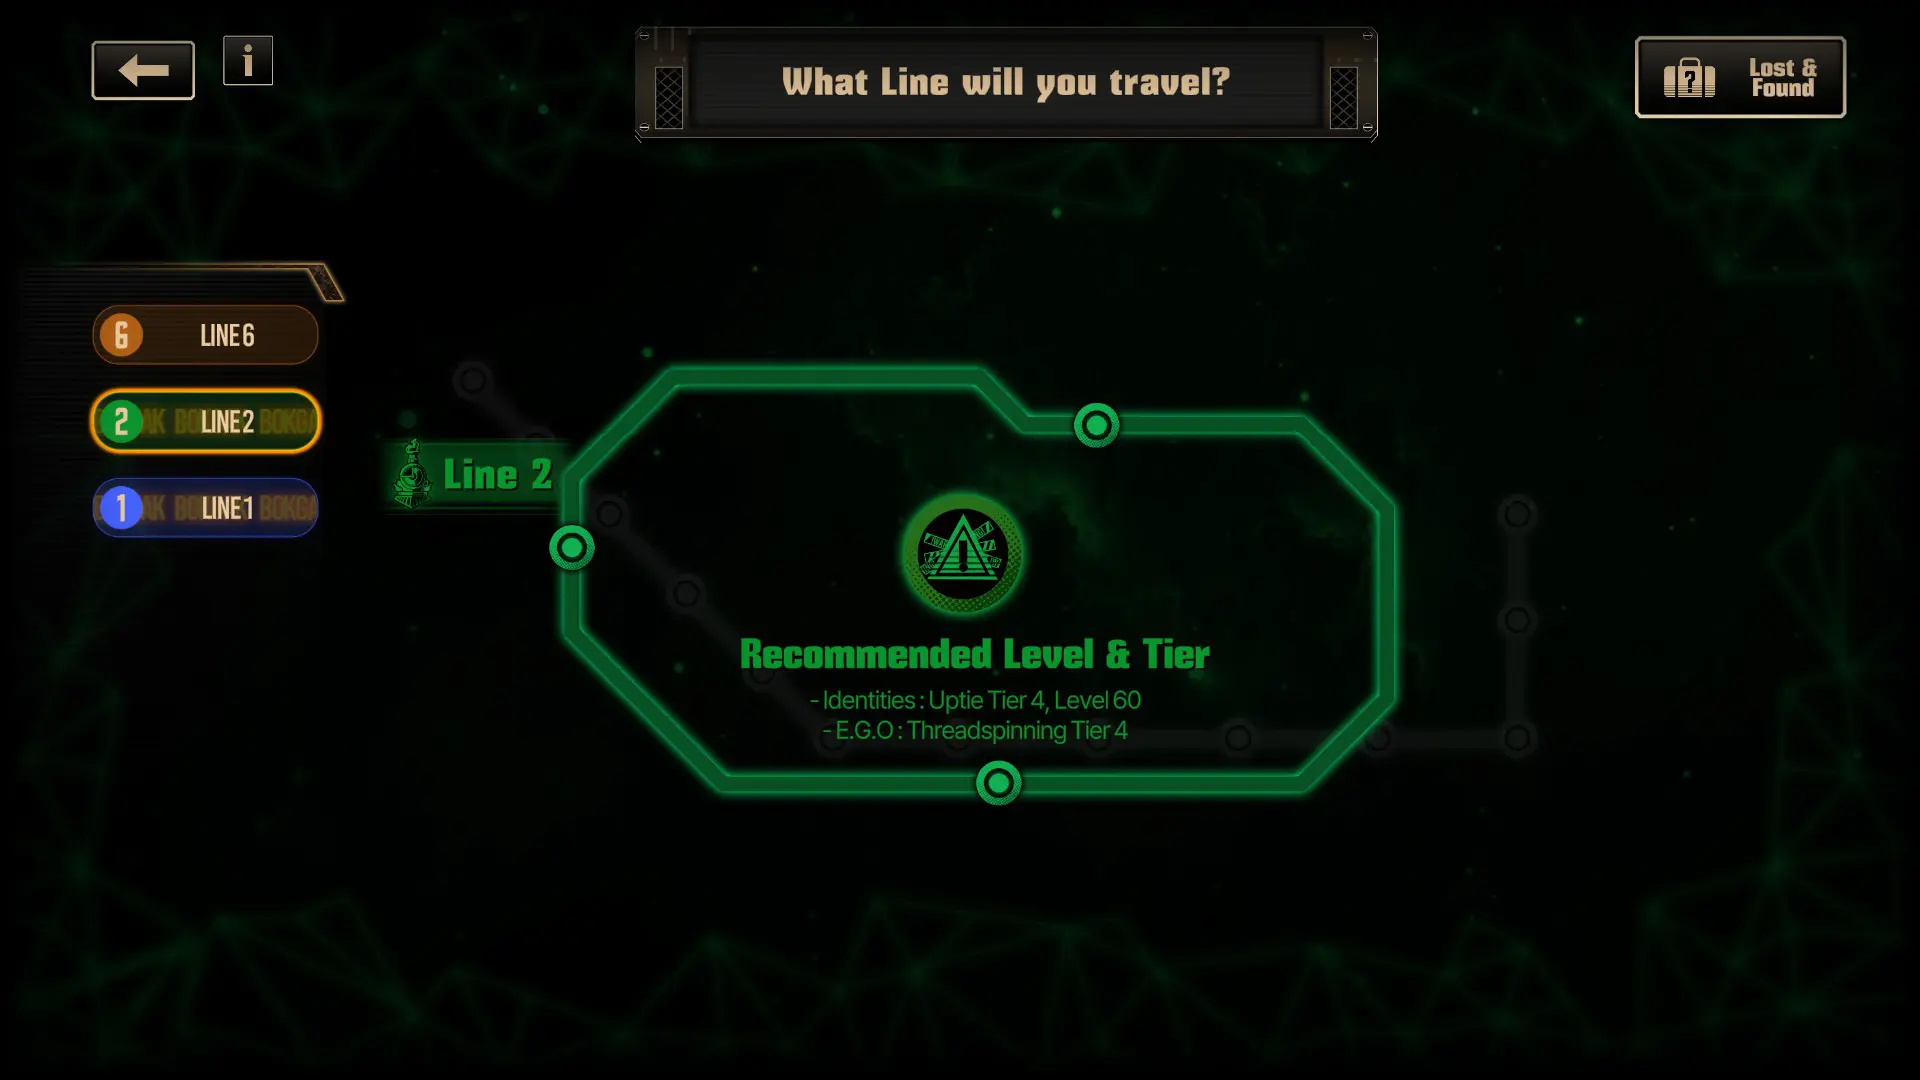
The Refraction Railways represent the pinnacle of long-form combat in Limbus Company. These endurance rounds are limited-time events that reward scaling teams in particular, allowing some comps that can’t hang in content like Reflectrials to shine.
With the 7/22 patch, Refraction Railway line 2 has returned, charged with new rewards, returning mechanics, and a ‘choose your difficulty’ progression. Lets go over these mechanics, the bosses, and the best Refraction Railway Line 2 Bokgak teams.
How Does Line 2 Work?
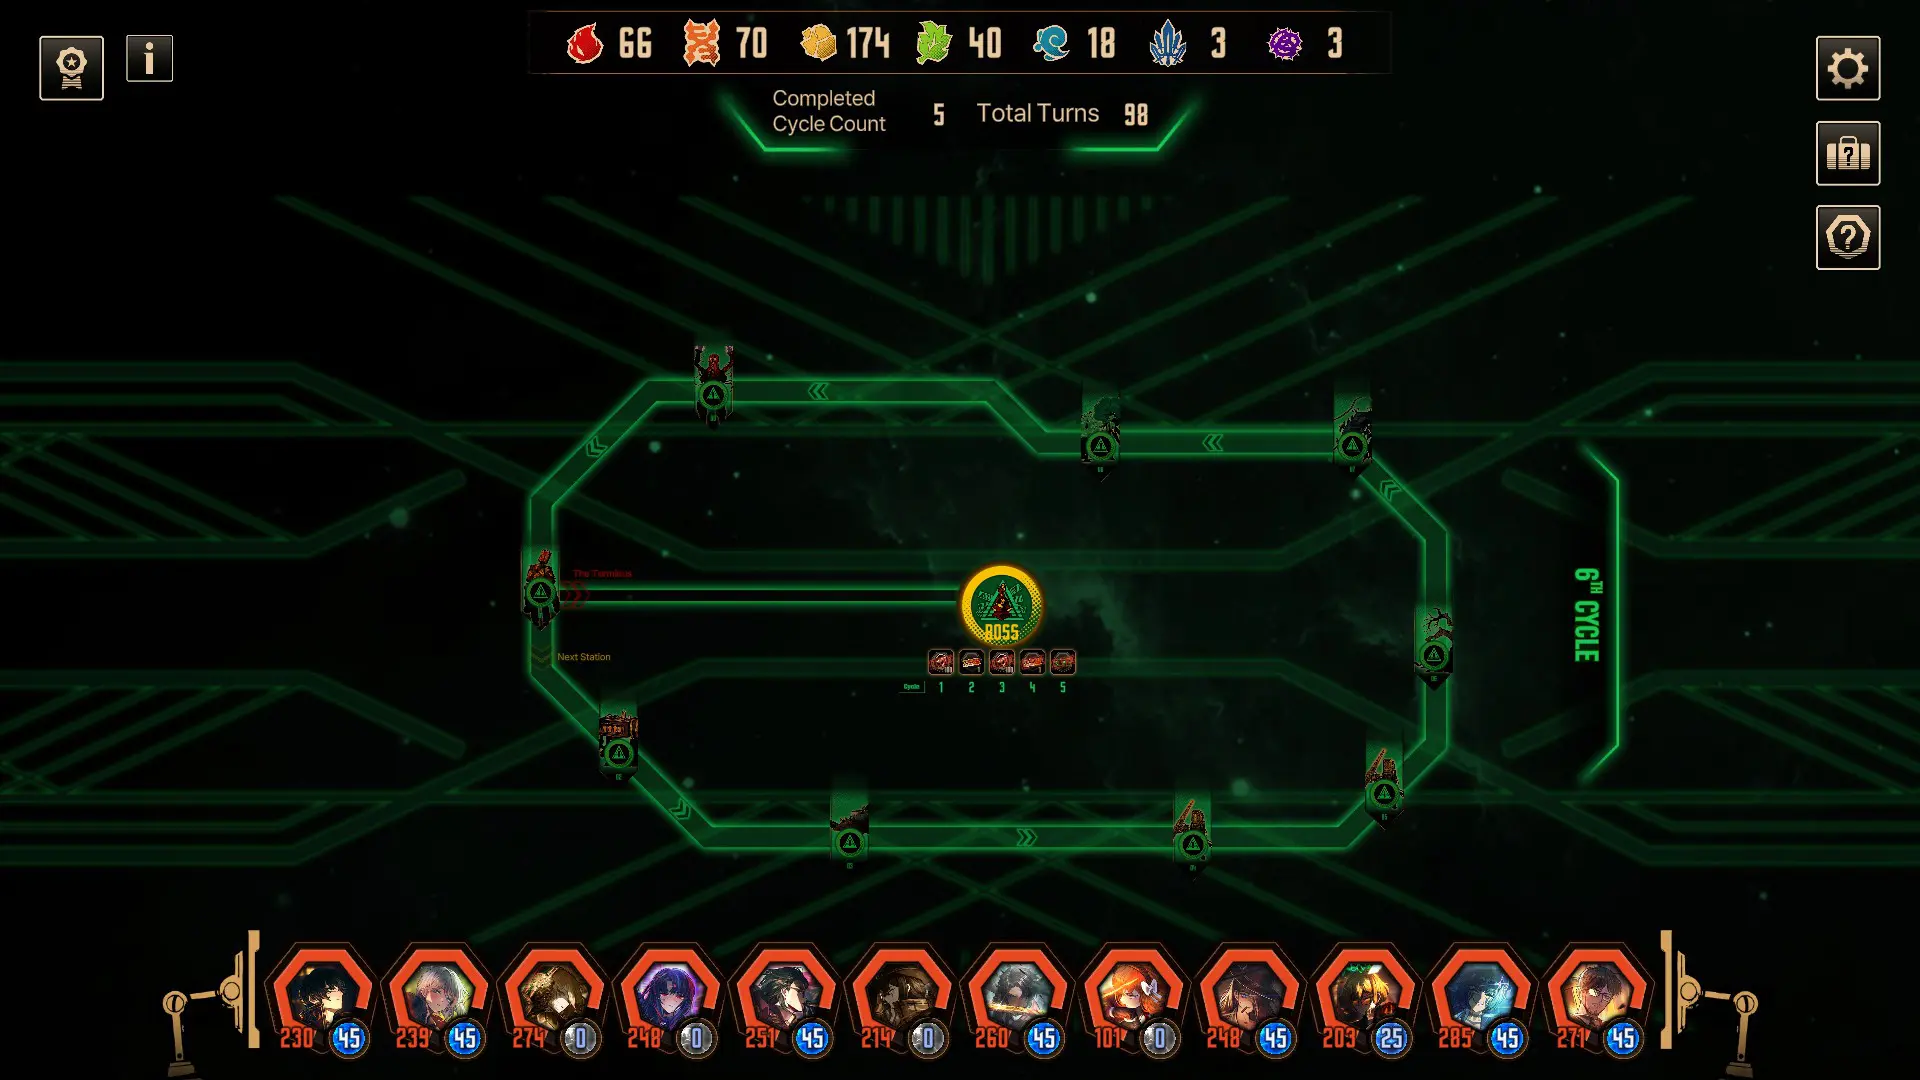
Each Refraction Railways Line has unique mechanics, and Line 2’s Bokgak is no different. Line 2 focuses on gradual empowerment and repetition, both for the Sinners and the Abnormalities.
Each long battle is laid out before you begin, taking the form of Cycles. You’re only required to finish the first cycle to unlock the final boss, but undertaking further Cycles will unlock new rewards and increase everyone’s strength.
After each Cycle, you’ll get to pick a buff for the Sinners and a buff for all enemies. These stack and linger between each Cycle, and while you can’t pick the same buff one after another, you can stack them every other fight.
This means that teams that heavily rely on a single Sin and damage type can alternate between buffing the Sin and the damage type, leading to massive damage spikes. The selection of allied buffs is as follows…
| Buff Name | Buff Effect |
| Slash Boost | All Slash Affinity Skills deal +10% Damage |
| Pierce Boost | All Pierce Affinity Skills deal +10% Damage |
| Blunt Boost | All Blunt Affinity Skills deal +10% Damage |
| Wrath Boost | All Wrath Affinity Skills deal +20% Damage |
| Lust Boost | All Lust Affinity Skills deal +20% Damage |
| Sloth Boost | All Sloth Affinity Skills deal +20% Damage |
| Gluttony Boost | All Gluttony Affinity Skills deal +20% Damage |
| Gloom Boost | All Gloom Affinity Skills deal +20% Damage |
| Pride Boost | All Pride Affinity Skills deal +20% Damage |
| Envy Boost | All Envy Affinity Skills deal +20% Damage |
| Burn Boost | On turn start, all enemies are inflicted with 1 Burn Potency, and all allies apply +1 Burn Count with Skills. |
| Bleed Boost | On turn start, all enemies are inflicted with 1 Bleed Potency, and all allies apply +1 Bleed Count with Skills. |
| Tremor Boost | On turn start, all enemies are inflicted with 1 Tremor, and all allies apply +1 Tremor Count with Skills |
| Rupture Boost | On turn start, all enemies are inflicted with 1 Rupture Potency, and all allies apply +1 Rupture Count with Skills. |
| Sinking Boost | On turn start, all enemies are inflicted with 1 Sinking Potency, and all allies apply +1 Sinking Count with Skills. |
| Poise Boost | On turn start, all allies gain 2 Poise Potency, and all allies apply +2 Poise Count with Skills. |
| Charge Boost | On turn start, all allies gain 2 Charge Count. |
With how massive the Sin buffs are, it’s best to alternate between them and your choice of Attack Affinity or Status Boost. Most Status Boosts are very slow, but some can help keep up high maintenance statues like Rupture.
The enemy buffs are less flexible, and there are only 5, so eventually the enemy will have all of them when you move to the final boss. While intimidating, these effects are hardly enough for these old enemies to hang on against the full power of a modern team. Enemy buffs include…
| Buff Name | Buff Effect |
| Opportunistic | Offense Level +3 if the boss took no HP damage for a turn. Shield damage is not HP damage. |
| Hardening | The enemy gains +15% Max HP and +1 Slot Weight. |
| Accelerating | The enemy gains +1 Maximum Speed. |
| Inhaling | The enemy heals +30% more from healing Skill and Coin Effects. They also heal 8% of all damage dealt. |
| Thirsting | All EGOs cost +1 EGO resources. |
Additionally, every Cycle grants a stacking +10% damage buff to all enemies. They also gain +1 Offense and Defense Level. Since you can only take each buff once, and all will be up by the end of the battle, I’d recommend the order Opportunistic, Accelerating, Thirsting, Hardening, Inhaling.
Also Read: Limbus Company – Best Reflectrial Im Gyeong-eop Build
Best Refraction Railway Line 2 Bokgak Teams
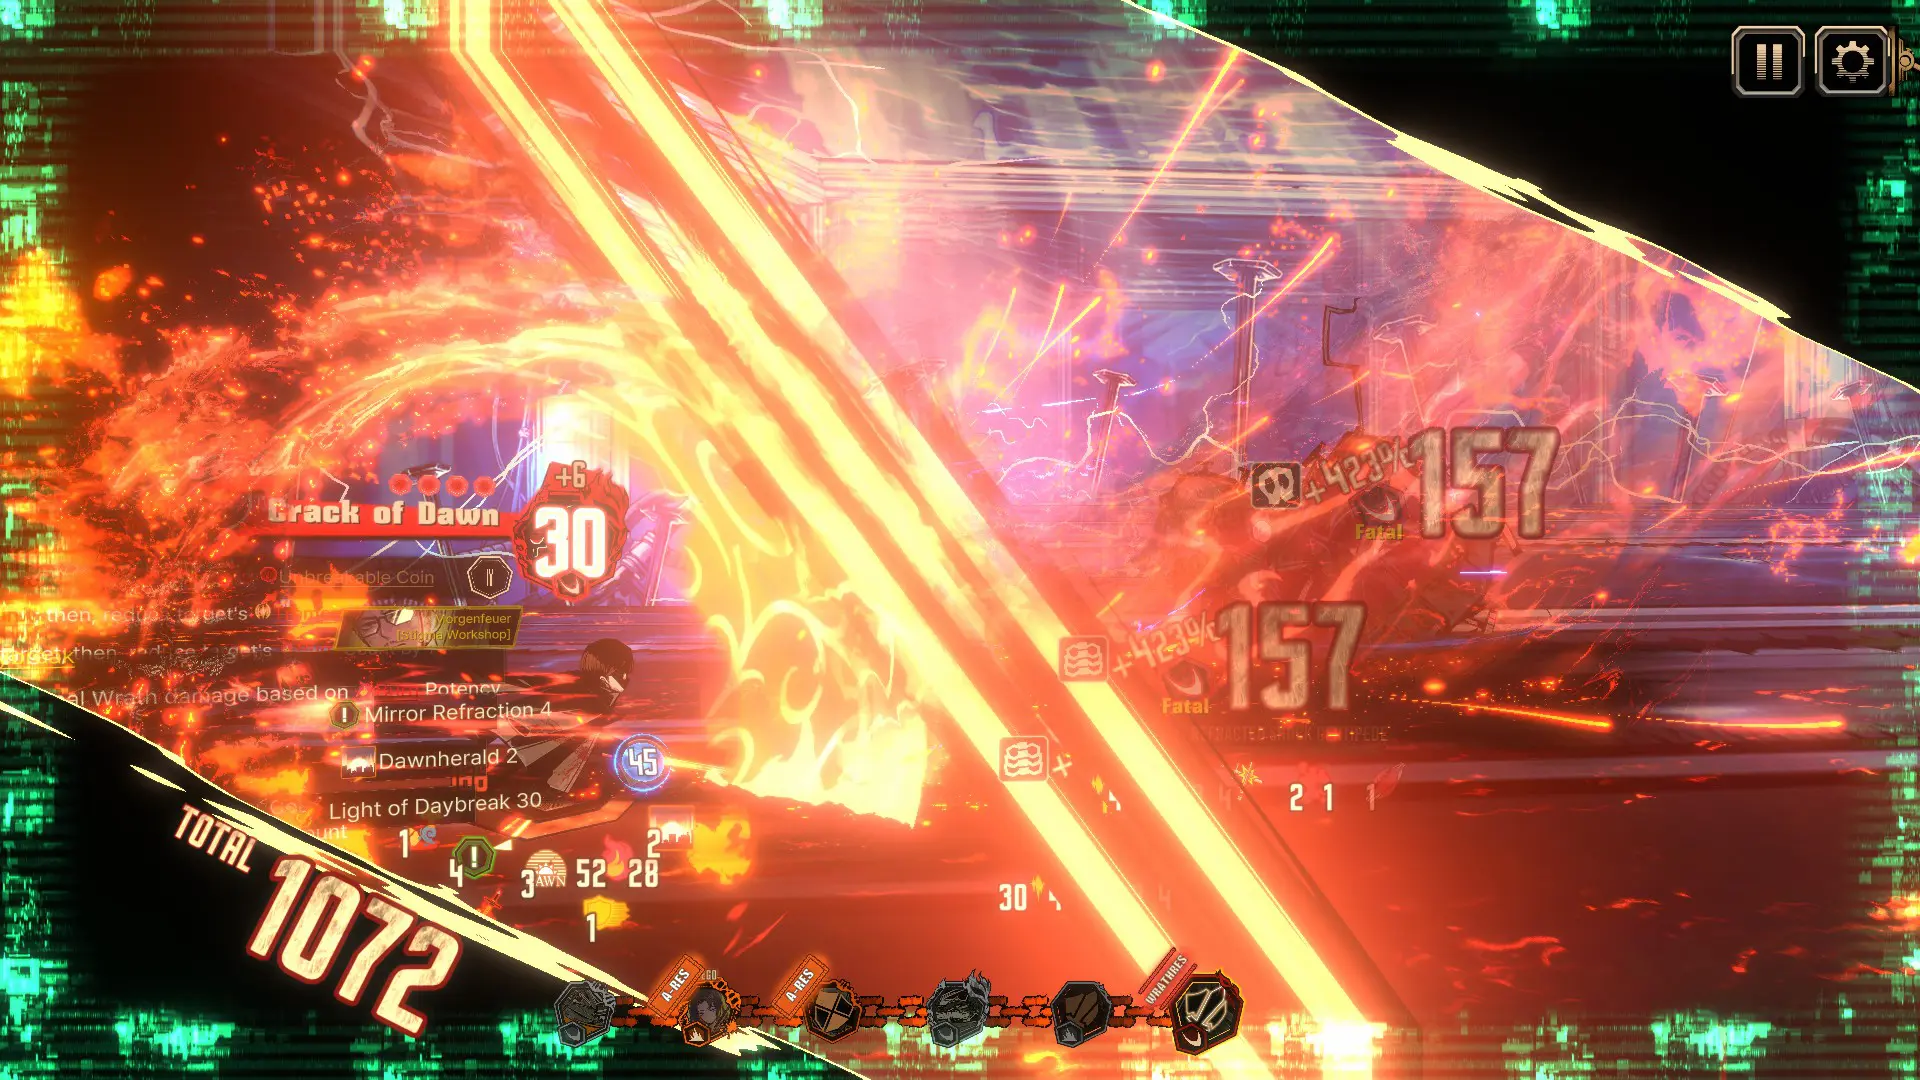
Now, the long-form battles and marathon combat length that fills Link 2 Bokgak really reward teams that can scale hard. Currently, two teams do that the best, though honestly most modern IDs can hold their own. Let’s look at the two standouts!
The Middle
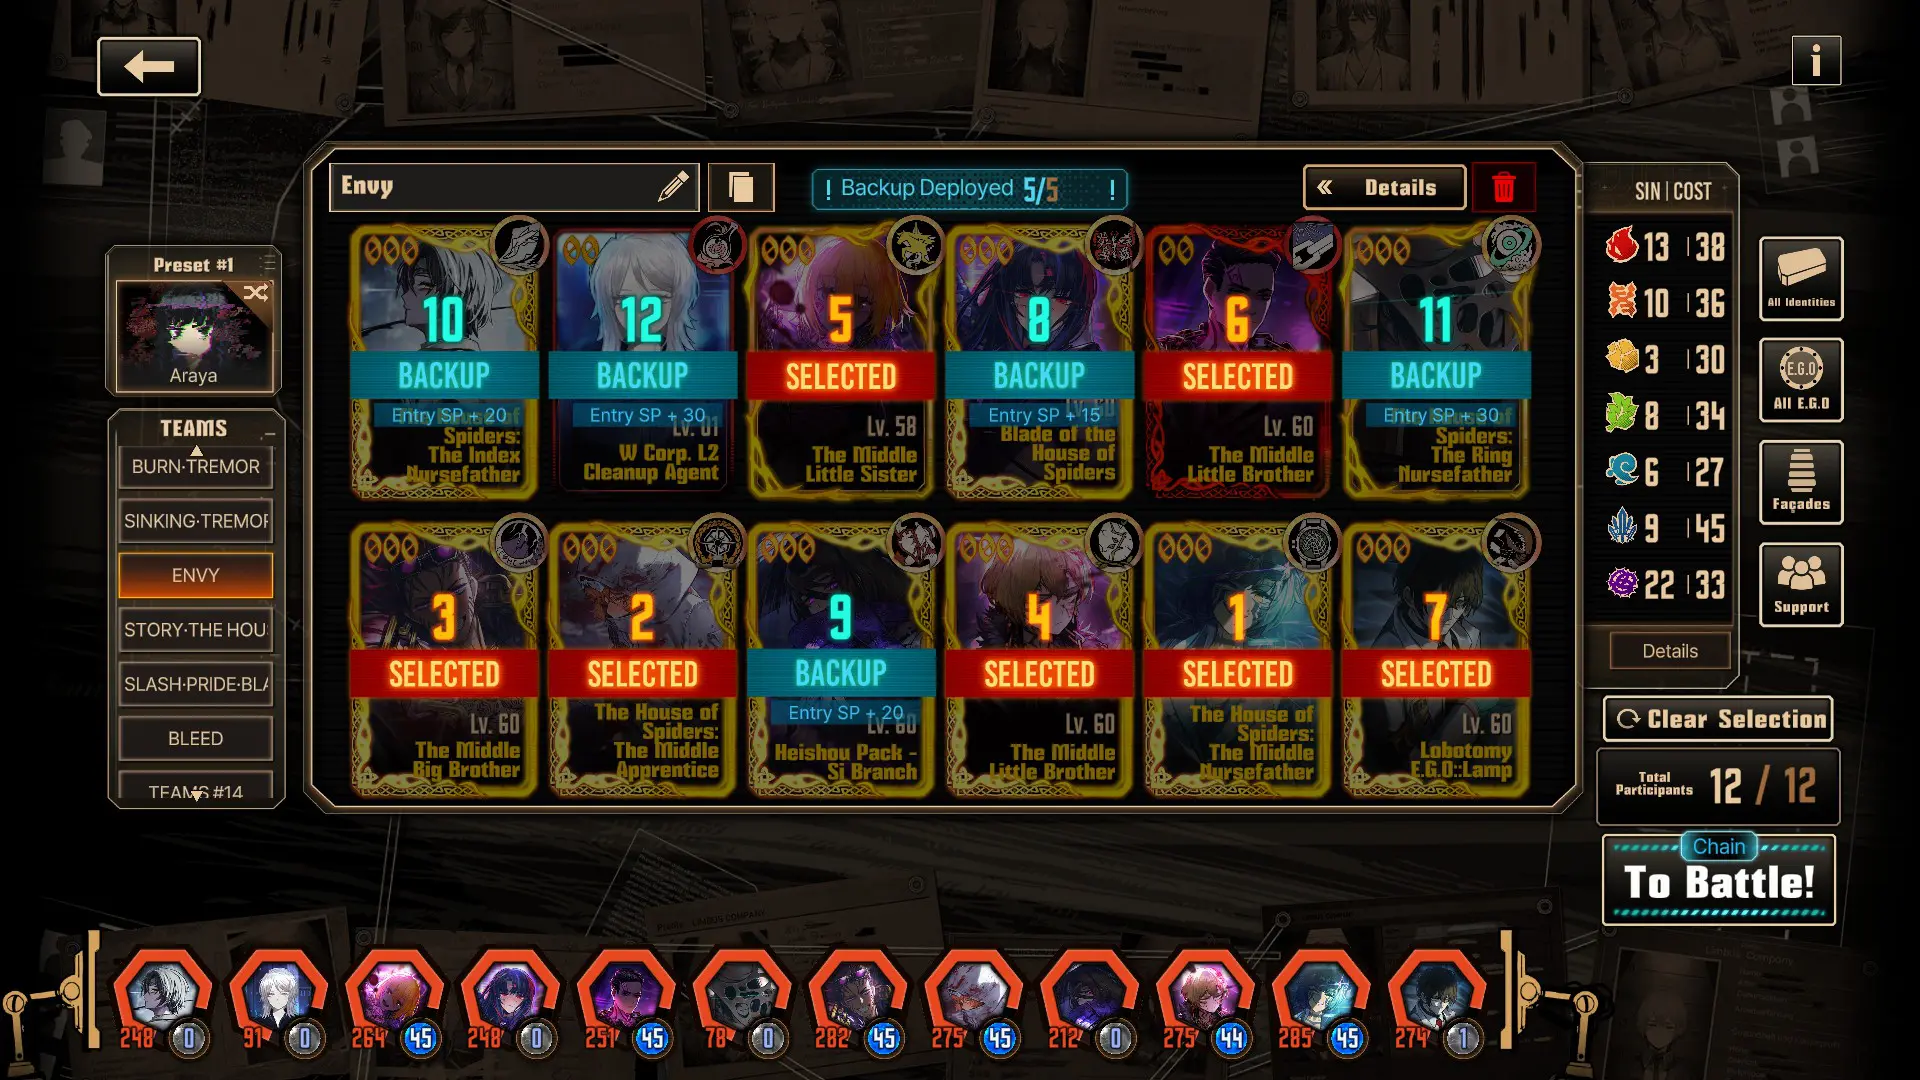
When it comes to rapid empowerment, the Middle are a tier above. Thanks to the additions of Ricardocliff, Kirishmael, and the Middle Nursefather Outis, the Middle is in a fantastic spot. While Nursefather Outis needs to take the time to unseal her sword, the long battle format means that once she has it ready, it’s ready for the rest of the Cycle.
For every Cycle, start by ensuring you’ve got 6+ Envy Resonance to progress Outis’s unsealing. Since you need to run all 12 Sinners in the Railway, make sure to select a 7th that won’t interrupt the Envy Res chain. Sinners with Envy defensive skills are great picks. A personal favorite is Lamp Gregor, thanks to his unique self-Bind.
Lamp Gregor will always go last, allowing him to avoid breaking the Middle’s chain. On top of that, his Garden of Thorns EGO buffs the team based on Sin Resonance and heals everyone, making it stellar for keeping the team of folks who need to take hits alive.
So far, this is my fastest team, tearing through every Cycle without any real risk of failure. Plus, Nursefather Outis gets to do comedic damage at late Cycles. Since the whole team cares about Envy, make sure to stack it via the buffs!
Dawn Burn-Tremor
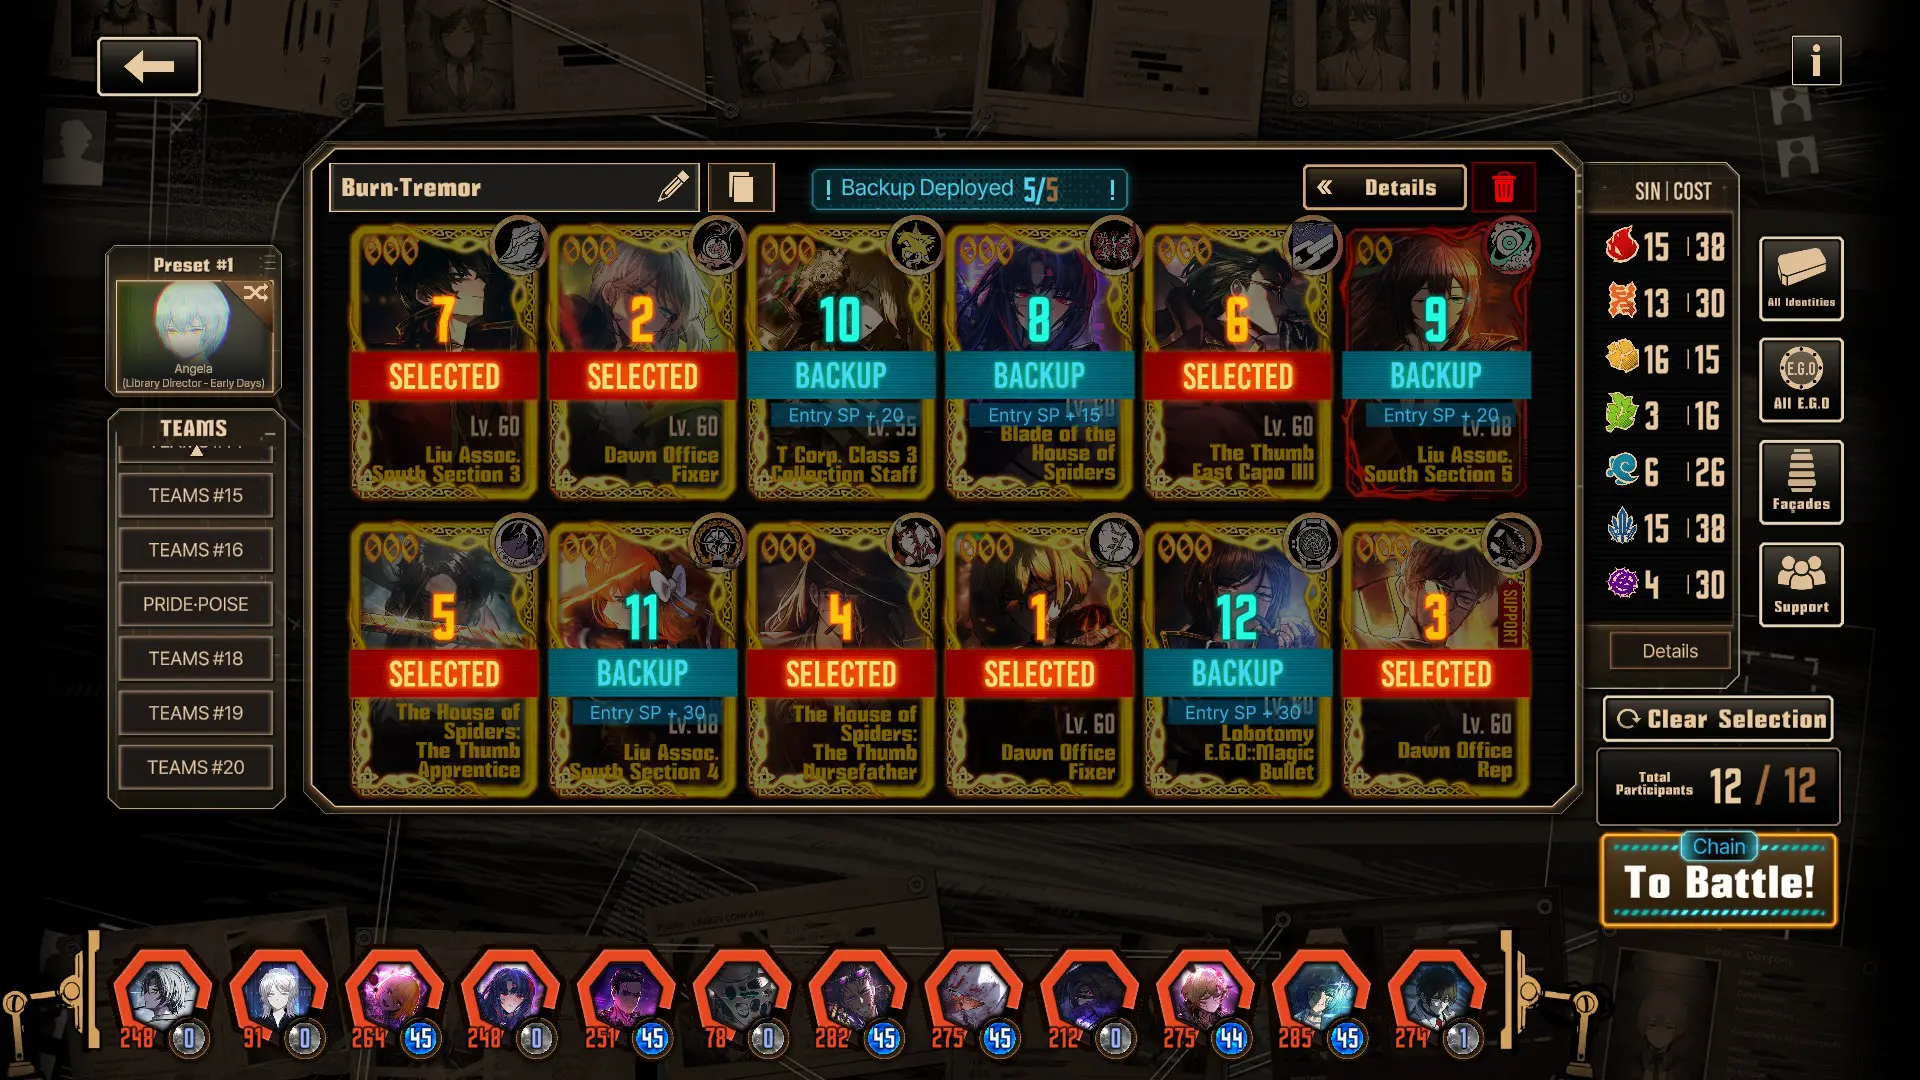
The team is benefiting most from the recent banners, the Dawn variant of Burn Tremor is all about snagging buffs early to turn the team into a squad of unstoppable forces. Helmed by the Dawn trio of Sinclair, Faust, and Gregor, Sinclair pops EGO early and never stopped, while both other Dawn members get their buffs early.
The rest of the team is flexible, but the Thumb duo of Heathcliff and Rodion fit perfectly, especially thanks to Rodion’s new Fourth Match Flame Uptie 5. The team is incredibly consistent, complete with fantastic EGOs, easy healing, and easy access to SP healing if you want to run Liu Sang.
Either Hornet or Thumb Capo Meursault works to slot in the Frenchman, leaving your seventh slot open to preference. Don’t want Liu Yi Sang? Consider the extra Tremor of a T-Corp member. Maybe Magic Bullet Outis for some Dark Flame? The team is strong, easy, and incredibly fun.
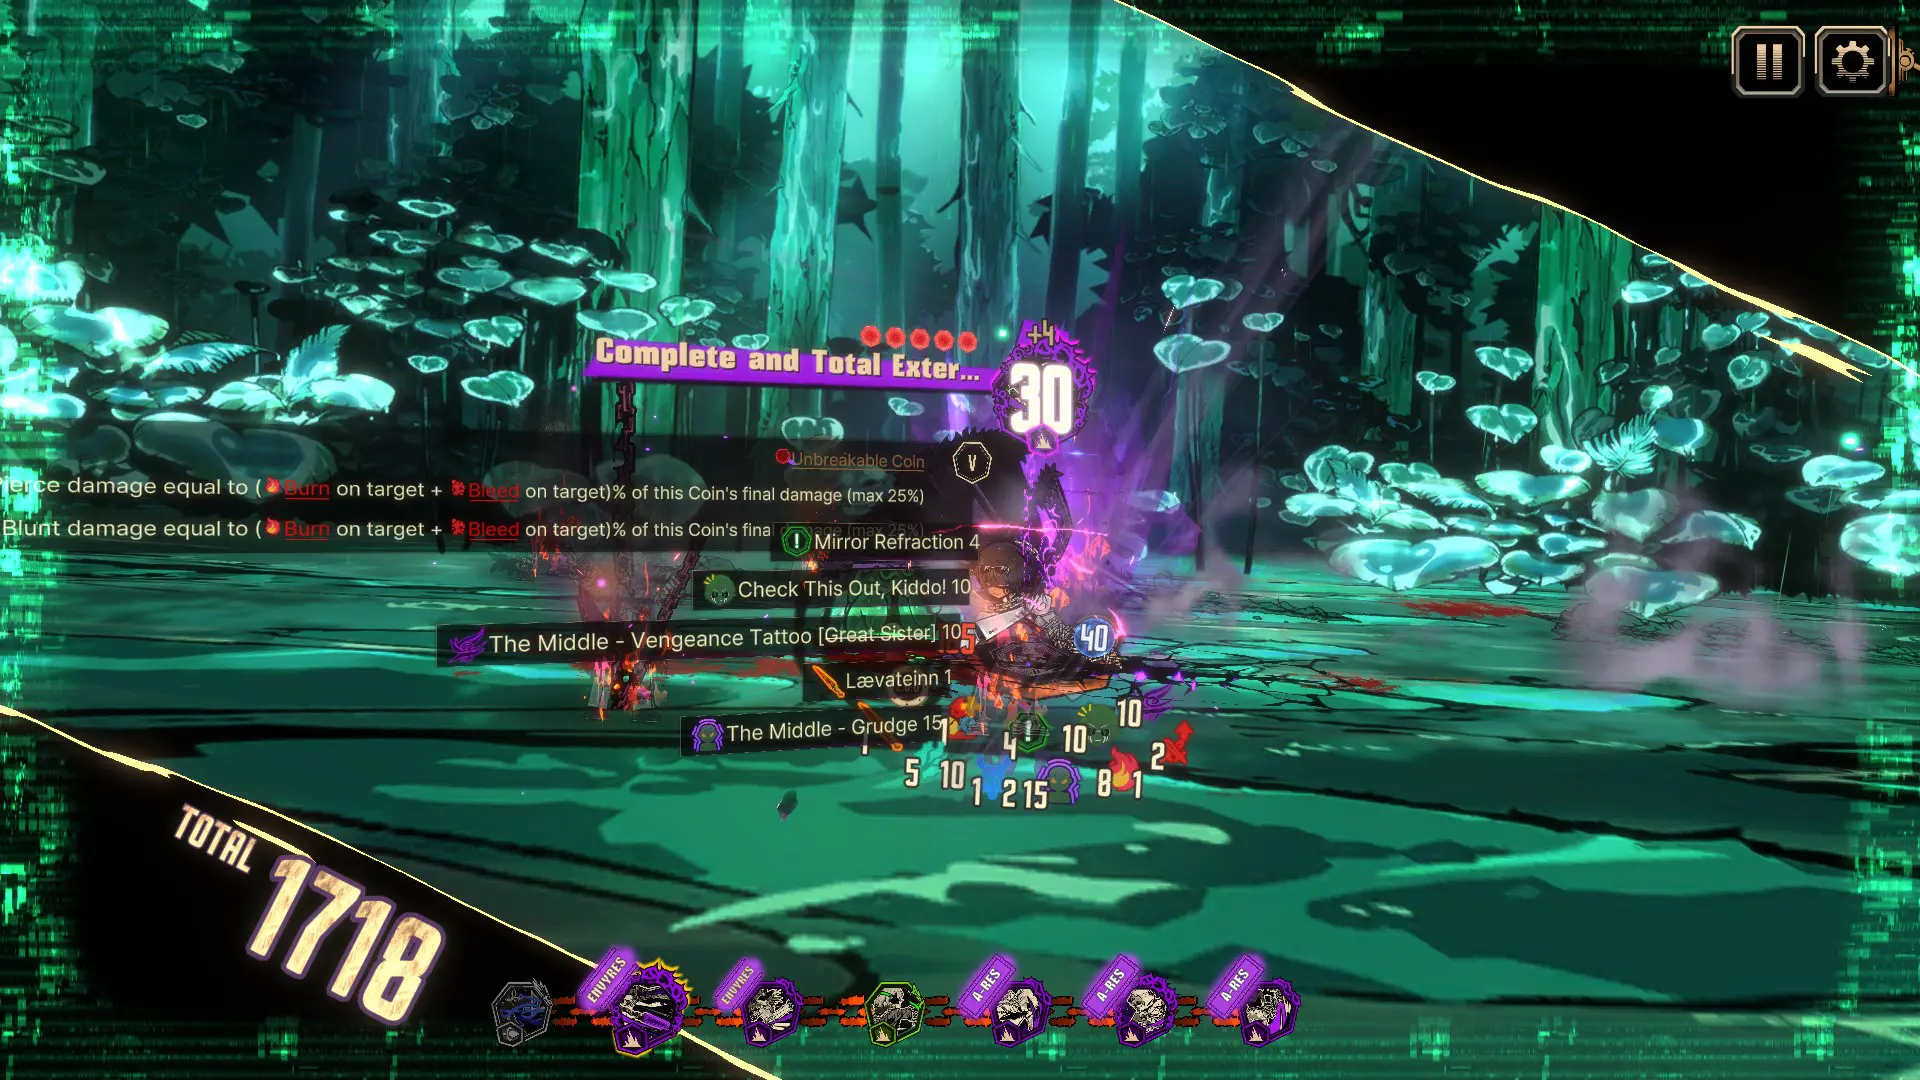
Line 2 is a fun addition that lacks in challenge simply because it’s based on old battles. Of all the fights, none are particularly challenging. While some time wasters like Shock Centipede can waste your turn count, no additions were made to these Season 2-era fights that make them worth thinking too hard about.
You’ve fought these foes a hundred times through the Refraction Railway, and even without the boons of EGO Gifts, they don’t stand a chance against our up-to-date strength. If anything, the Line 2 Bokgak acts as a fun way to see just how far we’ve come, even if it’s a bit of a slog.
What do you think about Refraction Railway Line 2? Share your teams and best clear times below! I managed a 95 turn clear off my Middle team and want to try running the fight on weaker teams to see how they fare.
If you enjoyed the article, why not check out our discussions on LCE Dimension Shredder Yi Sang, or some solid teams for the much more difficult Refraction Railway Line 6? Swing back after every patch for teams, ID discussions, and guides on new content!
