


Crests help customize Hornet’s build, enhancing her skill set and allowing you to add more tools. As you keep advancing in the game, you do get an occasional new crest, either by defeating enemies or unlocking secret areas. The Witch Crest is one of the more difficult crests to get, and this guide will explain where to find it in Hollow Knight Silksong.
How to Get the Witch Crest in Hollow Knight Silksong
To get the Witch crest, unlock a late-game area called Bilewater and complete two quests: the Twisted Bud and Infestation Operation. We have detailed all the steps to get the crest below, starting with unlocking Bilewater, finding the Twisted Bud, and what to do with it.
How to Get to Bilewater in Silksong
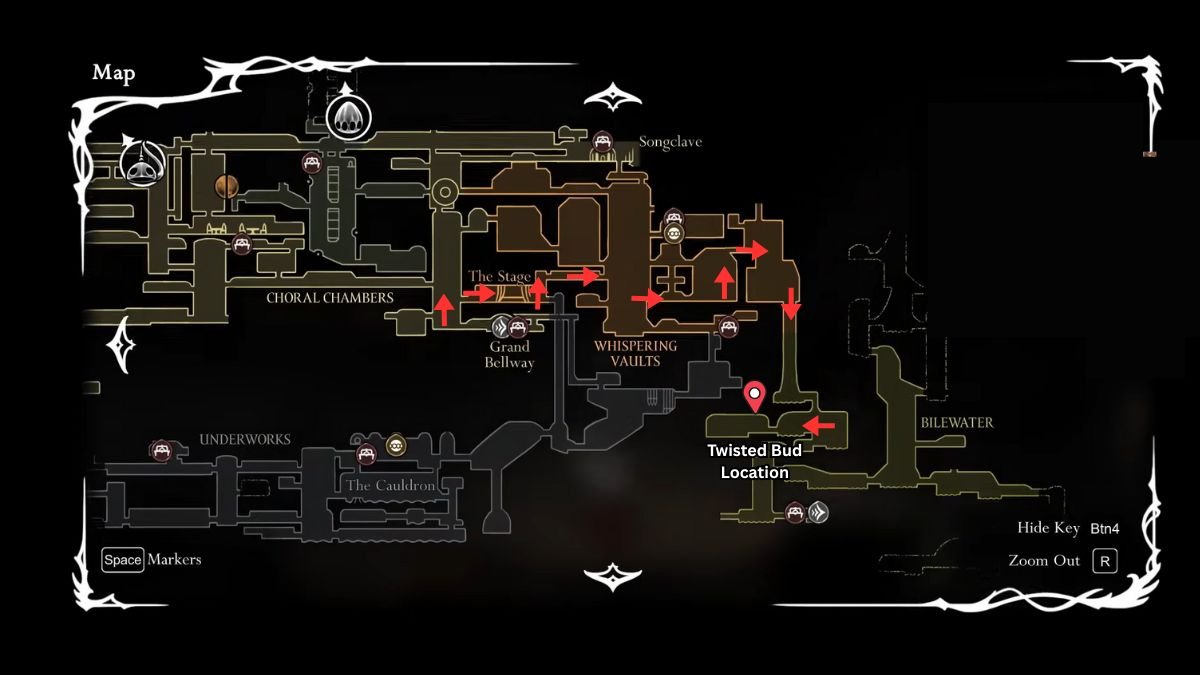
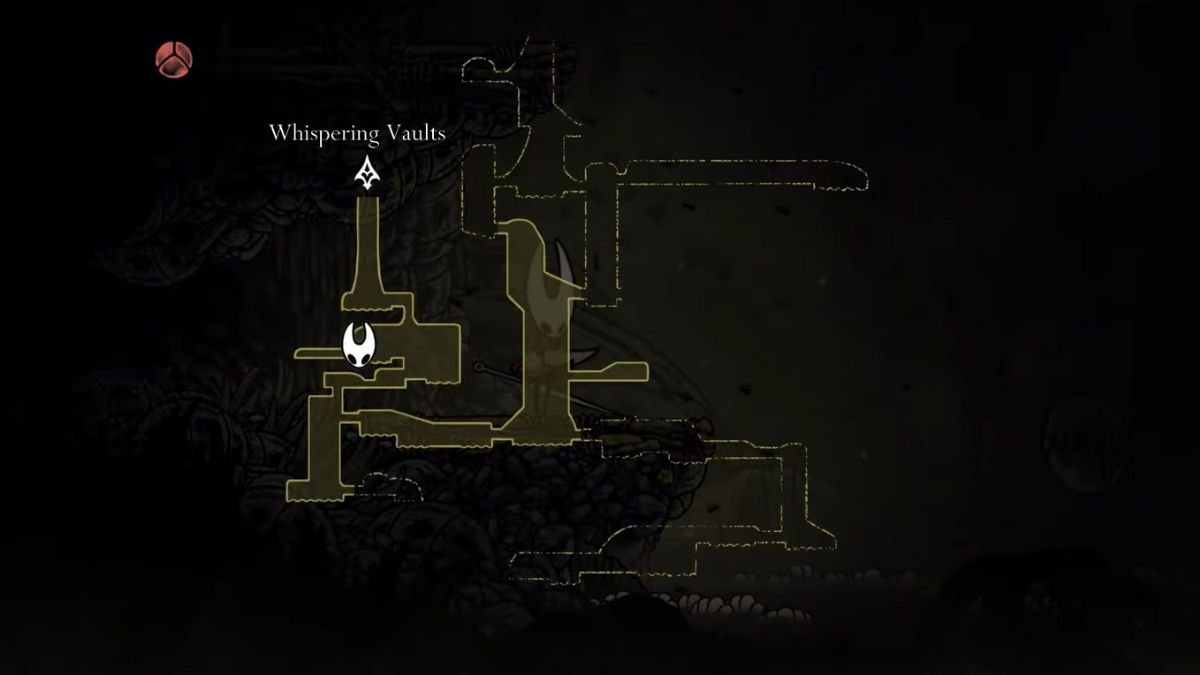
Bilewater is on the eastern section of the map, southeast of Whispering Vaults. You get to this location by going up Grand Bellway, going east to The Stage and Whispering Vaults. Once you are in the lower sections of Whispering Vaults, you will notice a secret section just above the eastern path. Take that and go east.
Go up and keep going east until you spot a breakable section. Use the Clawline to break the section, which will help you descend into the starting section of Bilewater. After reaching Bilewater, drop down to just one section and find a path that goes west. Once you reach the end of the path, go upwards and east.
Twisted Bud Quest Guide Silksong
You will spot a creature called Twisted Bud crying incessantly, who you need to return to Greyroot. Pick up the baby to start the Twisted Bud quest. You could drop down further and unlock the bench for this area before returning the baby to its owner in Shellwood.
The NPC who will take the Twisted Bud is Greyroot in Shellwood, who you would be familiar with if you had completed the Rite Of The Pollip quest. You need to complete the Rite of the Pollip quest first before you hand over the Twisted Bud, but this doesn’t end the quest yet. Greyroot will infect you after handing over the baby, so you need to find a cure.
Infestation Operation Quest Guide and Unlocking Witch Crest Silksong
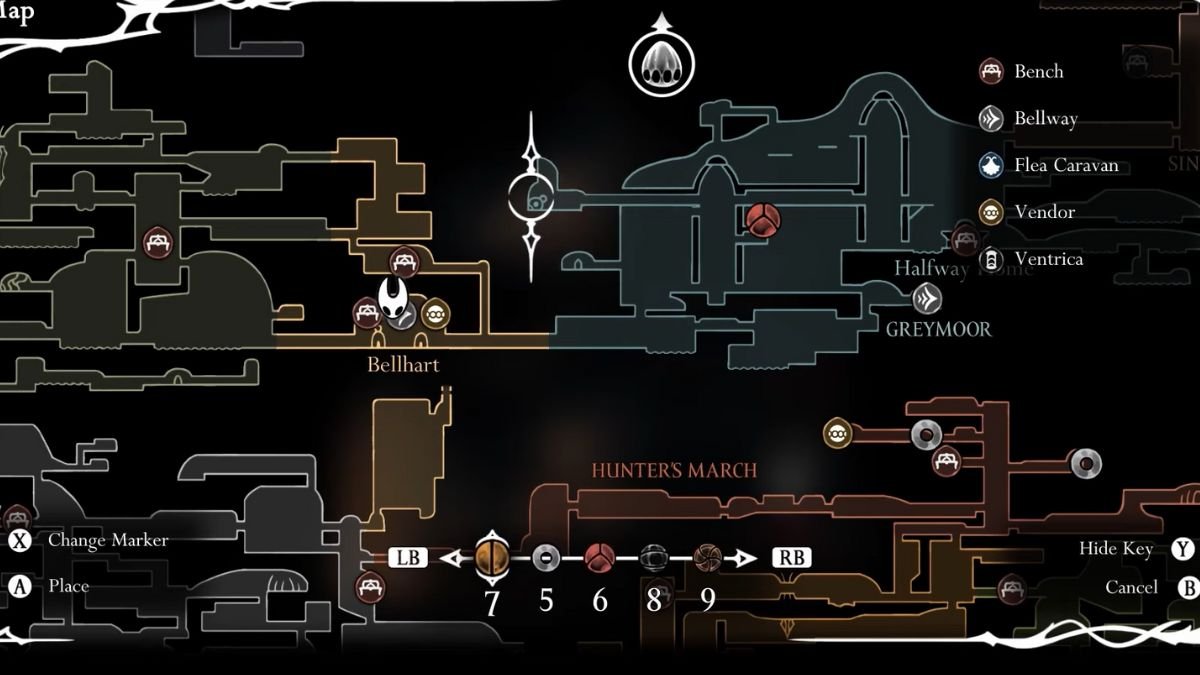
After breaking free and escaping the Chapel of the Witch, head over to Greymoor to find Yarnby. She is located in the top western section of Greymoor, inside the locked bellhouse. Interact with the bellhouse and go through the dialogs to be let inside. After the inspection, you are tasked with retrieving tools from Benjin and Crull, located at Sinner’s Road.
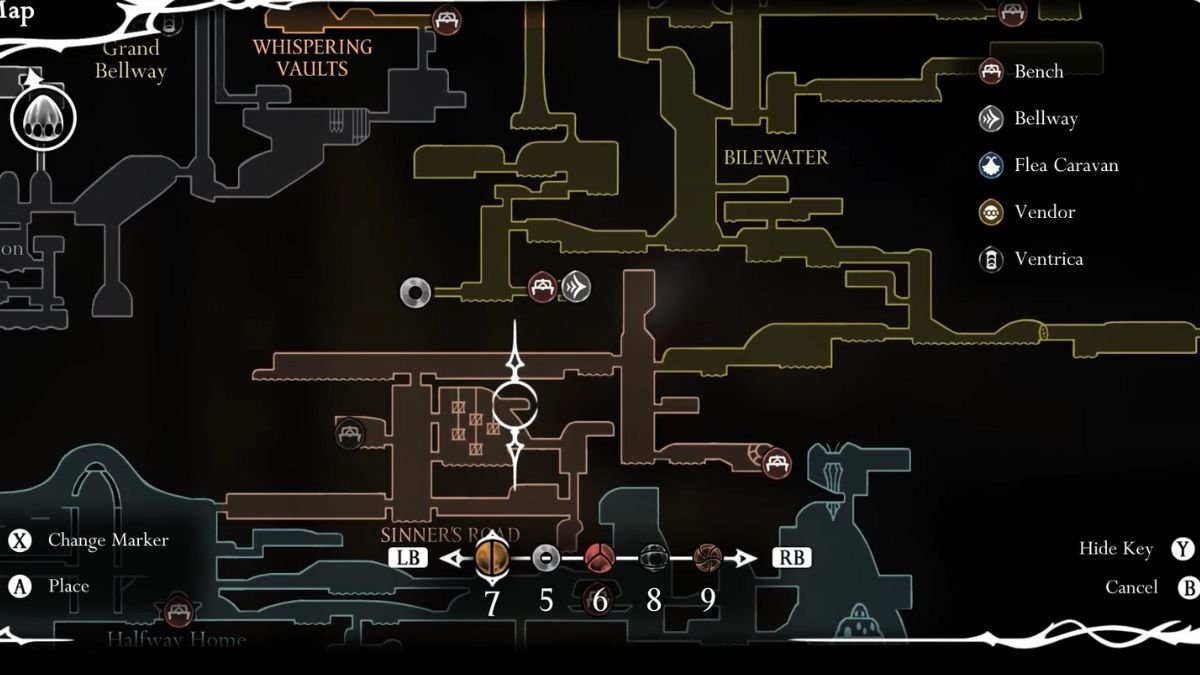
Right in the central section of Sinner’s Road is an area filled with cages dangling from above. Make your way to the top eastern section of this area to find the two NPCs. Purchase Steel Spines for 260 Rosaries from them and head back to Yarnby. Hand over the Steel Spines and watch the rest of the cutscene, which unlocks the Witch crest in the game.
The Witch crest is a great late-game addition in Hollow Knight Silksong, as it offers 3 blue slots and 2 red slots. This puts Hornet’s attacks on offense, and is a great way to get a DPS build if you invest Memory Lockets in this skill.