


Some trophies in Dying Light: The Beast are pretty self-explanatory, but you might come across a few that could be confusing. Some achievements are secret ones that you are highly likely to miss, such as the Asylum trophy. While exploring St. Valentine Asylum you need to find all the collectibles within the area to get this trophy. This guide will explain how to unlock the What Happened at the Asylum trophy in Dying Light: The Beast.
All St. Valentine Asylum Collectibles in Dying Light: The Beast
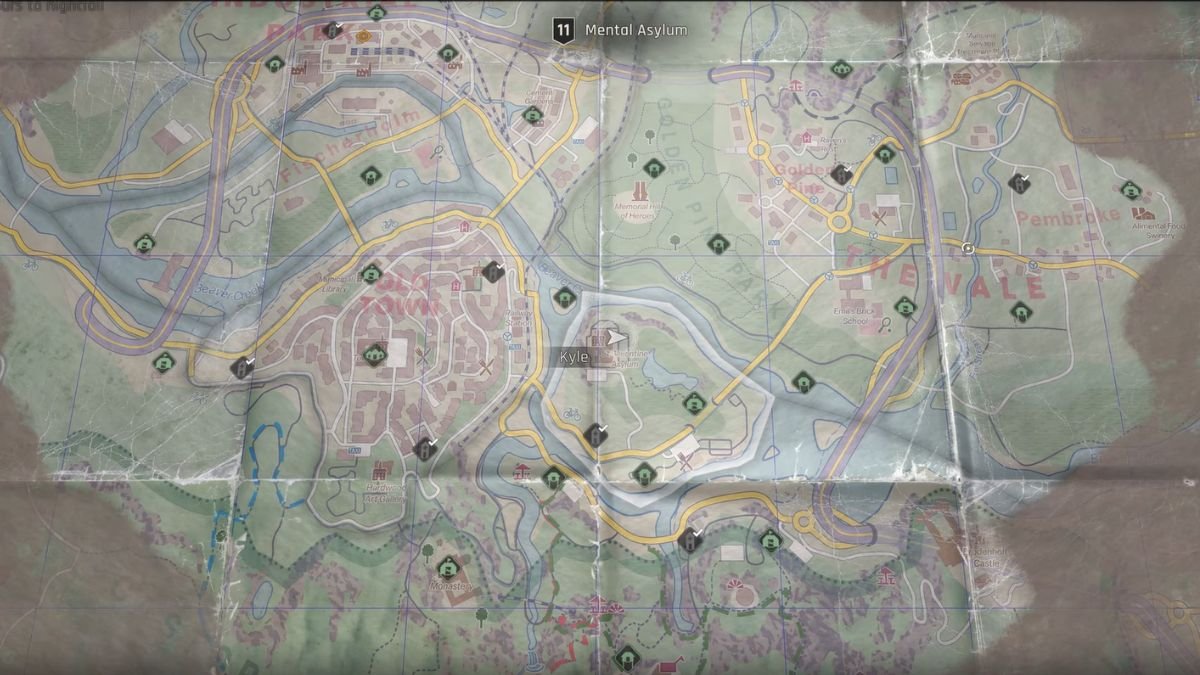
To get the What Happened at the Asylum trophy, you need to “Find all secrets about the St. Valentine Asylum”. You will reach the mental asylum during the Cries Trapped in the Wall main story quest, but you could also revisit the area after completing the game.
The collectibles required for the achievements aren’t just found within the asylum, but you also need to pick up certain documents and voice memos within a house in the Villa Area. The items you need to collect are:
- 3x Diary of Dr. Peter Paulaner
- 5x Dr. Tal Cubero Recording
- 6x Asylum Patient Records
All Diary of Dr. Peter Paulaner and Dr. Tal Cubero Recording Locations
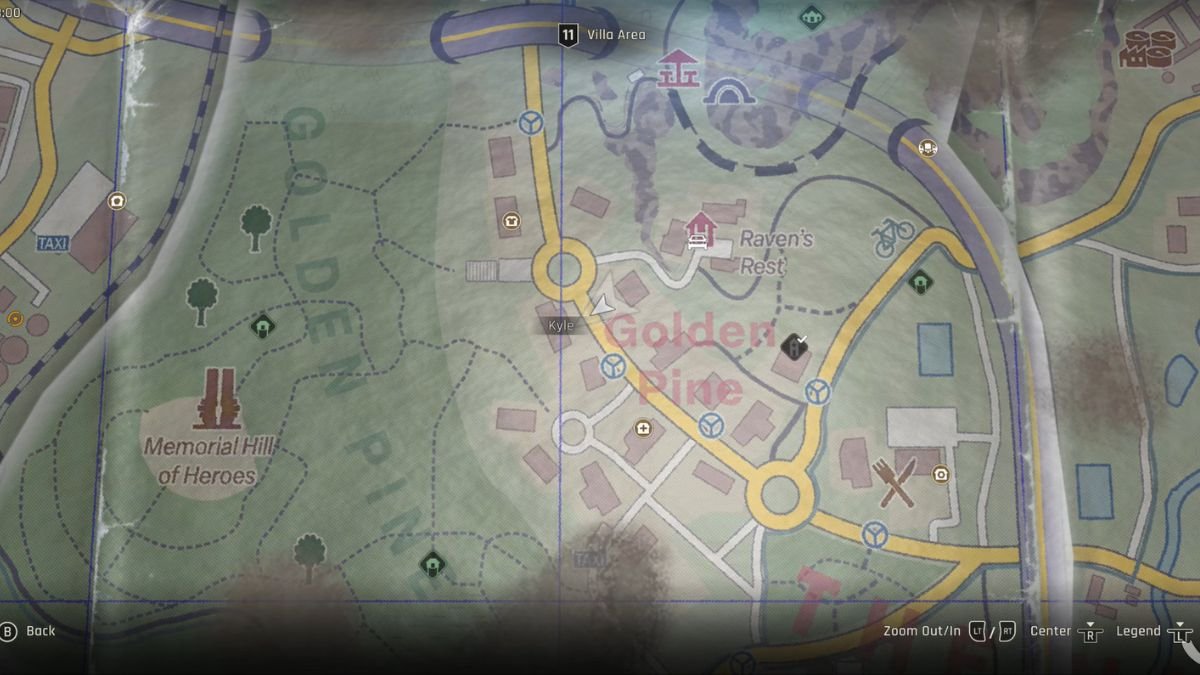
To find the house where you need to collect the Diary of Dr. Peter Paulaner and Dr. Tal Cubero Recordings, in Villa Area, head northwest of Raven’s Nest. Enter the first house on the left, south of the rotary. Lockpick the door to the house, then follow the steps below.
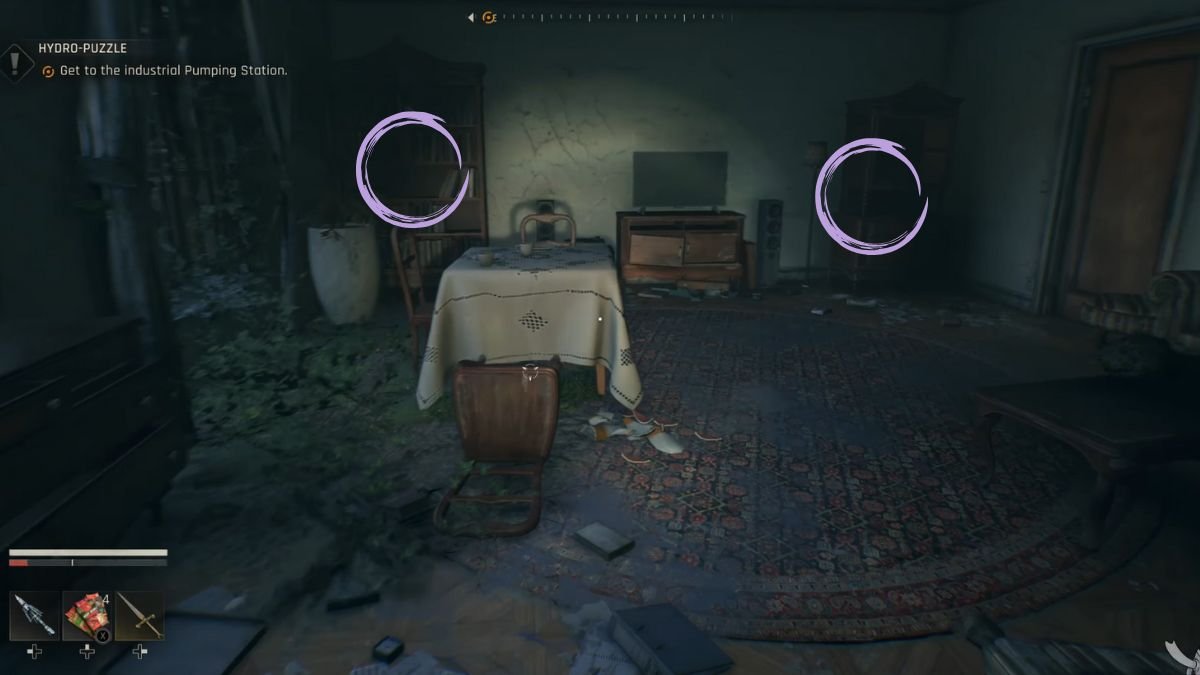
Once inside, head east towards the bookshelf on the left to find the first diary. Also pick up the first voice recording off the cabinet to the right of the TV stand.
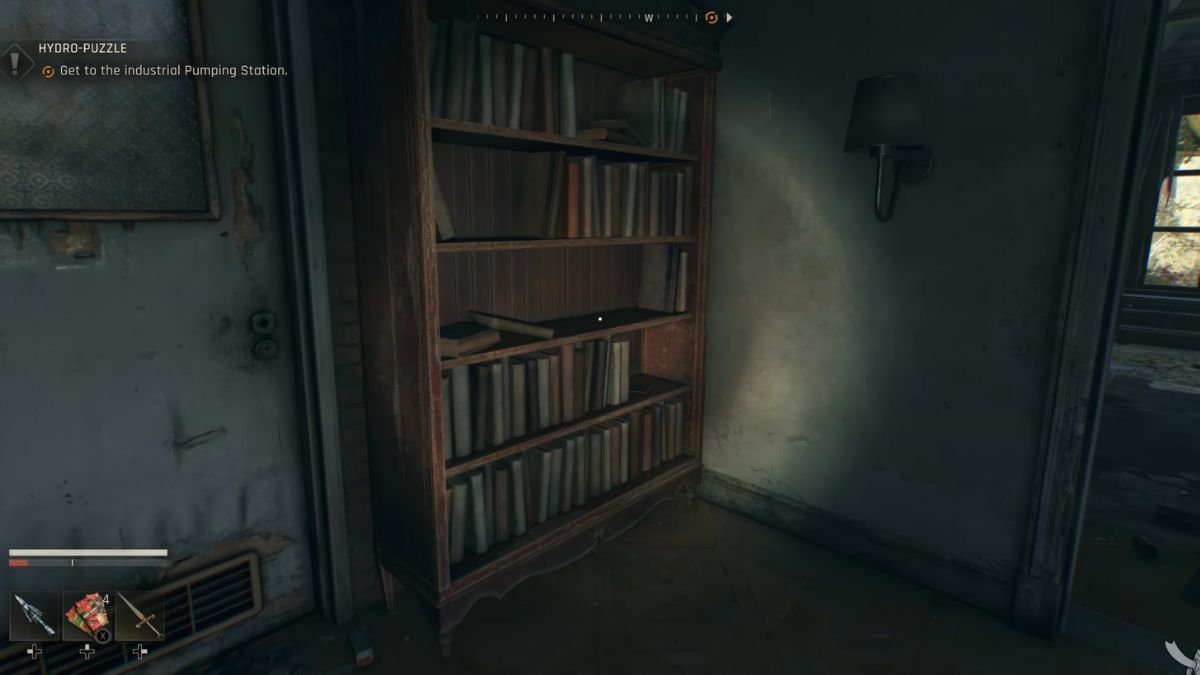
Head upstairs and investigate the first bookshelf on the left to find the second diary.
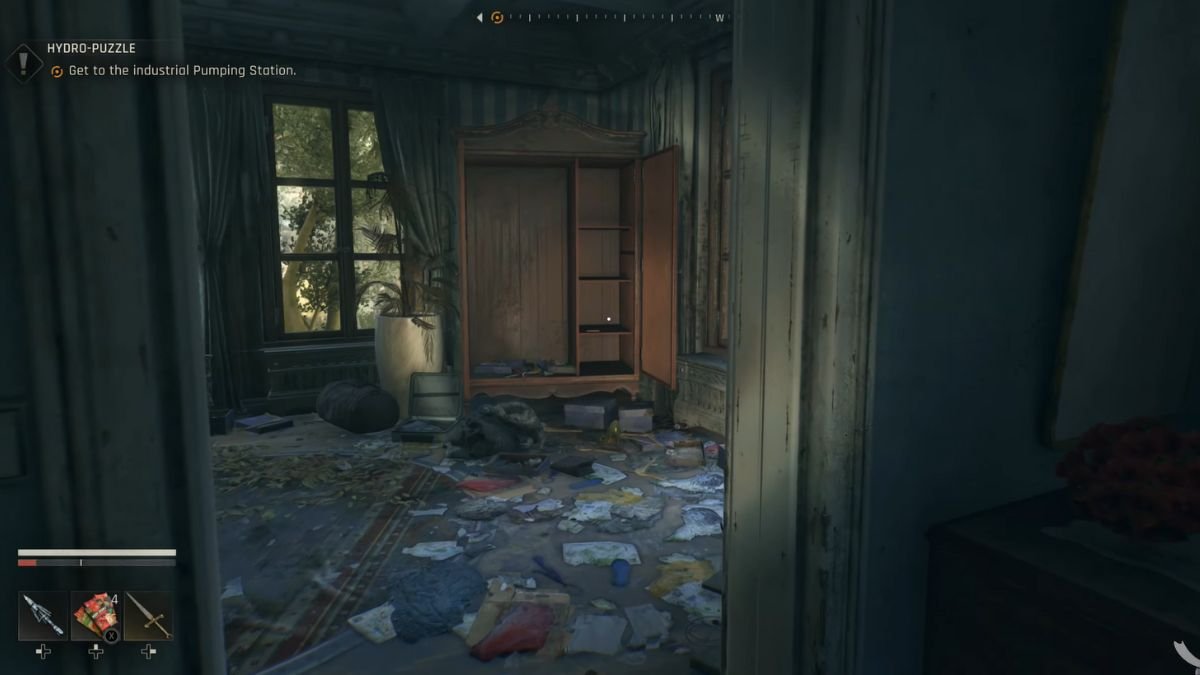
Enter the bedroom ahead and go through the doorway on the left. Investigate the wardrobe to find the final diary. Also pick up the second voice recording off the table in the same room.
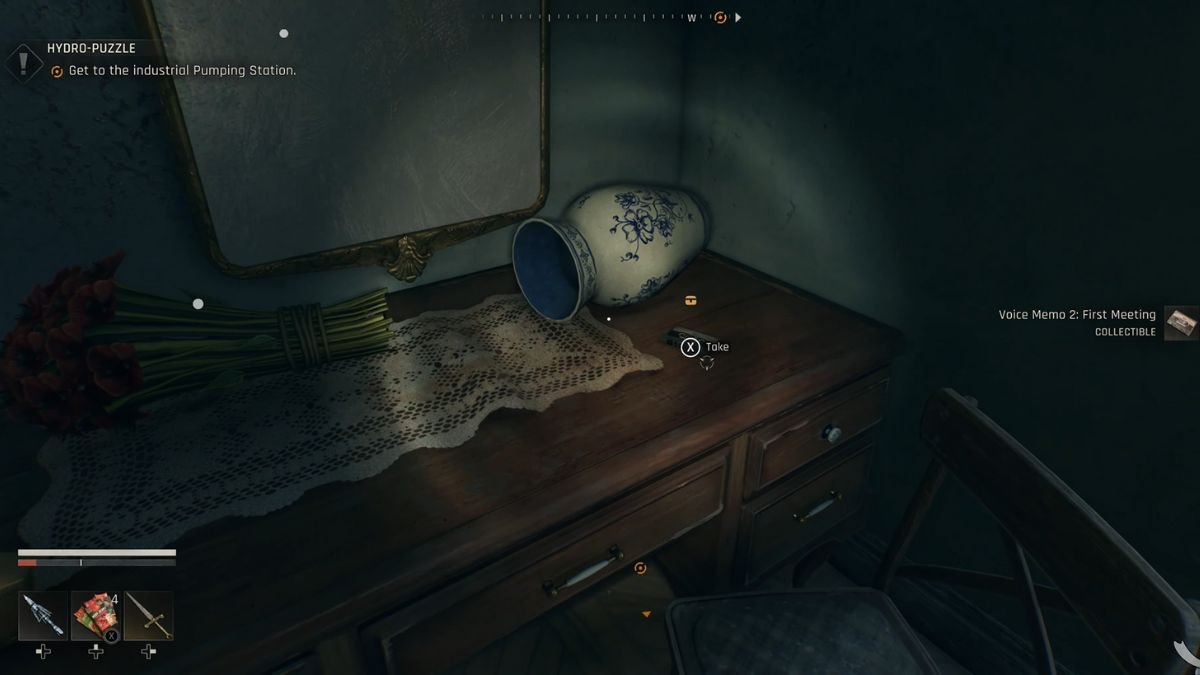
Exit out the storage room and back into the bedroom. Investigate the dresser on the west side to find the third voice recording.
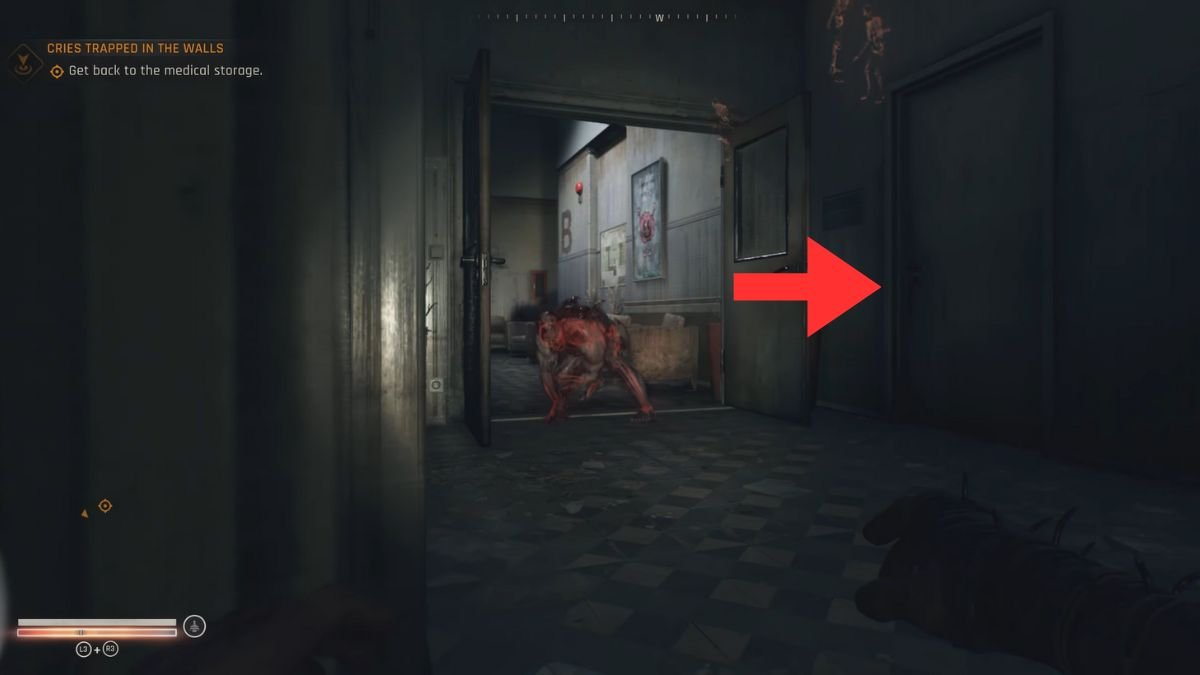
For the fourth and fifth voice recordings, enter the mental asylum. After collecting the dead doctor’s fingerprints from the ground floor of Block B, exit his cabin and enter the first door on the right side of the double doors. You will get the fourth and fifth voice recordings within this room.
All Asylum Patient Record Locations
While visiting the Asylum for the first time, as soon as the cutscene ends, investigate the shelf on the right to get the first patient record.
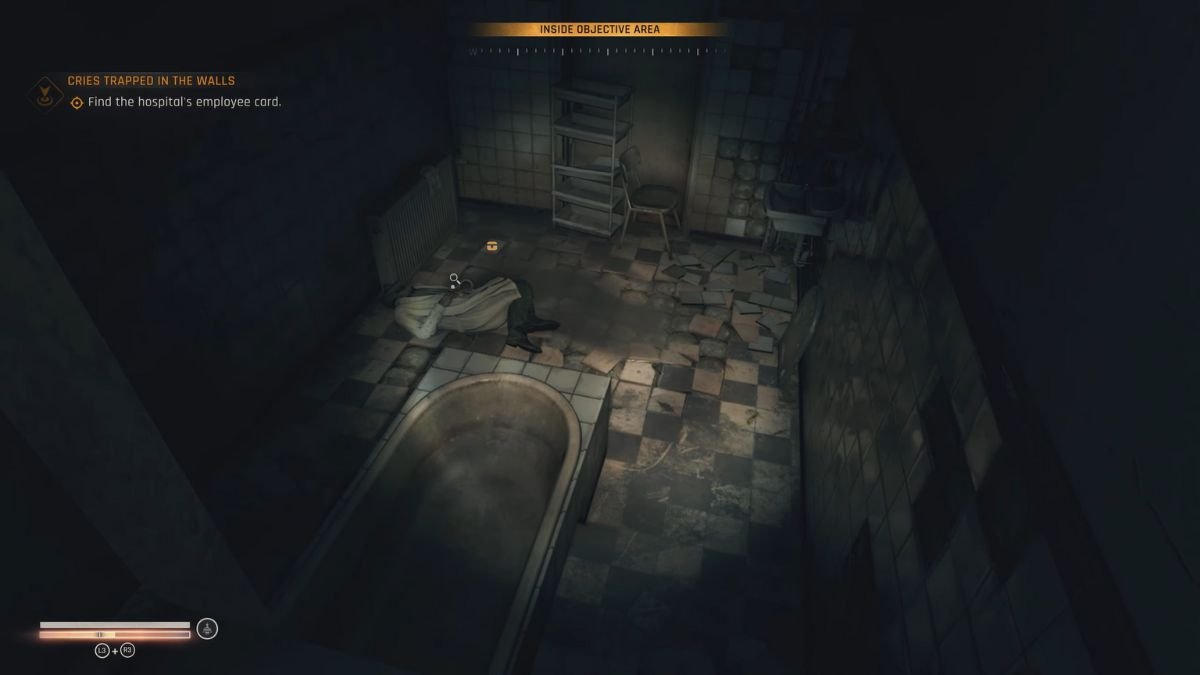
The second patient record is located inside the locked room with a dead employee. You will get to this point during the mission objective to Find the Hospital’s Employee Card.
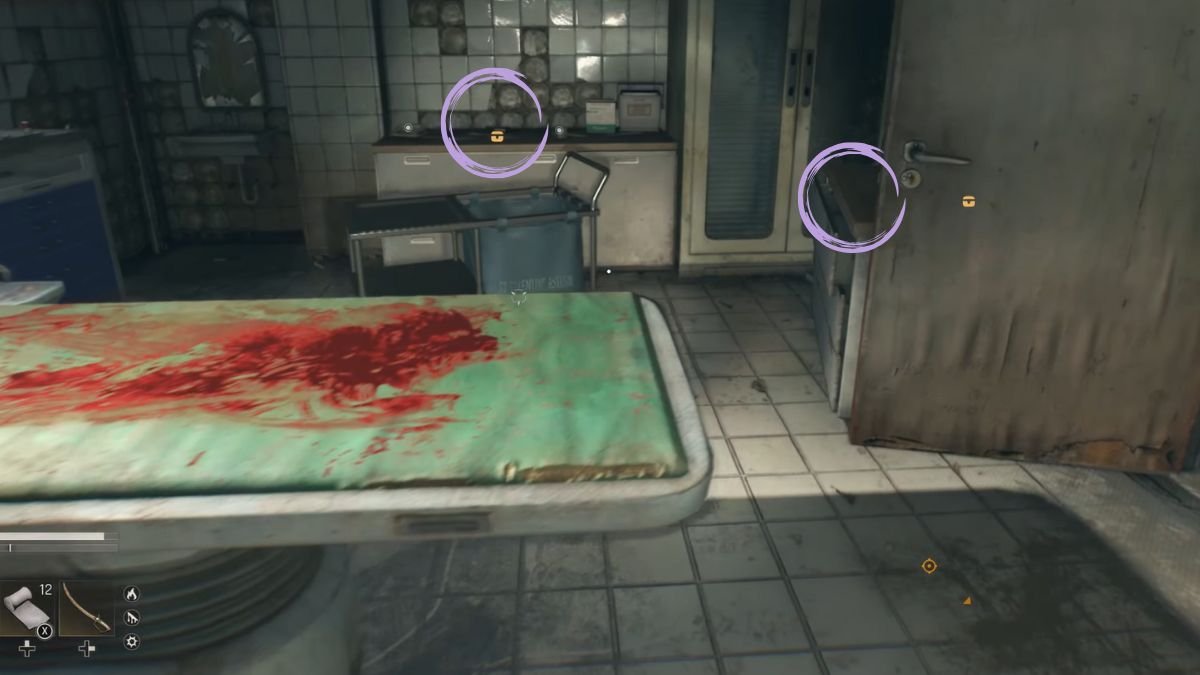
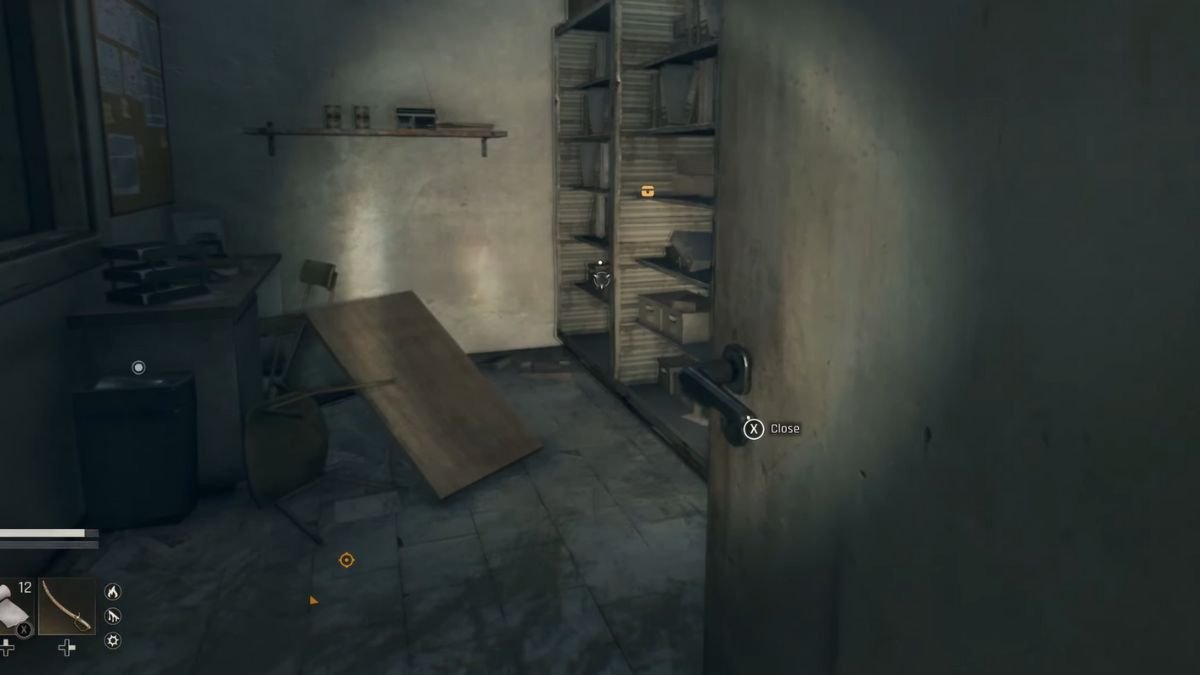
While completing the objective Find the Medical Storage in Block B, you will reach an operating theater. At the very back of the room, on the desk, is the third patient record. Also, you will get the fourth patient record in the same room, turn around, and investigate the second desk behind the door to get it.
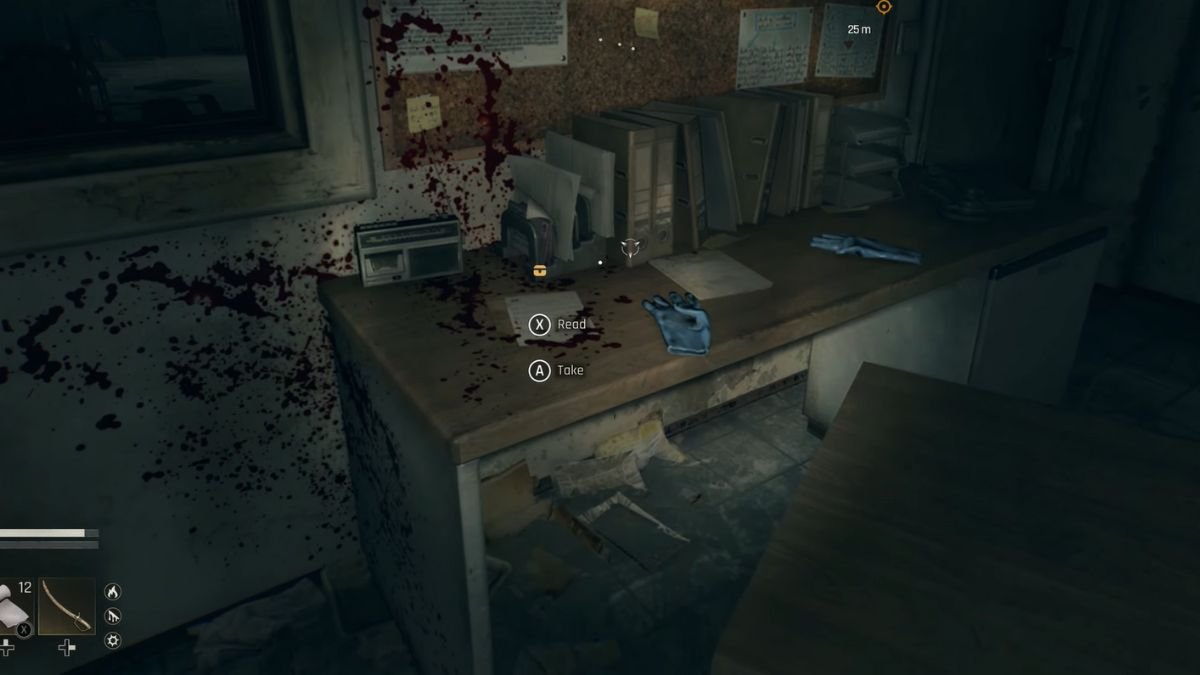
Exit the operating theater through the door beside the desk where you picked up the fourth patient record. Enter the doorway to Block B and go through the open window at the end of the passage. Head left and go through the second open window, then investigate the desk on the left side to find the fifth patient record.

If you have collected the doctor’s fingerprints, then use it to access the door within the same room. Inside this new room, on the desk, is the final sixth patient file.
After collecting all of the above collectibles, the Asylum trophy should unlock. In case the achievement is still locked, then try finding all 9 Baron’s Research Memo in Dying Light: The Beast; some players have reported this helping with the trophy completion.