

You will come across some of the most impressive puzzle designs in riddles in The Precinct. You must figure out the puzzle, extract the proper code, and then you can loot the safebox to get the artifact in the game. Here, we will take a look at all the locations to find the code, the safebox in The Precinct.
How To Get All 20 Artifacts In The Precinct
We listed out the addresses next to each artifact to help you find the location. The code will help you unlock the safebox without messing your head with the riddles.
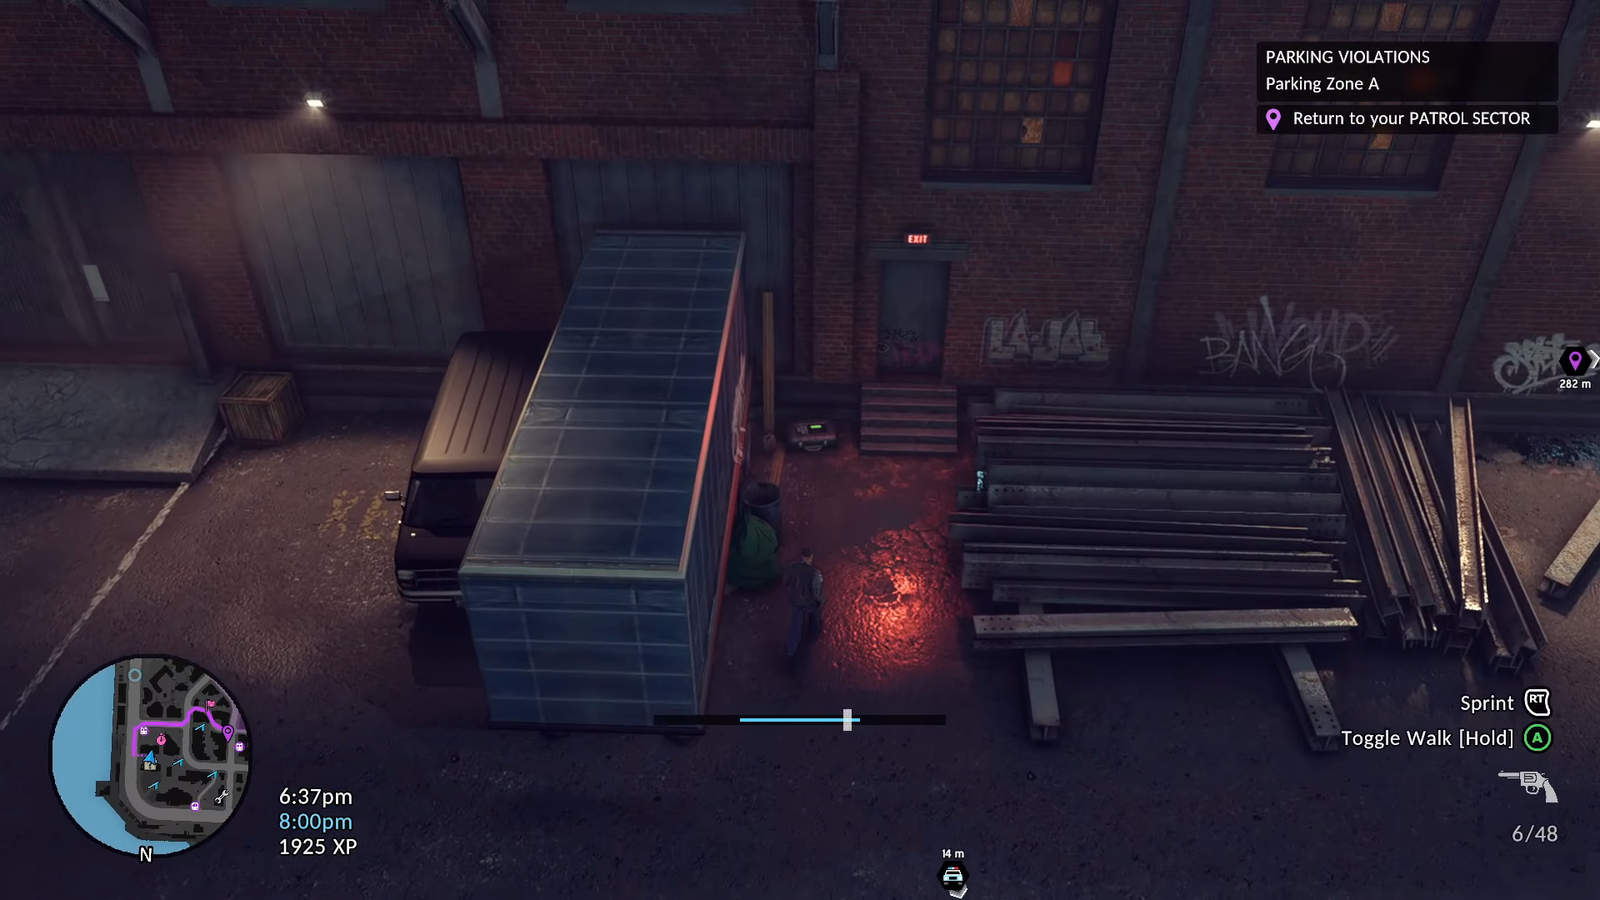
#1. Artifact | Mercer Heights
Code: 4321
- The artifact is part of the storyline quest. Head on over to Mercer Heights, make your way to the back of the bank. Check the graffiti on the wall next to the truck. You will get the passcode.
- Find the safebox next to the dumpster near the graffiti, input the passcode, and loot.
#2. Artifact | Brookhaven
Code: 1009
- Get to the house located southeast of Brookhaven. Check the map for the exact location. Find the clue in front of the red wall next to some garbage on the ground.
- Across the wall, you will find the safebox next to the staircase to the door with an Exit sign.
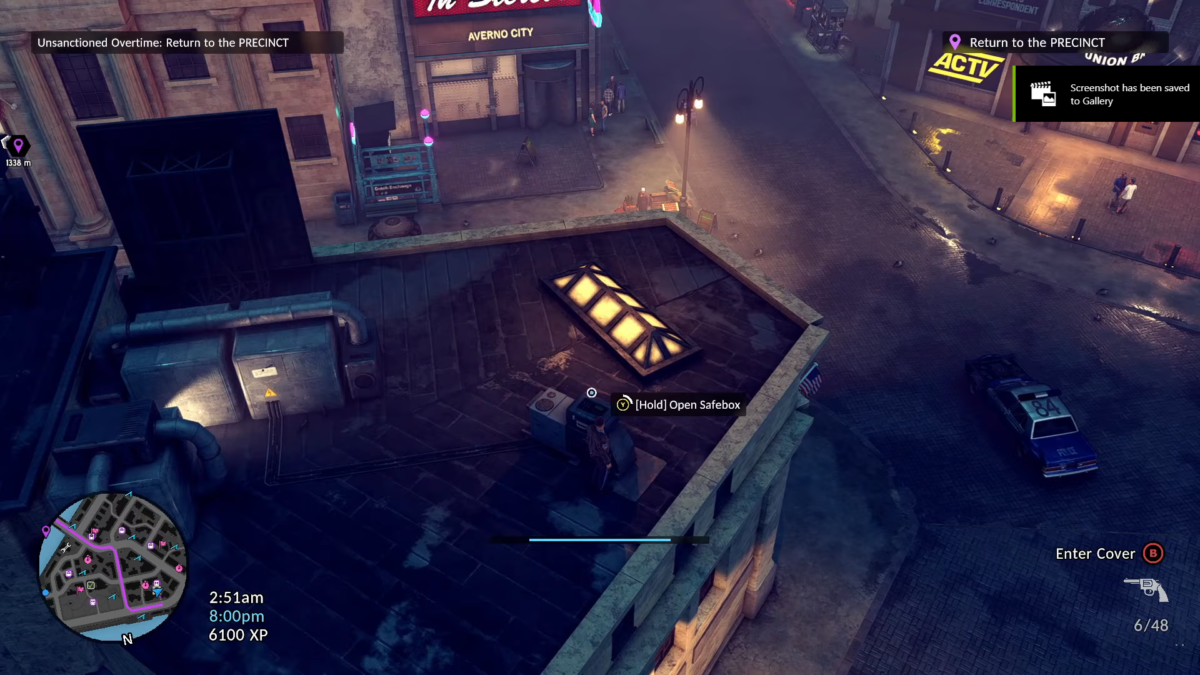
#3. Artifact | Chinatown
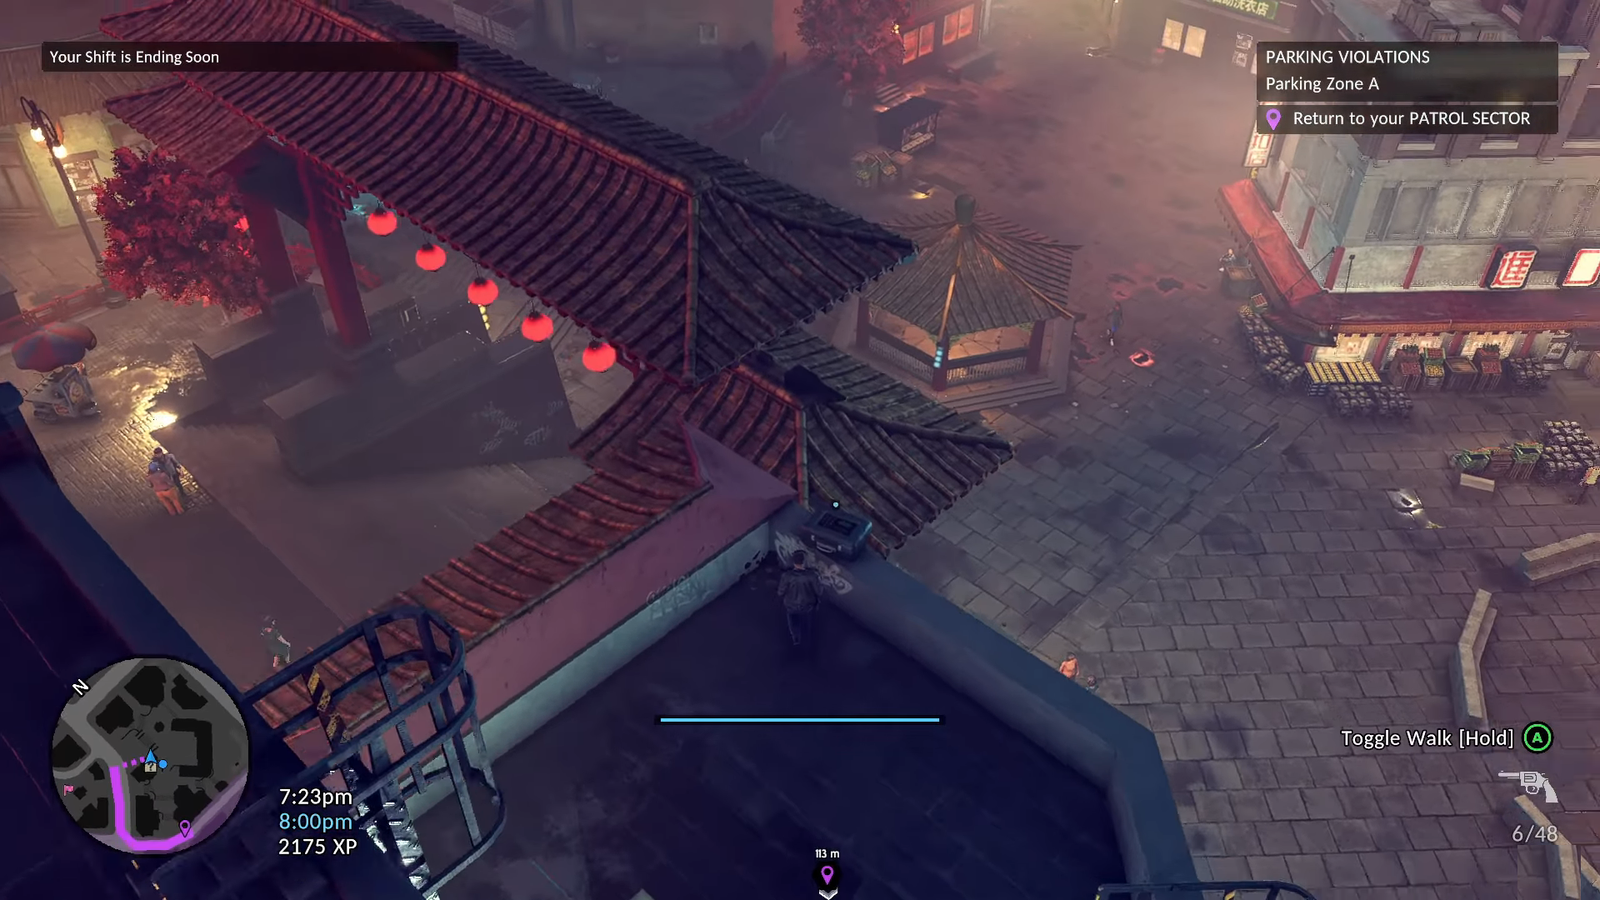
Code: 1525
- Get to Chinatown, find Chow’s Gems and Watches shop. You will find the shop by the stairs next to a tree.
- If you head over to the left of the shop, you will come across a ladder taking you to the rooftop.
- Here, under the air conditioning machines on the left, you will find the clue. And the safebox will be located on the edge of the roof to your right.
#4. Artifact| Slipwater Yard
Code: 3317
- Head to the location south of Slip Water Yard, the spot will be barricaded with white fences. Jump over the fence to get inside the area.
- Here, find the red truck by the street light, and you will find the code attached to the back of the truck. After getting the clue, check the left side of the truck to find the safebox.
#5. Artifact | Haddonfield Point

Code: 8241
- Once you are in Haddonfield Point, make your way to the fountain located next to the building. Here, check the tree to find the code and then make your way to the fountain to find the safebox next to it.
#6. Artifact | Springwood (South)
Code:1999
- Make your way to the southeast of Springwood, and you will come across an alleyway next to Paulie’s Glatt Kosher Meat Products. Head inside the alleyway, and you will find a ladder on the left wall.
- Climb the ladder to get to the rooftop, you will find the code next to the barrels by the stairs. The safebox is sitting on the air vents in front of the stairs.
#7. Artifact | Springwood (North)
Code: 1848
- Now we head to the northeast section of Springwood and enter the alleyway by the main road. Behind the building, you will find the code next to an enclosed dumpster.
- Directly left of the dumpster, you will find a safebox, neatly placed in the corner.
#8. Artifact | Litchfield
Code: 2020
- Head to the dirty alleyway, and you will find the note on a wall next to the fence area. Once you read the clue, enter the door to the fence area on the left, and you will find the safebox tucked behind the two stacked boxes.
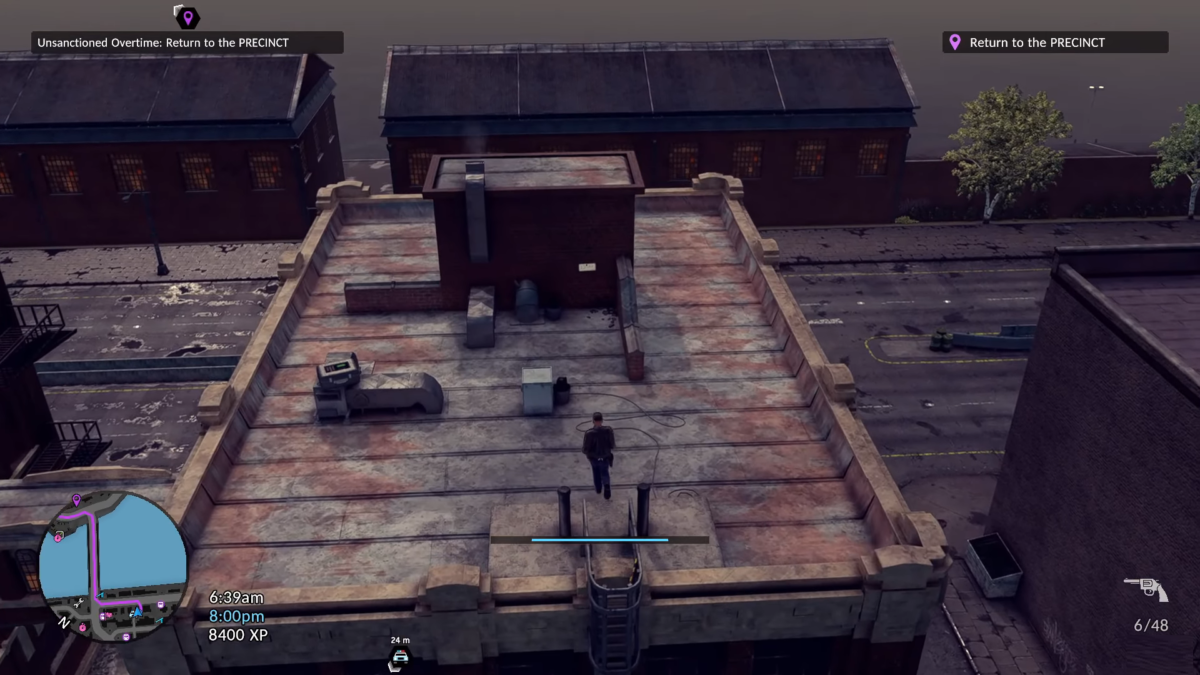
#9. Artifact | Ramona
Code: 1122
- Get to the middle of Ramona, and you will find a blue container next to a house with a ladder. On the container, you will see a note stuck on it. Read the note and climb the ladder to the rooftops. You will find the safebox sitting on the vent.
#10. Artifact | Lacoima Bay
Code: 1316
- Head to the west region of Lacoima Bay, and you will come across plenty of trailers parked next to the fence. You need to be on the lookout for a blue trailer amongst the white ones, and the back of the trailer will have the code note.
- After the code reading, head left of the white trailer parked next to the blue trailer, and you will find the safebox left of the white trailer.
#11. Artifact | Lacoima Bridge
Code: 2300
- Get to the northeastern side of the Lacoima Bridge or south of the Bayside Strip. Here you will find an area guarded by a fence, open the door to get inside, and at the corner, you will find the code stuck to the wall.
- You will find the safebox just across the fence door, at the corner of the area.
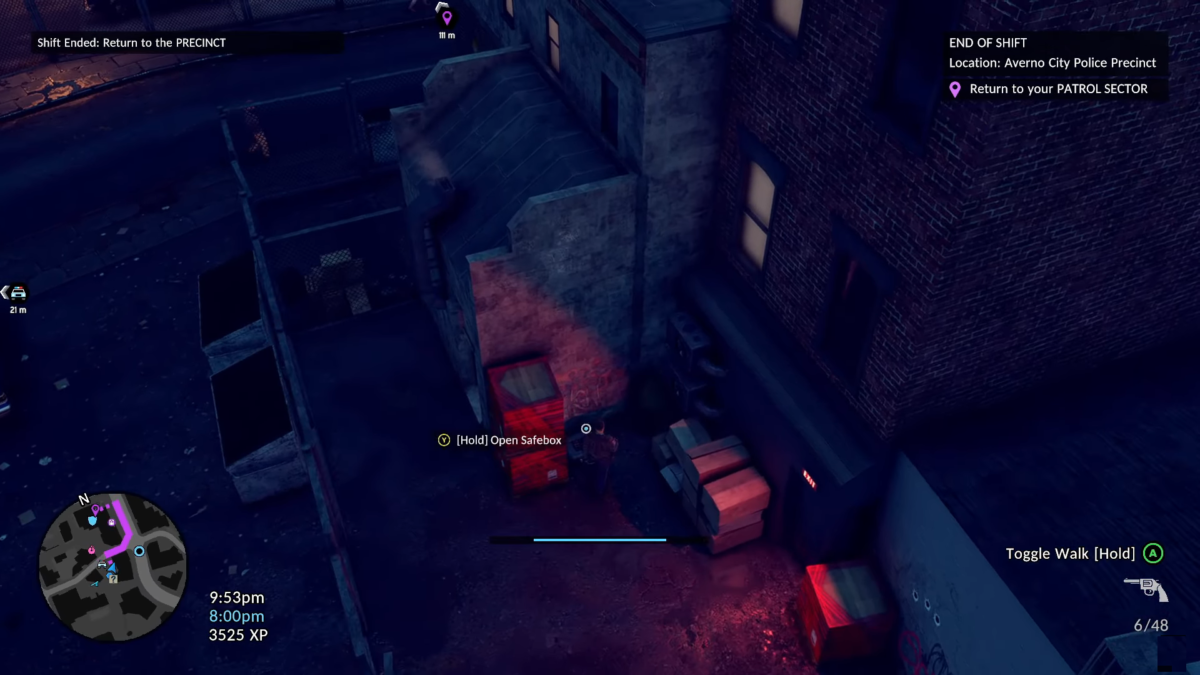
#12. Artifact | Bayside Strip
Code: 5432
- Head to the north of the Bayside Strip, now go to the back of the shop called Dutchies. Open the door, and you will find the code stuck to the wall on the left.
- After reading the code, you will find the safebox just to your right next to the red box.
#13. Artifact | Serenity Park
Code: 1978
- Get to Serenity Park, north of Lafayette, where you will find a note on the wall next to a steel pipe. Then head to the two dumpsters on the left, and you will find the safebox in the middle of them.
#14. Artifact | Dutch Exchange
Code:1230
- Make your way to the middle of Dutch Exchange, head to the newspaper stand under the streetlight, and you will find a ladder leading to the rooftop next to the shop.
- You will find the code stuck to one of the electrical generators on the left, and to your right, you will find the safebox sitting on the rooftop vent.
#15.Artifact | Carlito
Code: 1874
- Head on over to the southwestern region of Carlito, and you will find the note on a wall with the printing that reads “General Store”. After reading the clue, you will find the safebox next to a dumpster on the left of the note.
#16. Artifact | Jonasville
Code: 2467
- Head to the northern area of Jonasville, where you find a ladder next to the barricade. The ladder is hardly visible, as the side of the building doesn’t have any street lights covering it.
- Get to the rooftop via ladder, and you will find the code on the wall, right between two windows. After reading the clue, head to the safebox next to the water container.
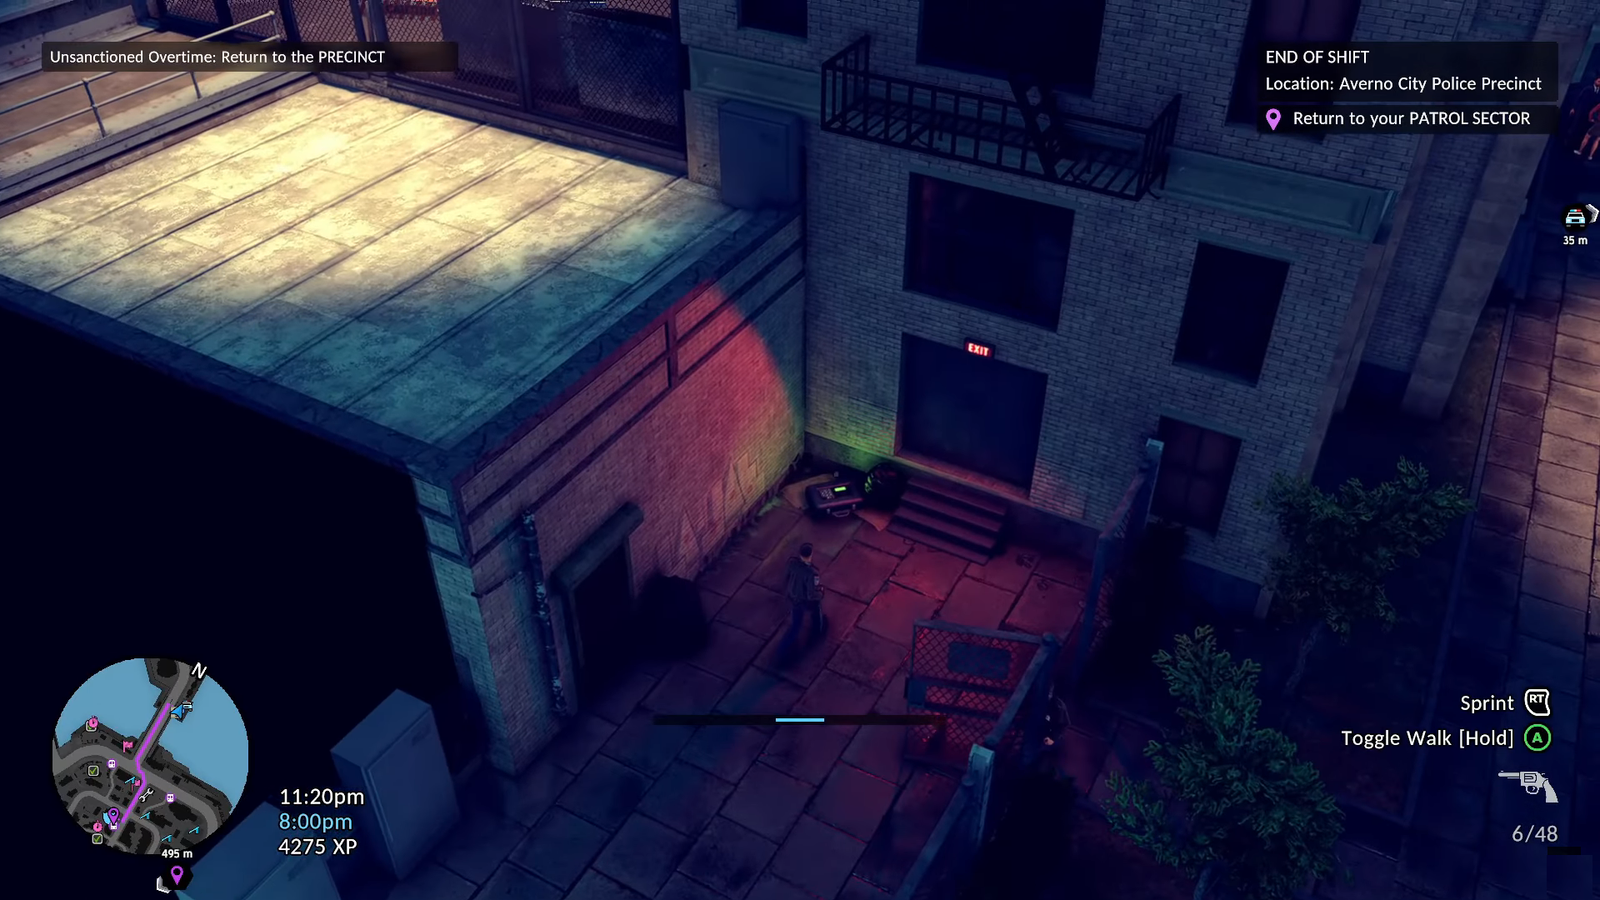
#17. Artifact | Warhurst
Code:9111
- Get to the southern region of Warhurst, where you will find the code on the wall next to a dumpster. After reading the clue, open the door on the fence next to it, and you will find the safebox in the corner to your left.
#18.Artifact | Carver Port
Code: 2421
- Head to the southeast area of Carver Port, where, under the large blue crane, you will find the code next to the container. You will find the safebox next to the code.
#19.Artifact | Boddicker Yard
Code: 1524
- Head to the middle of the Boddicker Yard, and you will find a ladder beyond the fence next to the dumpster. Take the ladder to the rooftop, you will find the code plastered on the wall straight across the ladder. After reading the clue, head to the safebox on the vent, left of the rooftop.
#20.Artifact | Little Italy
Code: 2580
- Get to the repair shop found southwest of Little Italy. Head to the roof of the repair shop via the ladder on the back side of the shop. Once you make it to the rooftops, you will find the code on one of the large steel vents. Then make it to the safebox next to the ladder.
As you approach the ending in The Precinct, there is a key choice that you have to make, that has a big role to play in how the game winds up for you. Check our guide if you want to be sure of the impact of the decision you make here.