

")
The quests in The Elder Scrolls IV: Oblivion Remastered are quite long and drawn out, but you will find several new gear and equipment to collect as you keep exploring the lands. If you have the game’s expansion and DLC, then you will have another set of unique quests to complete. There is a side quest called Wisdom of the Ages, where you get to solve several puzzles to help you locate the Shield of the Crusader. This guide will help you through the quest in Oblivion Remastered.
How To Complete Wisdom of the Ages Quest In Oblivion Remastered
The Wisdom of the Ages quest is part of the Priory of the Nine questline. You can start this quest after talking to Sir Henrik at the Priory of the Nine, and this settlement is located southeast of Skingrad. If you don’t have this questline unlocked, then you should check whether you have completed the prior quest, The Shrine of the Crusader. Once you have unlocked the Priory of the Nine, head over there and talk to Sir Amiel first to complete some challenges, after which you can talk to Sir Henrik for the Wisdom of the Ages quest.
Shield of the Crusader Location
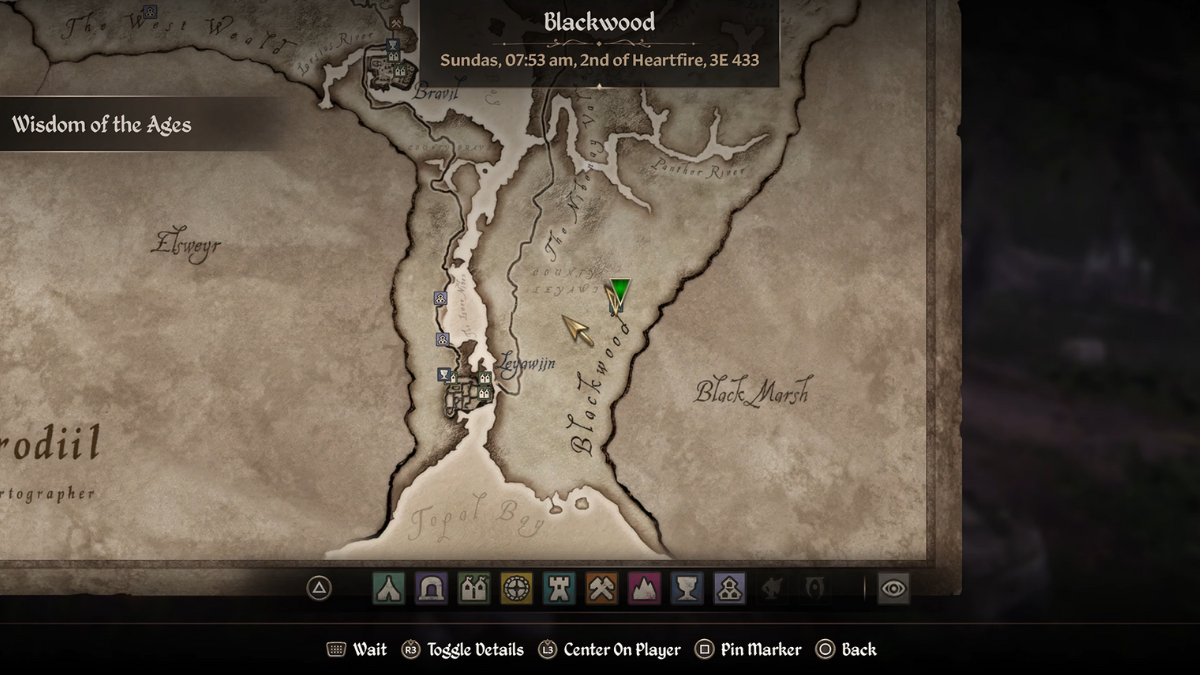
Talking to Sir Henrik will help you learn about the whereabouts of the Shield of the Crusader, which has been carefully stored away in Fort Bulwark. The Fort can be found in the Blackwood region, just explore the eastern section of Blackwood till you find the Old Wooden Door to Fort Bulwark. Once inside, you need to locate and solve three puzzles, which we will detail below.
Candle Puzzle Solution
Once inside the fort, make your way northwest to find a room with some conjurers. Defeat them, then investigate the table to find a note. The note will detail how to solve the Candle puzzle, plus you will also find a handle on the floor that you need to turn. After that, exit the room and head left to find another handle to turn.

Make your way down to the lower levels by following the candles being lit throughout the corridor. Cross the drawbridge once you reach the central location, after which you will find the candle puzzle. To solve the puzzle, if you have read the note, you will know that you need to step on the following plates.
- Left
- Middle
- Right
- Left
Statue Puzzle Solution
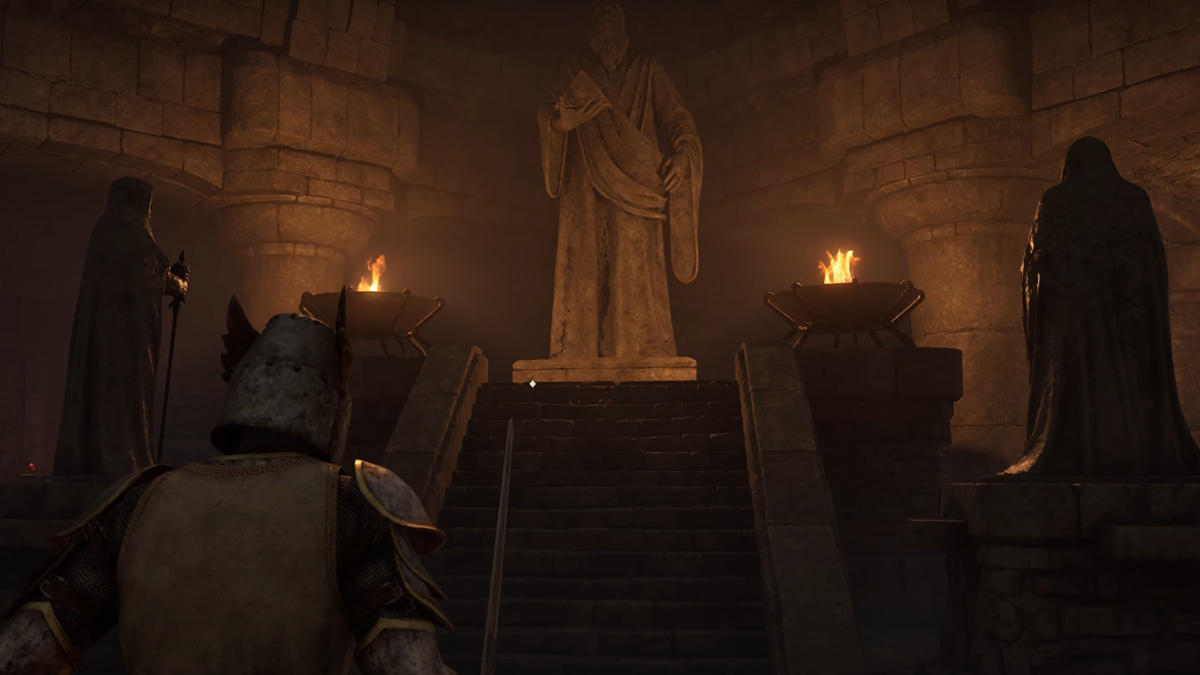
Keep exploring Fort Bulwark till you reach the second section. Over here, you will find Sir Thedret trapped in a cell. Use the handle to unlock the cell doors and free him, then head down the main doorway ahead. As you make your way through the fort, you will encounter a room with several statues. There is a circular sigil on the floor with a dead conjurer lying beside it, and your task here is to turn the handle at the base of each statue so they face the center of the floor. Doing so will unlock the next room, where you will find the last puzzle.
Chest Puzzle Solution
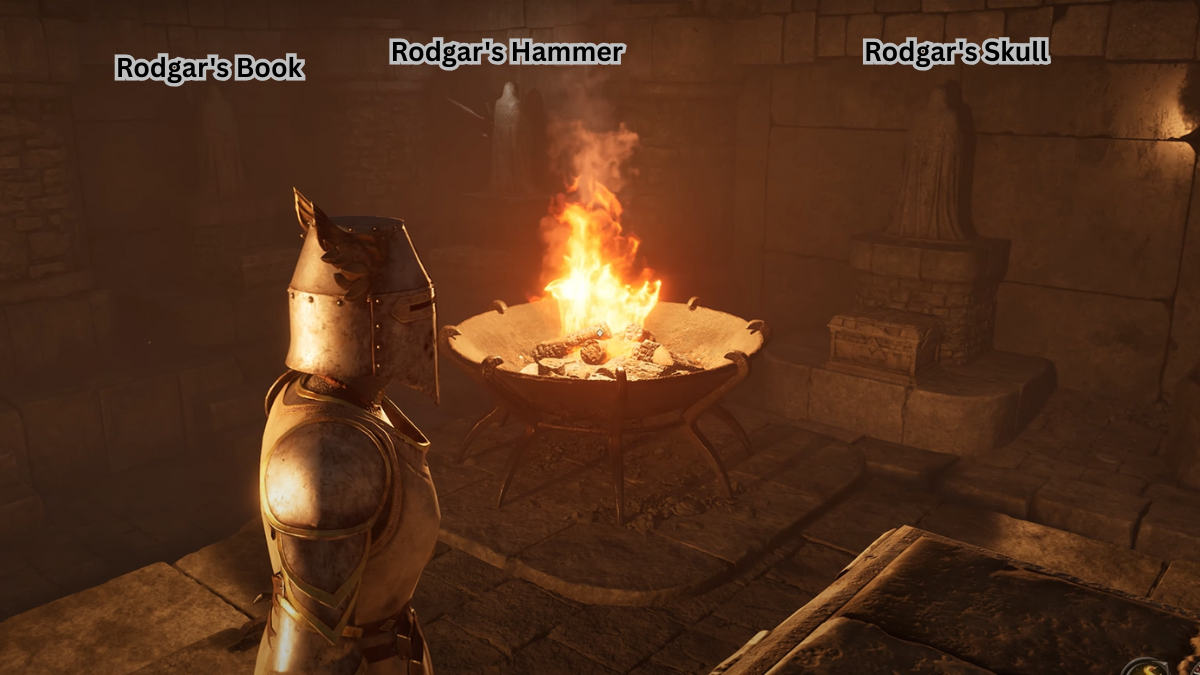
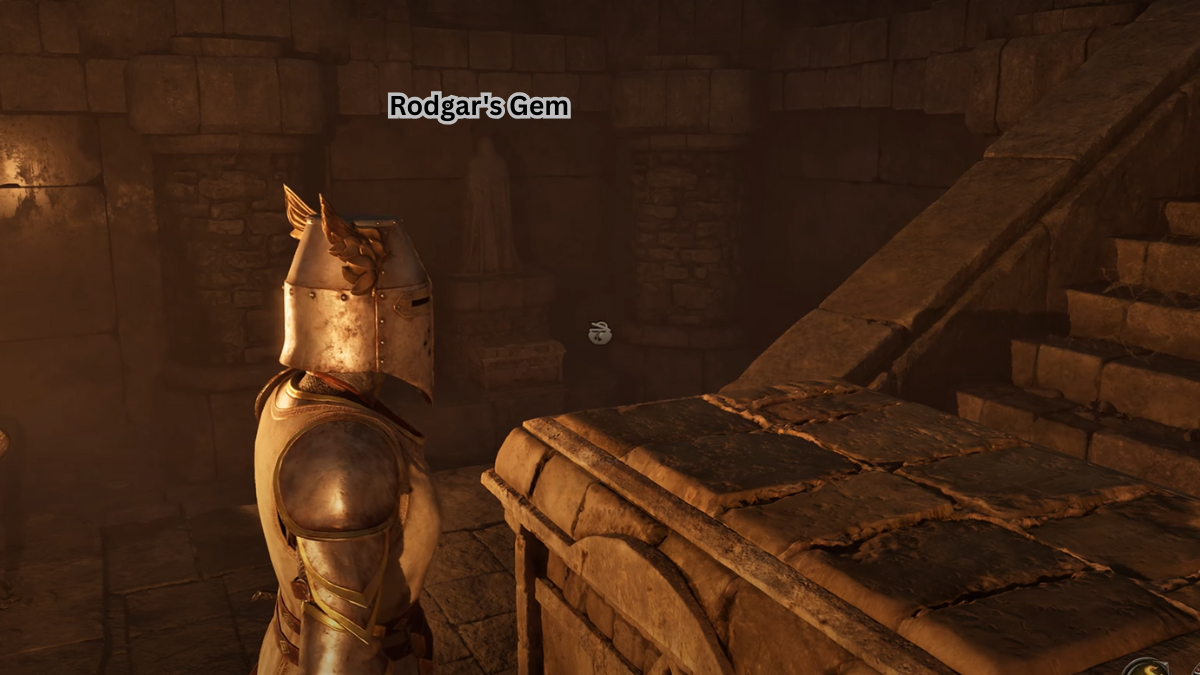
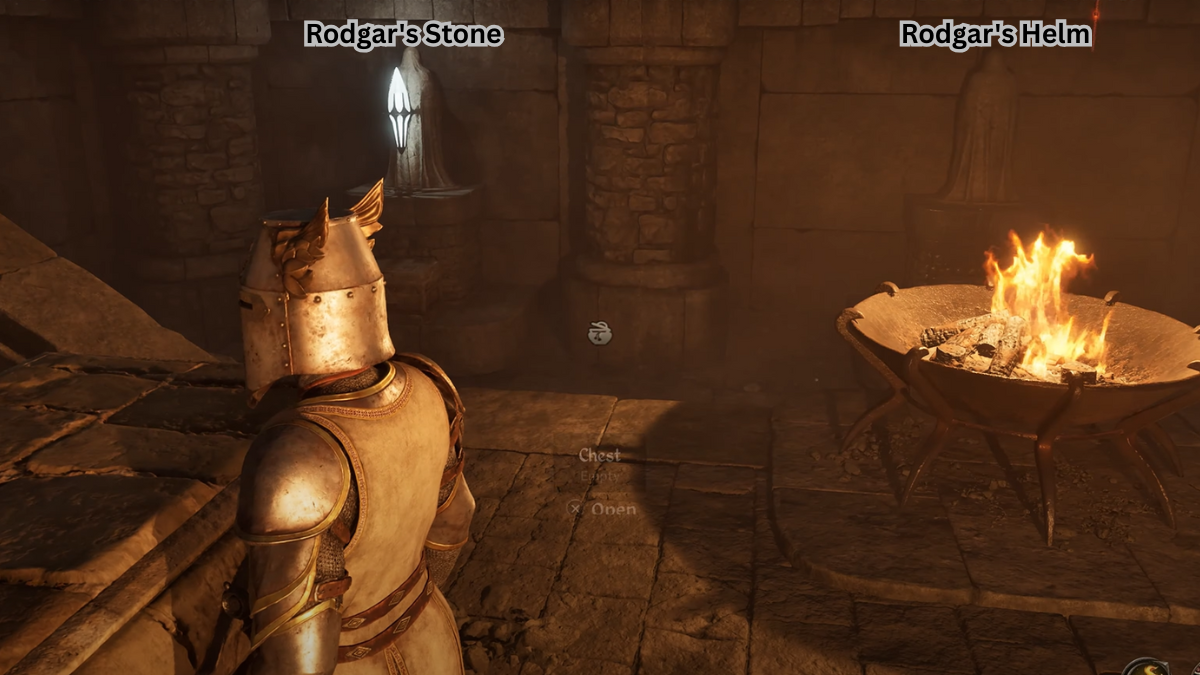
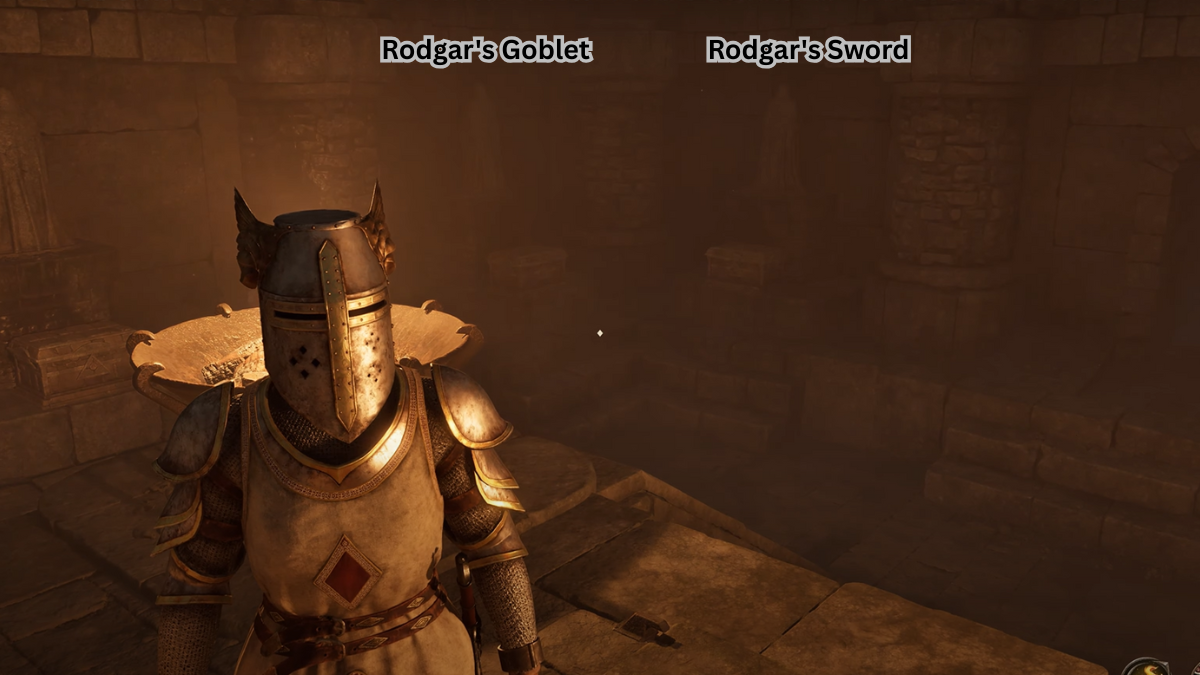
There are 8 statues in the room facing away from you, and at the base of each statue is a stone chest. The chests are empty, and it is up to you to put the correct item inside. At the center of the room is a larger golden chest, and in front of it is a platform. Step on the platform, and an item will spawn within the golden chest. Pick it up and look around the room, you will notice one of the statues will start glowing and they will have an image of an item in front of it.
Your goal here is to match the item retrieved from the golden chest and place it inside the stone chests that require this item. Just follow the steps below to solve the chest puzzle.
- Sometimes, especially at the start of the puzzle, you will receive random items from the golden chest, and these items will not correspond to the images in front of the statues.
- You can place these random items into random chests to make it disappear, after which you can step on the platform to have the golden chest spawn another item.
- If you do this several times, then the correct items will start appearing inside the golden chest.
- You also need to memorize the item images that appear on top of the smaller stone chests, so that you can place the correct items inside it.
- Solving this puzzle correctly will have the statue turn to the center of the room.
- If you are having a hard time, you can refer to the images below starting clockwise while facing away from the golden chest and facing the entrance of the room.
Completing the final puzzle will unlock the door behind the golden chest, which will lead you to the Shield of the Crusader, and picking it up will complete the Wisdom of the Ages quest. You can check out our other Oblivion Remastered quest guide on Find The Heir Quest to know more.