


Bethesda Games released an exciting Fallout 76 update that brings multiple new items and experiences to the game. The post-apocalyptic videogame will now have a feature called Raids, where you can earn amazing rewards by defeating powerful enemies. While expensive gear and weapons are not necessary to face these creatures, there are some strategies you can follow to bring them down without dying a million times. Here’s a guide to the Gleaming Depths Raid, covering all stages, bosses, and tips to conquer them with confidence.
Starting The Raid in Fallout 76
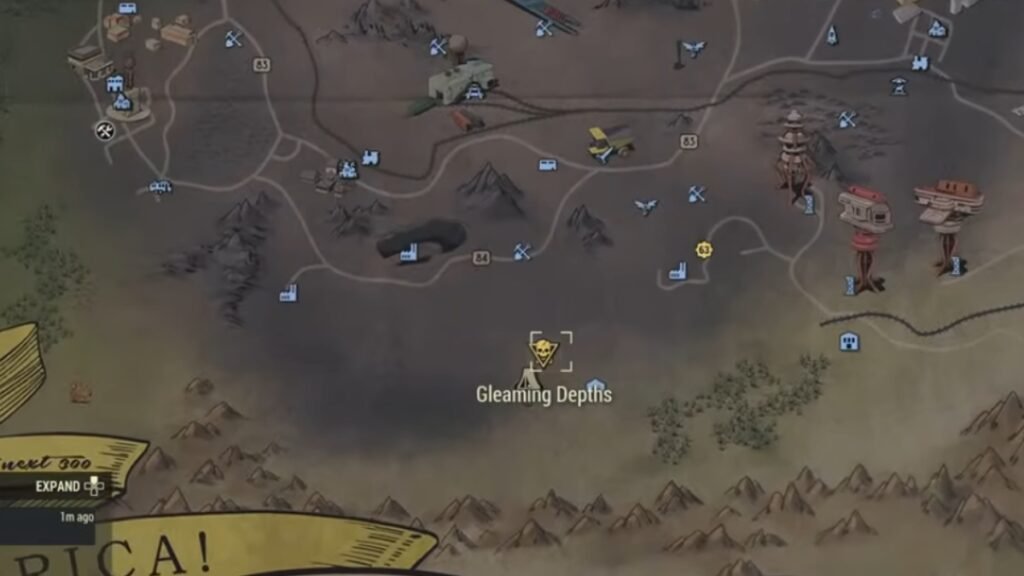
All you need to do to get the raid going is to walk into the danger sign in Gleaming Depths. This is a new area where there’s a cave surrounded by green crystals.
Raids are much better done as a team of 3 or 4. While you may be able to make it out alive of the first stage with a couple of players, the next ones will be tougher to complete. A good team composition is one with a Tank, some DPS players, and a Medic.
Being on a very high level is not necessary but the fights would be a bit easier if your level is more than 300. Try to gather a lot of ammunition, as the bosses here are very hard to kill. The same goes for any items that can for your health like Stimpaks & food. Although getting the Union Power Armor is not an easy task, having it can help you withstand the various enemies in the raid.
The weapons you choose to bring here depend on what kind of fighter you are, but generally, these are the weapons that can make the fights smoother:
- Holy Fire: Adequate penetration and durability, making it a good choice for attacking the bosses.
- Vampire’s Prime Gauss Minigun: Works well while moving around, giving you a chance to attack while moving to a safer area.
- Syringer: Can help damage the enemy’s health before they attack.
- Cold Shoulder: Useful while shooting the crystals in Stage 4 of the Raid.
Perks like Team Medic, Tenderizer, and Junk Shield are must-haves to last till the end stage of the raid. Once you have everything you need, you can head down into the cave.
Step 1: Fighting The Guardian
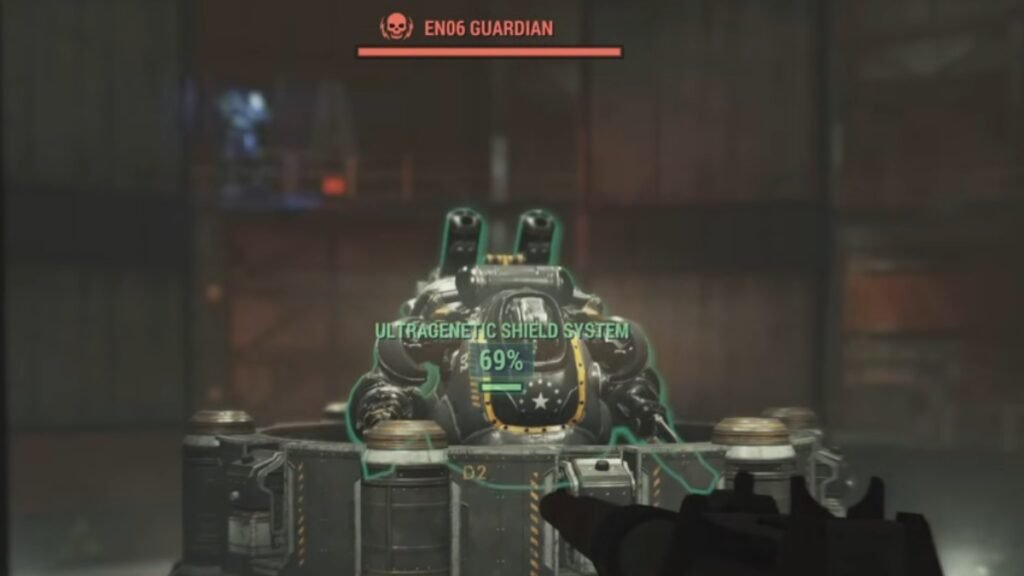
To start the fight with the ENO6 guardian, you’ll have to press the Red button near the platform. If you don’t have good armor, this robot can easily kill you in a few minutes.
Remember these tips while fighting the guardian:
- Try to aim at the Shield, and then go for the Torso.
- Take breaks or avoid direct hits from the guardian by hiding behind the pillars near the robot.
- Try not to stay in one place and keep moving around.
- Even once the Shield is down, the guardian can easily drain your health.
- Use the three rooms to save yourself from the attacks or the fire. These doors will close automatically so don’t stay in for too long.
Step 2: Tunnel Boring Drill
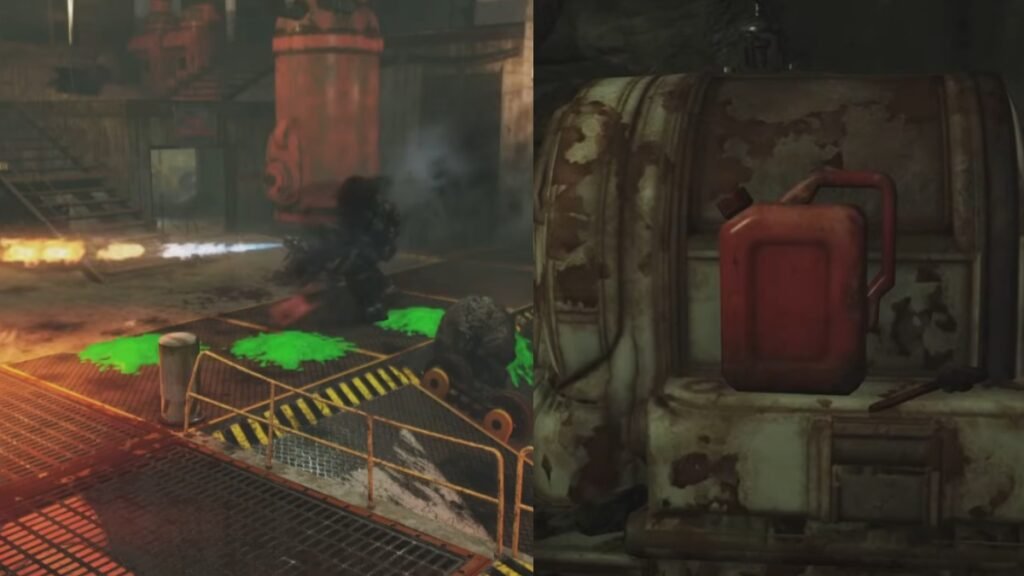
Fuelling the drill is a complicated stage that needs some teamwork to be successful. Here you’ll have to retrieve fuel for the drill, while also protecting the drill from being damaged by the mole miners.
Getting the fuel is not easy since you’ll be chased by Ultragenetic Mole Miners who are single-hit experts. They’ll patrol the area around the drill room but thankfully won’t be able to get inside it. The canisters can only be transported one at a time by each player, making the mission much harder.
The team should divide the work carefully, with some players staying behind at the drill room to attack the Mole Miners, while the others head outside to locate the canisters.
If there are fewer players, it’s better to get two or more canisters before one of you decides to protect the drill. That person can get the three canisters on the tracks as they are easy to find. Do not let the Mole Miners damage the drill since that will fail the mission.
The fuel canisters will be placed in the caves surrounding the drill room. Once you get one, bring it to the fuel deposit and keep repeating the process till you have enough fuel.
Step 3: Enclave Squad Epsilon Battle
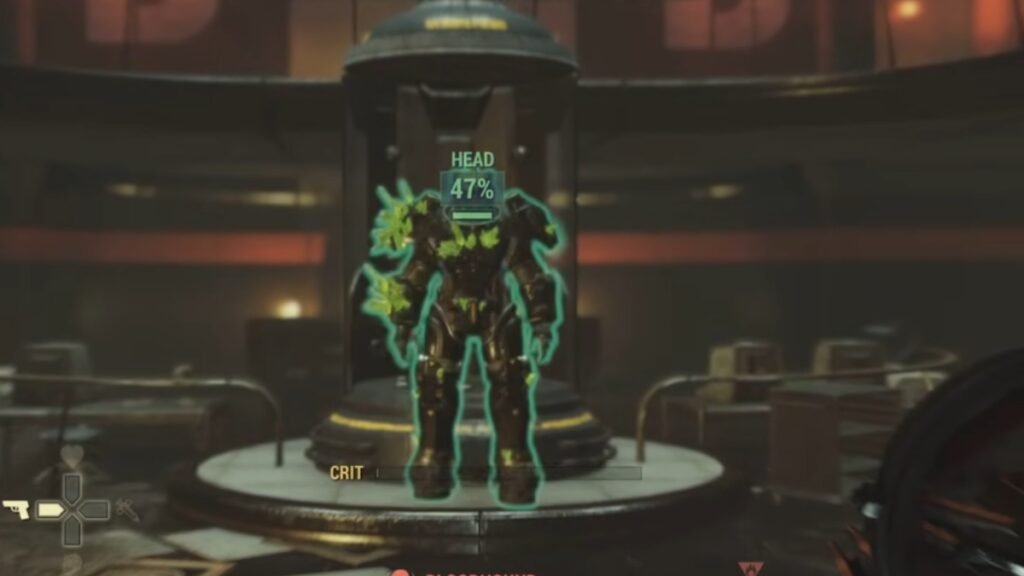
This stage involves killing three powerful soldiers: Lynx, Bloodhound, and Vulture. They are equipped with power armor and are very hard to damage, with each of them carrying a distinct yet deadly weapon on them.
- Each pod has a generator that you’ll have to break. Breaking all three generators is the only way you can damage the tanky soldiers.
- Eye bots will spawn and keep trying to fix the generators, so someone has to keep them away from the generators.
- Try to get rid of Lynx first as he can slow your team down.
- Anything involving Fire attacks is a good weapon choice as they deal enough damage on the soldiers.
- If any of the generators are on, identify them by looking at the color of the light above the letters. If it’s white, it means that the generator has been repaired.
Step 4: The Ultragenetic Horde
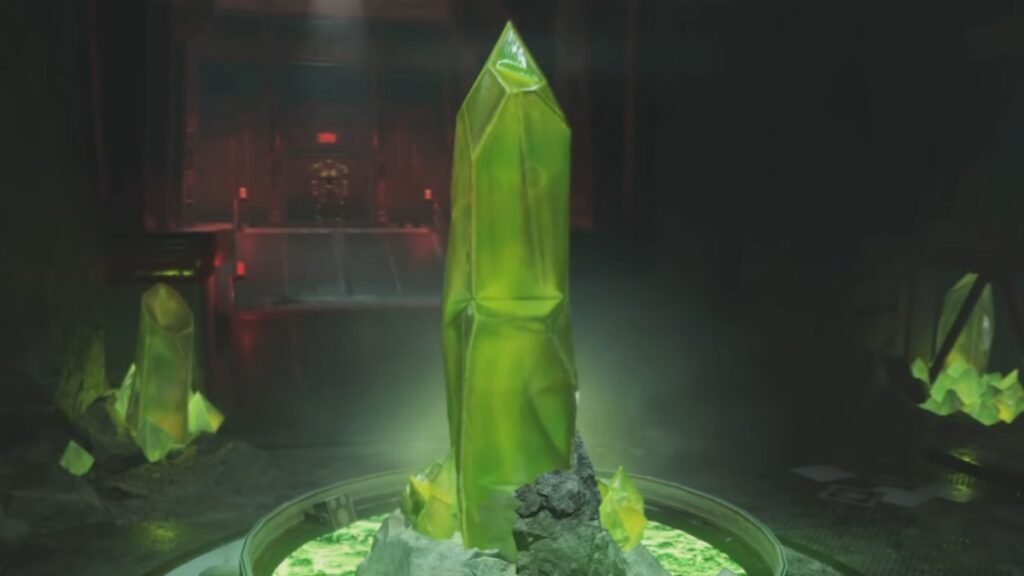
This stage involves using green crystals to damage enemies (direct hits won’t work). There are normal crystals, and also some huge, slightly more powerful crystals. Save the latter ones for stronger enemies. You’ll have to shoot at the crystals to release a gas that will poison the mole miners.
There’s an Ultragenetic Mole Miner that will come out from the right side of the room. Try to quickly deal damage by shooting the two crystals near it. Then use the bigger ones to damage it.
The crystals are limited in number. An efficient way to ensure you don’t use all powerful crystals at once is to lure many creatures under the huge crystals and then kill them together. Stay away from the green gas as being close to it can damage your health too.
That’s all there is to this stage, keep hitting the green crystals at the right time with two or more creatures near you. There’ll be a lot of ammo needed here since the crystals burst depending on the number of hits.
Step 5: Shooting The Ultracite Terror
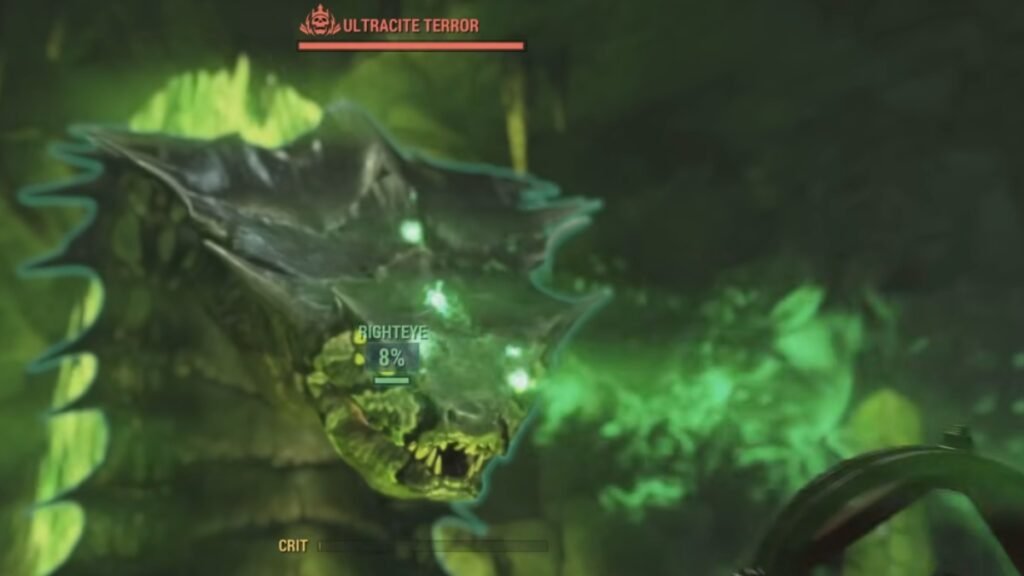
The last stage is where you’ll have to kill the Ultracite Terror, a huge snake with tons of health. The Funky Duds perk will be a great help while fighting this serpent. When you first enter the place, try to avoid the green lava as it will kill you.
The team should get to the island together as the lava can block the path once the first person gets to the island. After reaching the island, the Ultracite Terror will start attacking you. Iti s a good idea to target its weak points: The head and the eyes.
Get as many shots as you can on its eyes, as that’ll quickly drain its health. If the snake does a poison attack, quickly use Stimpaks to build your health. If you don’t have enough poison resist, try to avoid the attacks and stay away from the toxic puddles.
Ultracite Terror can also do a “screeching yell” that will push you off the island. To avoid falling, either keep running forward or jump toward the safer side. The snake has multiple tails and if it lifts them up, try to shoot it as it will prevent the island from getting destroyed.
Fallout 76 Raid Rewards
There is a chance for you to get legendary items after completing each stage. Some rewards that you can get include:
- Treasury Notes
- Legendary Modules
- Legendary Script
- Ammunition
- Magazines
- Mystery Bobbleheads
- Power Armor Parts
- Serums
- Chems
- Repair and Scrap kits
The chance of getting a 4-star Legendary Mod box or Vulcan power armor part is around 10%. There’s a 5% chance of getting the Drill Fist bits plan after completing the Tunnel drill stage. The third stage can reward you with Legendary Mod boxes, weapons or a weapon plan, Vulcan power armor parts, and Enclave Epsilon Squad Combat Armor Paint plan. The 4th stage can reward you with similar items but there’s a chance of getting the Ultracite Generator C.A.M.P Plan. There’s also plenty of XP you’ll get after completing the raid making it a worthwhile task in Fallout 76.