


Once you clear the Rainbow Mines, you’ll have to return to Ballymolloy, with the cure for Patrick’s father in hand. With his father back to health, you’ll be sent off to the ominous Tower that sits to the east of Ballymolloy, where the monsters’ leader supposedly hides.
While the Rainbow Mines is Dragon Quest VII Reimagined’s first dungeon, the Tower feels like the first proper challenge. You’ll need to grind a bit, manage your resources, and take on a hulking Golem to even make it inside.
Luckily, I’m here to help you every step of the way, so let’s get started!
Opening the Tower
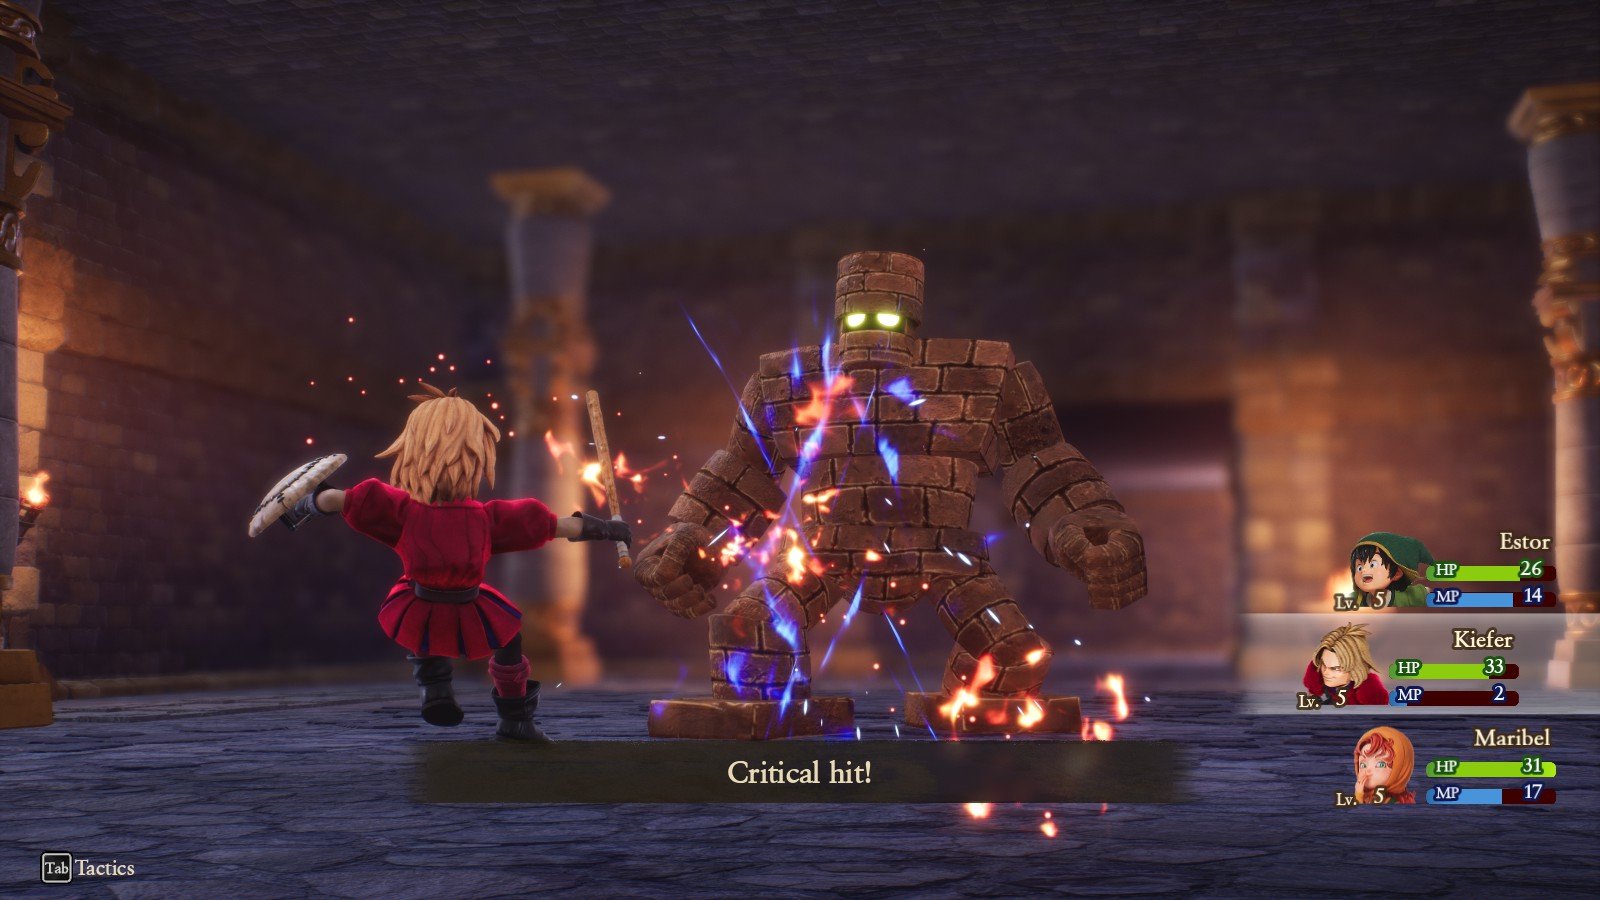
The first thing to do is meet back up with Patrick at the northwest end of Ballymolloy village. Now, to enter the tower, you need to defeat the guardian. This guardian comes in the form of a Golem blocking the second-story entrance.
Tips to defeat the Golem
- His high defense offers no protection from magic, focus on Maribel’s various spells to cut right through him.
- He has a weakness to fire attacks, so Kiefer’s Flame Slash and Maribel’s Frizz are great picks.
If you’re feeling a bit weak or don’t have those skills, the first floor can be used to grind without progressing up the Tower itself. With the Golem finally out of the way, begin climbing the Tower proper. Fair warning, though, it is absolutely teeming with monsters.
Ascending the Tower
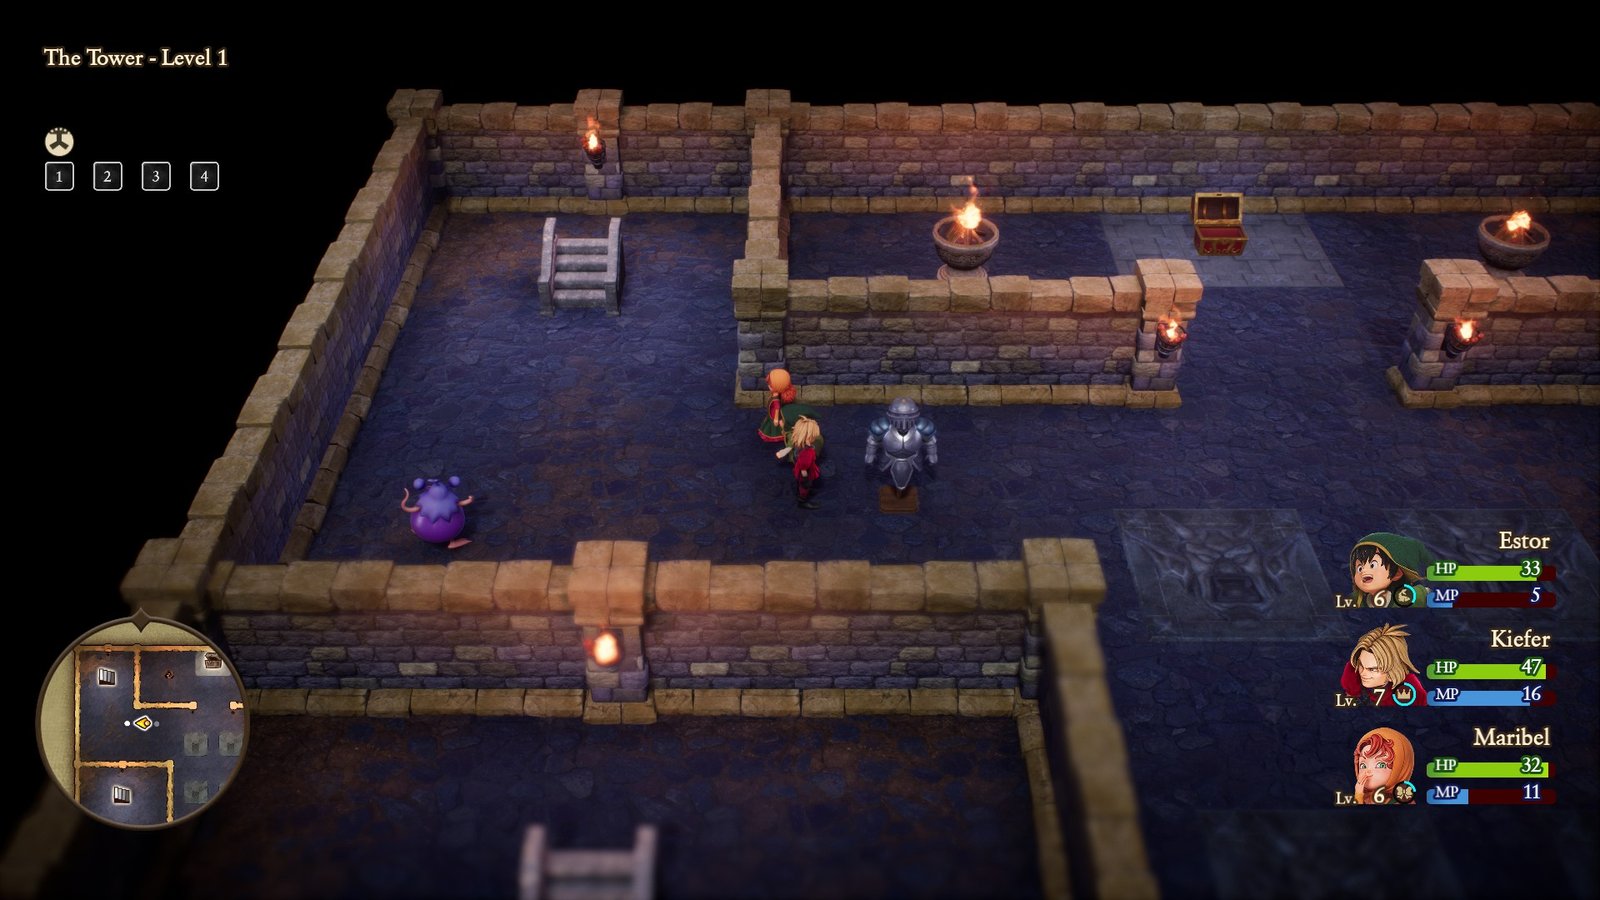
To find the master of the Tower, you’ll need to both ascend and descend at different points. Your goal is on the fourth floor, within a chamber that can only be accessed from a descending staircase.
Sticking to the right staircase will lead to a few chests, offering up some nice defensive upgrades for the upcoming fights. Most boss battles come with a full restore and save point right before them, so don’t be afraid to spend your MP to clear fights.
Once you’ve secured everything on the right side, head back down to the 2nd floor and now ascend the leftmost staircase. Each floor will have extra enemies, and moving between floors will respawn slain foes, so if you need to grind, you’ve got plenty of options.
Most enemies throughout the Tower share the Golem’s weakness to fire, with some notable exceptions. The cat wizards from floor 5 onward are weak to ice, so Maribel continues to prove useful.
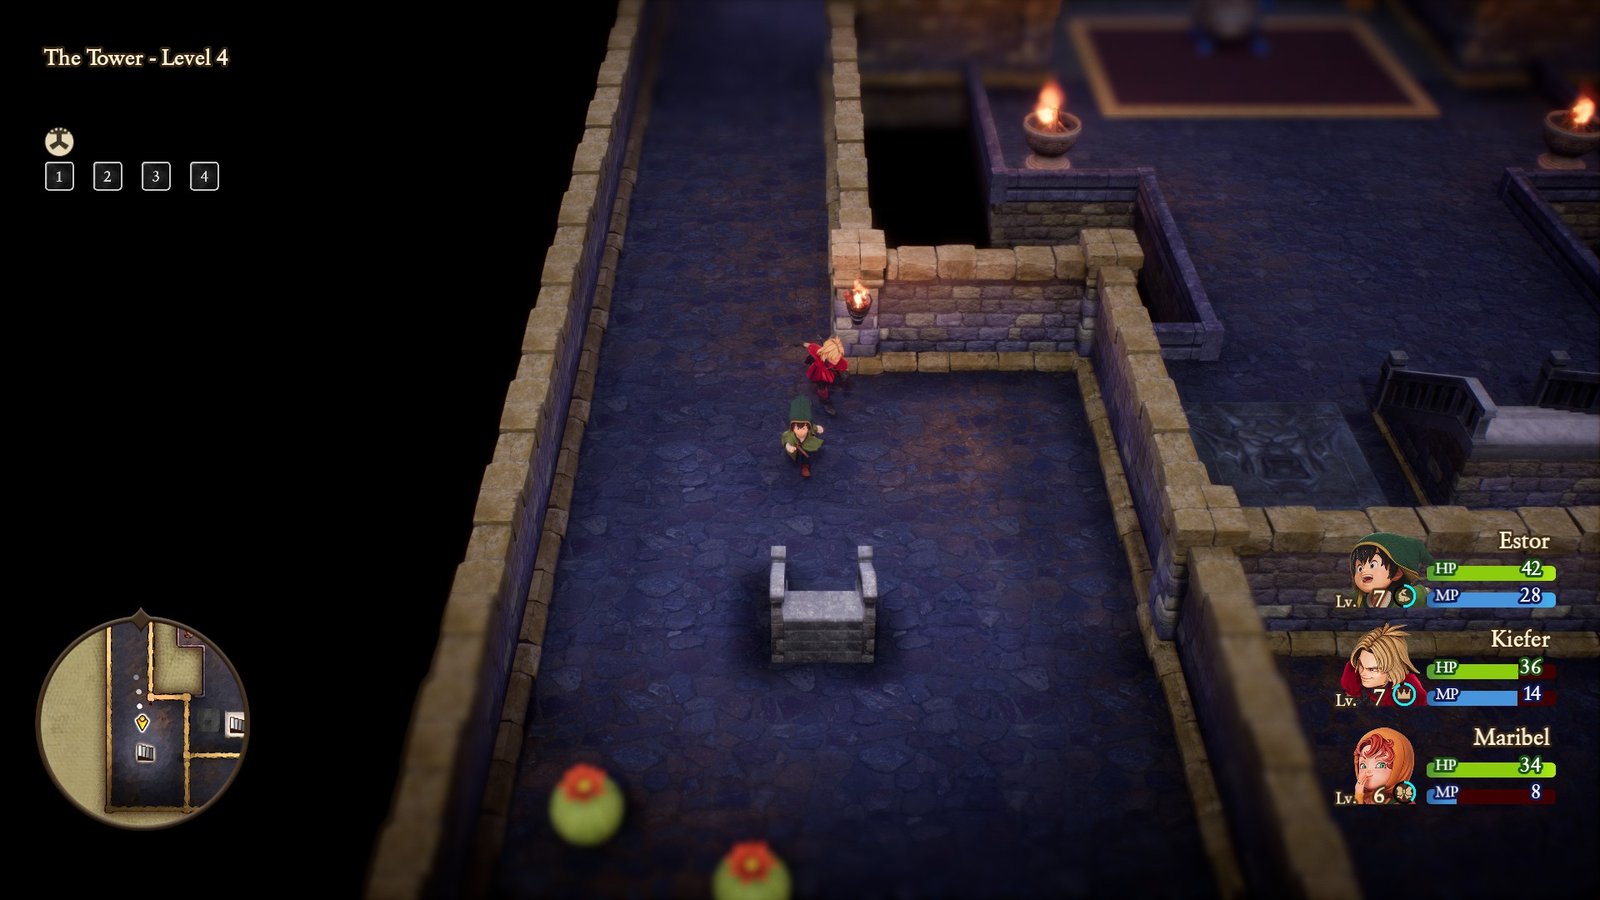
Continue climbing through the upward staircases on the left side of the Tower until you arrive at floor 6. On floor 6, stick to the south path, carving through foes until you find a staircase downwards.
You’ll enter the center room of the fifth floor, which you’ve been barred from, with a Red Tablet Fragment and a chest at the north of the room. Make sure to rest at the nearby statue to heal and save before heading down to the Tower’s boss.
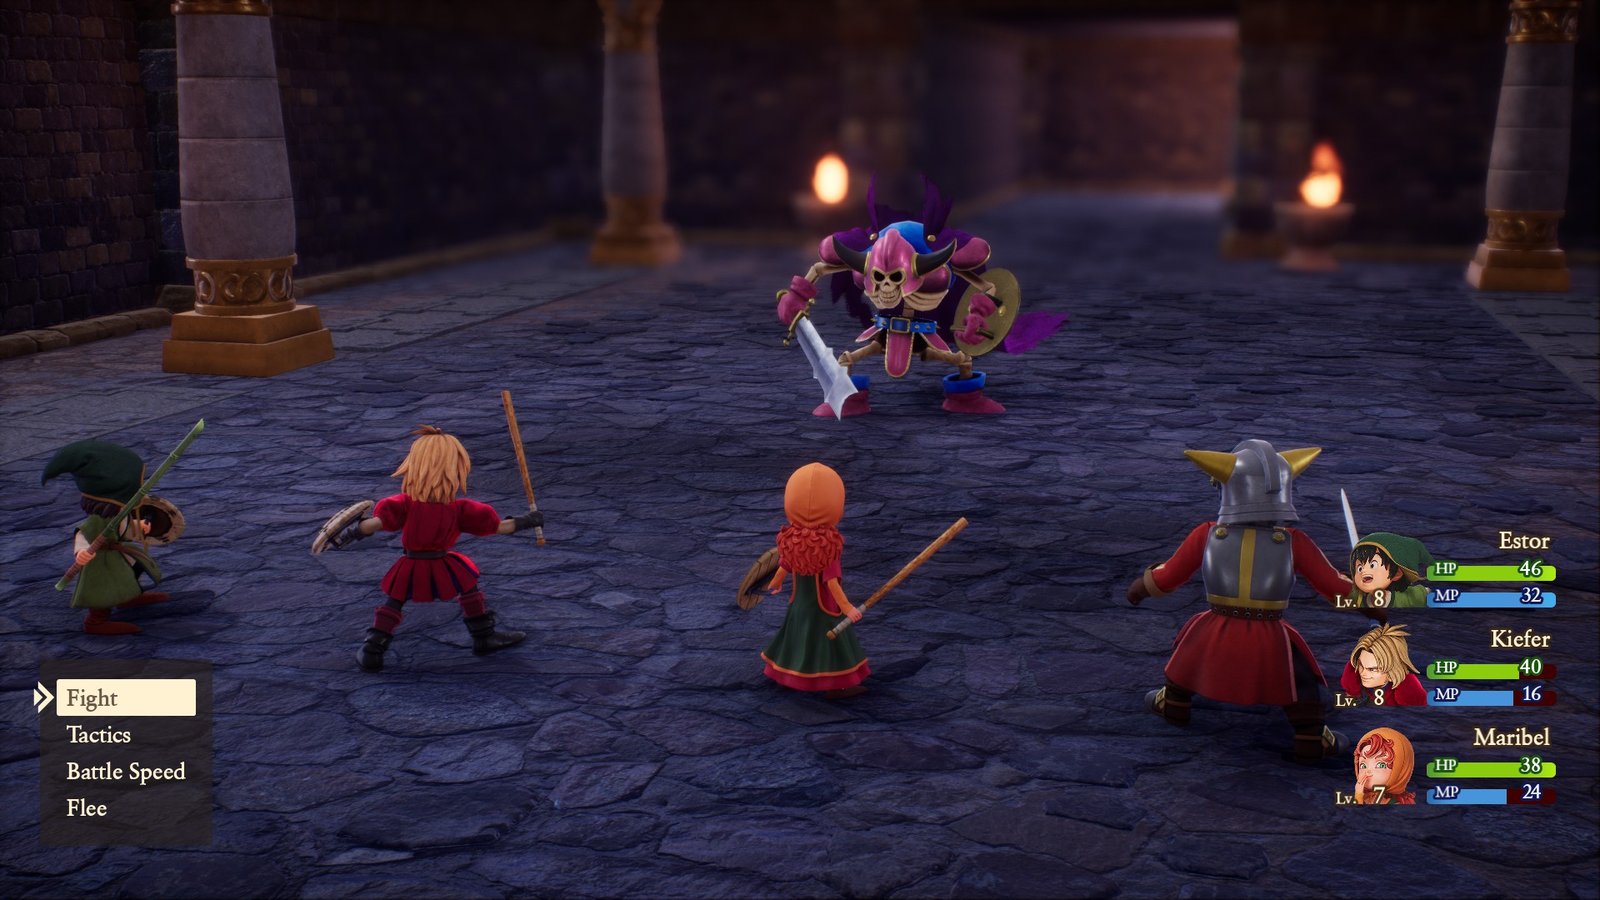
Double Feature – Crabble-Rouser and Maeve
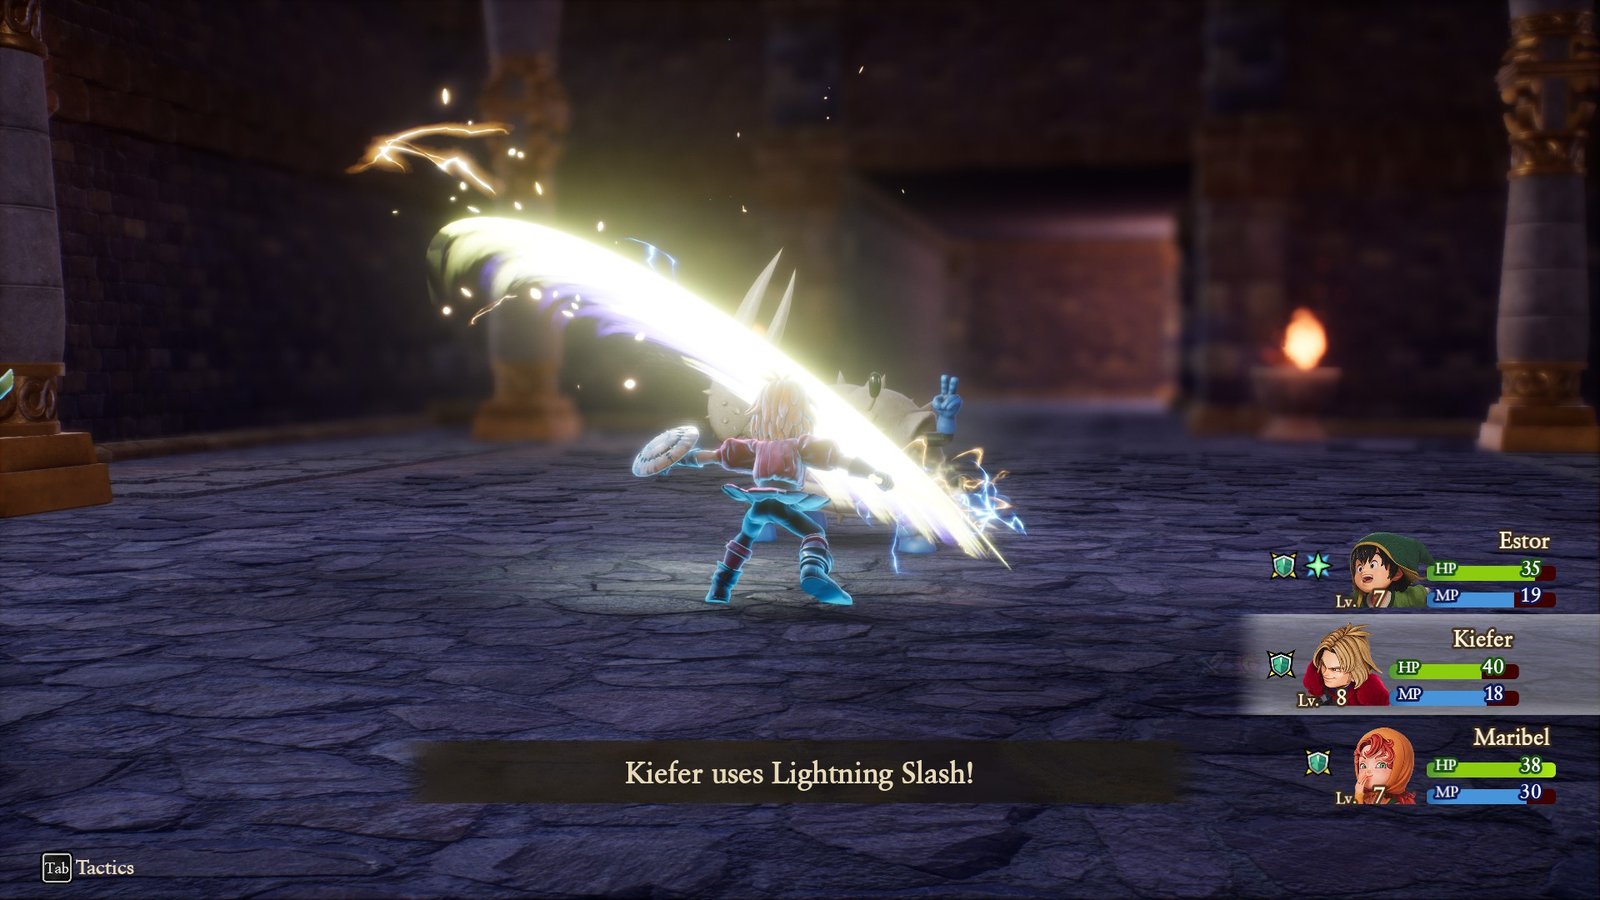
The Crabble-Rouser seems to be the leader of the monsters, working alongside Maeve. You’ll need to face them one after another, starting with the Crabble Rouser.
The Crabble-Rouser is a physical foe weak to Lightning damage. Luckily, if you’ve kept up with fights, Kiefer will have unlocked Lightning Slash from his Heir Apparent vocation.
- Keep Kiefer buffed through his Worked Up state and the Hero’s defensive Buff
- If you’ve grinded especially hard, Maribel may also have Heal. Otherwise, focus on using Hero’s turn to keep the team up through items or spells.
Survive the onslaught, and you’ll eventually cut through the Crabble-Rouser, followed immediately by a monstrous Maeve. Luckily, Patrick’s father joins the fight as an uncontrollable party member.
He deals decent damage, but your real focus will be on chipping her down with magic. This boss is largely passive, only throwing out a few weak attacks over the course of the fight. As long as you kept healthy during the Crabble-Rouser fight, you’ll be AOK.
Congratulations on clearing the Tower! All that’s left to do is to head back to Ballymolloy and check up on the town.