


Once Maribel joins the party, you’ll have access to the central room of the Shrine of Mysteries. Inside is a series of pedestals with stone fragments on them, similar to the Yellow Fragments you’ve been amassing.
You’ll be prompted to place these Fragments on a glowing pedestal, creating a tablet of an island. Once the tablet is complete, the party will be warped to the strange island of Ballymolloy, the perfect place to start an adventure.
I’ll be going over exactly how to progress through Ballymolloy, where to find some nice items, and how to solve every challenge that comes your way.
Maeve and Menacing Monsters
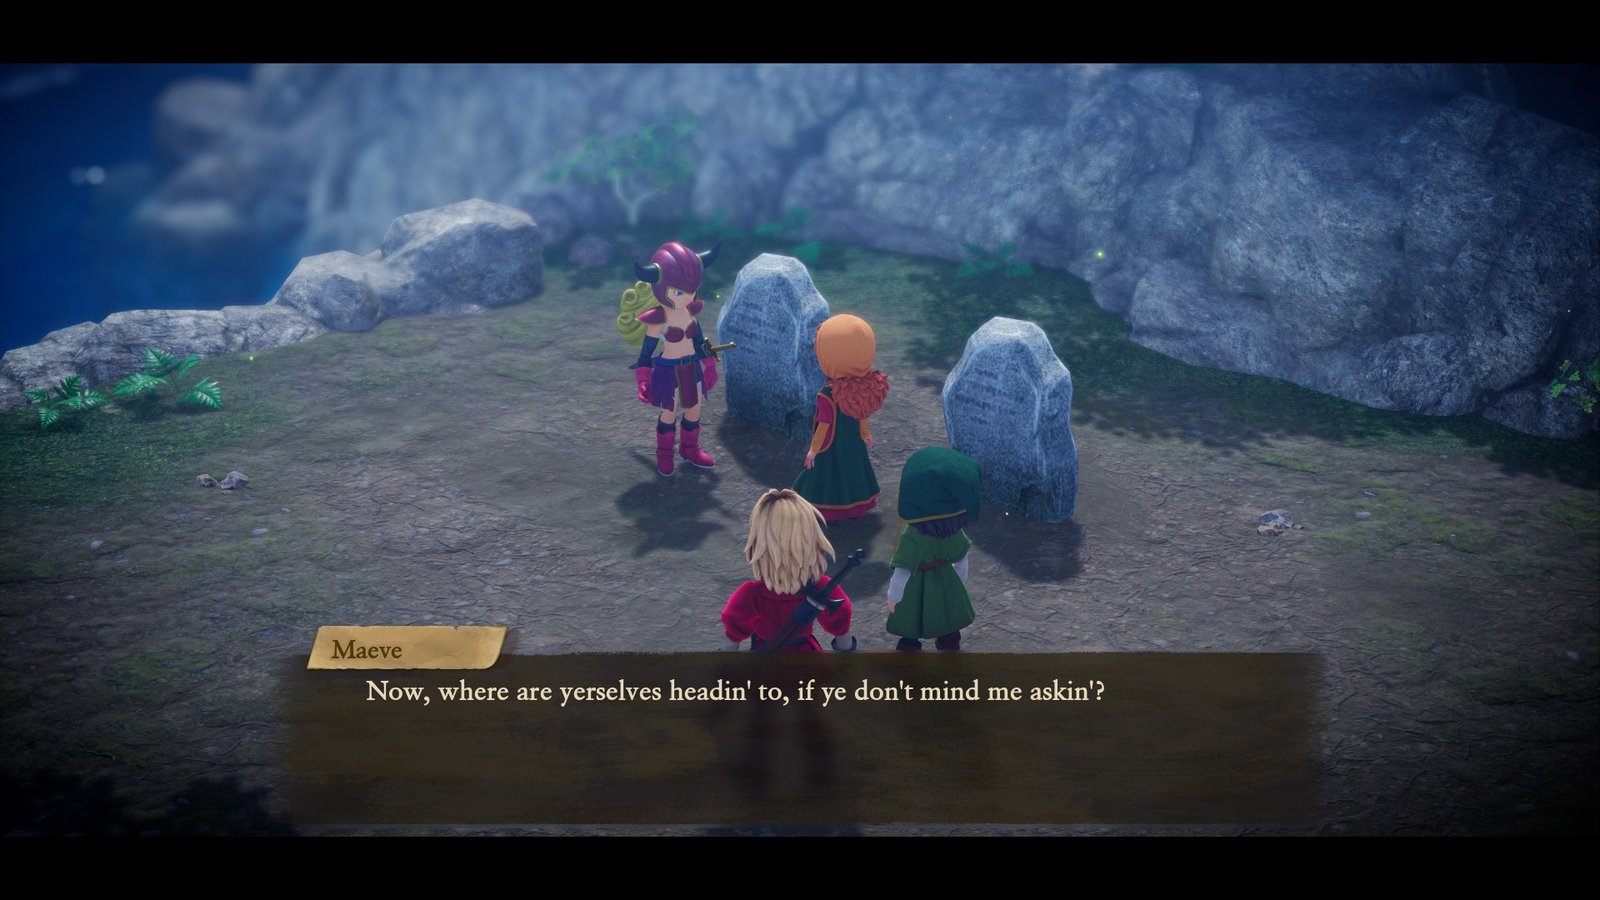
Once you gain control of the party again, head north until you reach the crossroads, then turn west to find a set of gravestones. You’ll meet a woman in Dragon Quest’s traditional Warrior armor, Maeve. She’ll offer to lead the party to the nearby town, joining as an uncontrollable, temporary party member.
Maeve is great to have this early, offering an extra hand and access to element affinities the party doesn’t have access to yet.
From here on, the overworld will be roamed by monsters that you can walk into to trigger encounters. You can also press your interact button to strike first, dealing a small amount of damage before the fight starts.
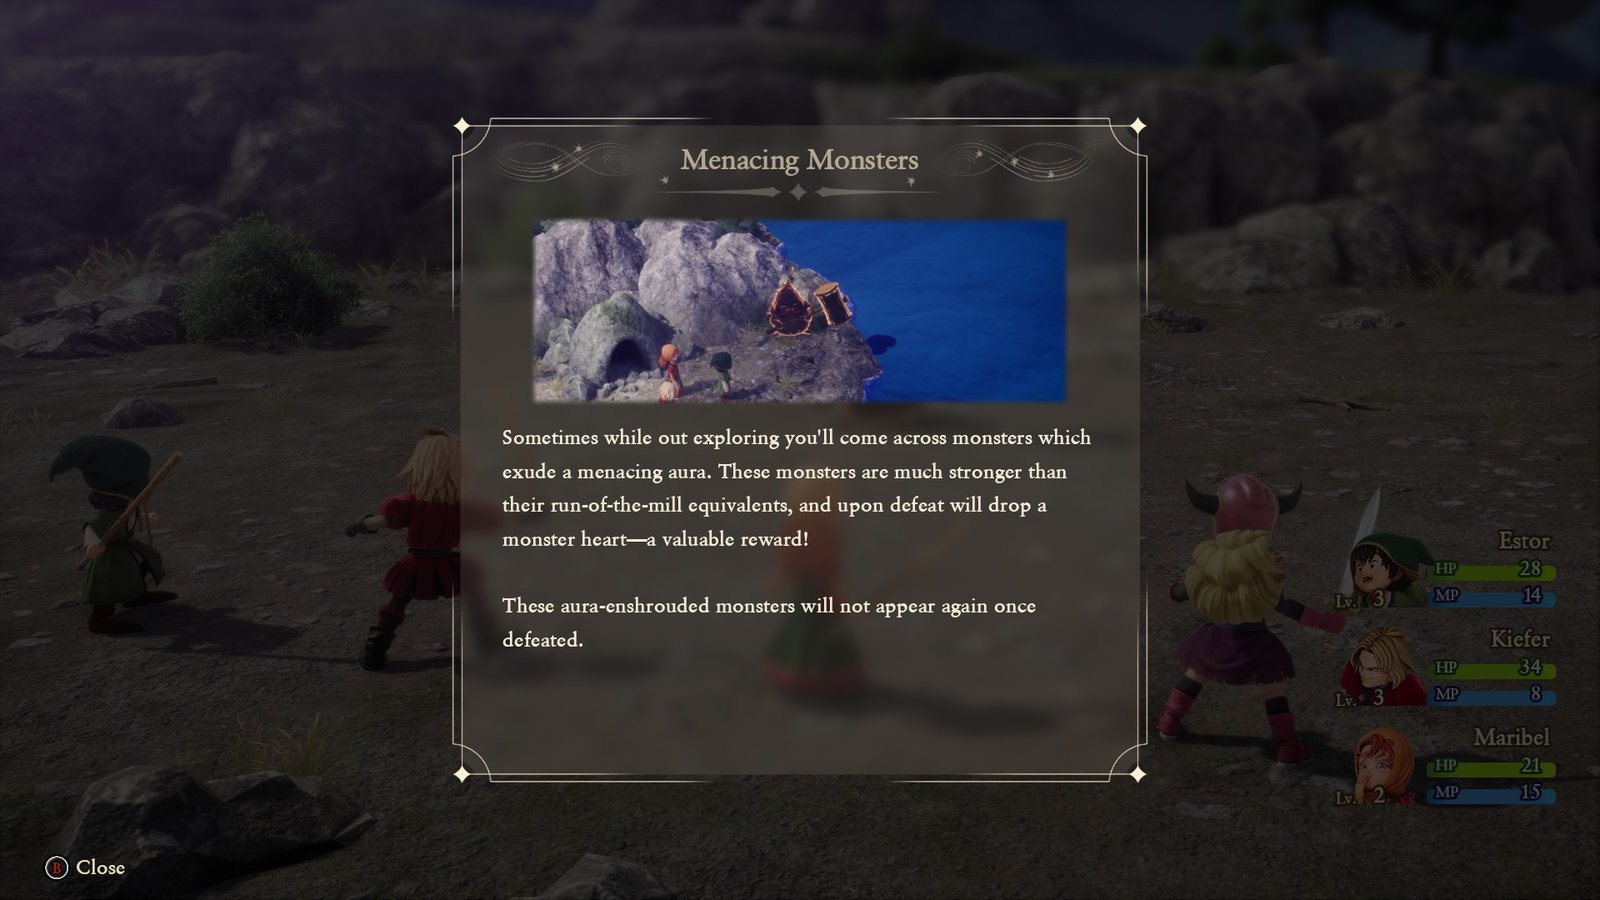
Heading to the southeast of the island will lead to your first encounter with a Menacing Monster, that rewards you with a monster’s heart, a powerful piece of equipment. This first is a Hammerhood, whose heart will amplify the wearer’s crit rate.
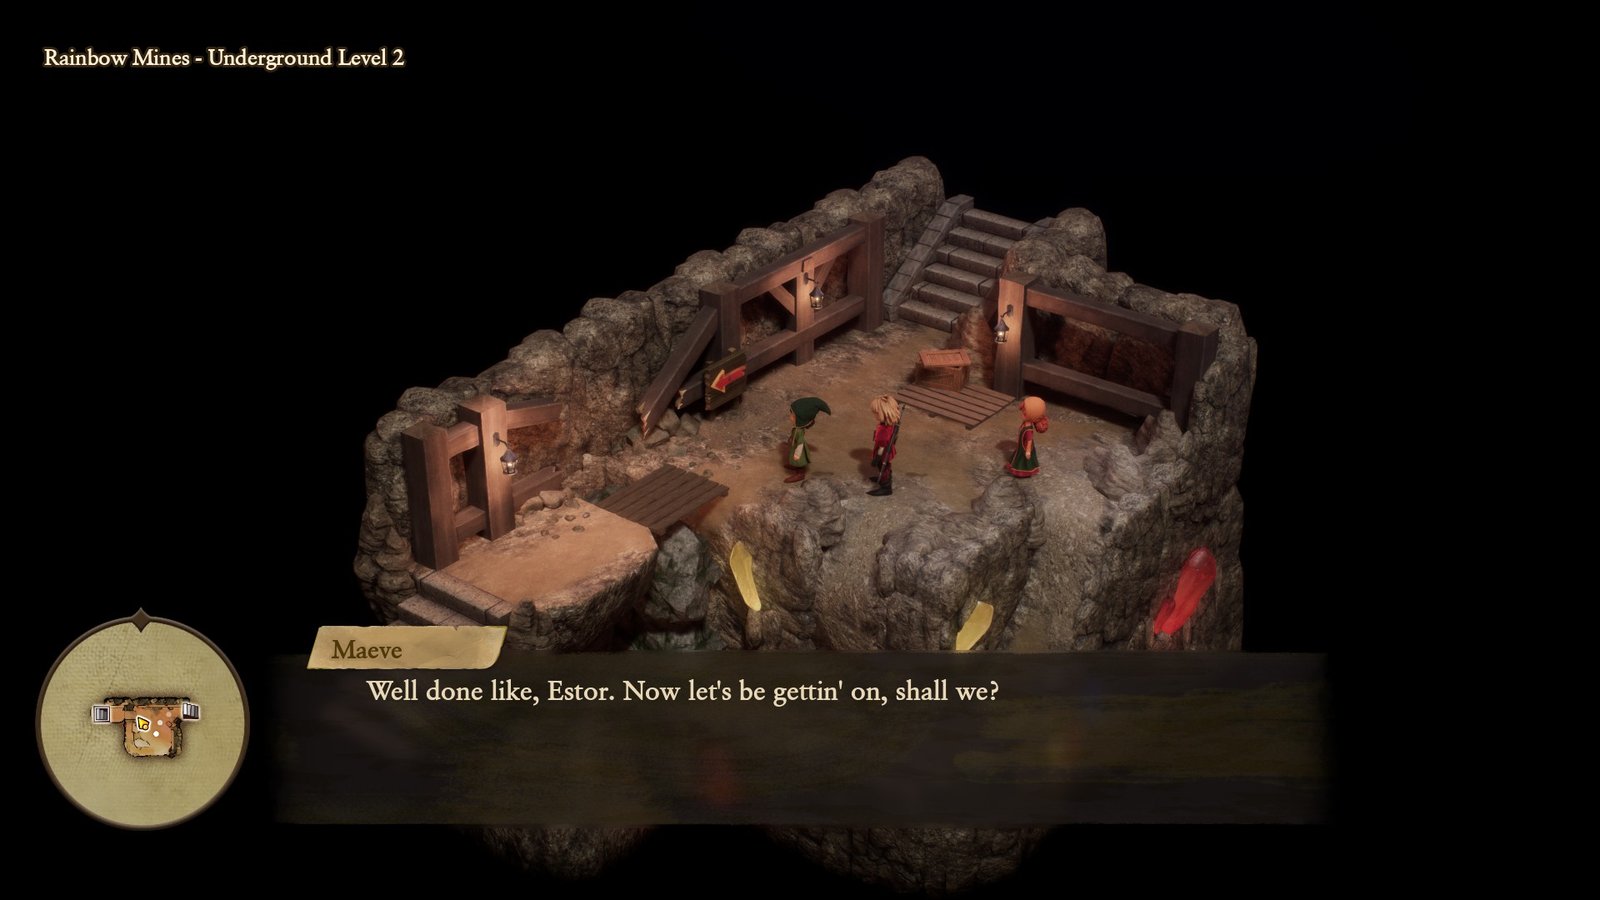
It’s best to handle the fight now, even if it may be a bit difficult, thanks to Maeve’s presence. Her extra damage and Lightning Slash can do wonders at chipping down the Hammerhood, while also being ready to revive fallen party members with Kazing.
Head to the village in the center of the island to learn more about Ballymolloy woes, and how exactly you can help.
Sons and Stones
As the townsfolk will relay, all the women of Ballymolloy have mysteriously vanished, and the men are beside themselves with worry. The most out of sorts is a young boy named Patrick, found in the northwest building of the town.
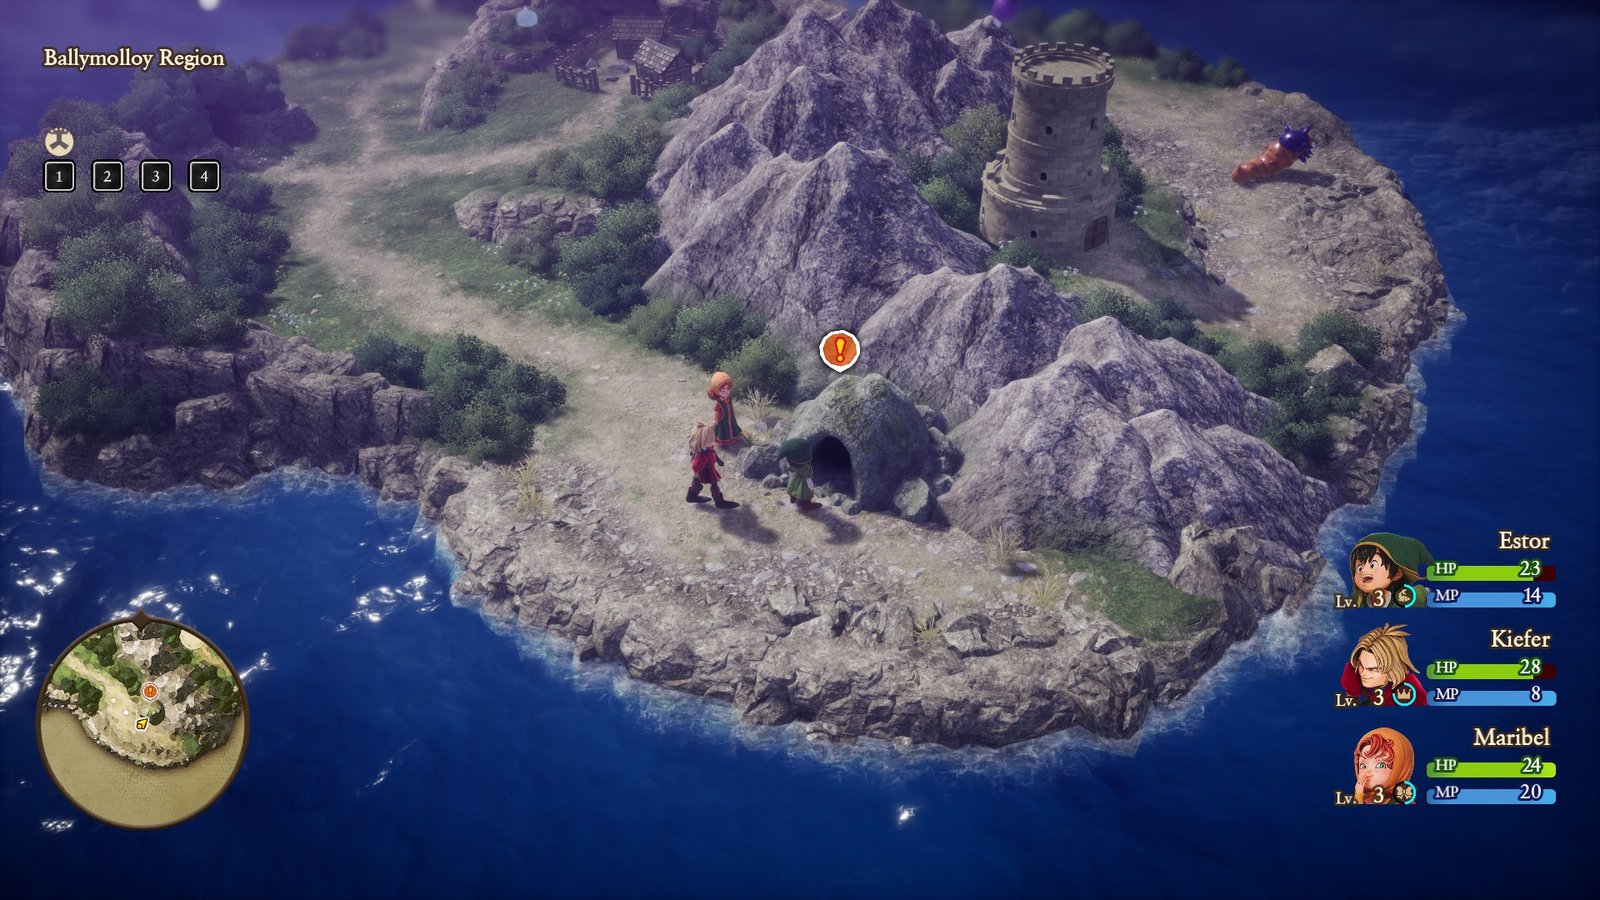
His father is bedridden, and only a green gem from the local Rainbow Mines can save him. Sadly for Patrick, the Mines are chock full of monsters, which is where you come in. Head to the southeast of the island to find the Rainbow Mines, a short dungeon with a few mild puzzles.
Maeve will continue to support the party through the Mines as you encounter more enemies, leveling up and upgrading your Vocational Mastery. Vocation levels are your primary source of new skills, so take all the fights you can to maximize the party’s effectiveness.
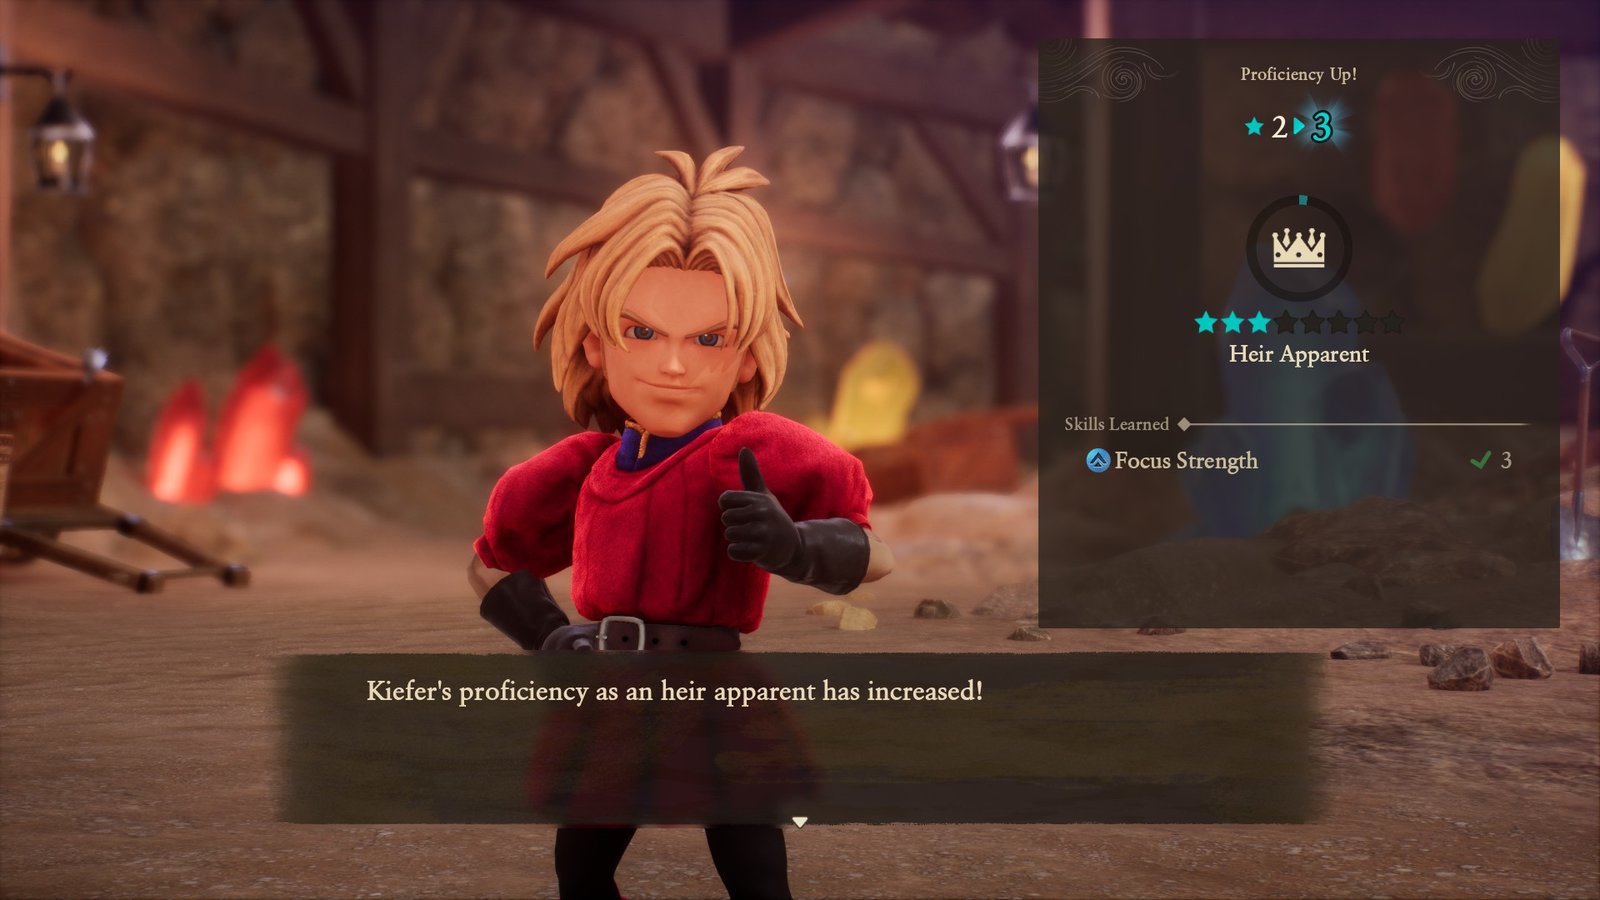
You’ll also be introduced to the Worked Up system, where units in combat can build up to unique buffs that can be taken as free actions. Each Worked Up action is unique to the Vocation equipped, ranging from the Hero’s shield, Kiefer’s trade of defense for damage, and Maribel’s higher weakness hits.
Continue through the mine’s primary path, following the deluge of enemies. Turning right on the first floor will reward you with a small equipment chest. A light upgrade, but everything helps this early.
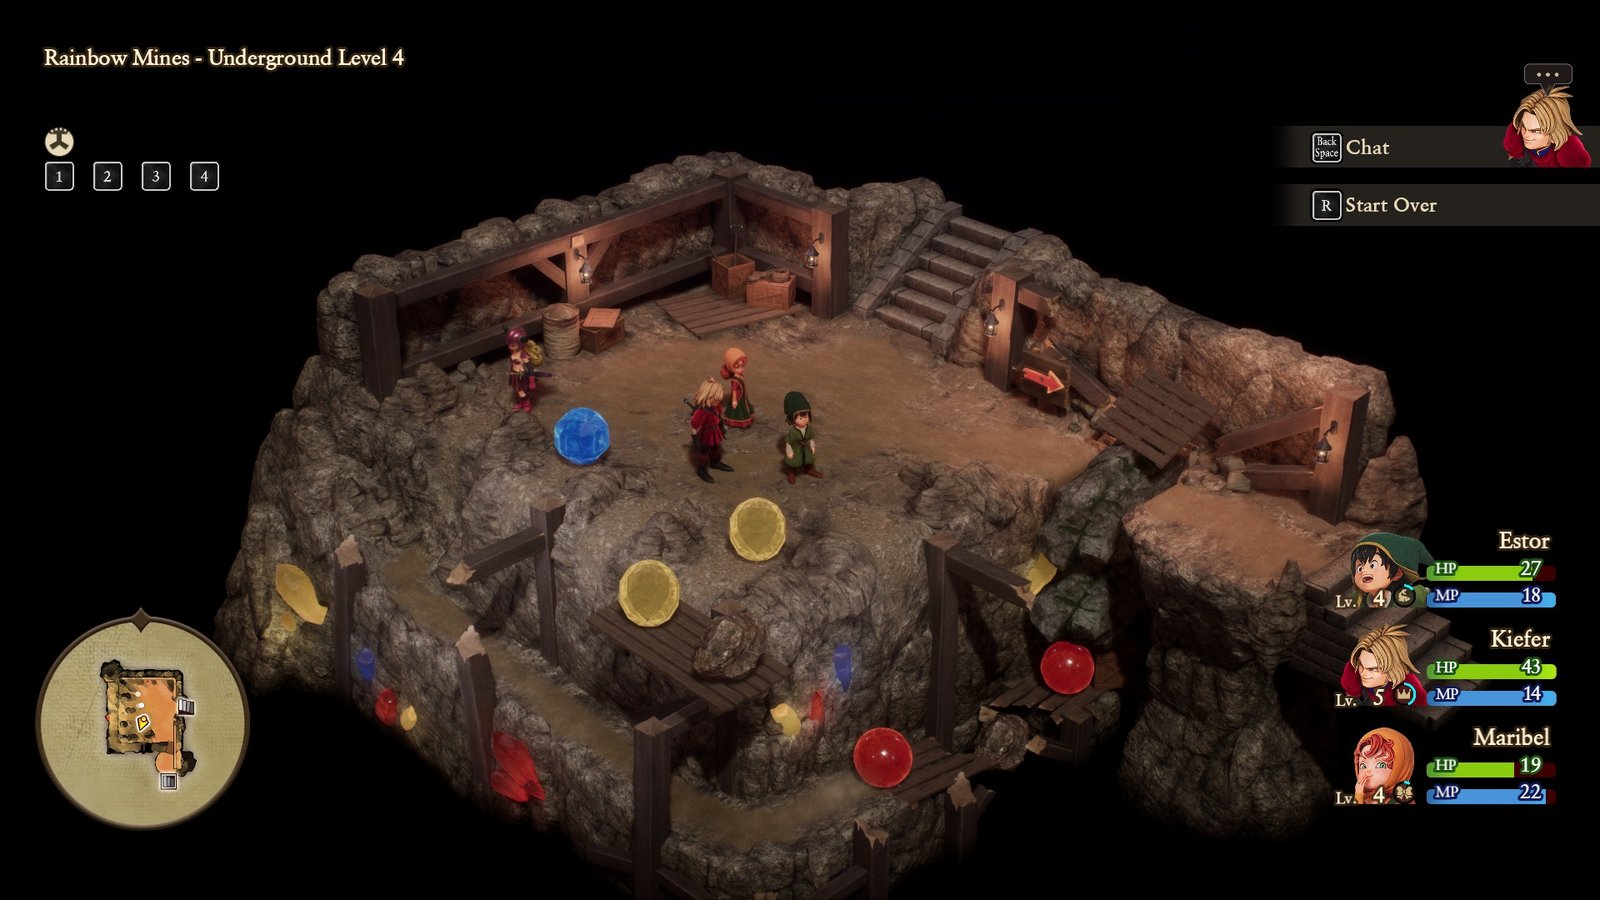
You’ll also encounter your first colored gemstone, massive boulders that shatter when two of the same color impact. These make up most of the puzzles in the Raindbow Mines, so keep them in mind.
Once you reach the second basement level of the Rainbow Mines, you’ll find a series of colorful crystal stones blocking your path. As you’ve been shown and told, colliding a crystal with one of its colors will shatter both, opening the way.
To open the way, push the left stone off the hill, clearing the ramp for the stone on the right to meet its pair. Continue descending, fighting off monsters until you make it to the fourth basement level, with a harder stone puzzle.
Rainbow Mines – How to Solve the Stone Puzzle in Basement
This puzzle looks a lot more complicated than it is, requiring you to open the path for stones to roll to their proper spots.
- To start, push the first red stone on the left side, allowing the blue stone to roll down and meet its pair below.
- Next, push the red stone on the right, dropping the stone down to fill in the hole on the underneath path.
- Finally, push the red stone on the far right to lead it down the newly open path, lowering the bridge for you to progress!
From there, you can proceed to the fifth level. Enemies cover the area, and unbreakable stones bar the straight path to the green gem. Hug the southern side of the cave to loop around the rubble, avoiding or fighting monsters as you do.
The east side of the cave has an open entrance to the gem, allowing easy access. Before leaving, don’t miss out on the Slime Heart hidden in the northeast corner of the room, behind a few monsters.
With the gem secured, you can Zoom back to Ballymolloy and officially clear the Rainbow Mines!