


Inside the Universal Matrix, Great Tomb of the Nameless Titan is located a plethora of Treasure Chests that offer rewards like Stellar Jades, Lost Gold Fragments, Credits and more in Honkai: Star Rail. Since the entire area is interconnected, it’s easy to find all the Chests if you know where to look. Here’s how you can locate all 16 Treasure Chests in the Universal Matrix in Honkai: Star Rail.
Treasure Chest #1
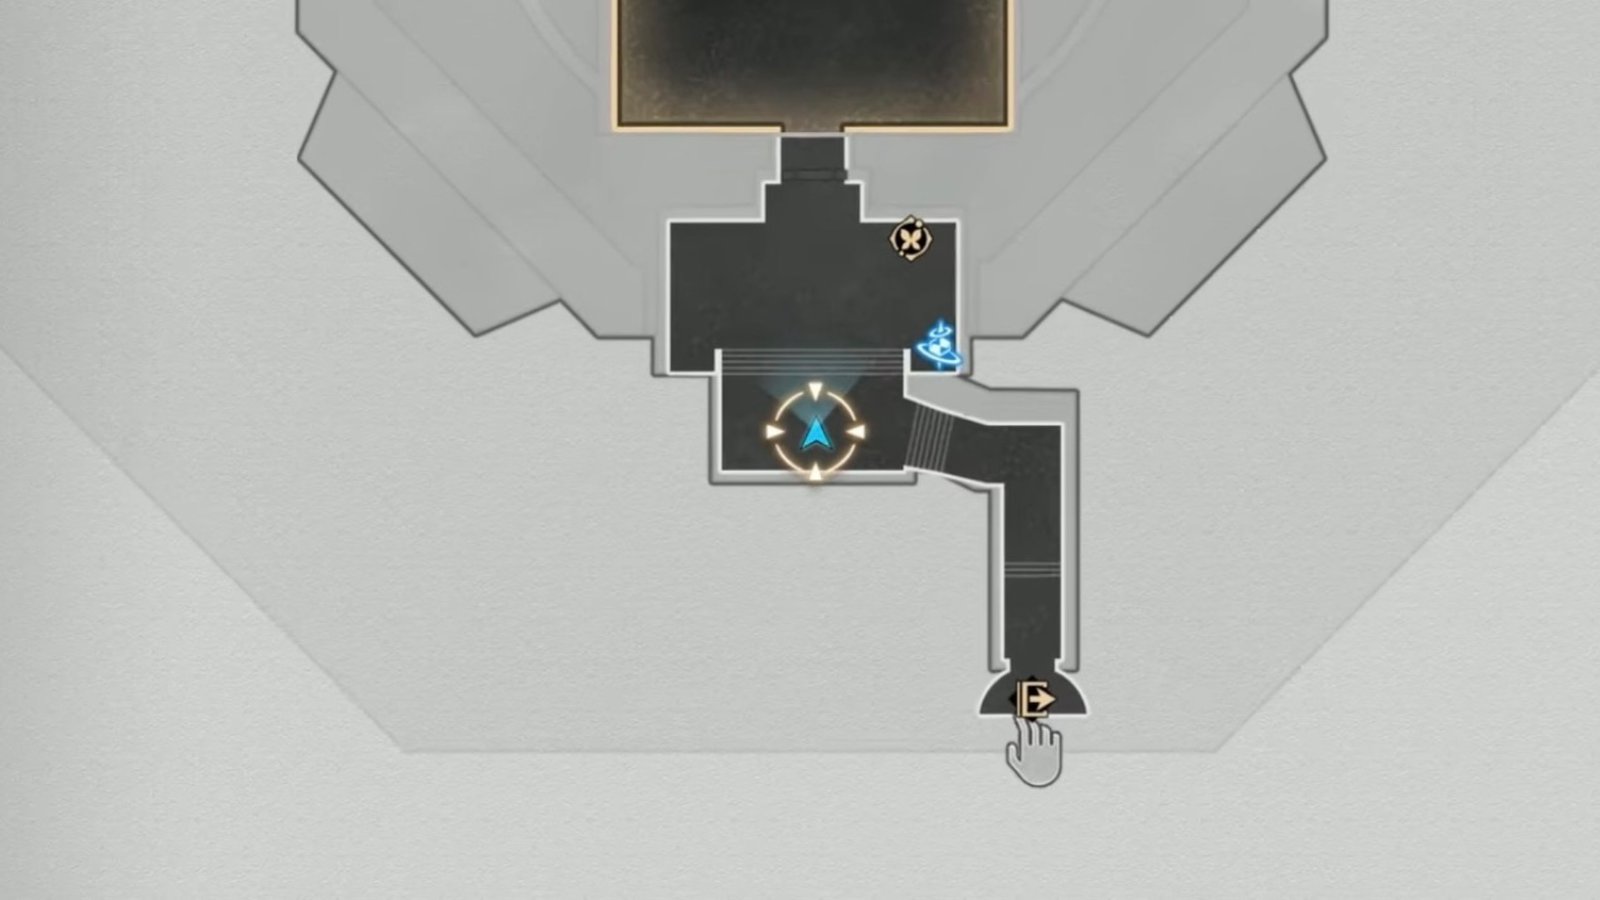
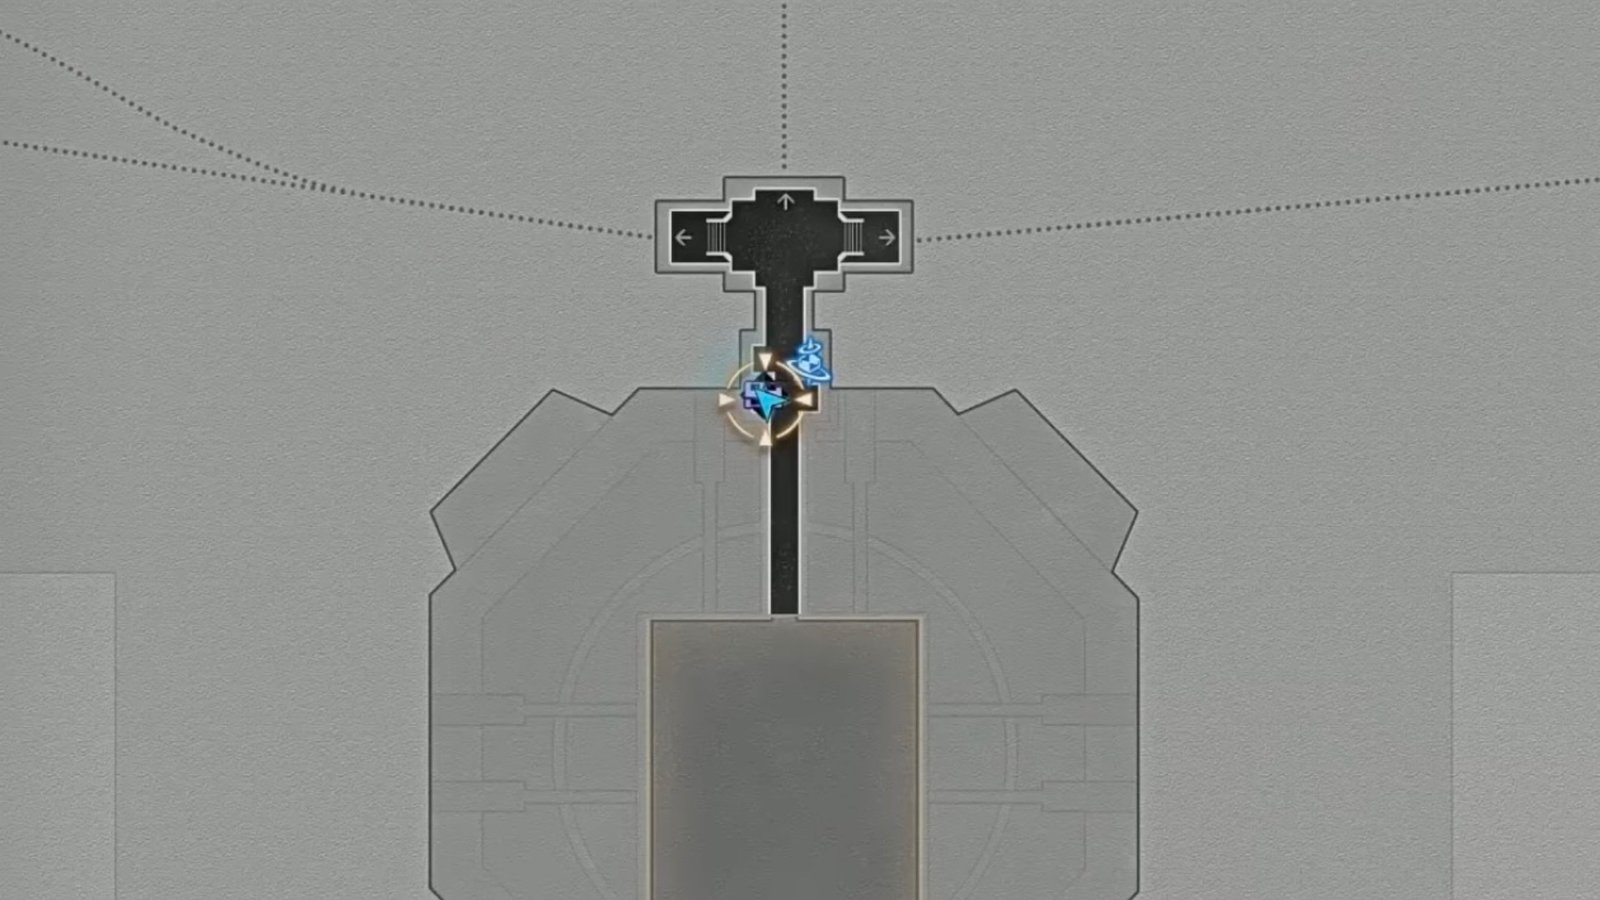
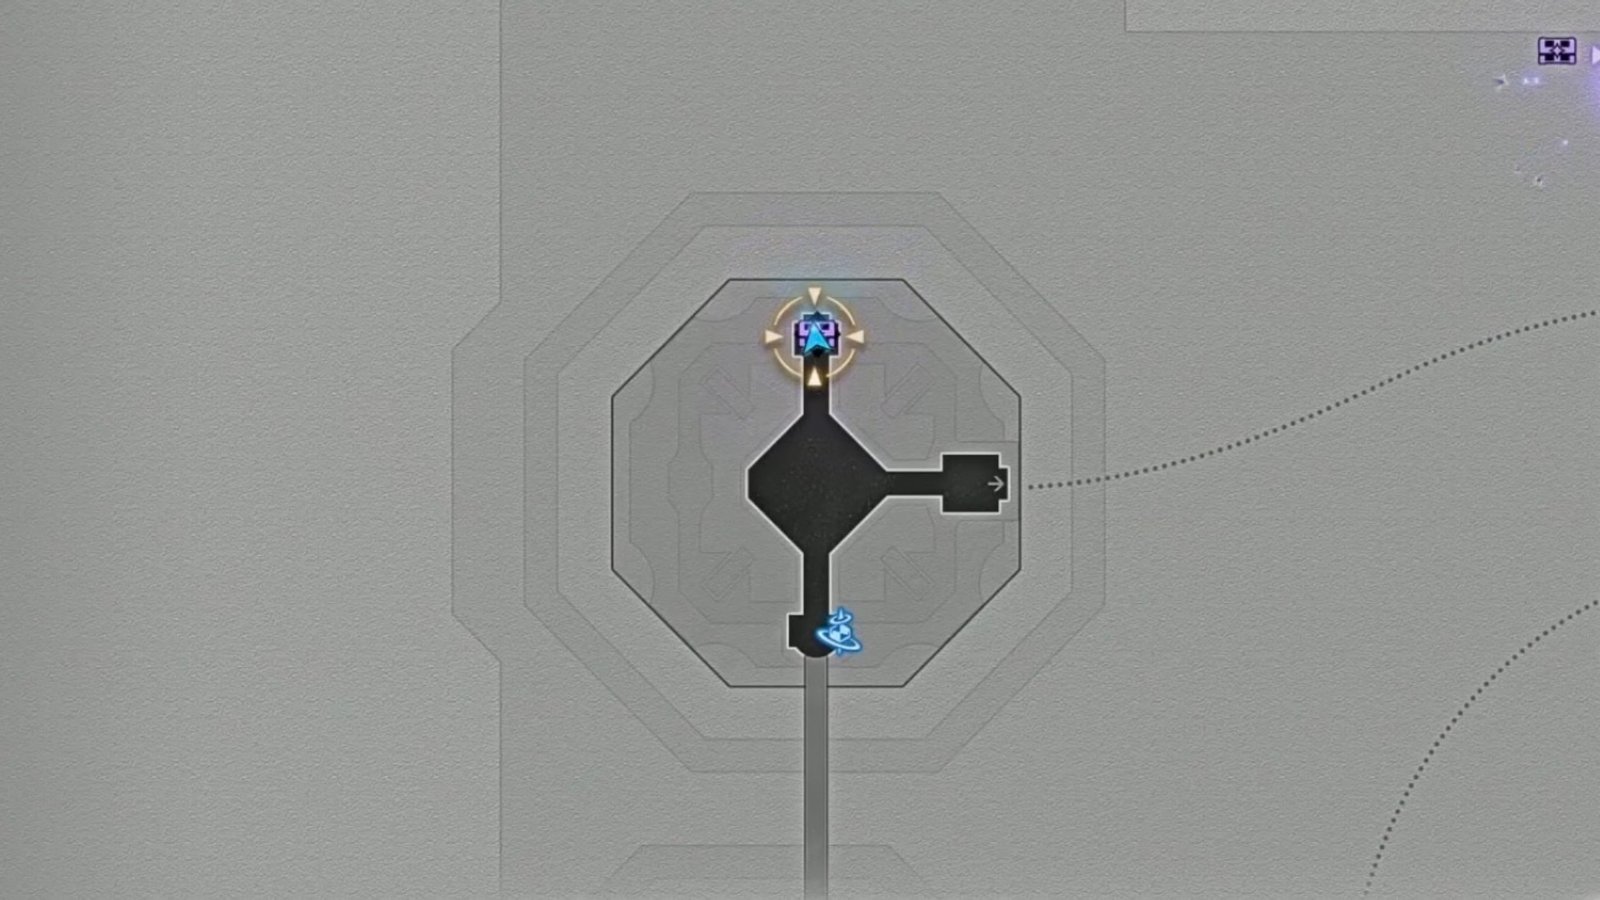
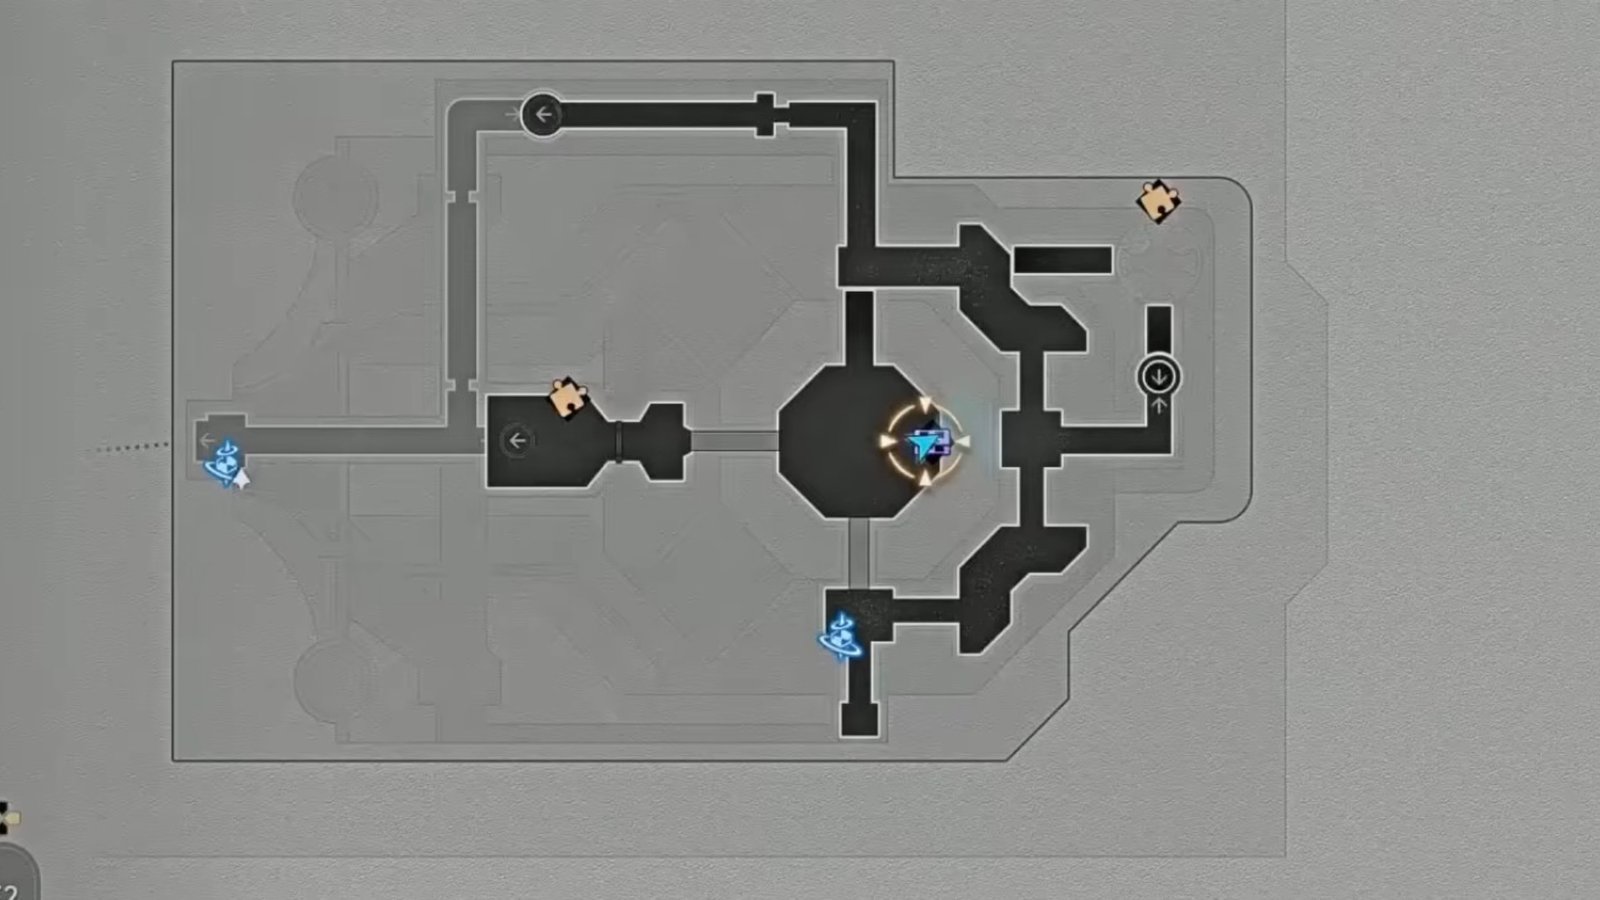
The first Chest is located on the second floor inside the Universal Matrix in Honkai: Star Rail. Start at the location on the image above, then go down the stairs, and you’ll find the Chest to the left.
Treasure Chest #2
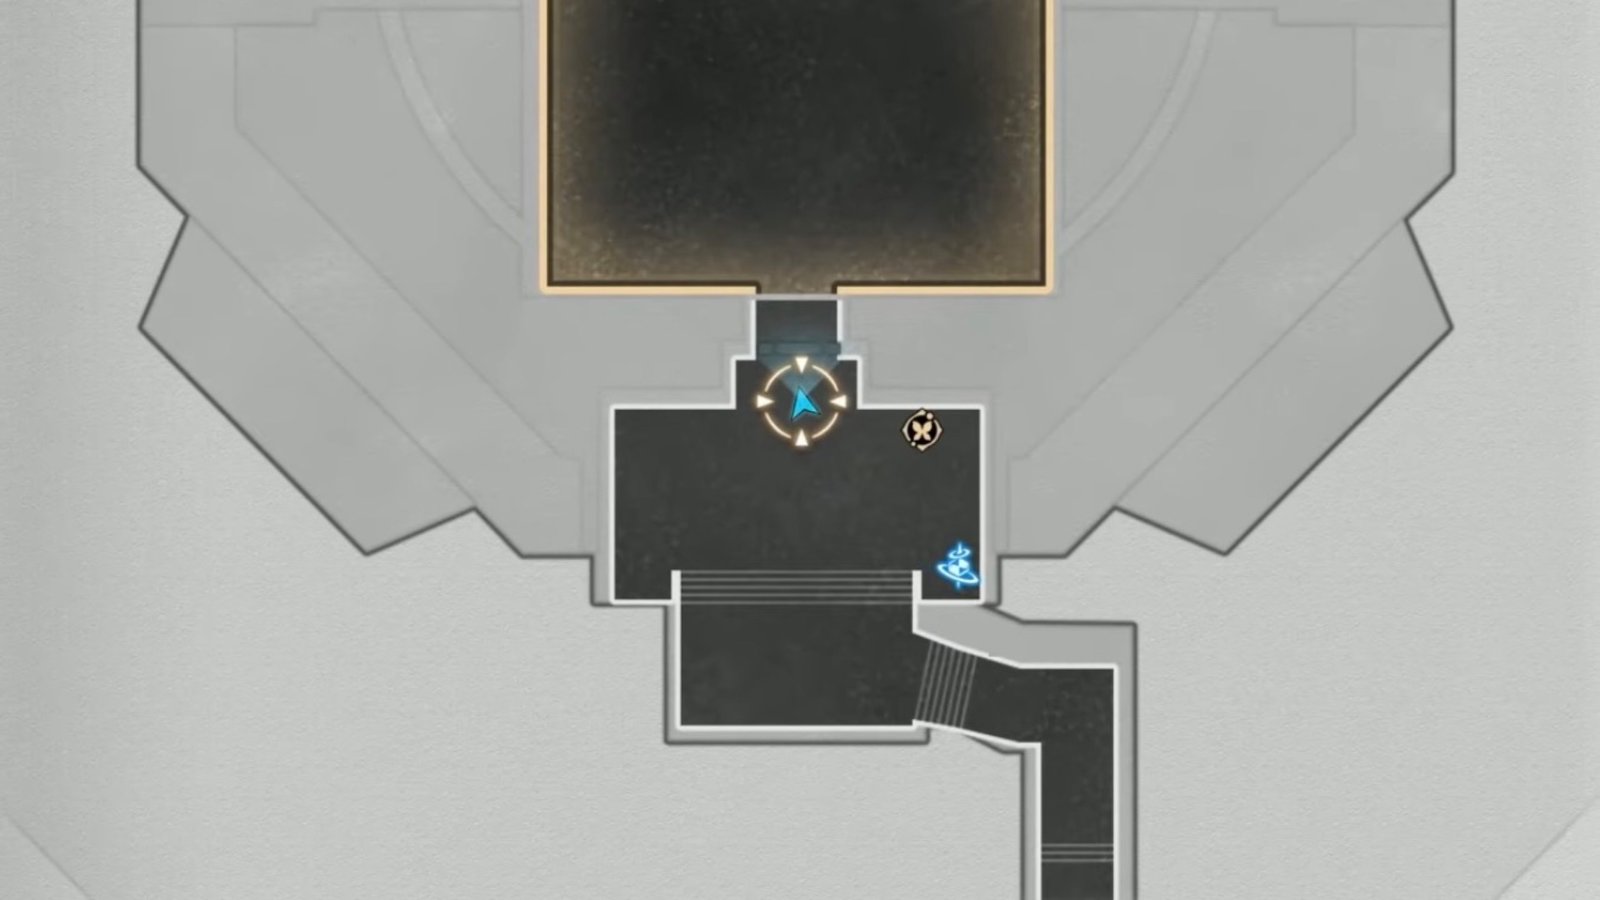
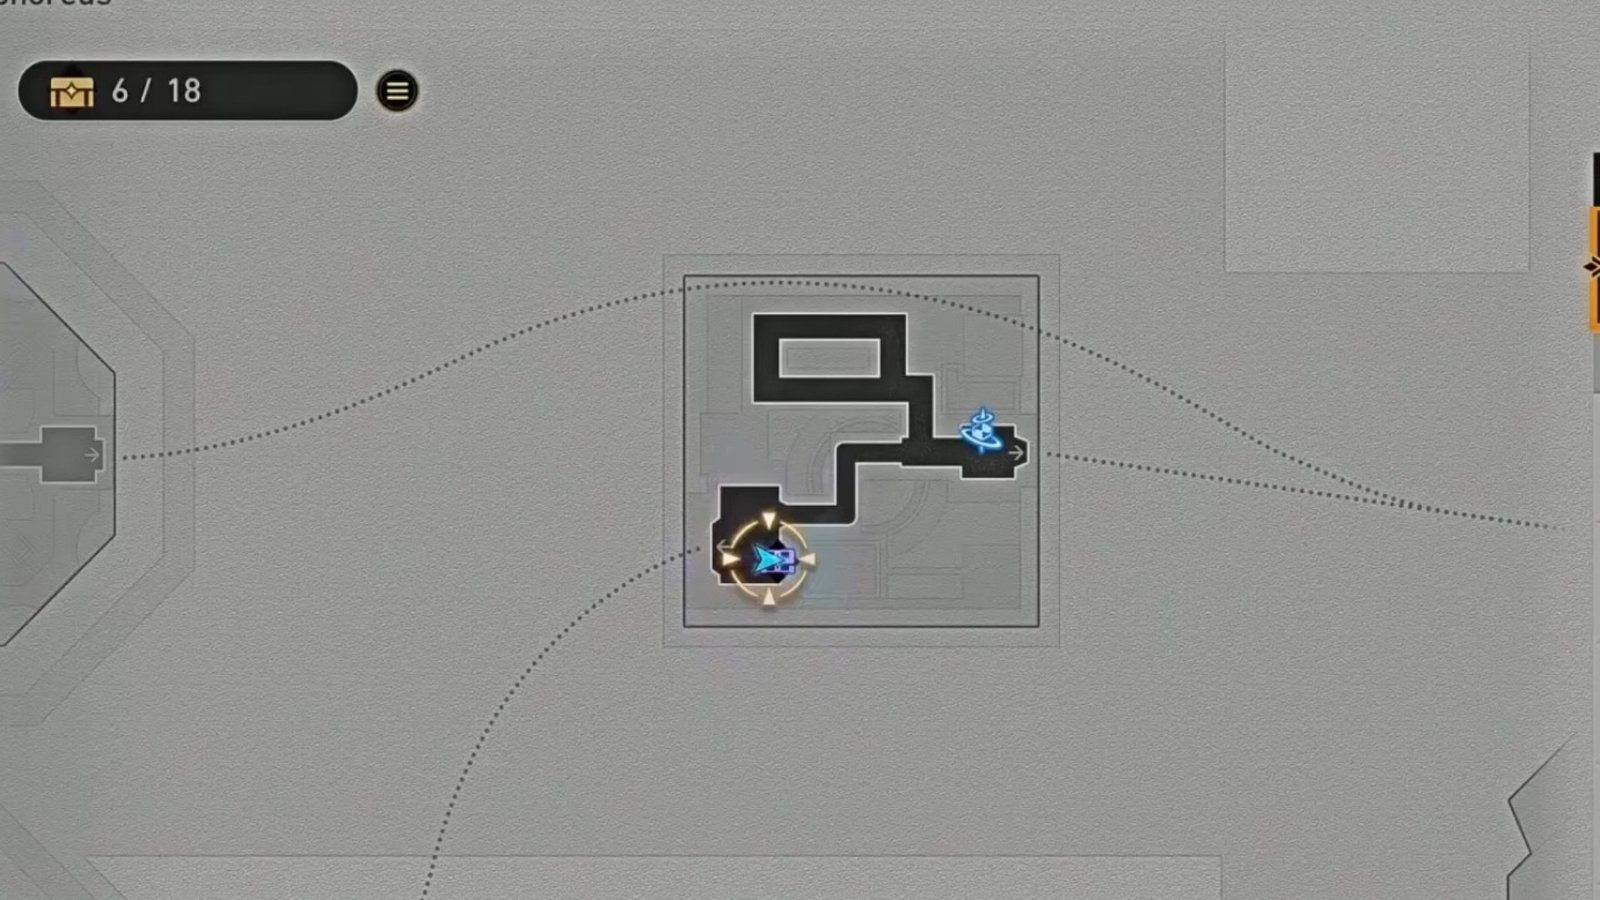
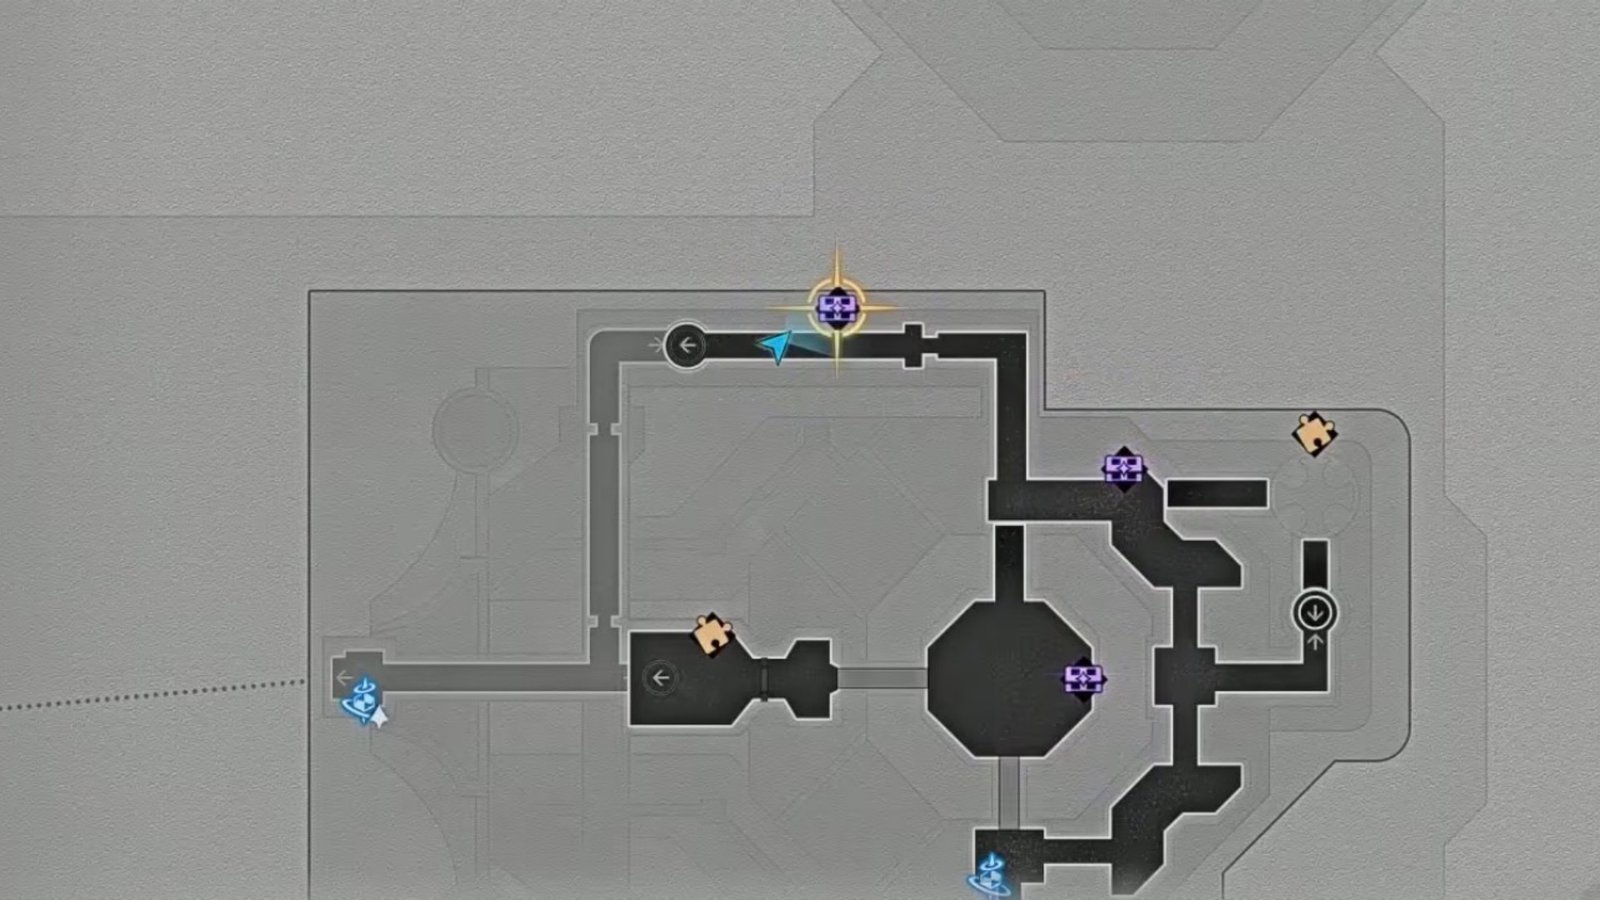
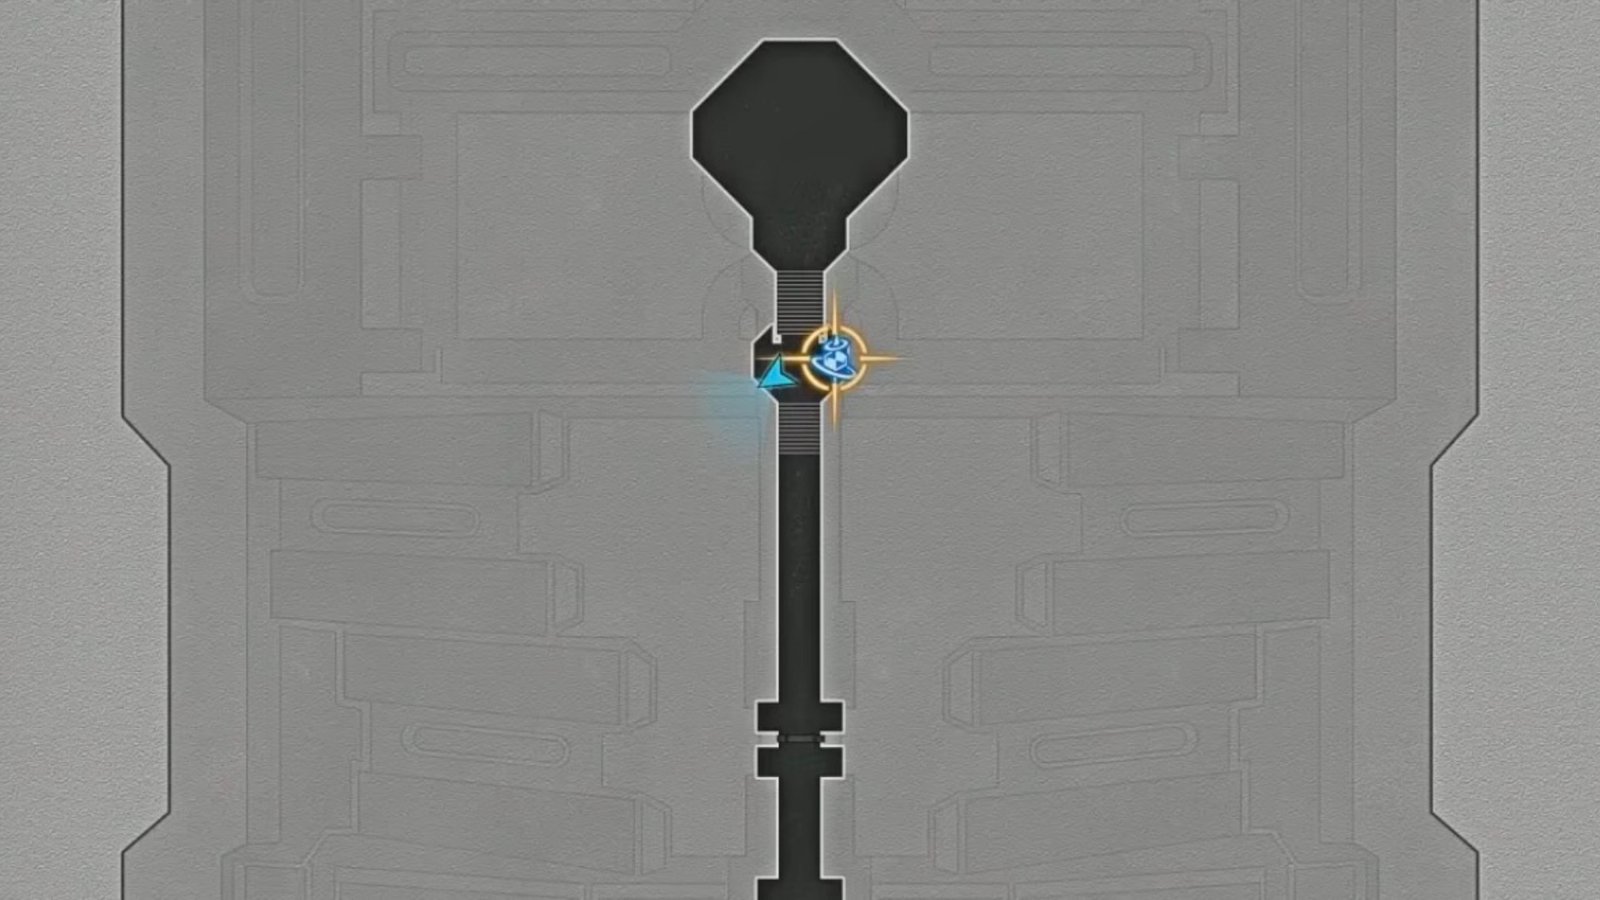
From the first Chest’s location, go through the large door (as shown in the image above), and as soon as you enter the next area, turn left and you’ll find the second Chest at the far end of the platform.
Treasure Chest #3
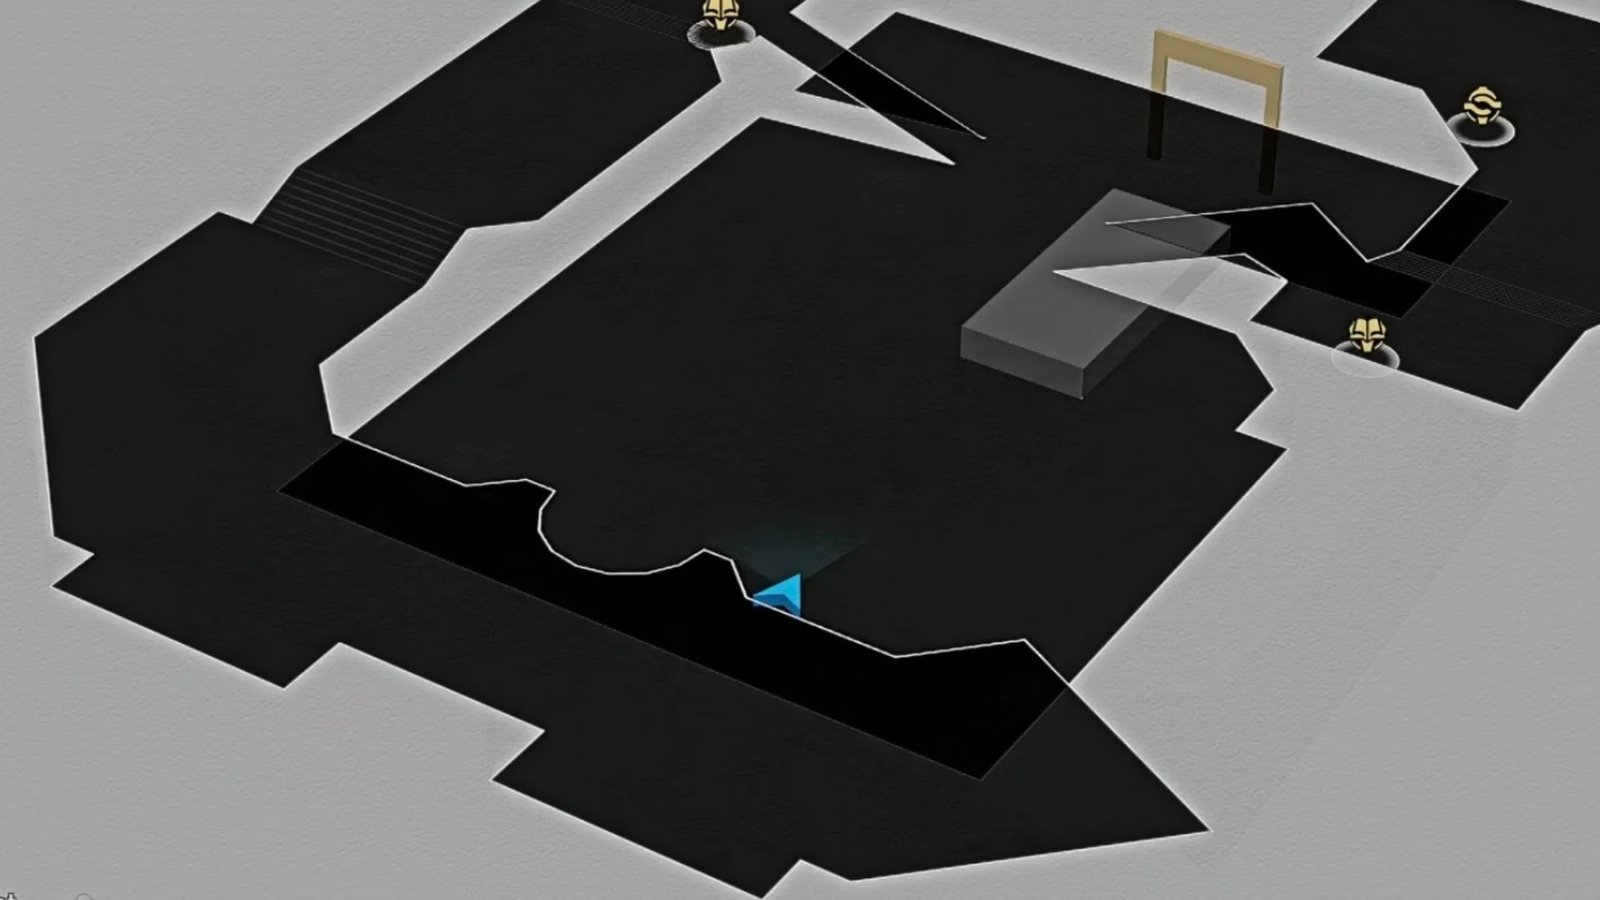
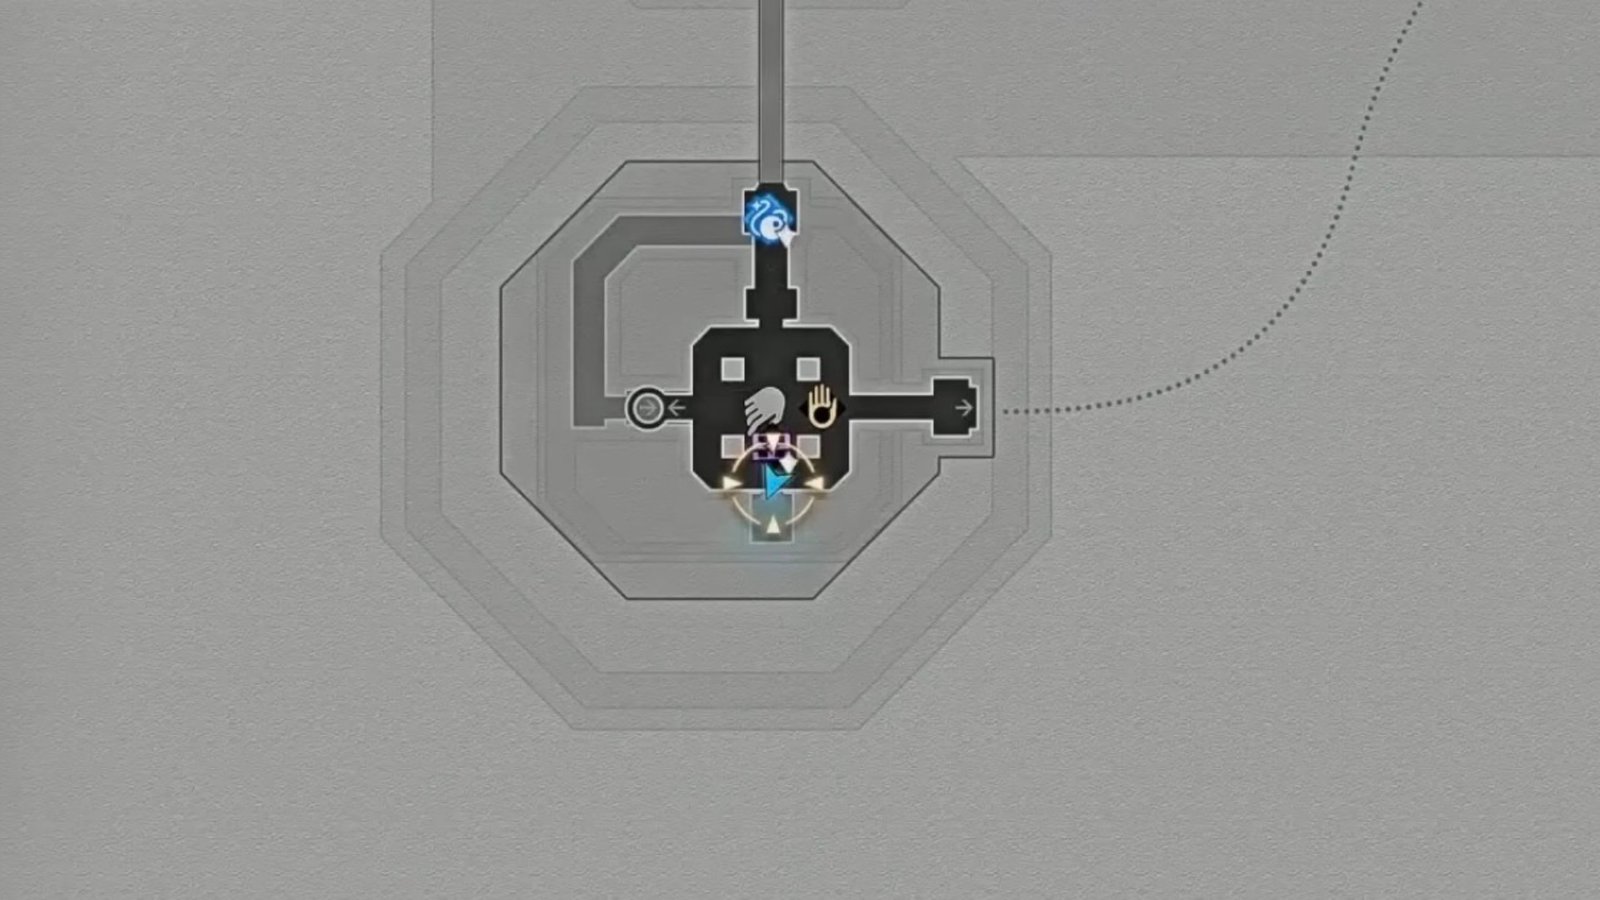
From the second Chest’s location, turn back and perform a “miracle” to switch to Evernight. Once you’ve done that, go down as shown in the image above, and around the rock located in the middle of the platform to find the third Chest.
Treasure Chest #4

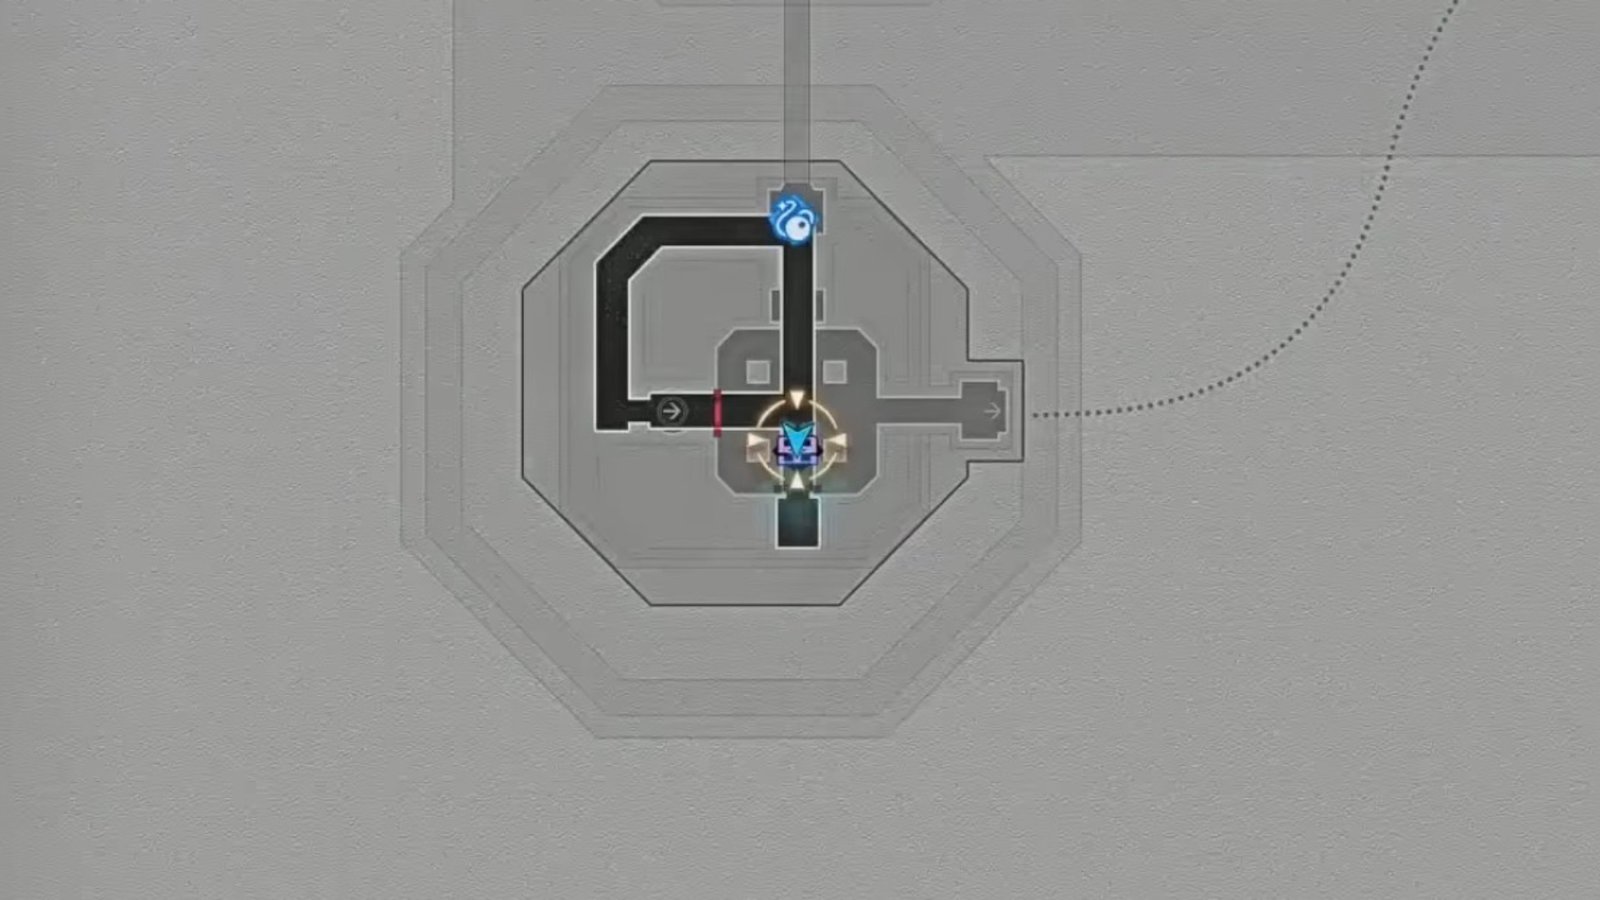
Perform a “miracle” once again by going up the stairs to the left to teleport to the previous area. After that, turn right and collect the fourth Chest at the end of the platform.
Treasure Chest #5
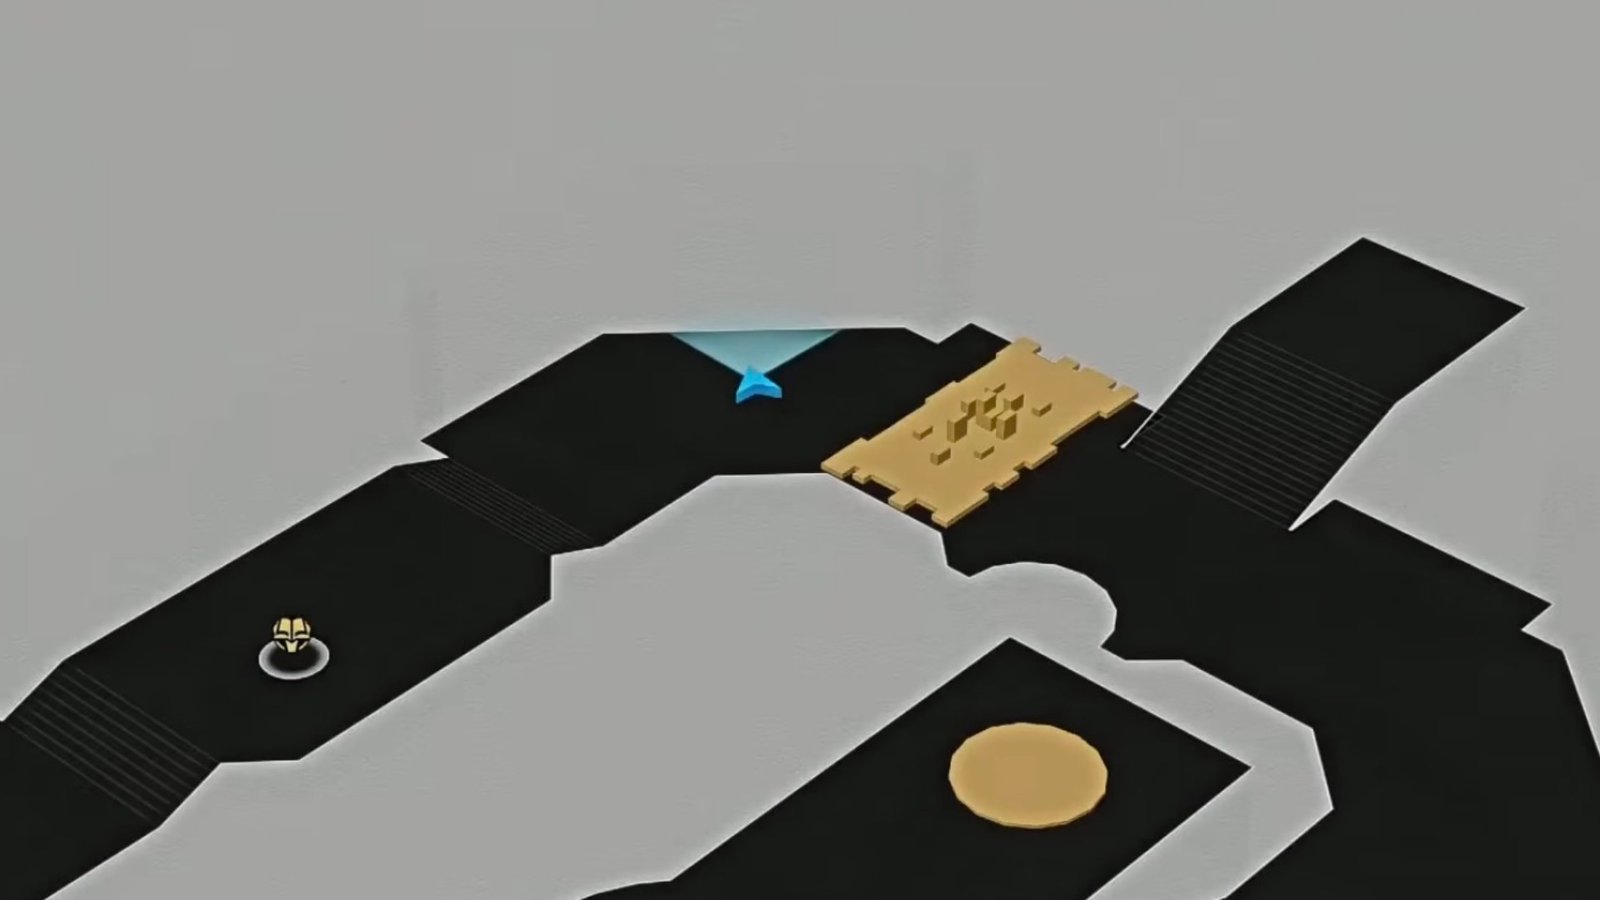
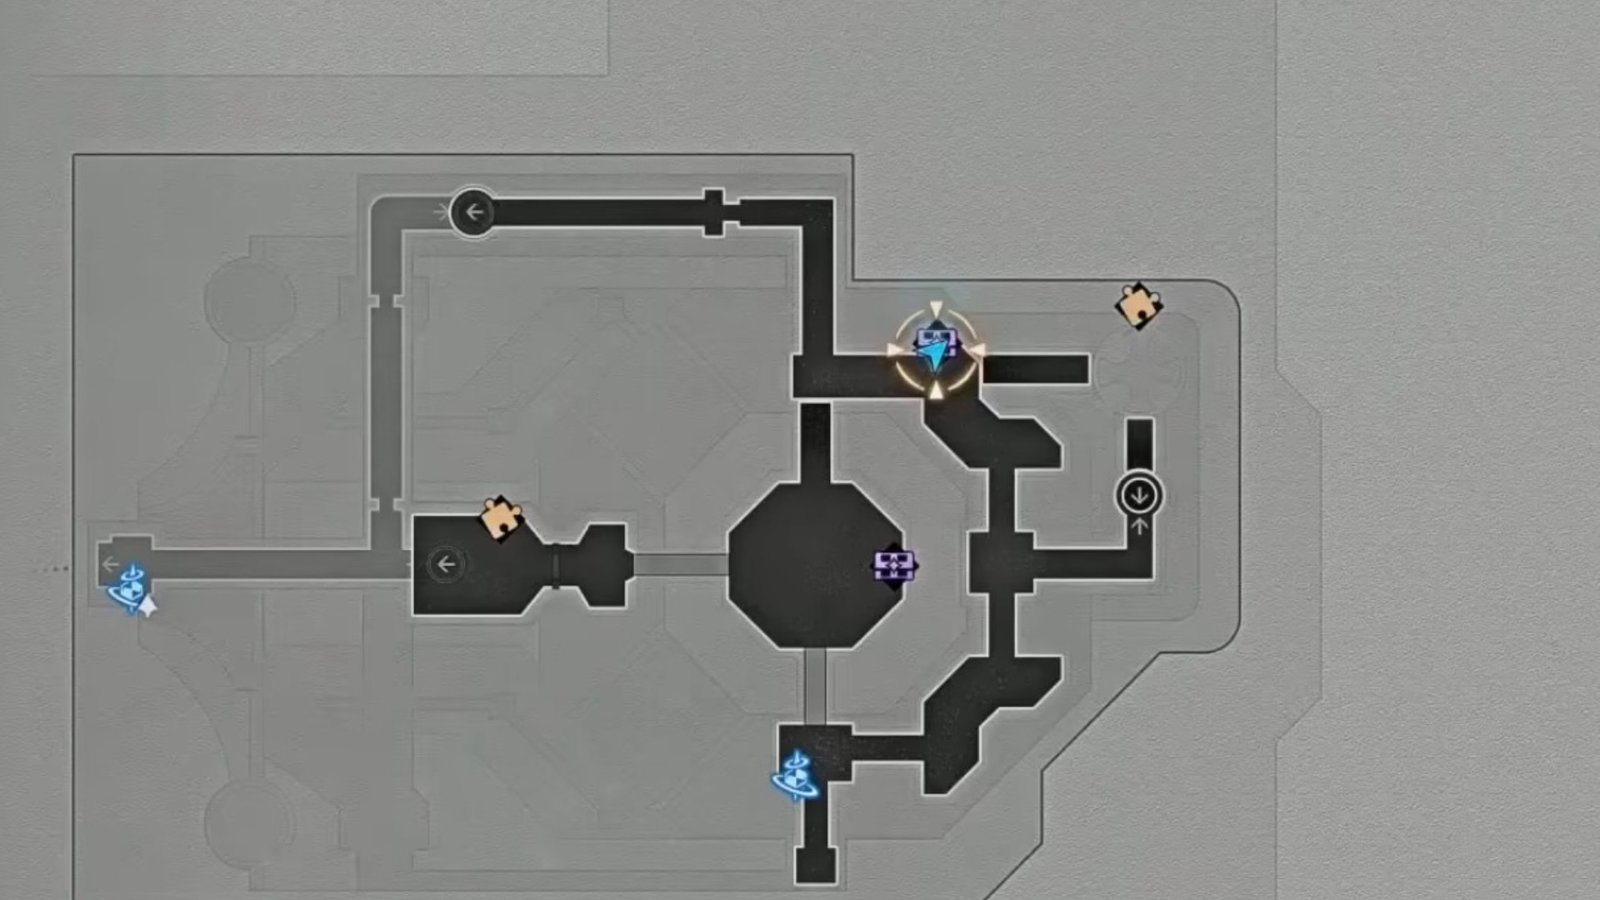
From the fourth Chest’s location, turn back and go to the other end to find another Chest at the end of the platform on the left. Head to the area as shown in the image above, and you’ll find the fifth Treasure Chest in the Universal Matrix.
Treasure Chest #6
From the fifth Chest, turn right and operate the floating platform to descend to the area below. From there, head straight and access the next area through the door. Inside the next area, you’ll find the sixth Chest up ahead on the left.
Treasure Chest #7
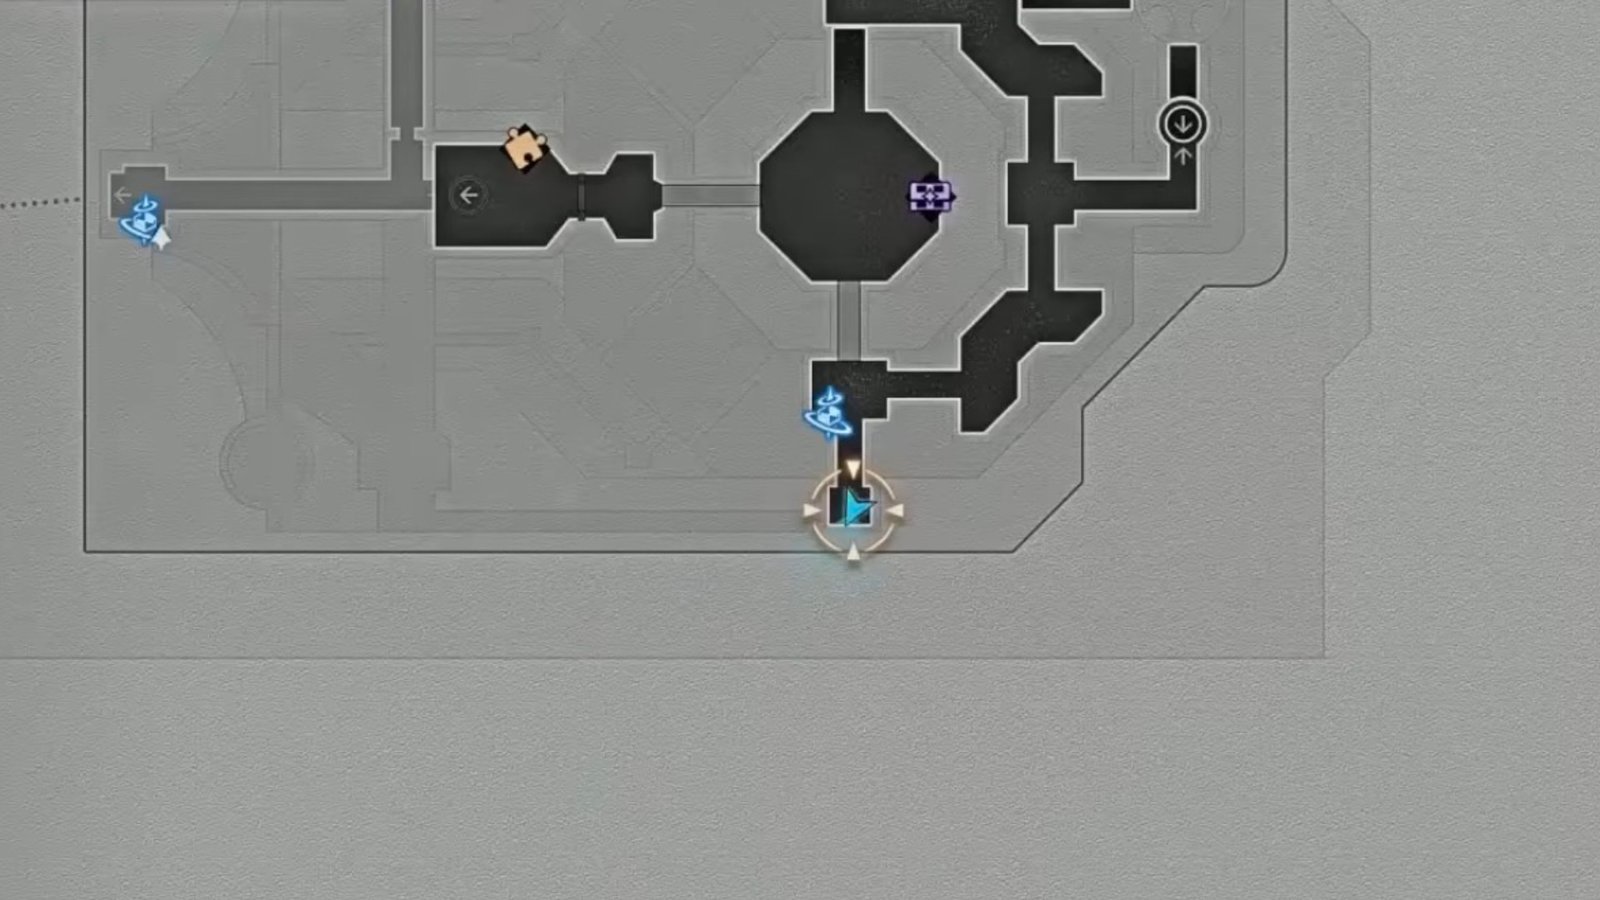
From the sixth Chest, go through the next door and use the Hidden Passage operator on the left to go straight ahead to the next platform. Once you’re there, head to the location on the image above, and you’ll come across the seventh Chest to the left.
Treasure Chest #8
From the seventh Chest, turn back and use another Hidden Passage operator to go to the next platform ahead. On the next platform, go left as shown in the image above, and you’ll be able to find the eighth Chest.
Treasure Chest #9
From the eighth Chest location, turn right and use the floating platform to descend to the floor below. When you reach down, follow the path ahead, and you’ll find the ninth Chest inside a room, as shown in the image above.
Treasure Chest #10
Just behind the ninth Chest, you’ll find the tenth Chest in the same room, which will be a Precious Chest that contains higher rarity rewards.
Treasure Chest #11
From the tenth Chest, head right and operate the floating platform to ascend to the floor above. Once you reach the top, turn left and use the glowing blue bridge to go to the next platform. Follow the path ahead, and you’ll find the eleventh Chest in front of you, as shown in the location on the image above.
Treasure Chest #12
From the eleventh Chest, go back and turn left on the same platform, then operate the Hidden Passage machine on the left to reach the next platform straight ahead. On the next platform, use another Hidden Passage machine to head to the next platform ahead.
You’ll locate an X-shaped door in front of you. Head inside, then follow the path ahead and use the floating platform operator to descend. Once you reach down, walk straight and then rotate the platform to access the twelfth Chest in the Universal Matrix, which will be located on the left.
Treasure Chest #13
Rotate the platform again so that you can proceed to the next area ahead. In the next area, follow the path ahead, and you’ll find the thirteenth Chest to the left of the next platform.
Treasure Chest #14
From the thirteenth Chest location, turn back and follow the path ahead to reach a golden door. Inside the door, you’ll find the fourteenth Chest at the location shown in the image above.
Treasure Chest #15
From the fourteenth Chest, turn back and use the glowing blue bridge to head to the platform below. There, you’ll find the fifteenth Chest on the right, as shown in the image above.
Treasure Chest #16
Use the Central Access Platform to head to the next area straight ahead, and you’ll find the sixteenth and the final Treasure Chest inside the Universal Matrix to the left of the Demiurge Matrix.
This brings us to the end of all 16 Treasure Chests you can find inside the Universal Matrix in Honkai: Star Rail. The next thing you may want to aim for is all 10 Nymph locations in the same Universal Matrix. For more comprehensive guides on the anime gacha title, check out the ones on the Best Aglaea Build and Golden Scapegoat Puzzles.