


After completing the Marrow in Hollow Knight: Silksong, where you’ll unlock Fast Travel, you’ll eventually come to Deep Docks, an industralized forge with fiery lava scattered across the entire area and rock platforms that’ll help you get going. Even though the lava isn’t as unforgiving as the spikes, you’d best avoid it completely. Here’s a comprehensive walkthrough of Deep Docks, where you’ll obtain a new ability and fight one of the early bosses of Hollow Knight: Silksong.
Build The First Deep Docks Bench
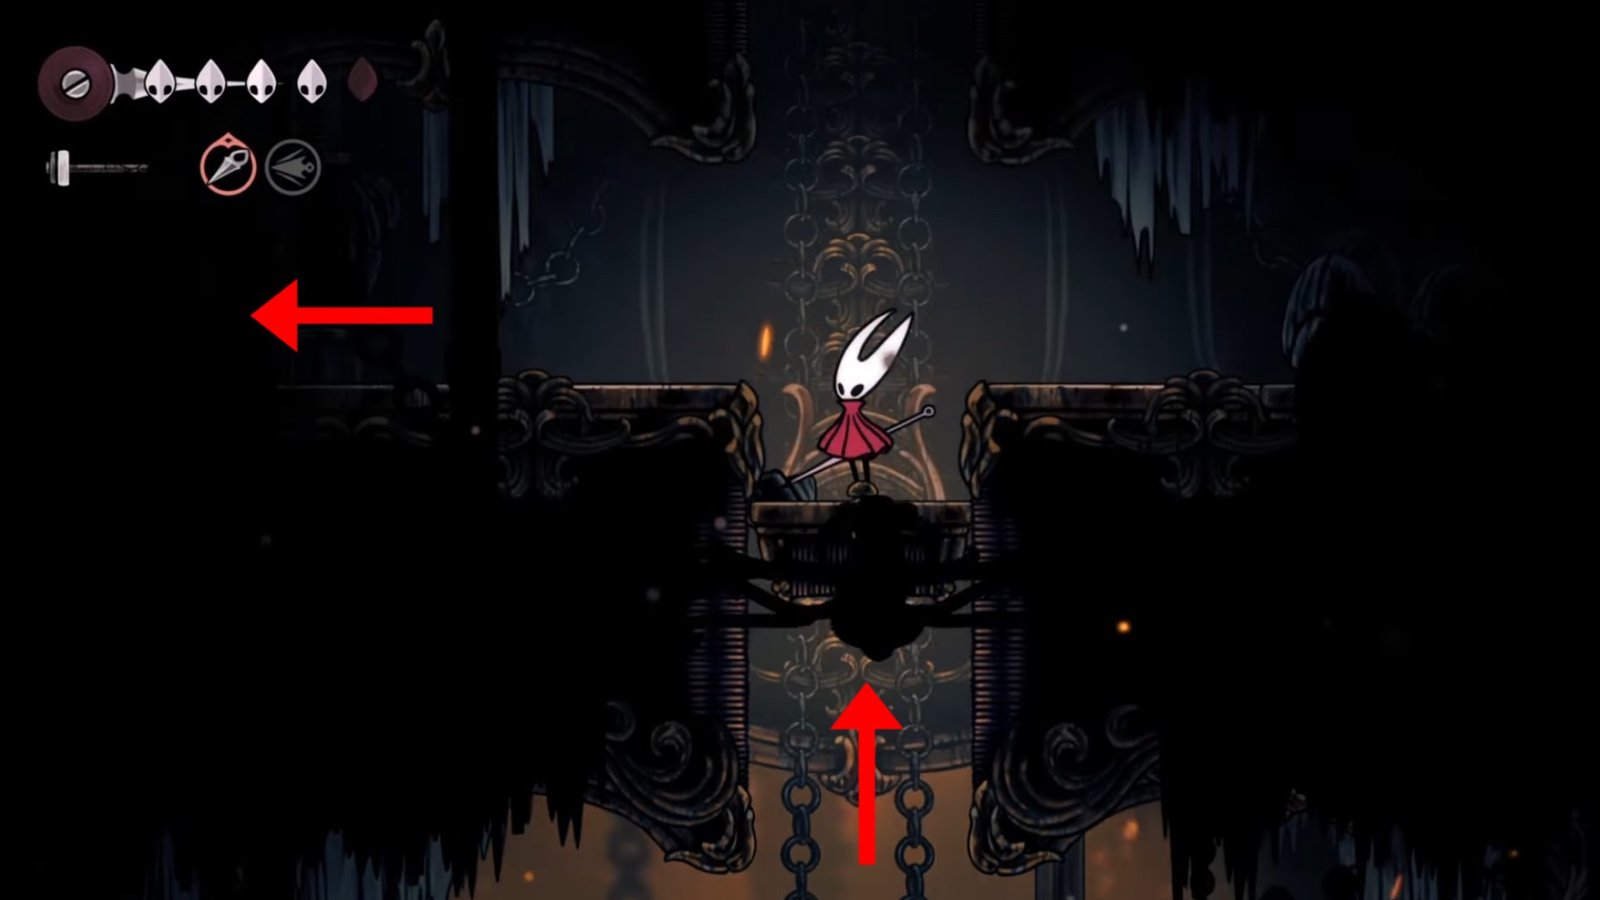
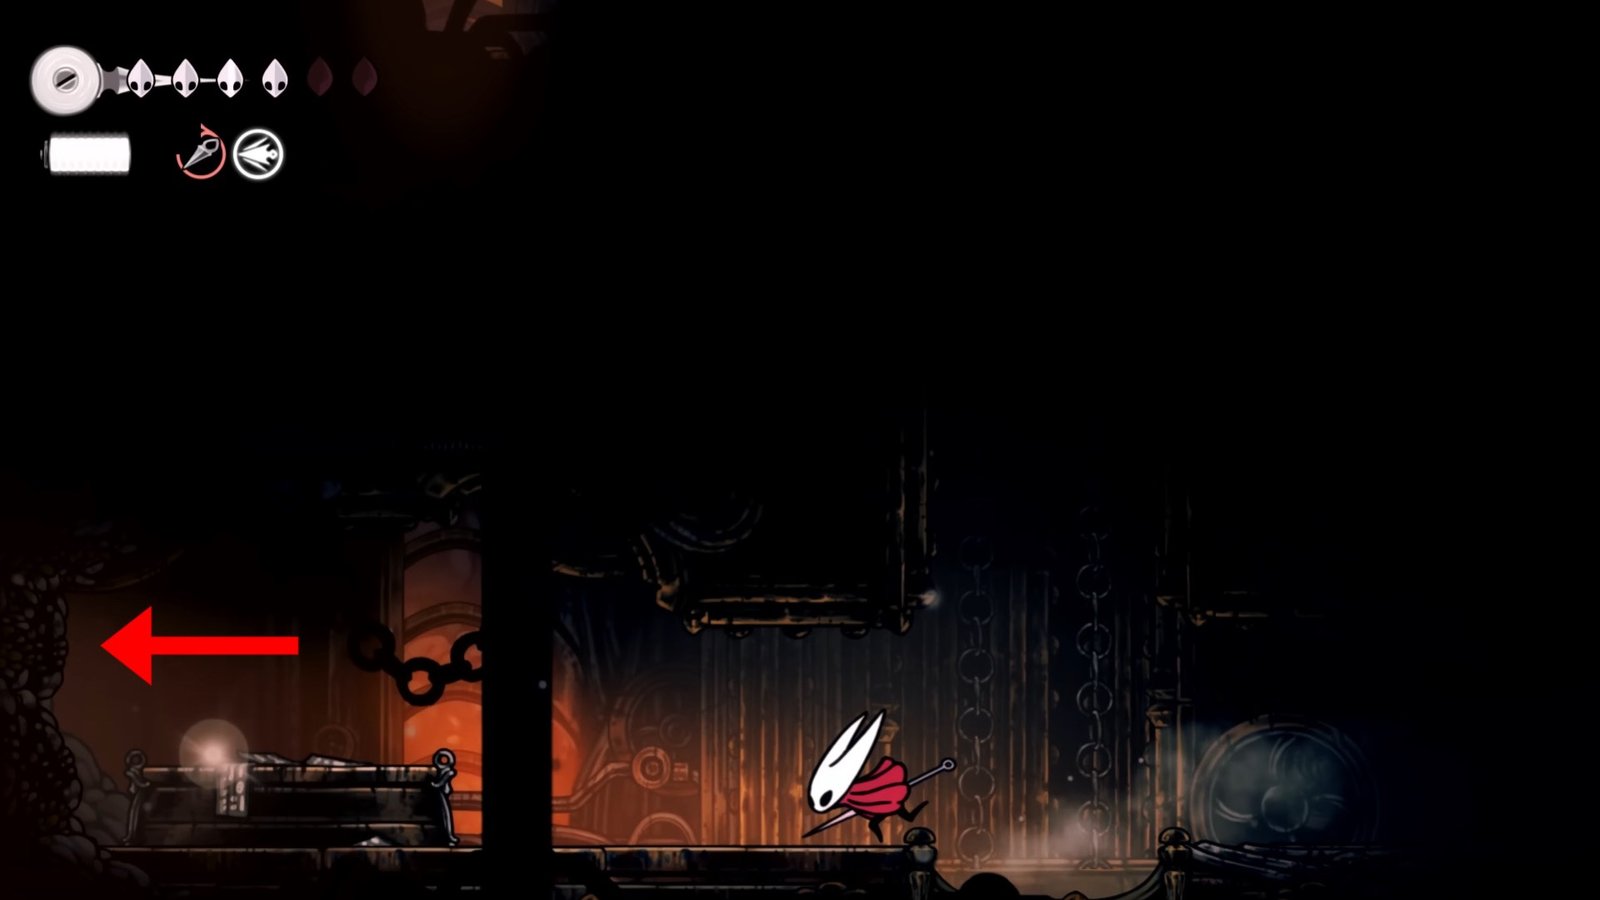
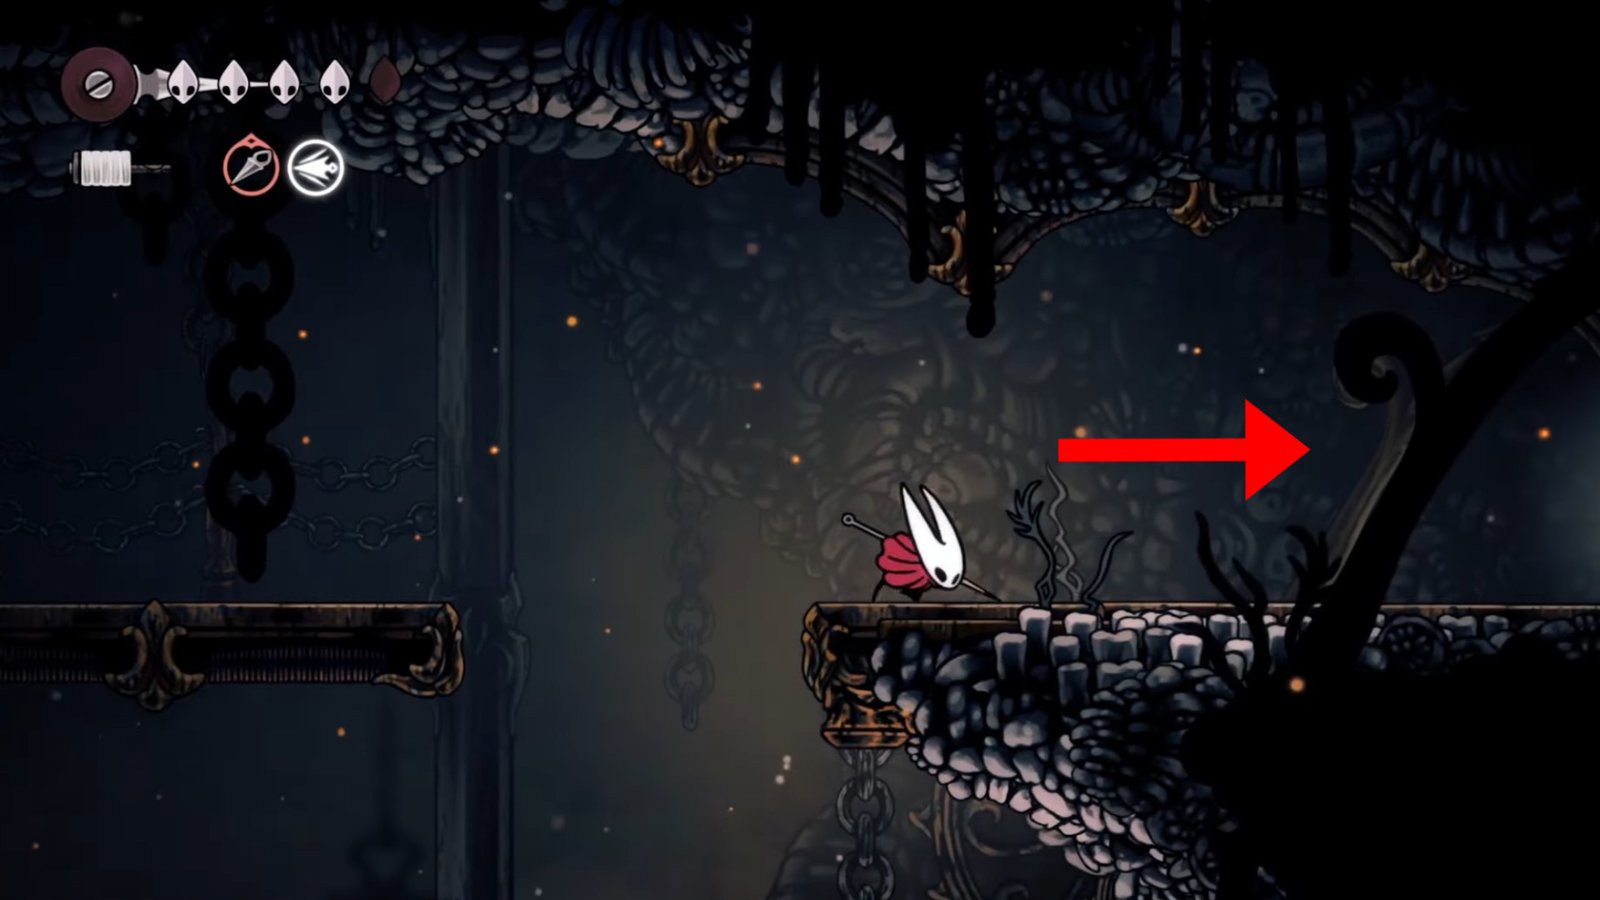
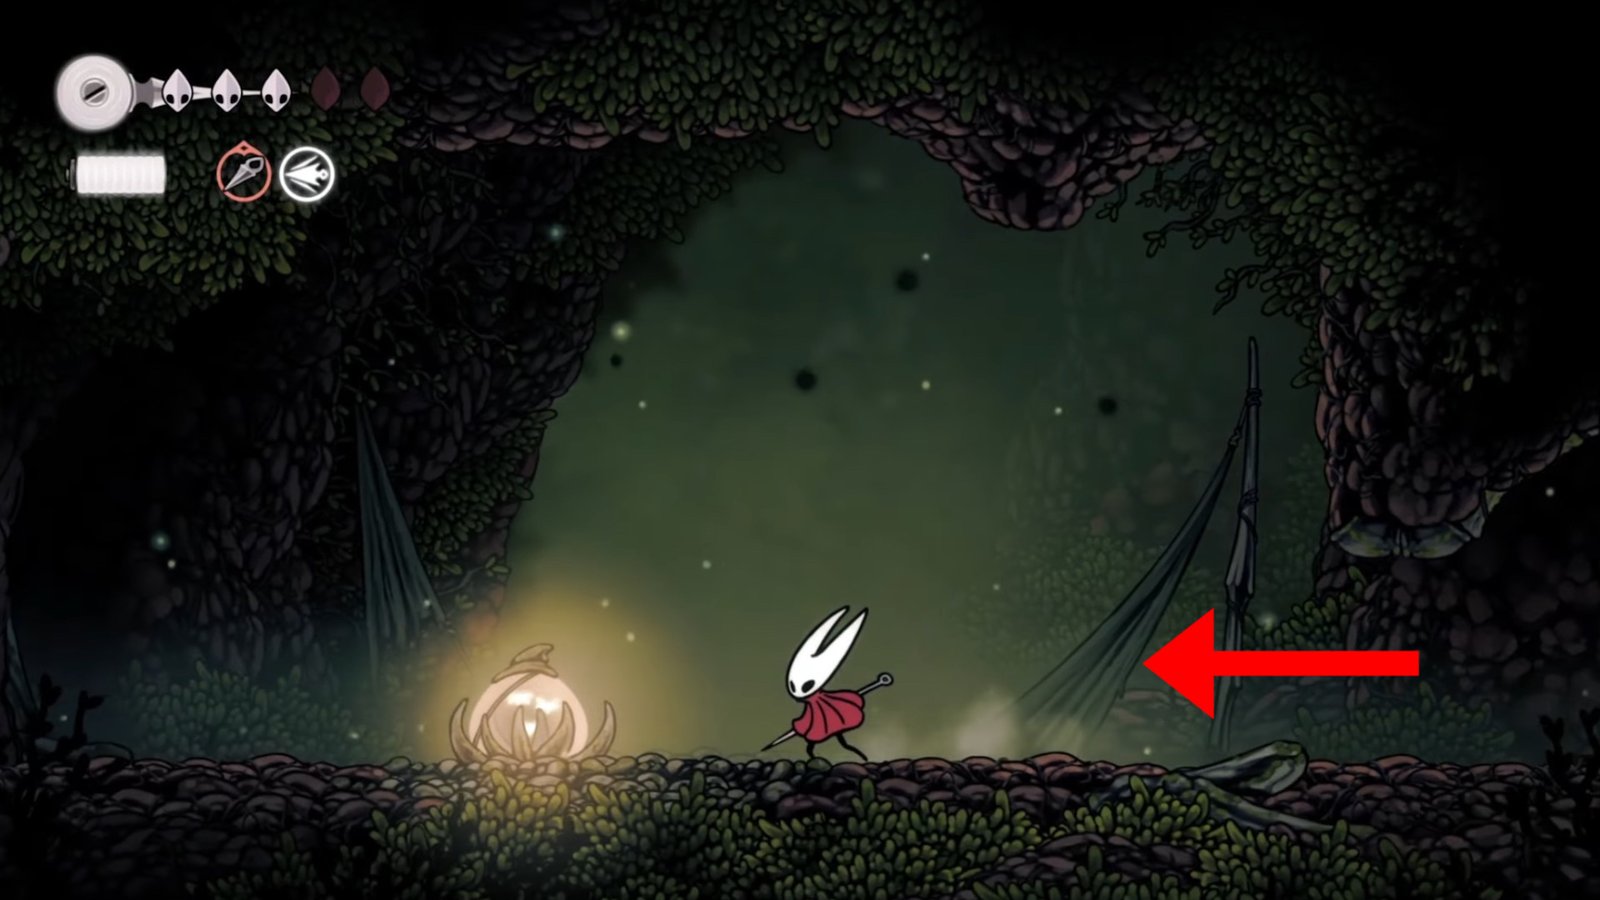
The first thing you should do upon entering the Deep Docks in Hollow Knight: Silksong is create a Bench. As soon as you enter Deep Docks, head to the far right to come to the next area. Here, you’ll find an elevator that can take you to the next floor. Use the elevator to climb up, then head left to find another elevator. Use that elevator to climb to the third floor, where you’ll come across a point of interest as you head right.
You’ll have the prompt to inspect it, and upon doing so, you’ll be asked to spend 30 Rosaries to build the first Bench in Deep Docks. You can use this as a checkpoint throughout the area to restore your health and perform various other activities. Rest at the Bench, then use the elevators to return down to where you came from. When you’re returning down, explore the areas beside it to collect some Shell Shards and Rosaries scattered around.
Buy The Deep Docks Map From Shakra
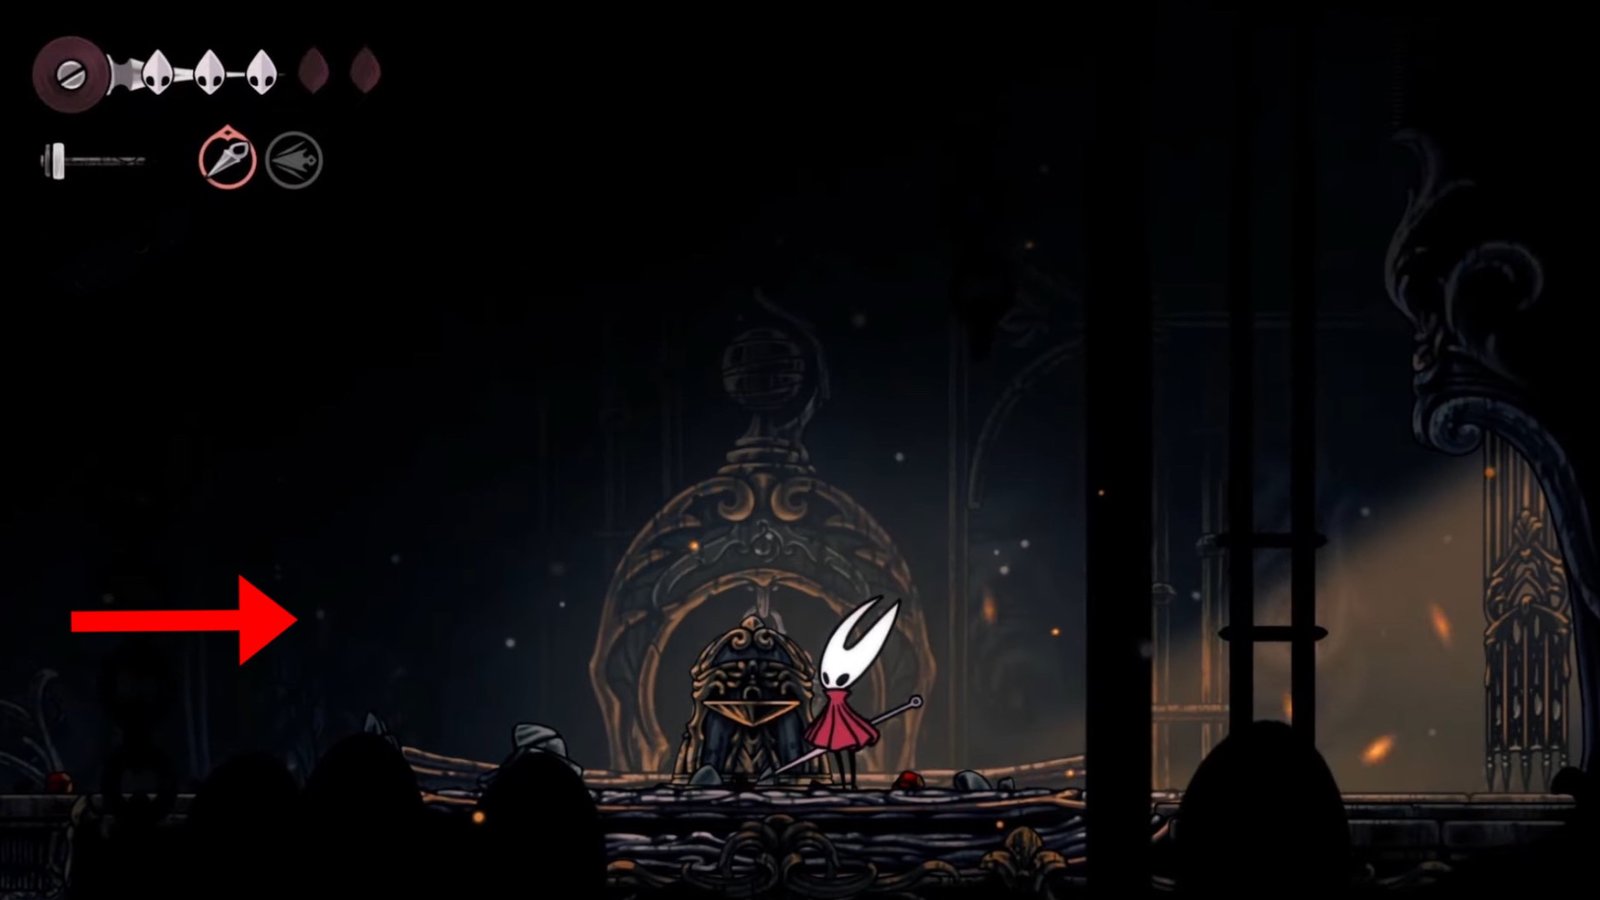
Mapmaker Shakra will be in the next area, located to the right of the first elevator that you used to climb up inside Deep Docks in Hollow Knight: Silksong. After you’ve climbed down using the first elevator, head right to approach the next area. First, climb up to defeat the enemy that launches explosives at you. Once you’ve defeated it, head down to find Shakra chilling beside a giant rock.
Interact with her to buy the Deep Docks map from her, which will set you back 50 Rosaries. You’ll need the map to avoid getting lost in this area, so we’d recommend purchasing the map if you can shell out 50 Rosaries.
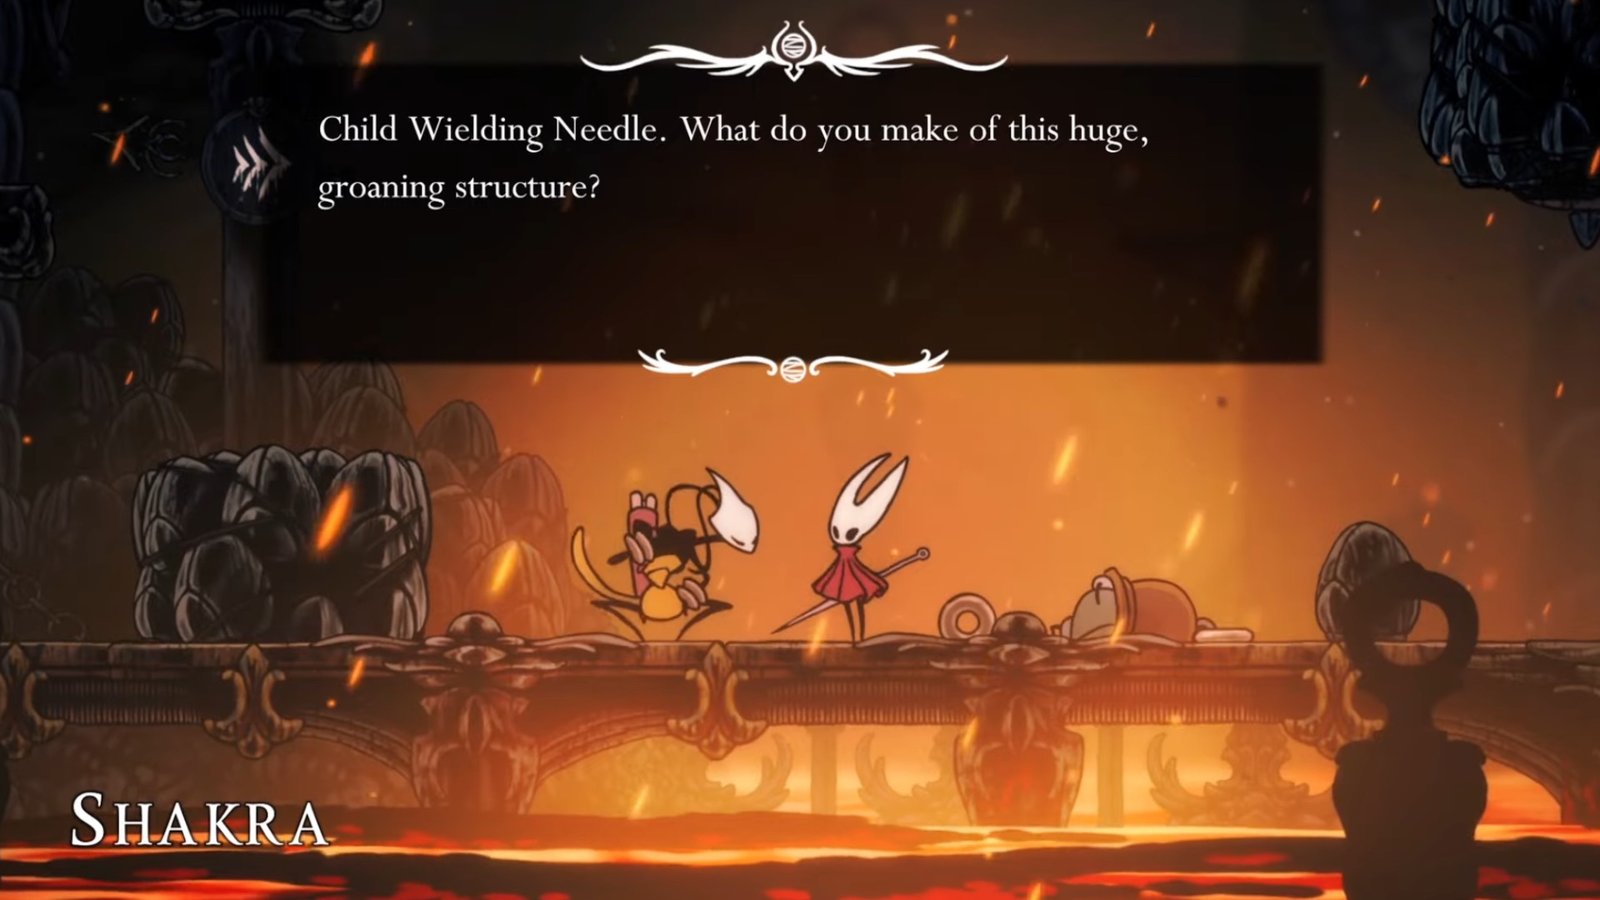
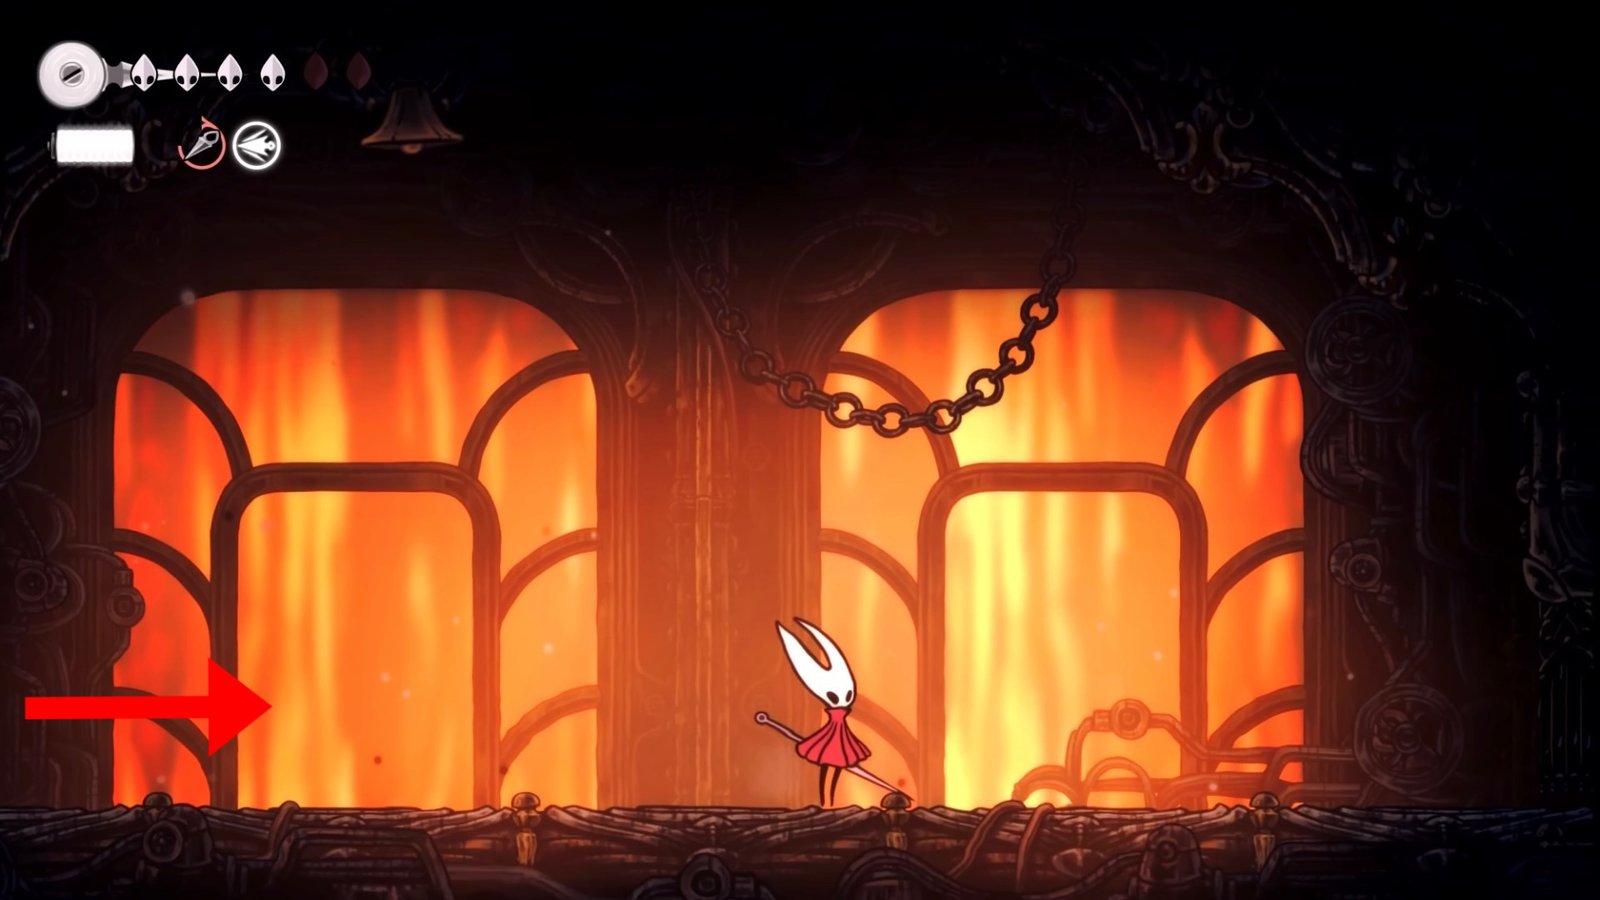
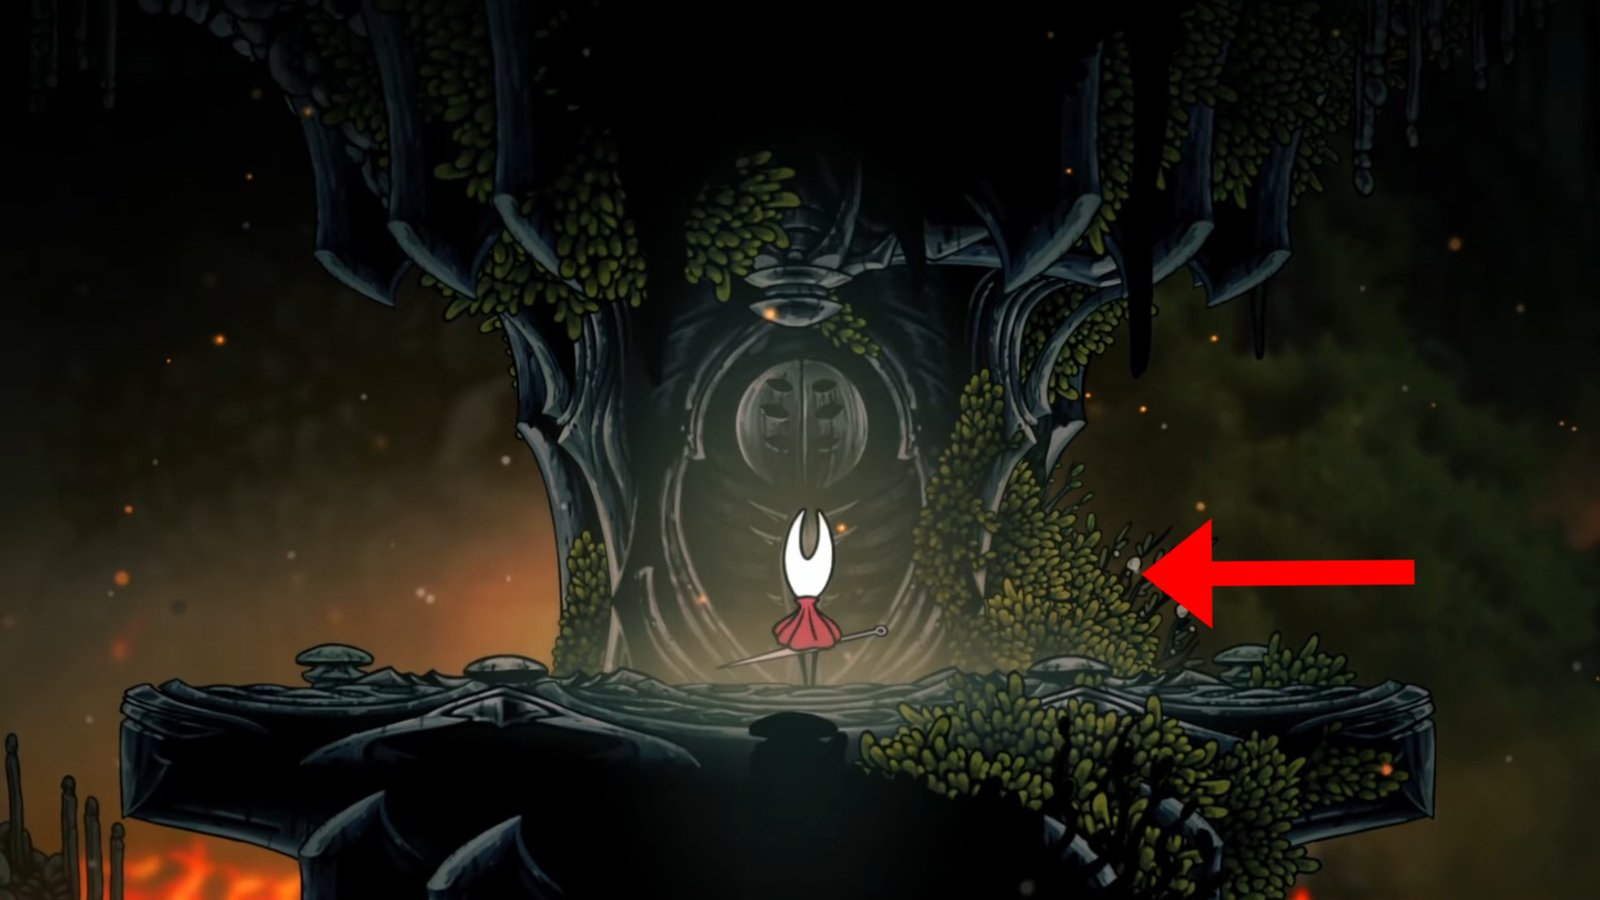
Once you’ve done that, head left behind Shakra, and progress through the waterfall lava area. Head left to find a spider-like enemy that you must take care of. Watch out for the lava waterfall, as it can kill you instantly. Then head right to locate the Deep Docks Lost Flea as a part of the Lost Fleas Questline.
Create the Second Deep Docks Bench
After purchasing the map of the region from Mapmaker Shakra, head right to enter the next area. Here, you’ll find the second Bench icon and a lever to the right. You’ll also find a Cage icon to the far right, along with a locked gate that gives you access to the Deep Docks boss.
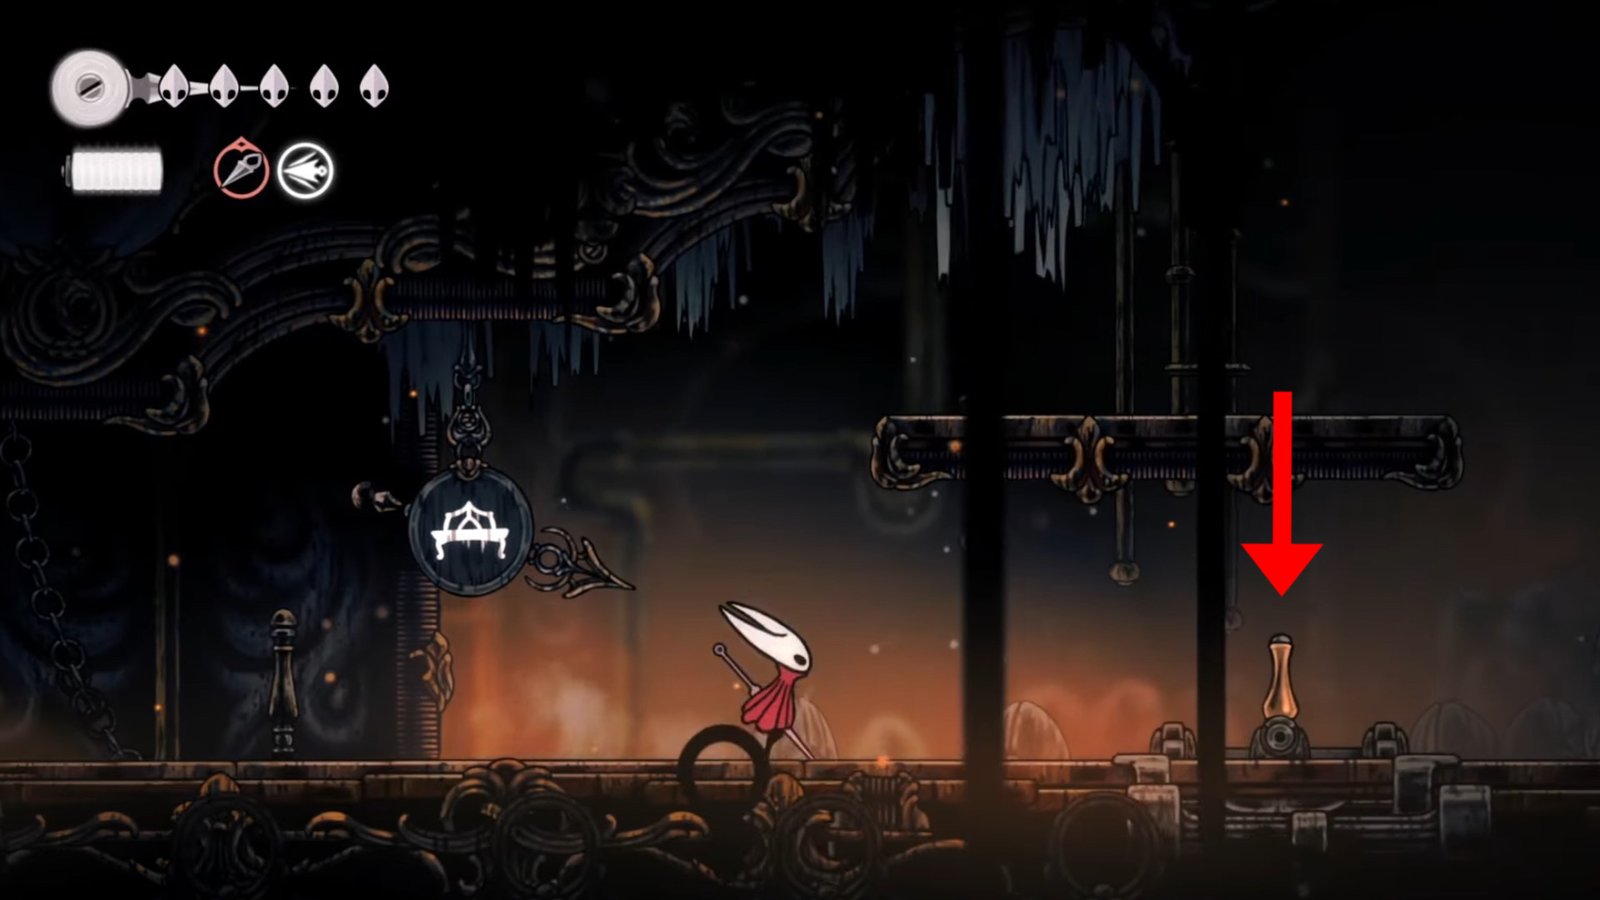
Hit the lever and go completely to the bottom to reach the option to build the second Bench to the right, underneath a firefly-lit lamp. Use 30 Rosaries and create the second Bench, which will serve as another checkpoint in your Deep Docks journey.
Inspect The Deep Docks Lore
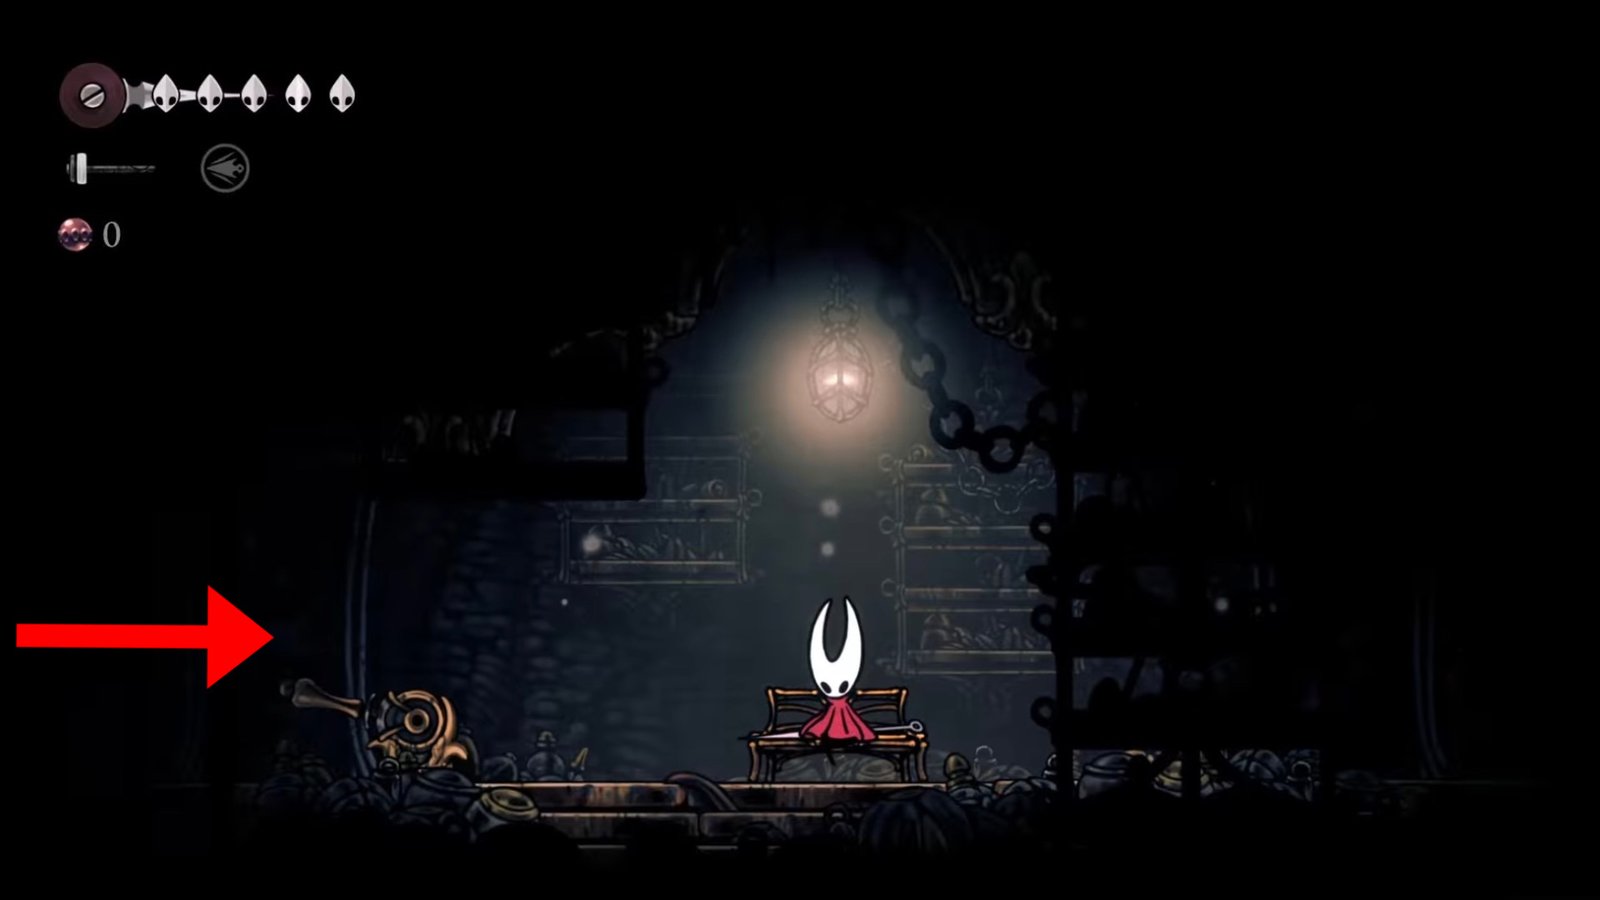
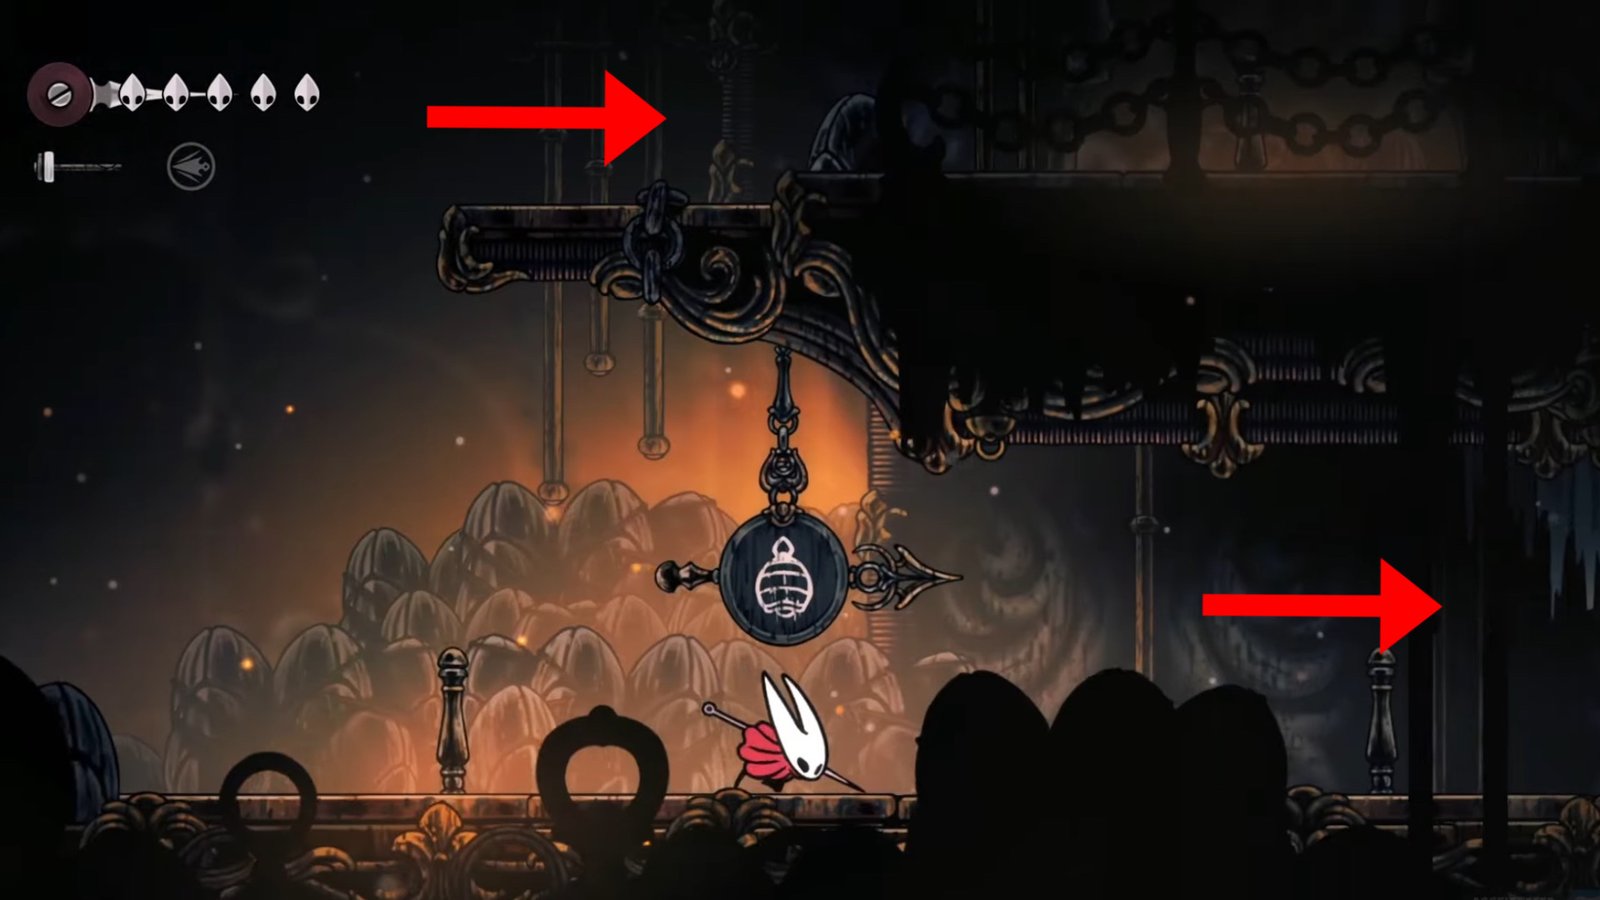
As you head back to the elevator that took you down from the Bench icon, activate the elevator, but do not jump on it. Instead, head right when the elevator leaves and jump up the two platforms to find a lever, located at the top left.
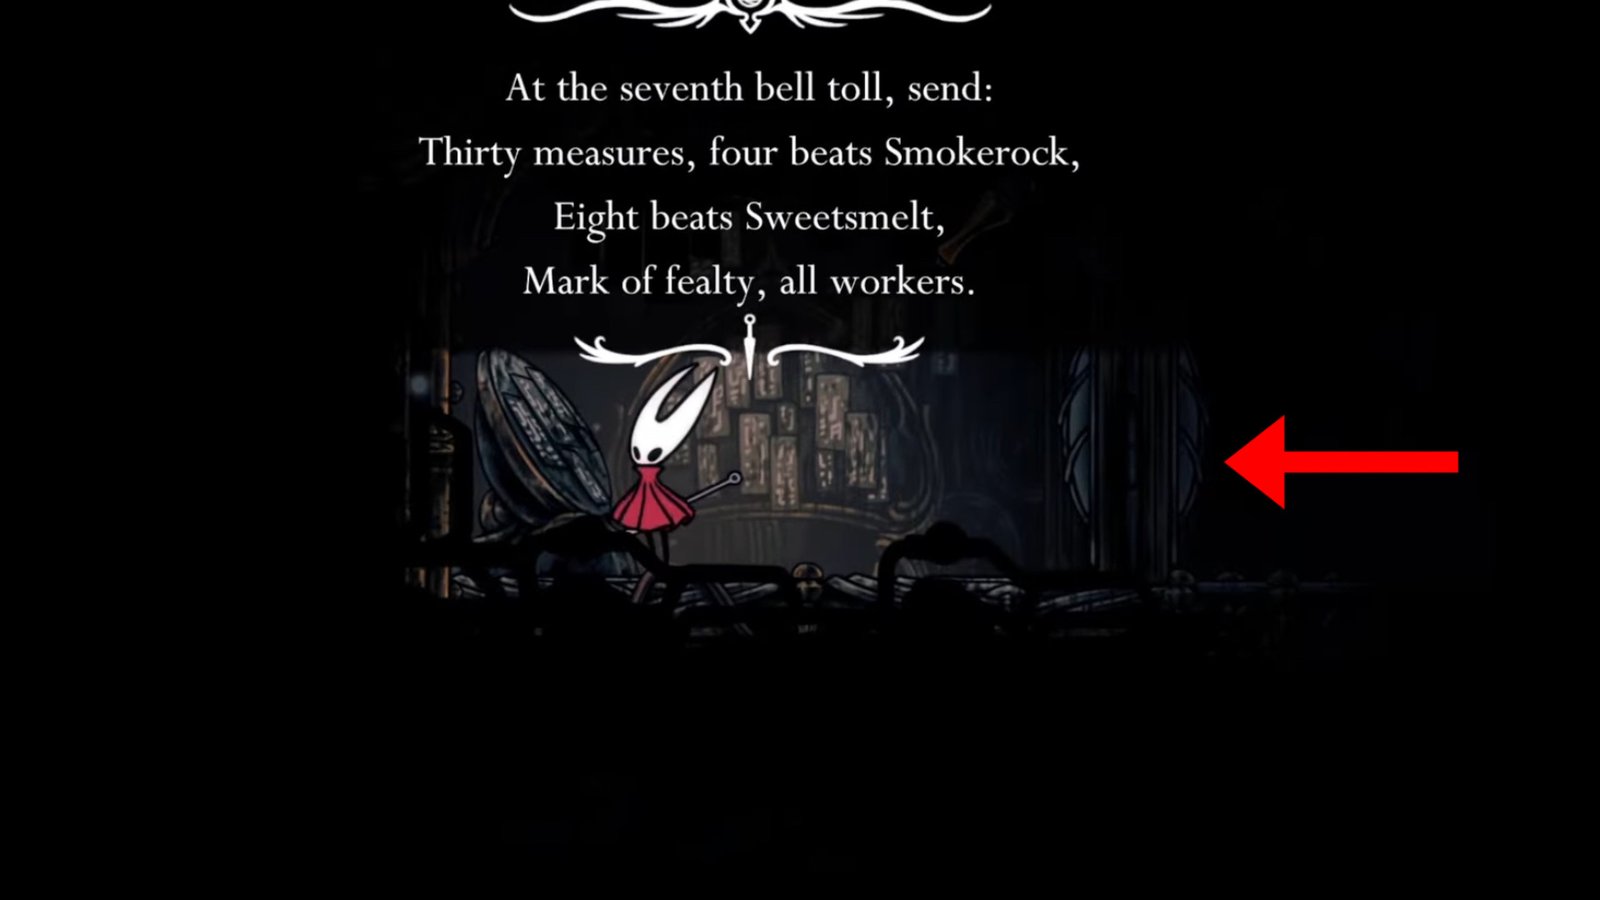
Hit the lever to open up a door to the left, which will contain the lore. Inspect the lore to dive into the backstory behind the Deep Docks in the game.
Then, get down and head right, where you’ll be locked into the area, and a fight will begin. This fight will contain various types of enemies that you need to deal with, including the flying ones as well as new shielded enemies who’ll charge at you. Dodge the enemy, then hit it on the back to defeat it. After defeating all the enemies, the next area located to the right will be unlocked.
Purchase the Magma Bell From Forge-Daughter
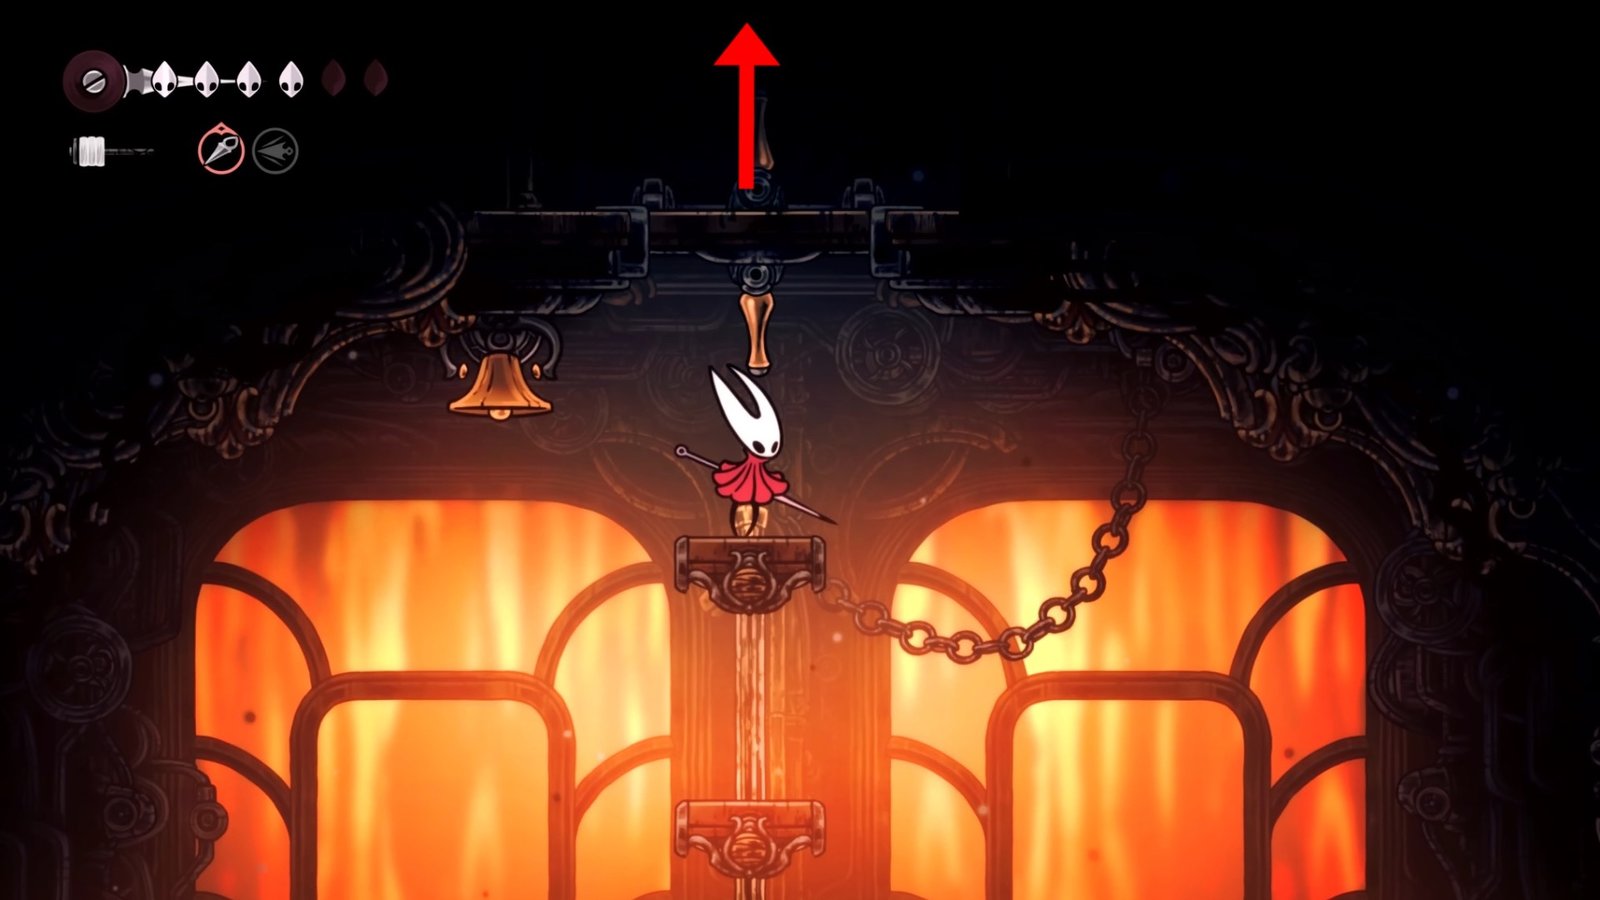
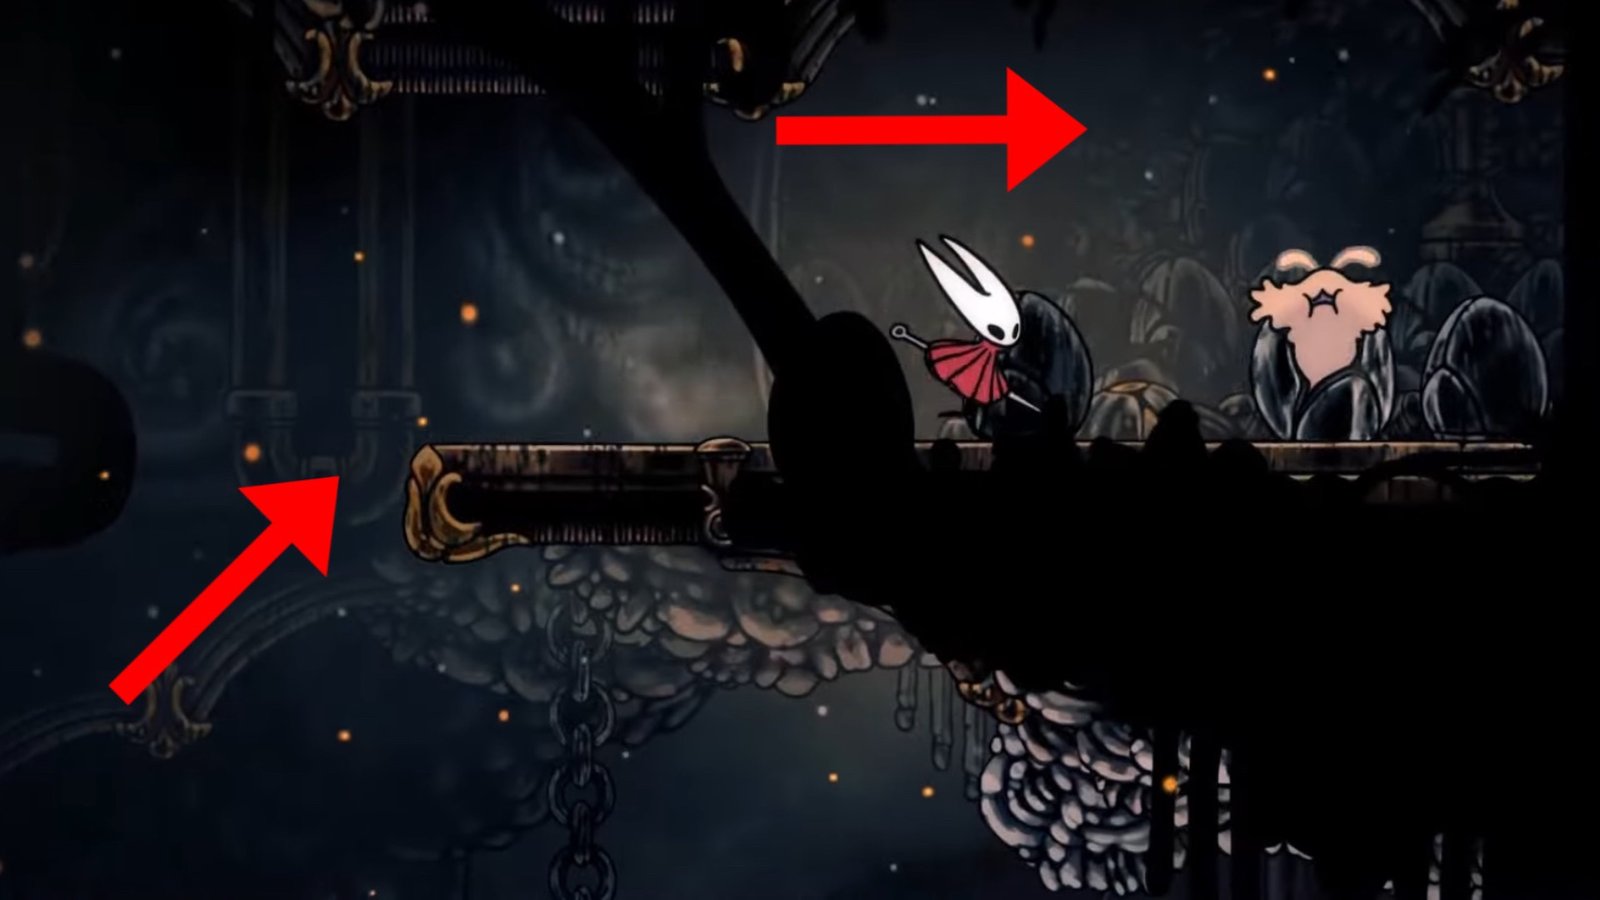
In the area where you fought the enemy waves, you’ll need to climb up and hit two levers on your way to the top. After you’ve reached the top, head right to find the Forge-Daughter.
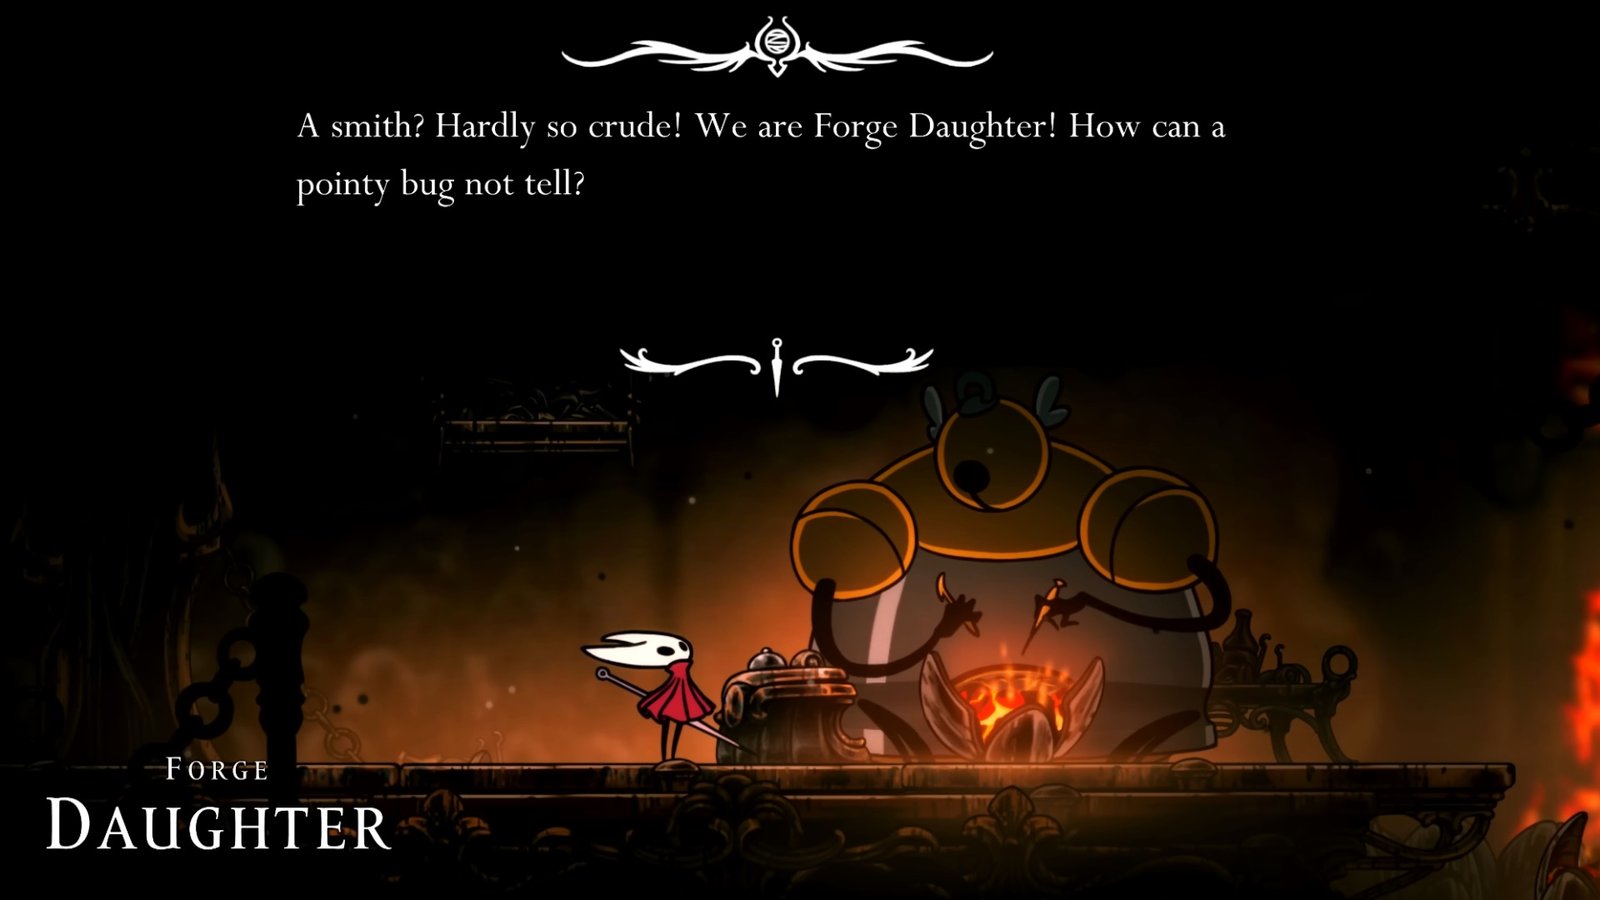
Purchase the Magma Bell from the Forge-Daughter, which will set you back 110 Rosaries, but it will help you traverse Deep Rock more easily, as it gives fire resistance. Then, sit on a Bench and equip the Magma Bell.
Collect the Spool Fragment
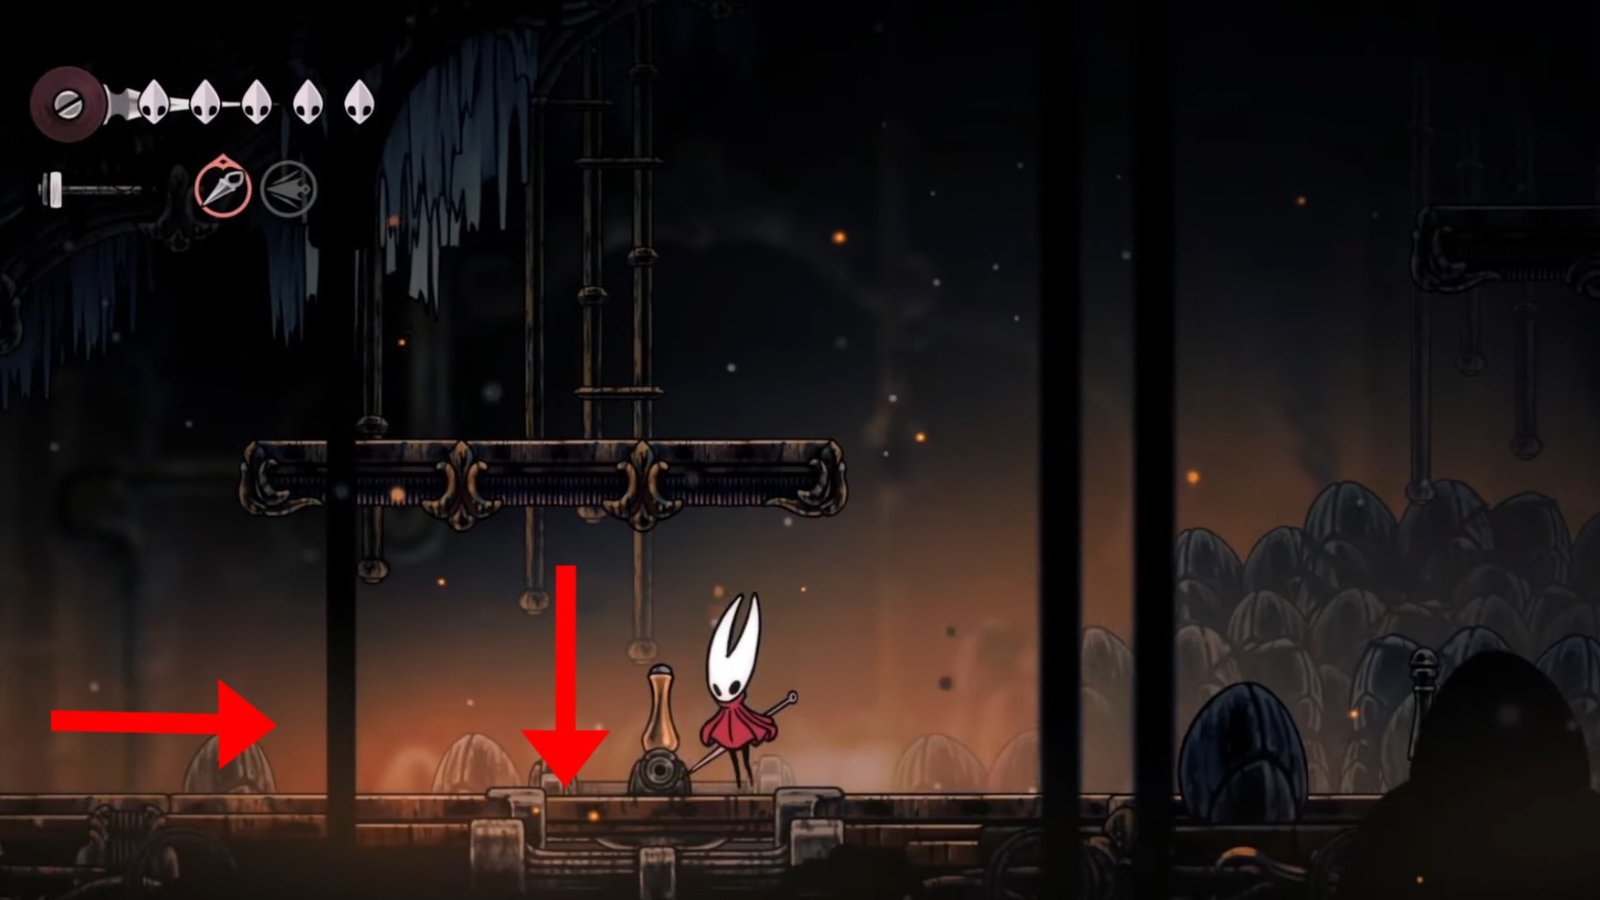
The Spool Fragment is found in the area to the right of Mapmaker Shakra inside the Deep Docks in Hollow Knight: Silksong. Once you push the lever beside the second Bench icon and drop down, take the second elevator to go down further.
Here, at the bottom, head left to find the Gate Key, which will be used later on for the Lace boss fight. Then, break the wall beside it and go further down towards the left.
As you keep going, you’ll face snail-like enemies that spew lava when you hit them. We’d recommend avoiding them completely, as they are easy to avoid. You’ll meet another flying enemy at the bottom that launches explosives, so take care of it.
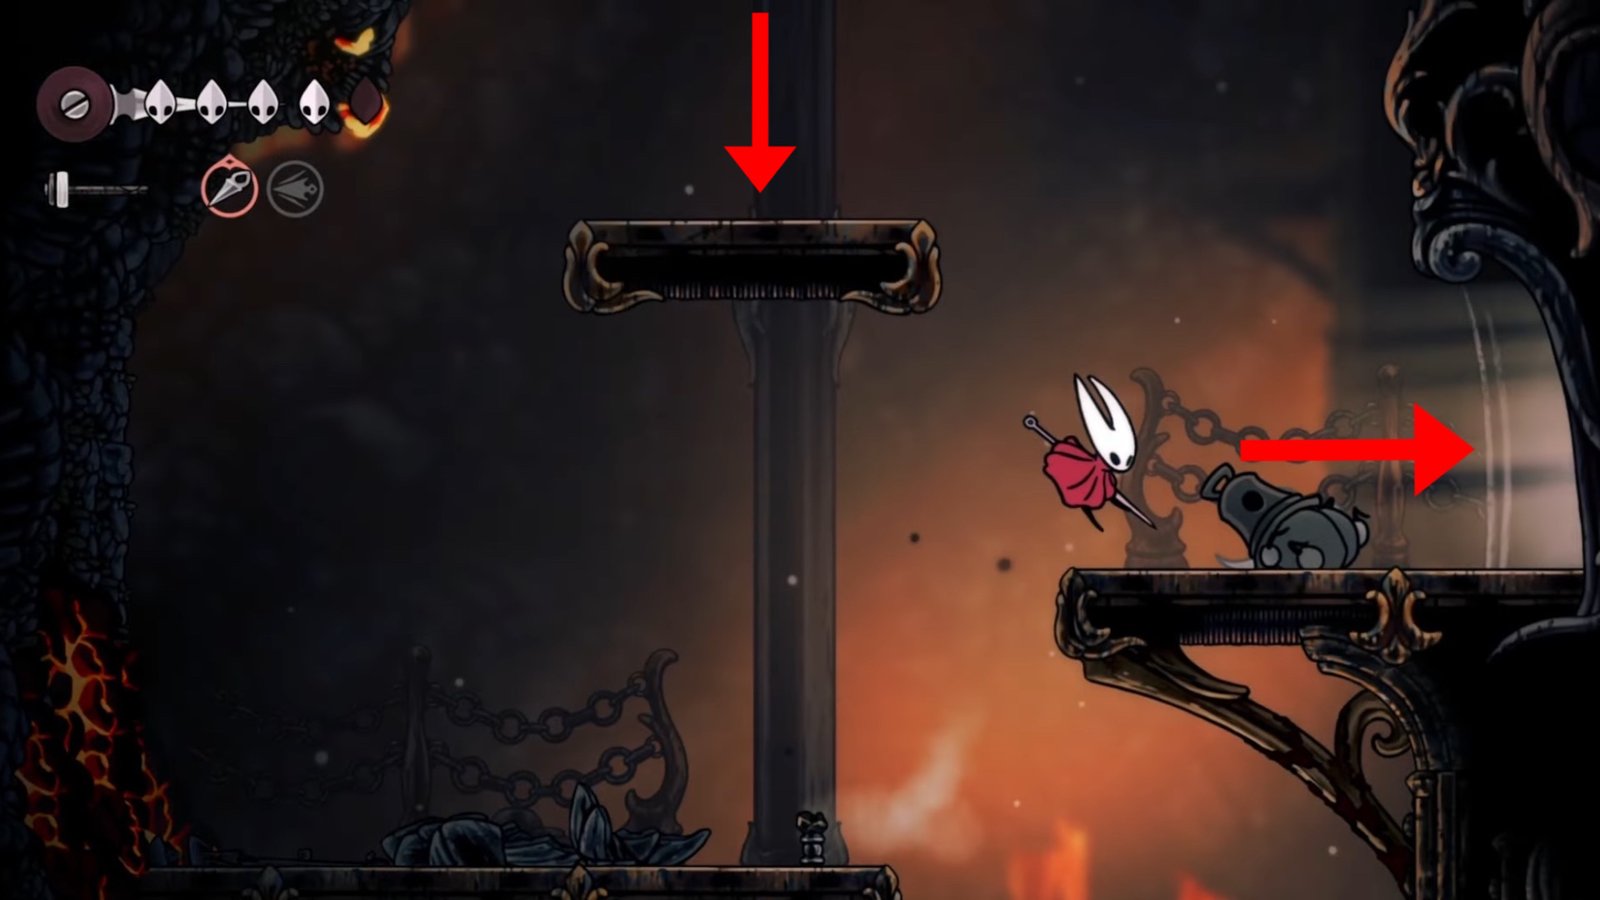
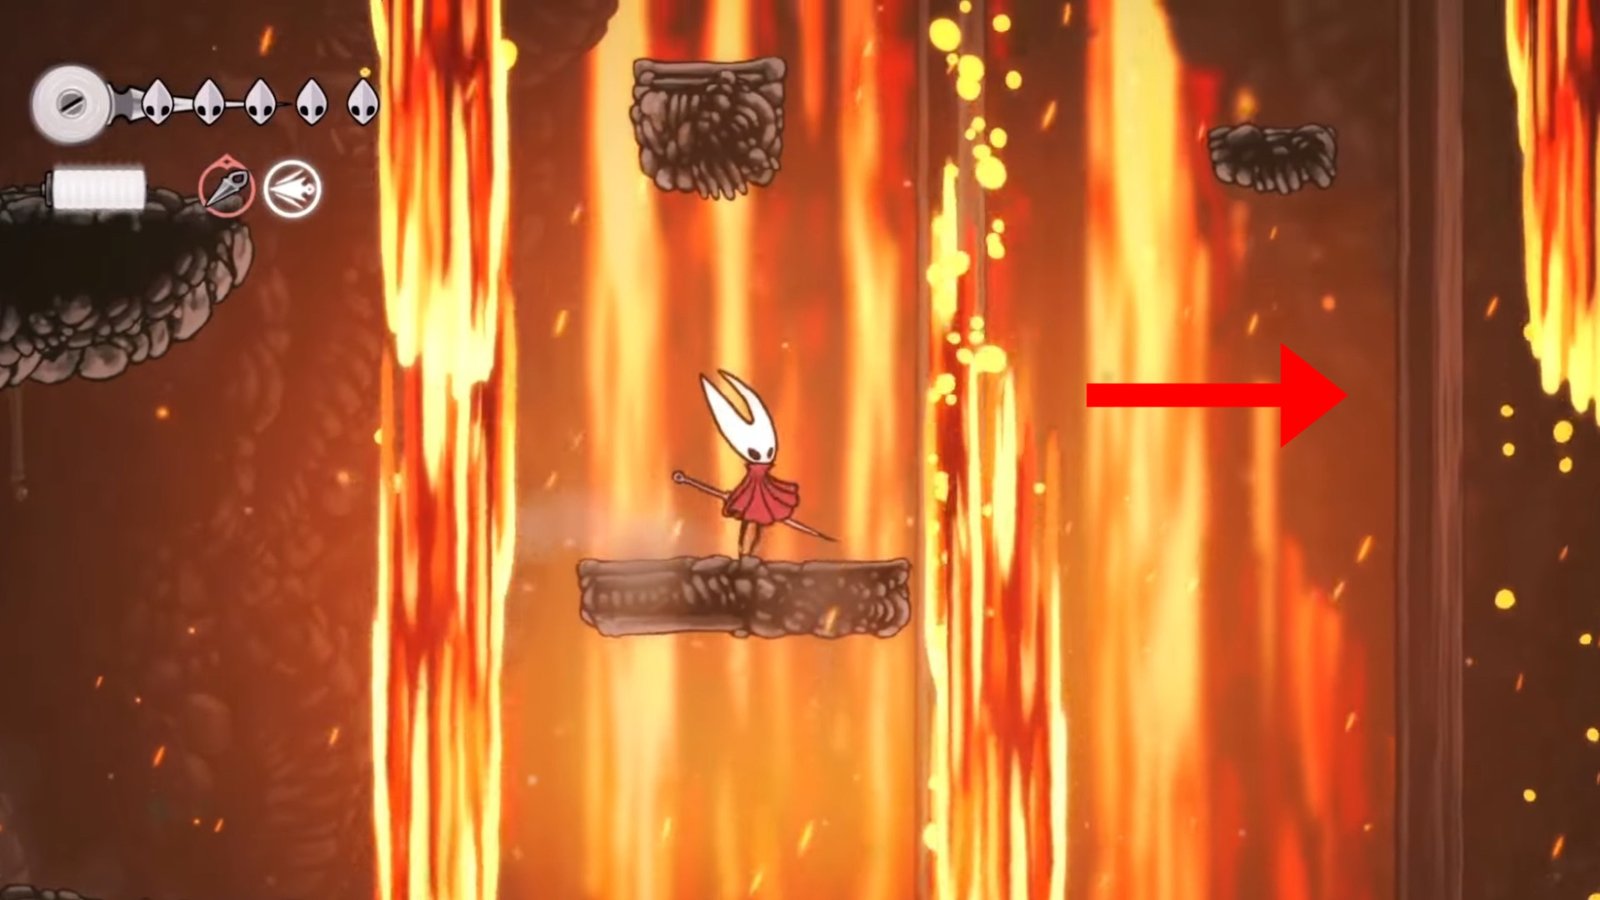
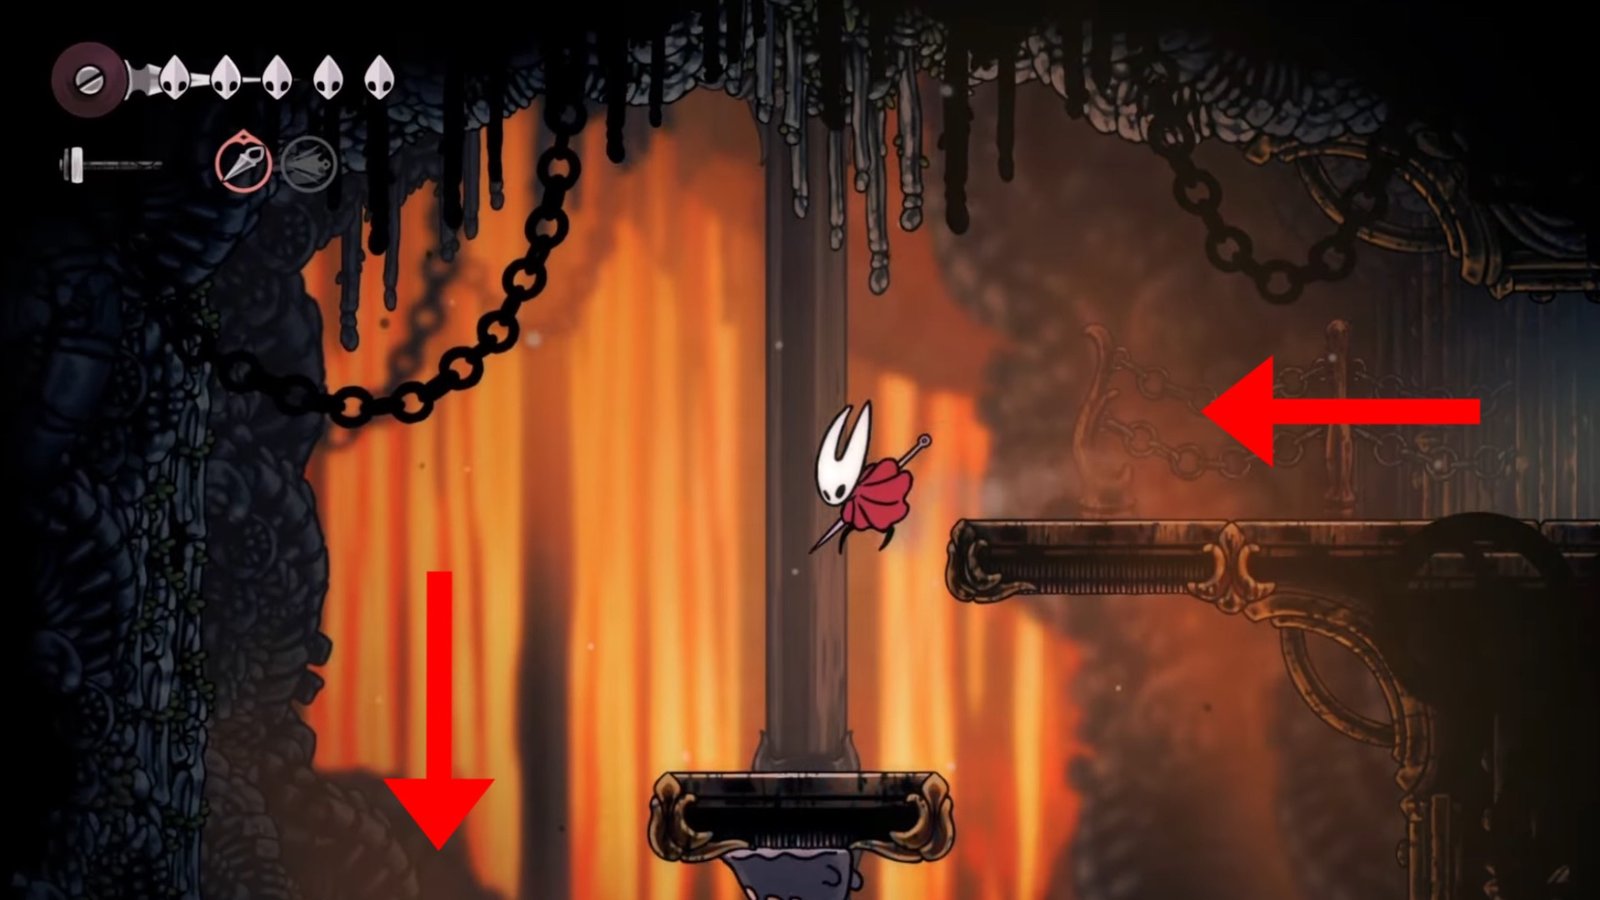
Just beside the flying enemy, you can find the entrance to the next area. You may also collect some Rosaries by defeating all the enemies in the previous area. In the next area, you have to cross the lava by jumping up and down, barely touching the lava. If you’re quick enough, the lava won’t hurt you. Head to the next platform and defeat the second flying enemy. Then, you’ll notice more rocky platforms with lava on them.
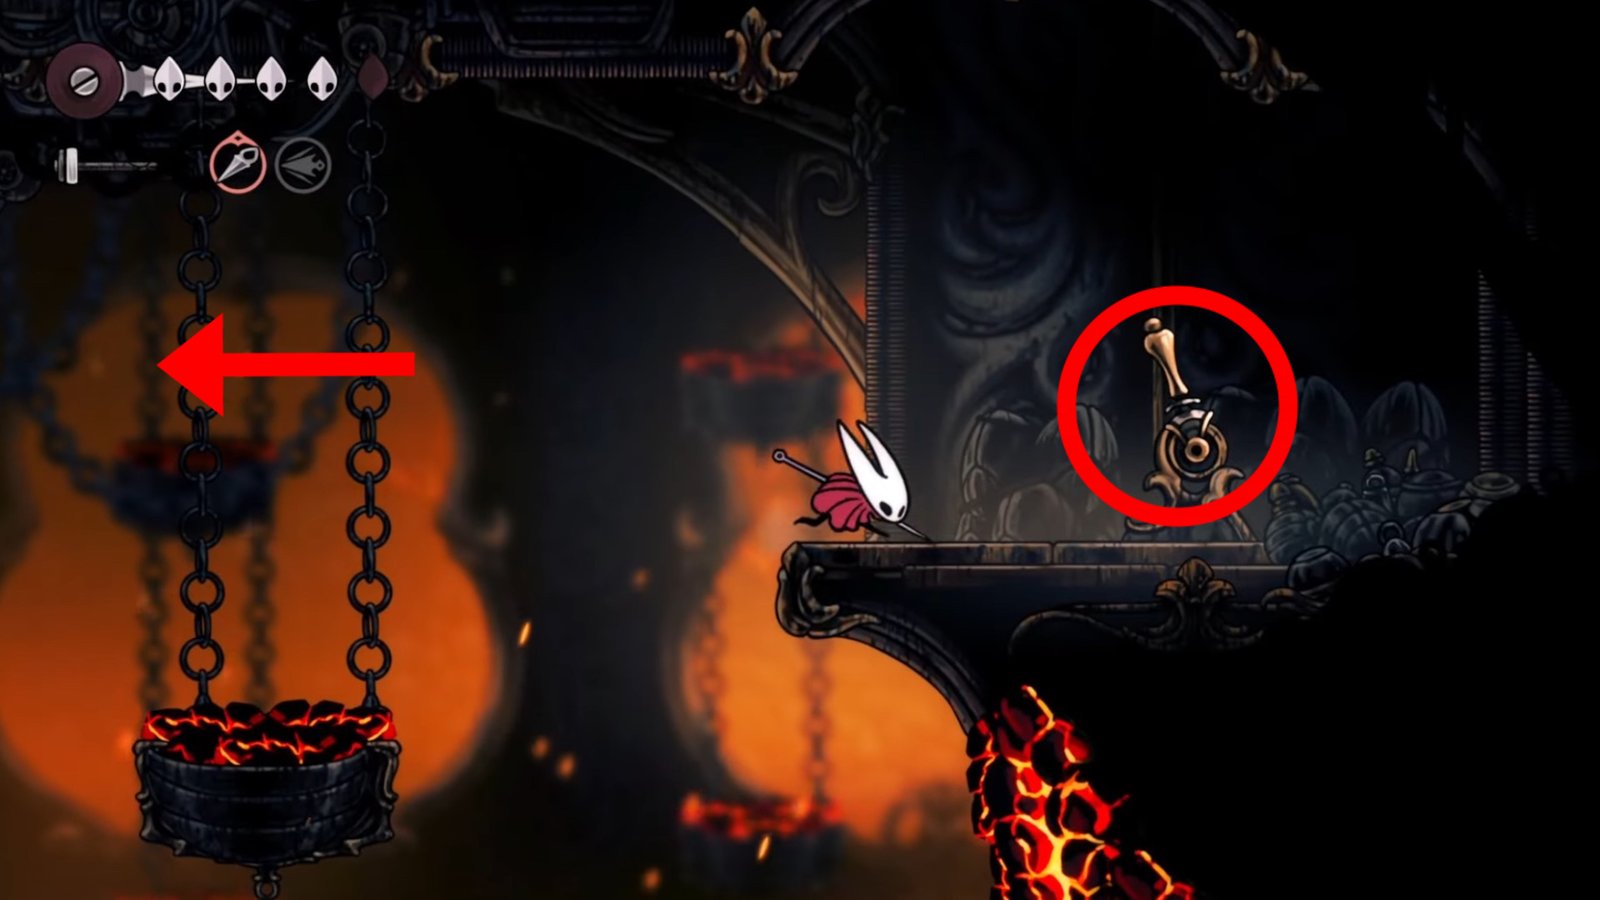
Here, the Magma Bell will come in handy. Use the rocky platforms to reach the other side at the top right, where a lever will be located. You have to be quick in jumping from one rock to another, as spending too much time on the rocky platforms will result in health loss from lava. Reach the top right platform, and use the lever. Then, turn left and use the same rocky platforms to reach the top left platform. Again, be swift about it.
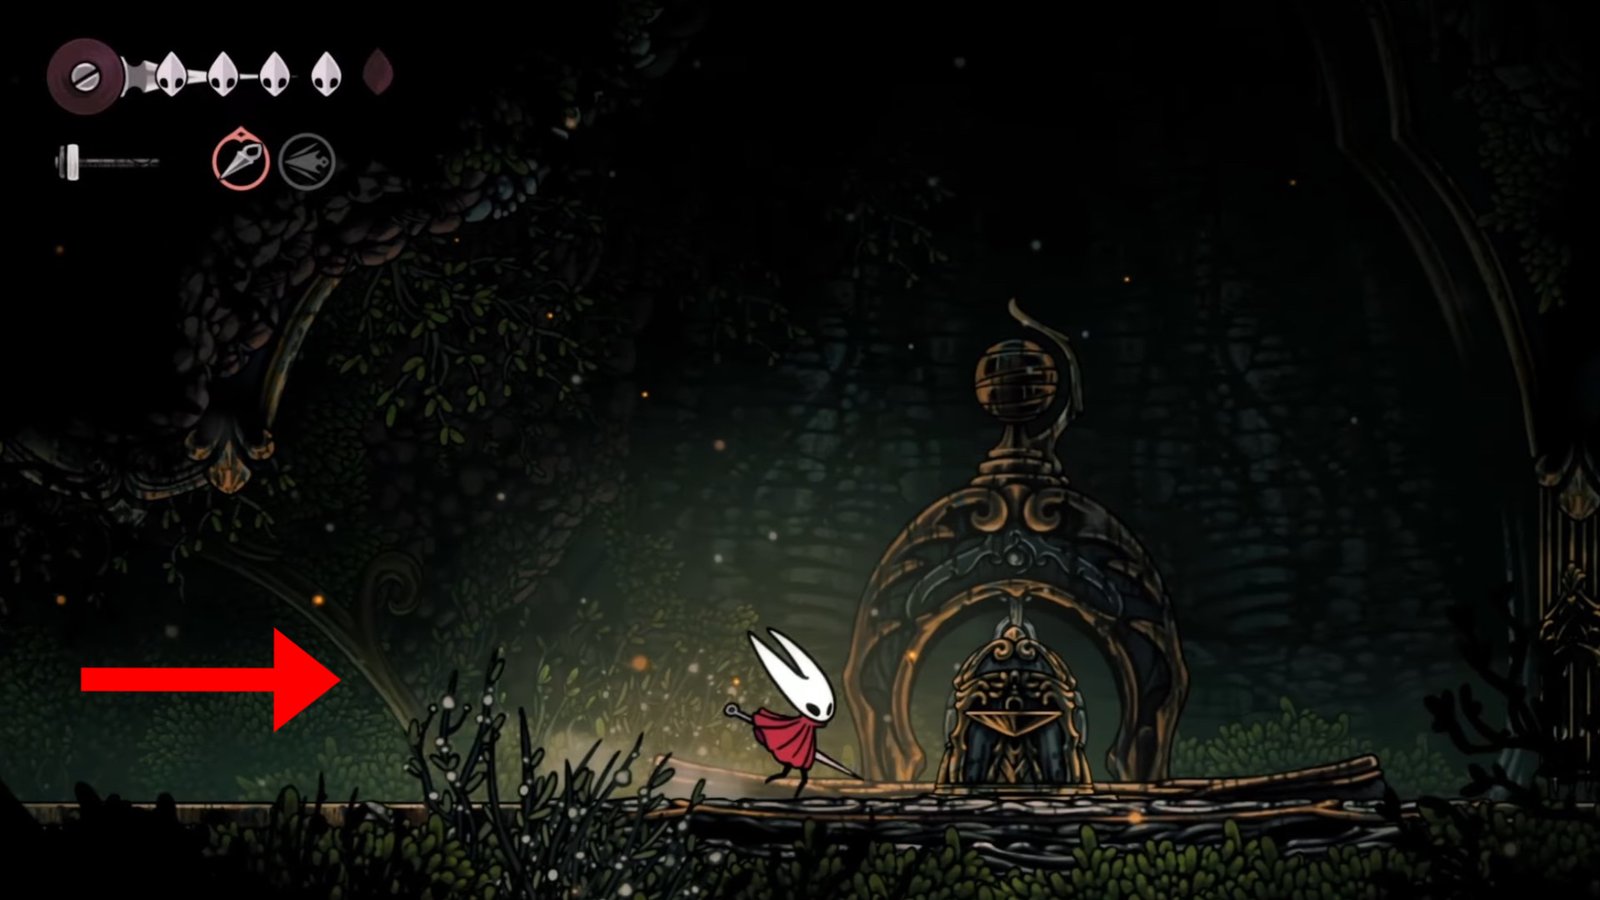
As you reach the top left platform, you’ll notice the Spool Fragment glowing. Interact with it to collect the Spool Fragment, then head left to find another level. It will take you back to the area from where you entered this location. Exit the area to the left.
Build the Third Deep Docks Bench
From Mapmaker Shakra, climb up to the very top using the two levers located on either side. At the top, head right to enter the next area. The next area will be riddled with different types of enemies as you progress to the right, from flying ones to dog-like and spider-like enemies, as well as red ants. All you need to do is head right, through the lava with quick movement.
The more you head right, the more enemies you’ll face. Once you’ve reached the end of the area, which will come very shortly after the red ant enemy, where you’ll find Rosaries, climb up the platforms, and you’ll notice a lava blockage of an opening at the very top. Hit the lava, then stay out of range to clear the opening, then jump up above to the next area. As you enter above, you’ll come to the next Bench icon.
From the Bench icon, head right to come to the third Bench in Deep Docks. Use 30 Rosaries, if you have them, to build the third Bench, which will serve as another checkpoint lest you die by the lava.
Unlock the Swift Step Ability
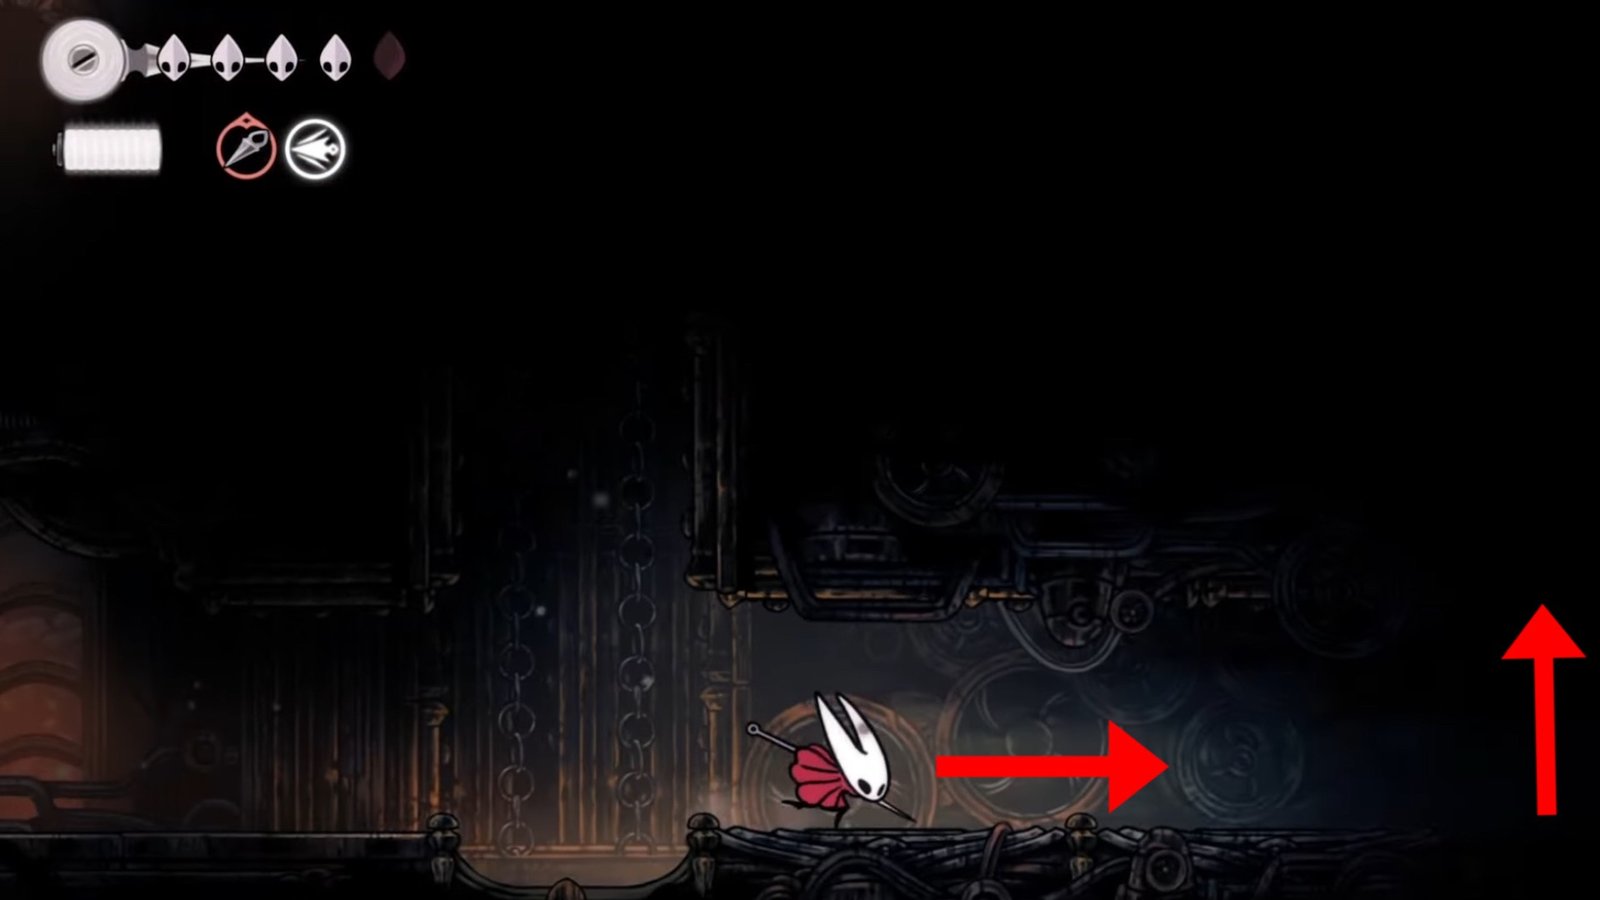
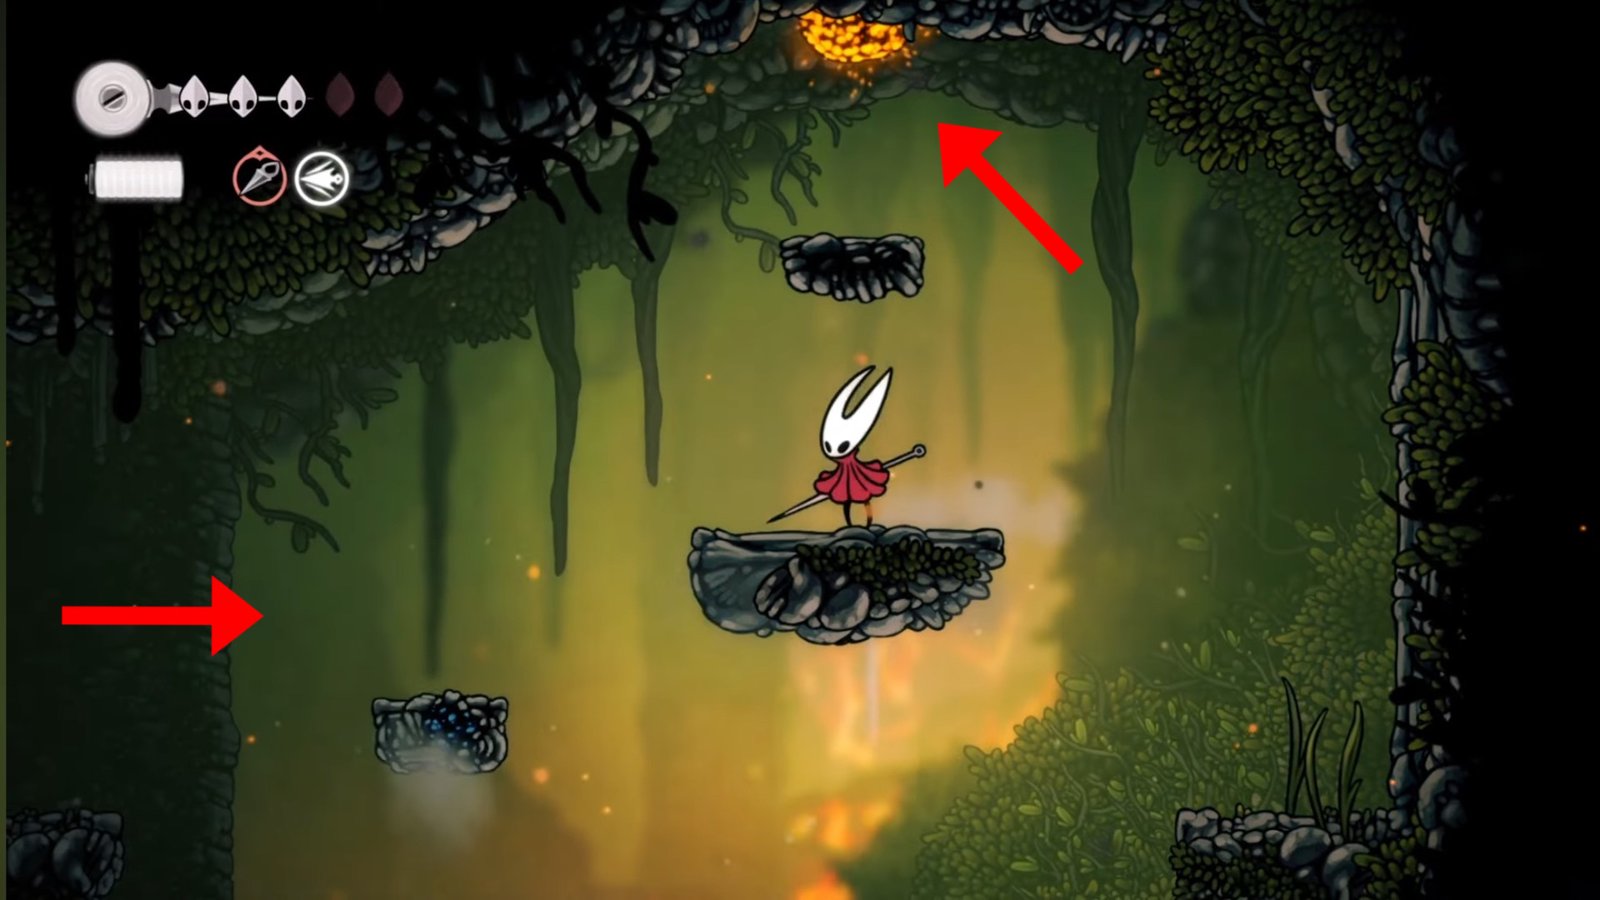
From the Elevator icon, climb up to the very top. As you progress up, you’ll be fighting more and more types of red ants, so be careful. Once you’ve reached the top, jump up through the opening to enter the next area. Here, after you head left, you’ll be locked in a room with a glowing orb, where you have to fight waves of enemies. Defeat all the ants to continue progressing to the next area. Then, keep heading left to drop down. Keep going further down, and avoid the spikes. There’ll be red ants to push you off, so watch out for them.
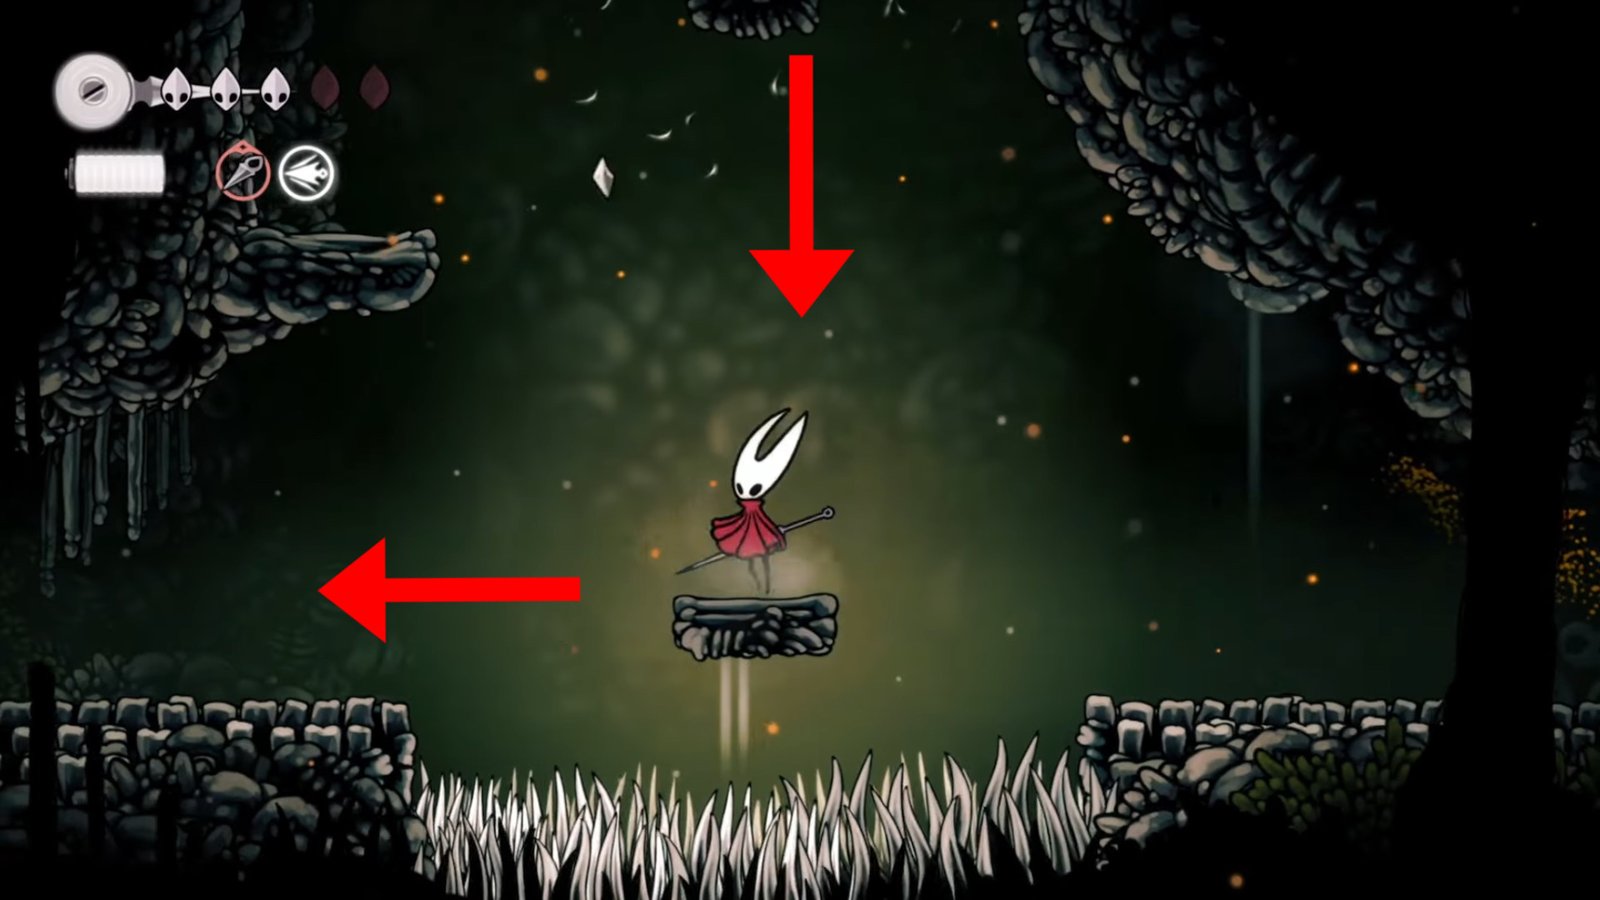
Continue heading down until you reach the platform with spikes below it. Then jump off the platform to the left to enter the next area. Here, you’ll have to repeat the swift movement to go past the level. It’s simple, keep jumping up and down and continue left to avoid taking any lava damage.
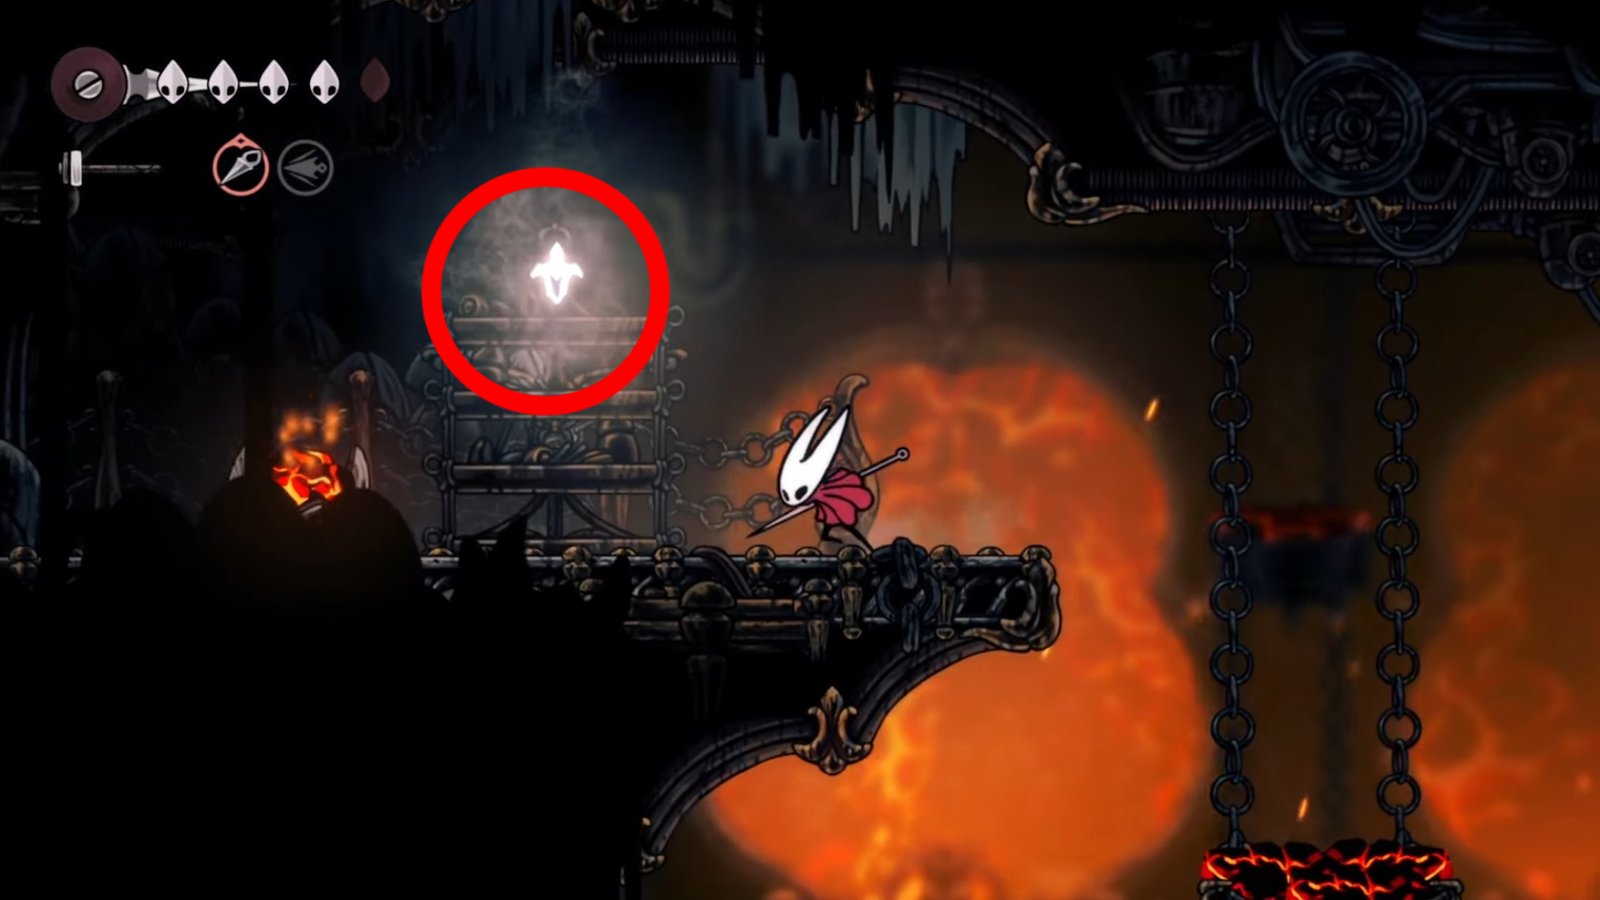
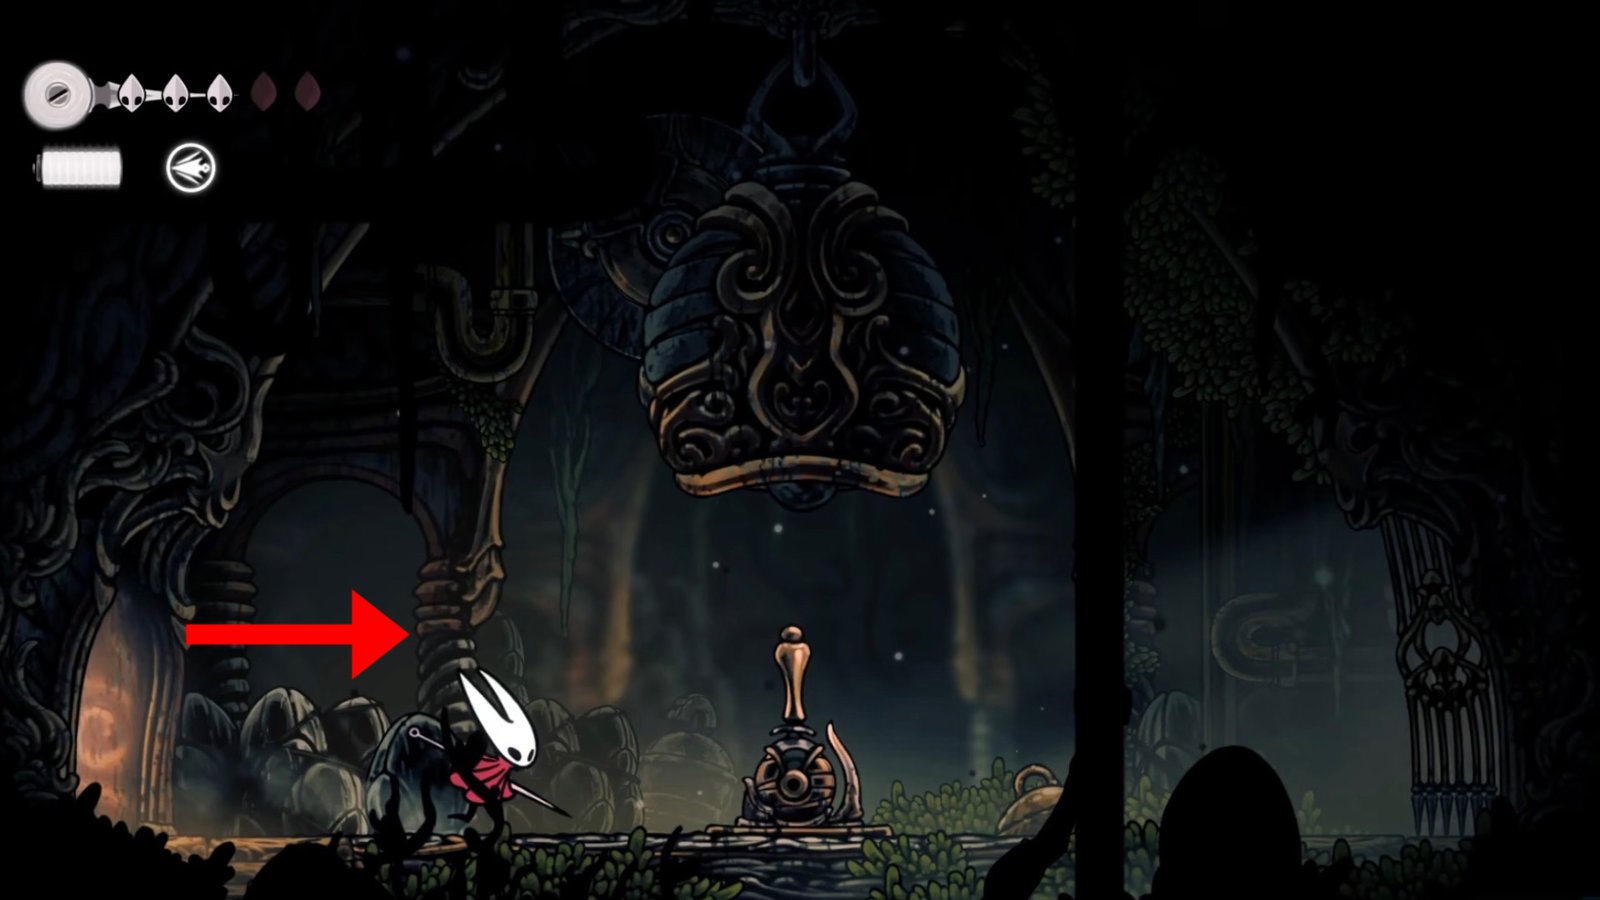
On the next platform to the left, you’ll find a point of interest with the ‘Inspect’ prompt. Here, you’ll be given the option to ‘Bind’, and upon doing so, you’ll unlock the Swift Step ability. Then, continue left using your newfound ability, and hit the lever to open the gates and create a shortcut to your third Bench.
You can also find another Lost Flea by heading left from where you unlocked the Swift Step Ability. Head to the complete end, hit the lever, then turn right and jump up to the next platform to find the Lost Flea, which will contribute towards Fleamaster Mooshka’s Wayfarer Quest.
Lace Boss Fight
Now, you must head back to the area with the second Bench in Deep Docks. Once you’ve reached the bench, climb up to hit the lever atop, and get to the second Bench icon. Then, head left, and you’ll notice the Cage icon gate. Just above it will be a padlock to open the gate. Here, use the Gate Key that you obtained earlier in the Deep Docks. Entering the area will trigger the Lace boss fight, the final section of Deep Docks.

Lace will charge at you multiple times throughout the fight. Dodge her with the Swift Step ability, read her patterns and react accordingly. She can be a tough fight if you don’t use your abilities effectively. Get in some hits whenever you can, dodge her when she’s charging at you, do not challenge her when she’s in the air and use your Swift Step as well as other abilities like Sting Shards and Straight Pin to take out the boss with ease. The fight will last for a couple of minutes, so restore your health fully with the help of Benches before heading into it.
Exiting Deep Docks
Once you’ve defeated her, head right to find a lever with a bell above it. Hit the lever to cause the bell to ring, which will open up another gate to the right, giving you access to the Deep Docks exit. Here, you’ll also get the fourth Deep Docks bench just below the bell when it stops ringing.
Restore the health you’ve lost at the Lace boss fight by resting at the Bench, then head right to reach the next area, Far Fields. That brings us to the end of the comprehensive Deep Docks walkthrough in Hollow Knight: Silksong. For more guides on the game, check out the ones on how to defeat the Savage Beastfly and Moss Mother bosses.