


The dungeons in Throne and Liberty are worth the hassle of clearing it to collect some rare loot from the boss drops. With the introduction of 2-star dungeons, you will find that the bosses are exceptionally difficult to beat, and it requires some planning to defeat them. One of the tougher dungeons to clear is the Voidwastes, which is home to the Shakrux. Shakrux might seem like an intimidating foe, but this guide will show you how to clear the dungeon and defeat the boss in Throne and Liberty.
How To Clear 2-Star Voidwastes Dungeon In Throne And Liberty
Once you spawn into the dungeon, navigate up the path while avoiding the golden barriers called Scorched Earth popping up from the ground. You will ultimately reach the area of the first mini-boss, Blatras.
Blatras Boss Fight Guide

The fight is pretty simple, as Blatras has one main attack. It will pull all the players towards it and project several barriers to deal AoE damage. Quickly run away and attack from afar. Repeat this step till Blatras is defeated. Now clear the rest of the mobs in the area and advance towards the second mini-boss, Belkros.
Belkros Boss Fight Guide
The mechanics for Belkros is the same as Blatras, the only difference being that Belkros will pull all players towards it and spawn a dark orb barrier. Interact with the orb twice to dispel it and release two barriers instead. Move away and attack the mini-boss to defeat it. Once that’s done, you will reach the arena where you can face Shakarux.
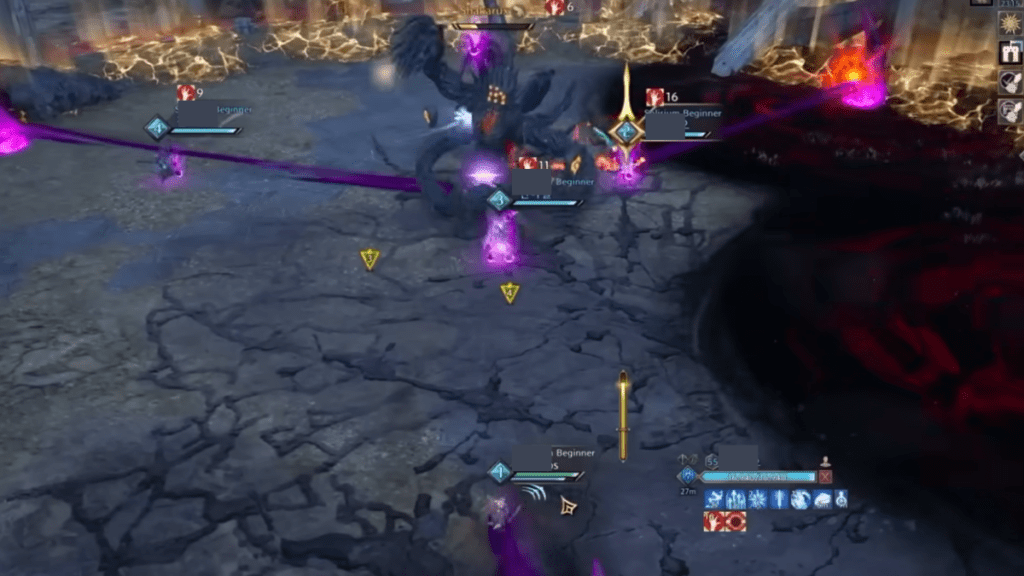
Shakarux Boss Fight Preparation
You will notice six upright horns within the arena, surrounding the outskirts. Out of the six, three of the horns will emit a dark ray that will cause a stack on the boss. You can mark the position of the horns using pointers so you and your teammates can take position in front of them to block the beam. You also need to form pairs with your teammates so that two players can take turns standing in front of the horn. Usually, the best lineup is to pair a tank with a healer, and match all the DPS (melee and/or ranged) together.
Shakarux Boss Fight Guide

Now that you are prepared, summon Shakarux into the arena. Immediately a purple diamond will form on it, roll and dodge the oncoming AoE attack. Next will come the beam attack, and we have detailed how it works below.
Beam Suppression
The horns that emit the beam will start glowing purple. Once the beams are released, you and your paired player should take turns to block the beam. Whoever is blocking the beam will get a stack over them, and once the stack reaches 30, the affected player will die. Hence the need to take turns, as once the player leaves the purple beam, the stack reduces.

Similarly, the more the boss gets affected by the beam, the more its effect stacks up. Once the stack reaches 30, there is a full wipe, thus ending the fight. As long as the boss isn’t in direct contact with the beam, the stack on it will reduce. You can continue to attack the boss while in the beam’s path, and Shakarux won’t pose much of a threat during this time.
Targeted Attack
Once the boss’s health is down to 90%, it will put a marker on the player furthest away from it and release an attack beam on them. Usually, players will know that they are the target when they spot a red marker on them. To avoid getting hit, run back to the horn nearest to you, the marker will be gone after a while and you can rush back into your attack position.
Yellow Zones And Yellow Breath

Random yellow pools will appear on the floor, and players standing over them must move away to avoid taking damage. At the same time, Shakarux will place a different type of marker on the player closest to it. The marker will resemble a yellow flaming ball, and whoever has it should note down the horns that will start glowing yellow instead of purple and will have markers over them too. What happens next is that the boss will release a spew of yellow breath, and whoever is in front of it will take damage.

The marked player should lure the boss to target the horns with the same marker to destroy them. Shakarux will follow the target, so use this to your advantage and stand in front of the yellow horns. Failure to break one or both the horns will make Shakarux create an AoE attack, and the damage will increase depending on how many horns are left. At less than 40% HP, the boss will do this mechanic twice, choosing different targets each time. The attack power of Shakarux will also decrease right about now, so your heavy attacks will work here.
Yellow Orbs

When Shakarux is below 50% and 30% HP, yellow orbs will appear over all the players. After a while, they will explode and deal damage. To deal with it, get close to the boss and let your healer max out your HP, there isn’t much you can do about reducing damage from the hit here besides being on high health.
Red Orbs
At 40% HP, two random players will have red orbs appear over them. When this happens, the affected players should move furthest away from everyone in the arena. The orbs will displace themselves from the player after a while, and when this happens they should quickly run back to their positions to avoid the AoE explosion from the red orbs.
Rinse and repeat the above steps to completely down Shakarux and clear the dungeon. As your reward, you can claim the following:
Confirmed Rewards On Defeating Shakarux
- 750 Abyssal Contract Token Points x1
- Dimensional Soul Shard: Shakarux x4
- Precious Polished Crystal x1
- Training Dew: 10,000 Points x10
Optional Rewards
- Ascended Guardian Gloves x1
- Bindings of the Unstoppable x1
- Eldritch Whispers x1
- Forbidden Arcane Chain x1
- Gauntlets of the Field General x1
- Mana Blood x10
- Phantom Wolf Gloves x1
- Precious Emeret Ore x8
- Precious Marind Ore x3
- Precious Omnipotence Parchment x4
- Precious Parchment x4
- Precious Rubrix Ore x4
- Precious Stalon Ore x12
- Reaper’s Soul x2
- Resonance Blade x1
- Shadow Harvester Grips x1
- Shock Commander Gauntlets x1
- Spider Silk Collar x1
- Swirling Essence Gloves x1
- Warlord’s Shroud x1