

")
The things we do for achievement, the answer is a lot. Missing out a platinum that you could’ve achieved in your first playthrough is something that every collector hates. I’ve been at the end of that road many times, and it doesn’t feel good at all, once you find out that you could’ve gotten all the collectible items but decided not to, now you will have to run the same game over again to get the trophy. If you are planning a fresh run in the world of Silent Hill 2 Remake, then this guide will help you get the All Glimpes Of The Past Locations for the Echoes Trophy in the game.
All Glimpses Of The Past Locations In Silent Hill 2 Remake
There are 26 Glimpses of the Past present in Silent Hill 2, getting all of them will unlock the Echoes trophy.
Glimpses of the Past gives you a flashback of the original Silent Hill 2 upon interaction. When you interact with any one of them, the screen will experience a distortion and sound will also get affected as well,
While some of them do sound easy to get, there are quite a lot of missable ones, you want to get them all on one playthrough. All the Glimpses of the Past can and should be collected on one playthrough, missing a single one will cut your route to the achievement. With that in mind, make sure to do a background check before you head to the main story route. Unlike other games, Silent Hill 2 doesn’t feature Chapter Selection or Free Roam for you to find the items after seeing the game credits.
Tips:
- Collect all the Glimpses in one playthrough. Or you will have to start all over again.
- Use the manual saves, just in case you rush into the next stage missing the item.
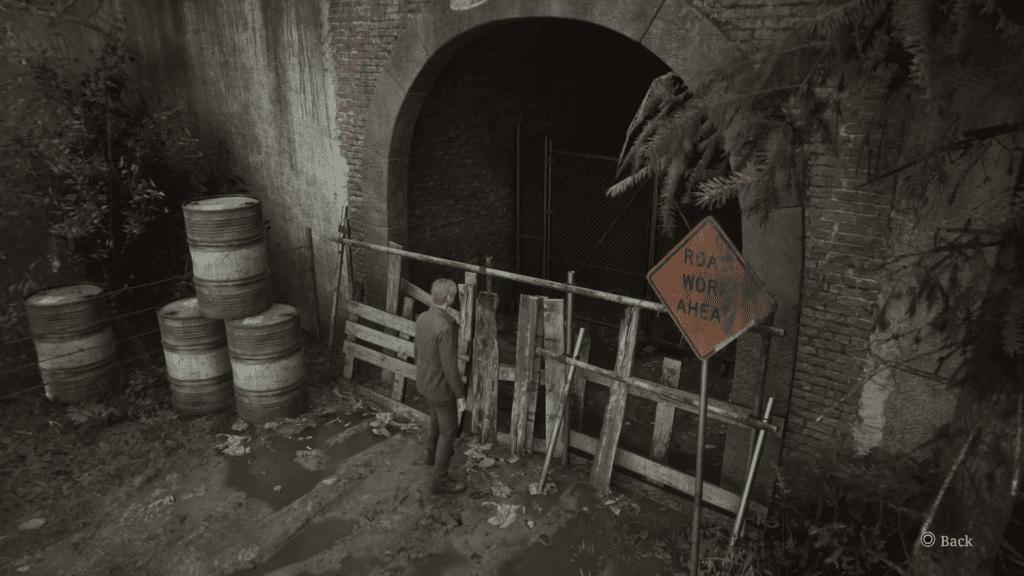
#1 | Nathan Street
When you first get on Nathan Street after leaving the Silent Hill Ranch, you will find a bridge on your left, here you will find the First Glimpses of the Past in a barricaded Tunnel. It’s the same tunnel that James climbed through to fight off the monster in the original.
#2 | Vachss St.
Get on Lindsey St, then head to the closed-off fence on Vachss St. to your right. Interact with the Do Not Enter sign to trigger the second Glimpses of the Past. The sign will read: Area closed off due to an accident Trespassing might lead to injury or death.
#3 | Martin St.
Interact with the blood stains near the fence, north of Martin St. Look for a wooden fence, you will find the interactable blood stains in the corner. You can get to the place right after defeating the first enemy in the game. Or, you can always return to the place to catch the Glimpses of the Past.
#4 | Katz St.
Right at the end of Katz St. where the road is blocked by a giant wall of white sheets, In one of the walls, you will find writings written on it with blood. It reads: “The door that wakes in darkness, opening into nightmares.“
Most of the wall is covered with white sheets, but the interactable wall has a gap in front of it, you need to look at the side to interact with this Glimpses of the Past.
#5 | Outside Woodside Apartment
Just move to the right of the Woodside Apartment, and interact with the dumpster to get your fifth Glimpses of the Past.
#6 | Woodside Apartment, Second Floor
Requirement: Obtain 2F Hallway Key.
Open Room 213, and go through the open doorway on your right. Here, you can interact with the scratched-up wall to your right across the bed on the left to unlock our sixth Glimpses of the Past.
#7 | Blue Creek Apartment, First Floor
Get to Room 110, and interact with the broken TV stand to get your seventh Glimpses of the Past.
#8 | Blue Creek Apartment, Second Floor
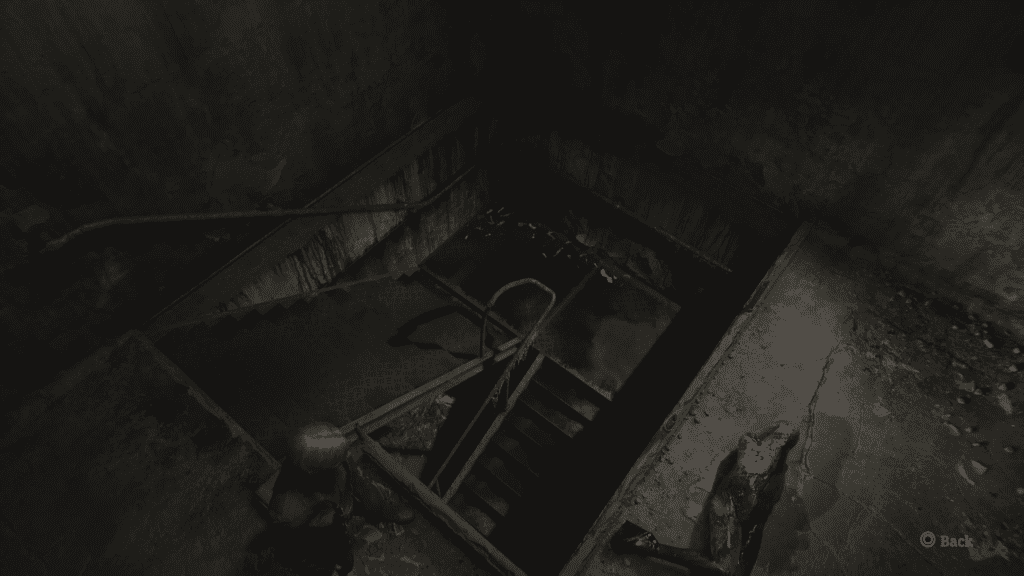
Requirement: Second Hand for the Grandfather Clock Puzzle
During the Grandfather Clock puzzle, after you acquire the second hand, go back to the clock and set the timer:
- Hour Hand to 9.
- Minute Hand to 10.
- Second Hand to 15.
Setting the timer to 9:10:15 will unlock the room down on the first floor in Bluecreek Apartment. Here go to the room with the staircase to the first floor. But before you go down the stairs, interact with the body on the right to unlock Glimpses of the Past.
#9 & # 10 | Pete’s Bowl-O-Rama
Go to Pete’s Bowl-O-Rama, enter the building and go to the bench all the way left of the area. Here you will find a pizza box. Who can eat pizza at a time like this? Interact with the Pizza Box to unlock Glimpses of the Past.
Head to the dead end south of Pete’s Bowl-O-Rama on Carroll St. Take the stairs right of the barricade, leading to a closed door. Interact with the door to unlock our tenth Glimpses of the Past.
#11 & #12 | Brookhaven Hospital, Second Floor
Go to the Laundry Room, here interact with the Blue Fabric on the bin next to the bench with a typewriter.
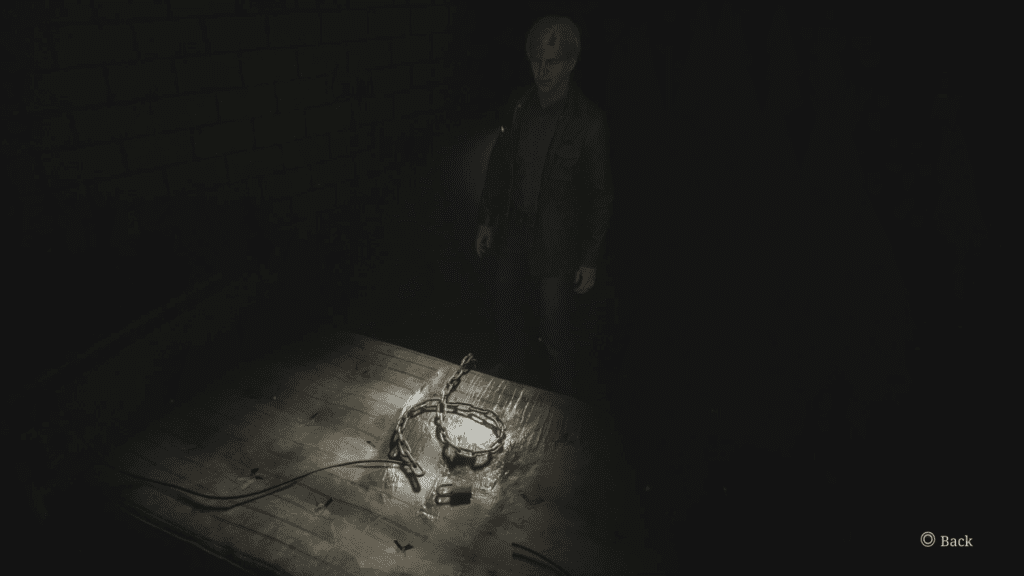
Next, make your way to the M1 Room west of the second floor in Brookhaven Hospital, Interact with the bed with chains and a single lock on it.
#13 | Brookhaven Hospital, First Floor
Get to the Medical Record Room, and interact with the typewriter southwest of the room. It’s on the wooden box between two bookshelves.
#14 (Missable) | Brookhaven Hospital, Rooftops
Head to the Rooftops, keep heading straight and then take the catwalk on the left. Here start moving to the left until you reach a dead wall, here look to your right, you will see a broken fence, that’s our fourteen Glimpses of the Past.
#15 | Brookhaven Hospital, Third Floor
Head to Room 13 located northwest of the third floor in Brookhaven Hospital. Interact with the blood stains left corner of the room, just left of the door.
#16 | Brookhaven Hospital, Second Floor
Make your way to Room M5, located southwest of the second floor in Brookhaven Hospital. Interact with the hand signs on broken wall tiles next to the bed.
#17 | Neely’s Bar
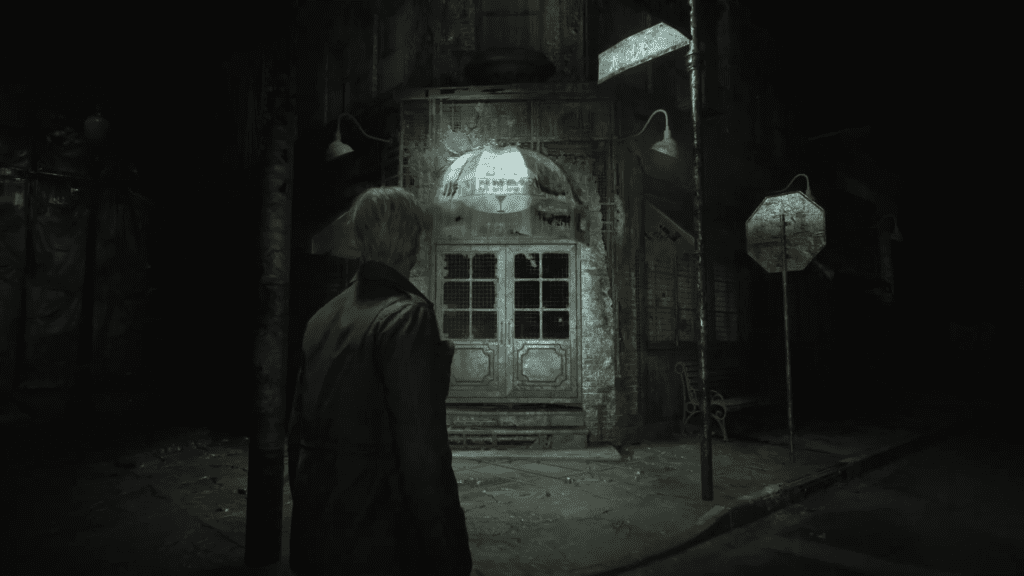
Go to Neely’s Bar on Sander’s St. Head inside the bar, and you will find the old map from the original game on the counter, right in front of the save point.
#18 & #19 | Toluca Prison, First Floor
Make your way to the Canteen on the first floor of Toluca Prison. Interact with the tablet on the dining table located south of the canteen. You will have to use your flashlight to see this one since the canteen is all dark around the corners.
Here make it to the A3 Cell on the first floor of Toluca Prison. On your right you will see a tablet sitting on the shelf. Interact with it to unlock Glimpses of the Past #19.
#20 | Toluca Prison, Second Floor
Time to head to the prison showers and move to your right, you will find a broken section at the bottom of one of the walls on the right. You will also find a worn-out cloth in the hole. Examine the tablet on the cloth.
#21 | Toluca Prison, First Floor
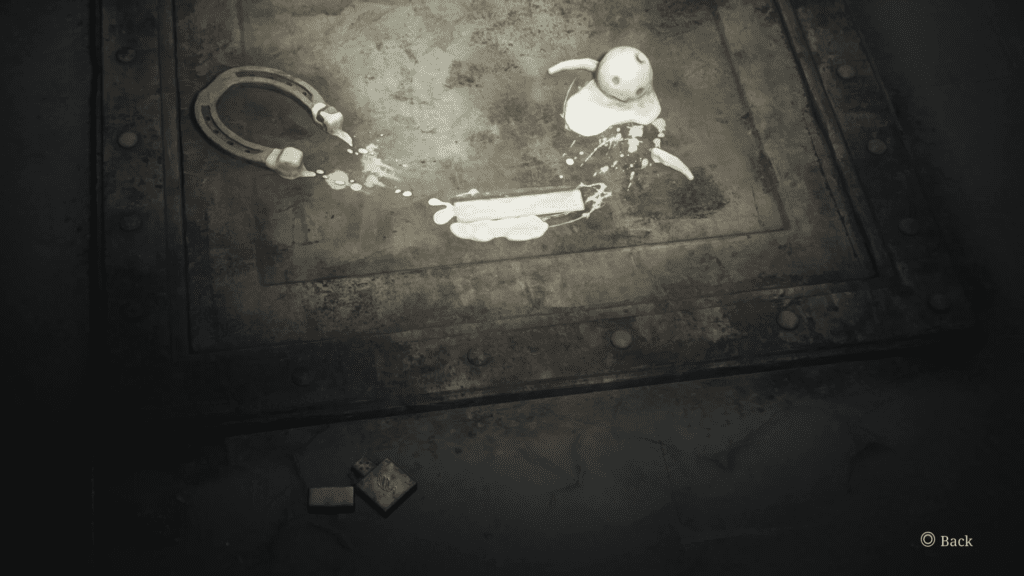
Head to the southwest of the Break Room located west of the First Floor in Toluca Prison. Interact with the Horseshoe, Lighter, and Wax Doll on the ground, an easter egg from the first game’s fantastic puzzle mechanics.
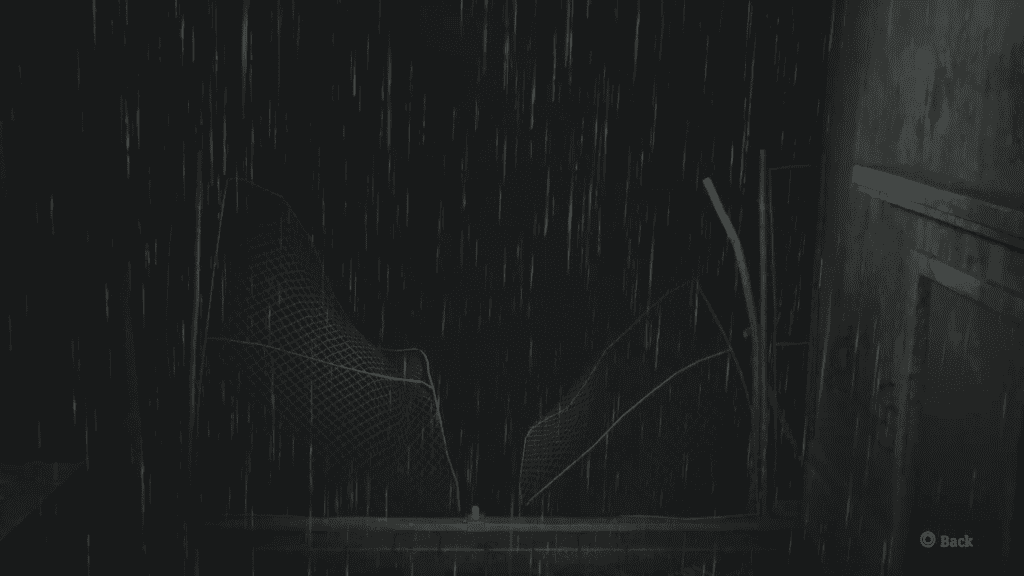
#22 | Labyrinth, Rotten Area
Take the path right off the save point, the room will be filled with bugs. After the first corner, you will come across a breakable wall to your left. It can be difficult to pick on since the walls are covered with bugs, but you will see some white cloths around it to give you the sign of something important. Smash the wall and get inside, here you will find a broken noose and interact with it to unlock the next Glimpses of the Past.
#23 | Lakeview Hotel Garden
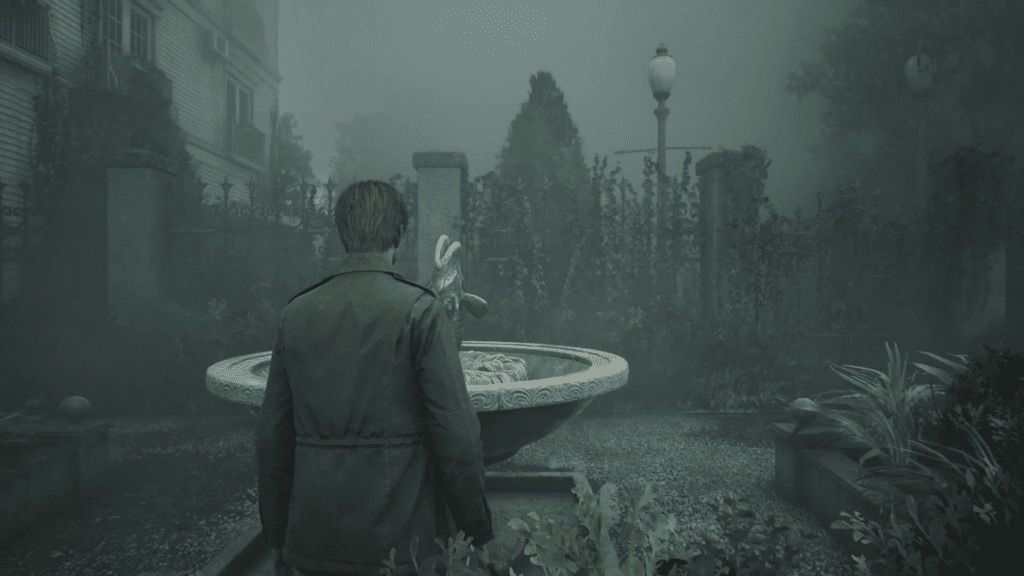
Take the stairs, turn right, and then left to reach the fountain with a fish in the middle, go around the fountain to interact with the broken camera.
#24 | Lakeview Hotel, Second Floor
Here get to room 212, and interact with the open suitcase next to the bed.
#25 | Lakeview Hotel, First Floor
Head to the Pantry Room on the left, you will find the interactable object next to the crate of apples on a shelf.
#26 (Otherworld) | Lakeview Hotel, Second Floor
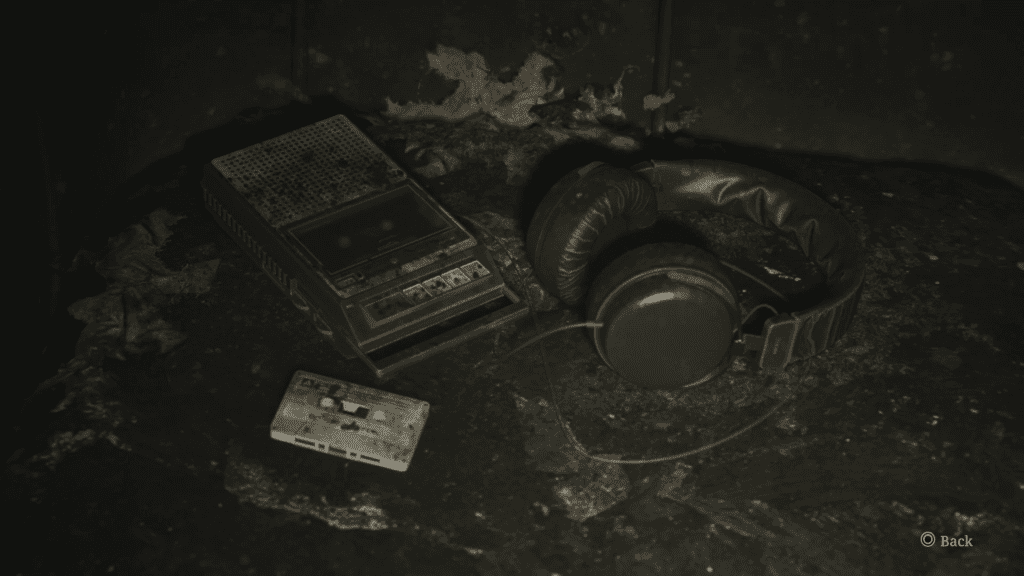
Head to the Reading Room, and interact with the walkman on the couch to finish the last Glimpse of the Past.
And with that, we have unlocked all the 26 Glimpses of the Past. If you have followed this guide, the Echoes trophy/achievement will unlock during the last interaction.