


In Romeo is a Dead Man, Badges are passive effects you can equip to alter Romeo in several ways. Most of them are about dealing damage, but some alter cooldowns or improve how often enemies drop loot. They are also visible on Romeo’s jacket, which is a detail I love.
Finding them, though, can be a bit of a pain, particularly for the ones scattered across the levels. Here, we have all the Badges lost across Space-Time, what they do, and how to unlock them.
Badges Sold By Shiroyabu
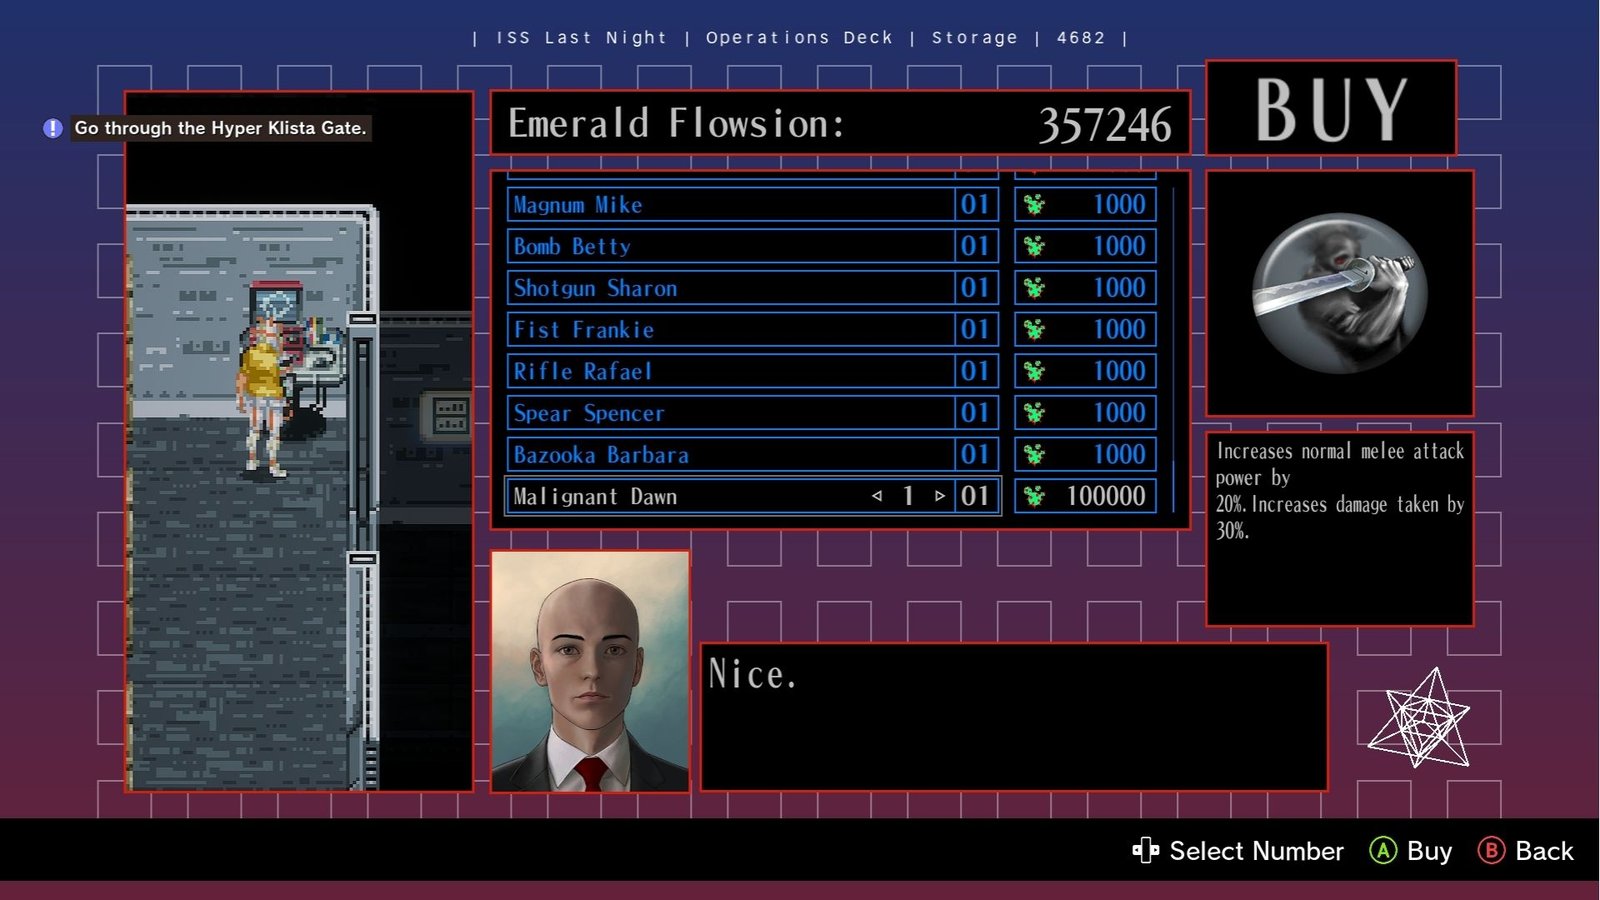
The Hitman look-alike living in a computer is your main shop throughout the game, and he can be found at his quarters in The Last Night ship. The first set of Badges he sells correlates to each of the game’s weapons, giving a 15% attack increase to their corresponding item. At the end game, he expands his stock to include Malignant Dawn, which increases attack by 20% but also increases damage taken by 30%.
| Name | Effect | Emerald Flowsion Cost |
| Katana Karen | Increse Spazer’s attack by 15% | 1000 |
| Magnum Mike | Increse Discovery’s attack by 15% | 1000 |
| Bomb Betty | Increse Star Destroyer’s attack by 15% | 1000 |
| Shotgun Sharon | Increse Diaspora’s attack by 15% | 1000 |
| Fist Frankie | Increse Juggernaut’s attack by 15% | 1000 |
| Rifle Rafael | Increse Nebuchadnezzar’s attack by 15% | 1000 |
| Spear Spencer | Increse Arcadia’s attack by 15% | 1000 |
| Bazooka Barbara | Increse Yggdrasil’s attack by 15% | 1000 |
| Malignant Dawn | Increase attack by 20%, take 30% more damage | 100000 |
Badges Earned From SilverSox Trials
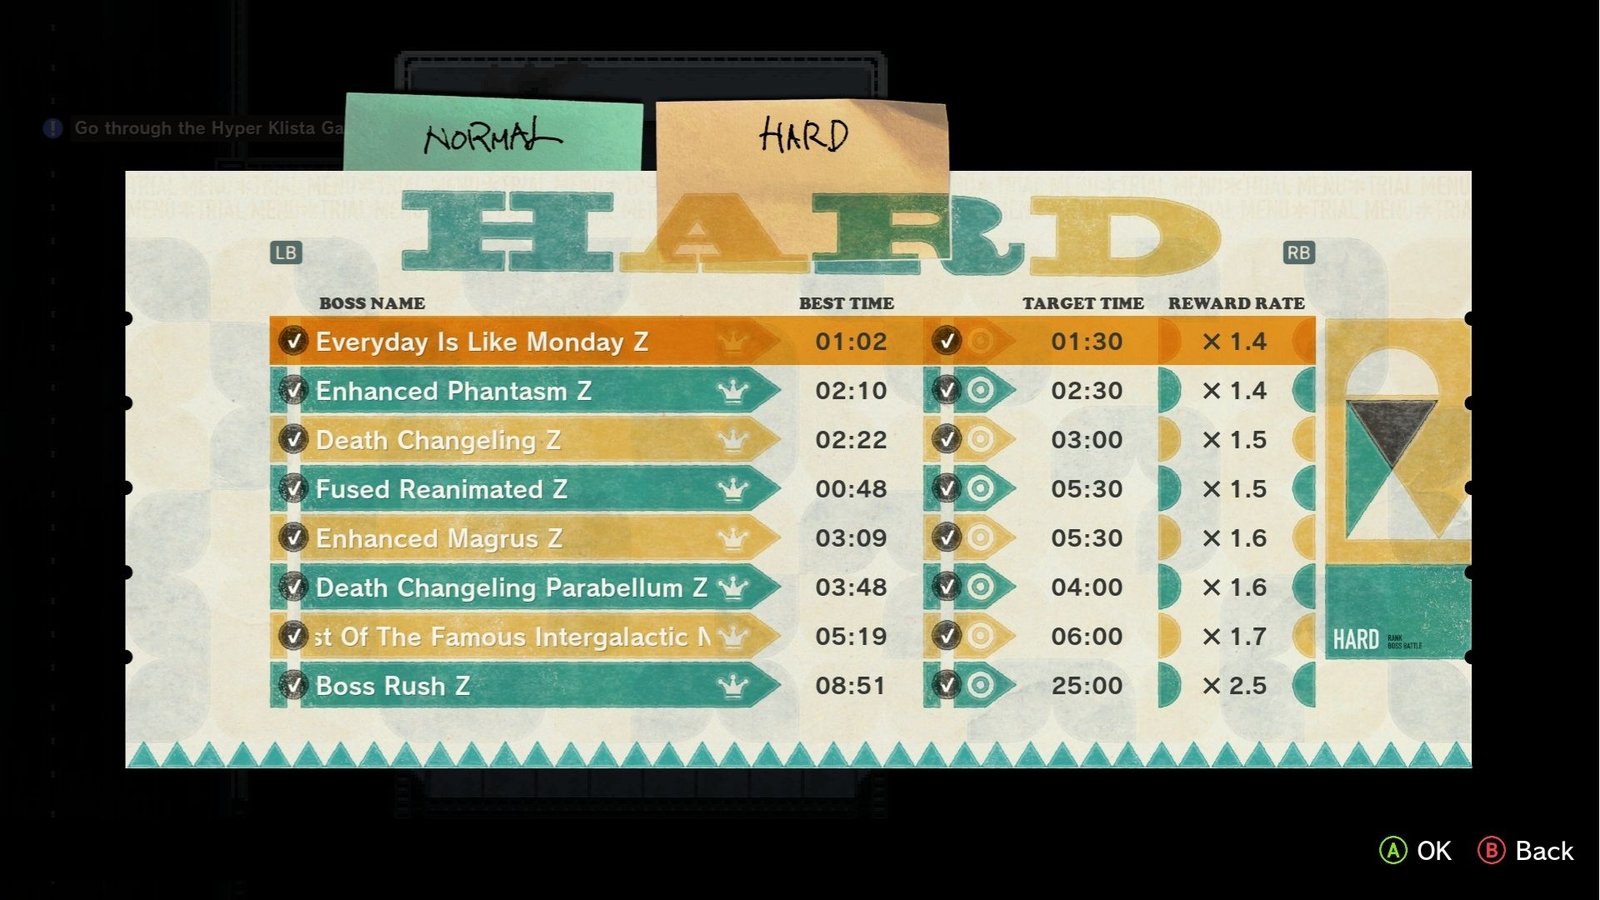
After Chapter 3, once you prove yourself to the FBI, SilverSox will start to have Trials for you to do. These are ways for you to fight the game’s bosses again, only this time with a timer. Beat them in both Normal and Hard mode, and you’ll get a badge.
You have to beat all bosses to unlock the Boss Rush, and of course, the Boss Rush also has a corresponding Badge.
| Name | Effect | Boss |
| Ghost-o-rama | Increases attack by 50% if no Bastards are equiped | Everyday Is Like Monday Z |
| Guilty Pleasure | Builds up Blood Gauge when attacked | Enhanced Phantasm Z |
| 1%er | Consumes two Blood Charges to survive fatal damage | Death Changeling Z |
| Heartbreaker | Increases attack by 35%, lowers HP by 50% | Fused Reanimated Z |
| Finger on the Trigger | Reduces damage while reloading by 40% | Enhanced Magrus Z |
| H(d)P | Increases attack by 100%, lowers HP to 1. | Death Changeling Parabellum Z |
| Tungsten Revolution | Reduces damage taken by 40% | The Famous Intergalactic Naked Z |
| People of Earth | Increases attack per enemy killed. Caps, resets when taking damage. | Boss Rush Z |
Palace Athene Badges
Once you start to freely explore space with The Last Night, you’ll find portals to a place called Palace Athene. These “Dungeons,” as the game calls them, come in several difficulties, which are unlocked as you progress through the game.
They are a great way to farm for materials, but the first time you beat each difficulty, you’re also rewarded with a Badge.
| Name | Effect | Palace Athene Difficulty |
| Lost and Found | Increases drop rate of enemies | Easy |
| Standing | Reduces stagger | Normal |
| Hilltop Castle | Increases attack by 20% when Bastards are on cooldown | Hard |
| Bastardization | Reduces Bastard cooldown by 30% | Very Hard |
1983 Deadford Shopping Mall
The trickiest Badges to find are the ones hidden in the levels, both in Realspace and Subspace. It’s best to go through these ones one by one, since finding them requires some more explaining than just “beat this boss, but fast.”
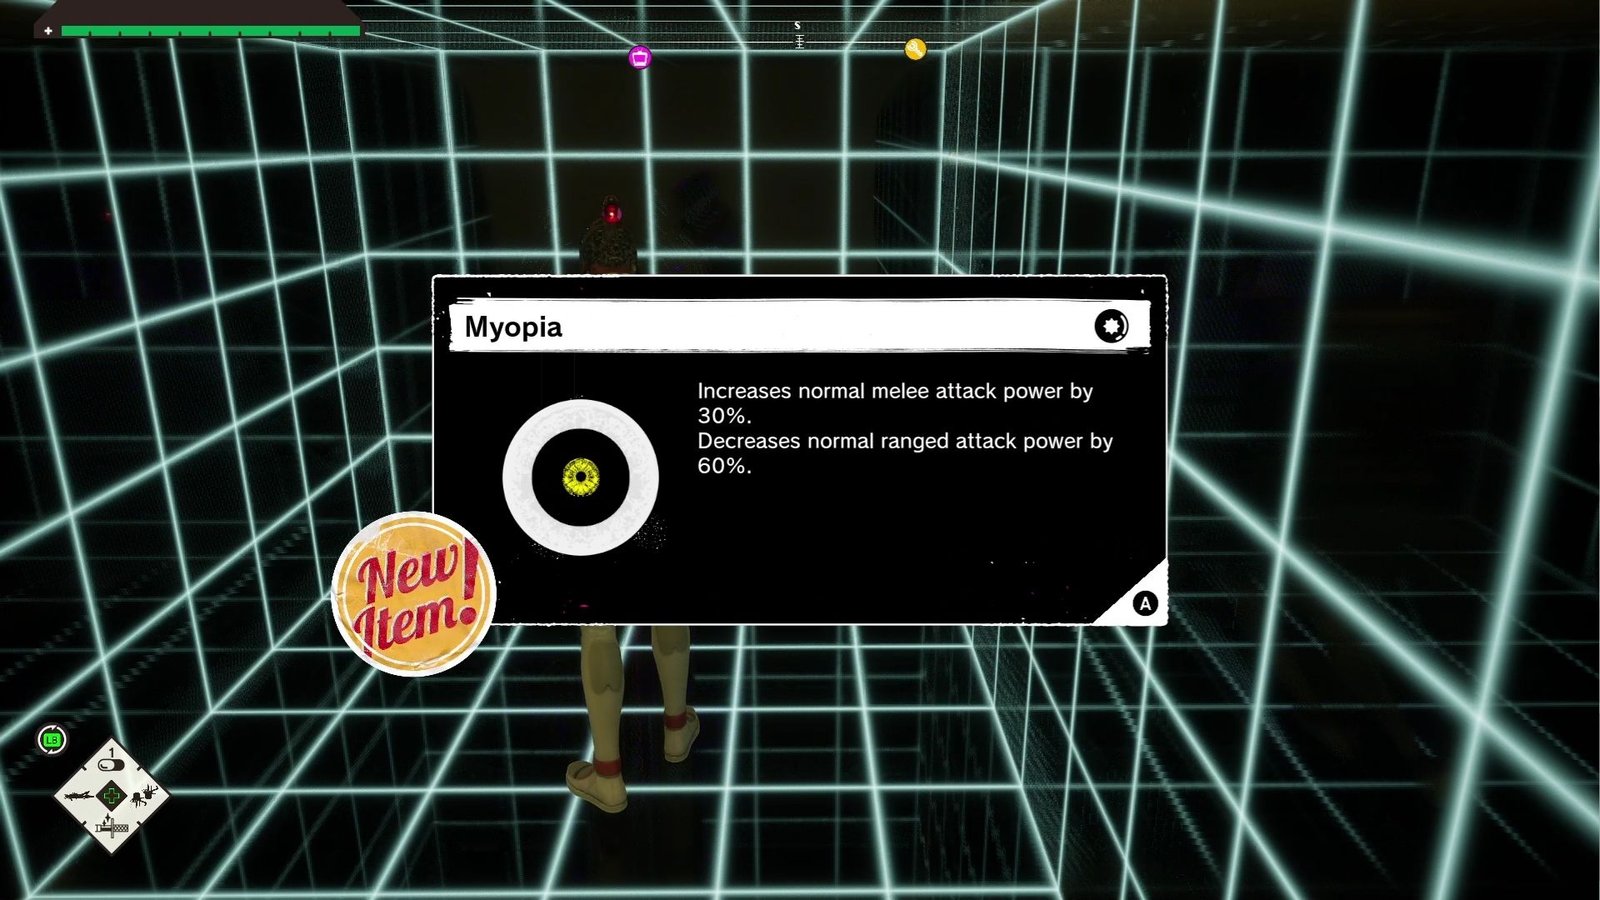
In Chapter 2’s Shopping Mall, you’ll find Magnetic Greenfields in a side hallway at the main mall, but after you clear all the gates. Myopia is in one of the side rooms the first time you enter Subspace, and Angel’s Face is underground in Realspace, up some stairs when you just enter the area.
| Name | Effect | Location |
| Magnetic Greenfields | Increases Emerald Flowsion absorption by 20% | Side hallway in Realspace |
| Myopia | Increases melee attack by 30%, reduces ranged attack by 60% | Subspace side-room |
| Angel’s Face | Increases Bloody Summer attack by 20%. Increases damage taken by 30% | Underground in Realspace |
1968 Deadford City Hall
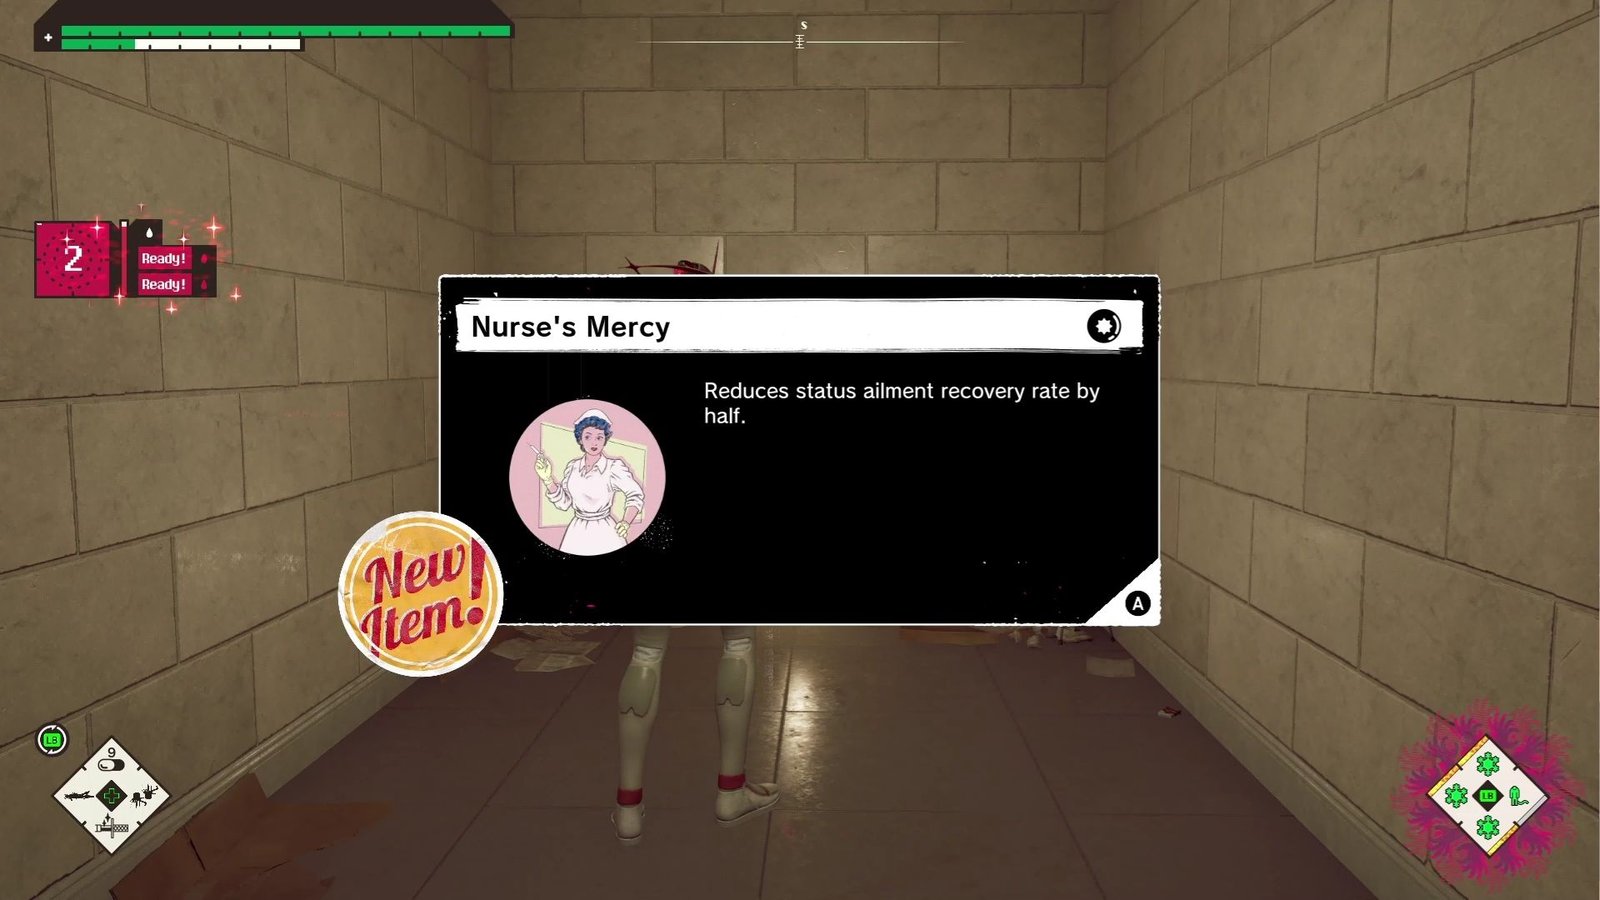
Go downstairs from the base floor of the City Hall (not from the Subspace TVs), and the Nurse’s Mercy Badge will be right around the corner. Hyperopia is a bit easier to miss, since you need to follow the paths in Subspace without falling from the “buildings.” It’s hard to get your bearing here, but you’re aiming for the blue building on the western side of Subspace.
| Name | Effect | Location |
| Nurse’s Mercy | Reduces status alingment recovery rate by half | Downstairs form the main hall |
| Hyperopia | Increases ranged attack by 50%, reduces melee attack by 30% | Subspace, western building |
1992 St. Impius Asylum
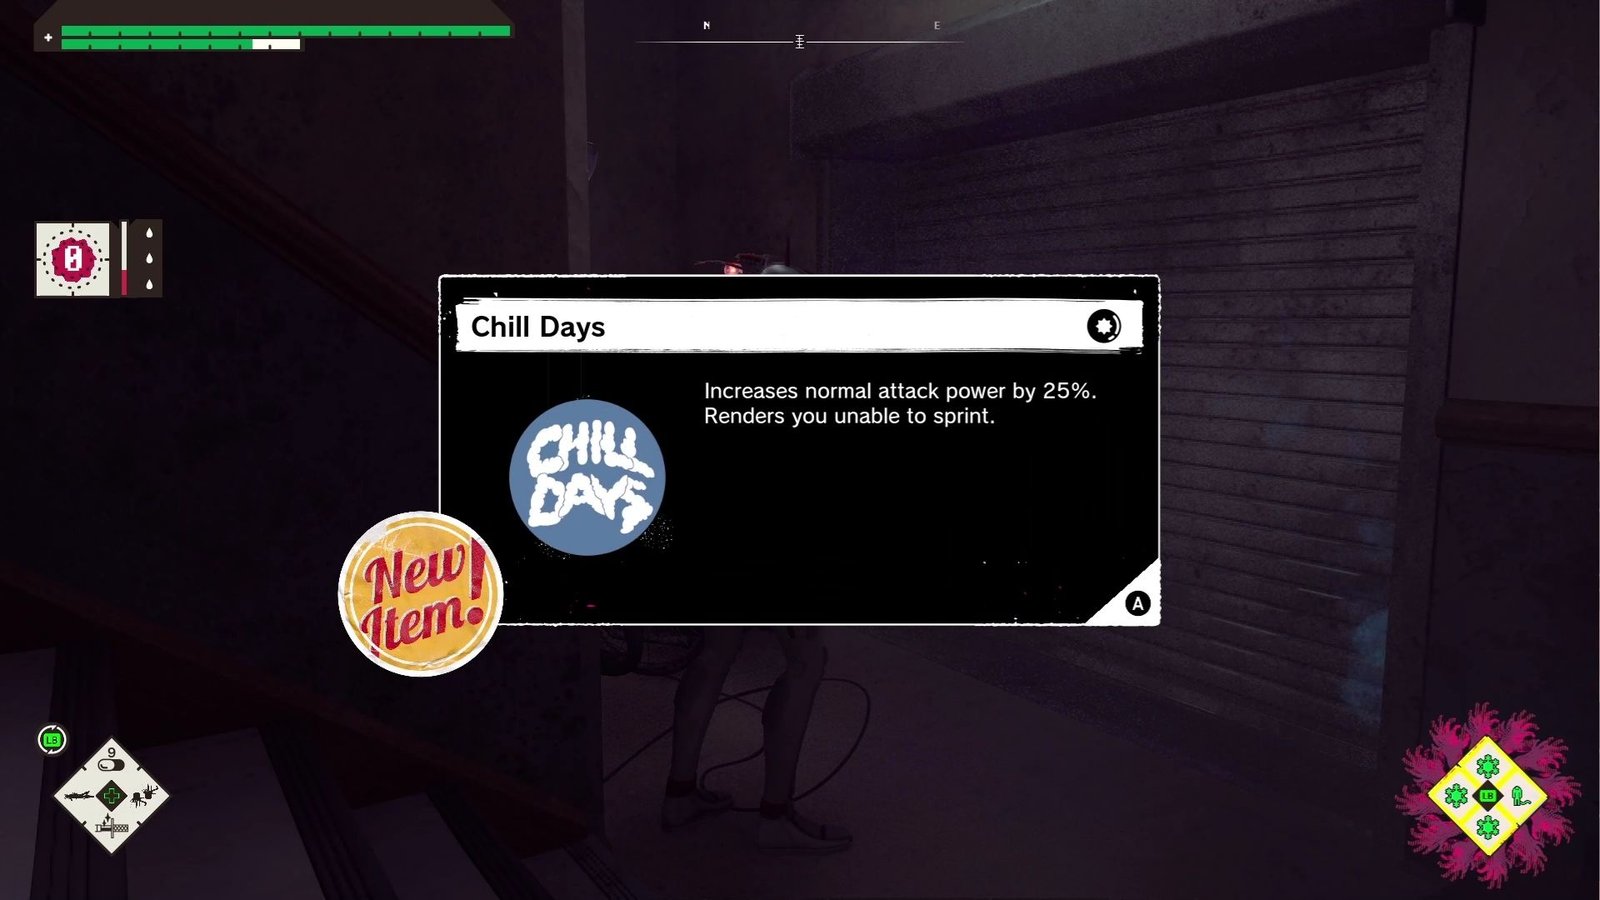
Once you’ve resolved the looping corridor, make your way to the stairs connecting the three floors; they are only accessible from the 3rd floor. Go down the stairs to the 1st floor and grab the Chill Days Badge.
| Name | Effect | Location |
| Chill Days | Increases attack by 25%, removes ability to sprint | Bottom of stairway, after time loop. |
1978 “Space & Me” Cult
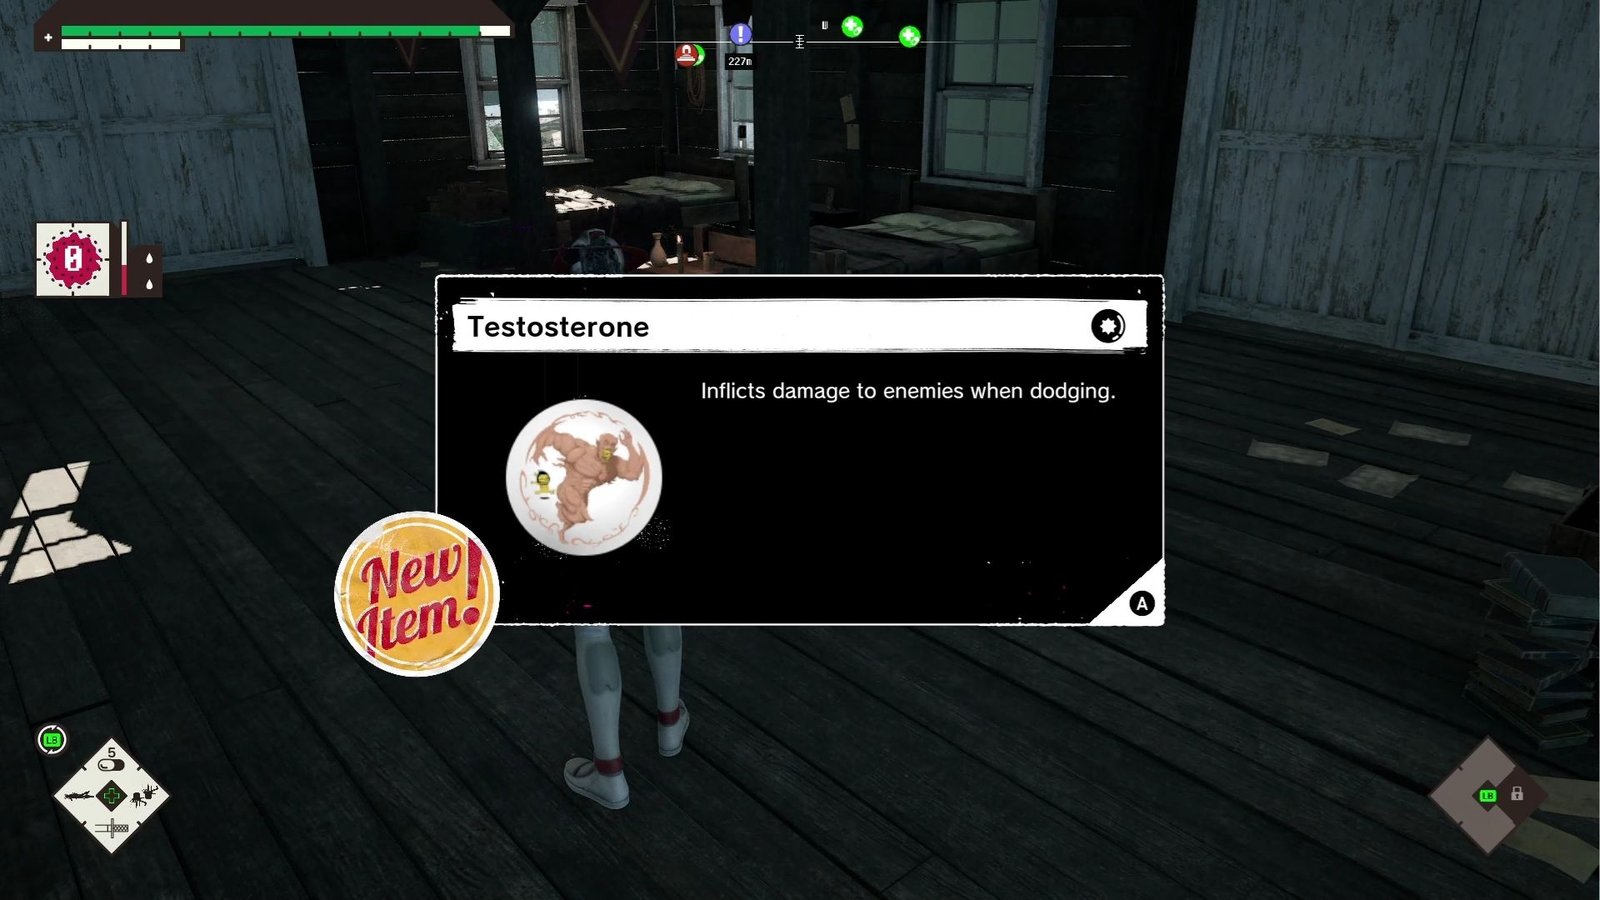
You can find the Testosterone Badge once you have two of the “orbs” to traverse the first area of Chapter 6. Place them so you can access the eastern barn, and the Badge will be waiting for you there.
The Pedro Brothers Badge is on the same map, but on the western side. Use two orbs to unlock that island, then the third orb on the green statue. Then make your way to the back of the island to claim your badge.
The final badge is Vicious Shock, found at the underground area of the Cult’s hideout. Its in the waterfall area at the end of the stage, after a breakable wall just to the side.
| Name | Effect | Location |
| Testosterone | Dodging deals damage to enemeis | Western island |
| Pedro Brothers | Increases attack when jumping by 20% | Eastern island |
| Vicious Shock | Increases damage dealt to weak spots by 50% | Underground cult |
2000 Deadford City Hall
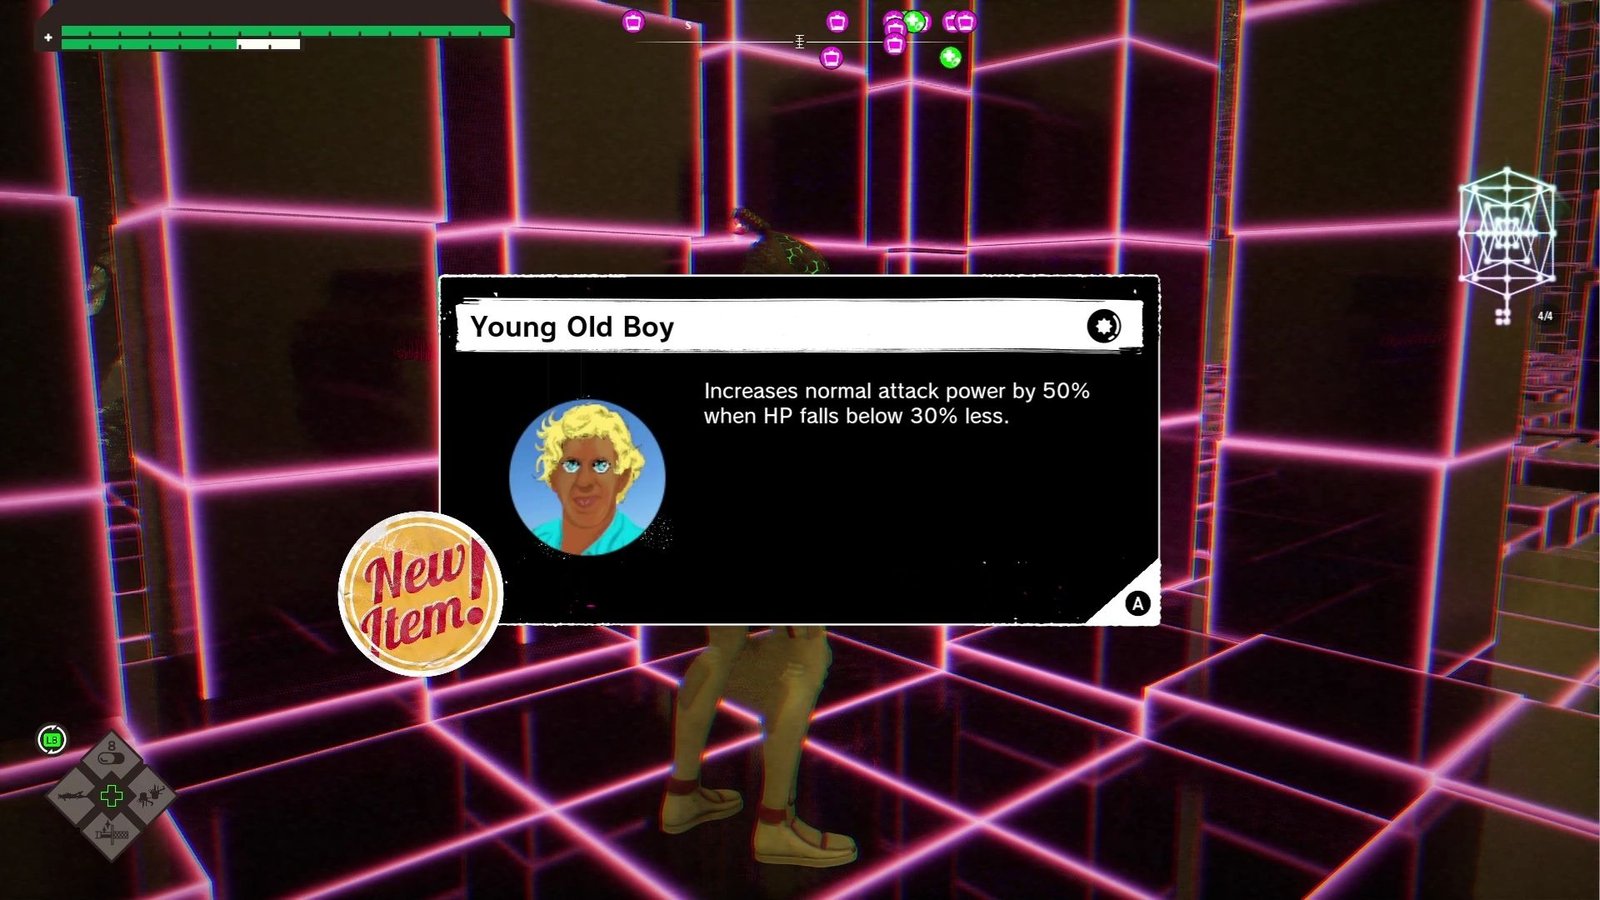
Both the Young Old Boy and Booger Baby Badges are easy to find, as long as you go over the whole Subspace in 2000’s City Hall. It might seem like a large maze at first, but you’ll notice that the Subspace map is exactly like the Realspace one; this is your main clue as to how to get around the place.
Whenever you don’t know where to go, look at the Subspace TV’s and correlate them to where they should be in Realspace. You know you’ll have all the tools you need once you unlock access to the rooftop.
| Name | Effect | Location |
| Young Old Boy | Increases attack by 50% when HP is below 30% | Subspace, top floor |
| Booger Baby | Increases Emerald Flowsion absorption by 51%, removes ability to heal with Bloody Summer | Subspace, middle floor |
Subspace Hills
The final two Badges are one of the easiest ones to find. Galán Esmeralda waitss for you at the ground floor, at the other end of the map. Just run and get it, and you’ll have access to the best Badge in the game, raising your attack power by 100%.
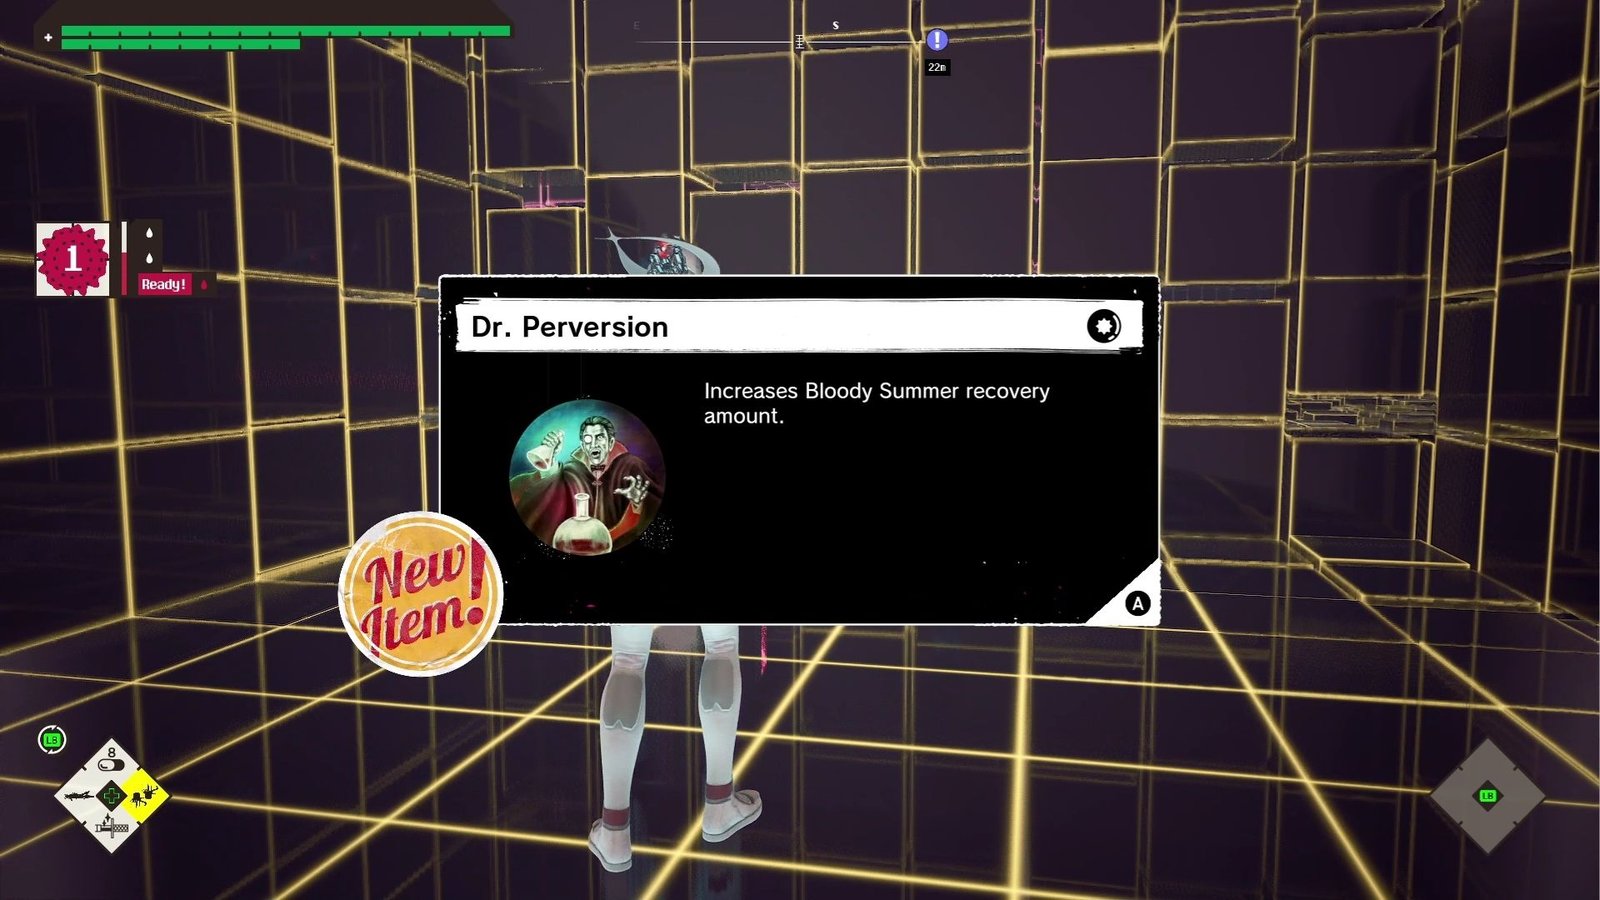
At the third floor, as you’re having the telephone conversations, you’ll notice a red ladder going up to nowhere. You can see it just as you’re ending the floor, and you’ll have to follow the wall for a while to find the path. Once you get to the ladder, climb it, and Dr. Perversion is yours.
| Name | Effect | Location |
| Galán Esmeralda | Increses attack by 100%, constantly drains Emerald Flowsion | Bottom of Subspace Hills |
| Dr. Perversion | Increases HP recovery of Bloody Summer | Third floor of Subspace Hills |

Also Read
Set TheGameSlayer as your Preferred Source on Google to find us more easily in your searches for game guides, news, reviews and features!