


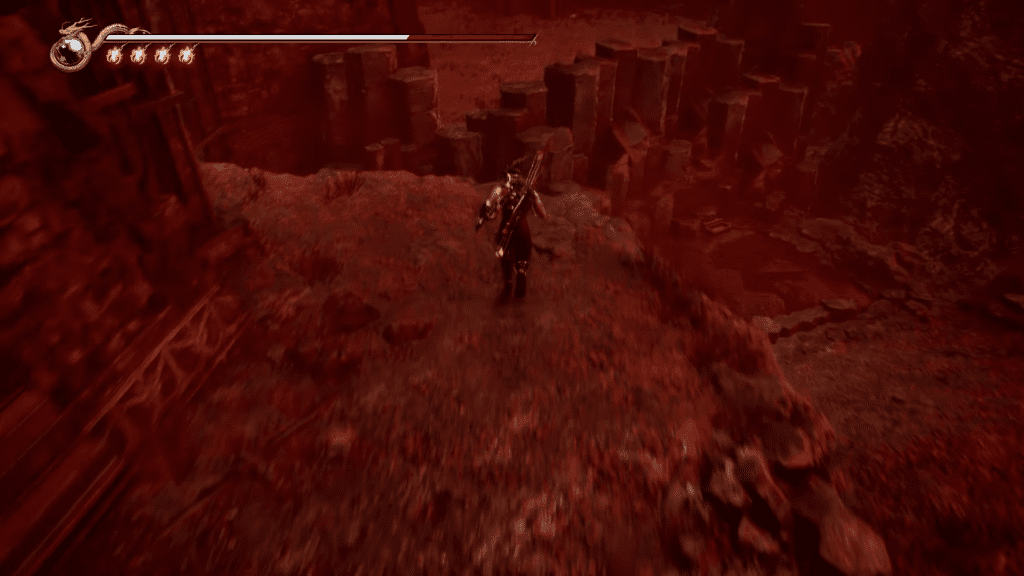
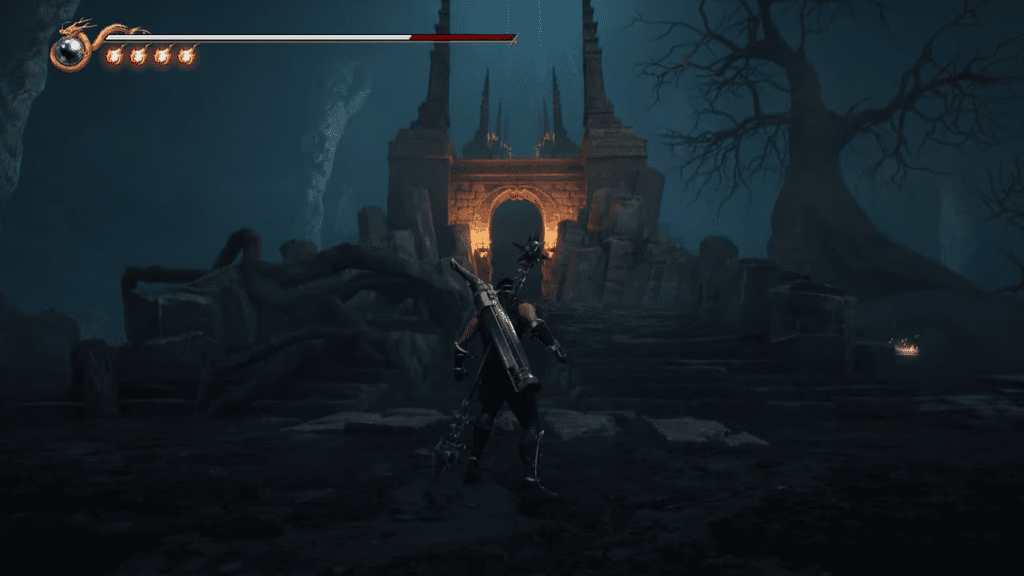
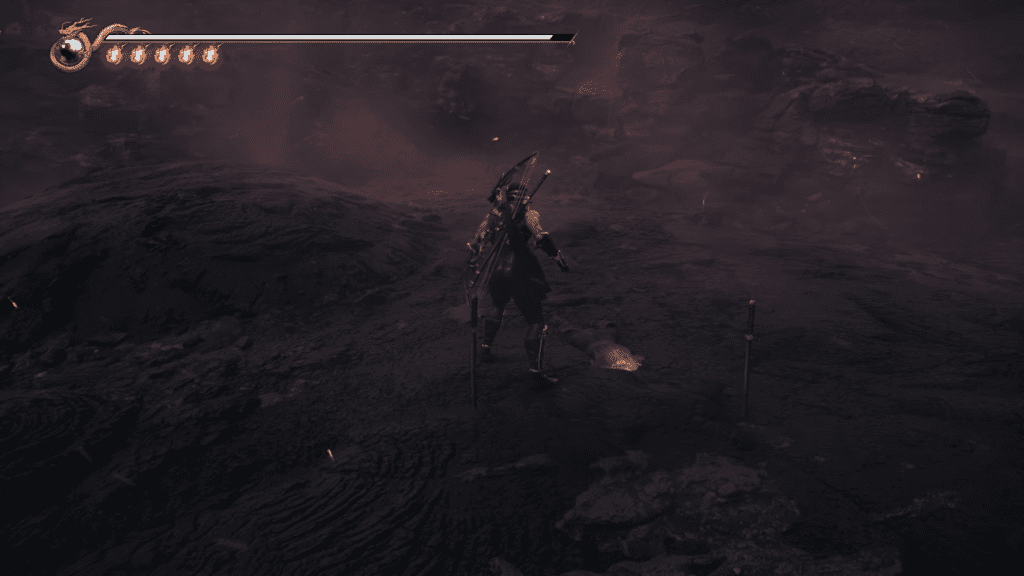
When you play a difficult game, you want all the help you can get to survive. The Ninja Gaiden series has always been the pinnacle of difficulty but with a bloody satisfying combat loop. Here having a larger health bar will save your life countless times. But a game like Ninja Gaiden, will not give you all of them right away, here we come to help. This guide will help you locate all the health upgrades in Ninja Gaiden 2 Black.
Location For All 18 Health Upgrades In Ninja Gaiden 2 Black
The game has 10 Lives of the Thousand Gods and 18 Life of the Gods upgrades for us to find. All of them are hidden away inside treasure chests found throughout the world. While some can be found in the open, others need to be opened by following a specific route.
If you want to sweep all the upgrades at once, we recommend you play the game on Hard or above difficulty since One Life of the Gods and Lives of the Thousand Gods upgrades are locked behind the difficulty option. But if you are playing the game for the first time, then jumping on the Hard difficulty setting might not be the experience you want from the game. So we recommend a second playthrough to get all the upgrades.
- Chapter 1: Sky City Tokyo
- Chapter 2: The Castle of the Dragon
- Chapter 3: Thunderclap of Catastrophe
- Chapter 4: A Captive Goddess
- Chapter 6: The Aqua Capital
- Chapter 7: The Lycanthropes’ Castle
- Chapter 9: The Flying Fortress Daedalus
- Chapter 10: Submit, or Die!
- Chapter 12: Heart of Darkness
- Chapter 13: The Temple of Sacrifice
- Chapter 14: A Tempered Gravestone
By the time you reach Chapter 15 in the game, you will have all the upgrades in your hand (Hard Difficulty Playthrough required).
Chapter 1: Sky City Tokyo
Lives of the Thousand Gods #1

Head through the doorway next to the first save point in Chapter 1, turn left, kill all the enemies, then turn right and you will face some more enemies. Do a wall run to reach the platform on the other side, head through the doorway on the left and you will find the first health upgrade.
Life of the Gods #1
From the second save point in Chapter 1, perform wall hops to the ground above. You will find yourself in a courtyard with cherry blossom trees all over the place. Here jump into the water on your right, start moving to your right, and turn left. After a bit of walking, you will find the treasure on your left on a platform, right under red lanterns.
Life of the Gods #2
From the third checkpoint go down the stairs, swing on the poles, and keep heading straight until you reach a ladder attached to the wooden railing to your left. Take the ladder to the floor down, and follow the route behind the ladder, after defeating some enemies, at the end of the route, you will find the treasure box containing the second Life of the Gods.
Chapter 2: The Castle of the Dragon
Life of the Gods #3
Right at the beginning of chapter 2, go through the Torii gates, and follow the route until you reach a village area. Here turn left and cross the bridge, you will get ambushed by some enemies. Take care of them, and you will find the Treasure Box near the bridge’s end.
Lives of the Thousand Gods #2

From the save point after crossing through the dragon’s mouth, go through the hole in the wall, left of the save point. Turn left, and follow the linear route to get to the floor above. Here go through the hole in the wall and you will find the treasure box to Lives of the Thousand Gods to your right.
Life of the Gods #4
Again start from the save point after crossing the dragon’s mouth. Head through the hole in the wall, and follow the route to get inside the floor above. Here take the staircase to your left to reach the upper floor. Then take the route beside the stairs, and you will find a corpse on the floor. Interacting with the corpse will get you the fourth Life of the Gods.
Chapter 3: Thunderclap of Catastrophe
Lives of the Thousand Gods #3

Once you reach the sewer section of Chapter 3, you will come across a save point at the end of the tunnel. Wall hop next to the save point to get to the upper floor. Here head straight, do a wall run, and then swing on the rail to land on the platform on the left. Here you will find the Lives of the Thousand Gods 3.
Life of the Gods #5
When you reach the final save point at the end of Chapter 3. Do a wall run on the brick wall across the save point. You can’t miss it. The brick wall will be highlighted by a light source. Here you will find the fifth Life of the Gods on the ground.
Chapter 4: A Captive Goddess
Life of the Gods #6
- Climb the ladder next to the save point. Once you arrive on the bridge, turn left and then turn right through the broken hole, here follow the linear route. Near the end, you will find a burning car at the end blocking the route, but on your right, you will see some bent-over metal fences.
- Here drop down from the metal fences, follow the route on the right and you will find the Life of the Gods treasure box at the end,
Lives of Thousand Gods #4
Go down to the floor below from the save point found in the middle of the staircase. Head through the small area on the left, and you will find the Lives of Thousand Gods in a treasure box hiding away in an alcove.
Life of the Gods #7

From the same save point as the previous one, go down the floor from the save point found in the middle of the staircase. Here, get to the middle of the area to the elevator space. Now perform wall hops to the top, and climb the stairs in the room until you reach the upper floor. Take the green door right of the room and you will find the treasure box carrying the seventh Life of the Gods.
Chapter 6: The Aqua Capital
Life of the Gods #8

- Get to the second save point in Chapter 6, by the open window. Take the staircase next to the save point, and take the door out of the room. Here turn left, follow the route to head towards the Colosseum. From the entrance, turn right, and follow the route until you reach the end.
- Here head through the doorway on the right wall, You can see the treasure box across our platform. But it is far away, here pull out your bow and shoot down two green light buttons on the wall behind the treasure box.
- Once you shoot both of them, the bridge to the castle entrance will fall, and we can use the way to open the treasure box. Climb on the small crates on the left, to get on the pipe under the bridge we just created. Use the pipe to cross the gap and loot the treasure box.
Lives of the Thousand Gods #5

- From the third save point in Chapter 6, near the courtyard. Go down the stairs and turn right, head through the small doorway to enter the room. Here take the ladder on your left next to the moving gears.
- The treasure box is right across the ladder, to reach the spot jump on the rail above the ladder and wait for it to move to the treasure box’s location. Once you reach the platform, swing and jump to land on the floor and loot the chest.
Life of the Gods #9
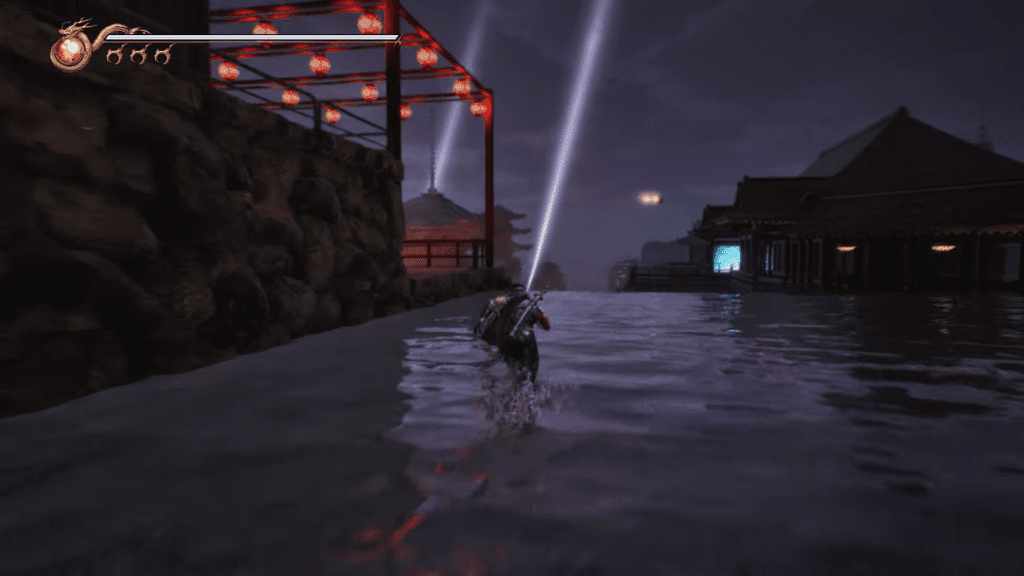
- Start from the last save point in chapter 6 before the boss battle against the Water Dragon. Follow the route left of the save point and you will reach the area with a giant circle on the ground, submerged in the water. Get to the middle of the circle and dive inside the water.
- The route in the cave underwater is linear, once you make it across the other side. Water walks to the path of the right corner of the room. You will find quite a lot of columns here, unlike others, you will find some columns are closer together. If you dive down in this section, you will find the treasure chest underwater.
Chapter 7: The Lycanthropes’ Castle
Life of the Gods #10
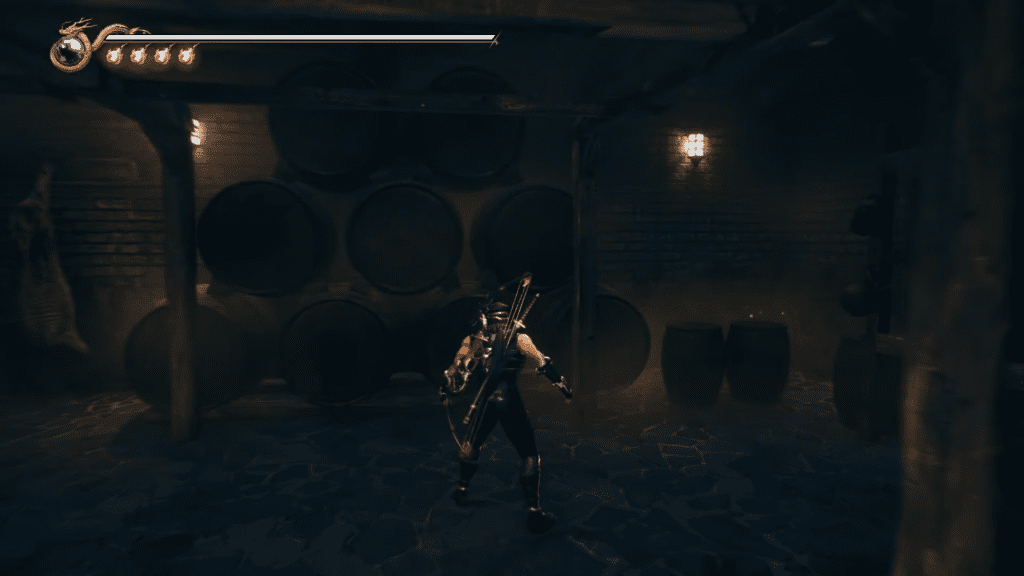
From the savepoint down the end of the hallway, go through the door on the right. Here in the wine cellar, you will find the treasure chest in the corner of the room hiding behind barrels.
Chapter 9: The Flying Fortress Daedalus
Life of the Gods #11
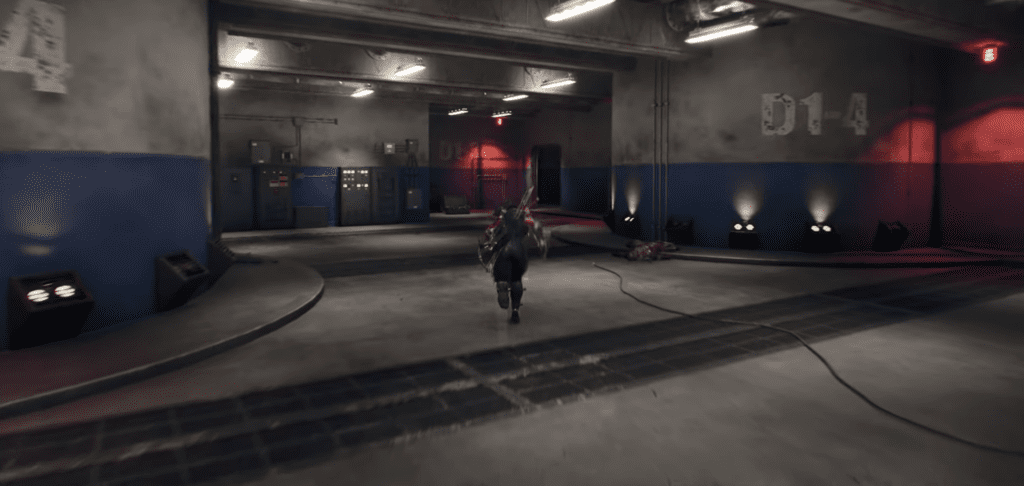
From the first save point in Chapter 9, go through the doorway on the right. You will find yourself in a giant room, here head towards the doorway next to the printed D1-5 on the wall. Follow the linear route, at the end of it, you will find the treasure box carrying the eleventh Life of the Gods.
Life of the Gods #12
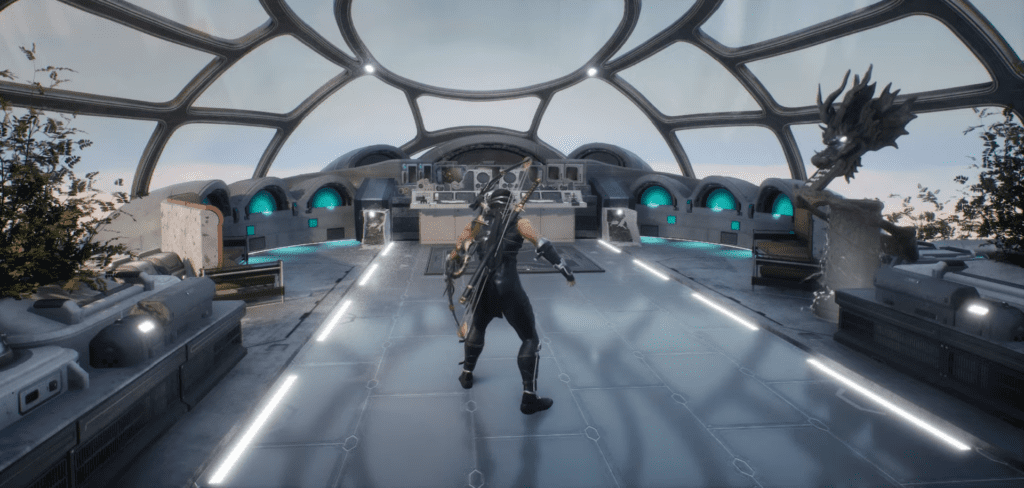
Get to the save point in the cockpit of the ship, exit the cockpit, and head across to the room on the other side. In the giant spherical room, you will face a couple of enemies, defeat them and you will find the treasure chest inside. Loot it to grab the Life of the Gods upgrade.
Lives of the Thousand Gods #6
From the save point in the engine room in the corner, head through the doorway right of the save point. And you will find two treasure boxes on the ground, the first one will give you the Lives of the Thousand Gods upgrade.
Chapter 10: Submit, or Die!
Lives of the Thousand Gods #7
After dealing with the landmines in the snow, you will make it to the second save point in Chapter 10. Head inside the doorway next to the save point, and you will find a treasure chest across the hall carrying Lives of the Thousand Gods.
Life of the Gods #13
- From the second save point as the last one, head inside the doorway next to the save point. Here take the small doorway on the right, climb up the stairs, and wall run to get to the top of the room. Once you make it to the room on the top, you will find yourself between two giant bells, here jump straight to swing on the railing ahead.
- Now use the railing to move to the side and jump on the platform with the treasure chest.
Life of the Gods #14
- From the save point near the battle against Godomof boss in the middle of chapter 10. Walk up the stairs from the save point to get to the boss arena, here head through the hole in the wall on your left.
- Now drop down the floor through the hole on the ground. Once you land on the floor below, move left, follow the linear route, and go down the stairs. Here check on every cell to your right, one of the cells will have the body to examine and retrieve the Life of the Gods upgrade.
Note: The cell with the upgrade will have its steel door broken, unlike other cells in the hallway.
Lives of the Thousand Gods #8 (Hard Difficulty)
- From where we found the last Life of the Gods, go outside of the cell and follow the route to the end until reaching the end of the hallway. Here you will spot another broken cell but this time we go through the hole in the wall inside the cell.
- Drop down the floor and land on the water below, climb the platform on the other side and you will find a treasure box to your left carrying the Lives of Thousand Gods.
Chapter 12: Heart of Darkness
Life of the Gods #15

For this, start from the first save point in Chapter 12, near the village hut. Get out of the hut and head to the building across the lake. Follow the light, and climb the stairs next to the only lit torch. You will find the treasure chest in your room on your right.
Chapter 13: The Temple of Sacrifice
Life of the Gods #16
Right at the beginning of Chapter 13, pass the upgrade station on your left, and keep heading straight. Follow the linear route until you reach the end of the road. Here jump down, and you will find the treasure chest to your left at the corner.
Lives of the Thousand Gods #9 (Hard Difficulty Only)
This one is available in plain sight, get to the savepoint, where a giant skeleton gets pulled down. Head to the circle-shaped object on the ground near the save point. You will find the treasure box next to a giant tree next to the stairs. Since it is a dark place, the glow from the treasure box will make it easier to find.
Chapter 14: A Tempered Grave
Lives of the Thousand Gods #10
- From the Save Point near the bridge, cross the bridge, climb up the slope, and keep moving forward until you reach the end of the road. Here jump down and dive to go underwater, now start to swim towards the hole on your left.
- Once you get out of the water on the other side, climb up the ledge and follow the linear path. It’s going to be a long walk, keep heading straight until you reach outside of the cave and see some sunlight on your path.
- Now head through the hole on the ledge in front of the cave’s exit. Keep heading straight and take a left and you will find the treasure box on the ground to your left.
Life of the Gods #17

Use the climbable rope to the castle near the save point. Once you are on the other side of the platform, you will find a well to your right. Jump down the well, and you will find a corpse on the ground right exactly where you land. Interact with the corpse to retrieve the Life of the Gods.
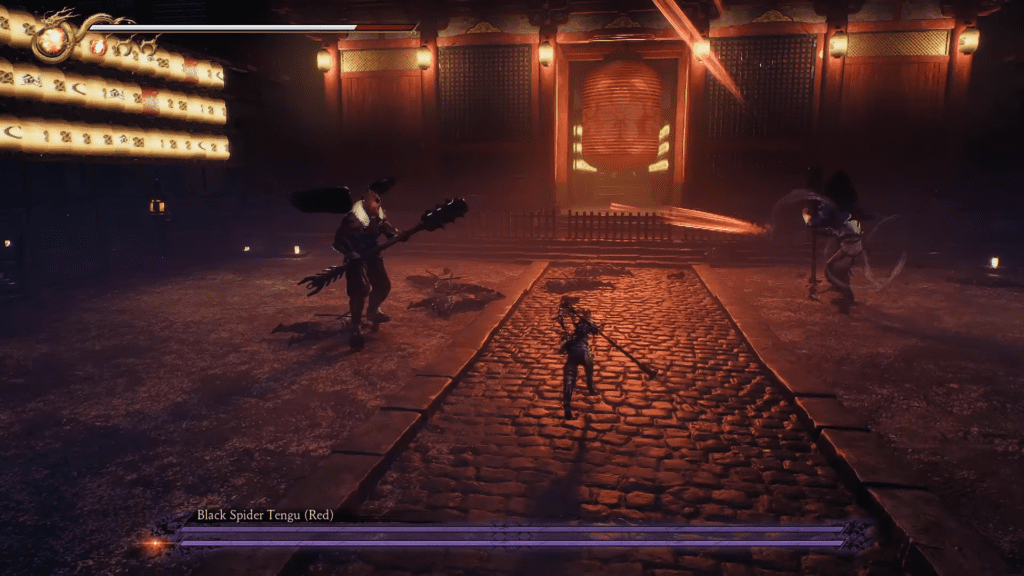
Life of the Gods #18
- You will find the last Life of the Gods on the spot where you go head to head against the Black Spider Tengu (Red) boss battle. After defeating him, don’t exit the area right away, you will find Life of the Gods on the ground, next to a sword.
- The only cue here is the yellow light coming from the spot, use it as an indicator to lock down the spot for the upgrade.
And with that you are fully upgraded and have collected all the Life of the Gods and Lives of the Thousand Gods that are to be found in the game. The next collectible on your list should be all 8 Jewel of the Demon Seals, do check our guide on this.