


Deep into the back half of the amazing MIO: Memories In Orbit, you’ll return to the Nexus to see that The Hand has ransacked the place. Not only that, but she’s also taken your shopkeep, Mel, hostage in the process.
Of course, this is a pretty huge blow to your overall odds of success in MIO. No, Mel isn’t the most bubbly of robots that you’ll meet on your journey, but she’s still a great source of upgrades and new mods to help you along your way.
It’s not as easy as just finding Mel on the map, however. She’s being guarded by a boss named Debby, who you’ll need to defeat in order to get your shop back. Yes, it’s time to quite literally become a Debby Downer.
If you need any tips on coming out of the fight with Debby victorious, we’ve got the guide for you. Let’s help you even the odds.

Bookmark:
Where To Find Debby
Right after you notice Mel is missing from the Nexus, one of her Scrappers will let you know that she’s been taken captive by The Hand. The Scrapper will set off to look for her, and asks you to aid in the process if you’ve got a spare moment too.
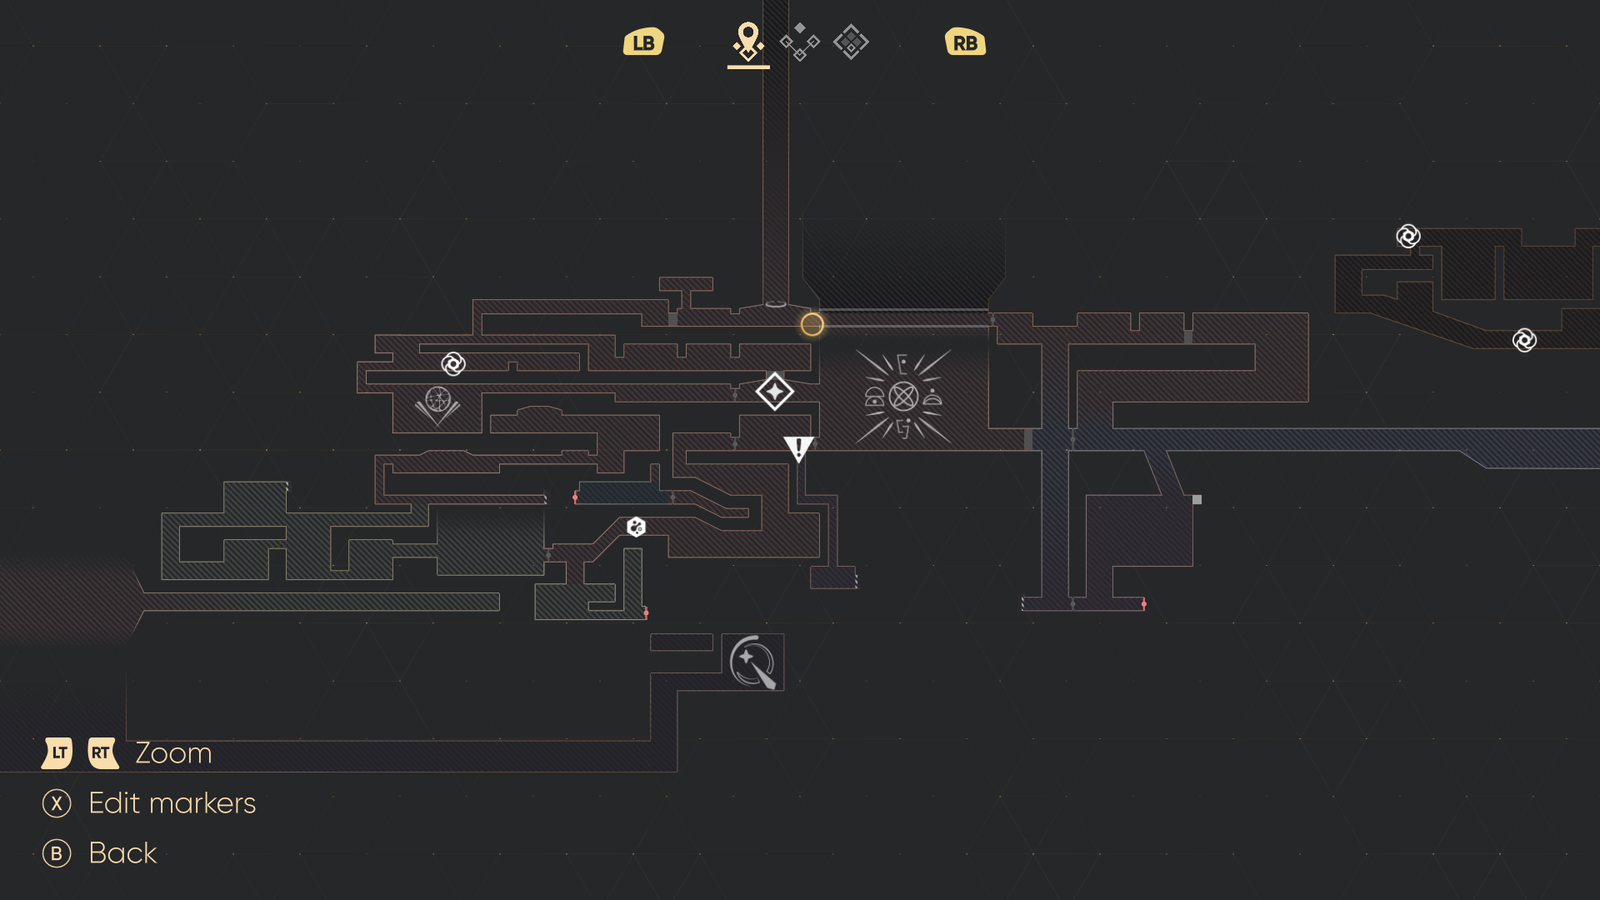
You’ll need to head to the spot marked by an exclamation mark on the map above. Note that this spot will not be on your map already. I placed the marker there myself to mark the spot.
This is in the Vaults, and it’s extremely easy to get to from the Overseer checkpoint at the top of the area. From the Overseer, head right into the large, open room full of giant drawers, floating bugs, and that creepy doll (if you’re doing this before the boss fight with The Hand).
In the bottom left of this large room, head through the door to find Mel’s Scrapper standing next to a hole in the ground that you can leap down. Below, we’ll find Mel once again, as well as her prison guard Debby.
How To Beat Debby
To be honest, I didn’t find the fight with Debby to be too much of an issue at this stage in the game. If you’re like me, you’ll already be pretty adept at learning boss movesets and coming out on top in MIO: Memories In Orbit.
However, there’s never any shame in asking for help. The video above will show you how the fight transpired for me.
Keep in mind that there are two assists that can aid your efforts if you’re really struggling. The ground healing is viable, as Debby gives some decent windows for you to remain on the floor for chunks of time. You can also toggle on the assist that weakens bosses with each subsequent attempt if you’re truly unsure if you can win this one.
Phase One
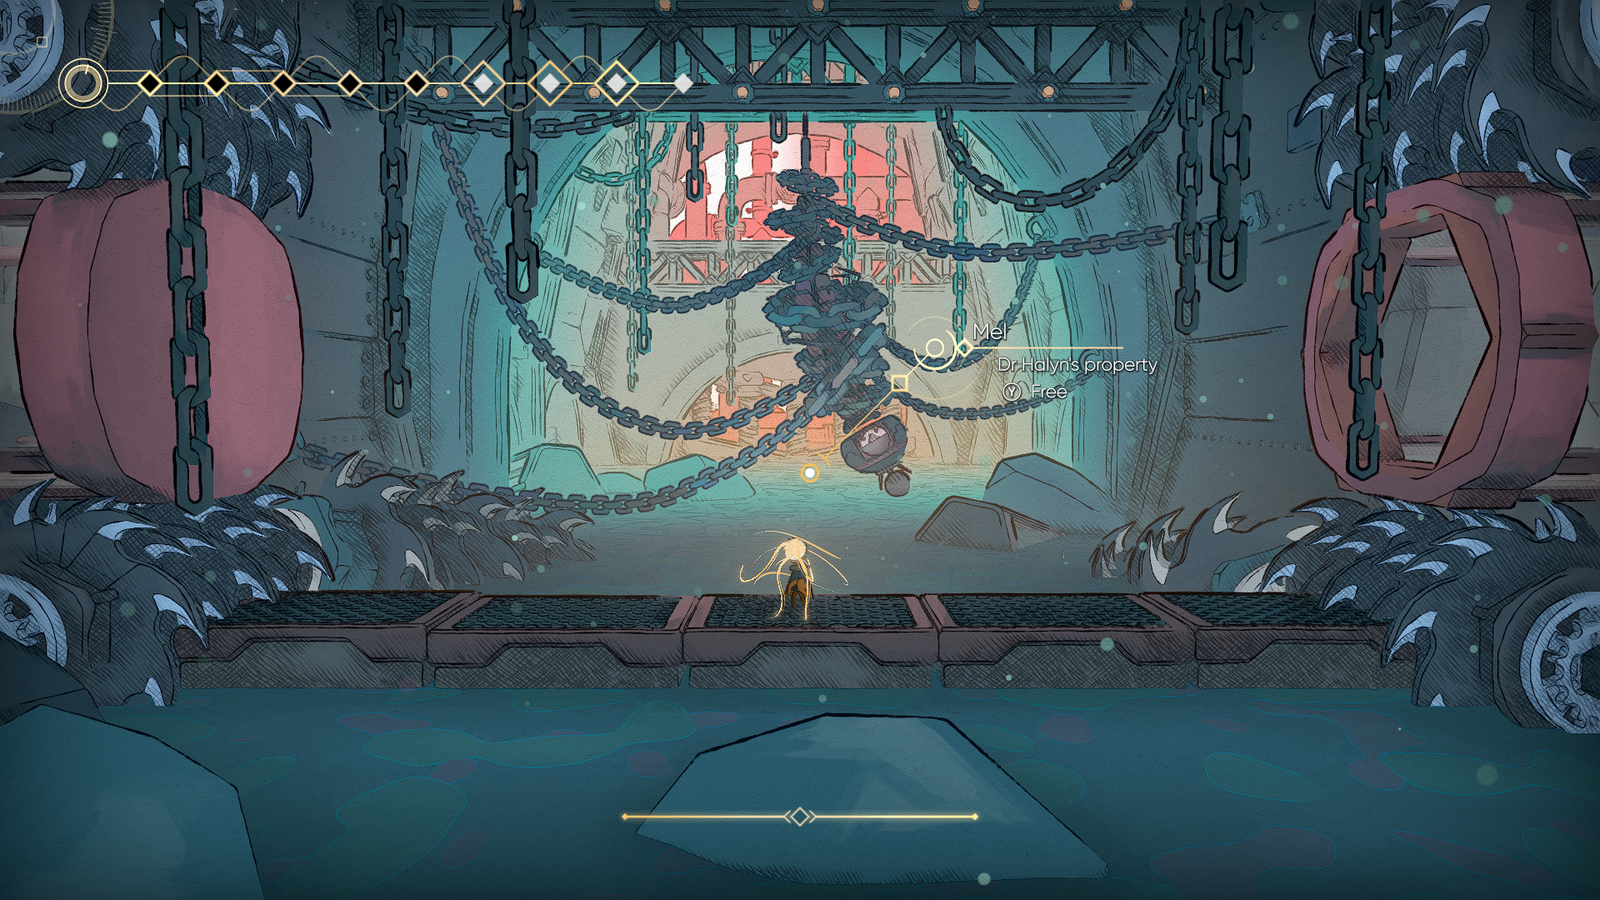
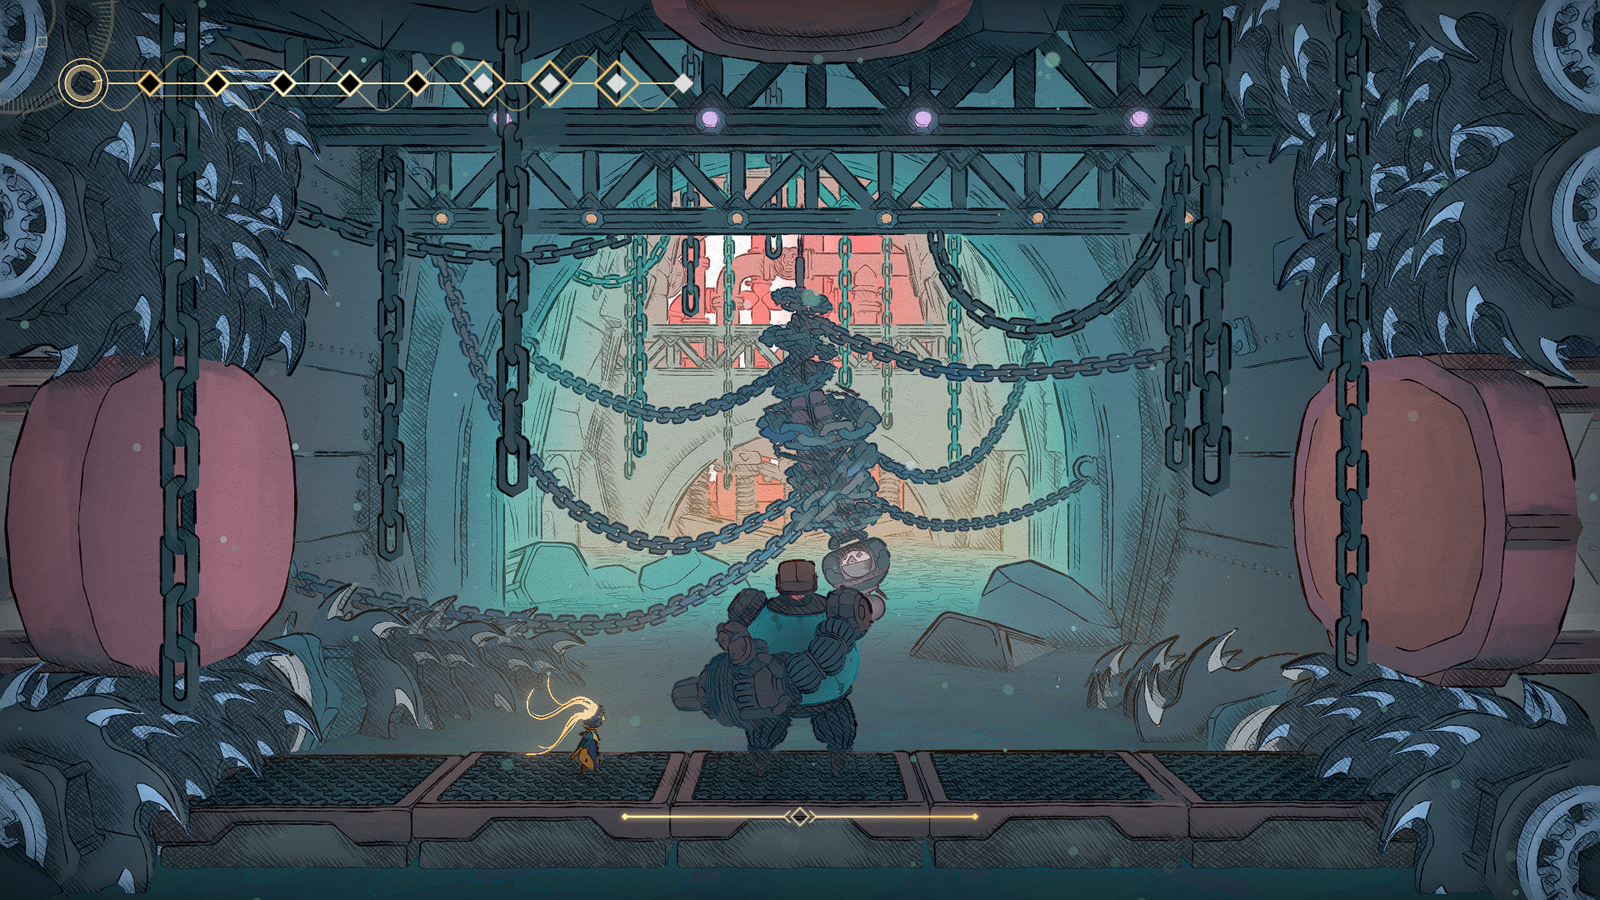
Once you find Mel chained up and dangling in the boss arena, you’ll need to attempt to “Free” her. In doing so, Debby will immediately show up to try to thwart your efforts.
Debby has a pretty large moveset in general, and most of her attacks are ranged to some degree. Here’s everything you need to look out for in Phase One:
| Move | Description | What To Do |
|---|---|---|
| Double Bomb Water Leap | Debby usually starts the fight with this, then throws it in during the rest of the fight too. She’ll jump into the water, then drop a bomb to destroy two ground panels. | All you need to do here is step off the panels with bombs. Easy. |
| Side To Side Shockwave Jumps | Debby will leap from side to side of the arena, landing on the far outside panels. You can get damaged when she lands. | Step off the panels on the sides, dodge if Debby is going to land on you. |
| Machine Gun | From one side of the arena, Debby will shoot her machine gun for about five seconds. | Either get behind Debby and punish, or punish from the front in midair while staying above the projectiles. |
| Airborne Triple Shot | Debby leaps into the air and shoots three projectiles in a downwards/diagonal pattern. | This is a great one to parry, just be careful to not get hit by the final trailing shot. Can also simply move out of the way. |
| Grounded Triple Shot | From one side of the arena, Debby launches three projectiles nearly straight up into the air/close to her body. | Move to the middle panel and the projectiles won’t reach you. |
| Water Leap Triple Shot x2 | Debby jumps into the water, then leaps out twice in a row. Each time, she shoots a trio of projectiles at you. | Same tactics as the Airborne Triple Shot, just repeated. |
| Cannonball Spray | Debby cannonballs into the water, and projectile droplets fall all over the stage. | Find a window/gap in the falling droplets and position yourself safely. Can also easily parry. |
| Single Bomb Leap | From one side of the arena, Debby drops a bomb and then jumps across to the opposite side. | Move off the panel with the bomb. |
If you haven’t gotten used to it already, this is one of the fights where your dodge/parry ability comes in extremely handy. Compared to almost any other game with a similar mechanic, I found the success window for a successful parry pretty generous in MIO. If you’re going to get nailed by one of Debby’s projectiles, be prepared to dodge just before it makes contact.
This same tactic can be used for most attacks, and remember too that there’s no contact damage in MIO: Memories In Orbit, so use that to your advantage as well. What’s tricky here compared to other bosses, however, is that Debby does have a shockwave-type landing effect whenever she leaps up from the Gloomwater and lands on the same panel on you. Either jump in the air or move to a different panel to avoid damage from this.
Aside from that, the fight isn’t too bad. You’ll have to contend with sinking/disappearing panels when Debby blows them up, but they respawn moderately quickly too. Debby will always place an explosive on the panel you’re standing on, so just step to the nearest open panel on either side when this happens, then again when she drops the second bomb.
The triple-shot of Gloomwater projectiles is very easily parried/dodged if you can time it well. Finally, your best punish window is when Debby moves to the side of the arena and machine guns Gloomwater at you. You can stay airborne either above Debby’s gun or entirely behind her and just button-mash your melee for the duration of this attack for great damage.
Phase Two
Phase Two doesn’t really change things up too much. Here are Debby’s moves she’ll do in addition to everything from Phase One:
| Move | Description | What To Do |
|---|---|---|
| Quadruple Panel Bombs | Debby drops bombs on four panels at once, blows them up , and lands on the remaining one. | Run to the panel without a bomb, then get ready to either dodge/parry when Debby lands on it with you, or jump to the side but land back on the same panel when it’s safe. |
| Overhead Smash | Debby winds up, then quickly smashes the area in front of her with a melee attack. | This is one of Debby’s only melee moves and comes out of nowhere. Best bet is to parry. |
| Double Bomb Throw With Spray | From the side of the arena, Debby slowly throws two bombs. These destroy the two nearest panels and spray projectile water in the process. | Simply step away from the bombs onto a safe panel. |
For the most part, all of your same strategies from Phase One still apply. All you really need to do is be a little more agile and patient since Debby’s attacks are buffed up a bit here.
The big thing to look out for is when Debby destroys four of the five panels on the ground using bombs. This just leaves one panel you, and is also where she’s guaranteed to land when leaping back out of the water. You’ll need to perfectly time a dodge, or leap into the air slightly to the side before impact, making sure you’re avoiding Debby while also remaining close enough to the platform to land back on.
Debby has some decent windows for punishment in general, but the best one is still during the machine gun-type attack. Keep at it, and you’ll take her down eventually.
Rewards For Beating Debby

Your reward for beating Debby is a less-than-impressed Mel. Even after clearly saving her and defeating her captor, she’s not really in the thankful mood. Even so, she’ll be back at the Nexus for you to purchase items from once again.
And would you look at that! She actually does have a new item waiting for you at the cost of one old core! It’s hilariously titled “Absolutely Not A Gift.” Sure, Mel. Sure.