


Cairn is full of plenty of little, technically optional activities you can stumble upon as you climb Mount Kami. More often than not, however, going out of your way to complete these tasks is well-worth your time.
Finding all of the crystal shards for the Crystal-Cutter NPC is one such example. Not only will it earn you the One Day, I’ll Be Rich! trophy, but you’ll also get an extremely helpful keepsake for your efforts as well.
This all becomes available a little over halfway into the game at The Palace Of Wind.
Where To Find The Crystal-Cutter
Right after The Two Hundred Steps section of Cairn (where you can also bump into the bear), you’ll continue climbing a bit further before reaching this humongous, slightly rickety-feeling rope suspension bridge.
This bridge leads to The Palace Of Wind, which is your next section of Cairn to climb.
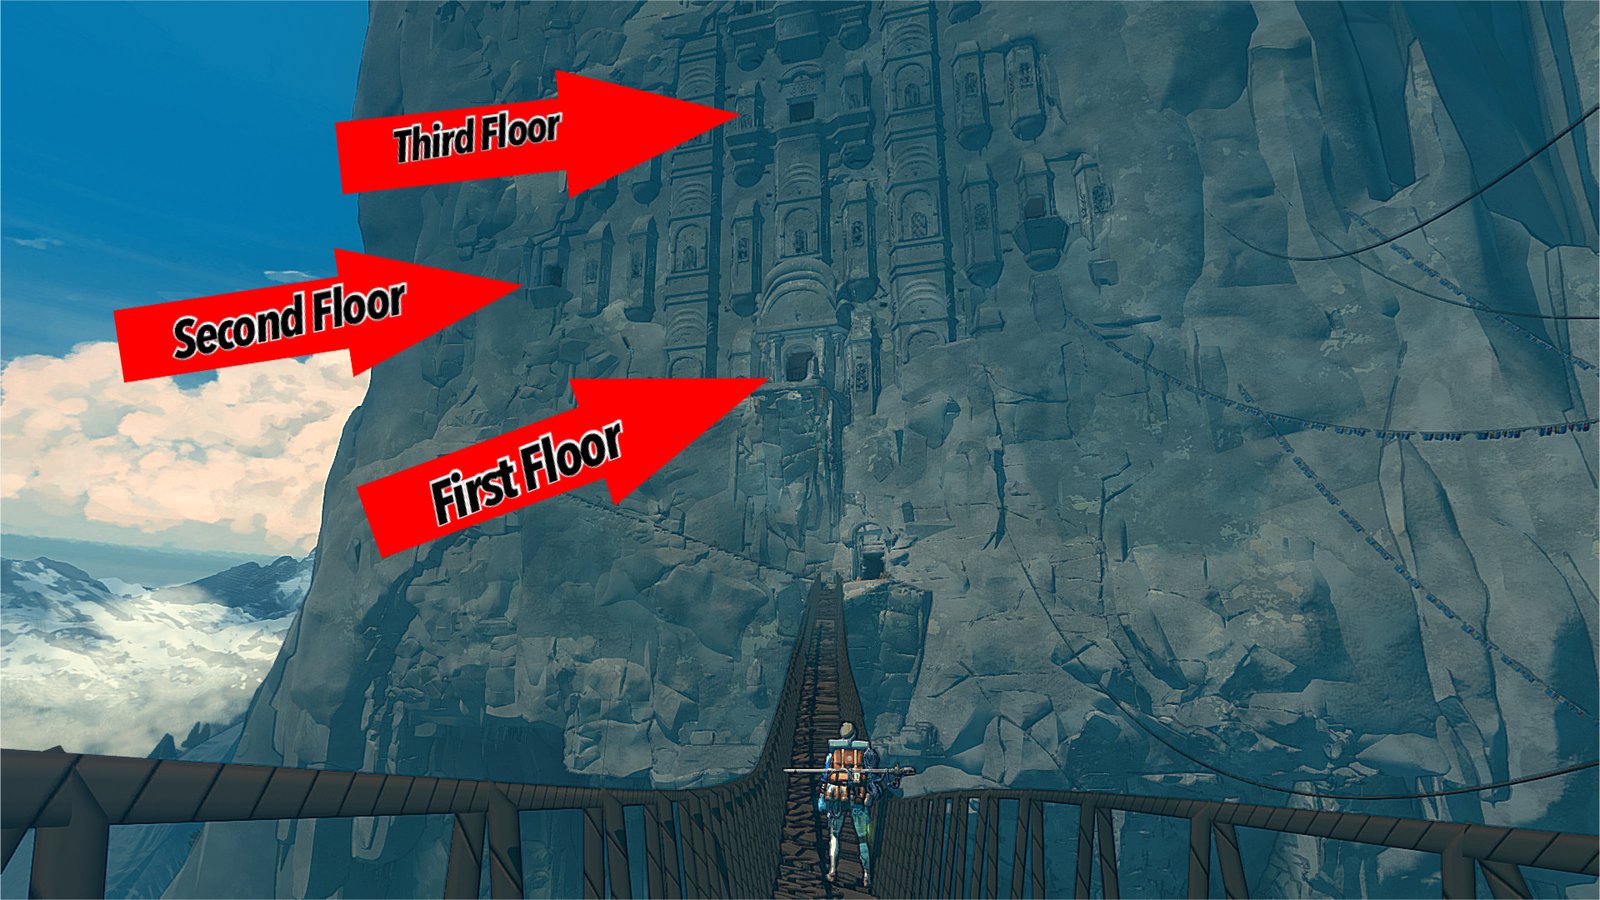
Looking at the picture above, take note of the open doorways you can find as you head up The Palace Of Wind. I’ll refer to these doorways and their corresponding floors in the rest of this section of the guide.
Your ultimate goal here is the third floor, but of course, getting there won’t be super easy.
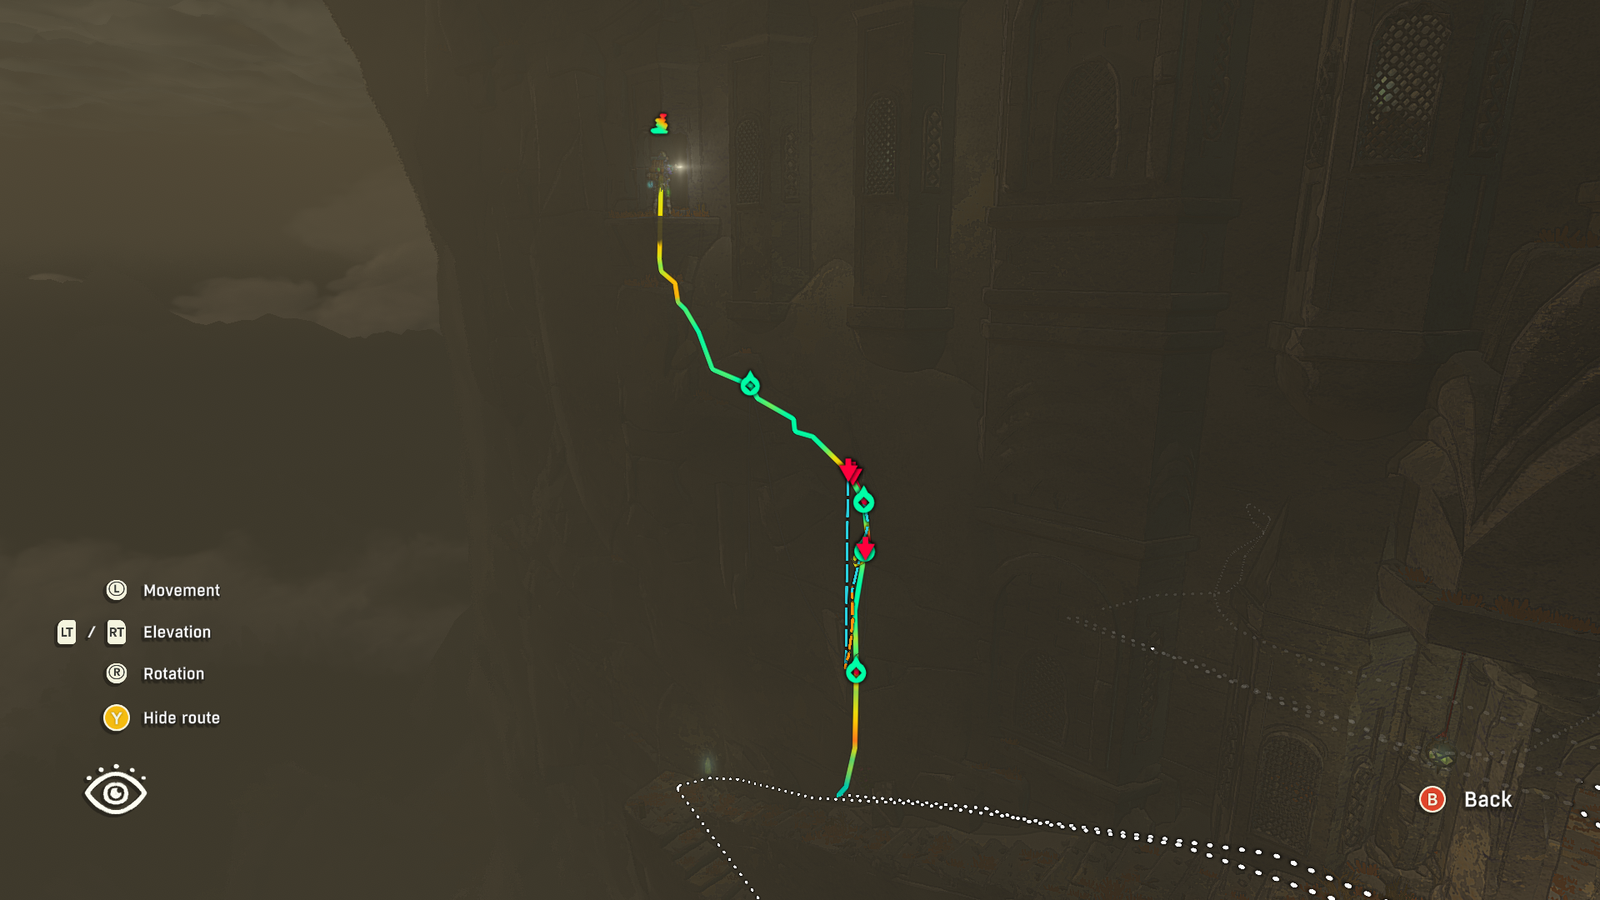
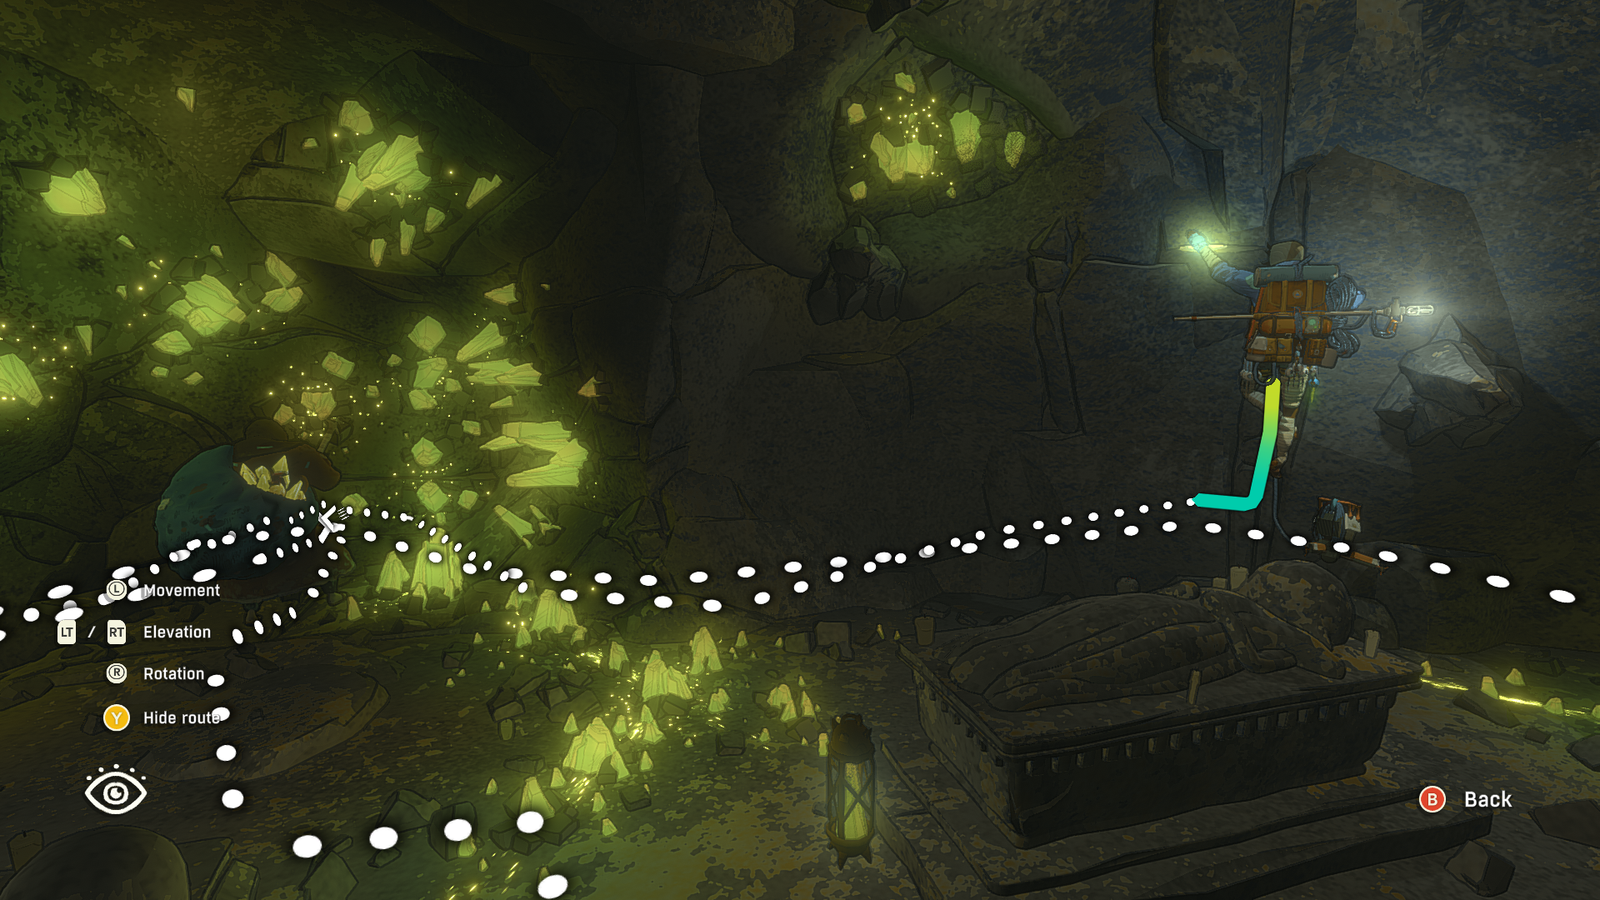
From the first floor doorway, I found my best climbing path upward about halfway back down the stairs leading to the first floor door.
You can use my route above as guidance if you need some help.
Take note that this section of the game introduces storms/heavy winds. During all of your climbs here, you’ll likely need to set a piton, get to safe ground, or simply stay still and hope for the best so you don’t get blown off the mountainside.
On the second floor, you can explore around a bit and take in the scenery of what appears to be some sort of Troglodyte burial mansion. Cozy.
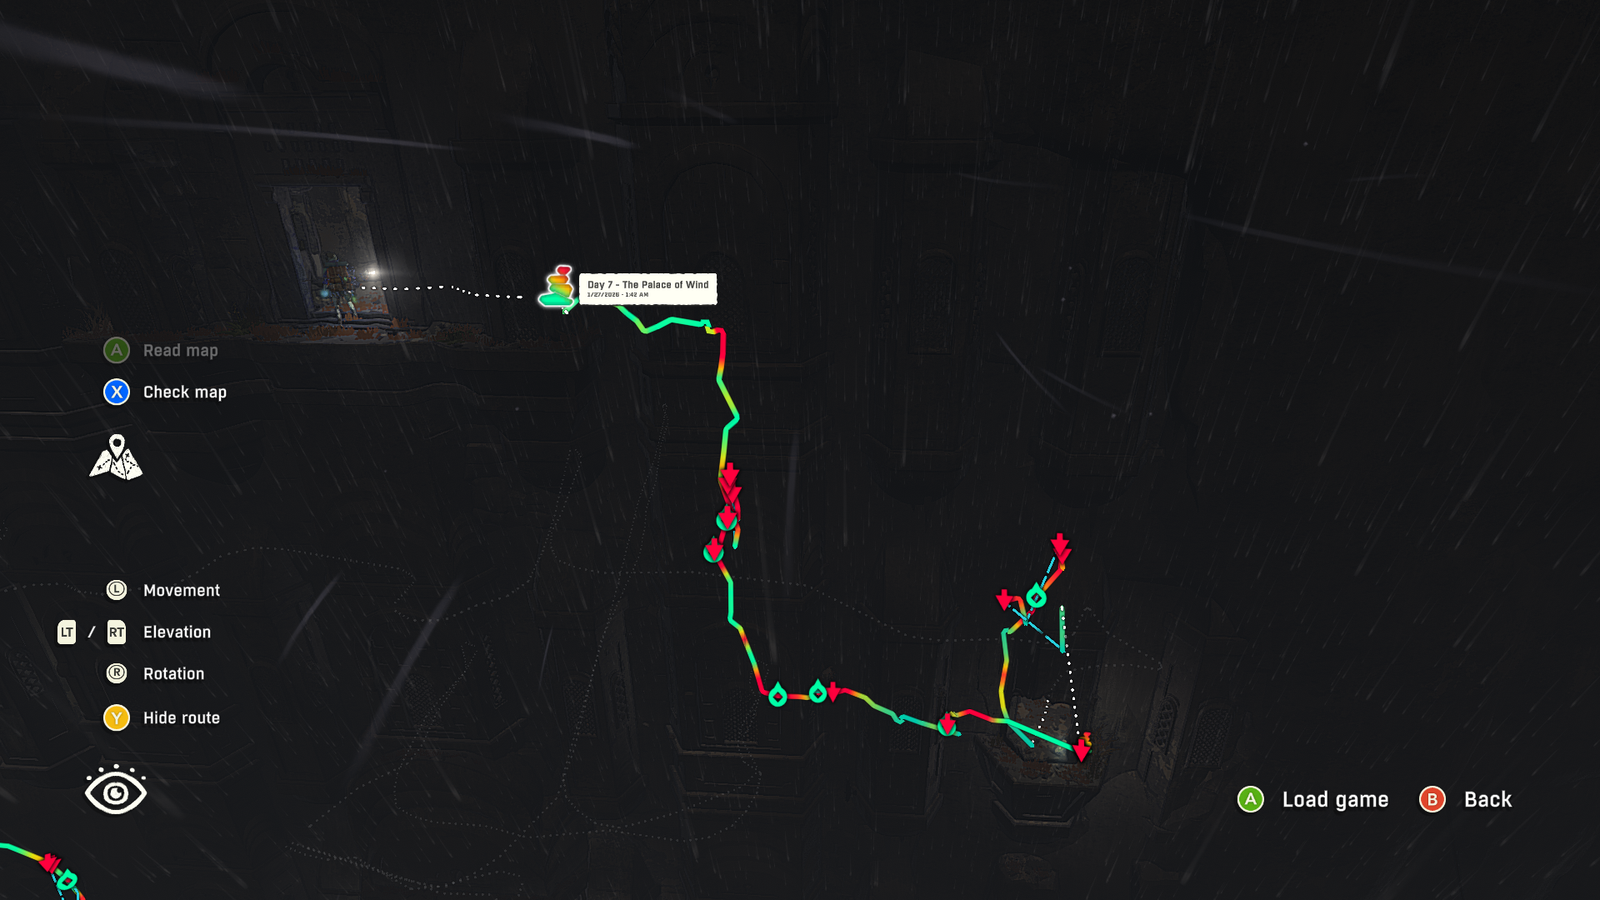
For my next stint of the climb, I actually started from the second floor doorway on the opposite end of the palace. If you were facing the palace, the doorway would be on the right.
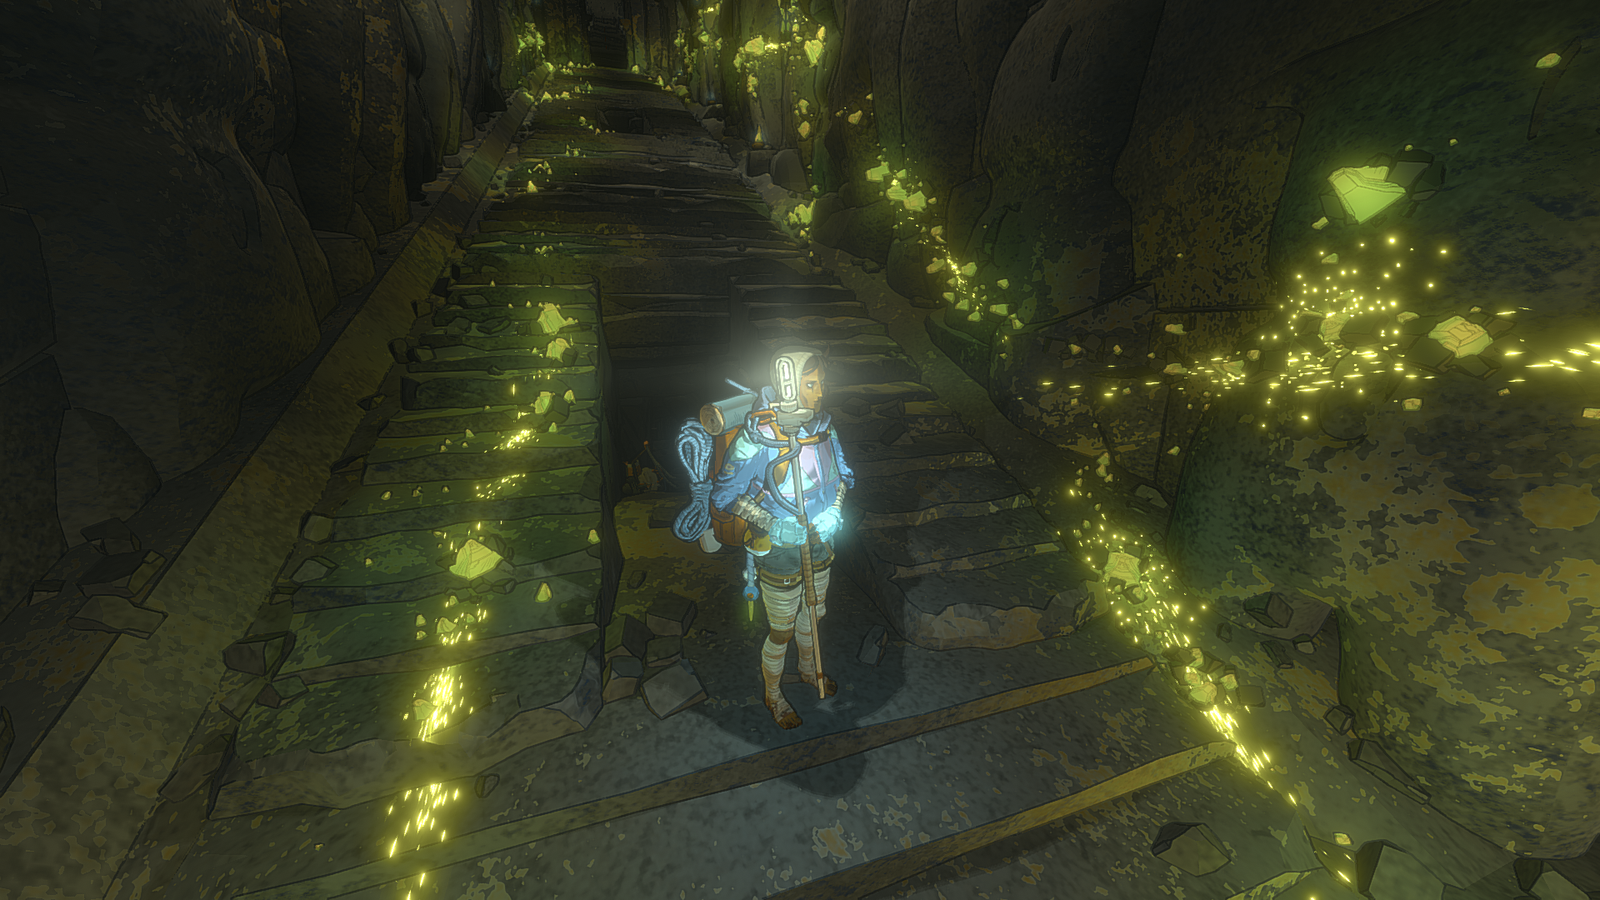
Once you make it to the third floor doorway, head inside, and go straight back.
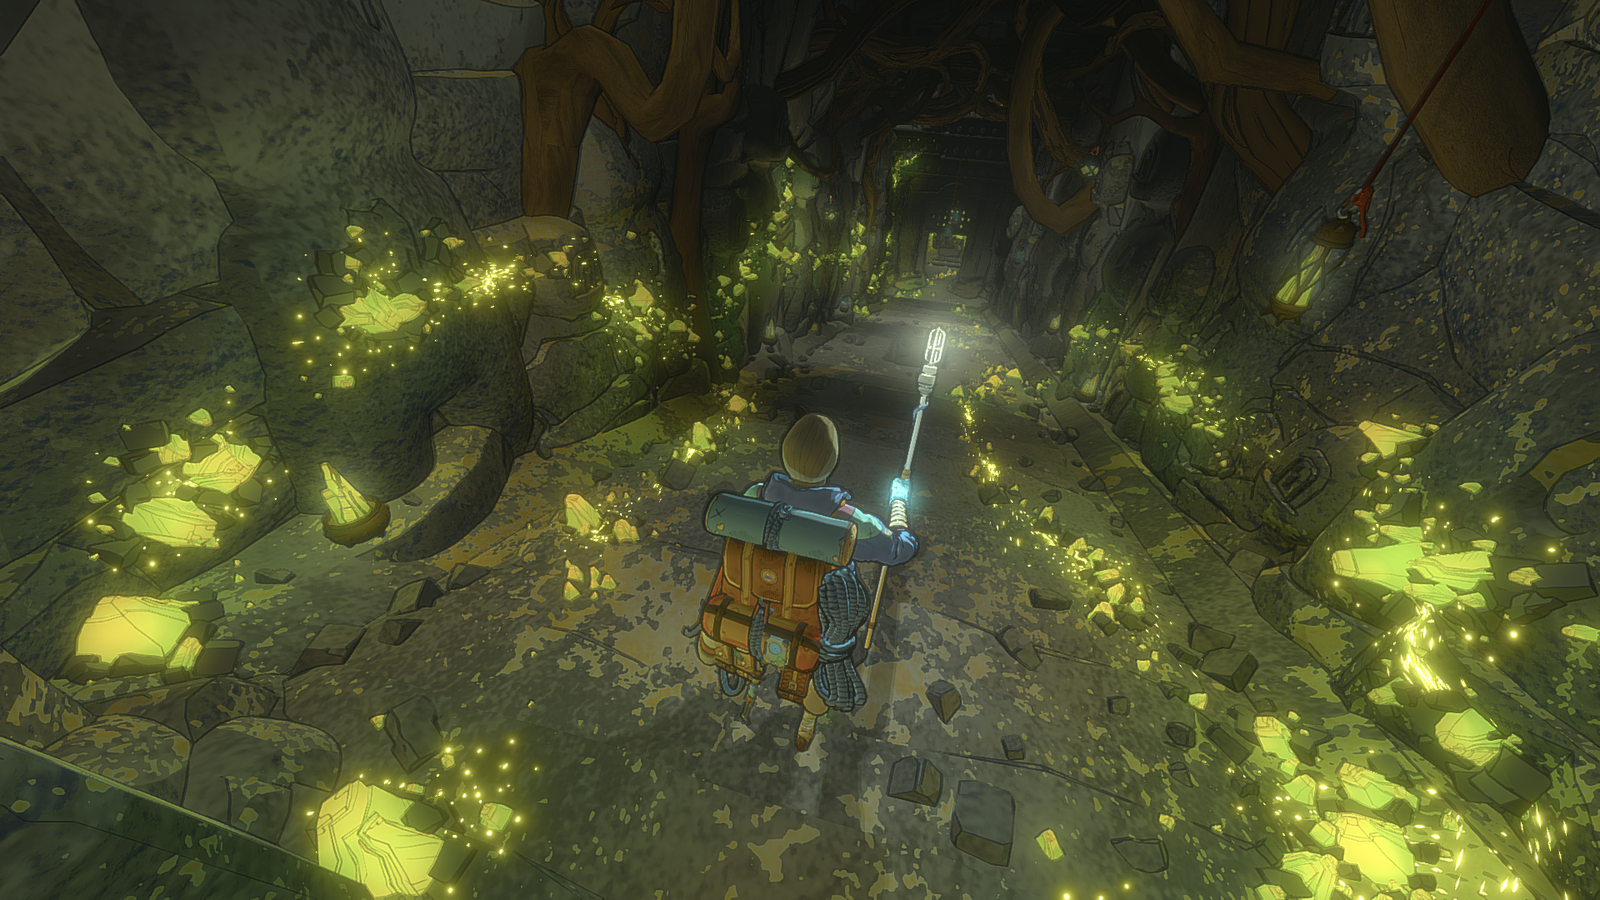
You’ll reach this pathway full of yellow crystals, and you’ll also hear someone working just up ahead.
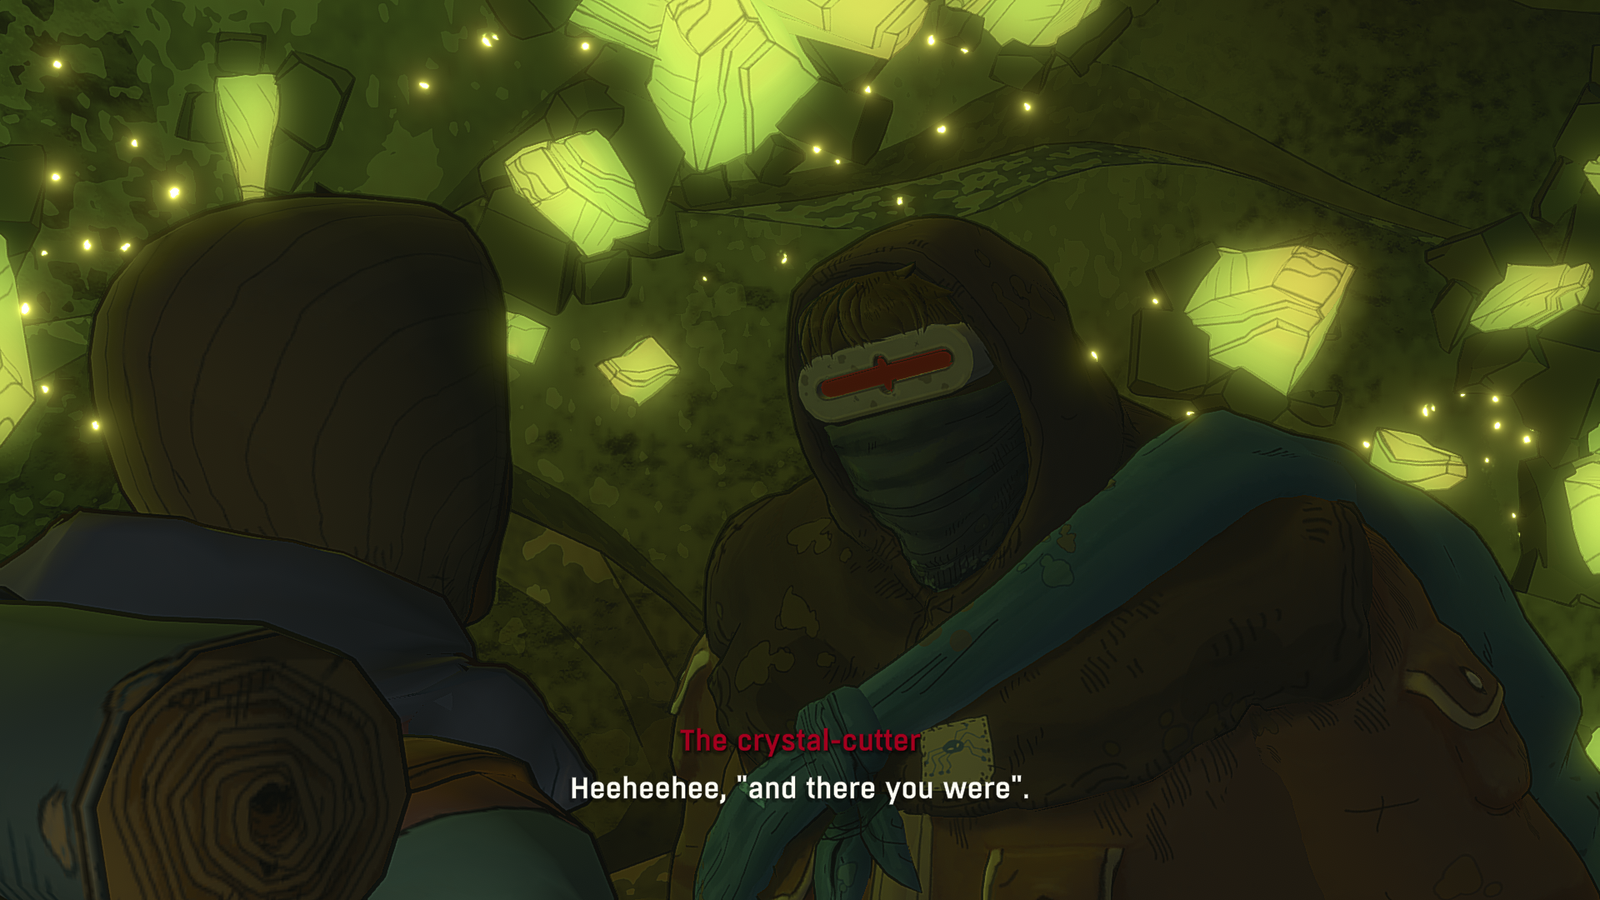
This is the Crystal-Cutter. Have a weird/mildly unsettling conversation with him. After this cutscene, you can gather four crystal shards for him to earn a nice reward.
How To Find All Four Crystal Shards
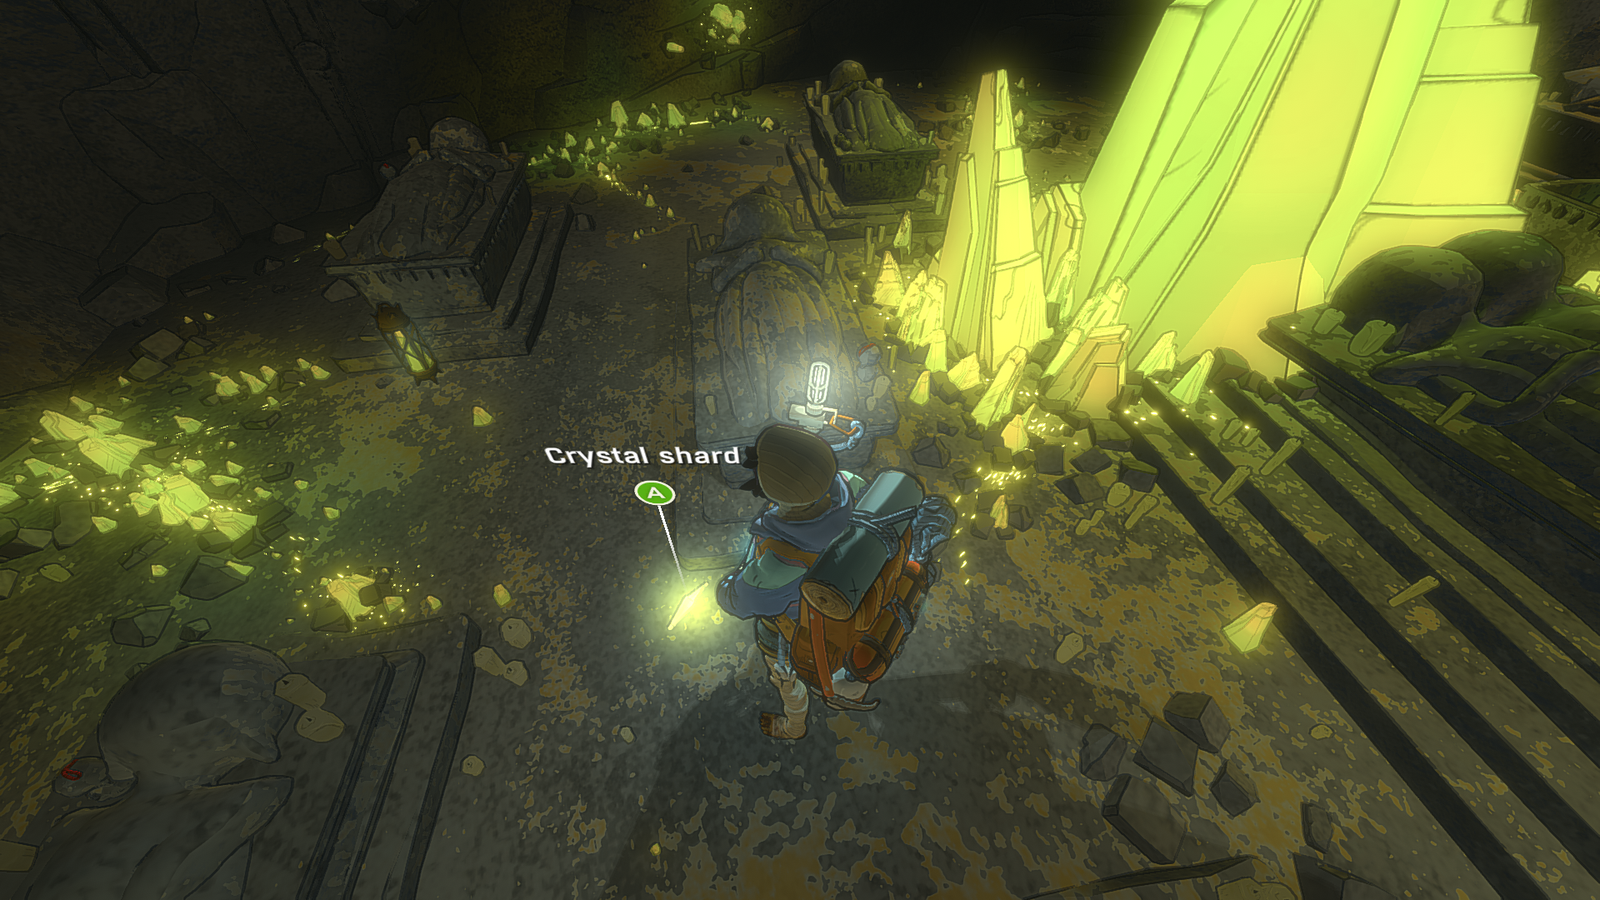
The first crystal shard is basically directly behind the Crystal-Cutter on the ground. Easy.
Next, on the other side of this room, you’ll find your second shard sitting on the sarcophagus of a resting Troglodyte. Go ahead and pick this one up as well.
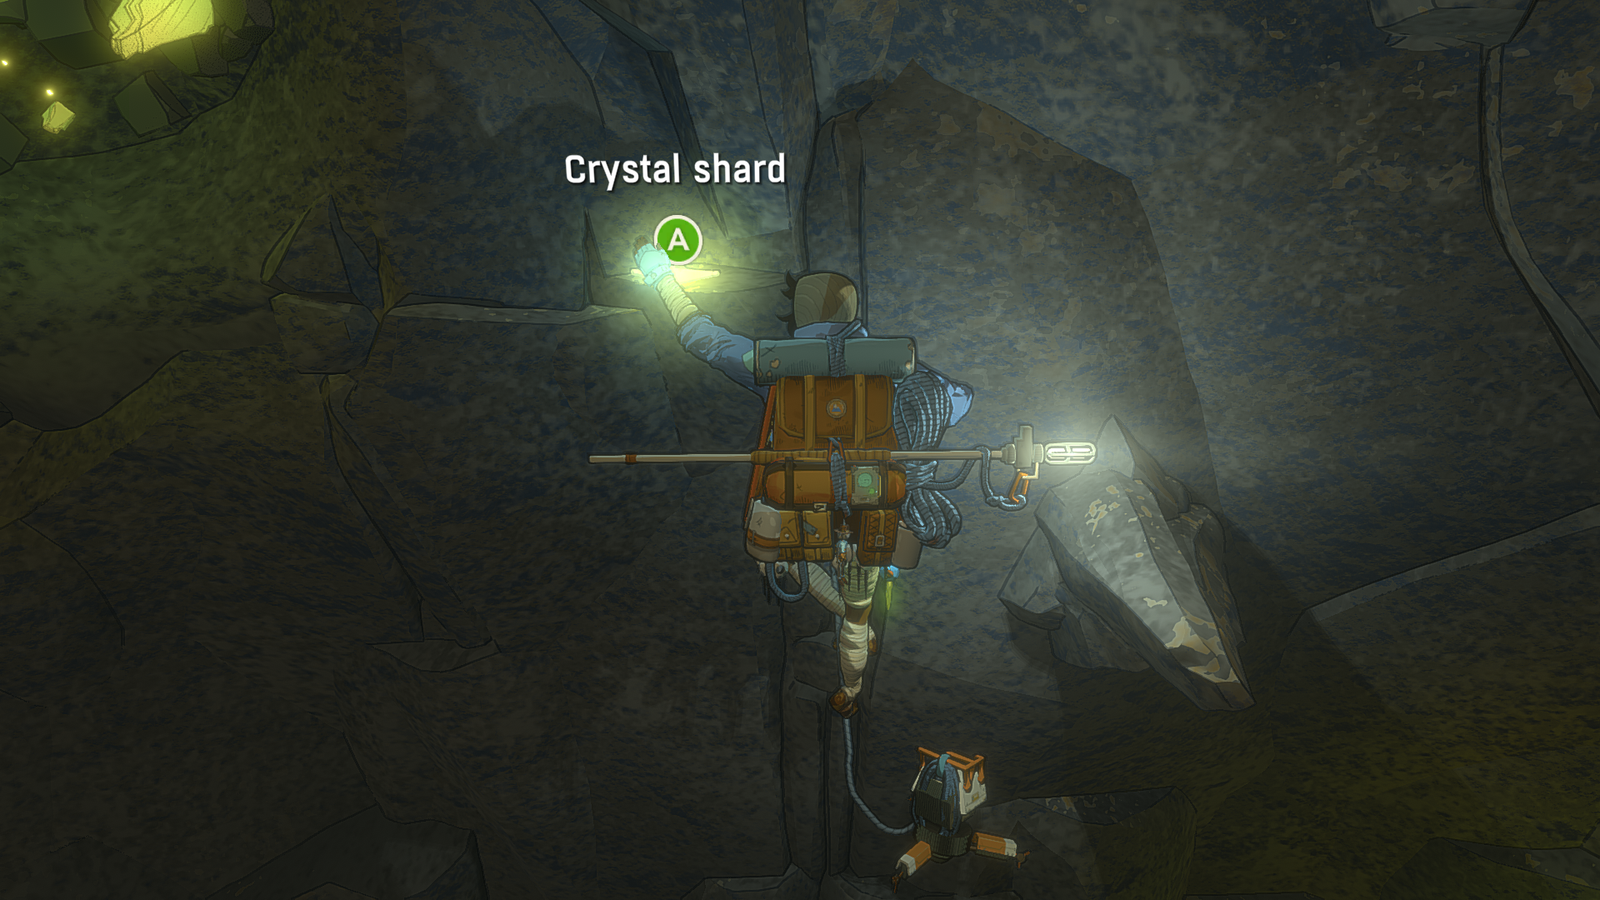
The third one requires a small amount of extra work. Just to the right of the Crystal-Cutter, another shard is sitting on the cave wall above. You just have to climb about ten feet off the ground to grab it, which is super easy.
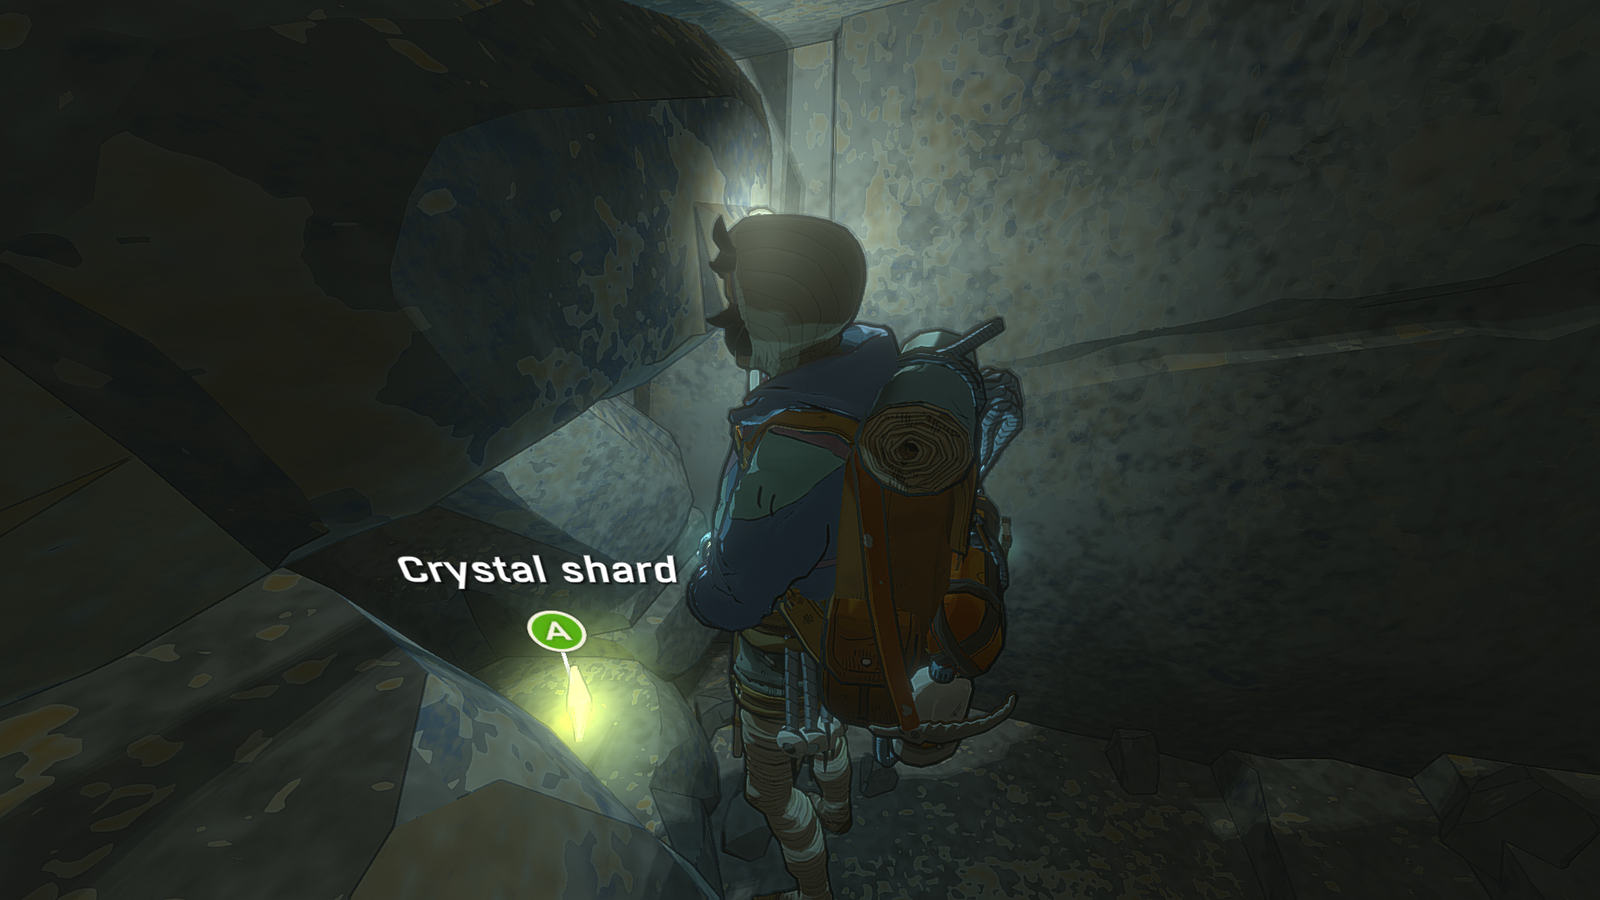
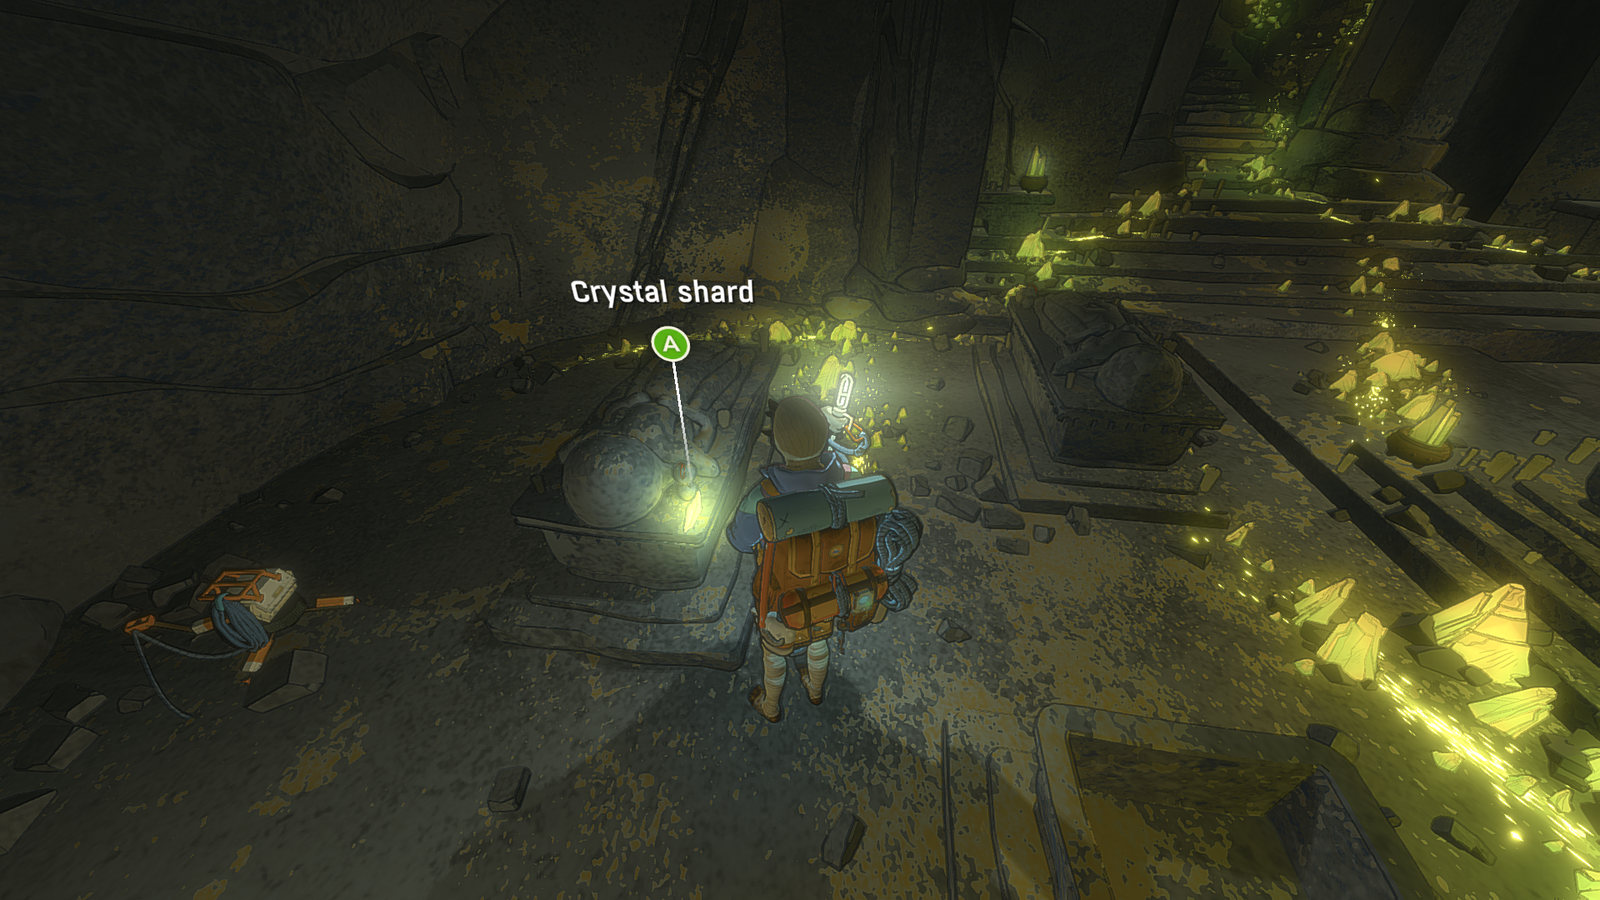
The fourth shard is the most well-hidden, simply because it’s not in the same room as the other three. Leave this room that the Crystal-Cutter is in, and backtrack to the stairway that originally led you to this room.
You’ll notice a sort of cutout in the stairway that leads further downward. Head inside of this cutout, and the final crystal shard is yours.
Now, return to the Crystal-Cutter and follow the button prompt to hand over your collection.
Small Windmill Keepsake Usage

For your troubles, he’ll give you the Small Windmill keepsake, which you’ll now find in your backpack menu.
You’ll also now officially earn the One Day, I’ll Be Rich! trophy/achievement.
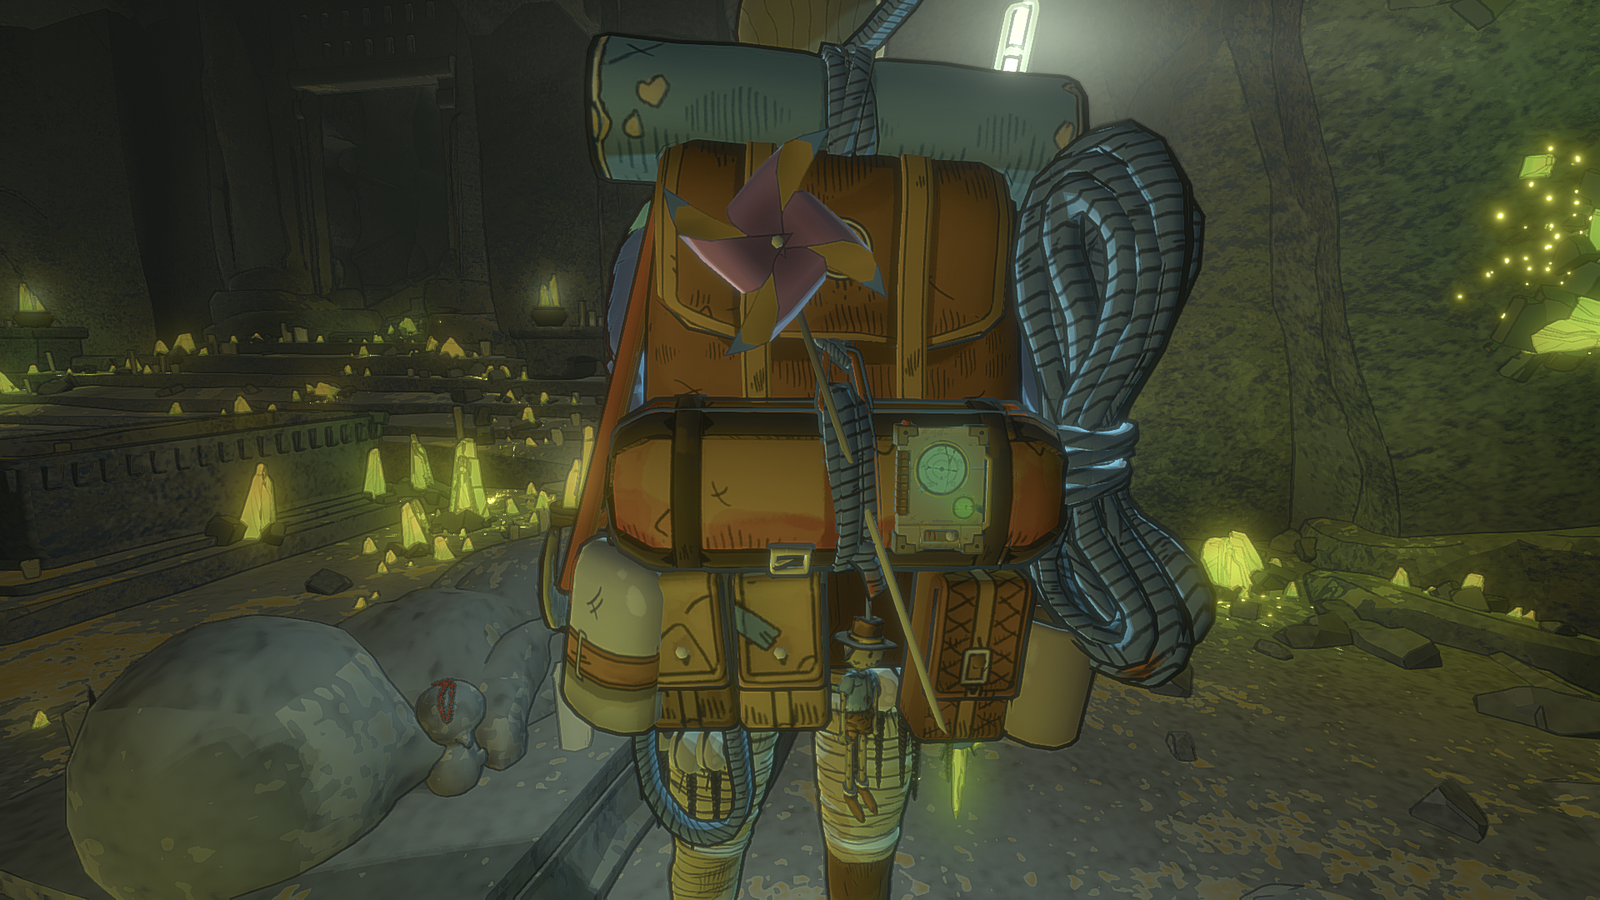
The Small Windmill is immediately useful in this area of the game and moving forward. It goes on your backpack, and will begin to spin quickly as a warning that a storm/strong gust of wind is about to hit you.

Also Read
You can use this as your indicator to take cover from the wind for the rest of the game now. Thanks, psycho Crystal-Cutter guy.