


By the time you’re able to expand your chalk bag in Cairn on your climb up Kami, you’ll surely know just how important this resource truly is. As such, the more you can store at once, the better.
For your first several climbs in Cairn, you’ll be limited to the three uses of chalk in your standard bag, plus whatever you’re able to continually compost with your Climbot. This can get you by for a while, but there’s also a better solution out there to be able to carry around more without taking up extra backup space.
Shortly after you get through The Village, you’ll be able to track down the Big Chalk Bag. However, the location you’re after might not be one you ever come across since Cairn lets you choose between so many different routes. Here’s the one you’re looking for.
Big Chalk Bag Location
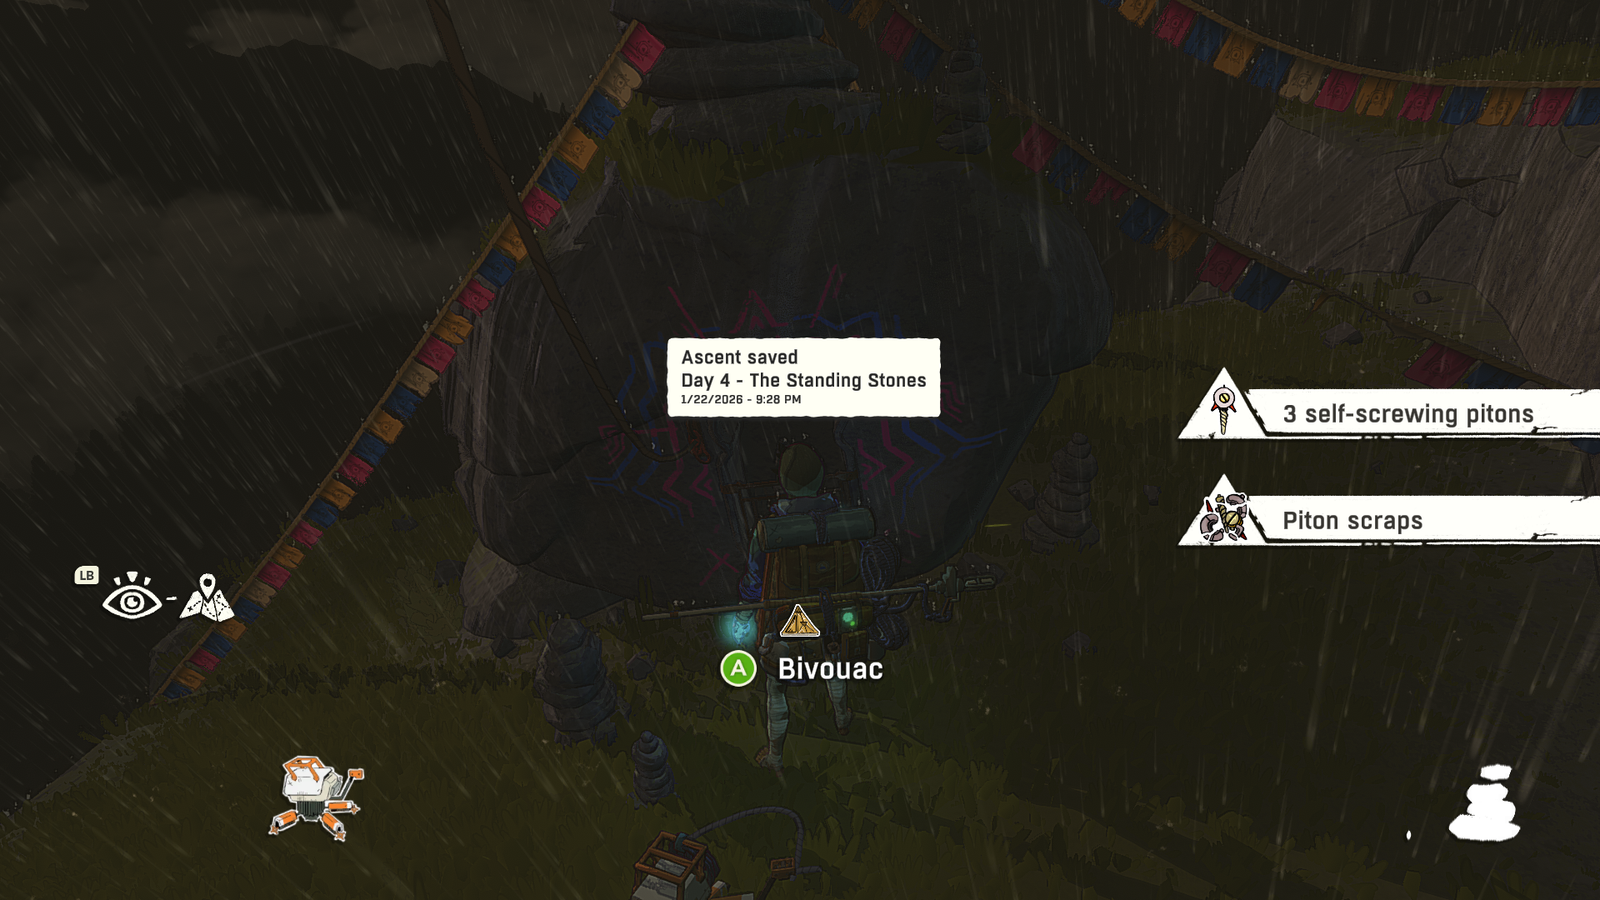
After your ascent through The Village, you’ll come across a location called The Standing Stones. Note, you only see these location names when you’re at a save point, so make sure you’re saving regularly to keep track of your current spot on the mountain.
From this area, you have three main paths that you can climb up to get to your next major checkpoint and cutscene featuring Marco.
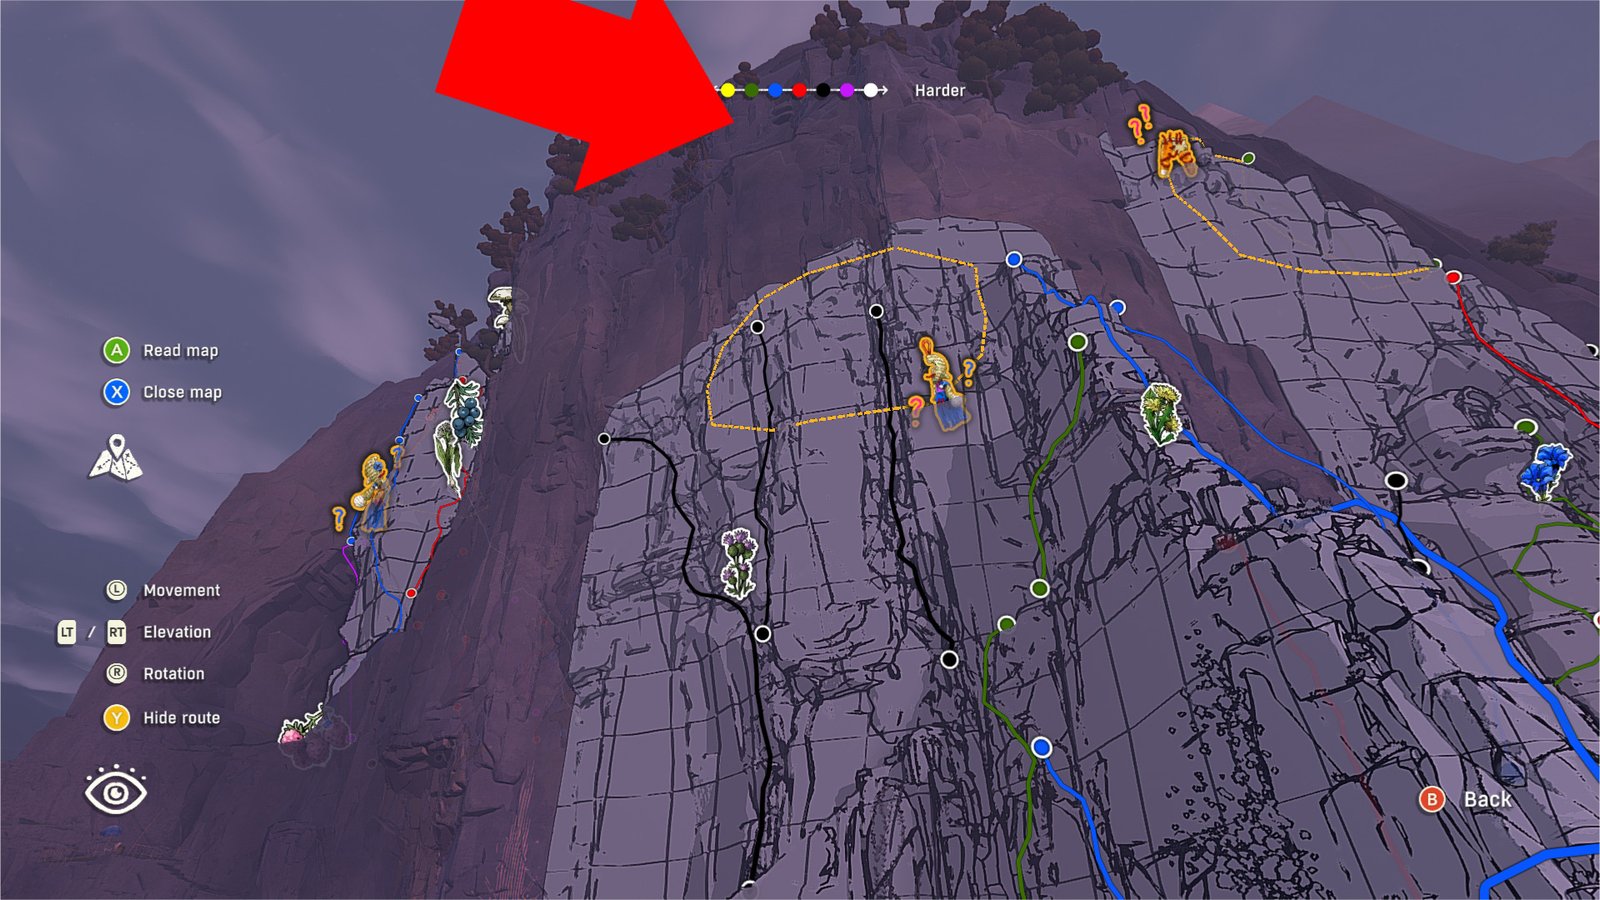
If you happened to find the Troglodyte map in The Village, which gave hints for finding several severed doll pieces on the mountain, you can now pull out this map to highlight some safe paths upward.
You’ll spot that there are three main paths up, and each are marked in different colors to denote their climbing difficulty.
Above the middle path and the orange, circular area that hints at where a doll piece could be, you’ll notice a landing on the cliffside a bit higher up. It’s marked by the large, red arrow in the picture above. This is where you need to get.
You have two options:
First, you can climb up this marked map, using either the black or blue paths to get close to the cliff landing you’re looking for, then continue the rest of the way up.
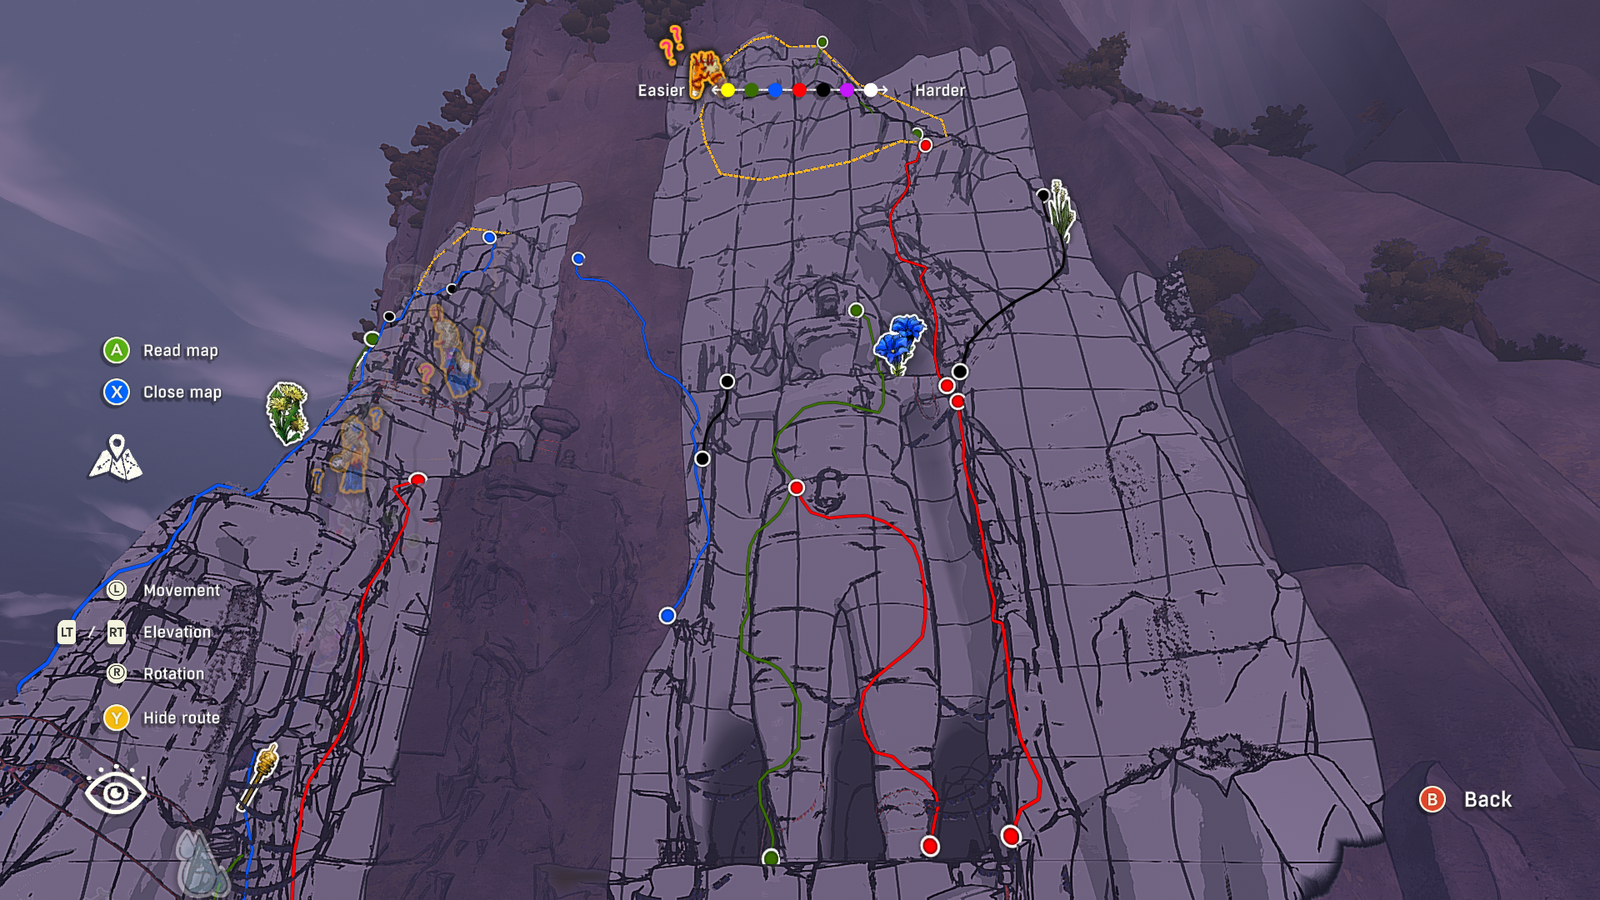
What I found more manageable, however, was climbing up the path on the far right first, which is called The Child, and features a large, carved, humanoid body in the cliffside. Note that there’s a green path here that goes up the mountainside halfway, which isn’t too bad of a climb.
Follow these paths, and you can eventually make it all the way to the top of this section of the climb, which is where you’ll meet Marco again for a particularly beautiful cutscene. You’ll know it when you see it.
After this, it’s very simple to backtrack and rappel back down from the top of the mountain. Your rope is long enough to get you back down to the landing above the middle path, which is your actual target here.
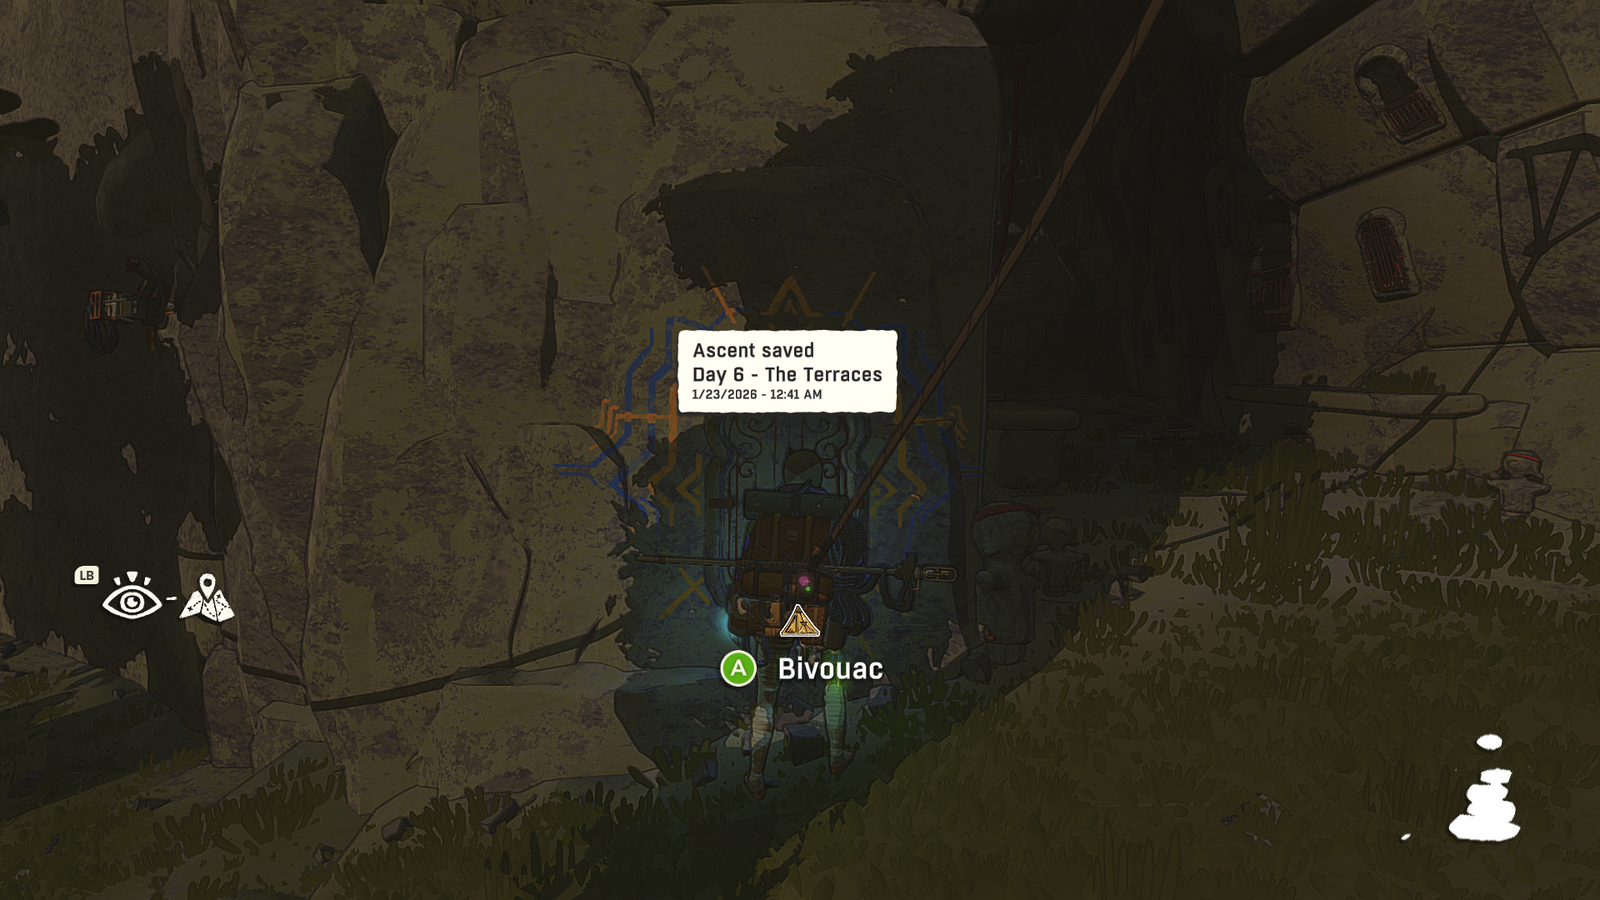
You’ll know you’re in the right spot when you find a kite and save point called The Terraces. Take note of the large cave opening to the right of the save point.
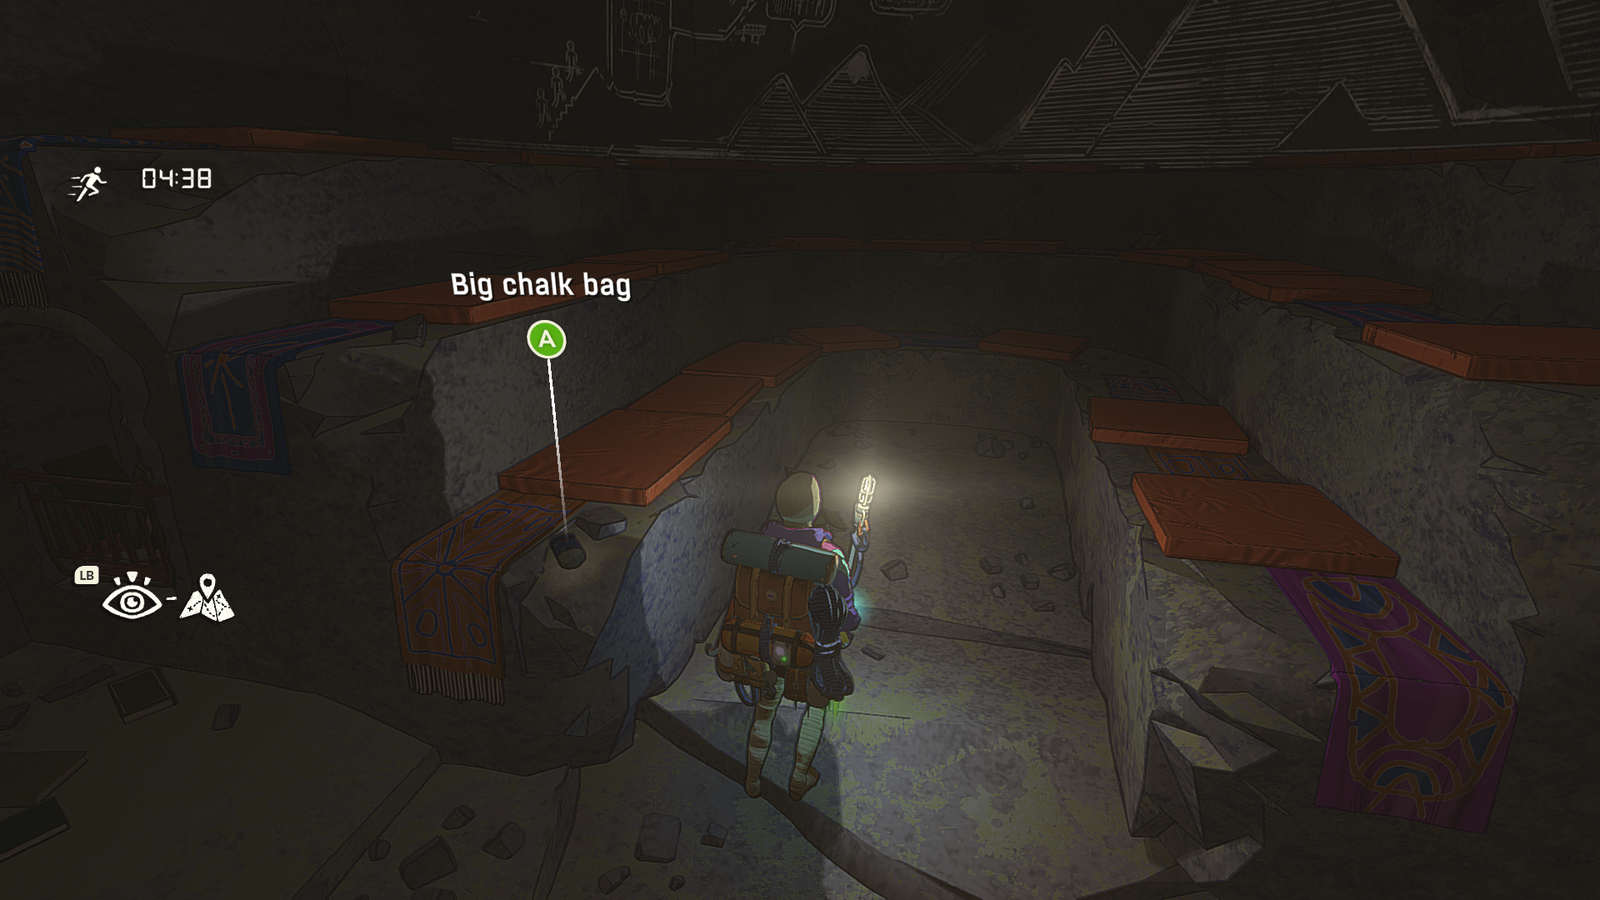
Head inside this cave, and you’ll be able to pick up the Big Chalk Bag from a seat inside of the cave. You can also head a bit further in here to be shown some interesting cave drawings made by the people who used to live on the mountain.
Perks Of The Big Chalk Bag
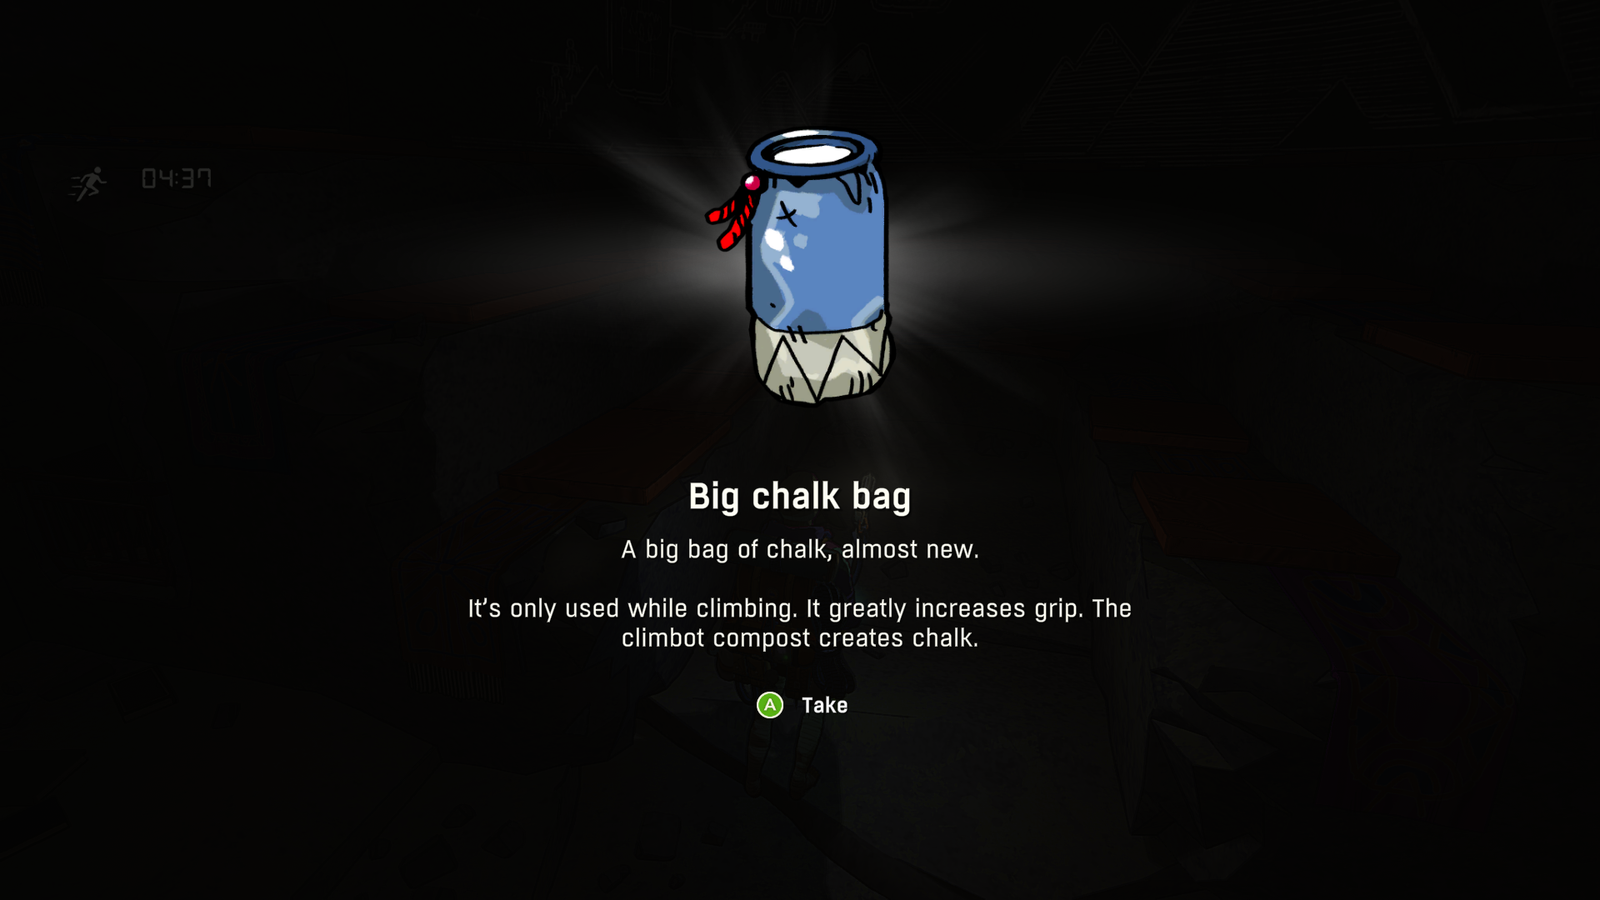
Congratulations! Your chalk bag is now permanently upgraded to the “big” variety. What does this mean? Well, you can now hold five uses of chalk at once instead of three.

Also Read
This gives you a distinct grip advantage for the rest of the game, and also can help free up some precious backpack space if you were previously using it for an extra fourth or fifth usage of chalk.