

 Ending Guide: How To Get Tri-point Double Edged Spear")
Black Myth Wukong does an excellent job of hiding many in-game weapons and armor behind secret questlines. Taking inspiration from multiple endings depending in souls-like games, Black Myth Wukong also has a Secret, True Ending – which is also considered the ‘Good’ Ending to the game. Reaching the true ending also unlocks one of the strongest weapons in the game Tri-Point Double-Edged Spear. Here is the guide to unlocking the True Ending to Black Myth Wukong and obtaining the Tri-point Double-Edged Spear in Black Myth Wukong.
How To Unlock The True (Good) Ending In Black Myth Wukong
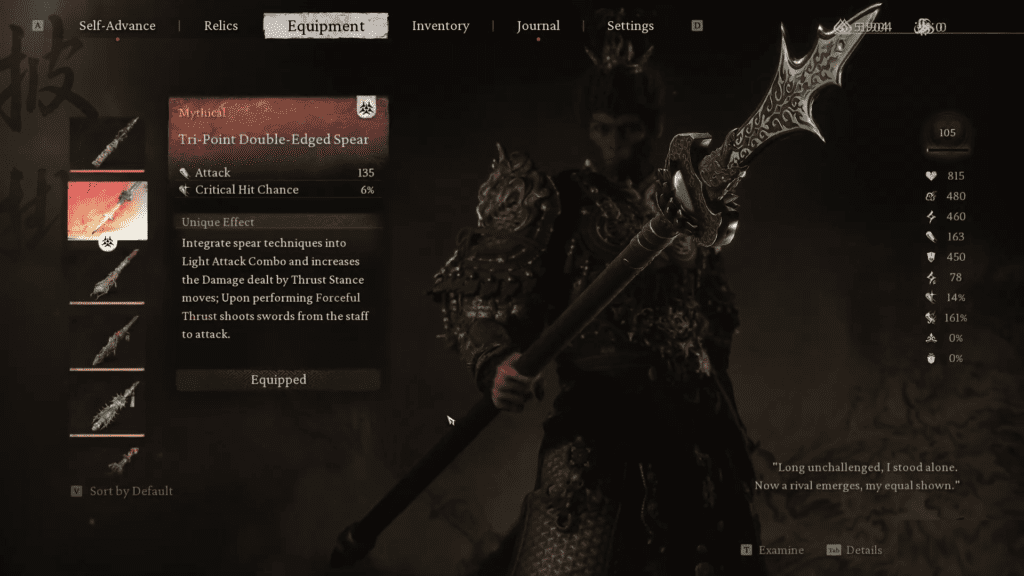
Complete all the secret areas, beat the final boss, and finish the side quest Treasure Hunter to unlock the True Ending to Black Myth Wukong and unlock Tri-point Double-Edged Spear.
The default ending is regarded as bad as Wukong fails to reach his true destiny. Completing the secret levels of the game will unlock one of the most beautifully crafted cutscenes, where everything will end in a more positive tone. If you love the story of Black Myth Wukong as much as we did, missing out on the True Ending scene will be a mistake.
Note: You don’t have to do a second playthrough to get the weapon or reach the Good ending to the game, you can obtain both of them through your first run.
Requirements To Unlock True Ending & The Tri-point Double-Edged Spear
Here are the requirements, you must cross off the list to obtain the True Ending to Black Myth Wukong.
- First Requirement: You need to finish Chapter 6, and defeat the final boss. Beat the game but don’t enter the New Game Plus cycle.
- Second Requirement: You must unlock the secret areas in all the chapters in Black Myth Wukong.
- Chapter 1: Ancient Guanyin Temple
- Chapter 2: Kingdom Of Sahali
- Chapter 3: Melon Field
- Chapter 4: Purple Cloud Mountain
- Chapter 5: Bishui Cave
- Third Requirement: Finish a side quest titled Treasure Hunter (Linked to the Secret Area Chapter 3).
After you complete all three requirements, head to the secret area named Mei-Jien Peak to battle one of the toughest enemies in the game to obtain the weapon. Here we will get the weapon Tri-Point Double-Edged Spear and the secret (Good) ending to Black Myth Wukong.
Unlocking The Secret Area Ancient Guanyin Temple in Chapter 1
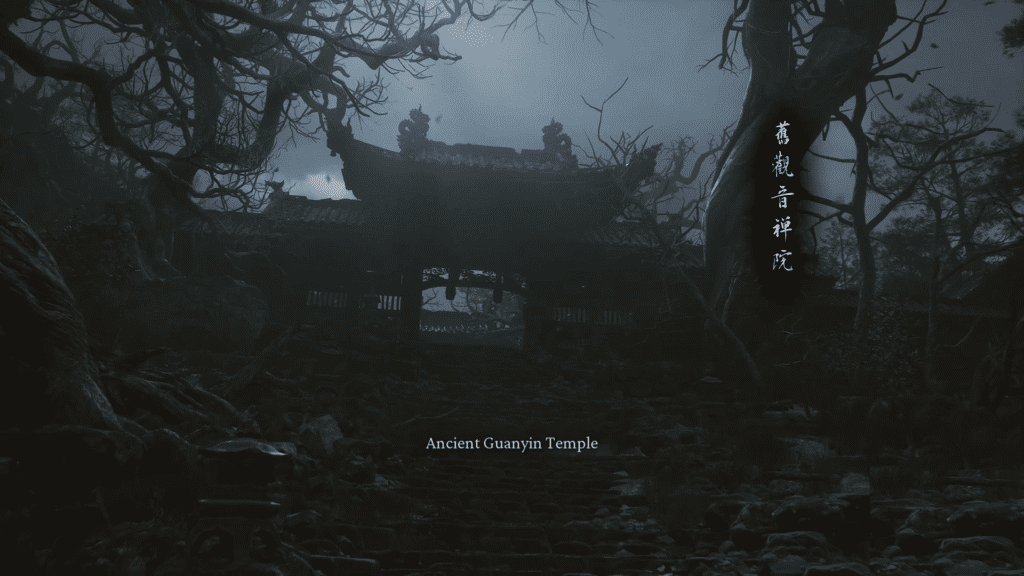
To unlock the secret location in Chapter 1, we will have to ring three bells and defeat the Elder Jinchi boss. We have a detailed guide on unlocking the secret area in Chapter 1, but to briefly summarize here:
Ringing the First Bell
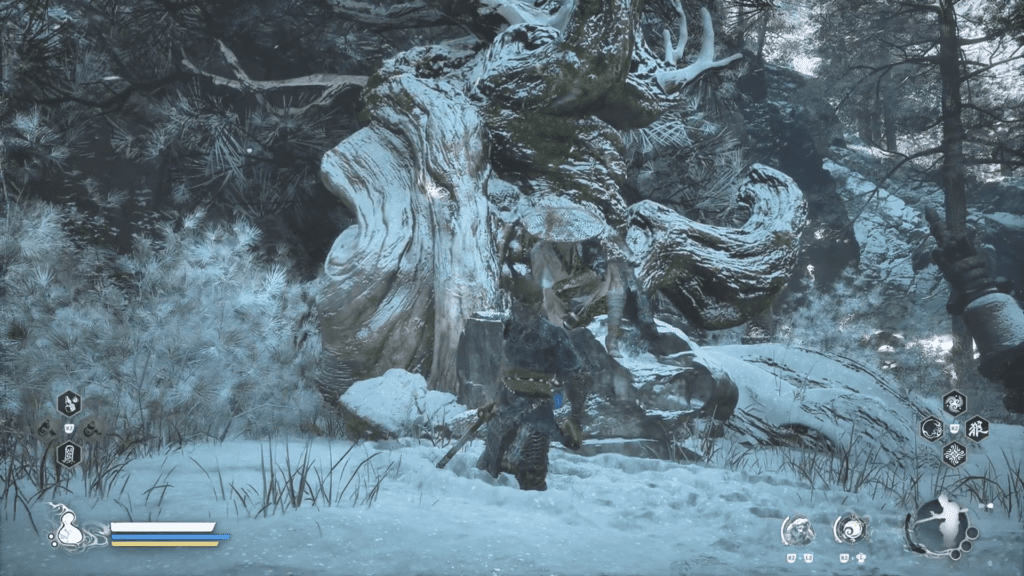
- Here travel to Outside the Forest Keeper’s Shrine under the Forest of Wolves. Head left from the shrine, follow the stone lamps on the road to head to the boss area. Here you will see many empty stone lamps on the ground but after passing a few of them, you will soon reach the area where you will come across small fire chalices on the ground next to shrines.
- Follow the chalices, you will pass a Torii gate with a giant stone head to the left, the route here will directly take you to a boss. Here we will encounter the boss GuangzhDefeateat the boss, you will get to ring The First Bell here.
Ringing the Second Bell
- Head to Marsh of White Mist keeper’s Shrine under the Bamboo Grove. Head right from the shrine, go down the stairs until you come across a Torii gate, and take right from here. Climb some stairs, the route will take you to The Second Bell in Chapter 1.
Ringing the Third Bell
- Fast travel to the same location as the last one, Marsh of White Mist Keeper’s Shrine under Bamboo Grove, here instead of right, now we go through the Torii gate on the left of the shrine. Go down the stairs and keep heading straight the route here will take you to an open area filled with water.
- You need to get your feet wet here, get in the water, and take a left from the building (with two chalices in the front) on the north. Go through some narrow alleyway to reach an open area, where we will find The Third Bell.
Once you have rung all three bells, a cutscene will begin to play taking you to the Ancient Guanyin Temple. You will find the first shrine titled Grand Chamber Keeper’s Shrine west side of the temple few steps away from the main door. Here we are going to face the final boss ‘Elder Jinchi’ of the secret area. Defeat the boss, the first secret area is cleared.
Note: Go back to the area where we rang our Third bell, here interact with a body hanging off the tree to unlock the Fireproof Mantle Vessel. The body is hanging right next to the bell, follow the steps from Marsh of White Mist Keeper’s Shrine to reach the location of the third bell, here interact with the body to receive the vessel and will x2000.
Unlocking The Secret Area Kingdom Of Sahali in Chapter 2
We must finish the Drunken Boar quest to unlock the secret area in Chapter 2. We already have a guide covering all the in-depth details of the quest. Here is a simple breakdown of the steps you need to do to finish up the quest.
Starting the Drunken Boar Quest
- Start the quest by talking to the Drunken Boar in the Fright Cliff area in Yellow Wind Ridge. The Drunken Boar is going to send us in a collectible run, so it is better to have all the collectible quest items with us before initiating the quest line. This will make things much easier for us to complete.
Finding the Collectibles for Drunken Boar Quest
- Collectible Item #1 Sobering Stone: Buying it from Man-In-Stone but you will need to finish his questline before gaining the option to buy the store. Or you can defeat a lone enemy in the Deserted Village near Windrest Bridge Keeper’s Shrine.
- Collectible Item #2 Jade Lotus: Head to the Yellow Wind Region to find Jade Lotus, they grow in the water
Finishing The Drunken Boar Quest
- Once you have both of them we are ready to quickly get past the Drunken Boar quest phase. First, we will need to meet him near the open area right from Rockrest Flat Keeper’s Shrine, here you give away all the Sobering Stones to get him sober up. The Drunken Boar will then send us on a hunting trip for Jade Lotus.
- Luckily we already have the plants in our inventory, here we need to travel to the Temple Entrance Keeper’s Shrine. Hand the Jade Lotus to the Boar sitting on the stairs on the right.
- Now travel back to the Rockrest Flat, where we first encountered the boar and gave him the sobering stone. Once you revisit the location, you will encounter a Yellow Robbed Squire boss fight.
- After you beat the boss, go up the stairs to unlock the region The Kingdom of Sahali.
Exploring The Kingdom Of Sahali
The path here is fairly linear and short, we will face off against two bosses Tiger Vanguard and Fuban, and defeating them will earn us good rewards and one step off the list of our weapons at the end.
- There is a Sandgate Pass Keeper’s Shrine a few steps from the entrance to the Kingdom of Sahali. After taking the route right of the shrine, you will face the first boss of the secret area Tiger Vanguard guarding the Torii gate to Kingdom Sahali.
- Defeat the Tiger Vanguard to earn the right to enter the secret place. Just a bit north of the Torii gate that we used to enter the kingdom, we will find the last shrine Sandgate Bound Keeper’s Shrine.
- Walk up the slope east of the shrine to reach the NPC with a giant drum next to him. Jump off the ledge to meet the final boss of the Kingdom of Sahali Fuban.
That’s it, after you have defeated both of the bosses, we are done with the secret area of chapter 2.
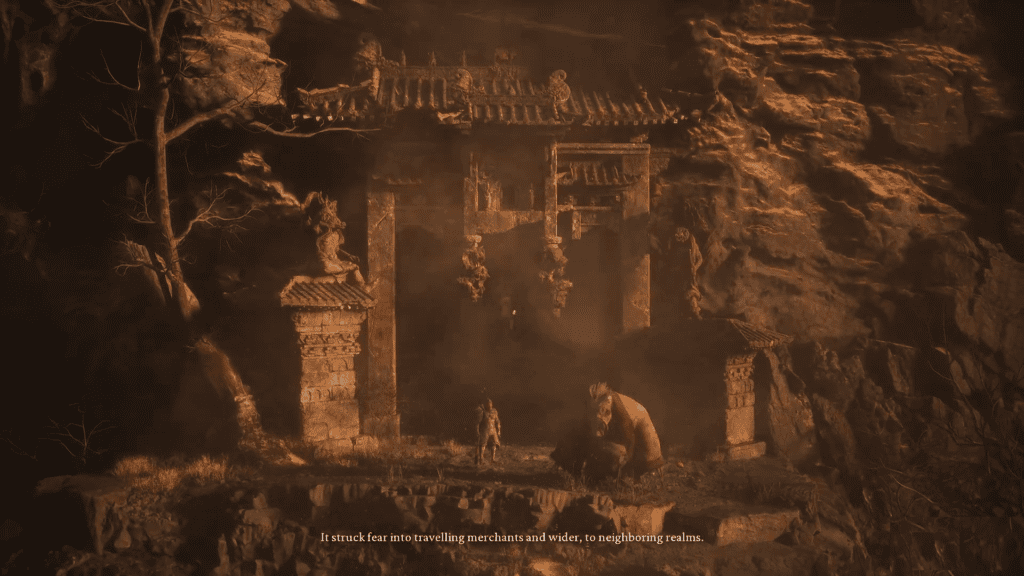
Unlocking The Secret Melon Field In Chapter 3
Here we must finish the Treasure Hunter side quest, which involves defeating Green-Capped Marialist Boss (one of the deadly bosses in the game) in Melon Field to clear the secret of Chapter 3. We already have a guide detailing every step to find the area and defeat the boss. Here is a quick brush-up on how to unlock the secret area in Chapter 3 of Black Myth Wukong.
Rescue The Treasure Hunter
- Travel to the North Shore of the Bitter Lake Keeper’s Shrine under Bitter Lake, head towards the lake go through the Torii gate to rescue the treasure hunter from enemies.
Warm The Treasure Hunter
- Once you rescue the treasure hunter, our next step is to head down to Towers of Karma Keeper’s Shrine under Valley of Ecstasy and use the Ring of Fire to warm the treasure hunter sitting on the log.
Battle The Treasure Hunter
- The clues he will give us will direct us to the Melon Field. Travel to Forest of Felicity Keeper’s Shrine under Valley of Ecstasy. Head west from the shrine, go down the slope, stick to the left side until you see a lake, take the bridge then turn left, and jump off the ledges to get to the Melon Field secret area.
- You will also find Melon Field Keeper’s Shrine to the left.
Prepare to face one of the toughest challenges in the game, take down the Green-Capped Martialist boss to finish up the secret to Chapter 3. You will get the Spell Binder spell – a great one especially for melee-focused builds, after completing the Treasure Hunter quest line.
Unlocking The Secret Purple Cloud Mountain In Chapter 4

Defeat Venom Daoist twice to unlock the Secret Purple Cloud Mountain area in Chapter 4. We have an informative guide on unlocking the secret in Chapter 4. Here is a quick summary of what needs to be done to open up the Purple Cloud Moutain in Black Myth Wukong.
First Encounter with Venom Daoist
- Head to Pool of Shattered Jade Keeper’s Shrine under The Webbed Hollow region. You can already tell what kind of boss is waiting for us at the end, as we can see a large spider sac in the middle. Time to wake it up, here our first encounter with Venom Daoist will begin.
Second Encounter with Venom Daoist
- Travel to the Court of Illumination under the Temple of the Yellow Flowers. Turn around, go down the stairs, and stick to the left side. After climbing the stairs you will arrive at the location at two branching paths, take the left turn to reach the end of the ledge, and jump off to face the Venom Daoist for the second time.
Once you have defeated the boss for the second time, that’s it, now you have unlocked the Purple Cloud Mountains area. Interact with the wall to enter the secret area of chapter 4.
Exploring Purple Cloud Mountain
To reach the final boss we have to pass down three shrines in the secret area.
Route To Valley of Bloom Keeper’s Shrine
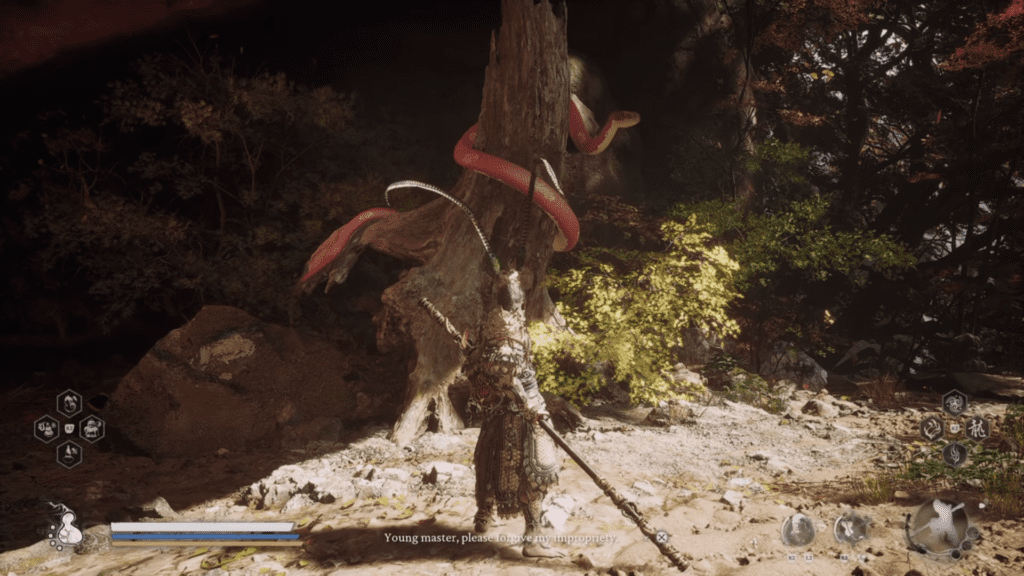
- Since the path here is linear, keep heading straight until you reach the bridge. You will start to hear the sound of a woman weeping, the voices are coming from a tree next to the bridge. Interact with the tree to exhaust all the dialogue.
- Take the bridge to head down to the first shrine in the secret area ‘Valley of Bloom’ Keeper’s Shrine.
Route To Petalfall Hamlet Keeper’s Shrine
- From the Valley of Bloom Keeper’s shrine, take the bridge left of the shrine and keep heading straight, this will put you in an open area with two yellow guards blocking your path, next to them we will find our second shrine in the Purple Cloud Mountain ‘Petalfall Hamlet’ Keeper’s Shrine.
Route To Cloudnest Peak Keeper’s Shrine
- From the Petalfall Hamlet Keeper’s Shrine, take the route east of the shrine, pass the bridge, take the stars, and go through the doorway. Once you reach an open area, take a left turn until you cross a wooden bridge. On the other side of the bridge, you will see a house on the left, here you need to turn right.
- Once you are at the end of the road, you will find the Cloudnest Peak Keeper’s Shrine to your left.
Take the stairs right of the Cloudnest Peak Keeper’s Shrine to reach the final boss ‘The Duskveil’ of the secret area. Once you beat the boss, the secret area of Chapter 4 is completed, you will get Weaver’s Needle as a reward.
Unlocking The Bishui Cave In Chapter 5
Here we will have to destroy five carts in the Woods of Ember area to unlock the secret Bishui Cave in Chapter 5.
Defeat The Mini-Boss Pale-Axe Stalwart
- Travel to Ashen Pass I under Woods of Ember, and take the route north of the shrine. This will take you to an area with a large tree in the middle, underneath you will have to get involved in a a small-scale battle. Where we will encounter a mini-boss ‘Pale-Axe Stalwart’. Once he goes down, exhaust all the dialogue by talking to him.
Guide To Destroying All Five Carts In Chapter 5
#1 Brown- Iron Cart
- Take the route left from the tree, then another left, after climbing a whole lot of stairs, you will encounter a Brown-Iron Cart. Defeat the cart blocking our path, which will unlock the Height of Ember Keeper’s Shrine.
#2 Gray Bronze Cart
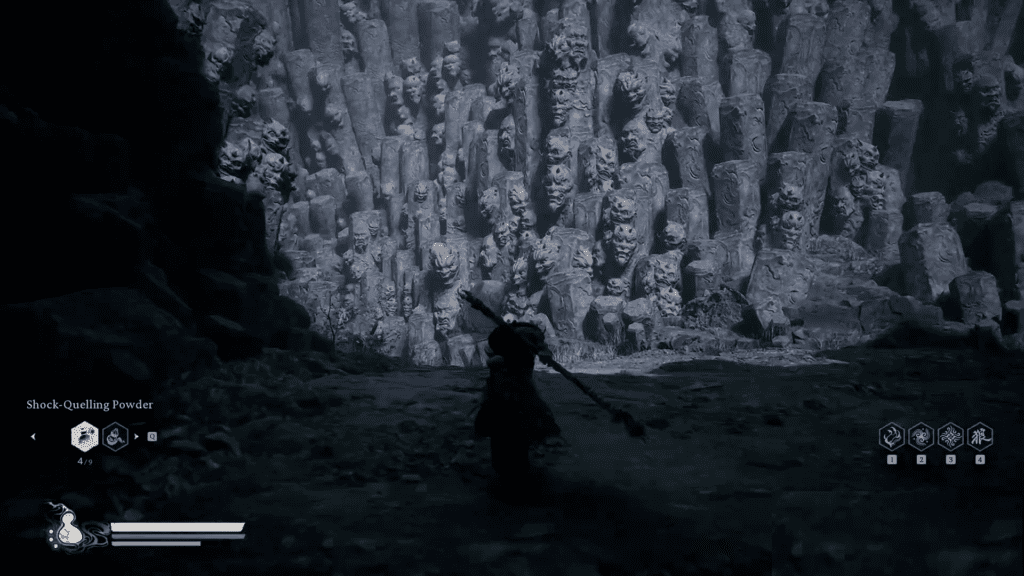
- Take the route east of Height of Ember Keeper’s Shrine, and open the first closed door on the right. Go down the slope to enter the cave. It can get a bit confusing, while you wander around, but if you want a clear shortcut, just head straight from the entrance doorway, and then turn left, once you are in a semi-open area inside the cave, you will see your way out on the left.
- A pretty harrowing landmark, where piles of stones with faces are built on them. The path here is linear, turn to your left and keep walking to encounter the second cart “Gray Bronze Cart.”
Small Backtracking: Now after defeating two carts, talk to Pale-Axe Stalwart again, travel to the Height of Ember Keeper’s Shrine, and go down the stairs to the giant tree in the middle, you will see Pale-Axe Stalwart on the left. Exhaust all the diolgues.
#3 Crimson Silver Cart
- Travel to The Emerald Hall Keeper’s Shrine under Furnace Valley. Take the stairs on the left, then follow the walkway on the right to enter the open area. Here take the left side, the path here is linear, so you won’t get lost, after some stairs later, you will arrive at the fire-breathing Crimson Silver Cart.
Once you have defeated the Crimson SIlver cart, you will see Pale-Axe Stalwart spawn here, again exhaust all the dialogue before we move on to the fourth cart on the list.
Note: If the NPC Pale-Axe Stalwart didn’t spawn in the location, then you need to head back to the tree area near Height of Ember Keeper’s Shrine to talk to him over in that location. You will need to strike up a conversation with him before moving on to the rest of the quest.
#4 Fourth Cart
There is no boss fight here, we will just have to pull the chain on the cart.
- Head to Valley Entrance Keeper’s Shrine under Furnace ValleyTakeke the route left from the shrine, after a long walk, you will arrive down the slope on lava ground. Here head straight into the cave with molten lava on the left. You will encounter an unused large cart that we have seen before, unlike the previous one, this one is powered off.
- Walk up to the head of the cart, and pull the chains to complete the fourth cart off the list.
#5 Rusty-Gold Cart Boss
- Travel to Fallen Furnace Crater Keeper’s Shrine under Field of Fire. Go downhill from the shrine, keep heading straight, and then take the left turn. After a bit of a long walk later, you will arrive in an open area with worms on the ground shooting fireballs at you.
- Keep heading straight and then turn right, after a bit of a walk later, you will find the Cooling Slope Keeper’s Shrine. Move right from the shrine, you will see a huge gate guarded by the Rusy-Gold Cart boss.
Defeat the boss, then talk to our old pal Pale-Axe Stalwart next to the gate to unlock the secret passage of Chapter 5.
Exploring Bushui Cave Purge Pit
Route To Purge Pit Keeper’s Shrine
- Go through the secret passage to an open area, a cutscene will soon play out taking you to the hidden area of Chapter 5, The Bushui Cave.
- The path is linear, while you might find some treasures lying around they are out in the open. Follow the straight path, walk up the slope, and go through a small doorway to reach the first shrine in Bushui Cave ‘Purge Pit Keeper’s Shrine.’
Route To Cave Depths Keeper’s Shrine
- Take the path right from the Purge Pit Keeper’s Shrine to go down the slope, and jump off the ledge at the end to face the two bosses in the area. Bottom Takes Top and Top Takes Bottom, it can be a tough fight, since you have to watch out for both of them, not letting them get out of sight.
- Once you have defeated both of them, take the stairs left of the boss arena. Follow the linear route to reach out second shrine Cave Depths Keeper’s Shrine.
Route To Corridor Of Fire & Ice Keeper’s Shrine
- Take the path left of the shrine, you will have to defeat some enemies to clear out the area, since there are going to be a lot of them, moving past them might sound like a great idea but it is a guaranteed hit on your back. So clean them out before moving straight.
- After a bit of walking, you will come across two branching paths, one leading to the left, and the other one to our right. Take the bridge on the right, after you cross to the other side, turn right. This will take you to an area with large icicles and a slide. Get on the slide to reach the third shrine in the cave Corridor of Fire and Ice Keeper’s Shrine.
- Move right from the Corridor of Fire and Ice Keeper’s shrine, you will soon land on a boss area. This is where the battle against the Bishui Golden-Eyed Beast Boss will take place.
Defeating the boss will clear out the secret area of Chapter 6. Now we are ready to move to the final piece of the guide.
Unlocking The Final Secret Area In Black Myth Wukong
Once we completed all the secret areas in Chapters 1 to 5, finished the Treasure Hunter side quest, and defeated the final boss in Chapter 6, we are now ready to get our weapon. It ain’t going to be easy, make sure you are prepared well for a fight.
Route To The Great Pagoda Keeper’s Shrine
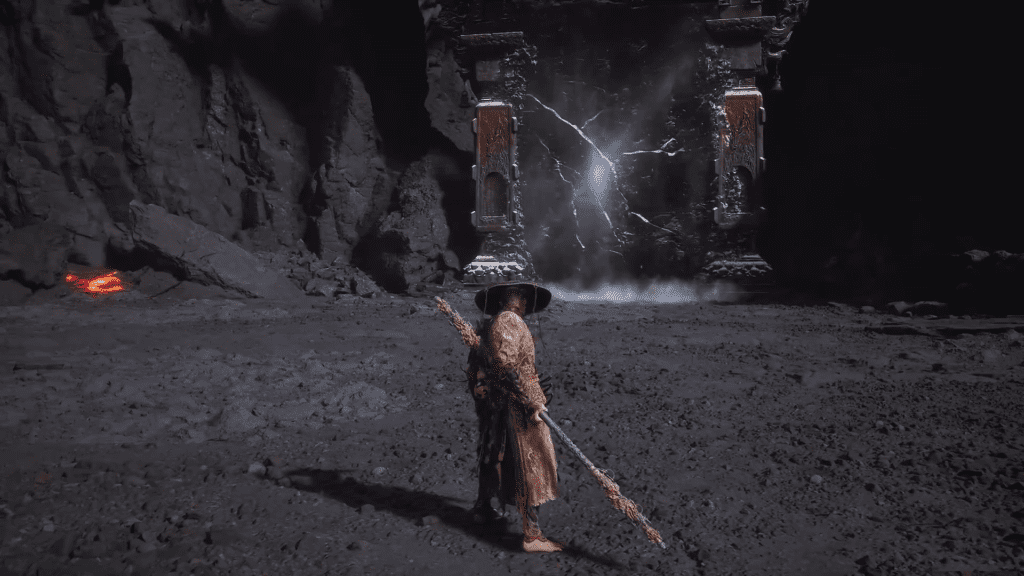
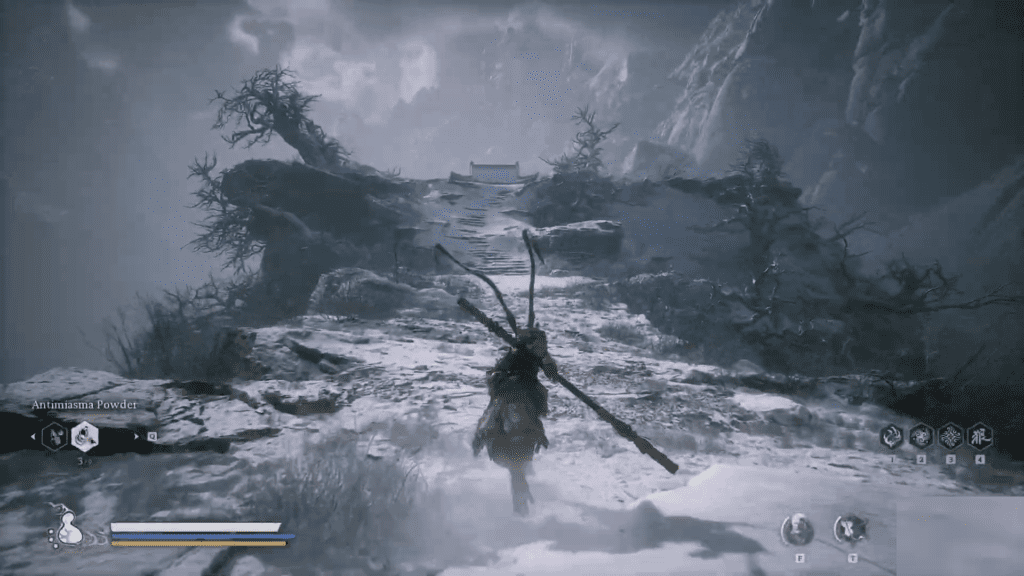
- First travel to the Snow-Veiled Trail Keeper’s Shrine under Pagoda Realm. Take the path left of the shrine, and cross the wooden bridge. Then head straight through the petrified monks in the center will come across two branching paths, here climb the slope on the left.
- You will soon reach a giant door, and interact with it to unlock the secret area. Once you enter the area, light the shrine on the left titled ‘The Great Pagoda’ Keeper’s Shrine.
Route To Mei-Jian Peak Keeper’s Shrine
- If you look around you will various paintings on the walls, it’s from all the secret areas we went through from Chapters 1 to 5.
- When you complete them, a painting will soon appear on the empty walls of the temple. Here take the stairs, which will lead to the final secret place in the game. A cutscene will play out where we will enter the final area.
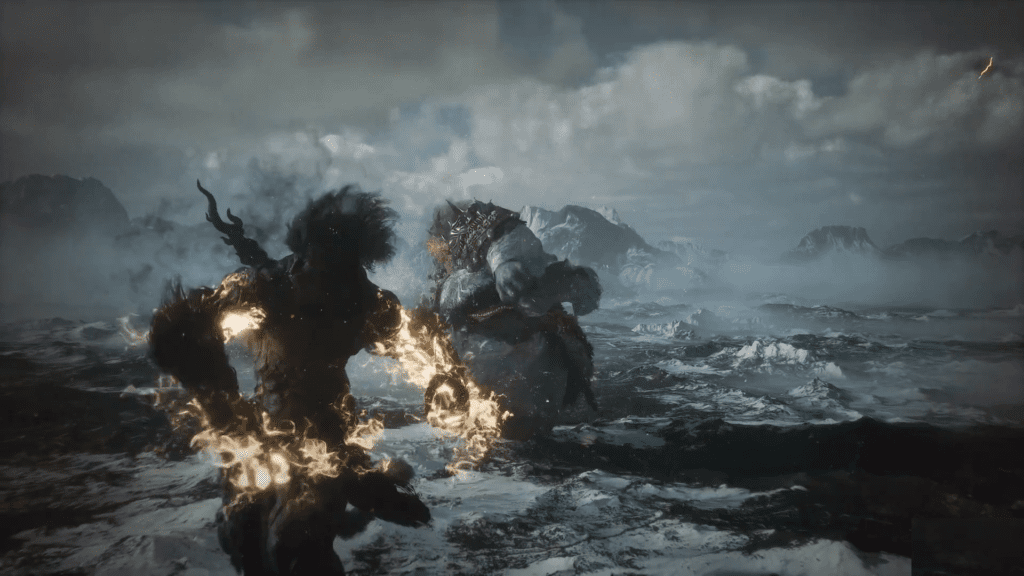
- The path is linear, take the route, and it will lead you to the only shrine in the secret area titled ‘Mei-Jian Peak.’ Take the route right of the shrine to face the final set of bosses in the game. Battle against The Four Heavenly Kings is one of the special boss fights in the game.
- Once you defeat the kings, then you will face the final boss Erlang Shen, and taking him out will clear the area. Completing the secret ending to Black Myth Wukong.
Defeating the final boss here will earn you the Azure Dome spell, Celestial Ribbon x2, Kun Steel, and lastly Tri-Point Double-Edged Spear.