


Besides progressing on the main story quest in Avowed, you can also go on a hunt to find new collectibles. These collectibles can do a lot for the Envoy, like providing passive buffs and unlocking achievements. While exploring Dawnshore in Avowed, you might encounter a strange series of books called the History of the Living Lands. There are several volumes of this particular book series scattered all across the regions, and we will detail where to locate them all in Avowed.
How To Get All History Of The Living Lands Books In Avowed

There are 5 copies of this elusive book to find, and each volume holds different knowledge about the Living Lands. You can find all the copies of the books within the Eothasian Temple in Dawnshore, and you will reach this area as part of the Dawntreader side quest. While trying to locate the Splinter Of Eothas and the missing expedition team, take a good look around to locate all 5 books. We have detailed all the steps to collect these books below.
A History of the Living Lands I: Origins Location
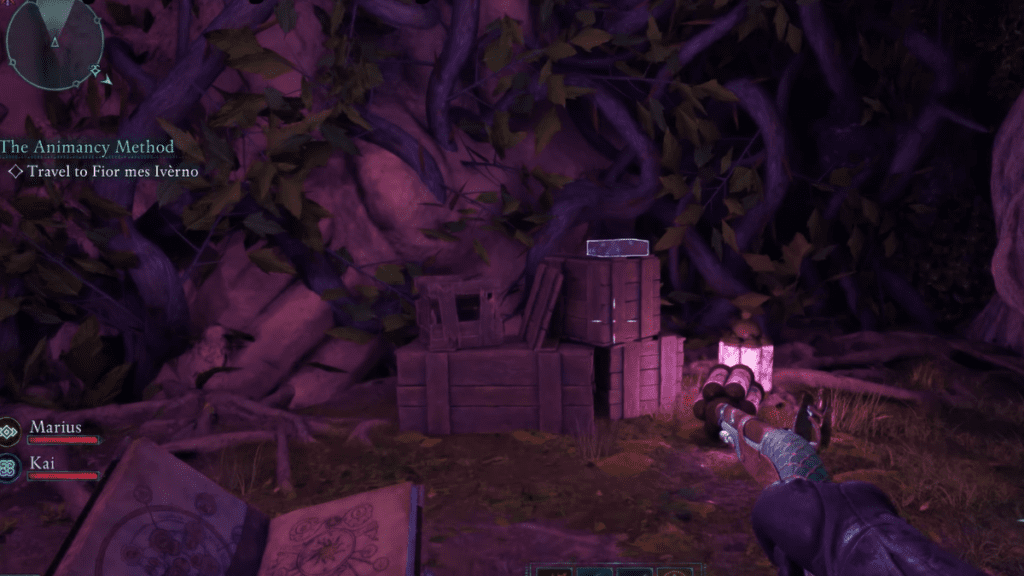
Once you reach the Eothasian Temple, keep going through the cavern till you reach the spot beyond the waterfall, where a mechanic shoots arrows at you. Head up the stairs beside it where you would have encountered Caedmon for the first time, then jump across the boards to the other side. Turn right and crouch into the hollowed-out space in the wall, where you will encounter a secret room and the first book in the series resting on a crate.
A History of the Living Lands II: Lacuna Location
Head back down and go to the area where the statue and Oracle Sargamis were. Go up the stairs in front of the statue and climb up the ladder beside it. Jump across the wooden platforms to reach the top, then jump over towards where you can find one of the essence generators. There is a hole in the wall beside it, head inside the hole and keep going. Jump across and climb up the wooden boards till you reach a room where you can pick up the second edition of the History of the Living Lands series.
A History of the Living Lands III: Glossolalia Location

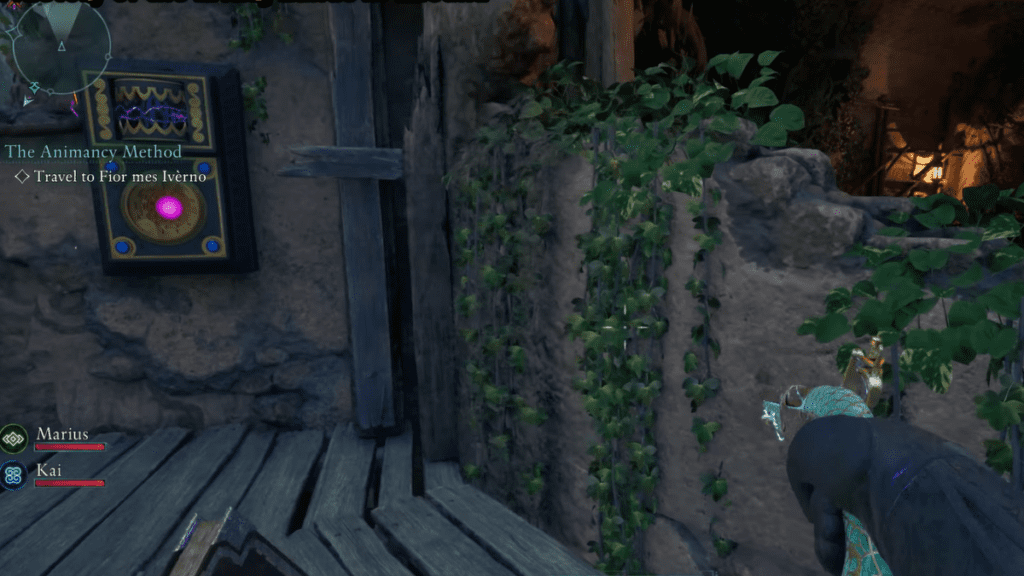
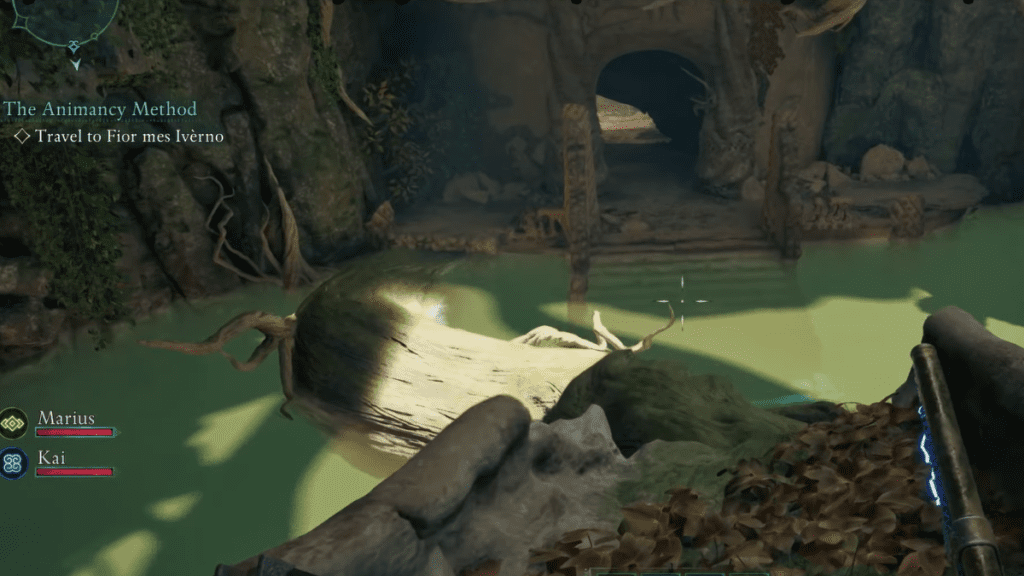
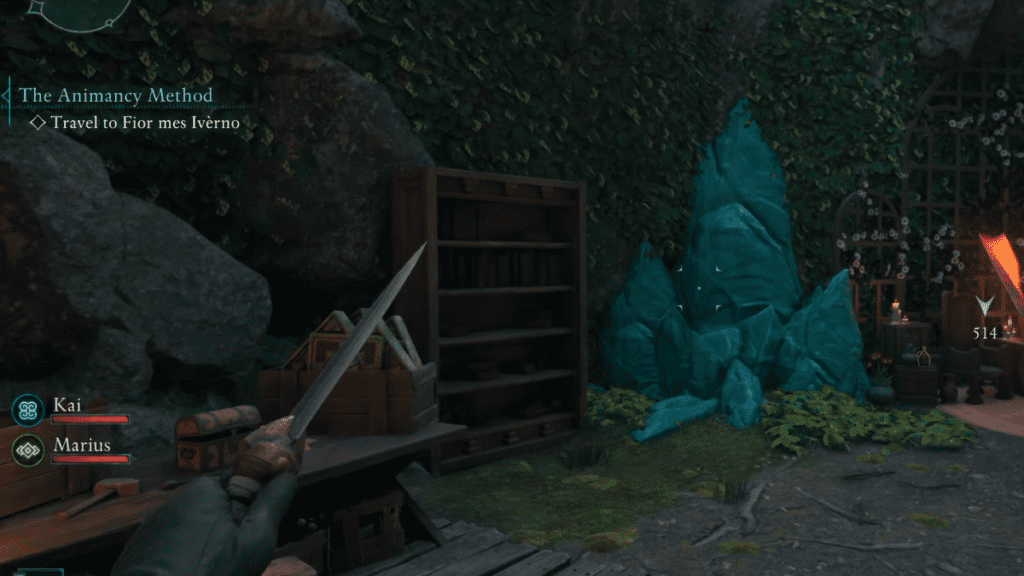
From where you picked up the previous book, jump down the ledge ahead towards the hole in the floor. Jump through the hole, go left, then enter the hole in the wall on your right covered in brambles. Dive into the water and swim straight ahead till you reach a crossroad, then go left. You will emerge inside a room filled with bookshelves, and on top of one of these shelves is the third book.
A History of the Living Lands IV: Redacted Location

If you haven’t completed the Dawntreader side quest yet, head to the right side of the room, turn left to find an opening and go through it. This will take you back to the area where you picked up the Splinter of Eothas. If you have completed the side quest, then you will find this area blocked. So instead, head back into the water and backtrack out of the hole. After you make an exit, you will find a door ajar right in front of you. Go through it, down the stairs, then climb on top of the wooden crate to reach the upper platform.
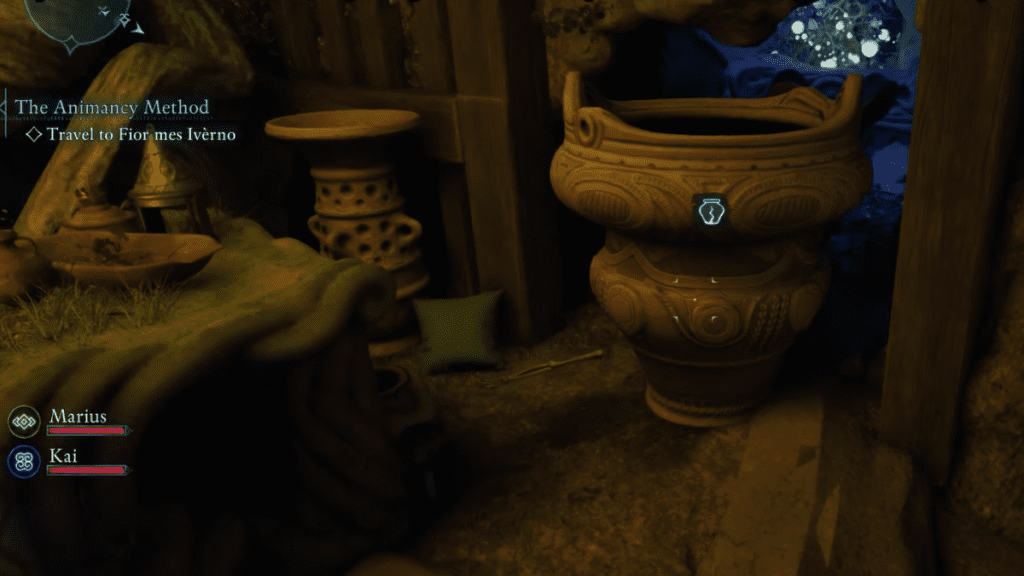
Climb up into the hole in the wall, turn right, go down, then jump across the broken bridge on your right. Climb down the tree branch and make your way towards the area where you picked up the Splinter Of Eothas. On the right side of the Splinter’s holder is a pot that you can break, continue to break all pots to enter a secret room. Enter the room and investigate the sarcophagus on the left to get this secret book.
A History of the Living Lands V: Synthesis Location
Now, for the last book, exit the cavern via the elevator in the statue room and make it to Dawnshore. As soon as you exit the elevator, investigate the bookshelf on your left and check behind it to find the last book.
As a reward for your efforts, you will get the Historian achievement, helping you claim another achievement in the game.