


Regrets of Dread Wolf is an important quest, it unlocks many secrets to the game and its lore. One of the major tasks of the side quest is to gather Wolf Statuttes scattered throughout the map. We have prepared this guide to help you pinpoint all 6 Wolf Statuette locations in the Dragon Age: The Veilgaurd.
List of All Six Wolf Statuette Locations in Dragon Age: The Veilguard
All the Wolf Stauettes are tied to a quest of their own, in some cases you can finish the quest right away to unlock the Wolf Statuette at the end while others will have to complete a puzzle and defeat a boss to obtain the statuette.
First Wolf Statuette Location

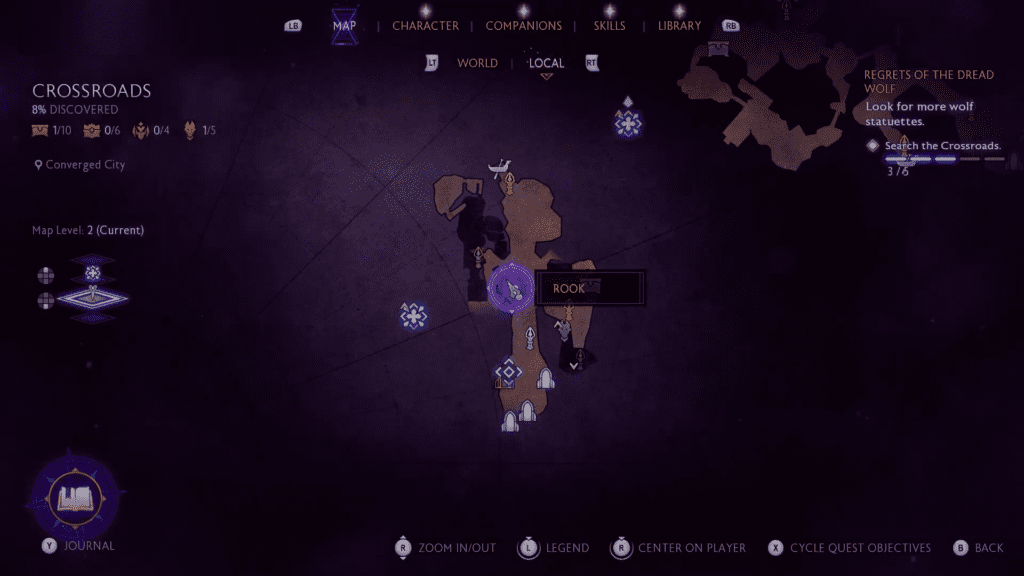
Location: Crossroads, Elvhenan’s Haven
Quest: The Wolf’s Call
Here you must finish the quest The Wolf’s Call. Head towards the dock at Elvhenan’s Haven to trigger the quest. The dream-like scenario will begin telling you everything you need to know about Solas. At the end of the quest, you will come across your first Wolf Statuette. You can’t miss it, it is part of the quest, and picking the statuette is the only way to end it.
Second Wolf Statuette Location

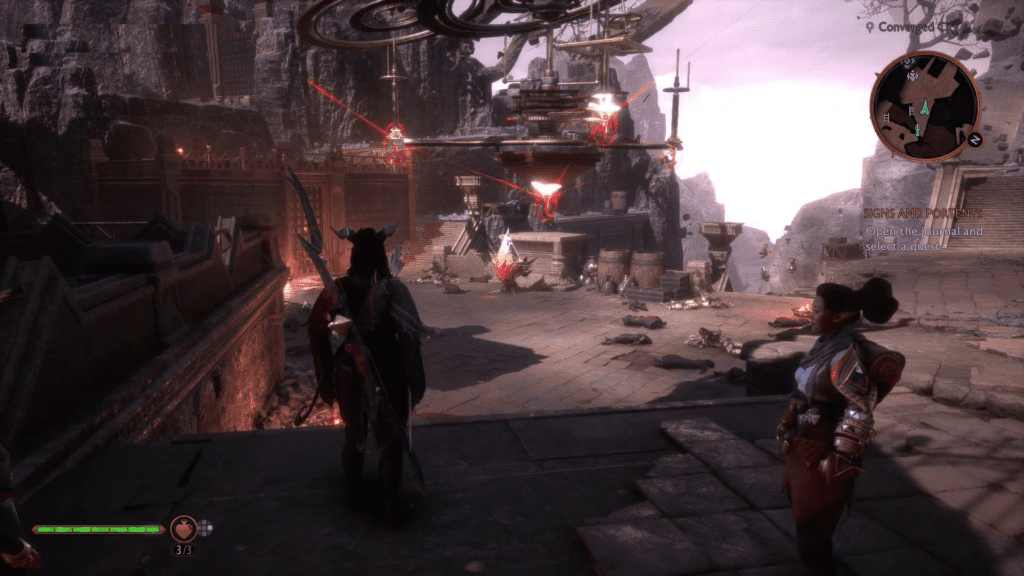
Location: Crossroads, Converged City
Quest: The Labs Below
The quest will trigger the moment you start the “Into the Crossroads “quest. Once you are in the Converged City, you need to head to the east of the map. You will come across a green fence, just take the ramp on the right to get down to start the second dream-like quest revolving around Solas. Here we uncover another layer to Solas, and during the quest, we will get our second Wolf Statuette.
Third Wolf Statuette Location

Location: Crossroads, Elvhenan’s Haven
Quest: Gate of Faded Glories
Boss: Entarus the Rekindled
You will get the quest in the middle of Elvhenan’s Haven when you get close to the gate blocked by red glowy vines. Our task is to bring down a champion and steal his Champion Essence to unseal the blocked path at the crossroads.
Grabbing the Fake Wolf Statuette
Objective: Grab the Champion Essence to Unlock the door
- We will find our champion in the Tainted Woods of Arlathan Forest, right near the beacon north of the area. Once you are in the area follow the objective marker to a pit with a large Blight Cyst. Destroy the cyst to free the area.
- Once the cyst is destroyed, Entarus the Rekindled will appear behind the cyst. Prepare for a tough boss battle. Defeat the boss, and collect the Champion Essence.
- With Champion Essence in our hands, head back to the crossroads, interact with the gate blocked by the vines, and use the Champion Essence to unlock it.
- Once the doorway is cleared, head inside, after a bit of work, you will find the Wolf Statuette out in the open. It’s a trap but we have to take it, once you pick up the Wolf Statuette, you will get ambushed by enemies, so prepare for a fight.
Grabbing the Real Wolf Statuette
Objective: Interact with three activators to find the Wolf Statutte
Note: Around every activator, you will see a light next to it, once the light gets turned on, that’s our cue to move to the next activator.
- Head through the doorway north of the fake Wolf Statuette. Interact with the activator on the right until the light turns on the wall in the front. You have to move it twice to turn the light.
- Now make your way back to the location where we found the fake Wolf Statuette, move to your left, and interact with the activator twice to turn the light on the pillar on the right. This will create a bridge to the platform on the left. Keep moving to your left until you reach an open area.
- Now look to your left, and you will find another activator under an archway. Move the activator twice to turn the light and then use the pathway you created to head up to the final area.
Take the route to the floor above and here you will find the third Wolf Statuette on the right of the platform.
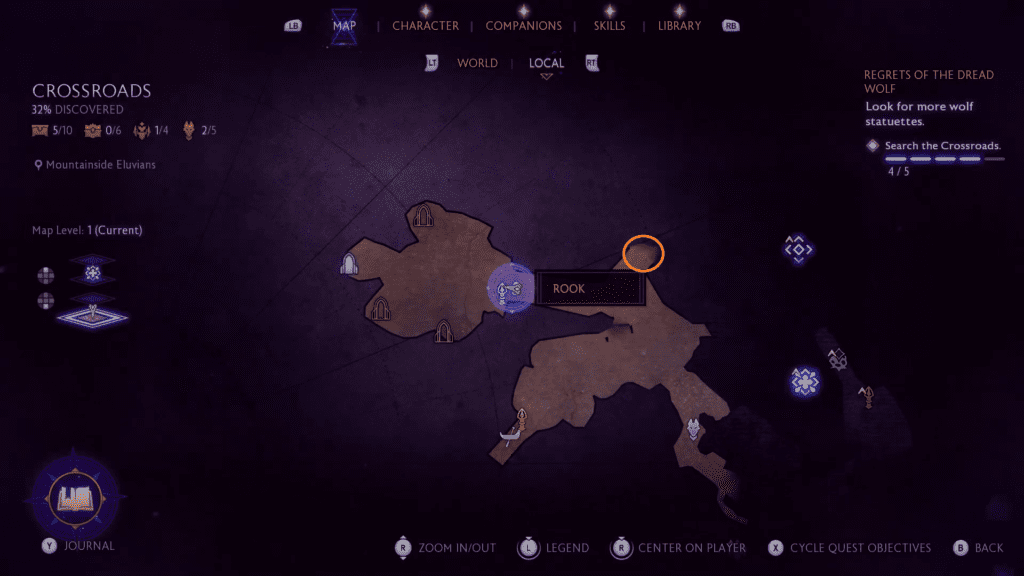
Fourth Wolf Statuette Location
Location: Crossroads, Converged City
Quest: Gate of Lost Ages
Boss: Quyn the Sparkwielder, Smoldering Blood Forge
Objective: Obtain Champion Essence to Open the doorway.
Just like the previous wolf statuette, head to the middle of the converged city to find another route blocked by the vines, interacting will them will give you the Gate of Lost Ages quest. Our task is again to defeat a champion in a different area.
- Now head over to Dock Town Andraste’s Watch, north of the map. Make a slow climb to the floor down below. Here you will encounter a large Blight Cyst, and defeat the monstrosity to fight off the real champion Quyn the Sparkwielder.
- Grab the Champion Essence now make your way back to the converged city in Crossroads, and use the Champion Essence to unlock the vines from the doorway.
First Red Crystal Puzzle:
Objective: Destroy a large crystal in the middle of the machine powered by 2 sets of three crystals.
The first three crystals are laid out around the machine, and the second set is attached to the machine. And in the center of the machines holds the final red crystal.
Destroy First Set Of Three Red Crystals:
To stop the power to the machine, you will have to destroy all three red crystals powering it. When you enter the area, take the stairs on the right, to encounter all the red crystals in a sequence.
After you break one, the next one will be far away on a different platform, but you can use Spite’s Reach to build a bridge to reach the next location.
Destroy Second Set Of Three Red Crystals:
Once you have destroyed all three crystals get on the ground, now use your bow or any ranged weapon to destroy three red crystals attached to the machine in the middle.
When you have destroyed all three red crystals, the final crystal in the middle will be vulnerable, now hit the bow one last time to destroy to unlock the door.
Once you unlock the door, you will face the Smoldering Blood Forge boss. Defeat the monster and then take the stairs on the left, and use the ladder to reach the next location.
Second Red Crystal Puzzle:
Objective: The objective here stays the same, we must destroy the crystals powering another crystal on the line.
- Head to the door on the left blocked by the red crystal energy, and shoot the crystal at the bottom of the door to open up the gate behind. Once the steel gate is opened, shoot the giant crystal and destroy it.
- Now that crystal is dealt with, look above the gate, and you will find another red crystal, shoot it to destroy it. Now move your focus to the gate on the right, and shoot the vulnerable crystal above the gate.
- Take the stairs on the right, you will come across another red door blocking our access to a ladder. Here you will find another red crystal at the bottom, destroy it to unlock the route.
Take the ladder to the ledge above, you will encounter enemies, defeat them they are small fries. Once you have defeated all the enemies, you will see a Wolf Statuette on the left in the corner next to a treasure box.
Fifth Wolf Statuette Location
Location: Crossroads, Heights of Athim
Quest: Disrupt and Conquer
Here from the beacon at the Mountainside Eluvians head back, now the climb on the ledges on the left to start another memory quest Disrupt and Conquer. Finish the quest to obtain the fifth Wolf Statuette.
Sixth Wolf Statuette Location
Location: Dock Town
Quest: Main Quest Shades of the Blight
You don’t have to do any puzzles around here, this one comes to you automatically with open arms. Just make your way to the “Shades of the Blight” main questline, and the Inquisitor will give you the sixth and last Wolf Statuette.