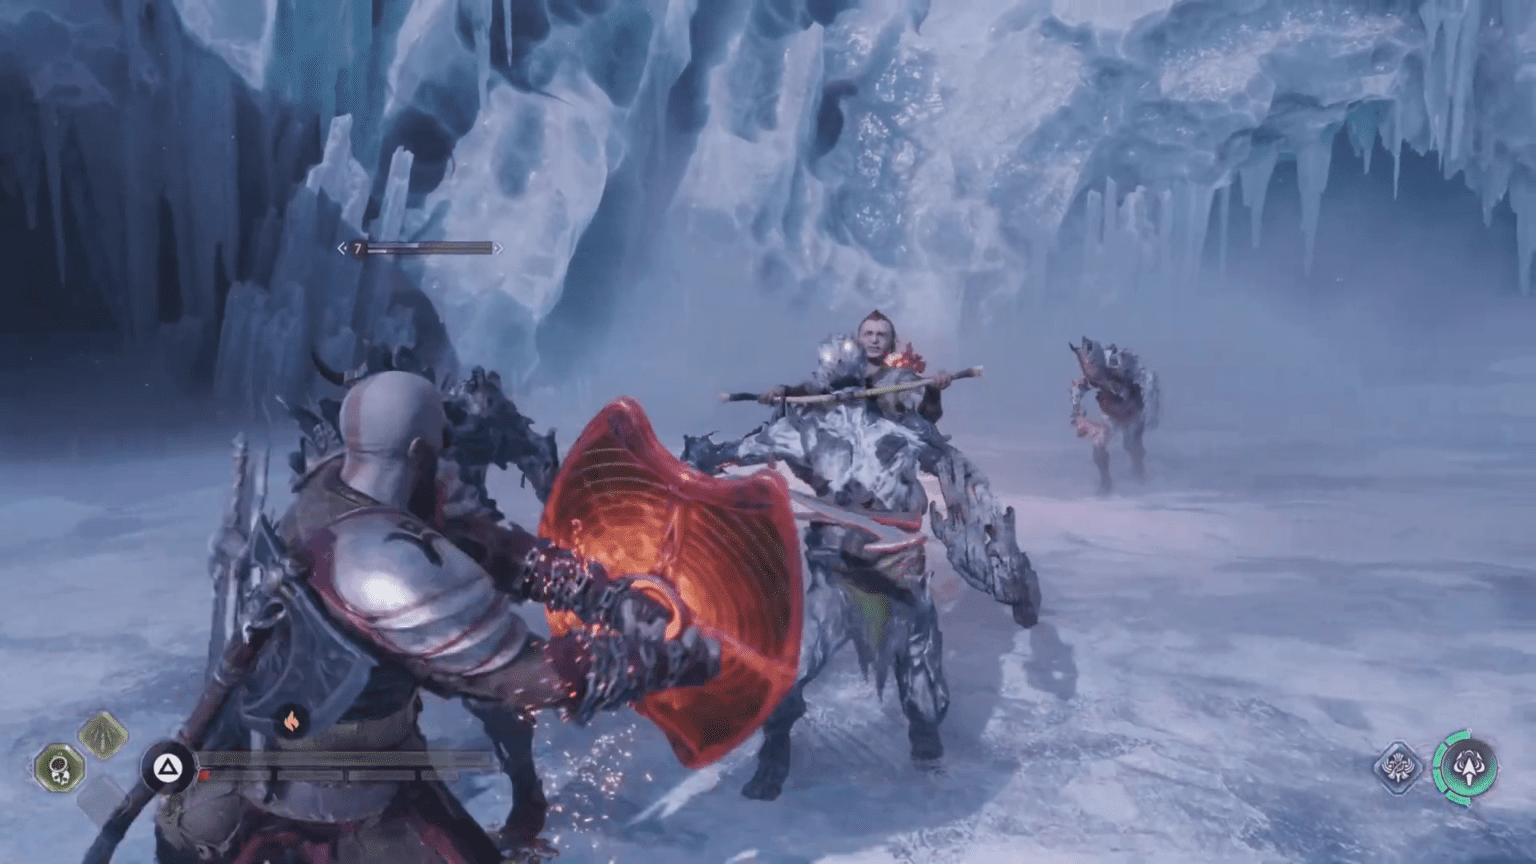
Many shields from the original God of War 2018 returned to Ragnarok, and the game added plenty of new shields with unique benefits. Using any one of them will completely change the flow of gameplay. Since there are way too many shields in the game, we will list 5 of the best shields you can acquire in the game, their location, and use on the battlefield. Here’s a complete guide to 5 best shields in God of War Ragnarok.
5. Guardian Shield
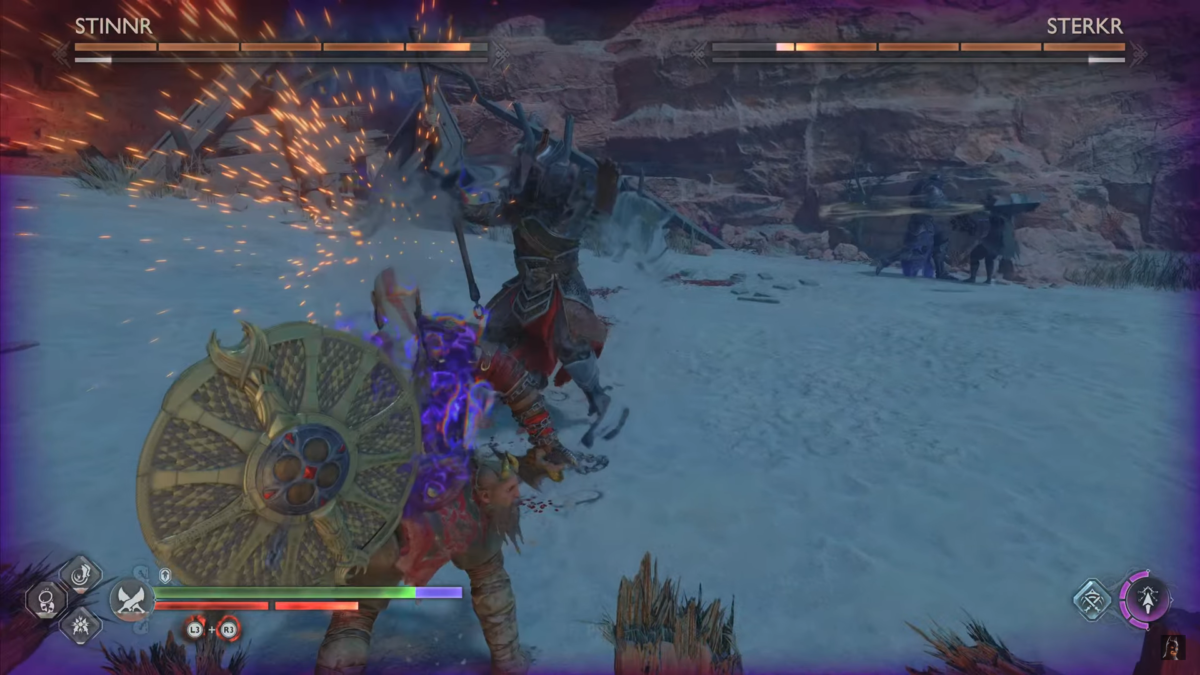
- Can be upgraded to Level 9
- upgrading it only boosts Defence Capability
- Can reach 130 Defence at Level 9 and 190 Defence at Level 10 (New Game+)
Location: The default shield in the game.
First, we have the Guardian Shield, the default one you get when you start the game. The shield starts on the wrong foot when it goes against Thor but later the broken shield gets fixed by Brok. If you are looking for a shield that balances parry and blocking, the Guardian Shield covers both sides well. While the shield doesn’t have its skill tree as it did in the original God of War reboot back in 2018, the new variant does offer quite a lot of good abilities.
Highlights of Guardian Shield
- The first highlight of the Guardian Shield is its ability to reflect the projectiles at the enemy. It never stops feeling good, when you execute a perfect parry on a projectile and send it back to the enemy.
- The second highlight of Guardian Shield is the direction in which the projectile is reflected. After a successful parry, you can reflect the projectile at any enemy around you.
Besides reflecting projectiles, the parry move here opens two options: either hit the enemy with the shield after a successful parry or perform a ground-slam attack that knocks the enemies down. The default shield might not offer many variants, but it’s tried and true in combat encounters.
4. Shatter Star Shield
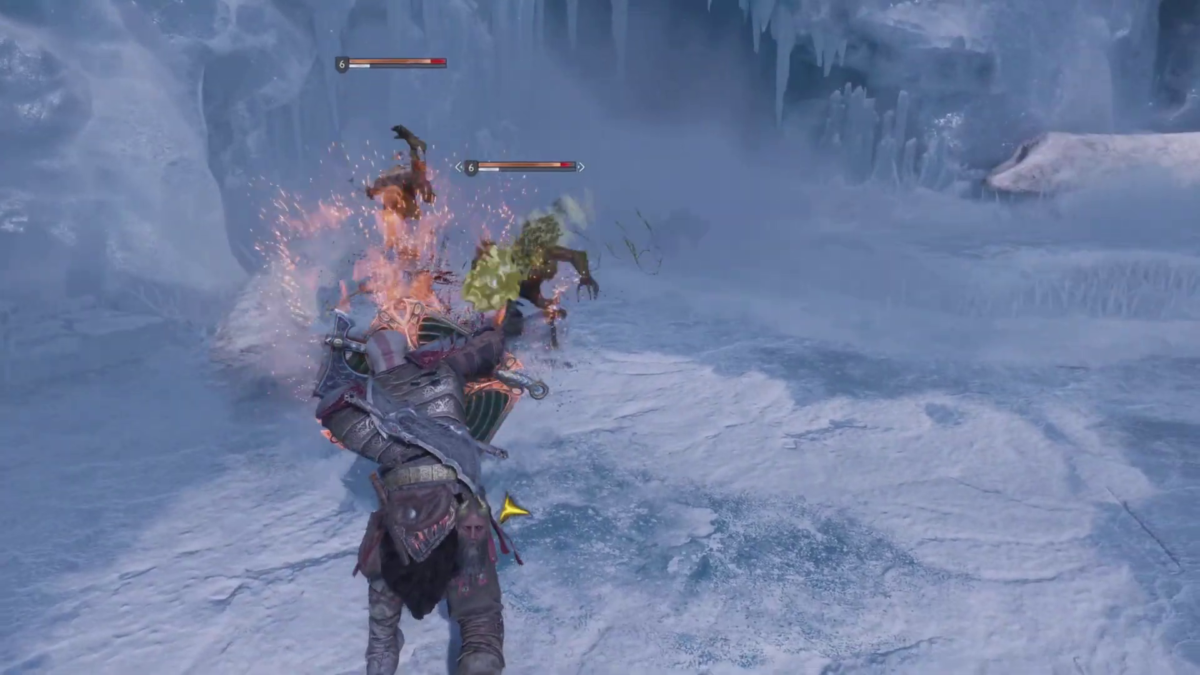
- Base level 3 but can be upgraded to Level 9.
- Upgrading it only boosts the Defence and Runic Capability of the shield.
- Can reach 130 Defence / 26 Runic at Level 9 and 190 Defence/ 38 Runic at Level 10 (New Game+)
Location: You will find the Shatter Star Shield in a Legendary chest near the Abandoned Village in Vanaheim.
Here the highlight of the shield is the ability to Shield Punch. Once you charge up the shield you can release the force to knock back enemies in front of you. It does act like the force gun in Dead Space. There are three levels to the Shield Punch ability:
- Level 1 Charge Shield Punch: The charge here will be enough to break guards. A common Shield Bash against enemies.
- Level 2 Charge Shield Punch: The Charge here emits a green light with some visible sparks pushing the enemy back a little.
- Level 3 Charge Shield Punch: The charge will then turn red with fire and sparks, and the enemies will knocked back in the air taking stun damage and normal damage.
Highlights Of Shatter Star Shield
The ability to quickly charge and preserve the charge makes the Shatter Star Shield one of the best options in the game.
Manually Charging The Shield
There is an indicator right next to the health bar that will show you how much charging you have to do. Once the bar is full, the shield will enter its level 3 phase. You will get to decide when to release the shield charge, if it’s a tough enemy, you can charge the shield till its bar is full and then release it, if it’s common then you can do a decent amount of push with a level 1 charge.
You have the option to charge up the shield before the boss fights or any tough encounters and discharge once you are on the battlefield as a first attack.
Charge Never Disappears*
The amazing aspect of the charging system here, even if you drop your guard after building up the charge, it will not disappear. The charge will remain with the shield. But if you block an attack after the shield is charged up to Level 3, you will lose a charge. It is recommended that you should move and dodge as much as possible to preserve the charge.
Quick Charge
Another highlight, is the ability to quickly charge, if you hit the enemy with a shield bash right around the time the enemy hits you, you will get an automatic level discharge. If you charge up your shield to level 2 and perform a shield bash counter, then you will release a level 3 Shield Bash. If the shield has no charge build-up, and you performed the counter, you will hit the enemy with a level 2 discharge.
A perfect shield for a counter with a damage boost. If you love parrying with an extra step to make the attacks hit hard, then you can’t go wrong with the Shatter Star Shield.
3. Onslaught Shield
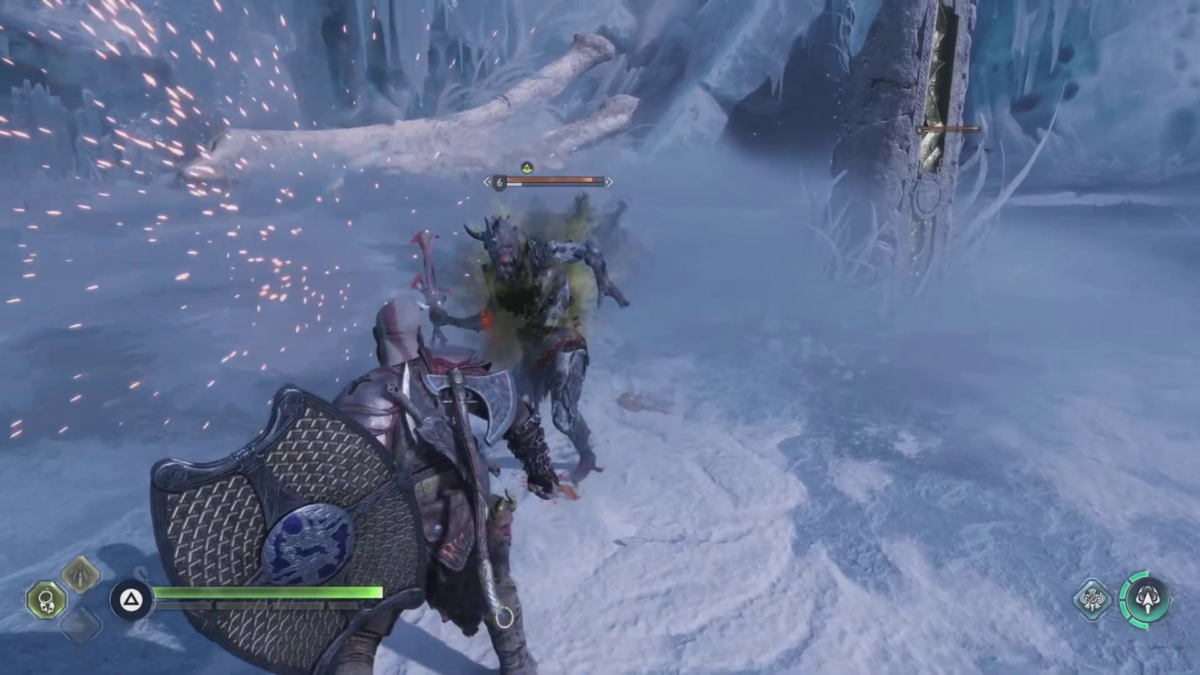
- Base level 6 but can be upgraded to Level 9.
- Upgrading it only boosts the Defence and Luck of the shield.
- Can reach 130 Defence / 26 Luck at Level 9 and 190 Defence/ 38 Luck at Level 10 (New Game+)
Location: You will find the Onslaught Shield in a Legendary chest after the battle with Garm in Halheim. If you miss the chest, you can buy it from Huldra Brothers.
Highlight of the shield
One thing you would immediately love when you use the Onslaught Shield is the power of bashing into enemies. It feels amazing to pull off a Shield-Bashing move with Onslaught Shield but what makes it even better, during the bash, any incoming attack will get automatically parried. So if you are playing rough in the game, the Onslaught shield will be a perfect addition.
- The Shield Bash abilities also block off all incoming projectiles as well.
- One of my favorite parts about Onslaught Shield is the power it has, the shield bashing gets more powerful the longer your distance is to the enemies.
Now we move on to the downside of the Onslaught Shield, as cool as the shield bashing ability is to perform you will lose the ability to parry counter-enemy attacks. You can parry any enemies but there are no follow-up shield attacks, you will have to use your normal weapons after the parry.
2. Stonewall Shield
- Base level 1 but can be upgraded to Level 9.
- Upgrading it only boosts the Defence and Vitality of the shield.
- Can reach 130 Defence / 26 Vitality at Level 9 and 190 Defence/ 38 Vitality at Level 10 (New Game+)
Location: You will have to craft the shield just like the Dauntless Shield instead of just taking off out of a treasure box.
Highlight of Stonewall Shield
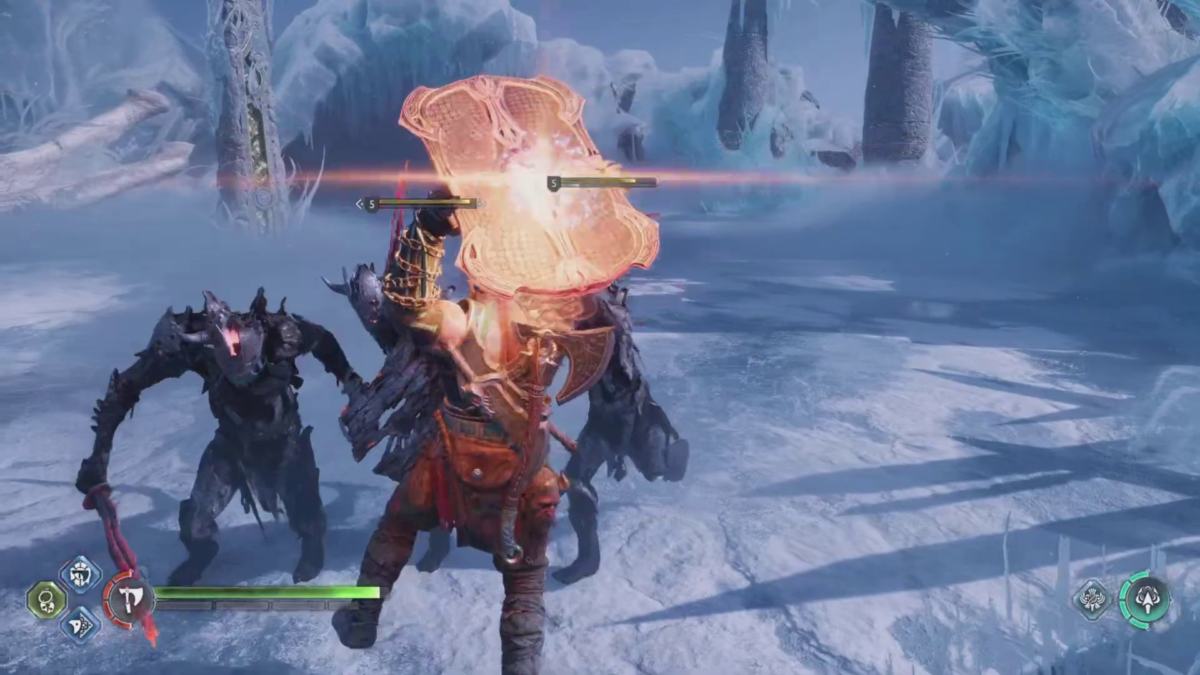
If you want a shield to block your enemy attacks and send it back, then we have the Stonewall Shield to fulfill your wish. The knockback power of the shield feels amazing to perform. If you like the idea of doing AOE damage attacks, you are going to fall in love with the Stone Wall shield, here you release all the shield energy not at the enemy but at the ground. Once you execute the move, any enemies around you will fly off in the air.
The mechanics here work almost as same as the Shatter Star Shield, where with the Shatter Star Shield the recharge bar contains two blocks. Here we need to fill up 4 blocks to release the power. The recharge bar for the Stonewall shield can be found on the left of the health status. With Stone Wall Shield equipped, you must block off four hits to the shield to perform the power move.
Quick Recharge
The recharge meter will raise at a higher speed, if you block high-damage attacks, when the game throws a yellow ring indicator, if you manage to block those heavy attacks then you will recharge two blocks of charge at once instead of one.
Note: Don’t block Yellow indicated enemy attack if your Stonewall shield is at full charge, it will be useless just like any other shield. Always block the heavy attacks with no charge on the shield. Any attack with a blue circle needs shield bash to interrupt.
1. Dauntless Shield
- Base level 1 but can be upgraded to Level 9.
- Upgrading it only boosts the Defence and Cooldown rate of the shield.
- Can reach 130 Defence / 26 Cooldown at Level 9 and 190 Defence/ 38 Cooldown at Level 10 (New Game+)
Location: You will have to craft the shield instead of just taking off out of a treasure box.
Highlight of the Dauntless Shield
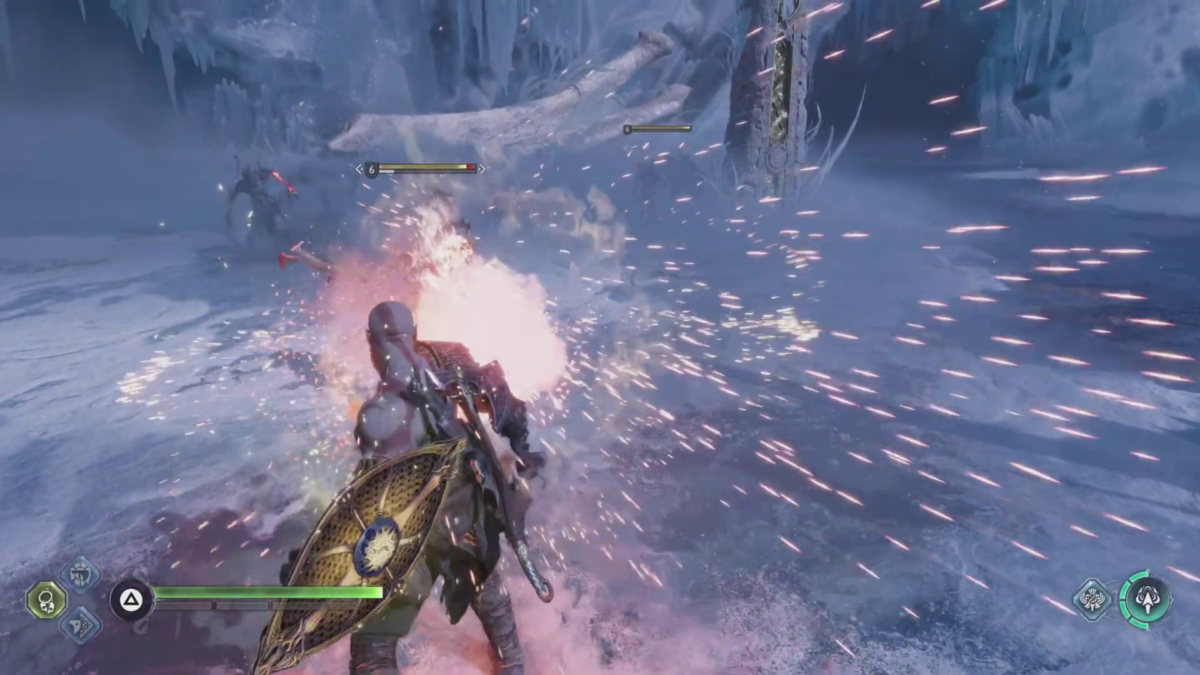
Timing is the key here with Dauntless Shield. Much of the power of Dauntless Shiled lies in the parry mechanics.
Common Parry Move: A regular parry with the shield will turn the color yellow. It will release a decent amount of stun damage to the Shield Bash.
Perfect Parry Move: if your timing is perfect, the shield will glow red and will release heavy sparks during the bash move.
If you consider yourself a parry god, you will love the Dauntless Shield. A perfect shield if you love nothing but parrying enemy attacks on the battlefield. When you perform parry with the shield, you will do a good amount of stun damage to the enemies while at the same time, charging up the shield for your next shield bash.
You can parry incoming projectiles with the Dauntless Shield and it will charge up the energy for the next Shield Bash.
The game offers a variety of shield options for player choice. You can always change them around to diversify your gameplay. Each one of them is equipped with a certain skill that can’t be replicated with the other shield in the menu. This means you will have to learn the moves and adapt to them to properly utilize the shield. Also do checkout our guide on the best skills to unlock first in God Of War Ragnarok.


