


The ocean can be a mysterious place, with exquisite materials and rare creatures, but sometimes your eyes will gaze upon the things that can’t be explained. In Subnautica 2, one deep dive into an unknown area revealed a structure that was unique and mysterious.
The game doesn’t believe in handholding, and I appreciate it for not doing so, as I had to scratch my head multiple times staring at the Alien Object, thinking about what I can do with it. Just like many questions in life, the answer was at the bottom.
I am not going to lie, it can be pretty confusing to figure out how to turn on the power to the Alien Ruins, so here are the steps to go about it, along with coordinates mentioned for all the required locations.
To the Alien Ruins
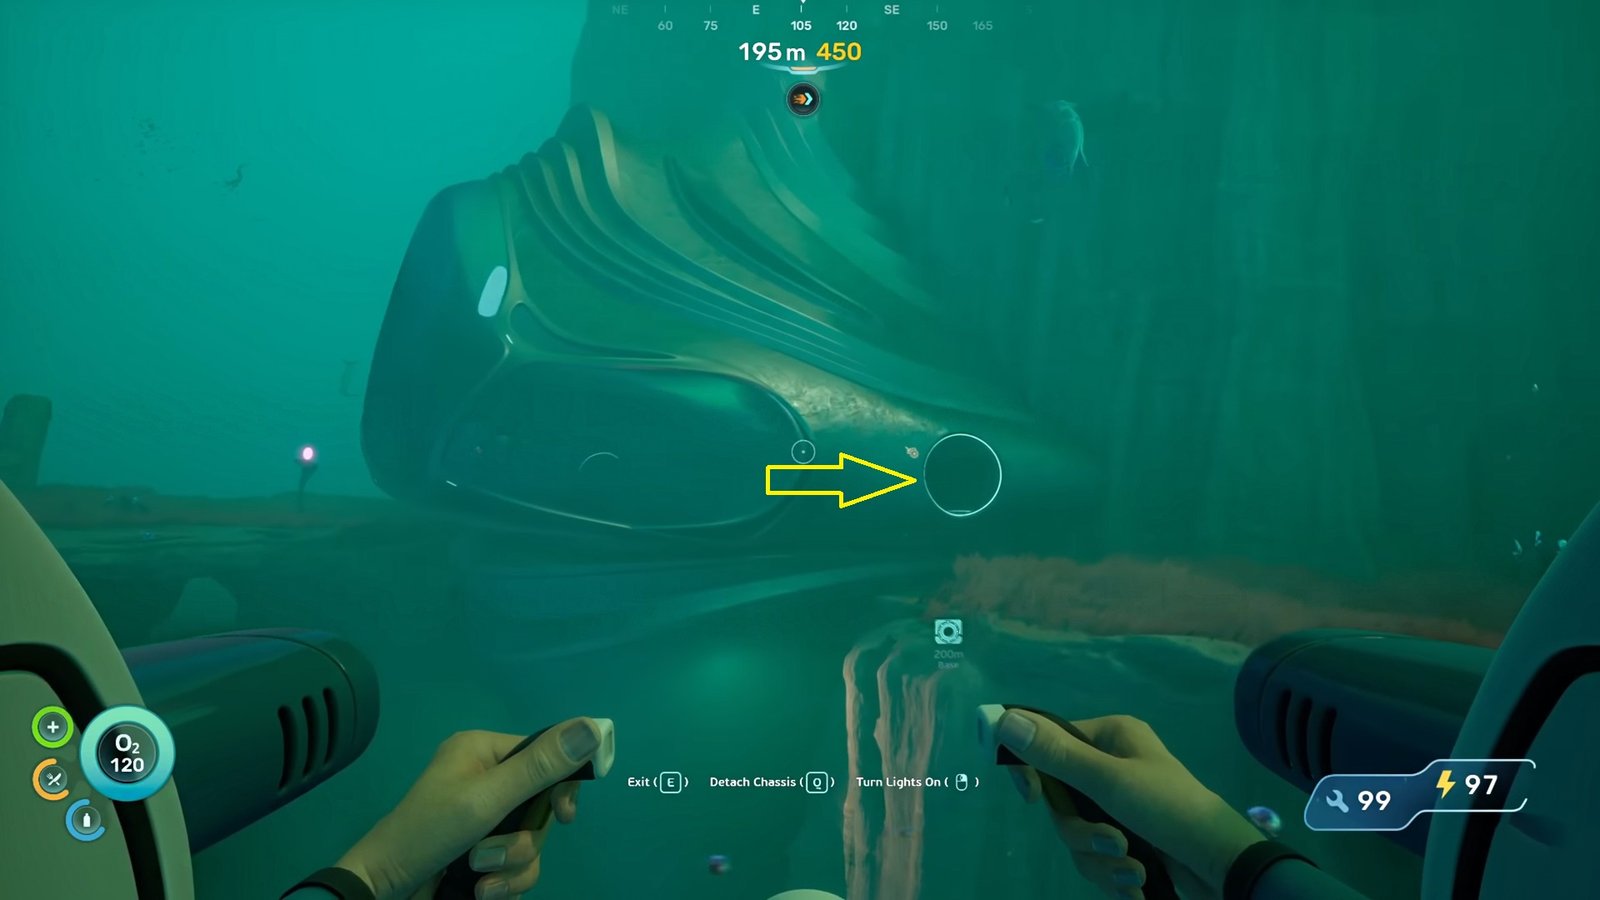
Head east from the Lifepod, around 1800m, and you will start seeing the giant dome of the Alien Ruins. Here are the coordinates for the location – [-158448, 443928, -10474]. Once you stop admiring the size of the Alien Ruins, start diving to the bottom of the ruins.
- Once you are in the bottom section of the Alien Ruins, you will see that the structure has a root connecting it to the ground.
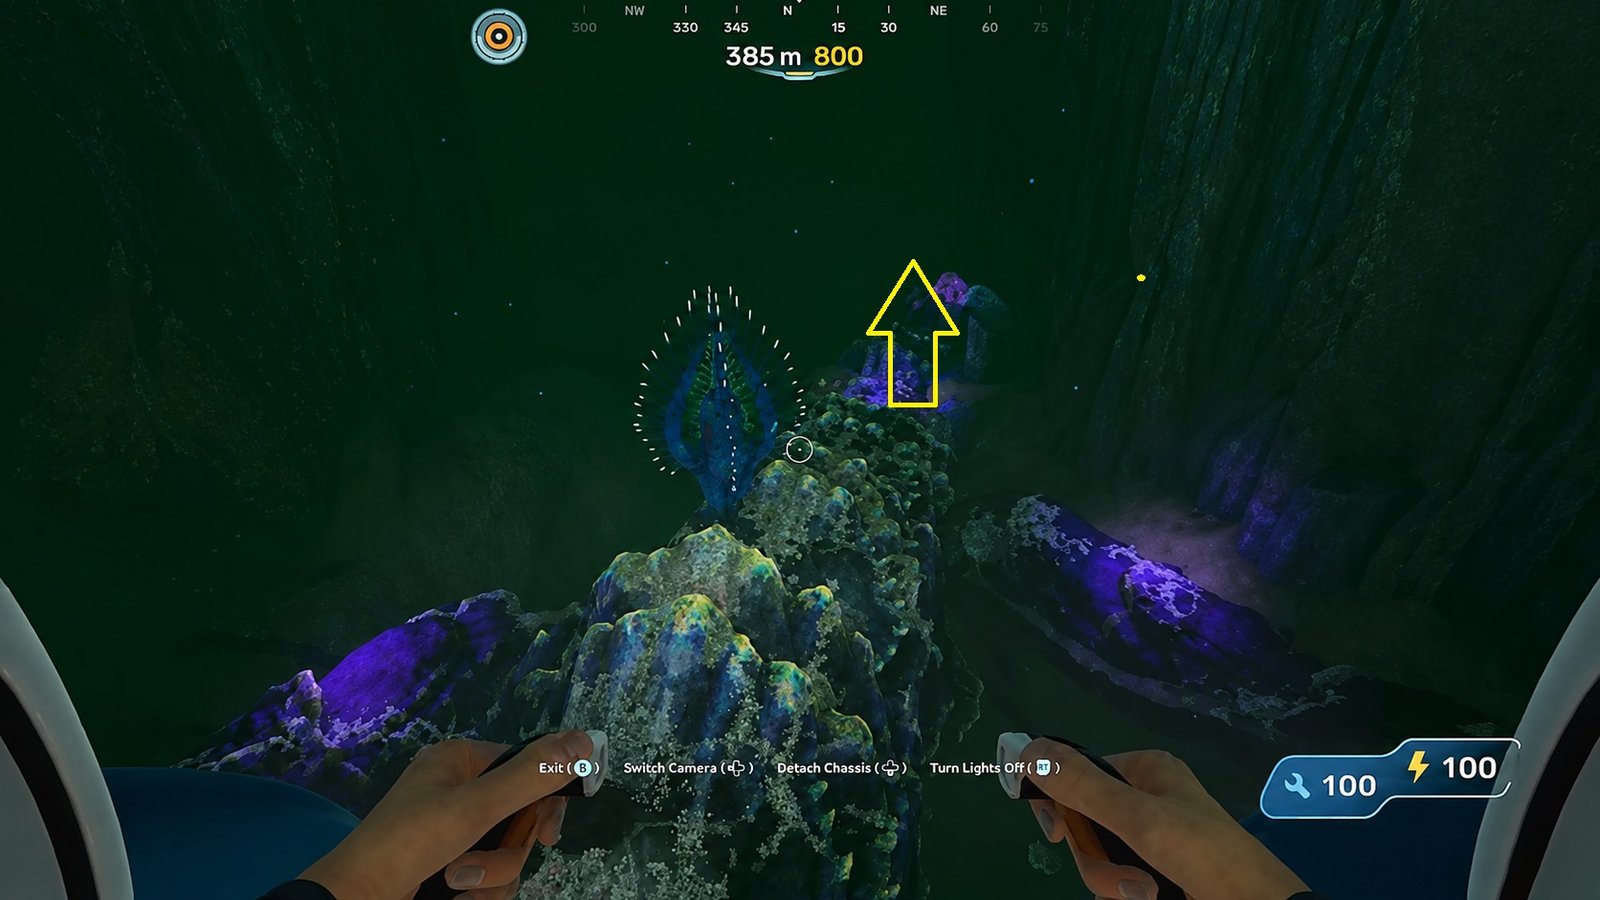
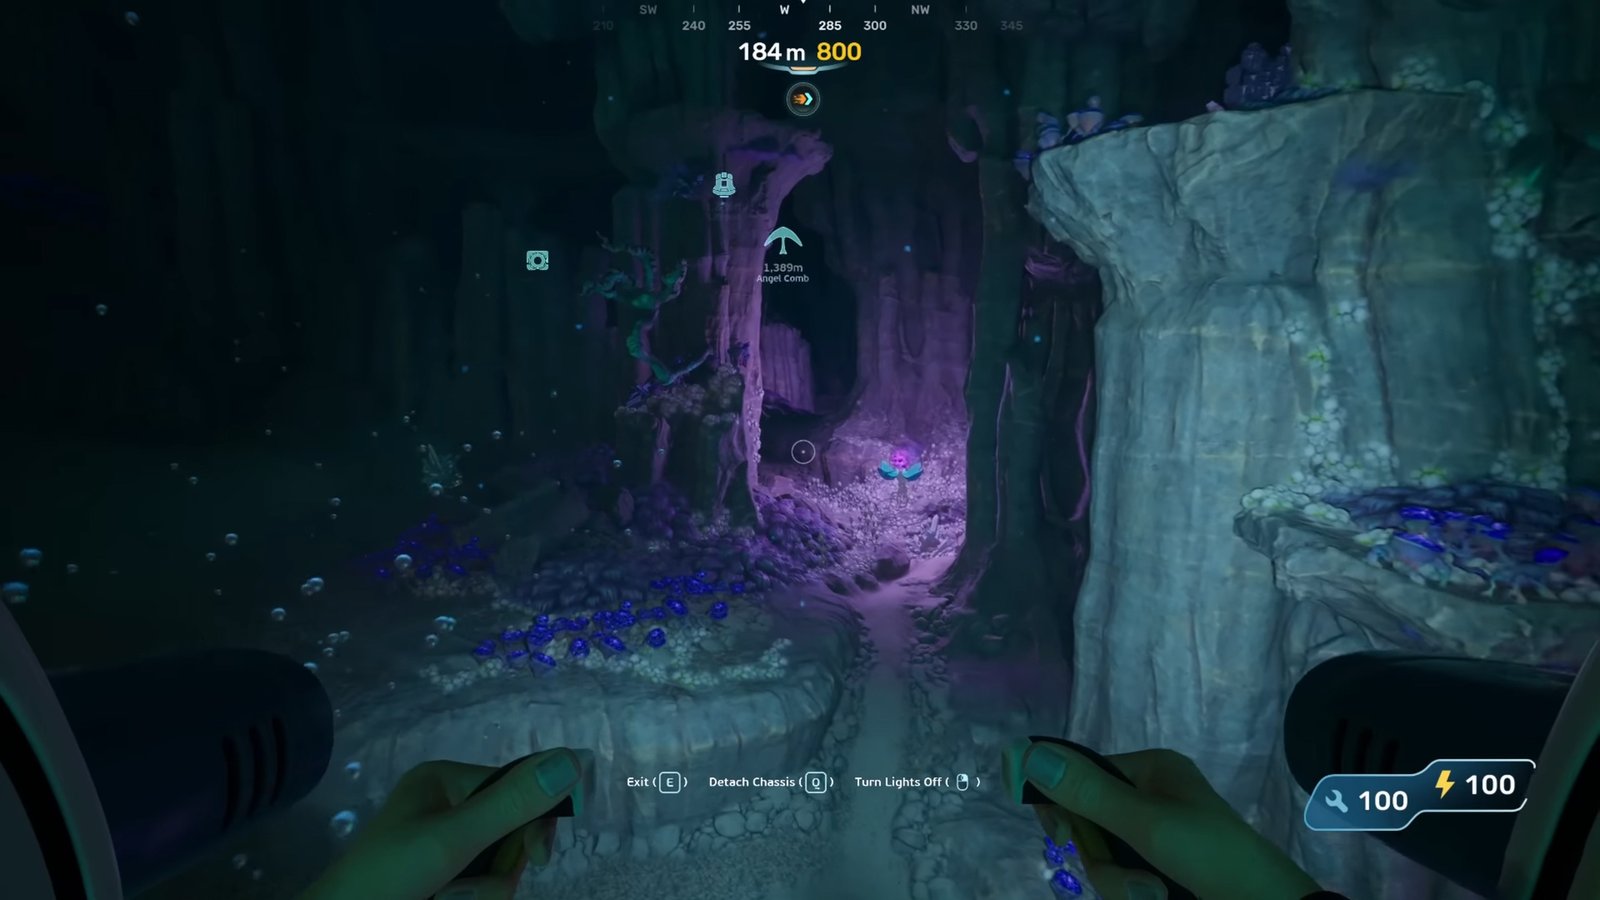
- Follow the roots, and you will spot a sea shell-like branch; think of it as a giant pipeline connecting to different spots. We don’t have to focus on any branches coming from the main branch yet. Just follow the seashell-like branch to the dark.
- When you are following the branch, you will come across an Angel Comb, scan it, and head back to the route.
- Remember not to go too high up when you are following the branch; keep hovering near it. We will also have to pick up the materials nearby.
Note: You will need to pick up at least 10 of these materials before moving on to the next zone.
Into the Pool of Sludge
Following the branch will lead to a swampy area. Here are the coordinate details [-139738, 388229, -43319]
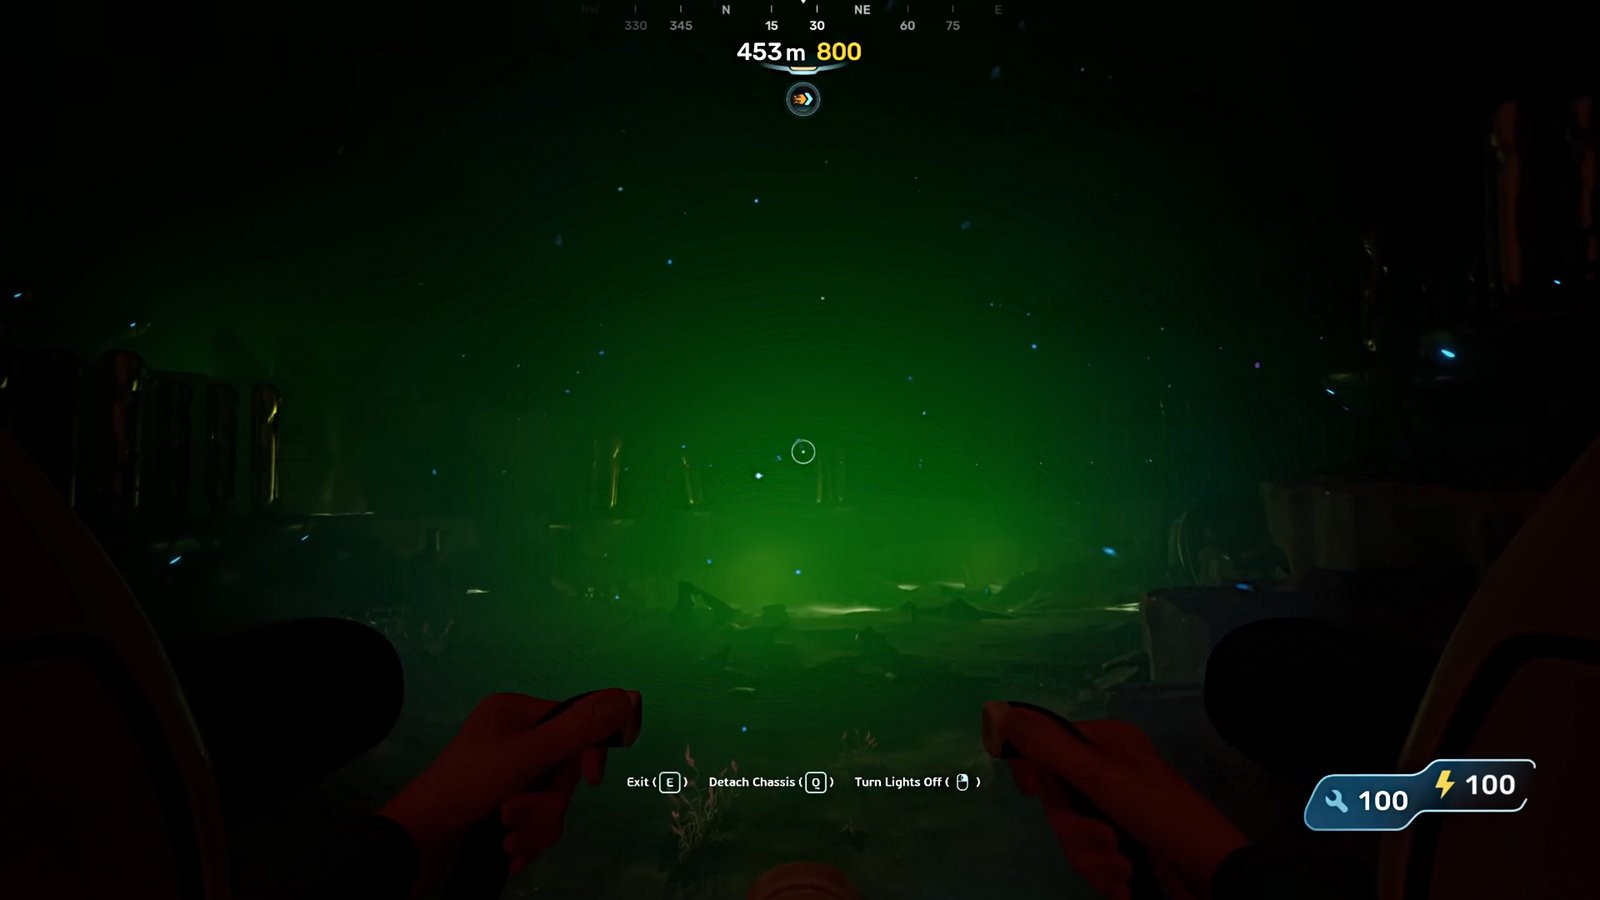
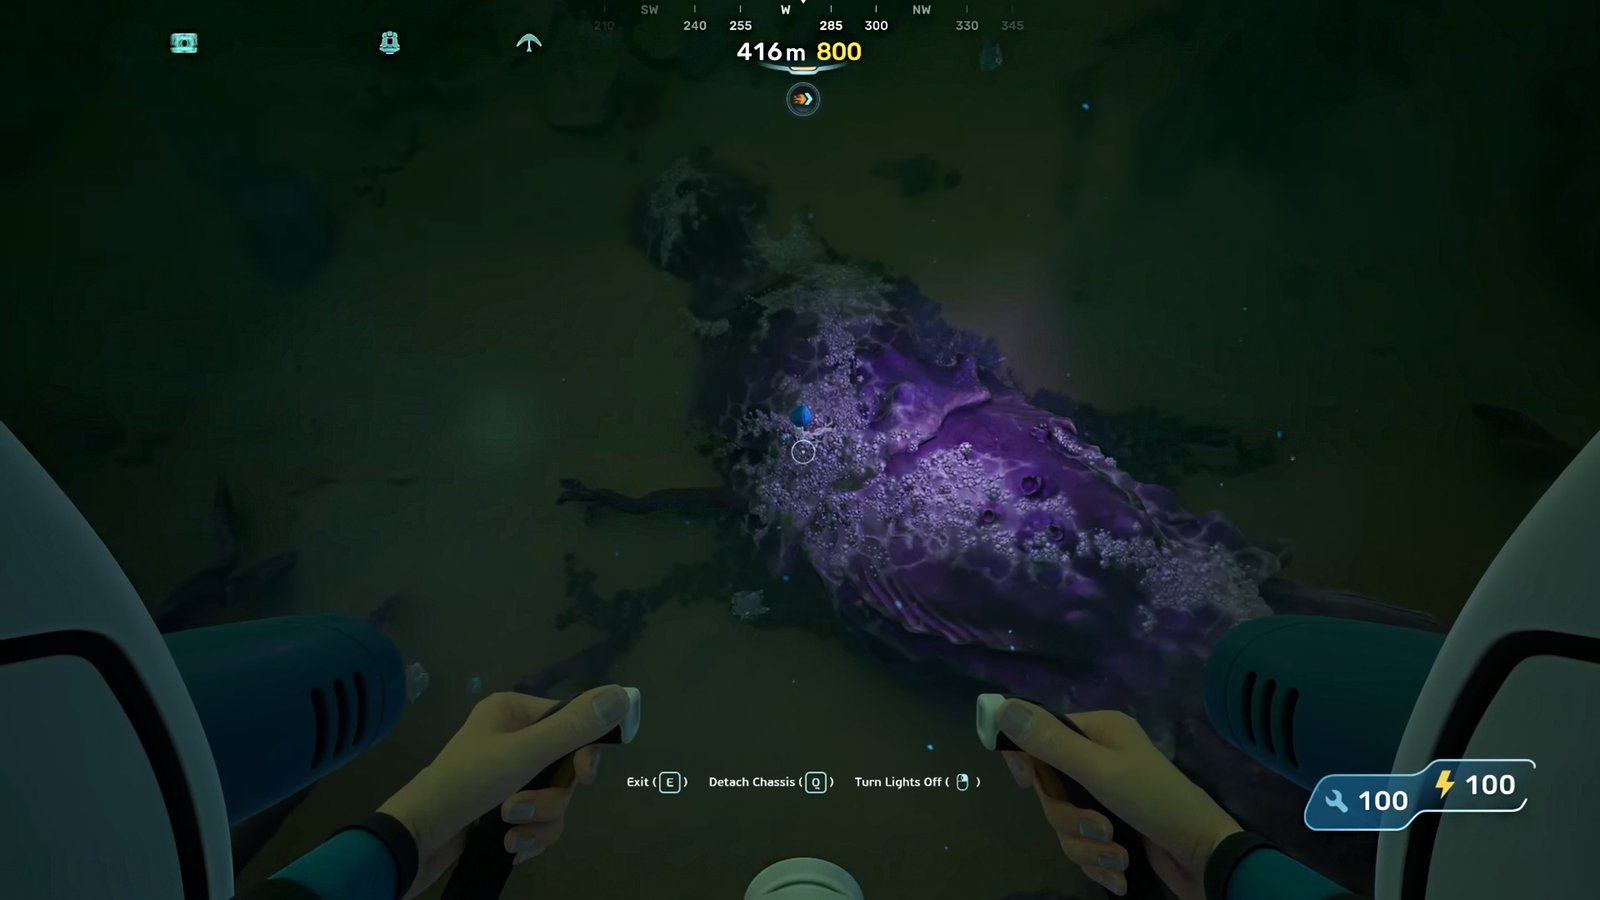
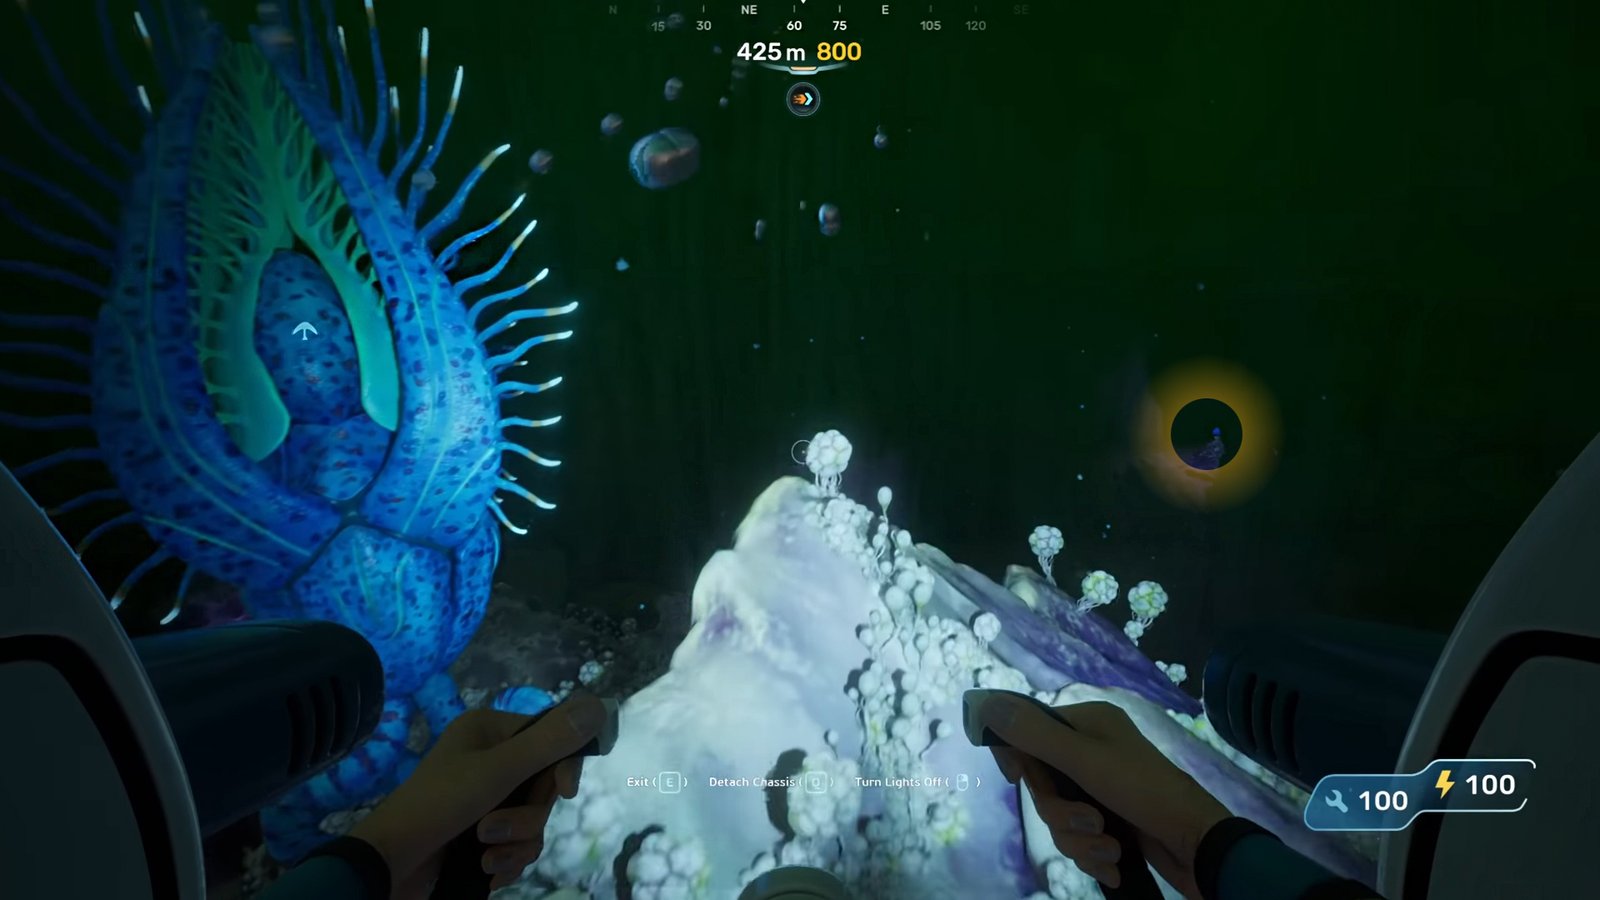
- Soon, you will be in an area with a green aura oozing out of the bottom. If you look above, you will see a giant Leviathan, but don’t worry, it won’t bother us as long as we stick to the ground. The same goes for the fish-like creatures roaming around this spot. They are all friendly, for the most part.
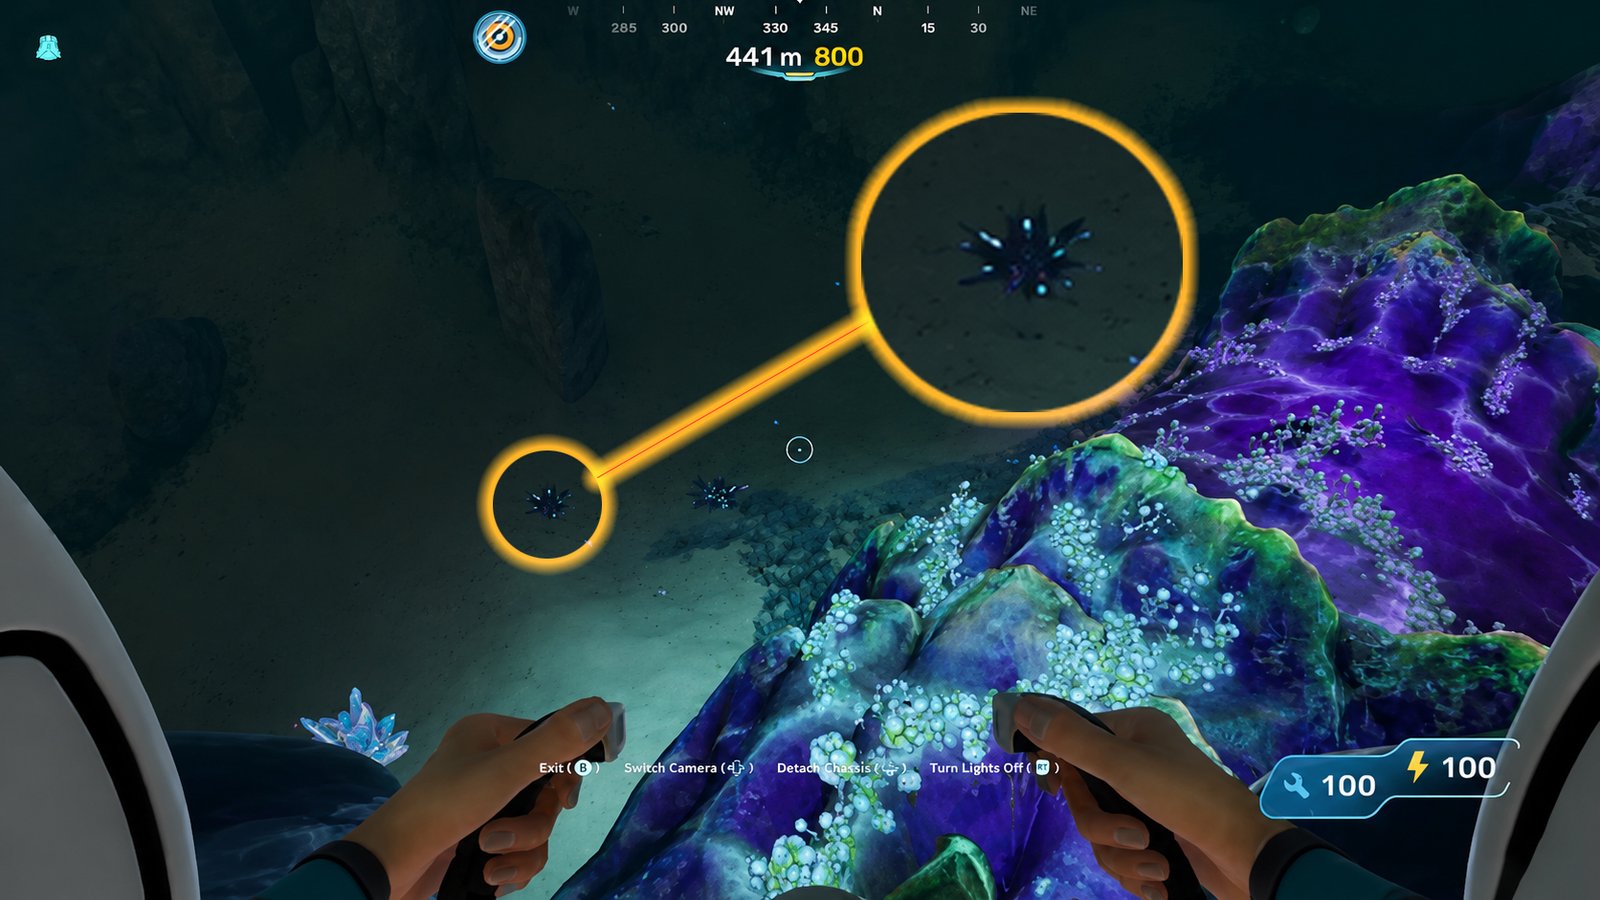
- Since we are in a brand new area, it’s time to hunt for materials! Now we should focus on getting a new type of material lying around the edge of this zone. It’s a green-like blob item; just pick them up around this spot.
Note: The same rule follows as before, pick up at least 10 of these materials.
Now we focus on getting two blueprints in this area.
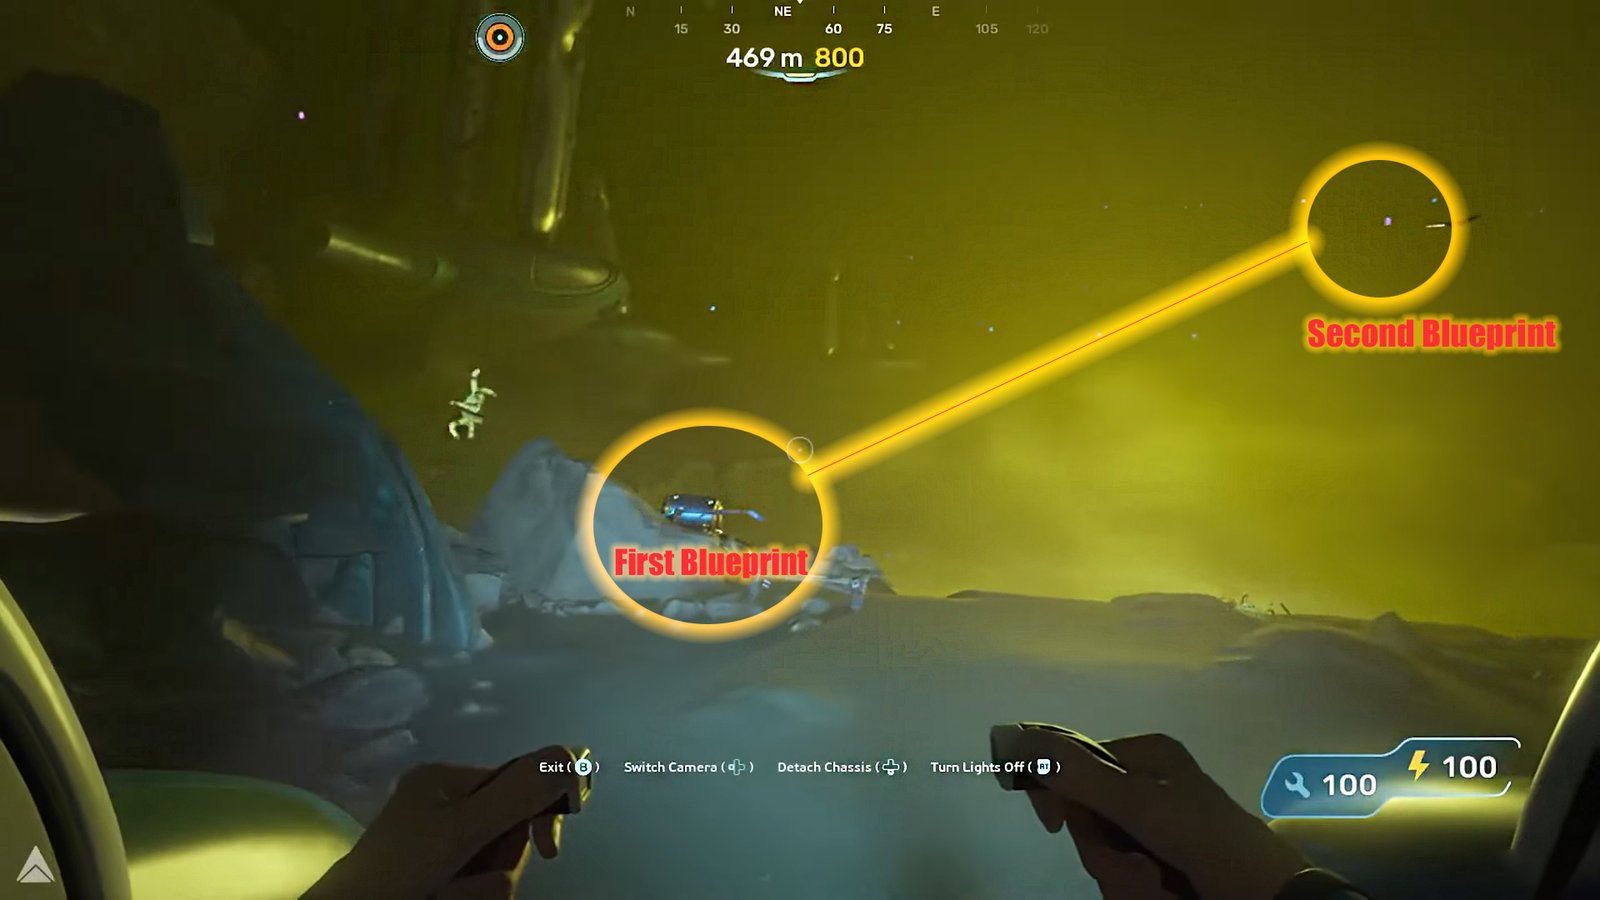
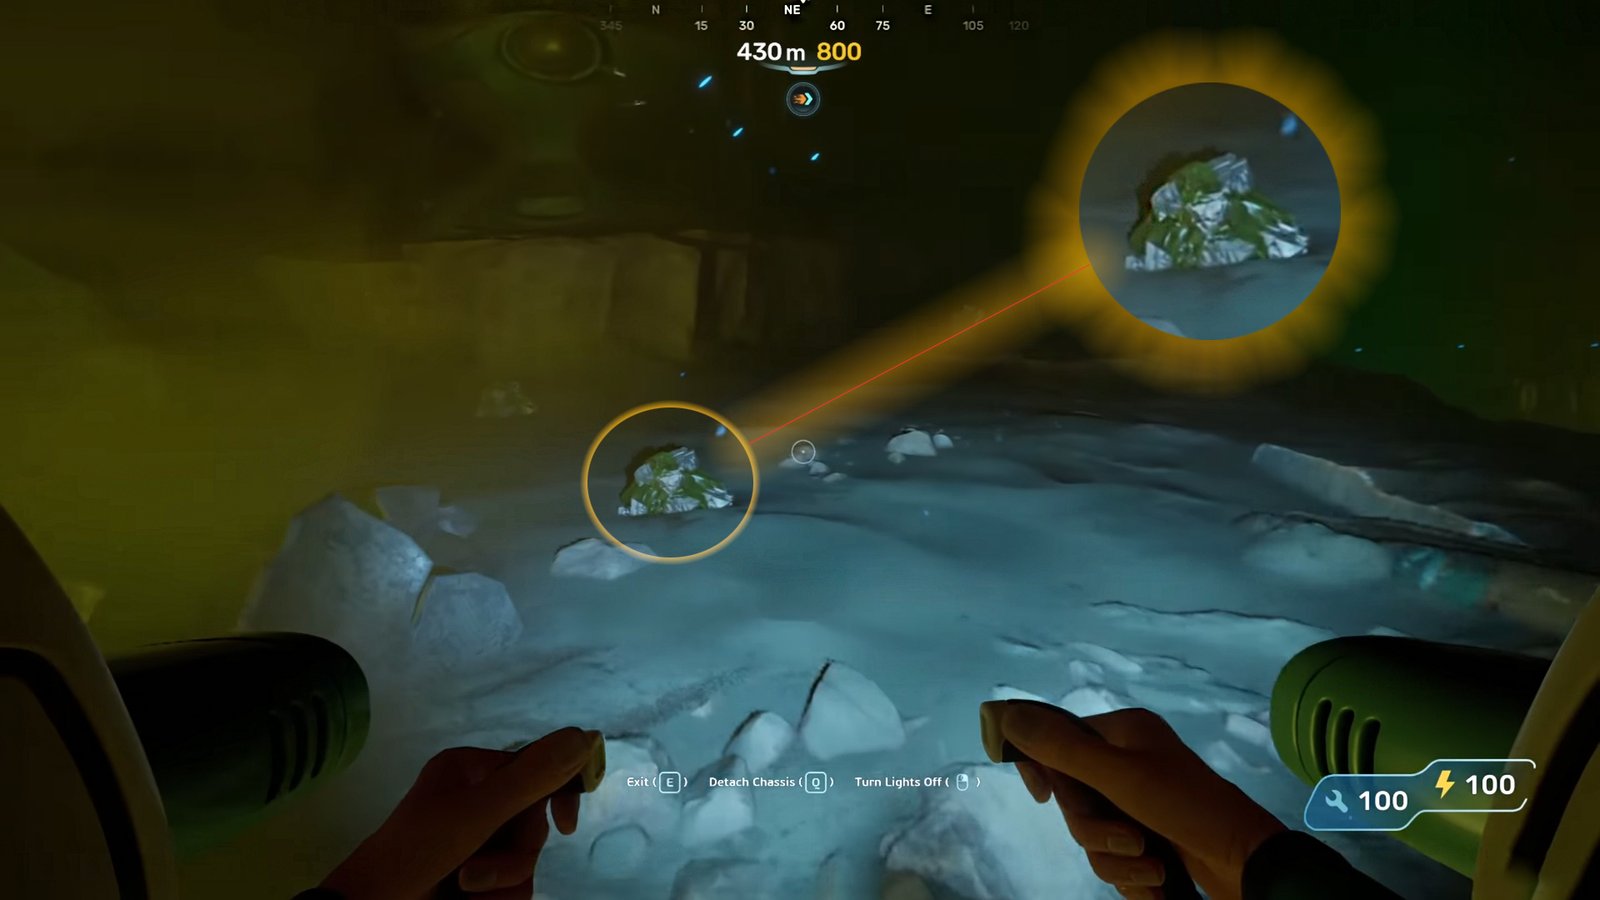
- First Blueprint: Get the blueprint found around the sludge spot. The coordinate for this spot [-134190, 395911, -47118].
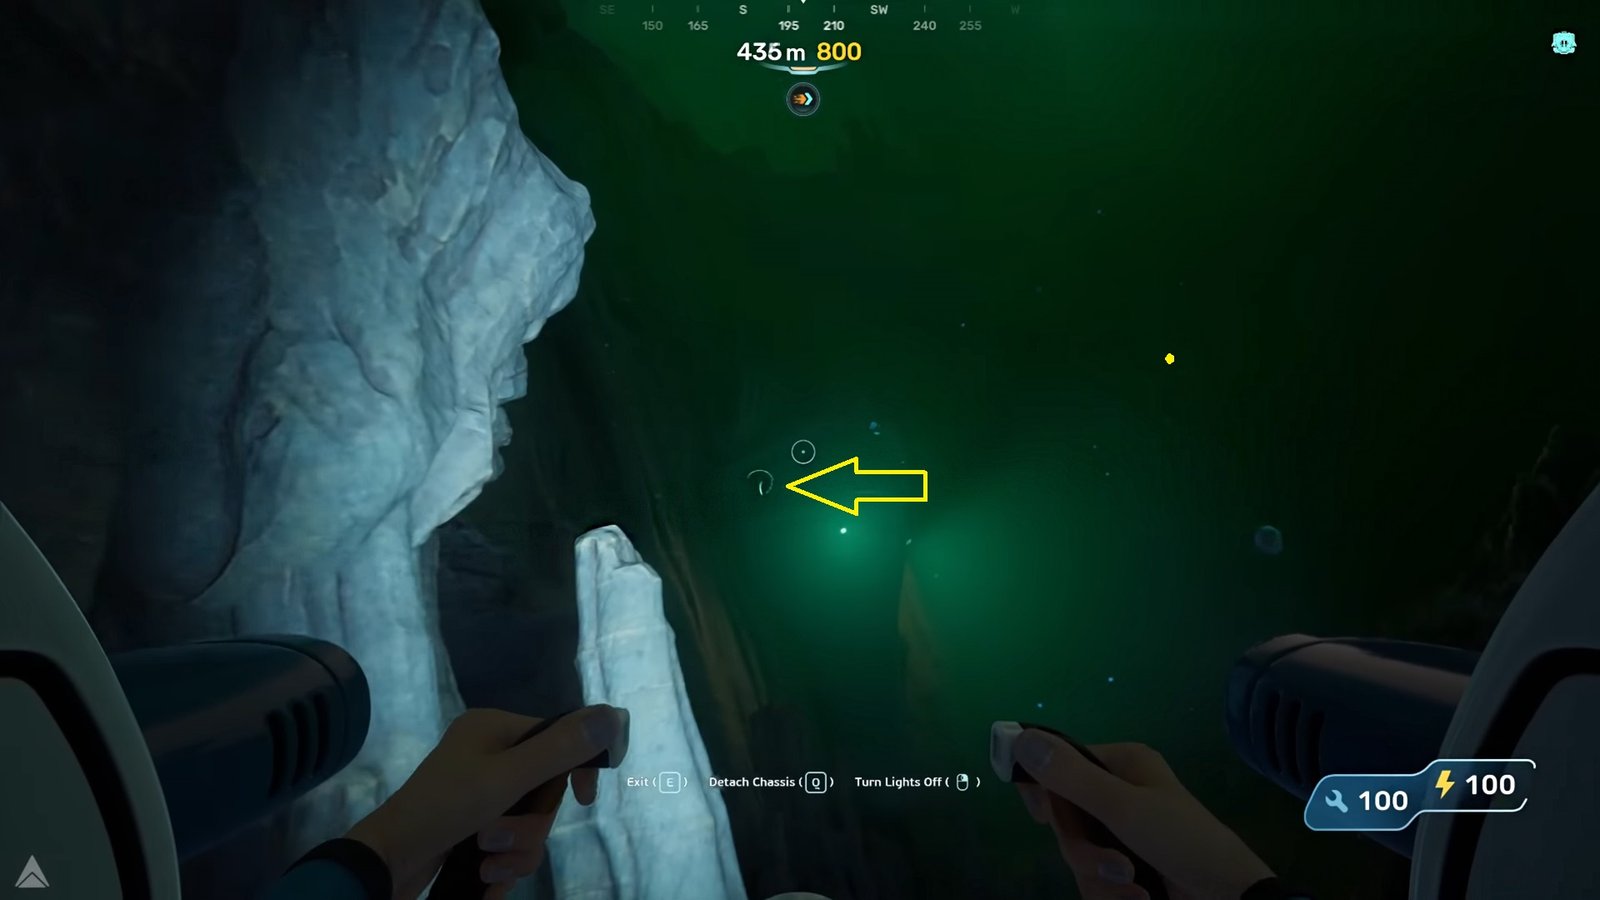
- Second Blueprint: From the first blueprint spot, turn around and cross the sludge, and start moving towards the pink light at a distance. We have marked the spot on the picture above to help you get to the spot easily.
Once you get closer to the pink light, you will see a table at the bottom with stuff lying on it. One of them is the blueprint.
Inside the Shipwreck
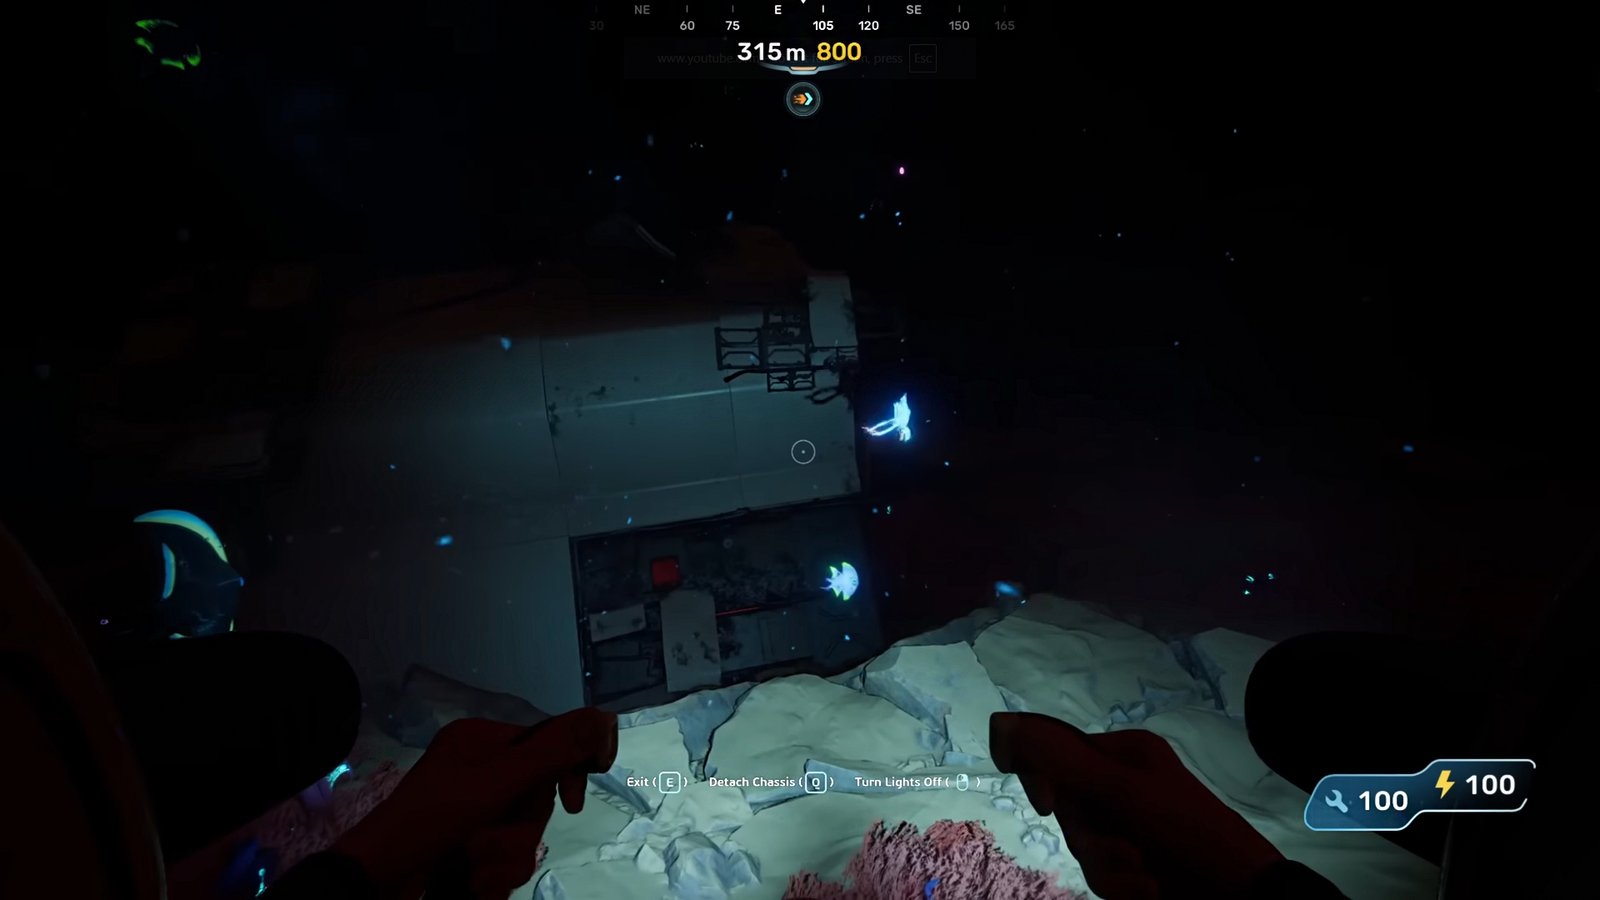
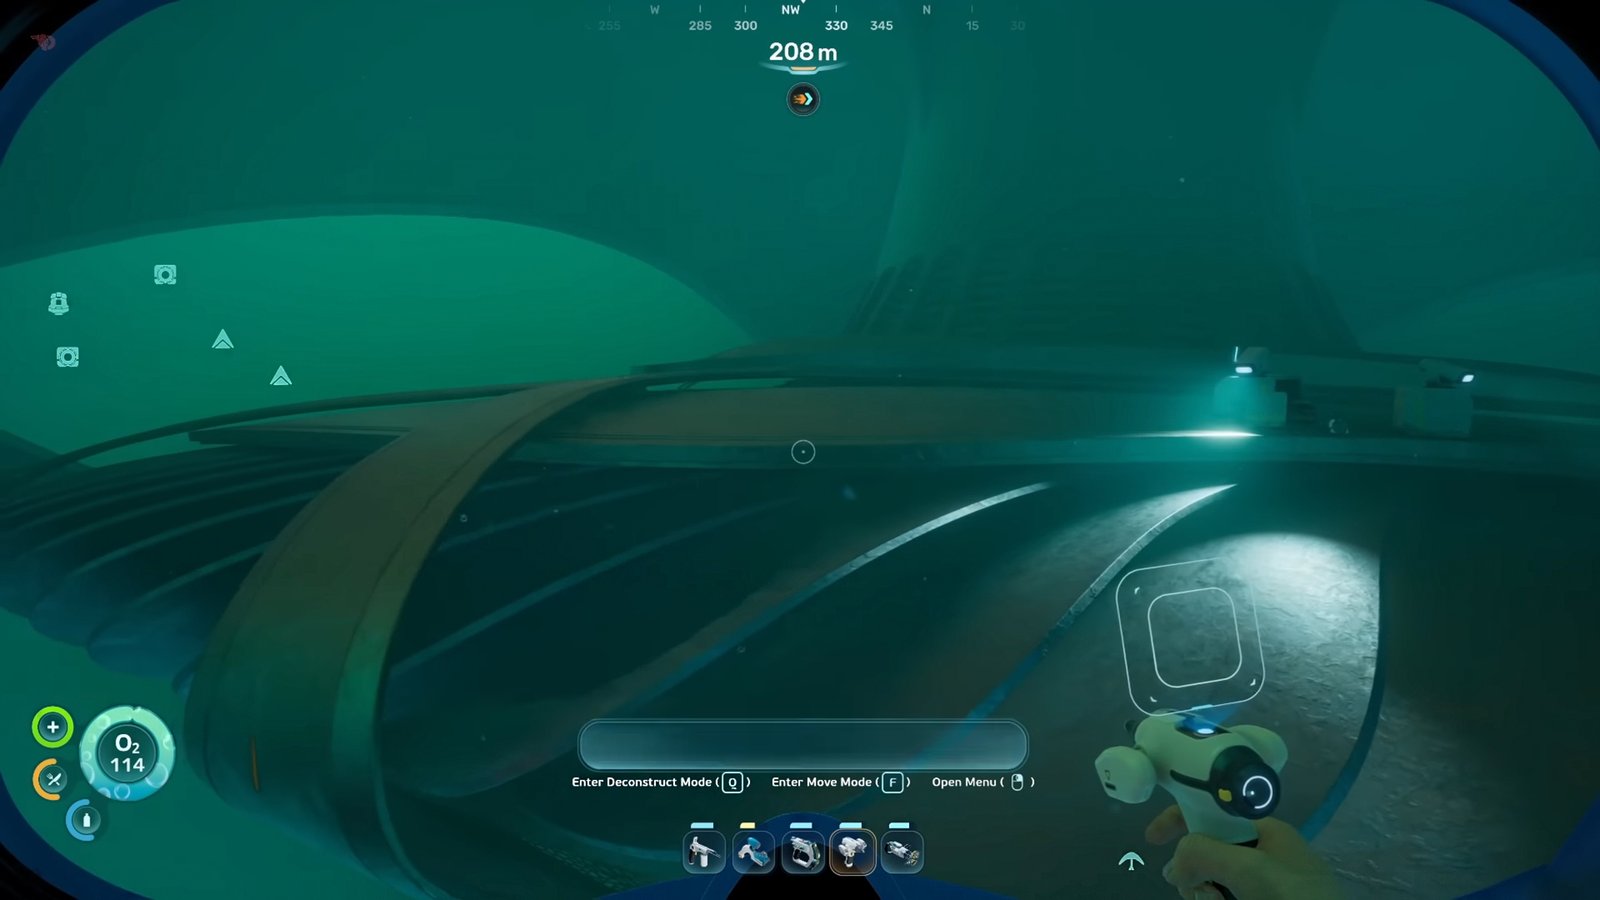
From the second blueprint, head back to the branch. Here you will see one branch leading straight, another one diverging to the left. Follow the one to the left, move up, and you will find the Shipwreck. Here are the coordinates: [-124085, 422302, -32480]
Head inside the Shipwreck, and make your way to the bottom by going through the holes in the floor. Here you will find a large underground cave, a viral bloom area.
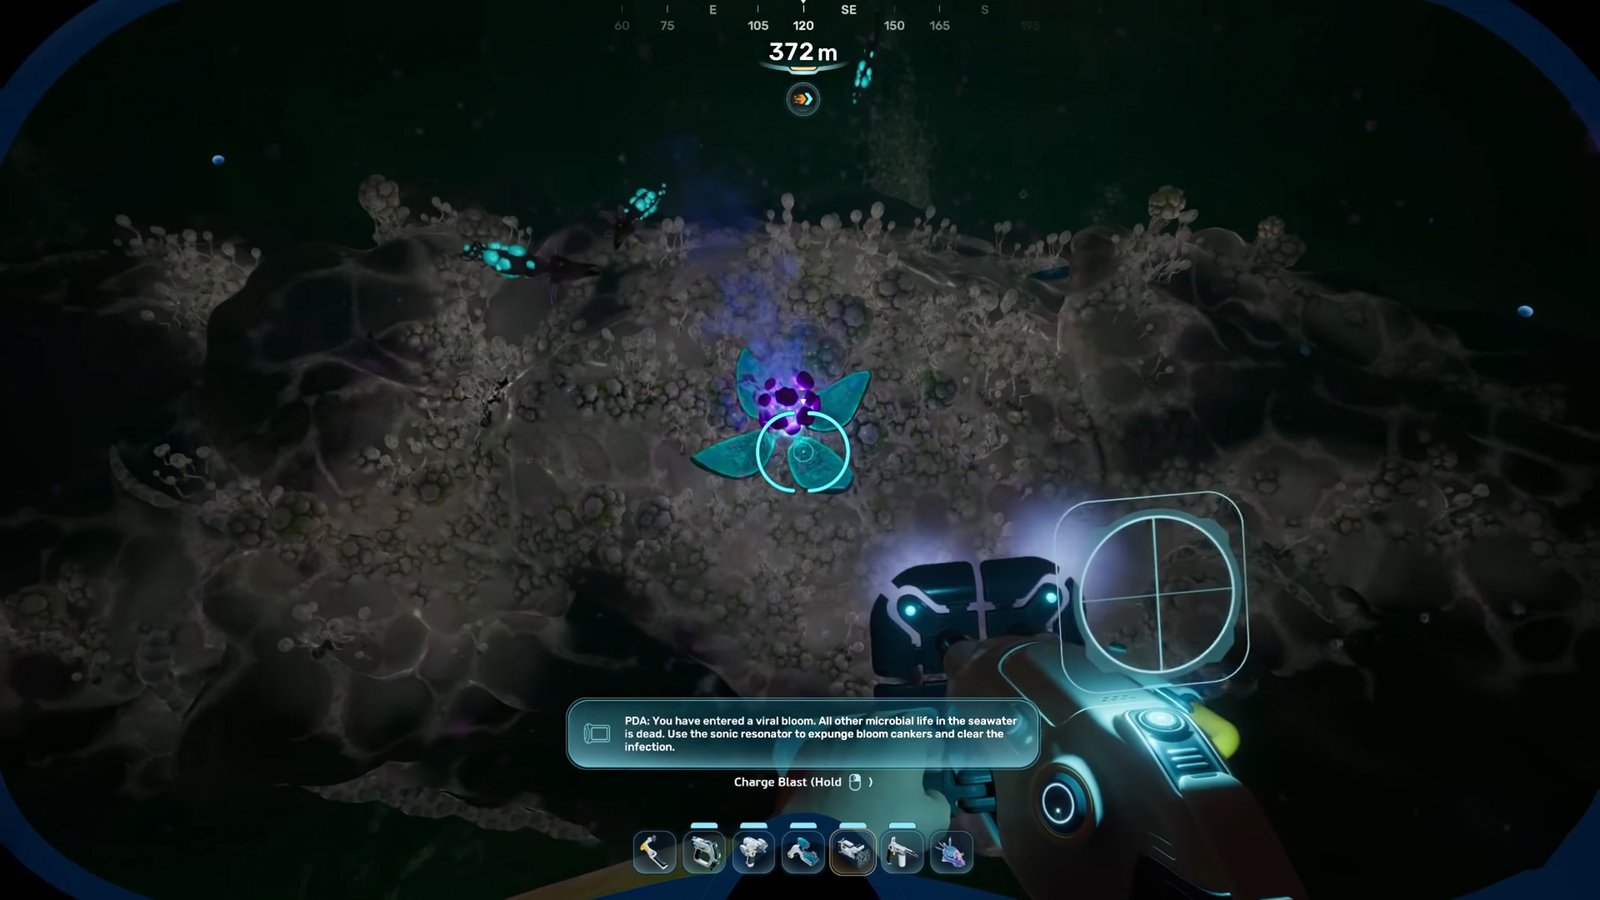
Now we will need to look out for strange plants, two of them to be precise. These plants will be a bit unique, as they will have a purple orb in the middle with four petals around it. Equip the Sonic Resonator and shoot at the purple orb in the plant to destroy it.
Note: The plants are a bit shy; if you get too close to the plant, the petals will close up and block the orb. As long as you are far away, you can hit the orb at a distance with the Sonic Resonator.
You will find the first purple orb flower plant on the rocky bridge at the entrance of the underground cave, and the second is located at the bottom, right under the bridge in the cave. Shoot both of them with the Sonic Resonator before leaving the zone.
To the Cave
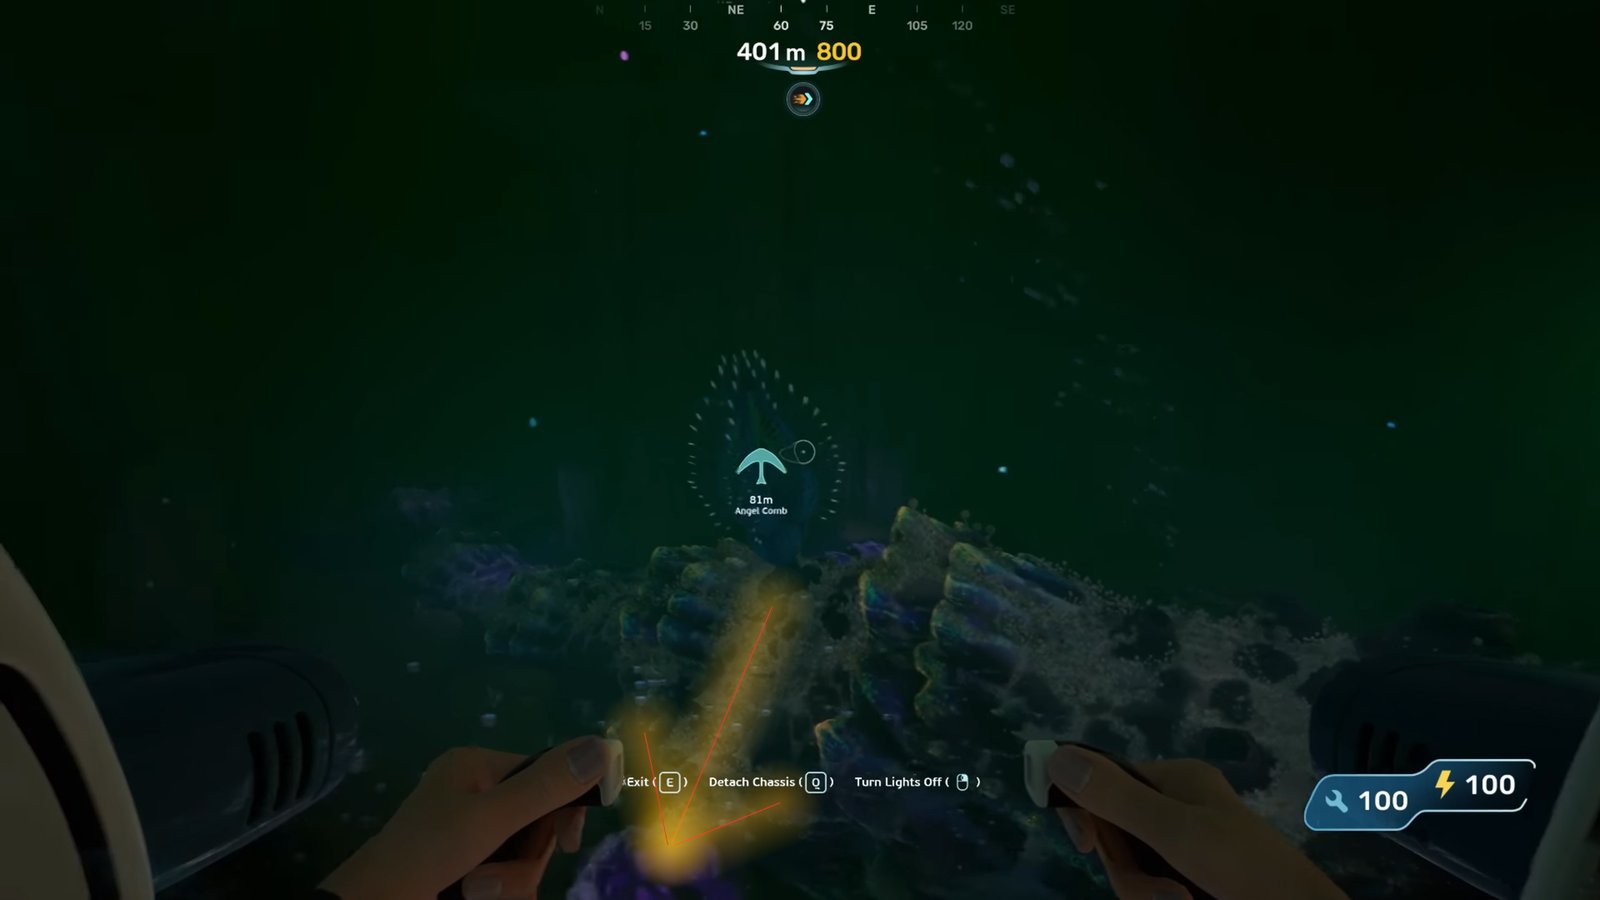
Remember the first Angel Comb we encountered at the bottom of the Alien Ruins. It’s time to head back to the spot. I know what you are thinking, navigate again in the dark to the spot that you probably forgot. Don’t worry, you will see the Angel Comb marked on the HUD. Just follow the marker to get to the spot.
Once you are at the Angel Comb, follow the root to its right, and it will take you to another cave. Here are the coordinate details for the cave [-215721, 433626, -18423]
Inside the cave, we must carry out the same action as we carried out earlier inside the underground cave at the bottom of the shipwreck. Shoot at the purple orb flowers with the Sonic Resonator, just like the last time, this cave also has two of these flowers. Shoot both before leaving the cave.
Back to the Angel Comb under Alien Ruins
After you shoot both of the purple orbs, it’s time to head back to the Angel Comb under the Alien Ruins, the first one. The seashell-looking branch will look the same as before, but on a closer look, you will notice two new blue plants popping out of it.
- First Blue Plant Location:
It’s a little bit to the side of the Angel Comb.
- Second Blue Plant Location
Now this one is a bit far away, but I’ve marked the spot for easier picking.
Note: Both of them are found on the branch, near the Angel Comb, so you don’t have to go too far from the main location to hunt them down.
Once you shoot both of these blue orb plants down, the main door of the alien building will open up. Head inside and interact with the machine; it will turn on the red light. Once that’s done, head outside and start moving to the top of the Alien Ruins.
Powering the Plant
At the top, you will encounter another control center, let’s call it the upper control center; it’s located directly across the busted power plant.
Head inside the control center, and inside you will find a computer with four icons at its bottom (I would think of it as a keyboard). Each of these icons will have a green shape object and a yellow point; just line up the green with the yellow in all four icons to complete this tiny puzzle.
Do the same for the computer on the other side, line up the green with the yellow, and then head outside to the broken power plant. Now we can fix it by spending x10 Titanium Ingot, x12 Strontium, x10 Mangalloy Ingot.
Note: To craft Mangalloy Ingot, you will need Titanium Ingot + Atacamite + Troilite.
Start the Power
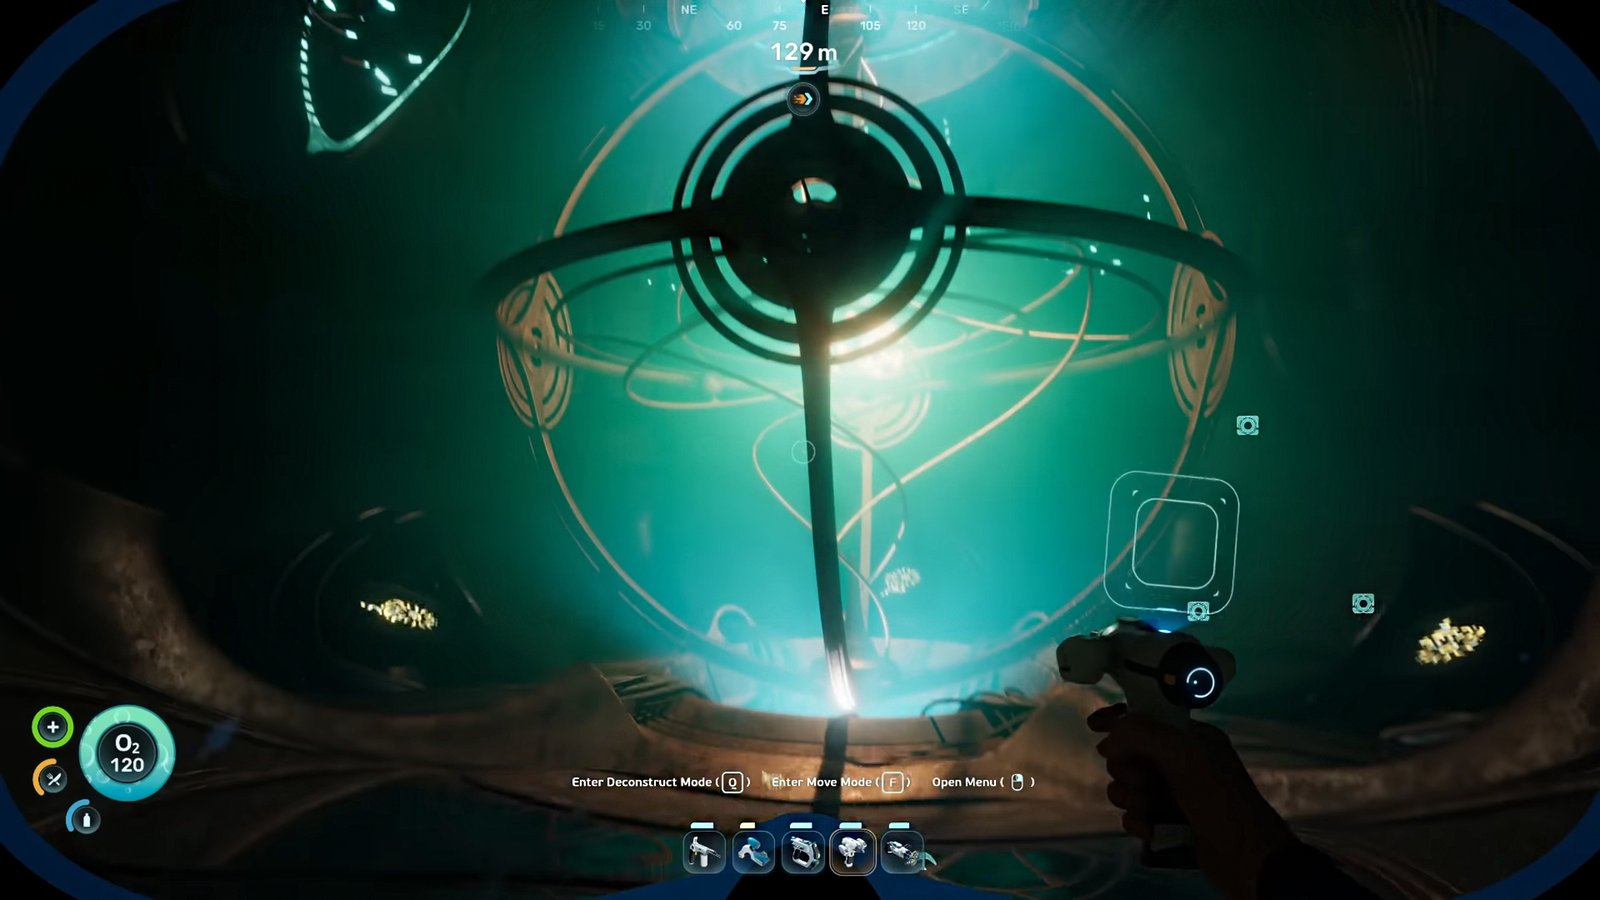
Now head back to the upper control center across the power plant, and activate the machine inside to turn on the power plant. After activating the power plant, head to the Alient Tower [-232953, 429348, -11672]. Head inside, interact with the Axum Door, and you will get to the floor with a giant spinning object in the middle. Scan the giant object to start the power.