


The new intel system in Star Wars Outlaws makes the gameplay more intriguing, as players must follow the intel chain to find the treasure at the end. In the previous Ubisoft video games, we saw that games would directly point to the location without requiring the players to do much. However, the new intel system adds a complex layer between the objective and the reward. This guide will focus on all the Intel Miner Diary locations to complete the intel chain Repulsor Train in Star Wars Outlaws.
Star Wars Outlaws Repulsor Train Intel Location
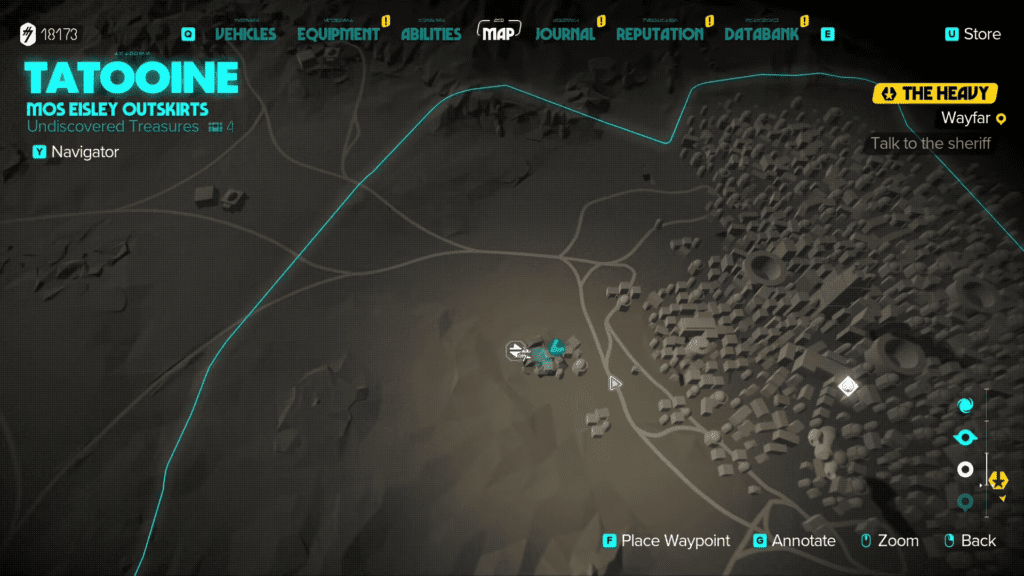
The Repulsor Train intel in Star Wars Outlaws is located in Mos Eisley Outskirts in Tatooine.
- To get the Repulsor Train Intel in your log, set your speeder to Mos Eisley Outskirts in Tatooine. We need to head to the west of the outskirts. Here you will find a fort-like establishment, when you get inside, you will start a conversation with two NPCs about finding an engineer.
- The objective will then turn to ‘Find an Engineer‘. Our next destination is Bestine Junkyard. The engineer is located southwest of the search location. Like any engineer, he is not going to help you with the good of his heart, you need to pay him some credits to get him to help us with the intel.
- She will tell you about the Miner Diaries located in the Mos Algo. That’s it we have the first intel to Miner Diary #1.
To resolve the Repulsor Intel chain we will need to have three sets of Diary pieces in your possession. The first Diary will reveal Day 1, the second piece of the Diary piece will cover Day 92, and the final piece will be about Day 140.
First Miner Diary Location
- Travel to Mos Algo, located west of North Jundland Wastes right inside the Western Dune Sea. From the Landing Zone, move towards the town on the left. You don’t have to enter the town, just the first open building on the left. You can’t miss it, it’s just in front of the Landing Zone fast travel point.
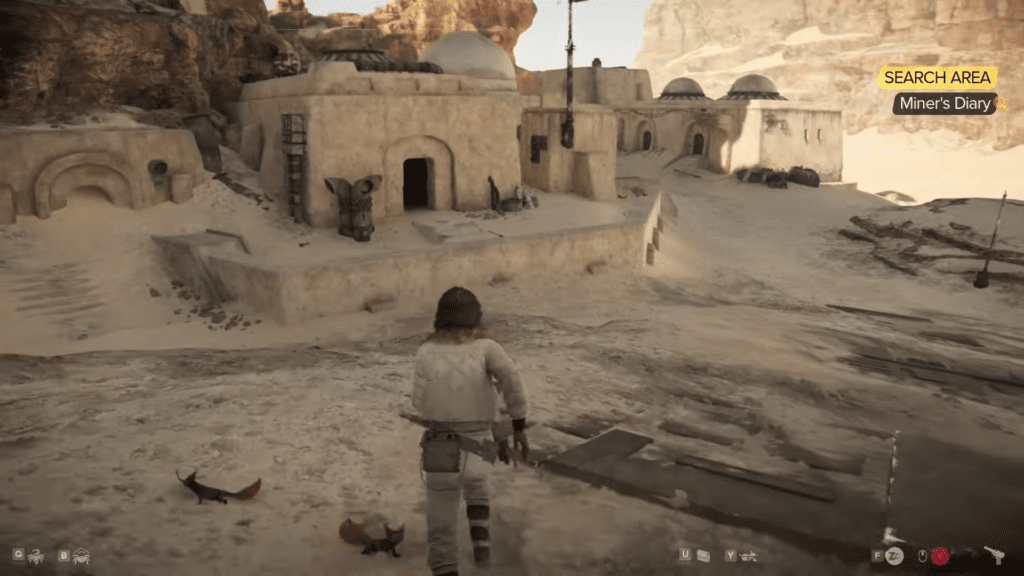
- Go through the doorway, you will find the intel Miner Diary #1 (Day 1) located left of the room, just right next to the bed.
Second Miner Diary Location
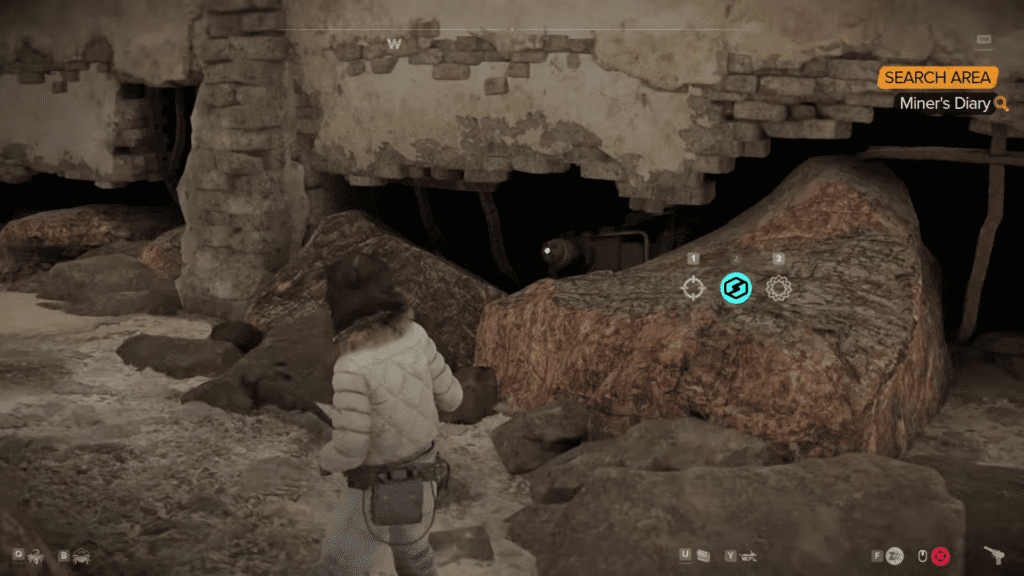
- From that place, we found the first Miner Diary #1, you will need to get out of the room and head to the building behind it. When you get to the front entrance of the building, it’s locked. Here we must power a generator to open the door.
- Go to the back of the house, you will find the generator hidden underneath the broken wall. Take out your Blaster, switch the mode to Ion, and then put some rounds on the generator to start. Once the generator is activated, you can take the front entrance of the house, inside you will find a Mine Supply Room Keycard (allow us to access the abandoned mine in Mos Algo).
- After getting the keycard, our next destination is the Mos Algo Mines. Just walk outside the building and start moving to your left. Follow the slope up and you will find the Abandoned Mines. Squeeze through the narrow rocks to get into the mines.
- The mine’s layout can be a bit confusing, but the second you enter the mine, go through the first hole on the left. There will be lights hanging on the wall to help you with your direction. Just follow the lights you will be in an open area.
- From the entrance, walk up the slope and you will find unusual boulders (set of 3 )to the right. It’s time to switch the blaster module to Power and destroy the boulders to kingdom come. When the boulders are gone, they will reveal a crawl space. Go through the space to our next location, lights will be hanging off the wall to help you along.
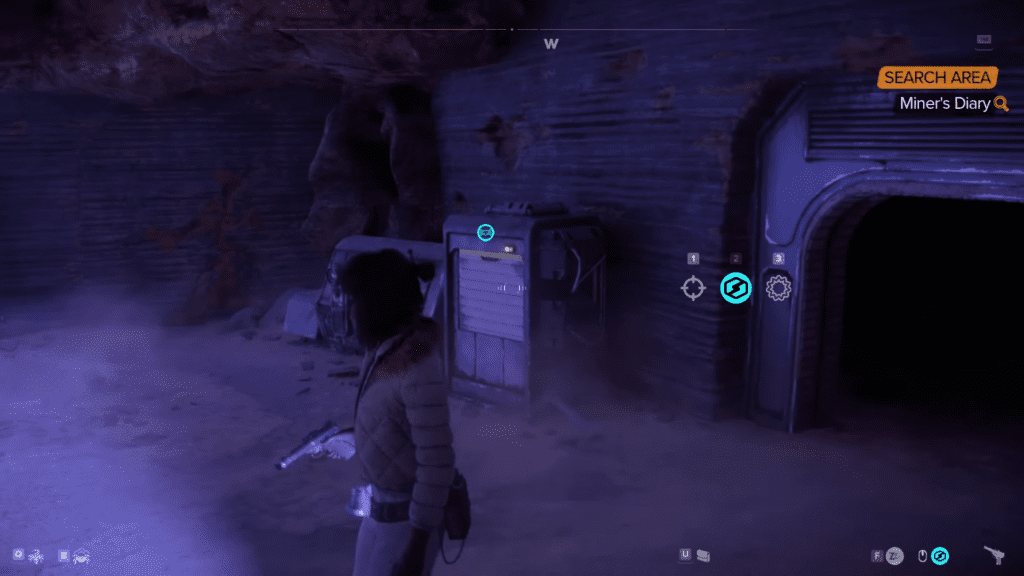
- After a while, you will enter a dark room, with a locked door to your left. We need to turn on the power to activate the door. Here head straight, you will come across a generator to your right but the panel to the generator is blocked off.
- Make Nix open the shutter to the generator and then you put some Ion blaster rounds on the machine. This will make power back on the mine, which means our door now can be open. Make your way back to the door we found on our left.
- Inside the room, we will find another Miner Diary #2 (Day 92).
Third & Final Miner Diary Location
- From where we found our last Miner Diary #2, we go back to the room where we activated the power generator to open the Door. In that room, you will find a breakable wall left of the generator. Switch to the Power Module on your Blaster and put some round on the wall.
- Go through the destroyed wall and you will soon find yourself in a cave. It’s all dark everywhere, it’s time to start the power. Move to your right to find the machine to activate the power. Once you pull down the lever, make your way back to the cave.
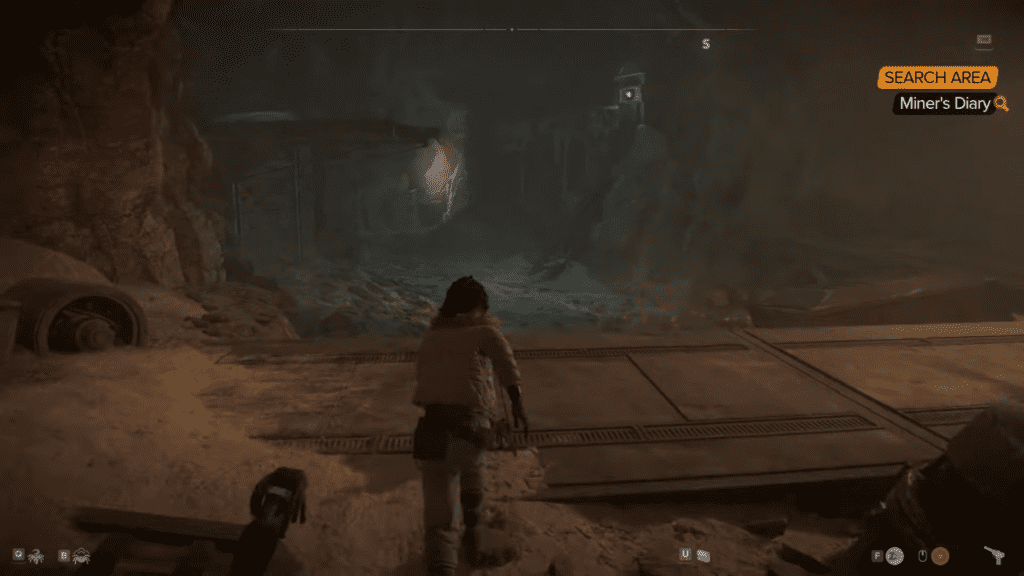
- Here take the straight route and you will find another boulder blocking our route. Take out the Blaster switch to Power Module and destroy the boulder on our path. Squeeze through the gap to get to the other side.
- We will arrive in a brand new location Lost Sandcrawler. Then look for the climbable wall on your left of the broken walkway. After climbing on a few ledges later, jump on the platform across the ledge. Once you have made it, start walking to your right. Eventually, you will find a dead end, here just look up and use the grappling point to swing across. Land on the platform, turn around and again hook the grappling rope to swing across the platform ahead of you.
- Head straight, and grab onto the climbable walls on the left. Then you will see some metal bars on the steel grates on the left, jump onto them to descend. Follow the metal bar to the left, and jump on the platform below.
- The path here is straightforward but gets darker once you cross the doorway. The entire room is dark, the door in front of you is locked, and the only solution here is the broken window on your left. Look through the window, you will find a generator on the left of the room, switch to the Ion module in the blaster to turn it on.
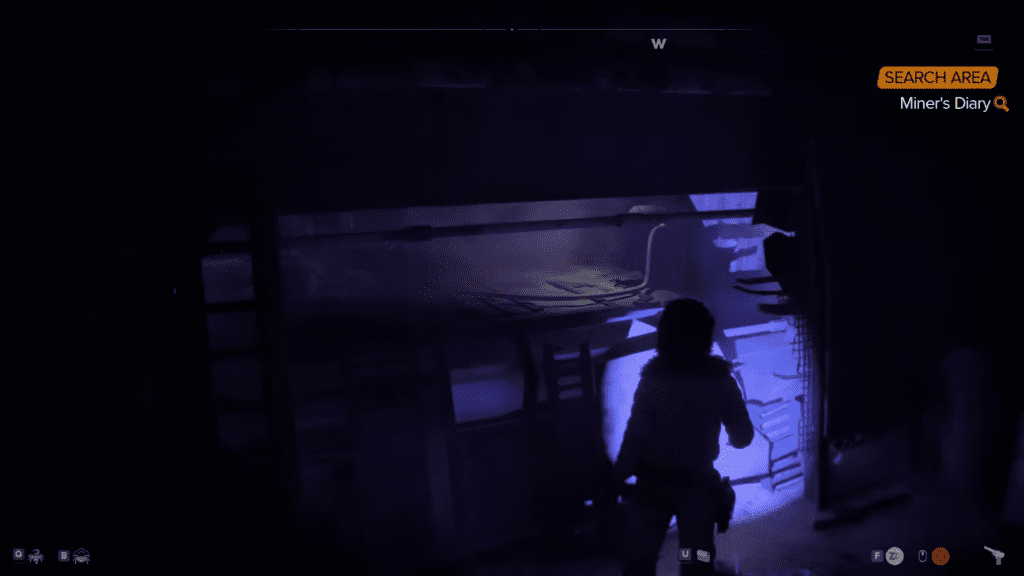
- Turning on the generator will start releasing power to the panel in front of it. Look to the right of the room through the broken window, and send in Nix to press the button. This will activate the power to the entire building.
- The door to our right is now open, go through it, the datapad in the center will be the Final Miner Diary #3 (Day 140).
With all three Miner Diary Intel in our hands, the intel chain Repulsor Train will finally get resolved.
Having difficulty cracking the Intel code in Star Wars Outalws?Then we have plenty of guides to help you out in your Journey: Star Wars Outlaws Missing Brother Intel Walkthrough or Star Wars Outlaws: All Ashiga Clan Vault Keycard Locations.