The choices get heavier as you approach the final mission for Stalker 2, where the game throws one major decision after another changing the course of gameplay and story. Let No One Leave Unsatisfied begins after you have completed The Last Wish mission. Here we are going to cover all the beats (Strelok and Kaymanov paths) for the Let No One Leave Unsatisfied quest.
List Of Objectives For Strelok/ Kaymanov Path
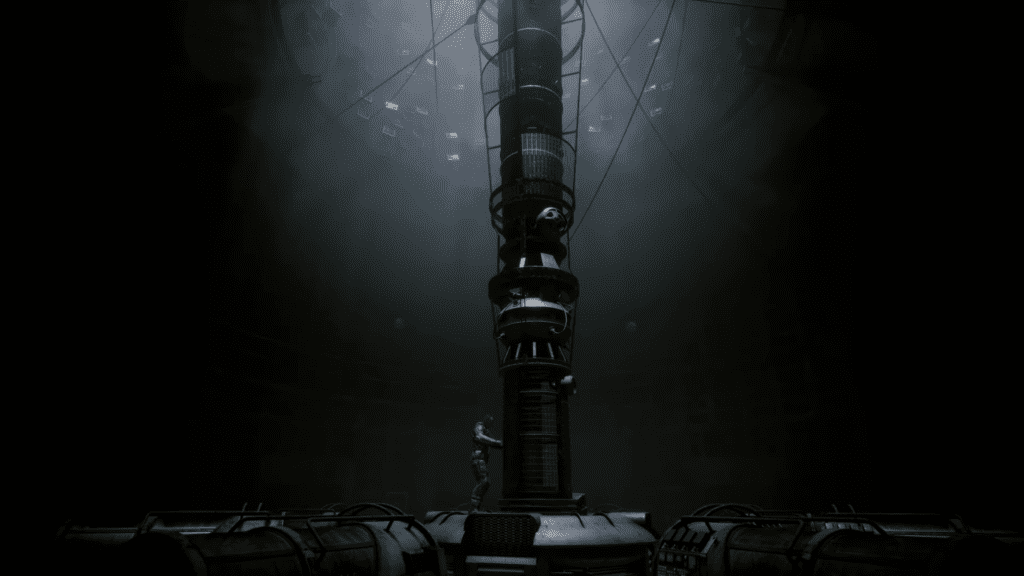
We are going to head through the objectives to trigger the Strelok ending.
- Strelok and Kaymanov Path Split #1
- Talk to Strelok (Strelok Route)
- Kill Strelok (Kaymanov Route)
- Head to Neurolaboratory
- Destroy the Monolith Squad
- Clear the path to the Neurolab
- Kill Scar
- Get to the Freight Elevator
- Strelok and Kaymanov Path Split #2
- Take your signature for the O-CTA pod (Kaymanov Route)
- Strelok and Kaymanov Path Split #3
- Talk to Strelok (Strelok Route)
- Find the Entrance to Kaymanov’s Laboratory (Kaymanov Route)
- Restart the elevator control system
- Destroy the Granite Squad
- Strelok and Kaymanov Path Split #4
- Go Back to the Freight Elevator
- Go Down to Lab X7
- Find a way to activate O-CTA (Kaymanov Route)
- Go Down to Lab X7 (Kaymanov Route)
- Put the Amplifier into the Container (Kaymanov Route)
- Turn on the Power Switch (Kaymanov Route)
Strelok and Kaymanov Path Split #1
Here comes the first splitting point for both sides. How you begin the Let No One Leave Unsatisfied, depends on the decisions you have taken before. Here we are left with two choices:
- Talk to Strelok, if you are on a Strelok route.
- Kill Strelok on Kaymanov Route.
Talk To Strelok (Strelok Route)
Compared to the Kaymanov Path, the route for Strelok is less violent at the beginning. Here, we just need to talk to Strelok. Enter the Teleportation hall with Strelok, here he will ultimately decide to split up and ask you to avoid risk. The objective will change to Get to Neurolaboratory.
Kill Strelok (Kaymanov Route)
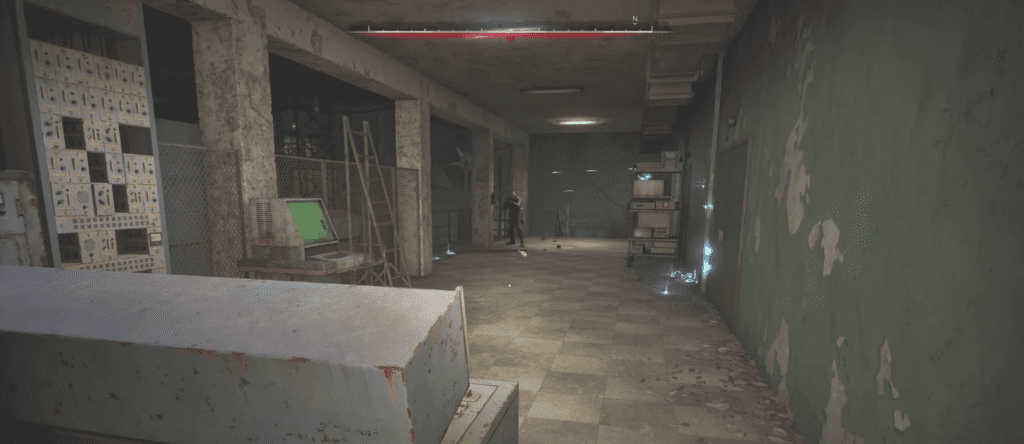
The very first objective of Let No One Leave Unsatisfied Kaymanov’s path will put us in a place where we have no choice but to take down Strelok. Fresh off the betrayal from the last mission, now we must deal with Strelok before making progress in the mission. Unlike on the Strelok side, where he greeted you with open arms, Kaymanov side, he will use his artifact Heart of Chornobyl to move around in the area with an electrifying speed. That’s our cue to the start of the battle.
Tips to Defeat Strelok
It is not going to be an easy fight, anyone who sees Scar use the artifact to flash around the map would get an idea of how tough the battle will be on the stage. Since there are way too many open spaces in the area.
- Don’t Waste Bullets: He will move around the arena fast, when you try to shoot him when he is in the state of running or dashing, none of the bullets will leave a mark on his body. Wait for him to catch a breath, he will take a couple of seconds of standstill to power his next dodge.
- Once Strelok gets hit, you will see blood, that’s your sign that you are indeed doing some damage to him.
- Get out of grenade range: If you hear the sound of a thing being dropped, it’s better to move out of the way. That is because it would be an active grenade.
- Follow the Blue Trail: Use the blue trail from Strelok’s dashing to pick up his current location. It takes a while for the trail to disappear, make sure to track him with a blue line to get him on sight with your rifle.
- Damaging Moves: In the later phase, he will start creating shockwaves and various anomalies will be in the area. Make sure to keep a high ground and avoid the AOE shockwave. If you happen to be near it when that happens, you will get knocked down.
Keep shooting until he falls to the ground. Loot his body to take the Heart of Chornobyl artifact. Here the objective will get changed to Get to the Labrotary.
Note About Both Sides: Both sides will end their objectives with Get to the Neurolaboratory. If you have just killed Strelok or had a nice conversation with him, the route will lead us to Neurolaboratory.
Get To The Neurolaboratory (Primary)
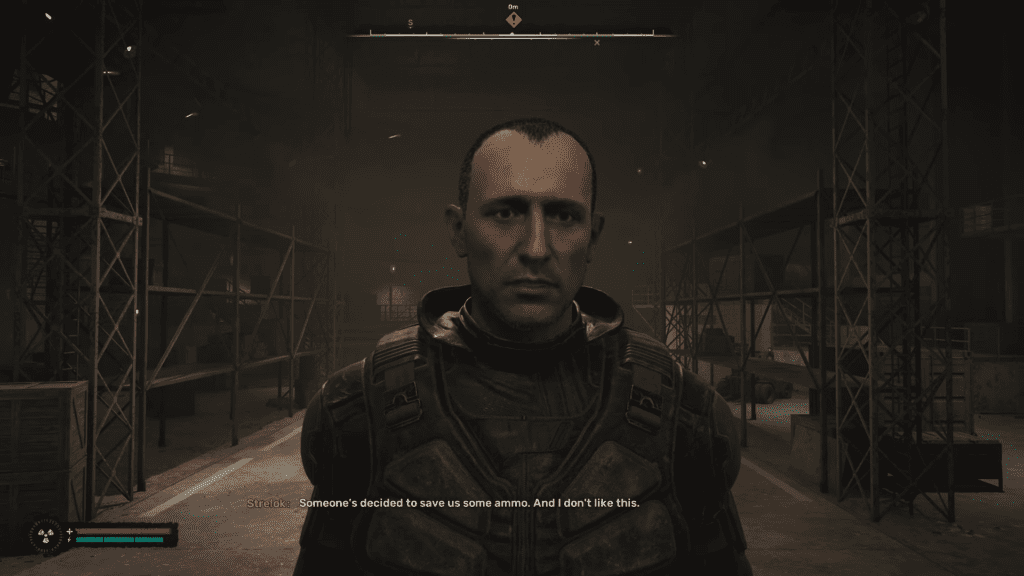
This is the objective that marks the end of the mission, but we will get other objectives during our route to Neurolaboratory. So, consider the objective “Head to Neurolaboratory “as a primary objective but we will have to complete many secondary mandatory objectives to continue the quest. Since the route is linear, you will have no problem completing them.
Now head towards the door behind Strelok to get to Neurolaboratory. On your way there, you will find a dead body, loot it. It will have a few rounds of ammo and some good guns that will come in real handy in the next phase of the quest. Press the red button next to the door to unlock it.
Destroy The Monolith Squad
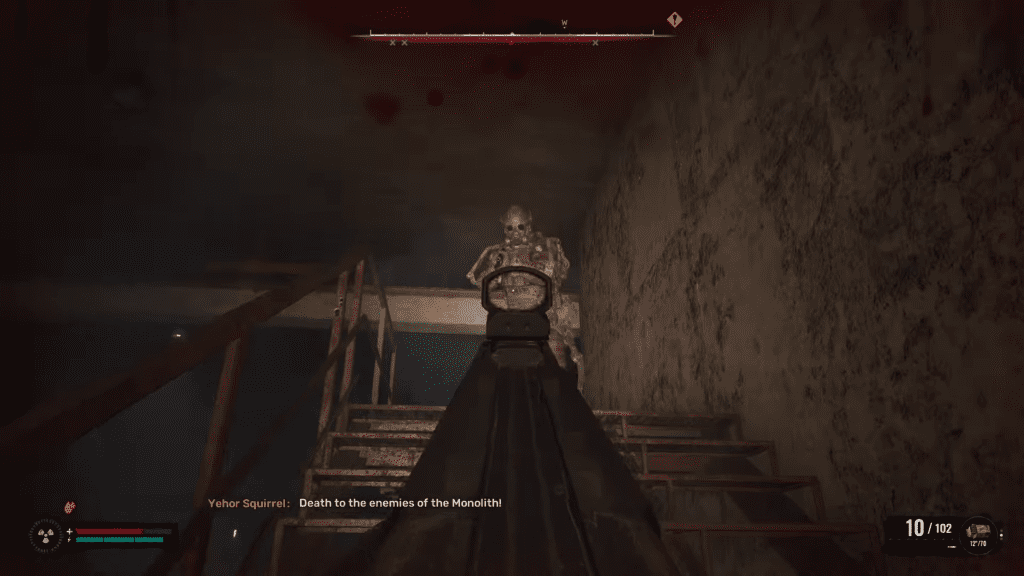
After the door opens, check on the shelf on the left to grab some more ammo and some drinks. As you can guess, the game is preparing you for a tough fight. Grab anything you see on sight. Now head towards the walkway to go down the floor.
- Equip your best gun, the route might be linear but the bullets are not, they will come from all directions. Move slowly, use the indicator to pick the targets, and don’t try to rush to the bottom of the floor. The area is filled with Monolith soldiers.
- After you loot all the bodies get to the bottom floor and then take the doorway at the corner. You will find it across the large crate, on the right side of the stairs.
- The next room might seem not dangerous, but the room has a couple of soldiers who are awaiting your arrival, hiding behind trucks. Again approach the new area cautiously, take them out clean without making them hit you first.
- Now make your way to the kitchen, the same principle holds here, kill the soldiers and start to move. The route is linear, so you will not have to worry about any alternative routes. Once you clear the kitchen, the objective ends: Destroy the Monolith Squad.
At the end, you will come across a blast door with a red button on the side. Press to continue along the mission.
Note: Always pay attention to the objective, if the objective doesn’t have a checkmark or has disappeared then it’s still in progress. Here when the objective tells you to destroy the Monolith squad, it will only disappear from your HUD, once you have killed every one of the soldiers in the area. You can use the objective as a sign to check your killing progress.
Clear The Path To The Neurolab
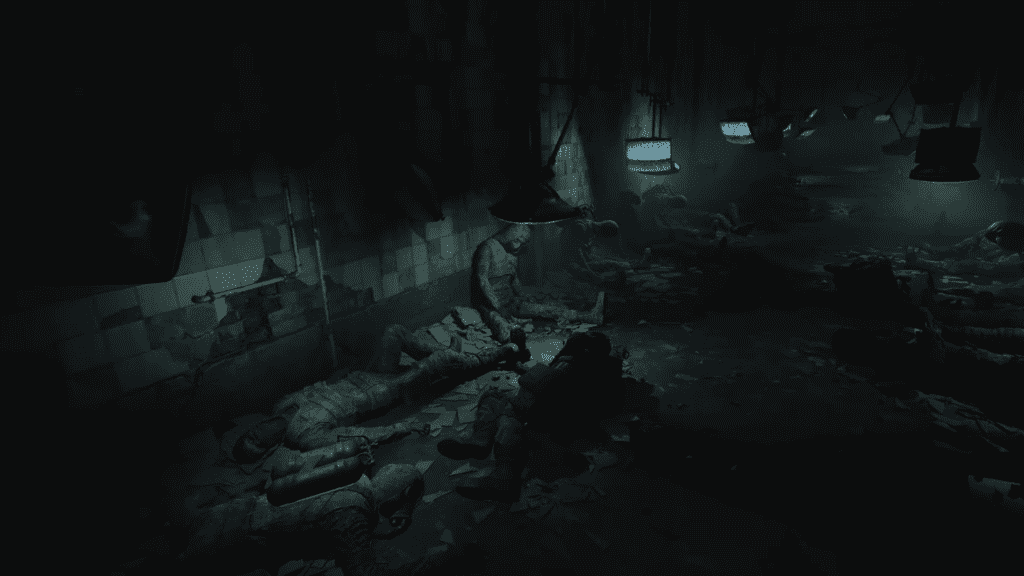
The route to the Neurolab is not as easy as you might have thought. Here we will have a lot of Monolith soldiers patrolling the area. Once you get to the room on the other side of the blast door, you will have to draw the first blood. The objective will switch to “Clear the Path to the Neurolab.“
So you know what you need to to do get it done. Take out the gun and kill the soldiers before they do that to you. Once you have killed all the soldiers, the objective will then be completed.
Here head towards the white door on the right next to the glass window, and the game will trigger a cutscene with Scar. Once you open the door, the objective Get to the Neurolaboratory will be completed.
Kill Scar
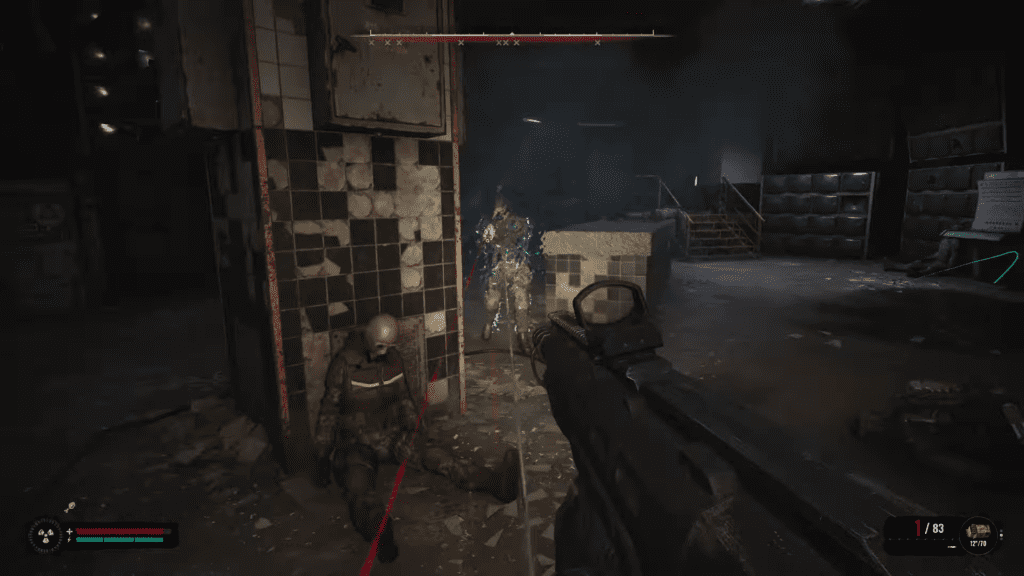
After the cutscene, the game will ask you to take out Scar. It is not going to be an easy fight. From the spot, take the way on the right, and then head towards the small room on your left. Here you will find a solid amount of ammo, shotgun ammo, a medkit, grenades, a Zubr-19 Shotgun, and a Saiga D-12 gun on the desk.
Break open the green crates to get some more ammo and prepare for the trouble that awaits you at the end of the road. Head to the lockers and open each one to get more items to help us in the battle against Scar. Once you have looted everything in the room, get out of the room, and open the metal door on the left.
Tips To Defeat Scar
- Pay Attention to Traps: The next room is a battle area, and the entire area is filled with old-school TV monitors but all of them are off. Scar has set up quite a lot of traps in the room, and you will accidentally hit most of them. Always pay attention to the ground to spot any tripwires before running to them.
- Don’t Waste Ammo: When you try to shoot Scar, his shield will block off all the bullets. So don’t try to shoot him outright, we must disable the shield before we start spraying bullets. If you shoot him and a spark of light comes off his body, then your bullets don’t do any damage. But if you see blood coming out of his body after every shot, this is an indicator his shield is down and you are dealing real damage to Scar.
- The trick to Lower Scar’s Armor: Here in the room, you will spot a couple of monitors with blue screens next to the wall. Walk up to any one of the monitors and press the red button in the front.
- The entire area will soon light up and all the monitors attached to the walls will be activated. This will stun Scar and lower his defense for us to deal damage.
- You need to lure Scar into any of the monitors in the room to lower the defense and attack outright.
Repeat the steps mentioned above to kill Scar. Once he is dead on the ground, loot his corpse to recover the Altered Toast and EM-1 Gauss Gun. This gun does look like a normal Gauss gun in the game, but it is a special gun. We have a separate guide that informs you everything you need to know about these unique guns in Stalker 2.
Get To The Freight Elevator
Skiff will soon radio contact you once you have killed Scar. He will ask you to get down to the Workshop to continue the quest. Here, head towards the blast door with a red light above it. Press the red button on the wall to open the door to get inside.
- Unlike the previous rooms, where we dealt with Monolith soldiers, here we are going to face Anomalies. Put down the weapon in your backpack, time to toss the bolts.
- Head towards the white door on your left, and then go through the broken glass window on your right. The room here is filled with Anomalies, toss the bolts and then make your way to the corner to your right. Since you will not face any bullets here, just make your way to the corner and open the door.
- Take the stairs to get to the upper floor. Here we reach another point where we can go either with Strelok or Kaymanov route. This section marks the second split in the mission.
Strelok and Kaymanov Path Split #2
On your left, you will find a blast door, and on your right you will spot a broken railing. Dropping down this broken railing to reach the next area is preferable if you are on the Strelok path. But if you are doing Kaymanov, you need to open the blast door on the left and retrieve a cartridge.
Here we are faced with two options.
1. Kaymanov Route: Retrieve a cartridge then exit the building to follow the next objective on the line.
2. Strelok Route: Here we skip the cartridge and just get to the next section. Which is Get to the Freight Elevator.
Once you complete the routes on any side, the next objective is to restart the power for the Freight Elevator.
Take Your Signature For The O-CTA Pod (Kaymanov Route)
On the upper floor instead of the right, press the red button on the wall on the left to open the blast door. Go through the doors and you will reach a room with a strange chair in the middle. Sit on the chair and then go to the room behind the chair.
Here interact with the giant machine in the middle to retrieve a cartridge. Turn around and head straight, pass the red button on our left and eventually, you will reach a hole in the broken railing. Drop off and then open the blast doors to reach the next area.
Now the next quest has to be to get to the Freight Elevator.
- Follow the linear route and turn right you will encounter plenty of monolith soldiers. Just a bit ahead, you will be in a small room with plenty of lockers, guns, and an X7 suit on the table.
Loot all of them before we continue with the quest. After you loot the lockers, and the dead bodies then head to the large elevator in the room.
Strelok and Kaymanov Path Split #3
While not something major, it is noticeable. If you are on the Kaymanov path, then you will not meet Strelok because we put a bullet in his head at the start of the mission.
On the Kaymanov Path, you will encounter some Monolith soldiers in the workshop instead of Strelok sitting next to the crate. If you are following a Strelok side, you will see him lying next to the crate.
Talk To Strelok (Strelok Side)
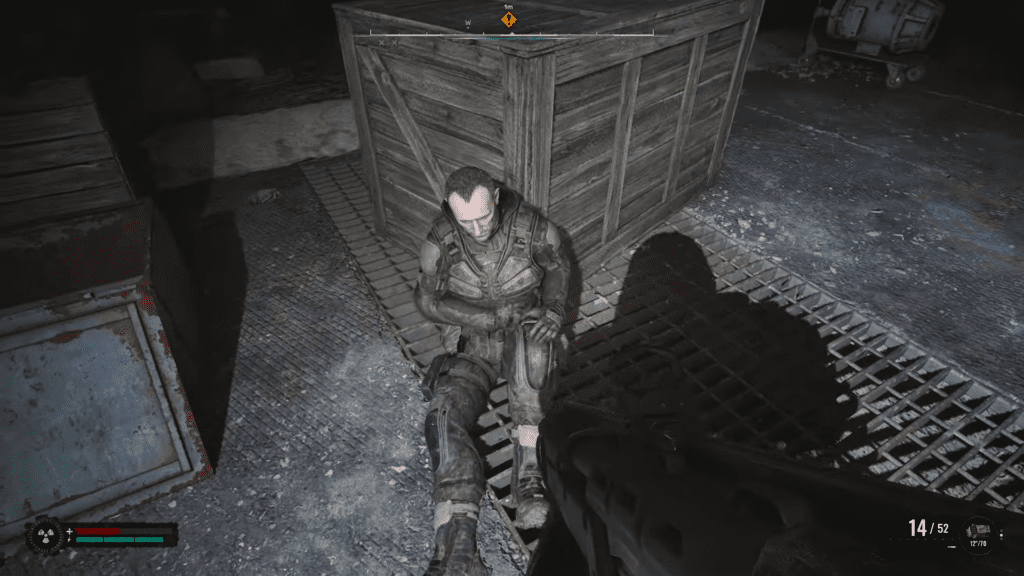
Once the elevator reaches the ground floor, you will find Strelok lying next to the crate. After a brief conversation, a new objective will pop up: Restart the elevator control system.
Find the Entrance to Kaymanov’s Laboratory (Kaymanov Side)
When the elevator reaches the ground floor, instead of finding Strelok, you will come across some Monolith soldiers. While the objective names will be different the goal will stay the same which is to restore power to the elevator.
Restart The Elevator Control System (Primary)
Note: For the Kaymanov path, you will be following the exact same route.
Follow the waypoint marker to get to the room with a locked door in the front. You will find the door next to the broken elevator in the room. Use the keypad on the terminal next to the door to unlock it.
- Next to the second exit, you will find an abundance of medicinal goods, take them all before leaving the room. As you can guess, soldiers will be waiting for us in the next room.
- Kill all the Monolith soldiers in the hallway, and take the stairs at the end of the large hallway. You will encounter another set of Monolith soldiers, kill them, and then head towards the white door at the end.
- Here proceed to kill any soldiers who get in your way, and you will eventually reach an area filled with anomalies.
Pass the anomalies and you will reach an area with plenty of stairs leading to the top. But the stairs will be filled with soldiers, kill them first before making your way to the top. In the end, at the top of the stairs, you will come across an airlock door with a red button on its left.
Destroy The Granite Squad
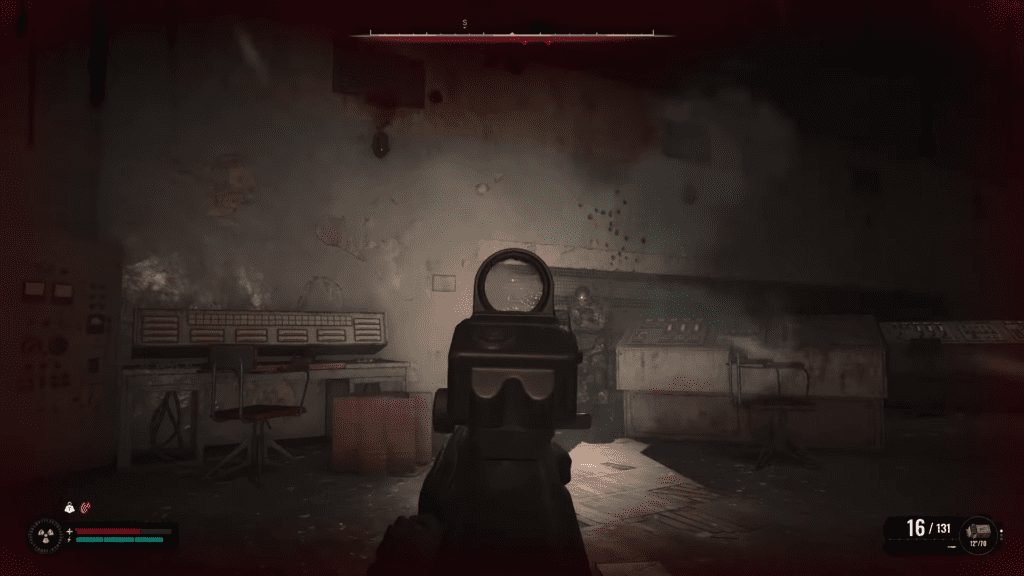
Here you will see plenty of ammo and medical supplies on the shelf. Loot all of them, take your time before leaving. Then drop down on the floor through the hole in the broken railing to face the Granite Squad.
- Take your cover and shoot, don’t go out in the front or they will easily suck up most of your health. Once you have taken all of them out of the picture, take the stairs that lead to the upper floor.
- Here you will find a giant terminal next to the glass window, and a skeleton to the side. This is the last section.
Strelok and Kaymanov Path Split #4
Here are the last changes to the mission.If you are following the Strelok side, then it will be over soon but for the people who are running on the Kaymanov side, there are still a few things we have to do in the area.
Strelok Side: Interact with the terminal to get to the ending.
Kaymanov Side: Skip the Terminal and continue with the next objective.
Strelok Side
Go Back to the Freight Elevator
In the terminal, you will find a red button press it to put the power back in the elevator. Now take the white door across the terminal to head out. The objective will change to Go Back to the Freight Elevator. Follow the route on your right to reach the ground floor. Now on your left, next to the truck, you will see the X7 elevator with a green light on the top.
Go Down to Lab X7
Follow the linear route to reach the game’s ending. Here the game will trigger Strelok’s Ending. This ends the Strelok side of business, now we focus on the next step for the Kaymanov’s Side.
Kaymanov’s Side
Here in the room, skip the terminal, don’t press anything. Just go through the metal door on the right of the terminal. Open the white door, keep walking straight, and eventually reach an elevator. Use the elevator to get to the ground floor. The objective will then be changed to find a way to activate O-CTA.
Find a way to activate O-CTA.
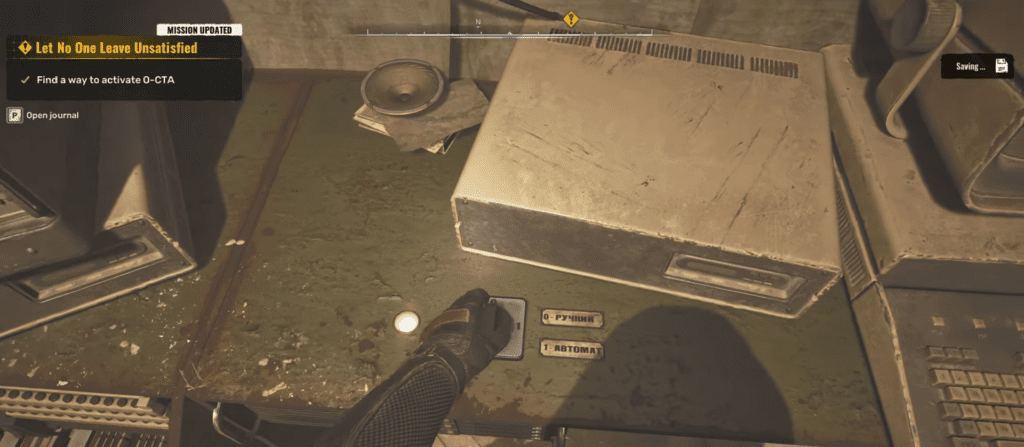
From the elevator, follow the linear path and eventually, you will end up in a room with plenty of stuff lying around it. Head to the open lock box to pick up the O-KTA Launch Instruction.
Now, turn around and find a button next to the computer on a desk. The game will ask you to Toggle Operating Mode. Once you rotate the switch, the next objective is to get to the Lab X7.
Go Down to Lab X7
Just open the door next to the computer where we toggled the operating mode. And the route will take you to the Lab X7.
Put the Amplifier into the Container
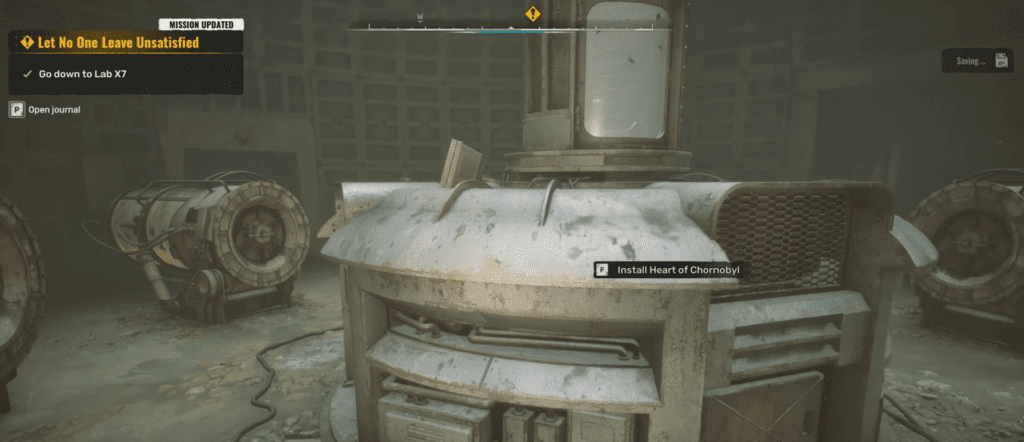
Now when you are near the machine, the game will ask you to install the Heart of Chornobyl which we picked up from Strelok. Interact with the large device in the middle to do that.
Turn on the Power Switch
After installing Heart of Chornobyl, interact with the power switch on the left. It’s out in the open, just pull down the lever on it and a cutscene will trigger, finishing the mission.


