


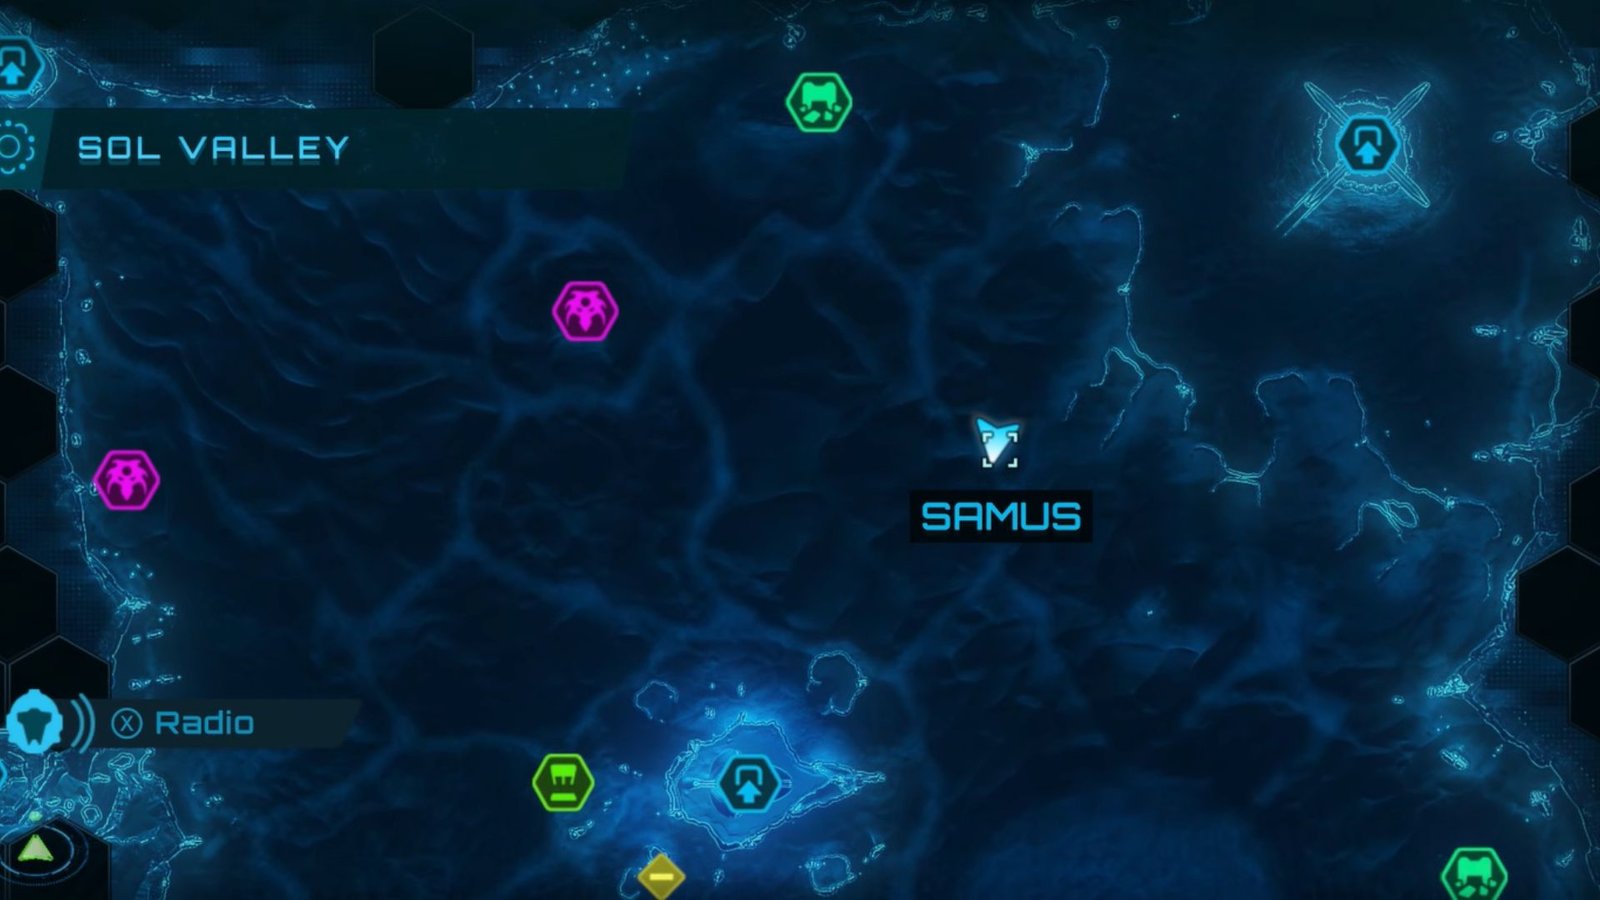
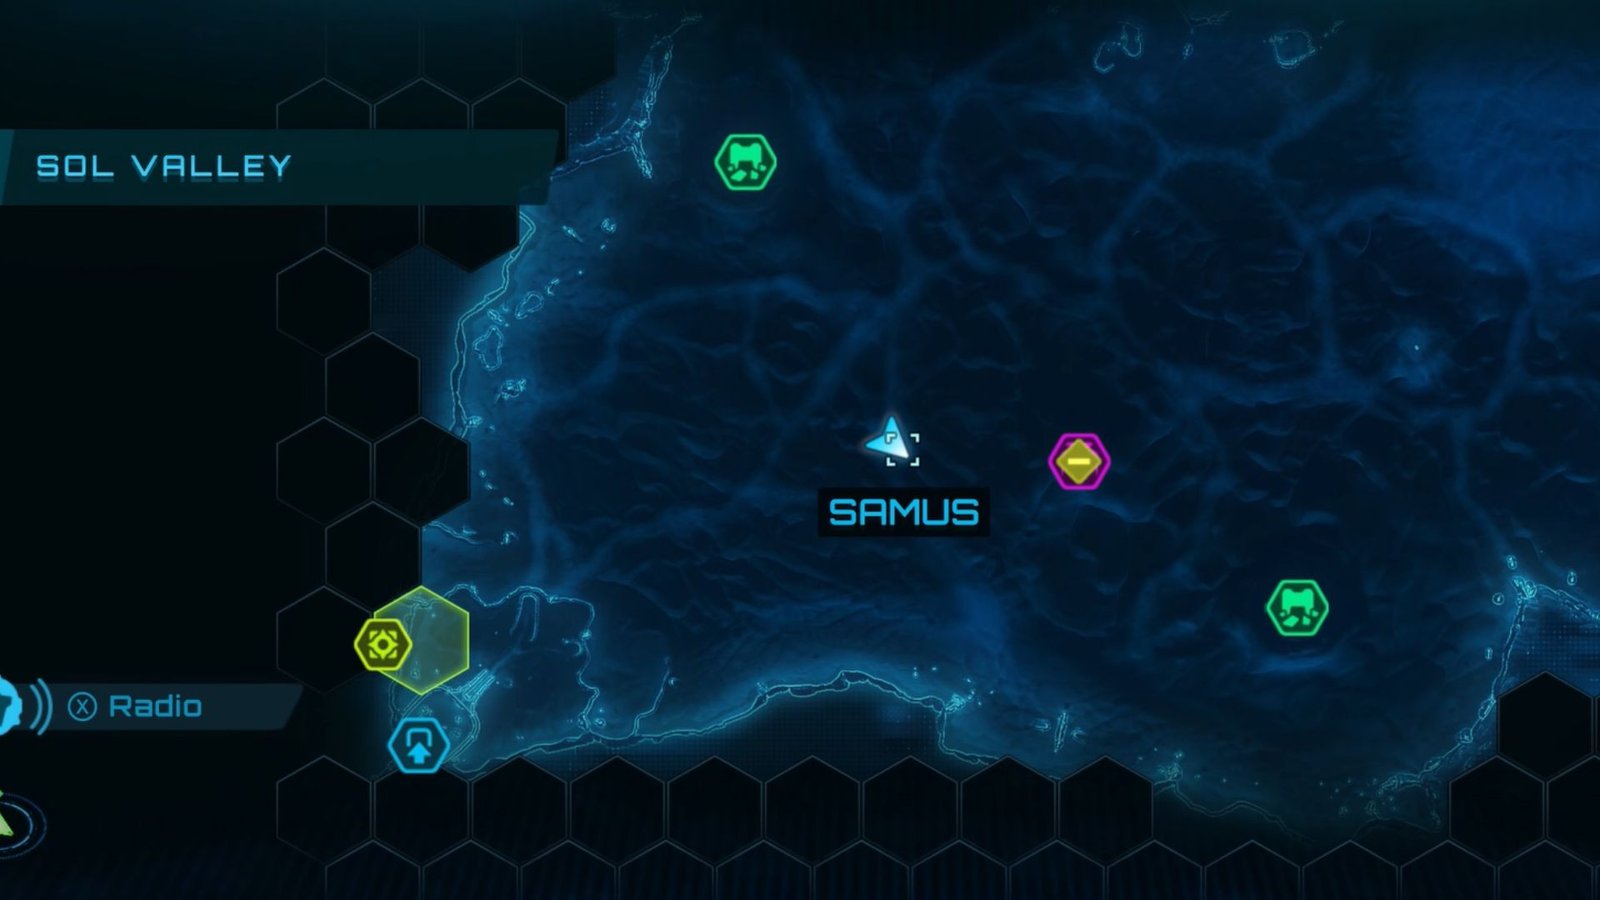
Sol Valley is one of those regions in Metroid Prime 4: Beyond that you would revisit frequently as part of the main story. The deep desert biome hides several valuable collectibles that will improve your ammo reserves and power-up capacity. But the sheer size of the map can wear down even the most seasoned player, turning the hunt into a test of endurance.
On my first run, I struggled to locate each shrine entrance, open-world debris, and hidden crates in my quest to uncover every Energy Tank, Shot, and Missile Expansion. I had to constantly loop back to areas that I thought I had cleared earlier, only to find new exploration points. After several trips back and forth, I have tracked down all 26 collectibles within Sol Valley to help write down the following Metroid Prime 4 guide.
Sol Valley – All Shot Expansions, Missile Expansions, & Energy Tank Locations In Metroid Prime 4
It is recommended to play the main missions until you have all suit upgrades, as these will help reach tougher areas. Once you have that down, let’s explore Sol Valley to pick up all 26 collectibles here.
Shot Expansion #1 Location
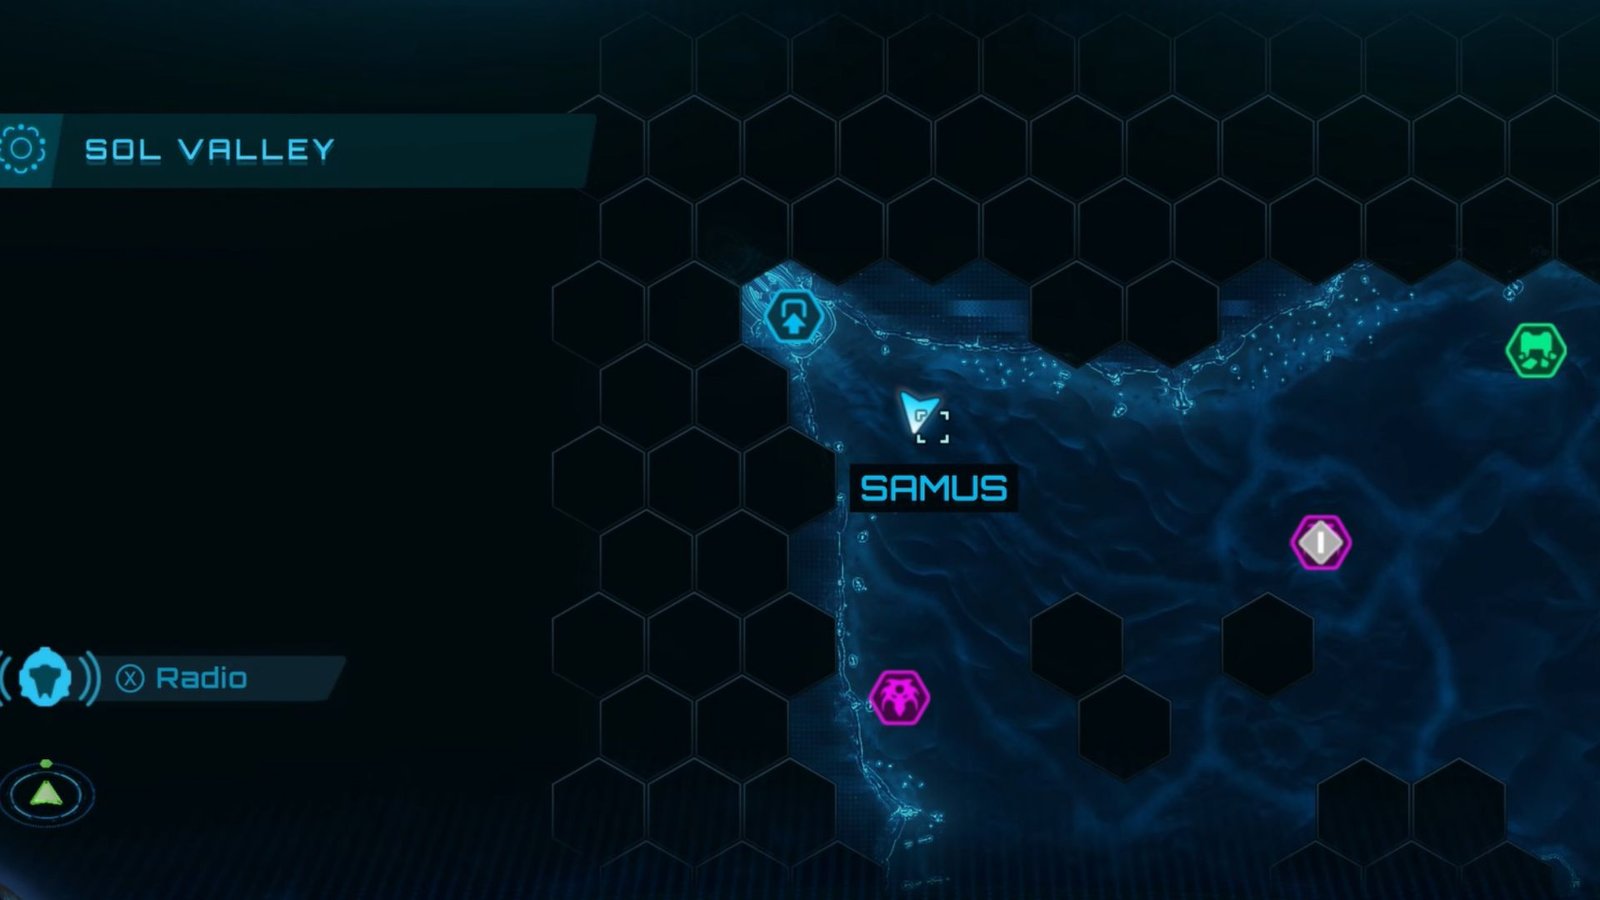
Just as you reach the entrance to Fury Green, at the Cargo Launcher to Temple of Memory, go through the area and burn down the branches along the way using Fire Shot. At the end of the passage, pick up the first Shot Expansion of the region.
Energy Tank #1 Location
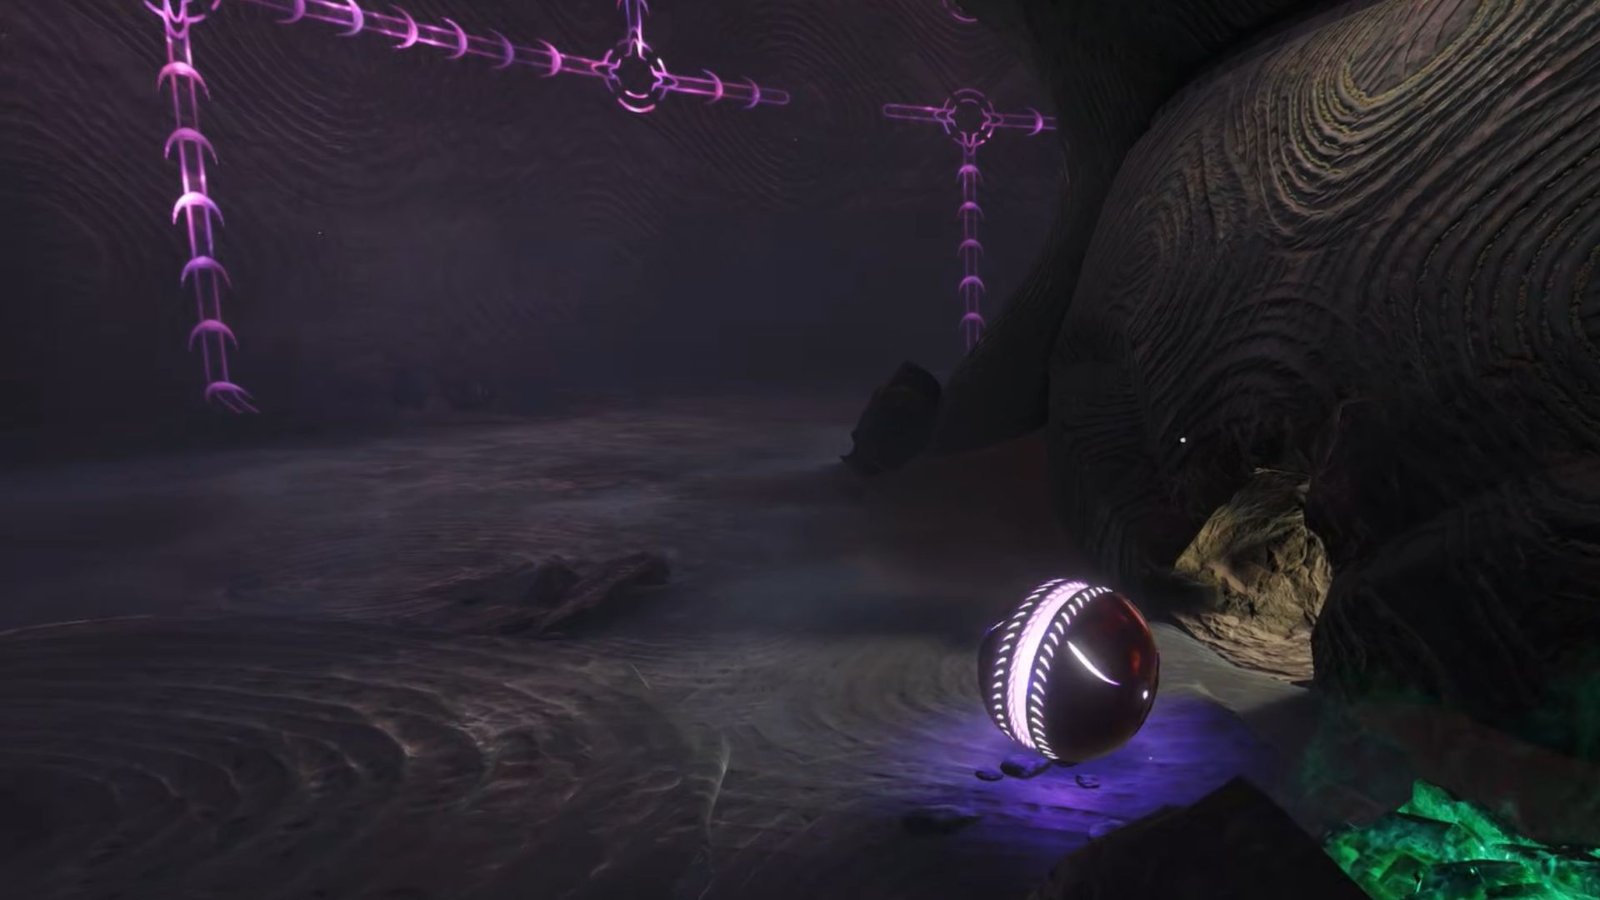
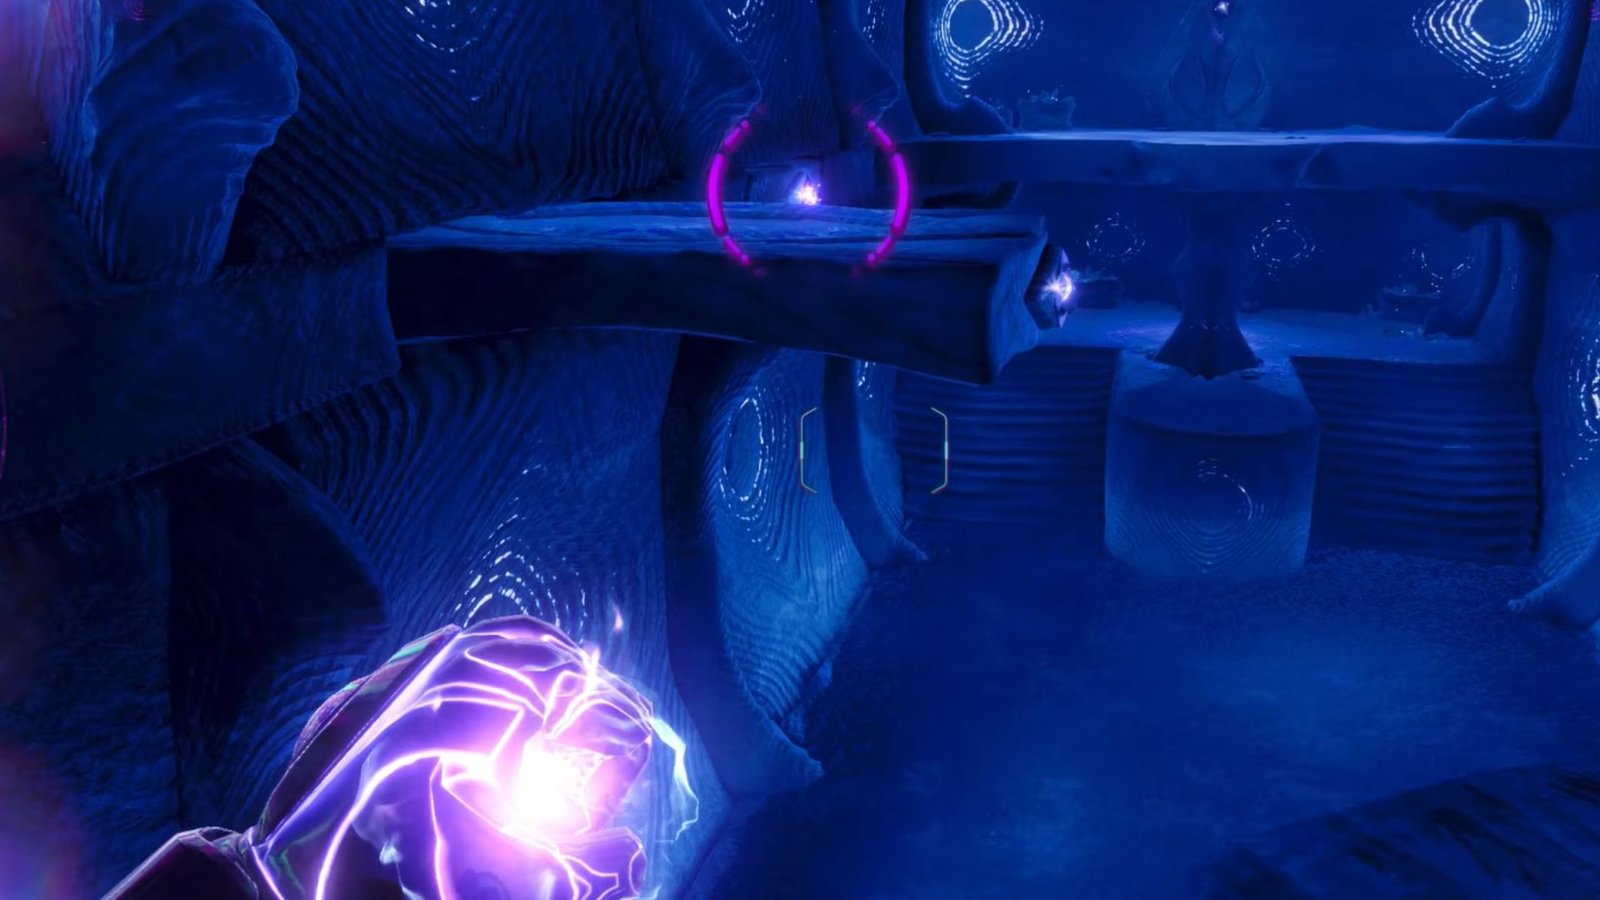
A bit north of the entrance to Fury Green, you will find the entrance to the Ladder of Thought Shrine. To enter the shrine, use your psychic glove ability to push down the crystal stuck to the entrance. Go through the shrine until you come across a psychic boulder.
One of them will be covered in flammable material, so use Fire Shot to burn through them. Use the psychic glove again to pull the boulder upwards. You should pull them to a height that lets you jump onto them to reach the platform above.
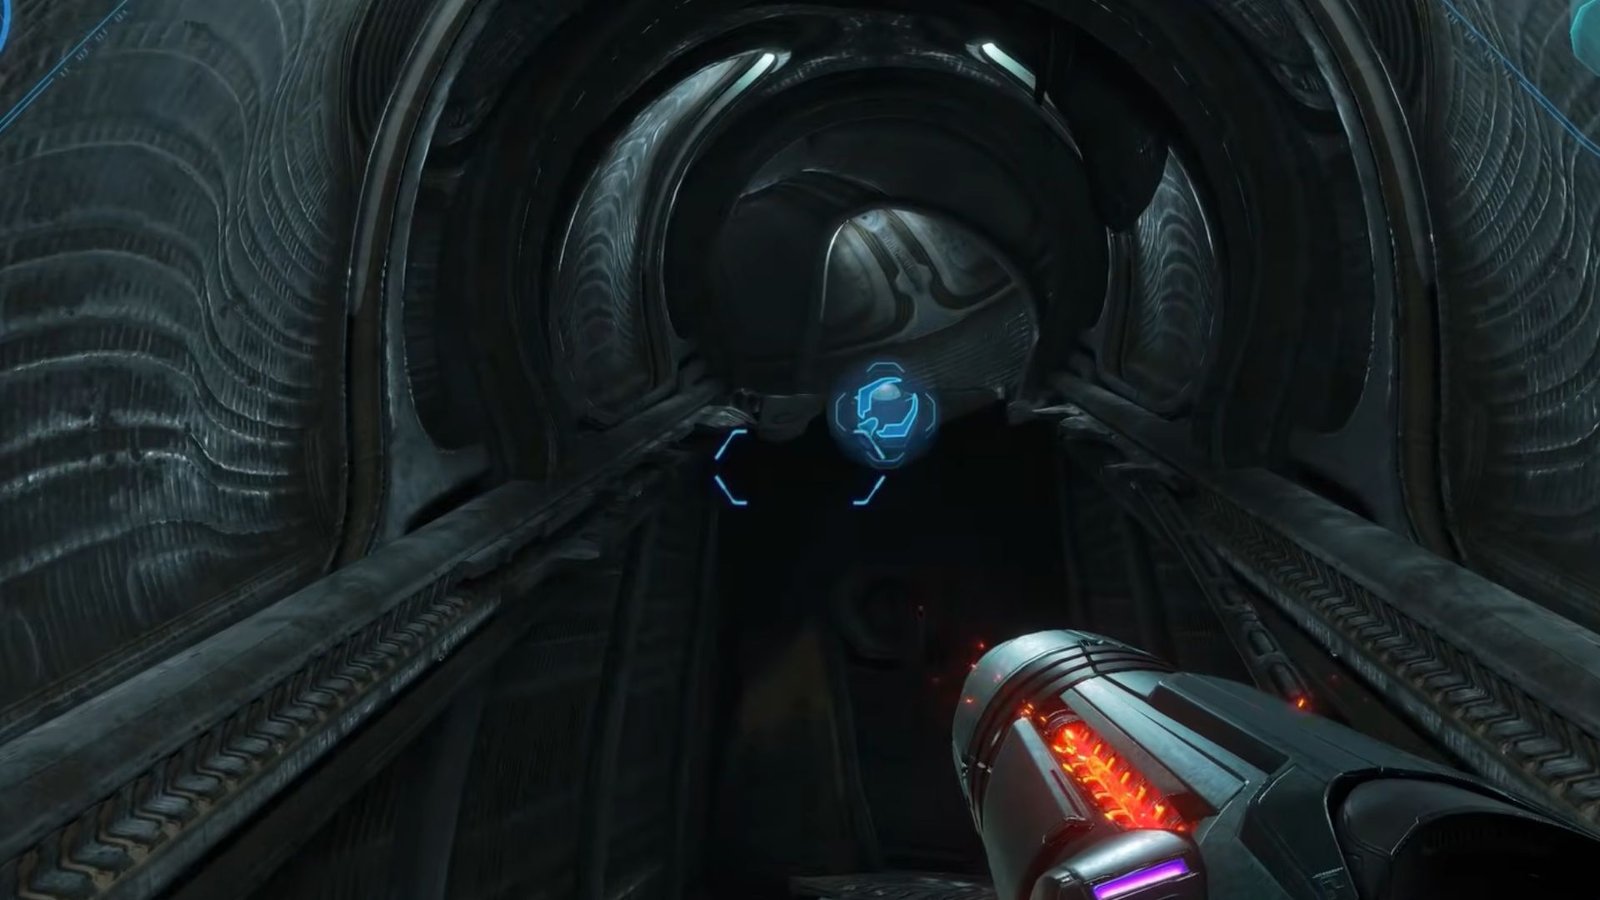
After reaching the top, burn down the branches to your right and use the combination of bomb and morph ball to get up to the tunnel entrance. At the end of the tunnel, collect the first Energy Tank.
Missile Expansion #1 Location
For this one, you need to travel northwest of the Entrance to Chrono Tower or southeast of the Entrance to Ice Belt. Get to the corner of the map, then use your lasso tool to pull out a crate from the sand. Break the crate to get your first Missile Expansion.
Missile Expansion #2 Location
Go through the Entrance to Ice Belt and continue to the Vehicle Entrance area. Don’t take the elevator up and continue straight ahead. Use the grapple point to hoist yourself up and keep going. Once you exit the corridor and head into the open area, go right to find a psychic rail boost.

Use the morph ball to activate the rail, then use ball boost to make your way through the tracks. Collect the second missile expansion after reaching your destination.
Shot Expansion #2 Location
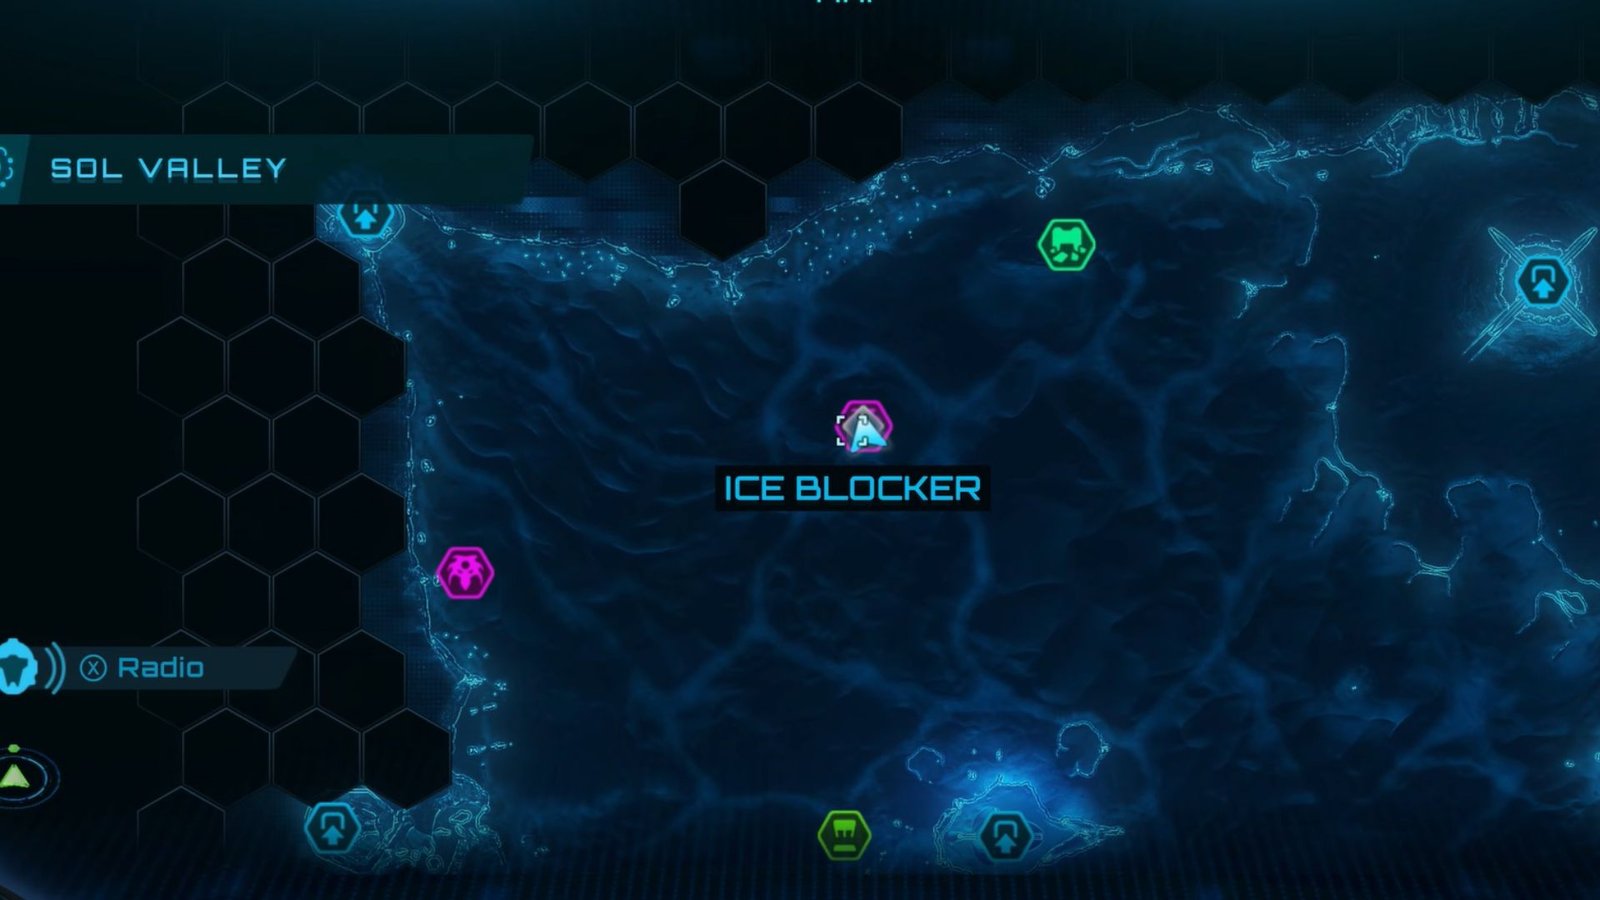
For this one, head over to the Ice Blocker POI on the northern section of the map and use Ice Shot to break the encasing over the crystal stuck to the entrance. Use a psychic glove to push the crystal down, which will take you down to the underground area. Continue forward and pull down the crystal at the door ahead.
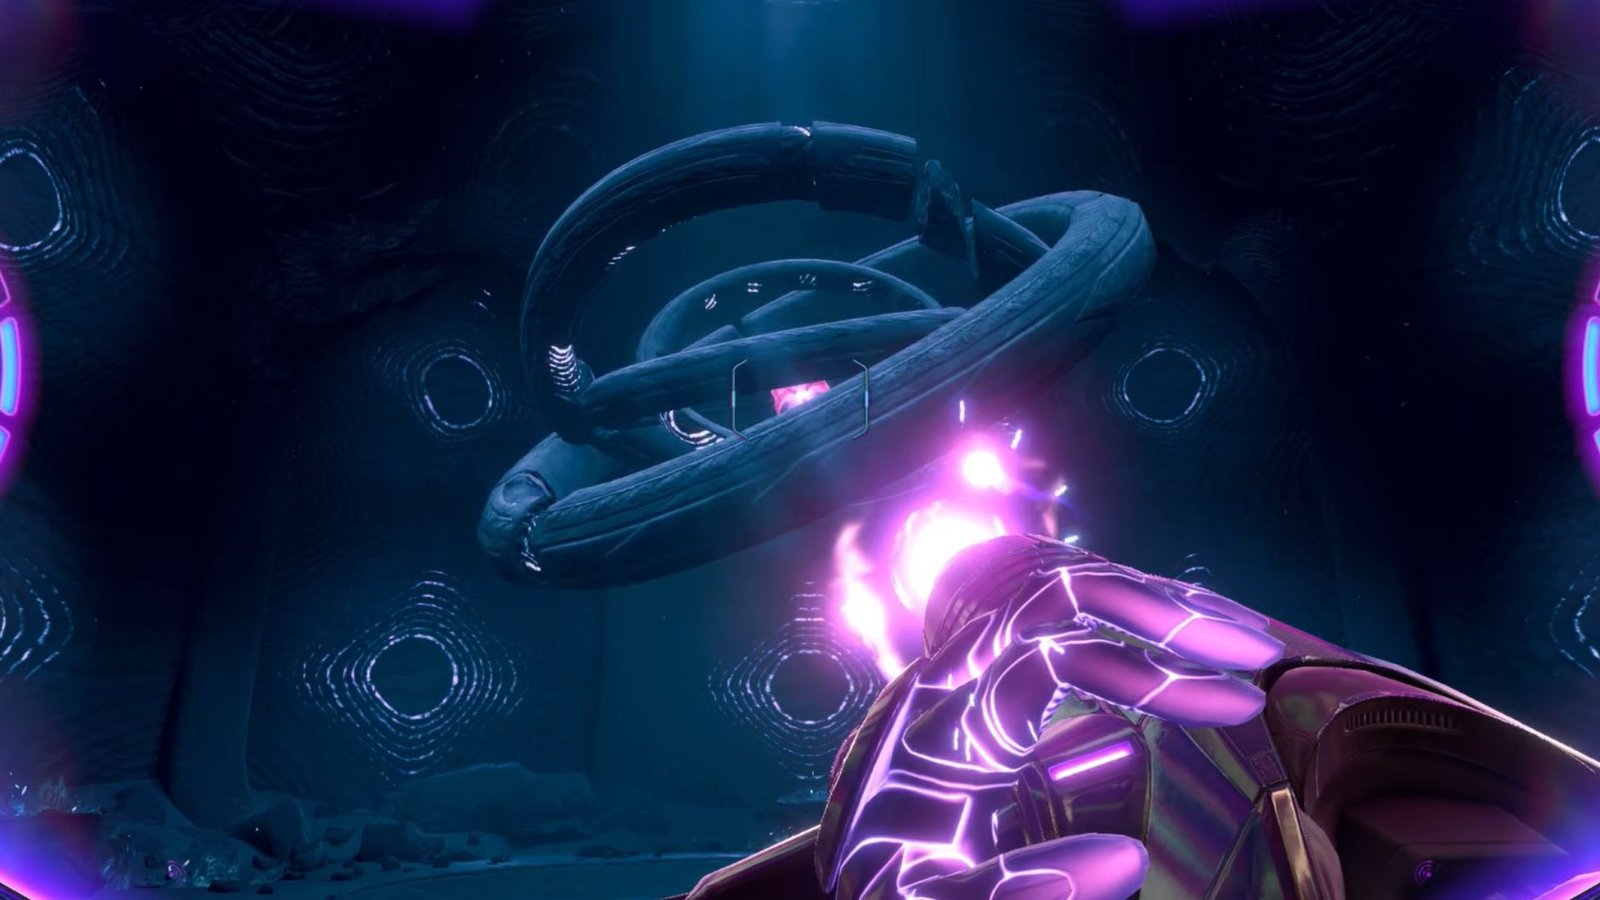
You will soon reach the gyroscope mechanism puzzle area. After activating the puzzle, use your Control Beam ability to shoot a psychic missile. Navigate the beam to make it hit the central object between the rings. Step on the elevator to be taken down, then go through the door ahead.
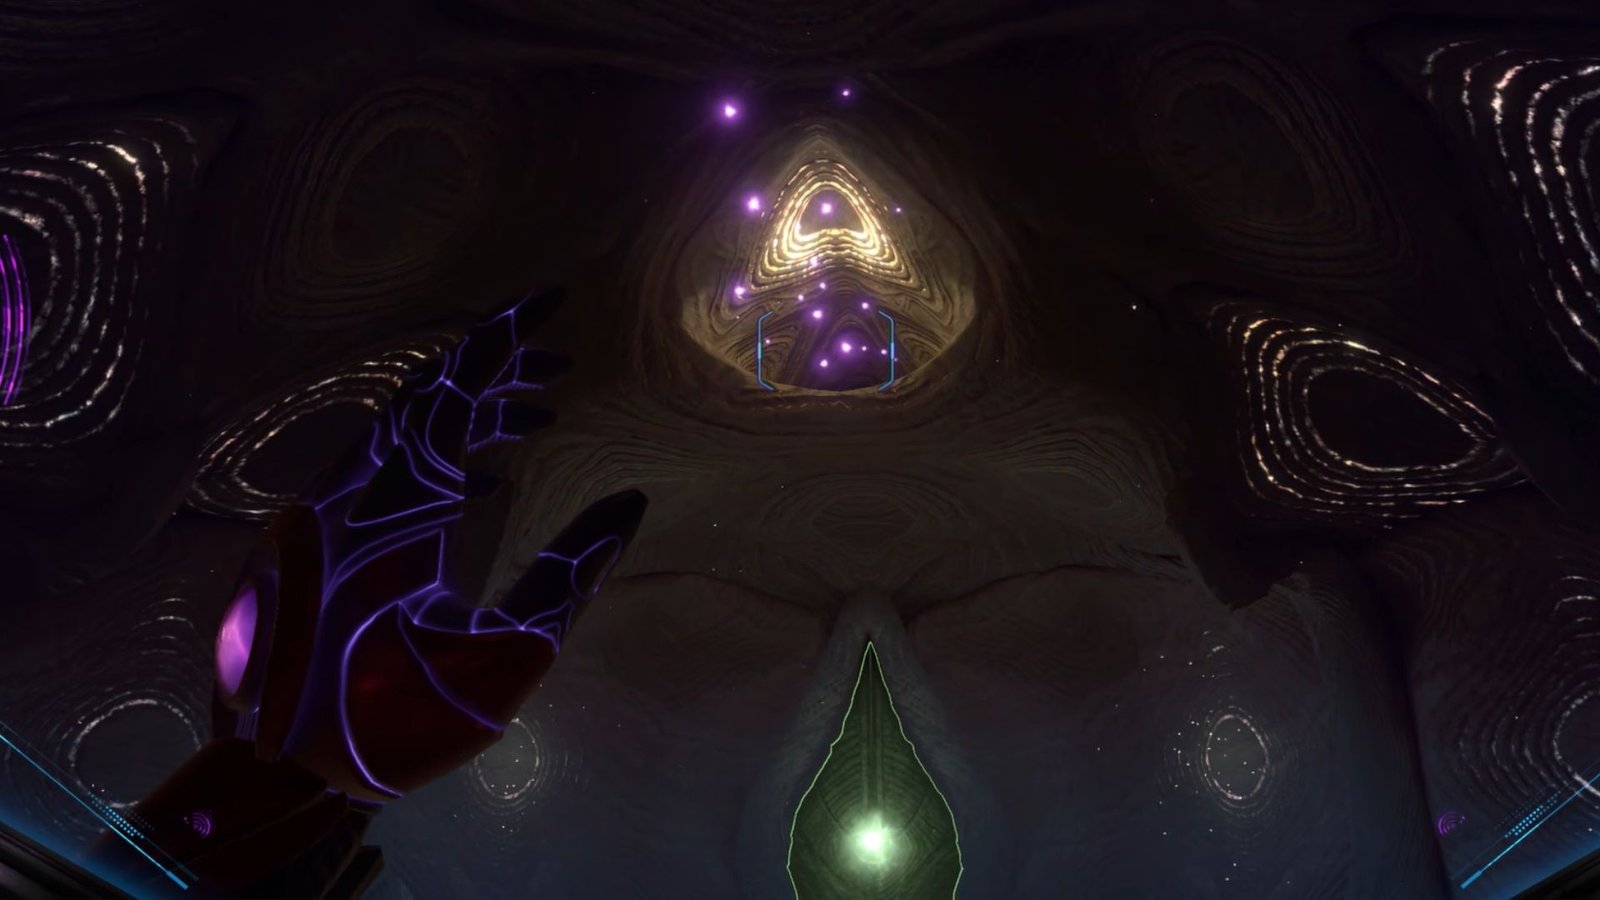
Once inside the new room, turn around to find an opening right above the entrance. Use the control beam again to hit the objective inside the opening. Use ball morph to go through the newly opened tunnel and get the Shot Expansion.
Missile Expansion #3 Location
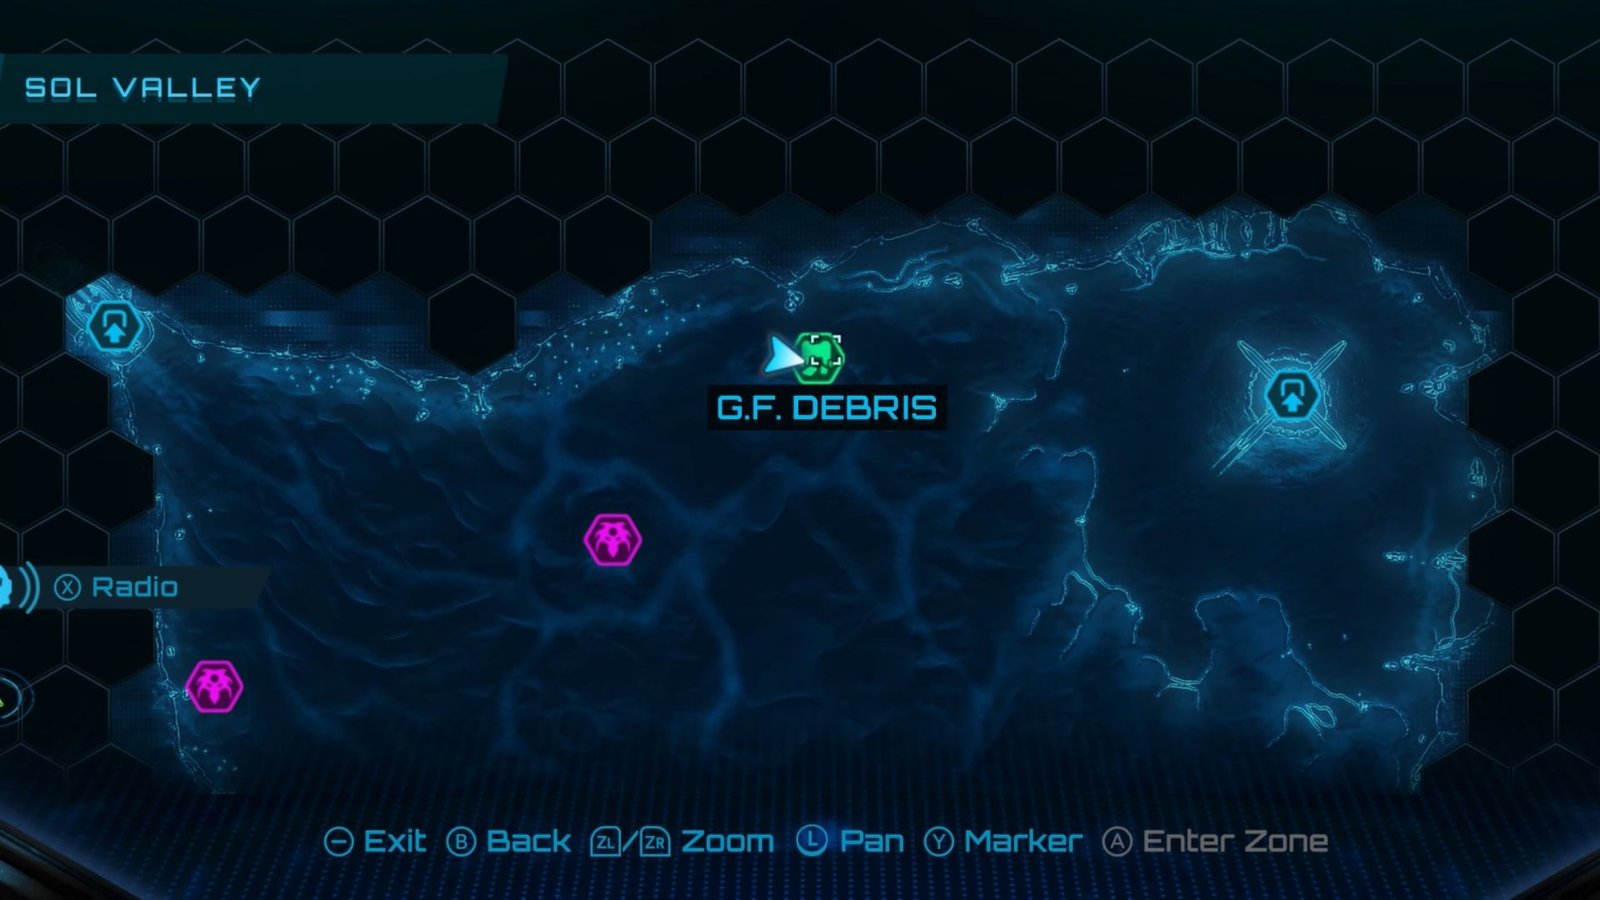
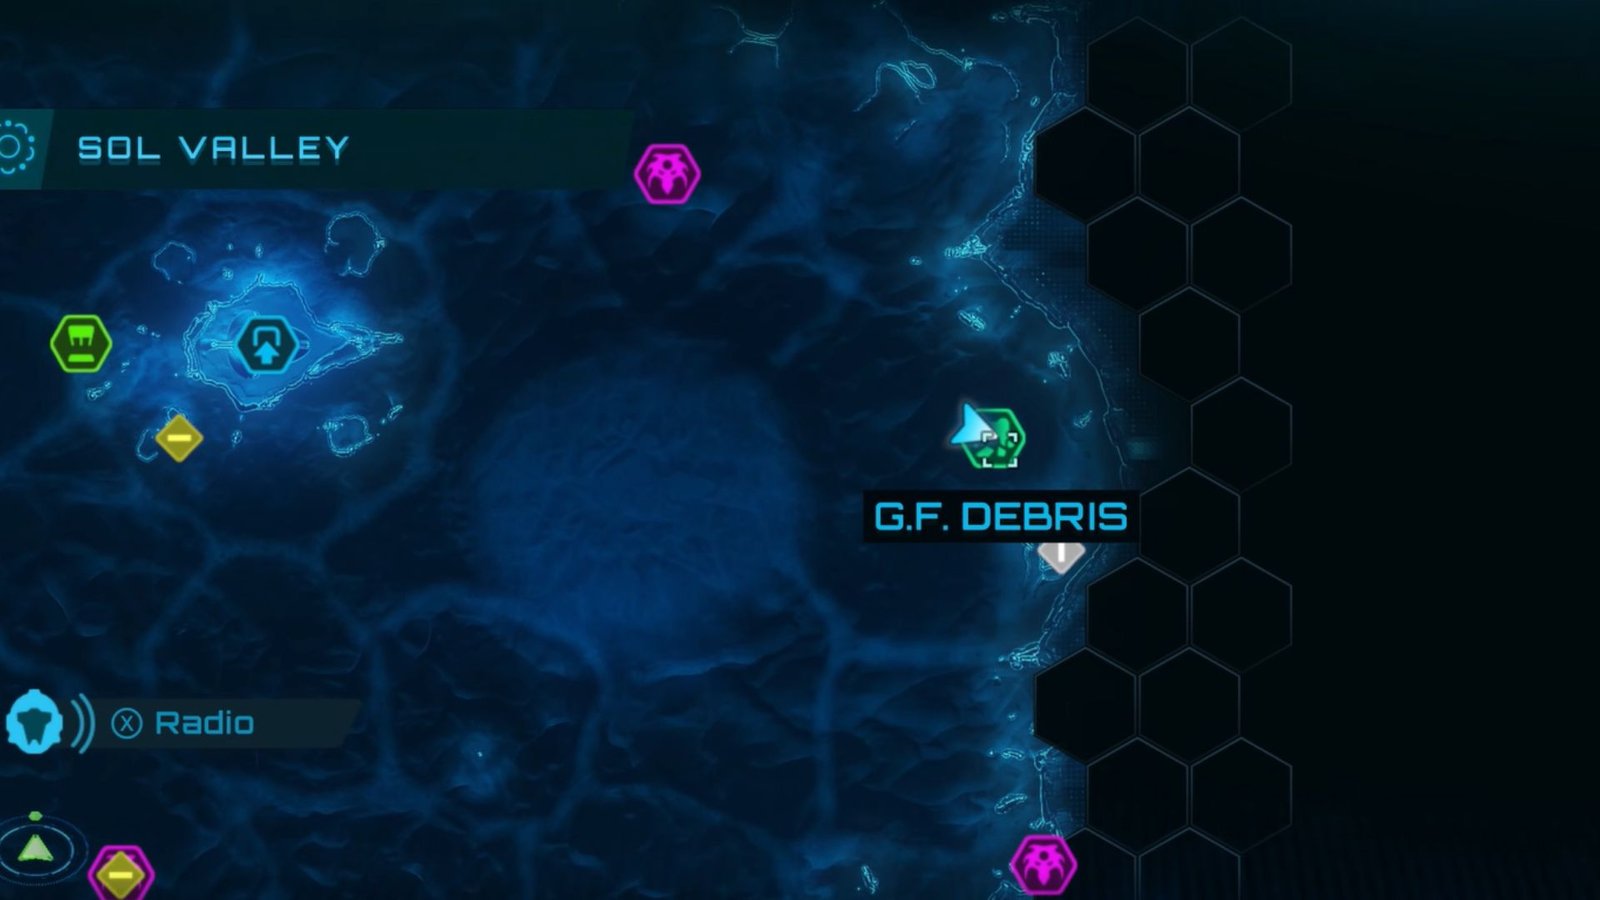
On the northern section of the map, explore the G.F. Debris area where you would have collected a mech part. Inside the debris, shoot the crates on top to get the third Missile Expansion.
Shot Expansion #3 Location
Head over to the Entrance to the Great Mines and use your grapple ability to get up on the arch. Use a Super Missile to break the door open, then use the morph ball to enter the tunnel and pick up the third Shot Expansion.
Large Shot Expansion #1 Location
Exit the tunnel where you picked up the third Shot Expansion and go under the bridge leading to the Great Mines. You will spot several grapple points; use them to propel yourself towards the Large Shot Expansion.
Missile Expansion #4 Location
Travel southwest of the Great Mines while keeping an eye out for any debris sticking out of the desert floor. Use your lasso ability to pull out the crate under the sand and collect your fourth Missile Expansion.
Shot Expansion #4 Location
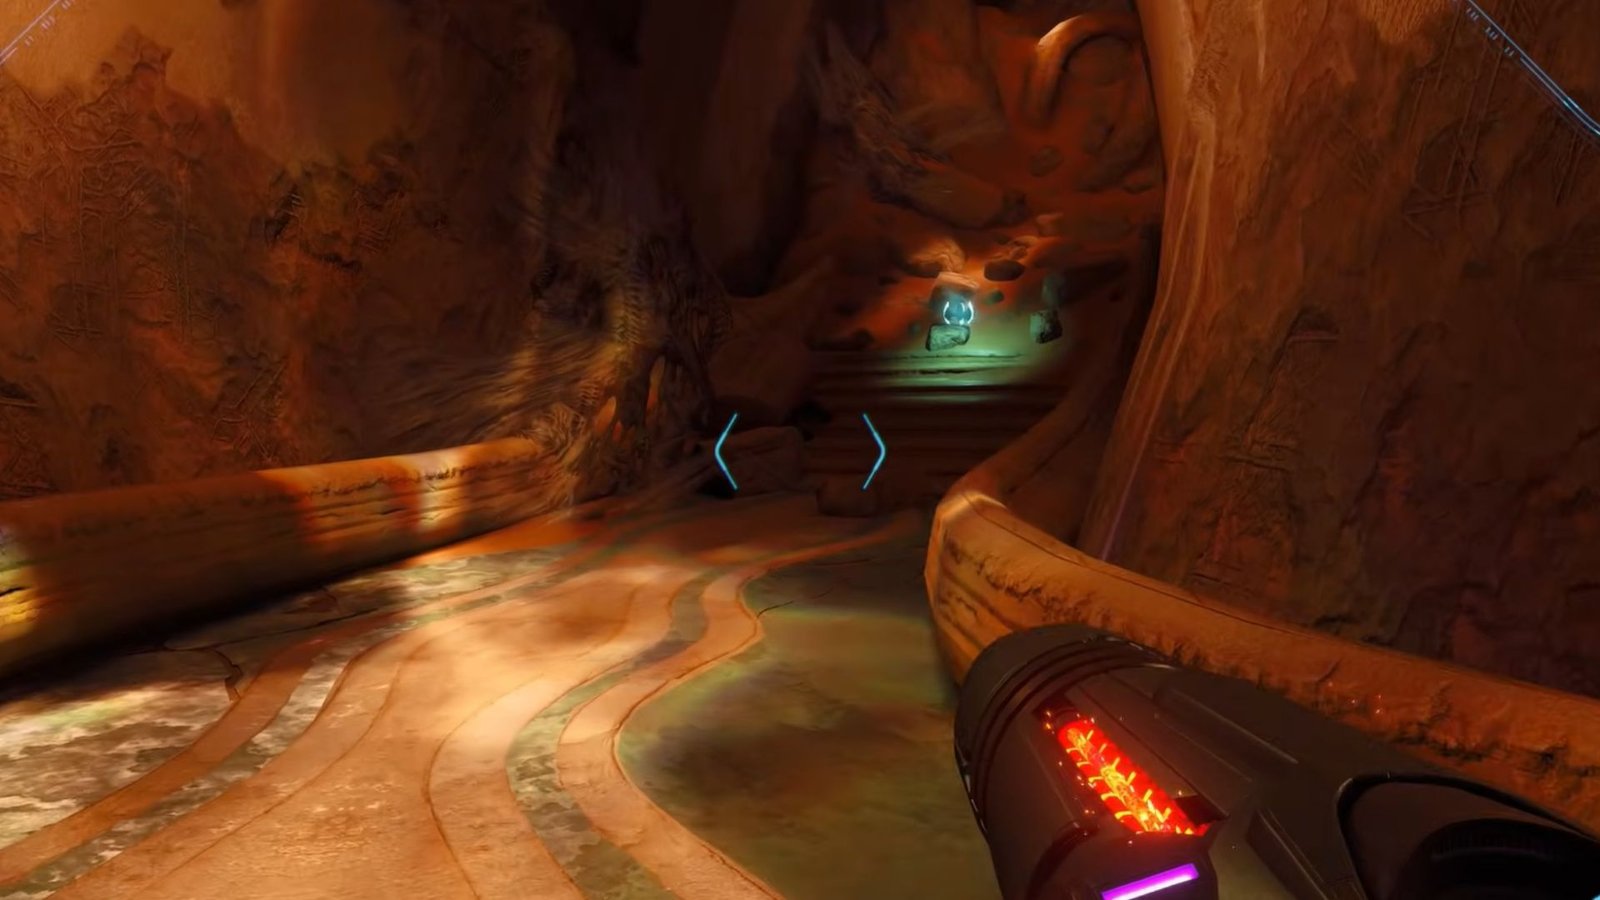
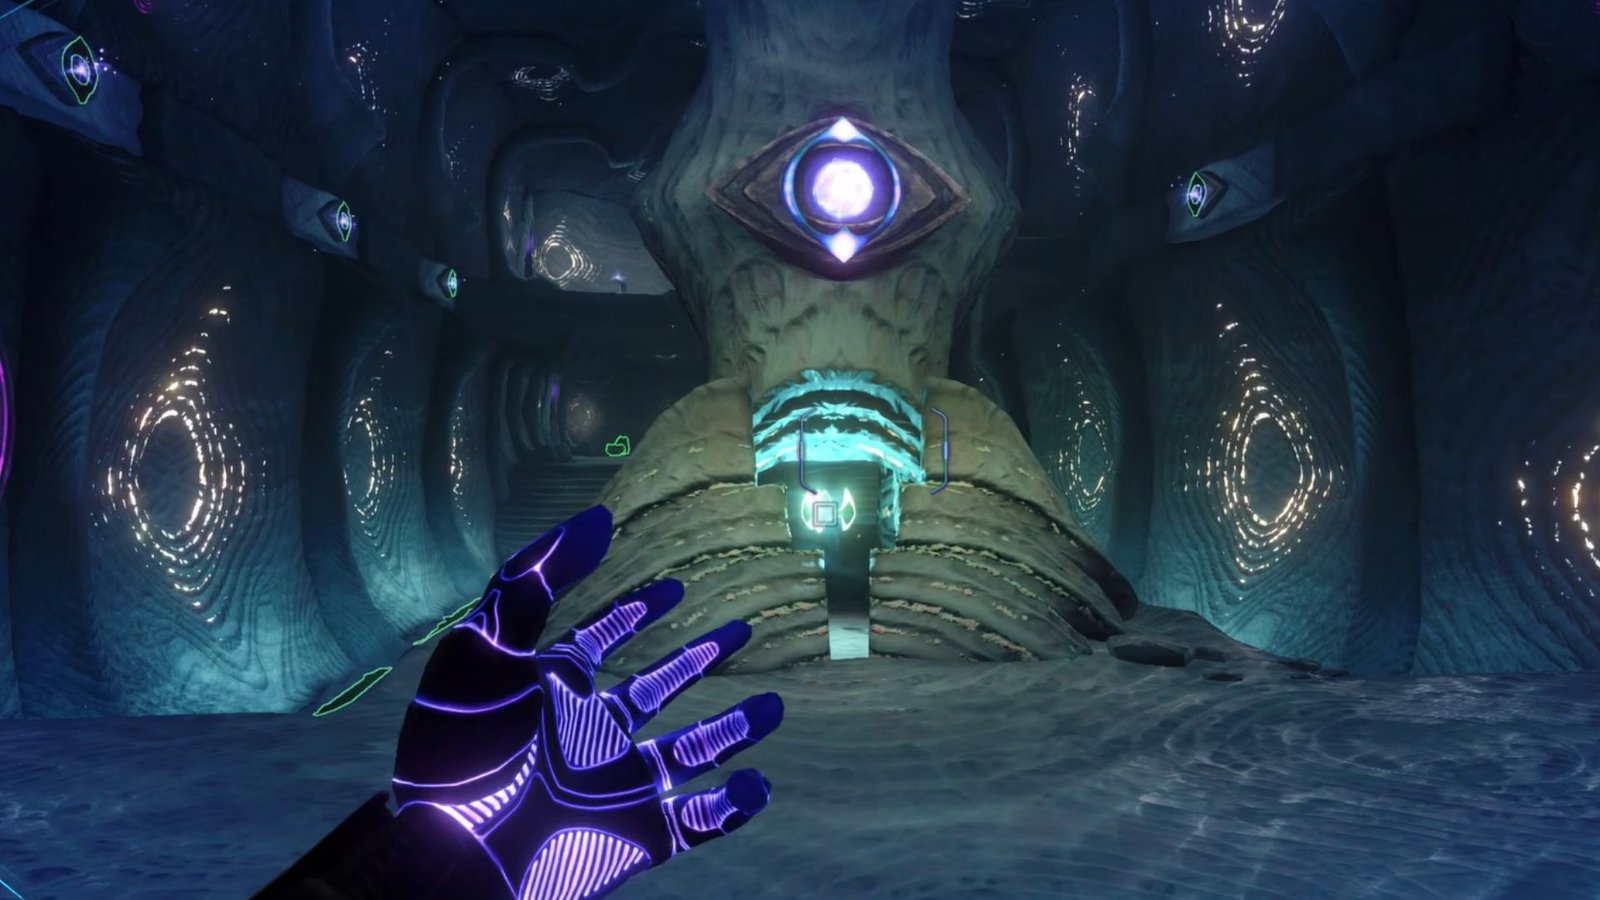
Head over to the Entrance to the Falling Labyrinth Shrine and enter it. After making your way down, go through the doorway ahead and jump over the ledge. Break open the tunnel entrance at the base of the central column and use ball morph to head inside. Collect the Shot Expansion here.
Psychic Power Bomb Expansion #1 Location
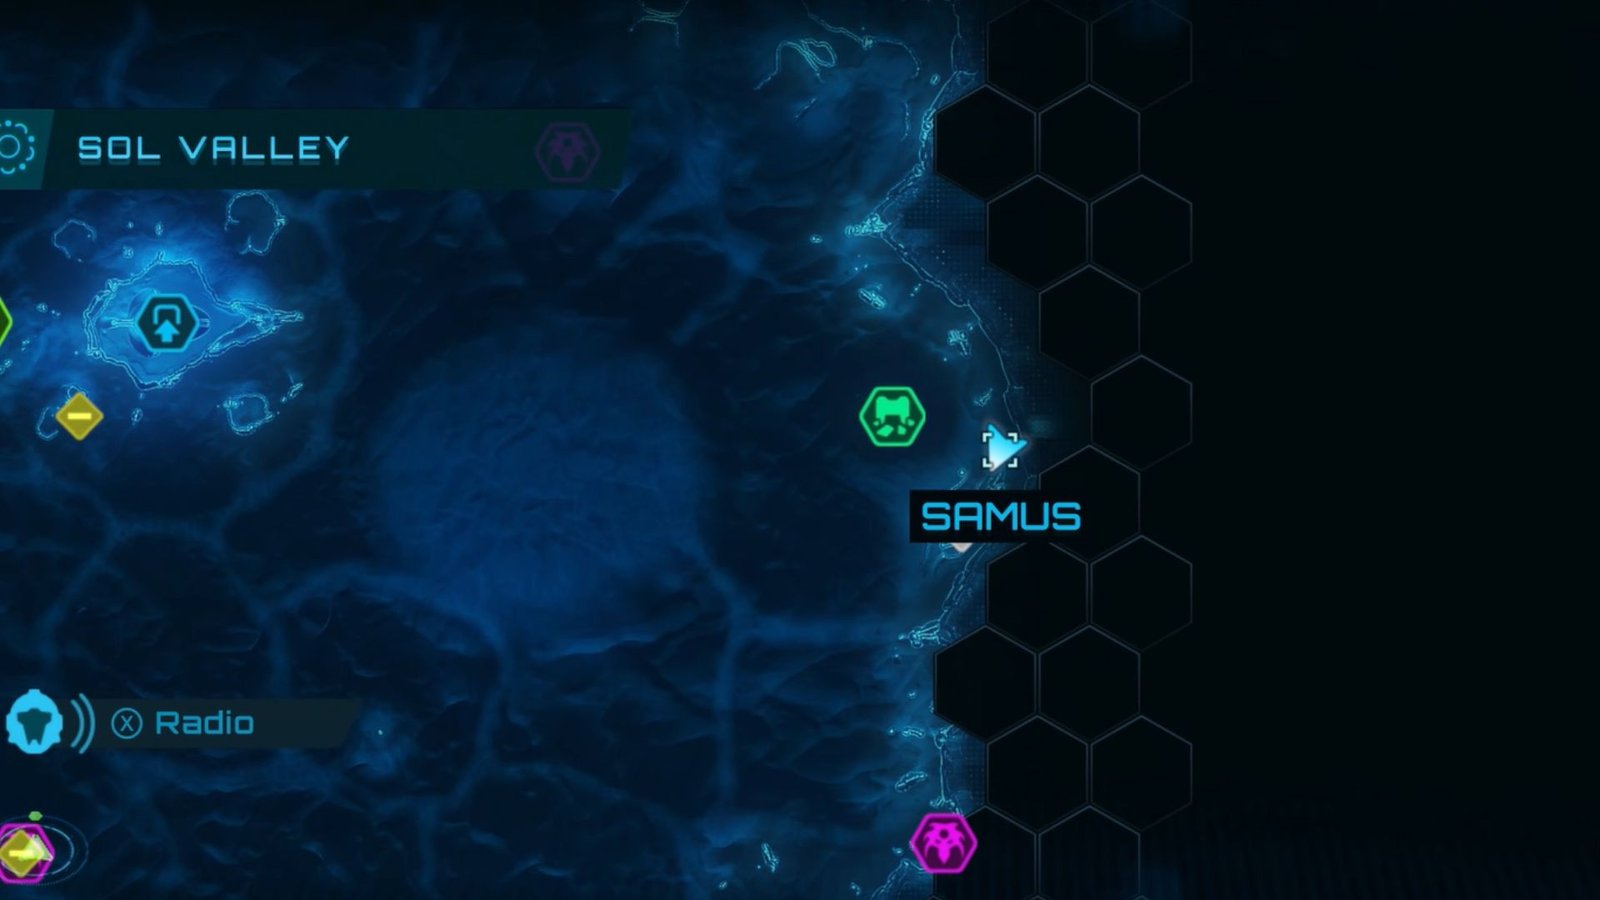
Visit the G.F. Debris on the eastern section of the map this time. Use your grapple ability to scale the structure, then go around to find ways to get up to the top of the building. You will spot a box containing the power bomb expansion. Use the psychic power bomb ability to break the crate and collect it.
Vi-O-La Boost Tank #1 Location
Before leaving the eastern G.F. Debris, head southeast towards the Ice Blocker POI. Use the dunes as ramps to get up to the plateau, then use Ice Shot at the encasing on the floor. This will reveal the Vi-O-La boost tank upgrade.
Vi-O-La Boost Tank #2 Location
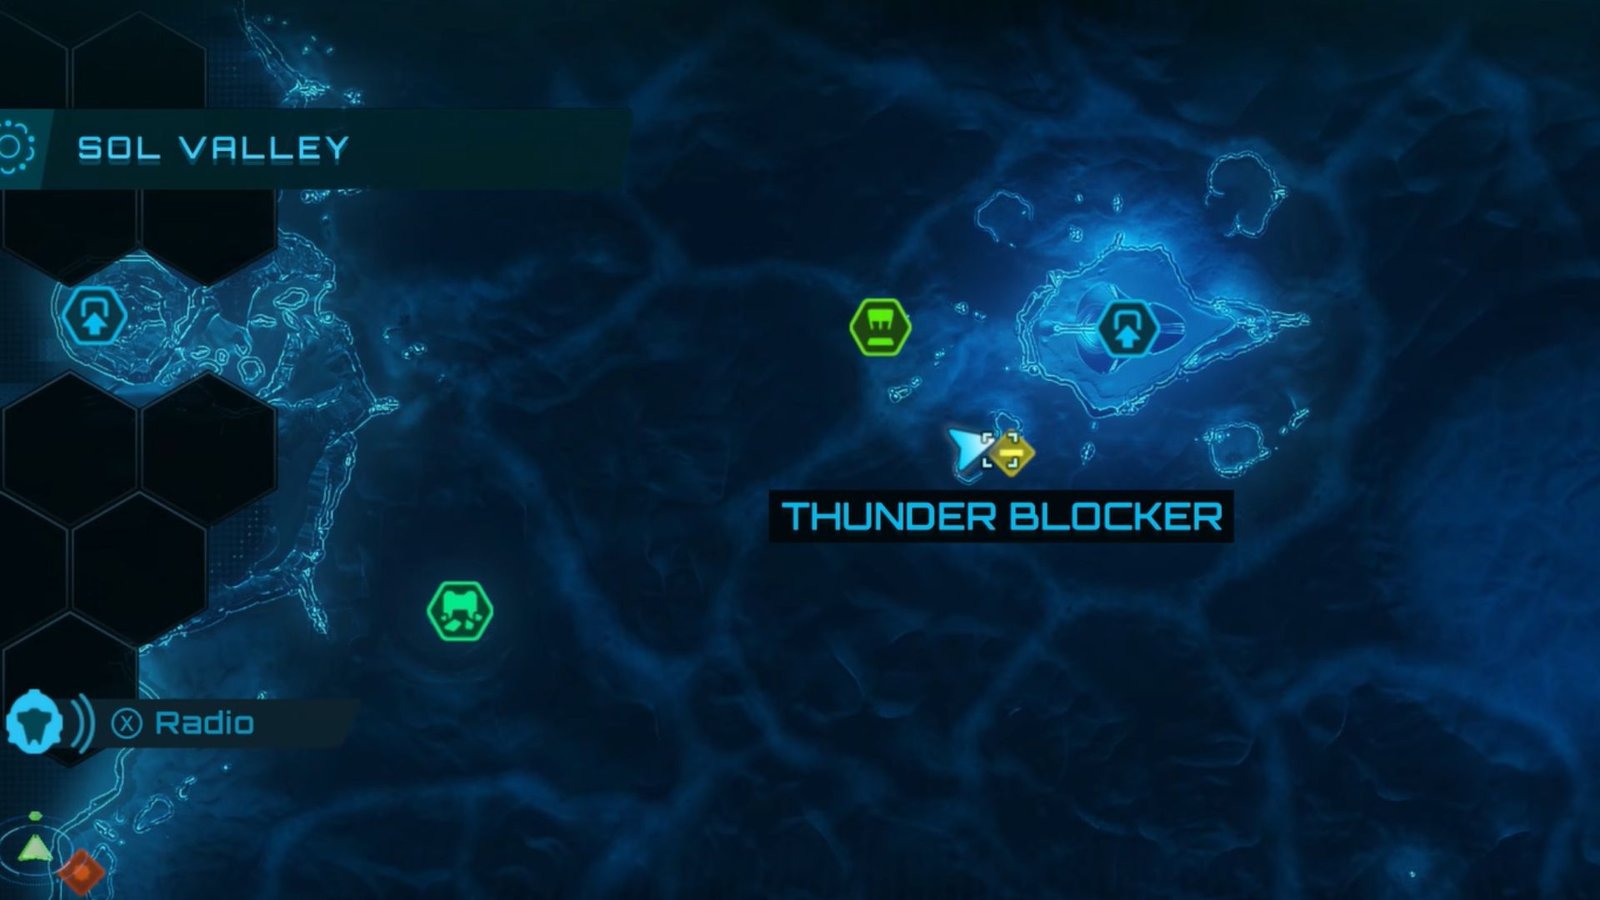
Make your way to the central section of the map where the Thunder Blocker POI is. Use ThunderShot on the casing on the floor to collect the second Vi-O-La boost tank upgrade.
Missile Expansion #5 Location
Head over to the western G.F. Debris this time and scan the Federation cargo crane at the top of the structure. Use the charged beam to aim and shoot at the opening right at the base of the crane. After the beam hits the wall inside the opening, the crane will lean forward.

Scan the connector near the tip of the crane, then use your grapple ability to swing yourself across. Collect the fifth Missile Expansion after reaching the platform ahead.
Vi-O-La Boost Tank #3 Location
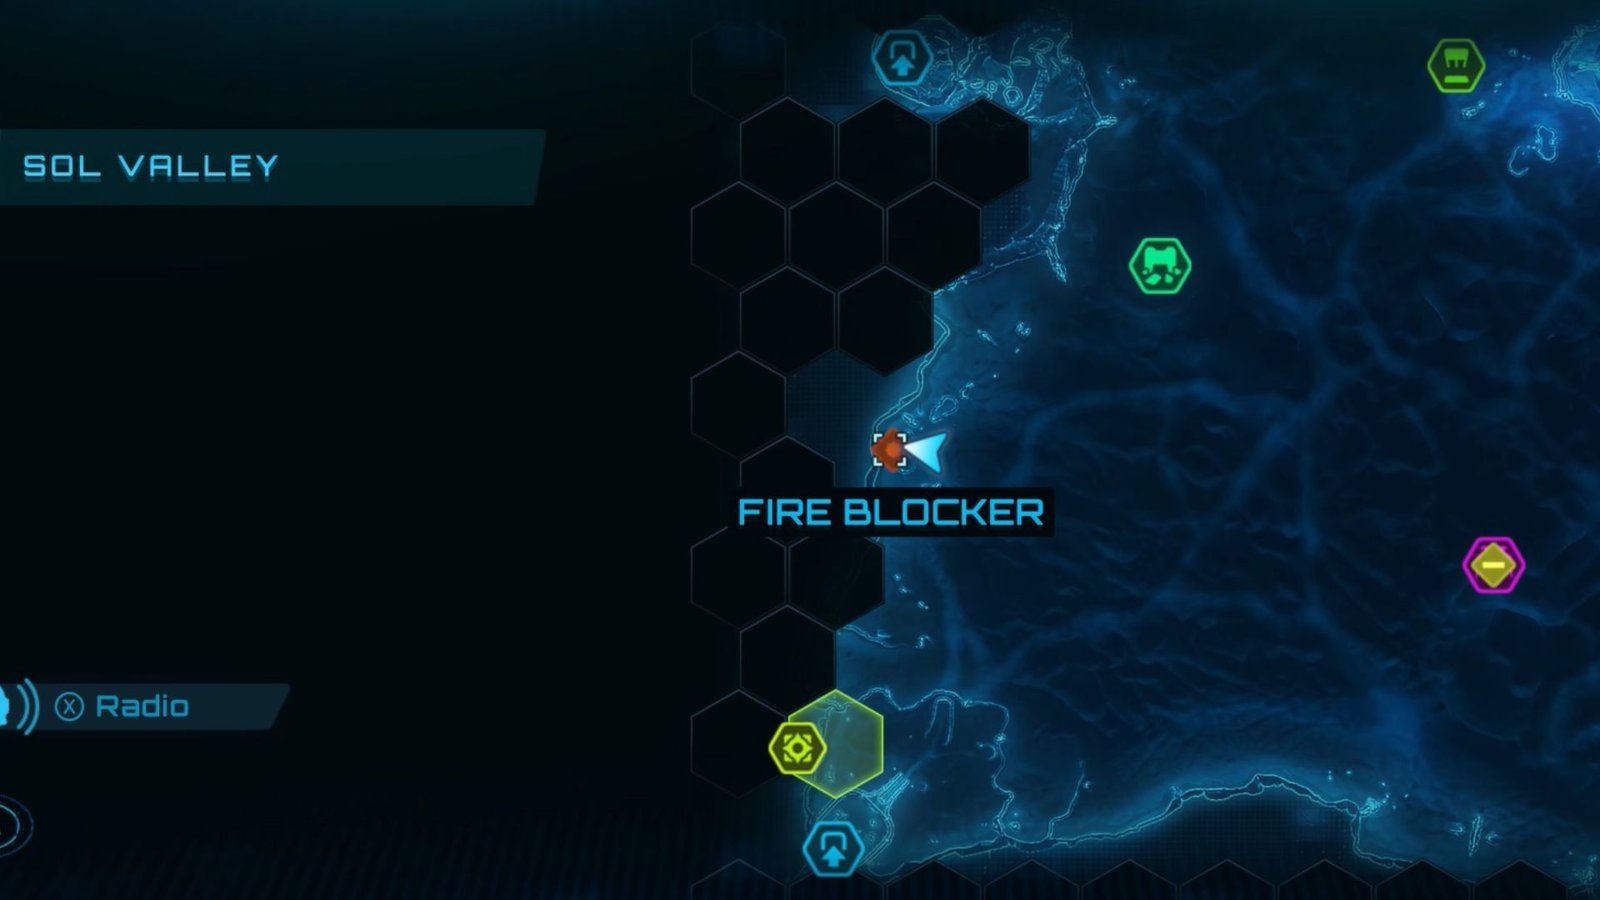
A bit southeast of the western G.F. Debris is a Fire Blocker POI. Use Fire Shot at the casing on the floor and collect the third Vi-O-La Boost Tank.
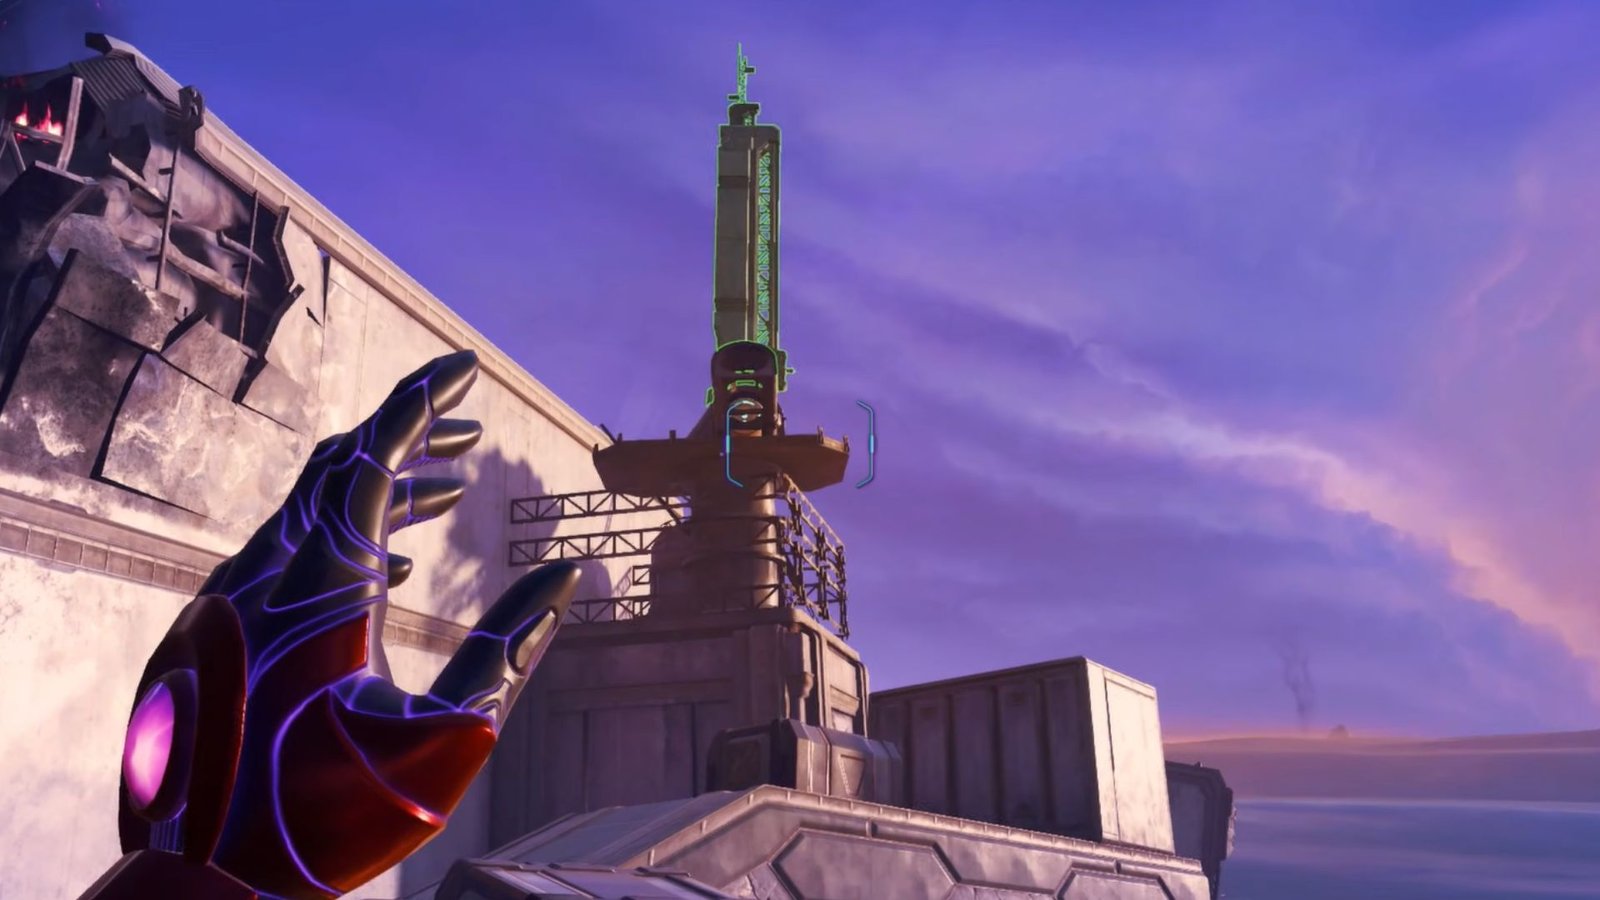
Energy Tank #2 Location
On the southwestern corner of the map is the Volt Forge, and heading northeast from there will reveal a strange pillar sticking out from the sand. Use Thunder Shot at the base of the pillar to uncover the Energy Tank within.
Missile Expansion #6 Location
Keep going east from where you picked up the second Energy Tank and keep an eye out for debris sticking out from the sand. Again, use the lasso tool to pull out the crate buried underneath and collect the sixth Missile Expansion.
Shot Expansion #5 Location
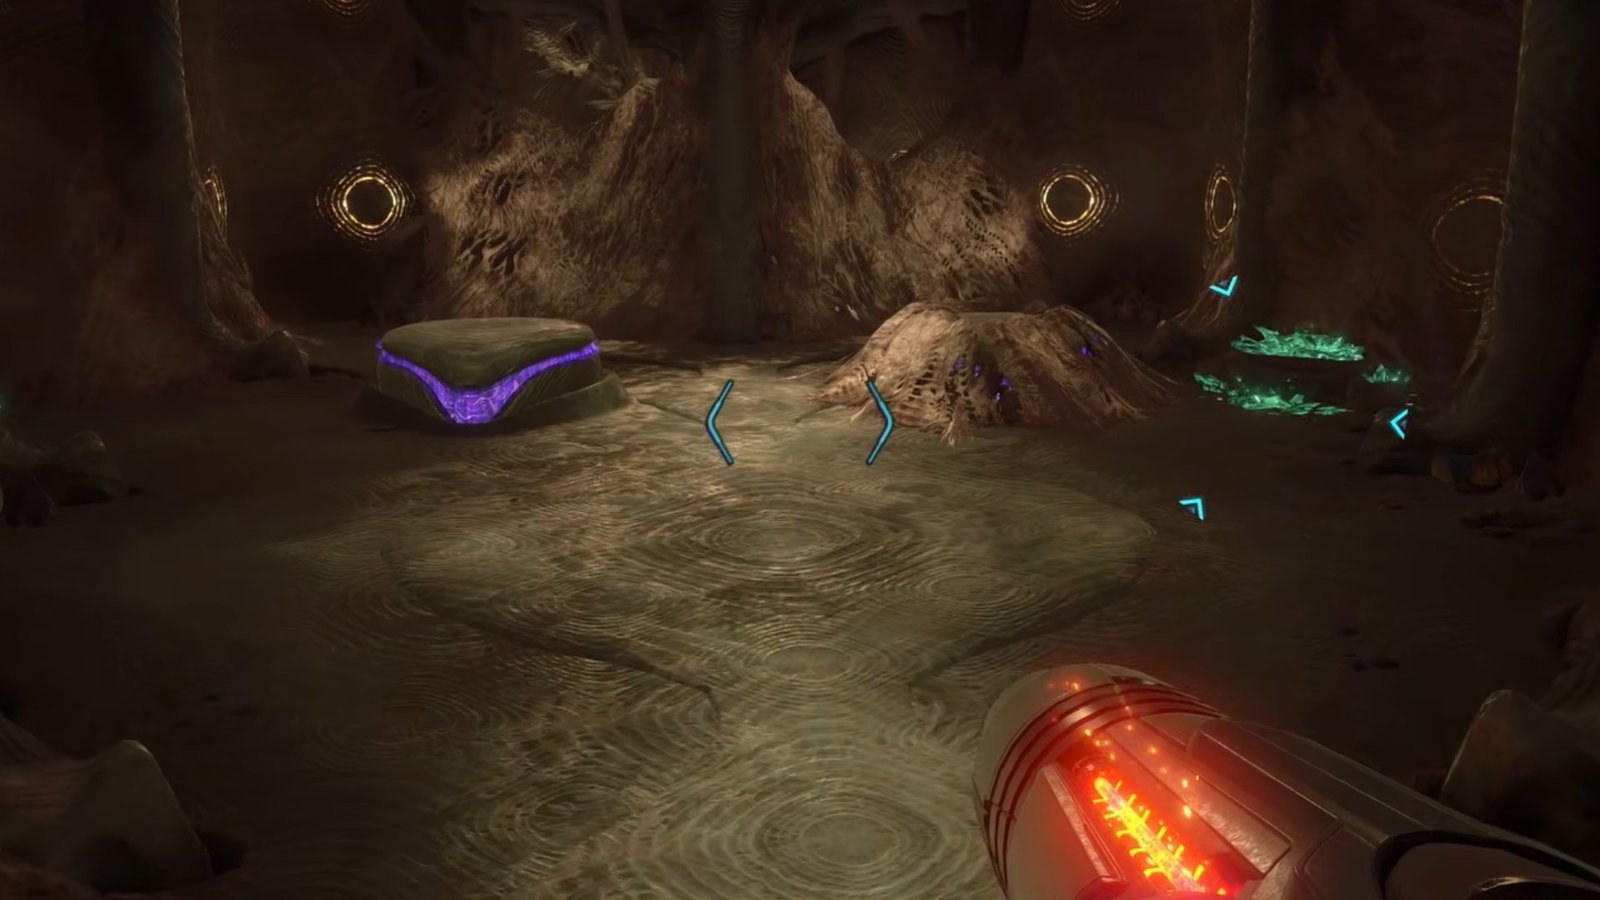
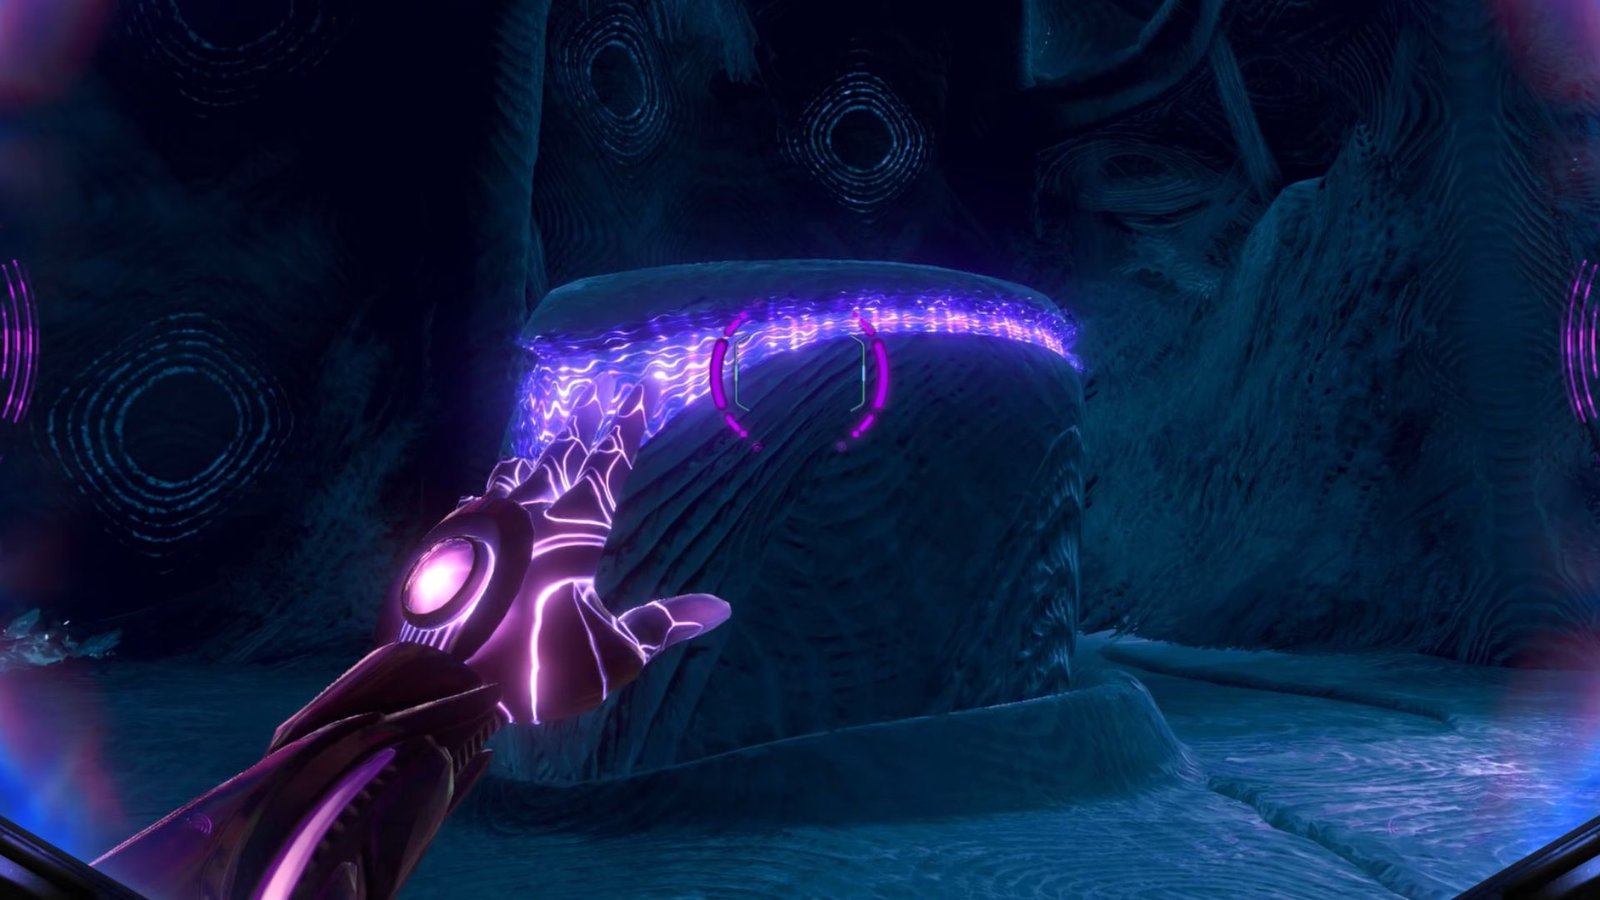
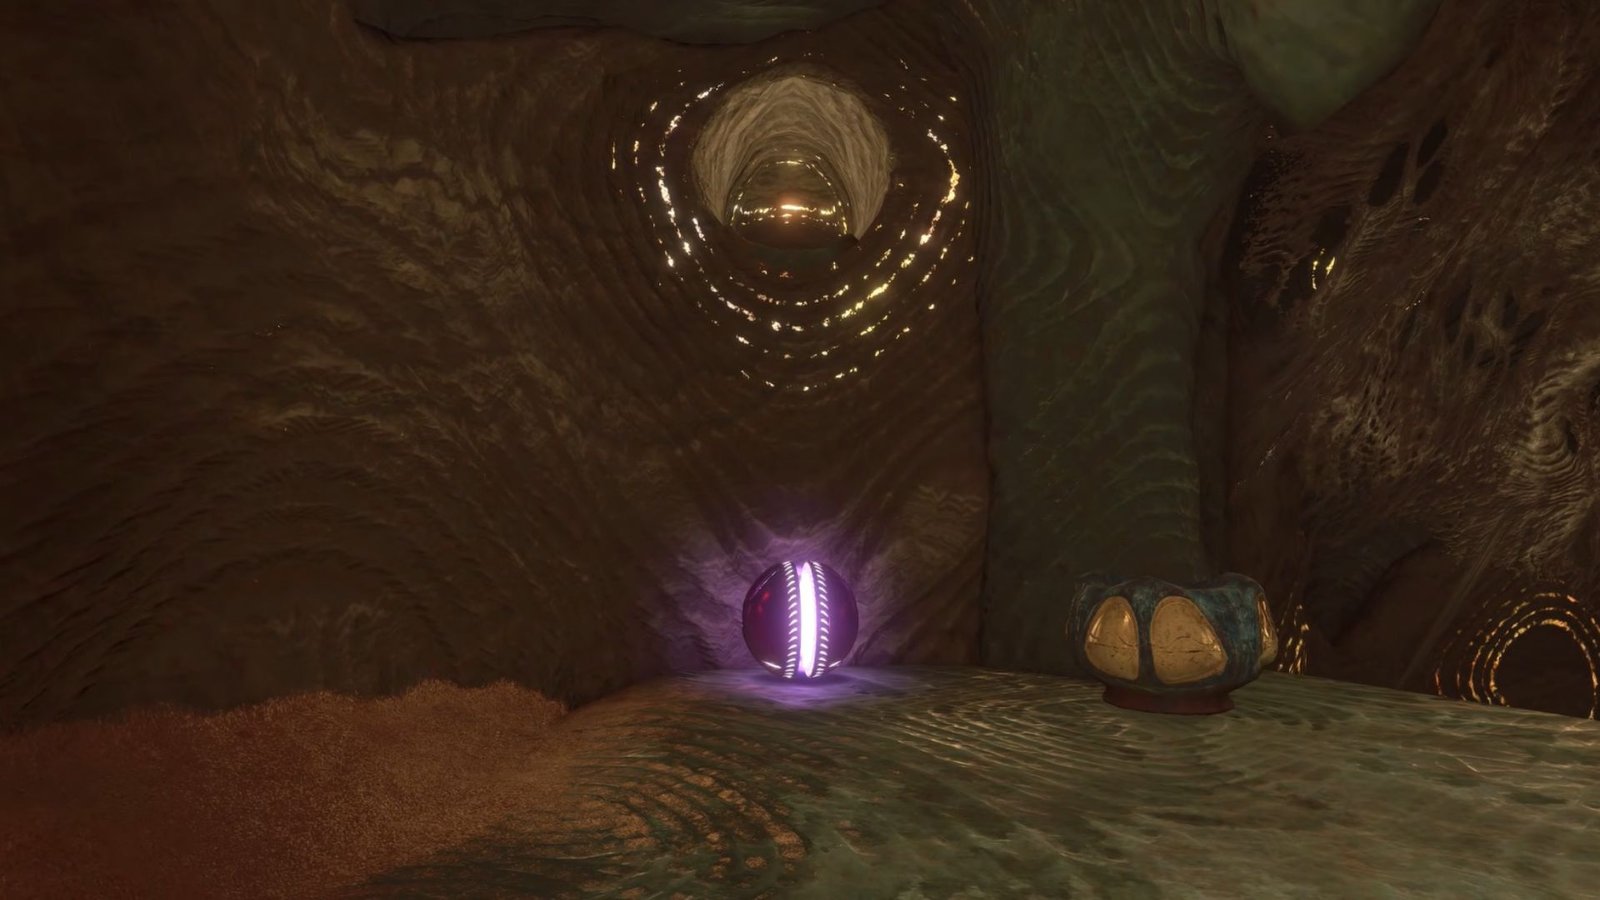
Enter the Floating Path Shrine and go through the door ahead after heading underground. You will reach a puzzle area. Pick up any of the psychic orbs on either side of the room and toss it at the orb slot on the left. This will reveal a platform, pick up the other psychic orb, jump across to reach the other orb slot, and toss the psychic orb here.
Another platform will be revealed. Go across, then pull out one of the psychic orbs. At the very back of the lower level of the room, you will find a pillar with an orb slot. Place the orb in it to uncover a tunnel. Use ball morph to get to the fifth Shot Expansion.
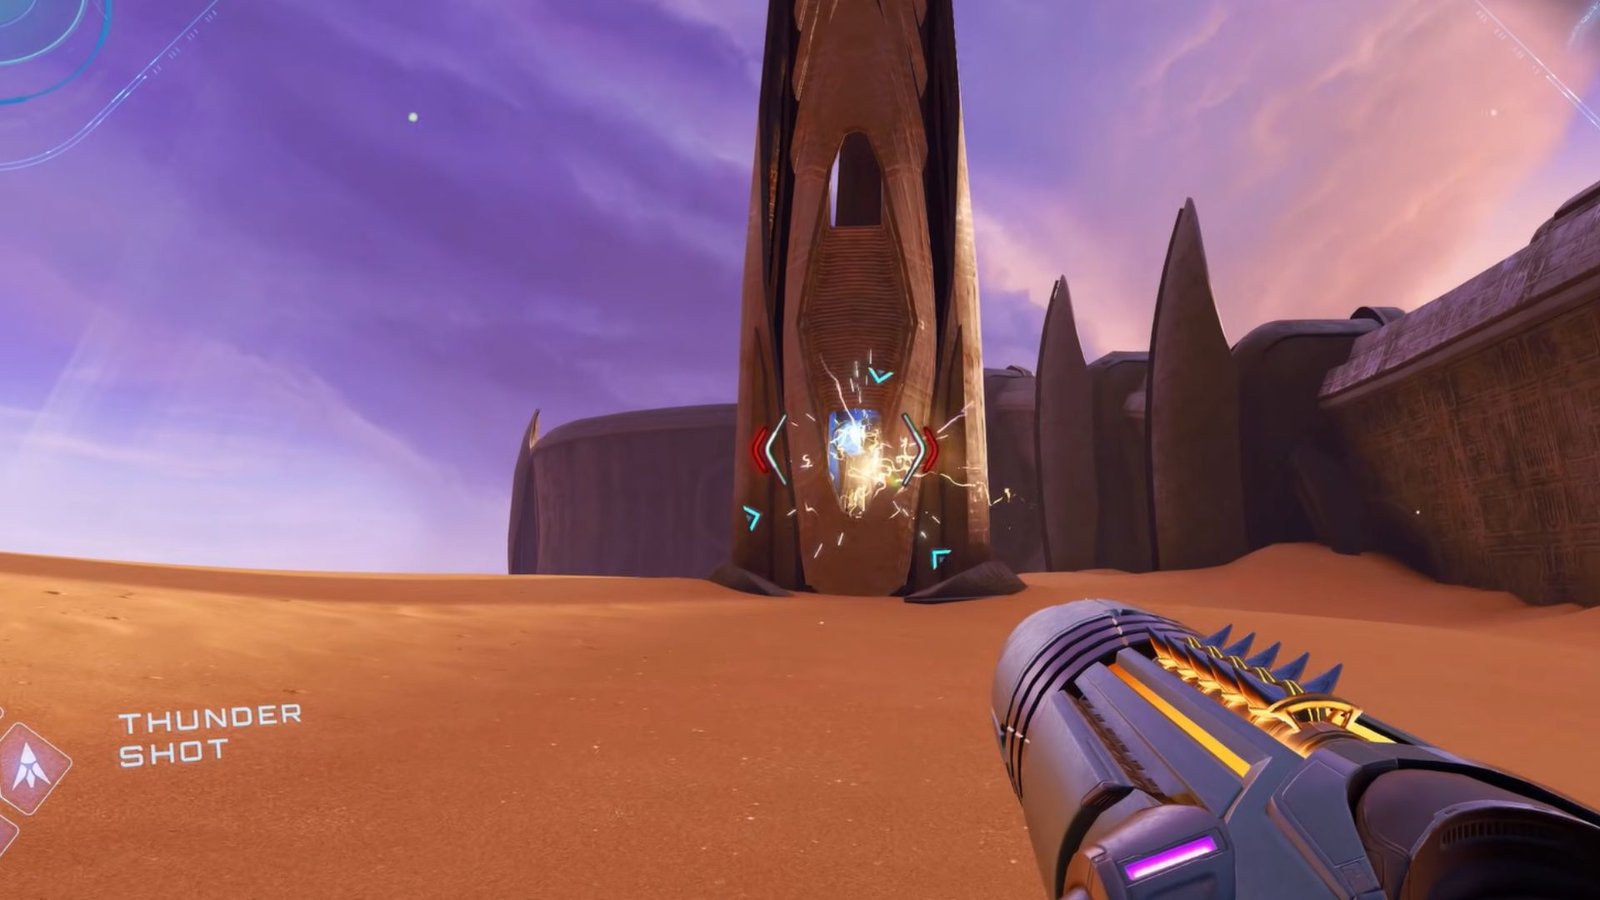
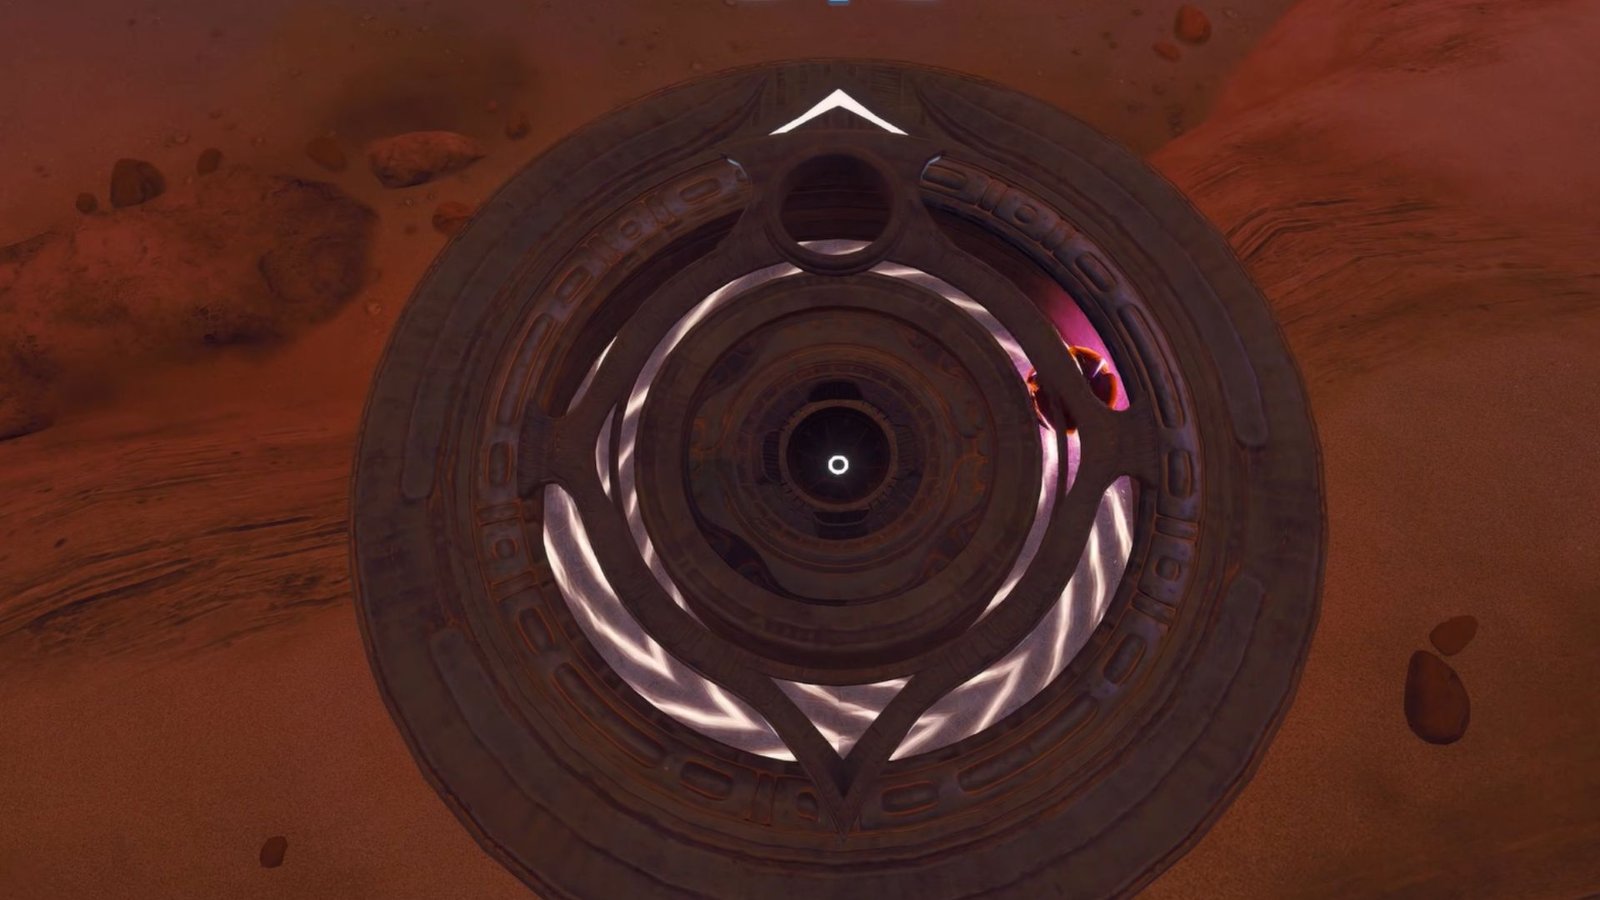
Missile Expansion #7 Location
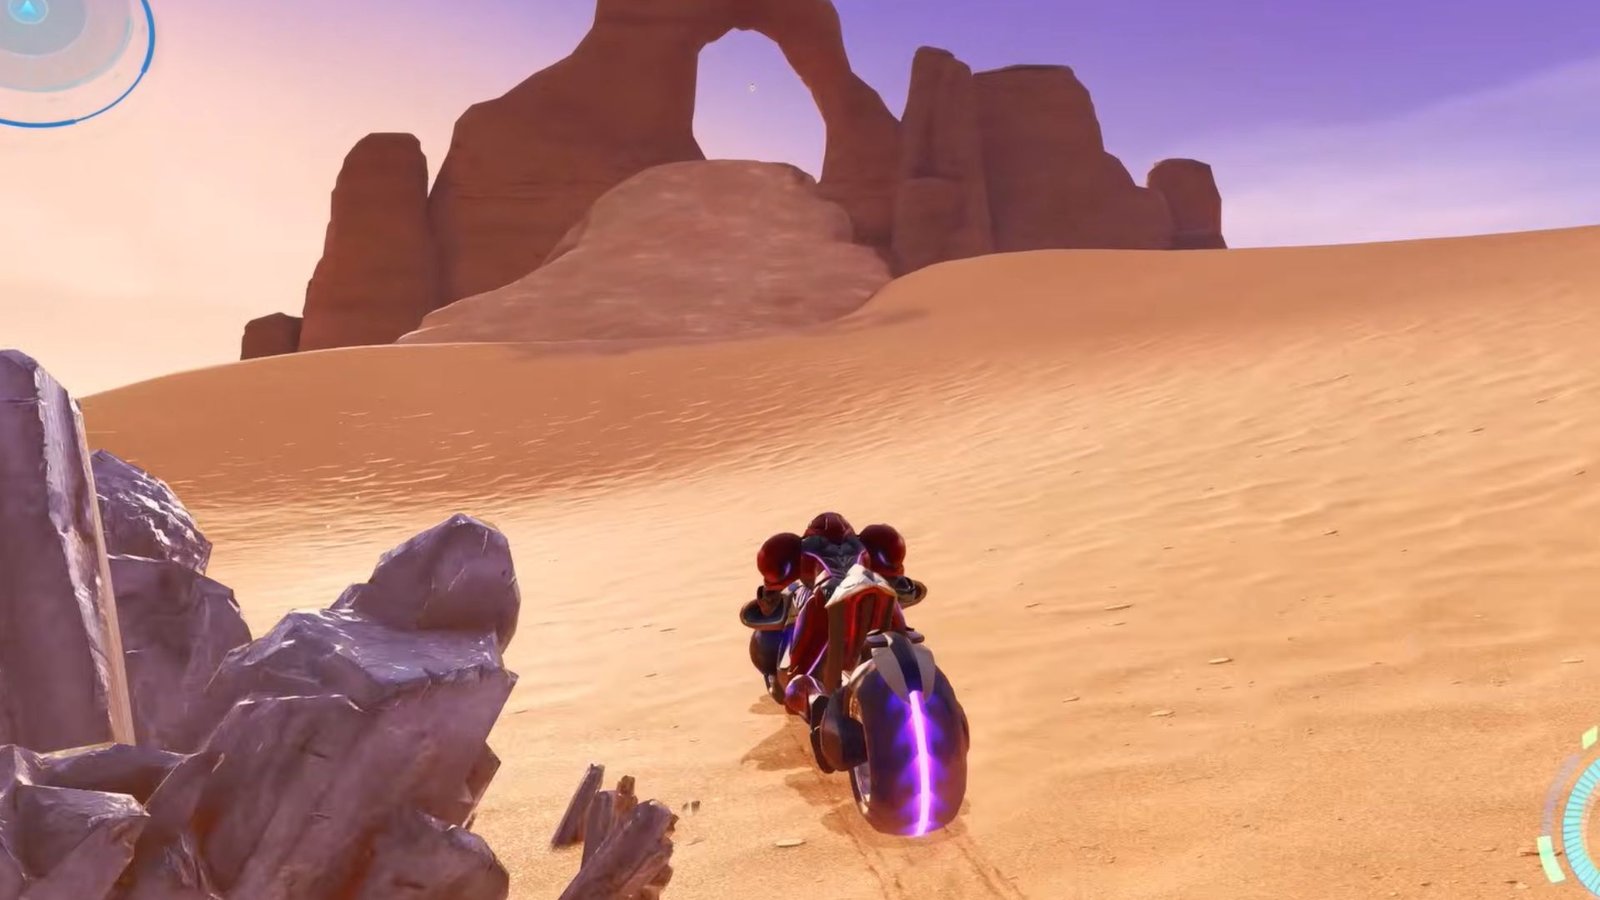
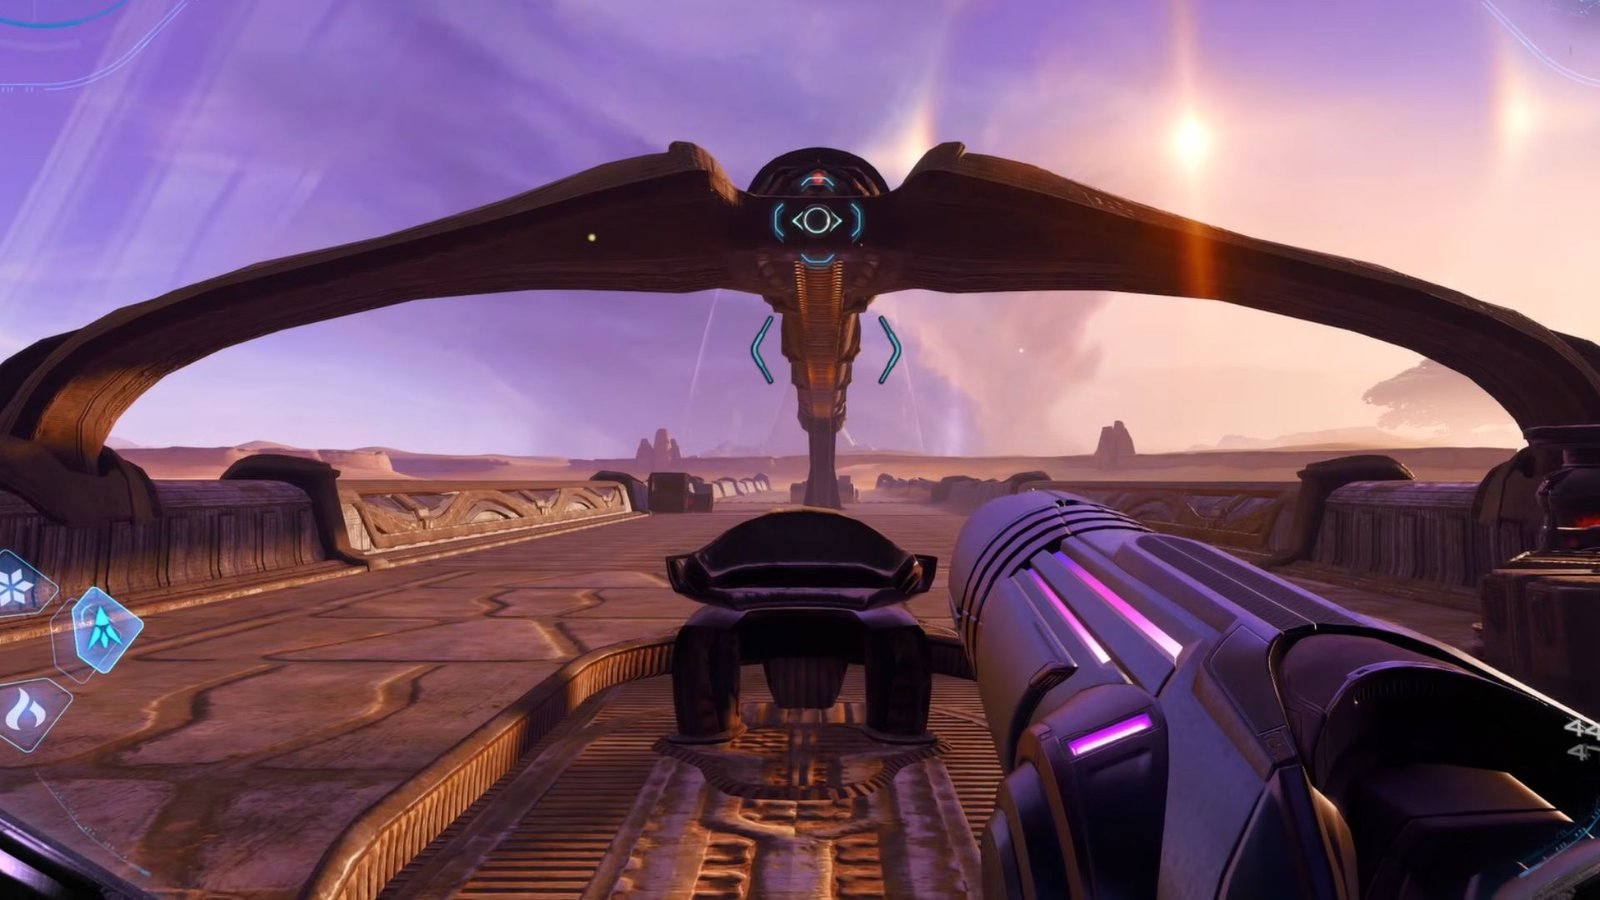
Travel southeast from your previous location towards the southern border of the map. You will spot a circular arch with the seventh Missile Expansion within. Use the ramp in front of the arch to hoist yourself up and grab it.
Missile Expansion #8 Location
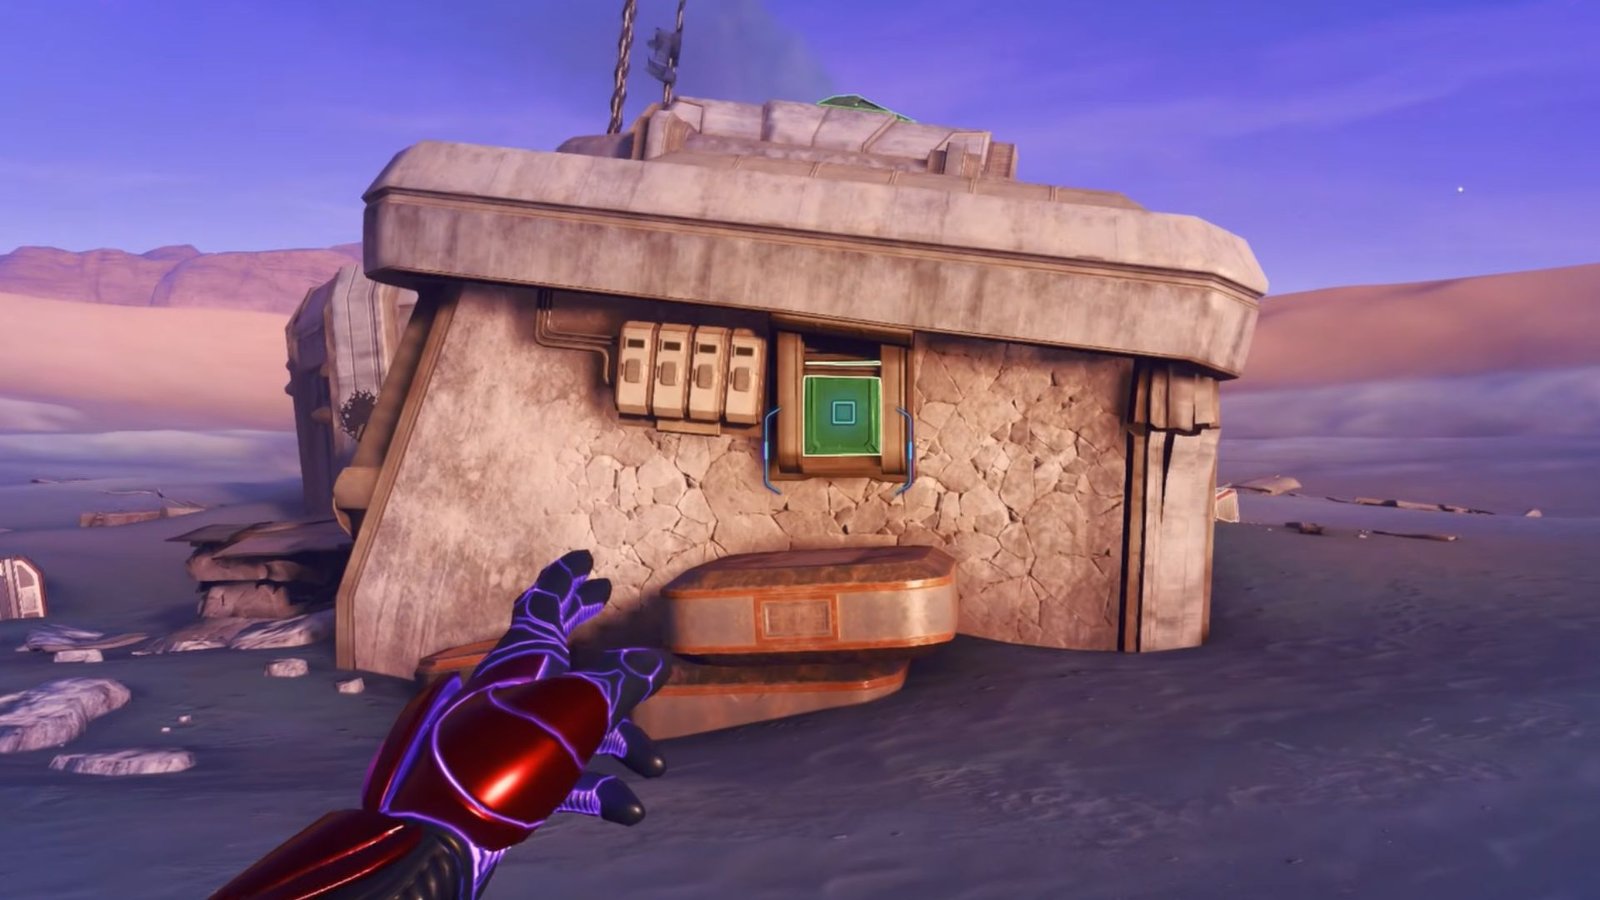
The last G.F. Debris location in the southern section of the map will have the eight Missile Expansion. Scan the window pane, then use Thunder Shot to unlock it. Use the ball morph with a bomb to head inside the tunnel and collect the missile expansion.
Energy Tank #3 Location

Visit the Entrance to the Ring of Thunder Shrine and investigate the back end of the shrine entrance. Pull down the door to reveal the third Energy Tank.
Missile Expansion #9 Location

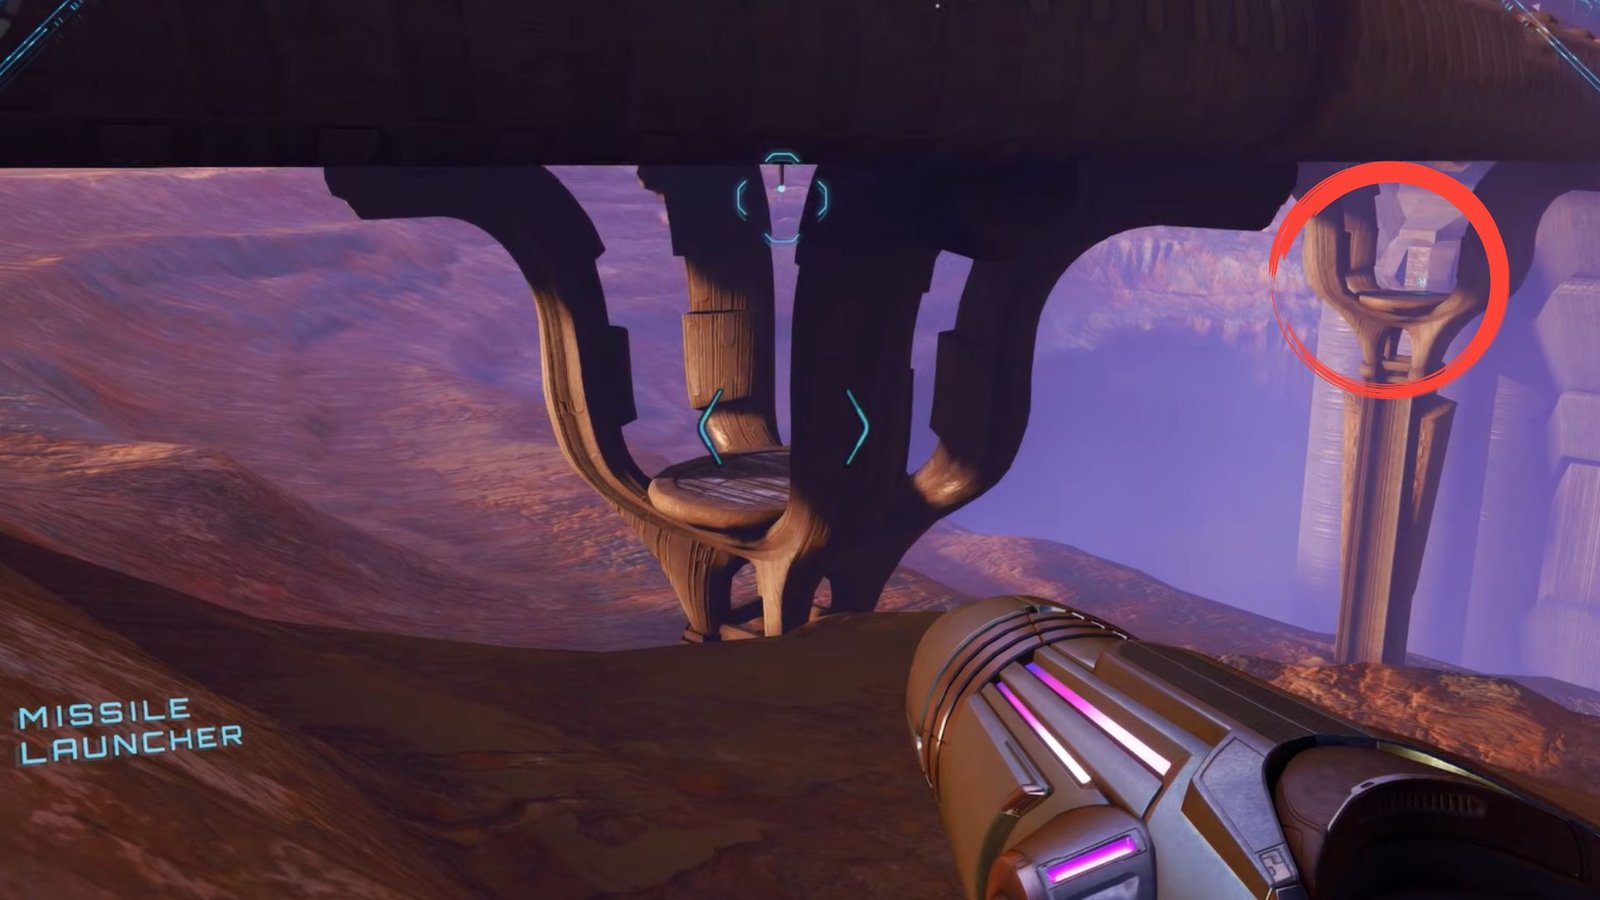
Enter the Source of Spring Shrine and go through the door after taking the elevator down. Jump down to your left and use your missile launcher on the second crystal to the left. These crystals will have water falling on them. Head into the tunnel using ball morph and pick up the ninth Missile Expansion.
Large Shot Expansion #2 Location
Make your way to the Entrance to Flare Pool at the southeastern corner of the map. To your right, you will spot a Small-Sized Cargo Launcher. Turn into a ball morph and enter the circular slot on the launcher. Use ball boost to spin around at high speeds. This will release the circular platform at the center, and stepping on it will launch you into the air. Once you land, pick up the Large Shot Expansion on your right.
Missile Expansion #10, Shot Expansion #6, & Power Bomb Expansion #2 Locations
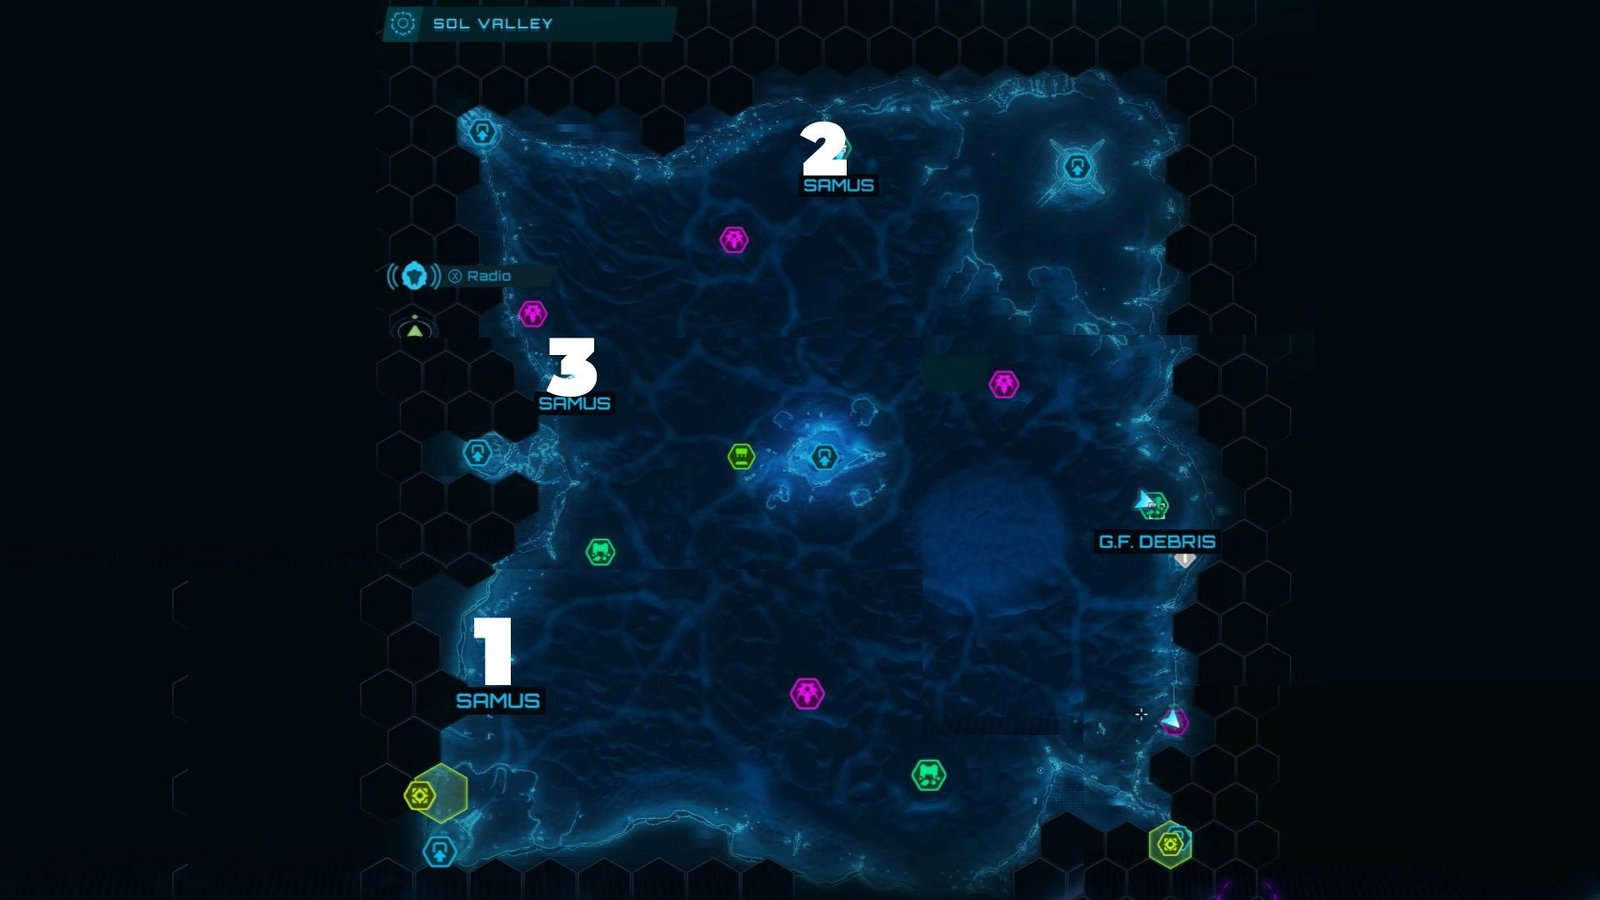
You need to speak to Tokabi at his first, second, and third locations, as marked on the map. Speaking to him the first time will have him transfer to the second location, and speaking to him a second time will make him move to the third location. You need to reload the area each time you talk to him to make him move. To reload an area, enter any other area and return to Sol Valley.
The first time you talk to Tokabi, you will receive the 10th Missile Expansion. In his second location, you will get the 6th Shot Expansion. And at his final location, you will receive the second Power Bomb Expansion. And with that, you get to wrap up your exploration of Sol Valley collectibles in Metroid Prime 4. Check out our Ice Belt collectible guide to know all Energy Tank, Shot, and Missile Expansions here too.