


The Tomb of Gibborim puzzle in Indiana Jones and the Order of Giants is one confusing head-scratcher. It’s one of the more challenging puzzles in the new DLC. Similar to the base game, puzzles are mandatory to progress Indy’s adventure and also the central gameplay experience, only this time it’s in Rome. This guide will help you solve the Tomb of Gibborim puzzle easily and continue Indy’s search for the Order of Giants.
How to Solve the Tomb of Gibborim Puzzle
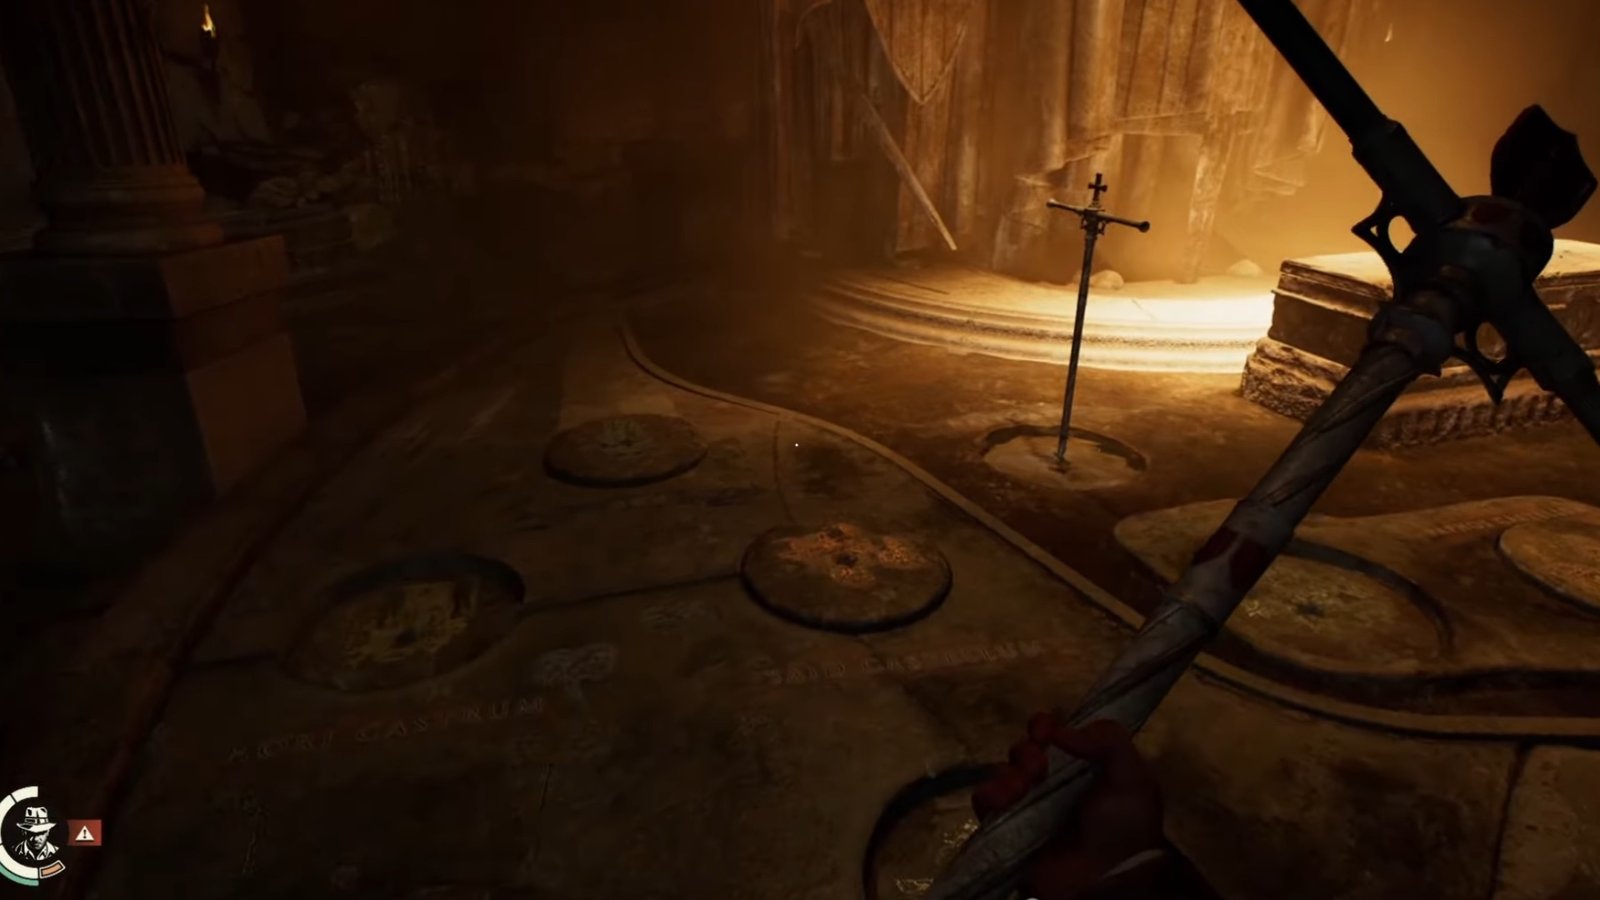
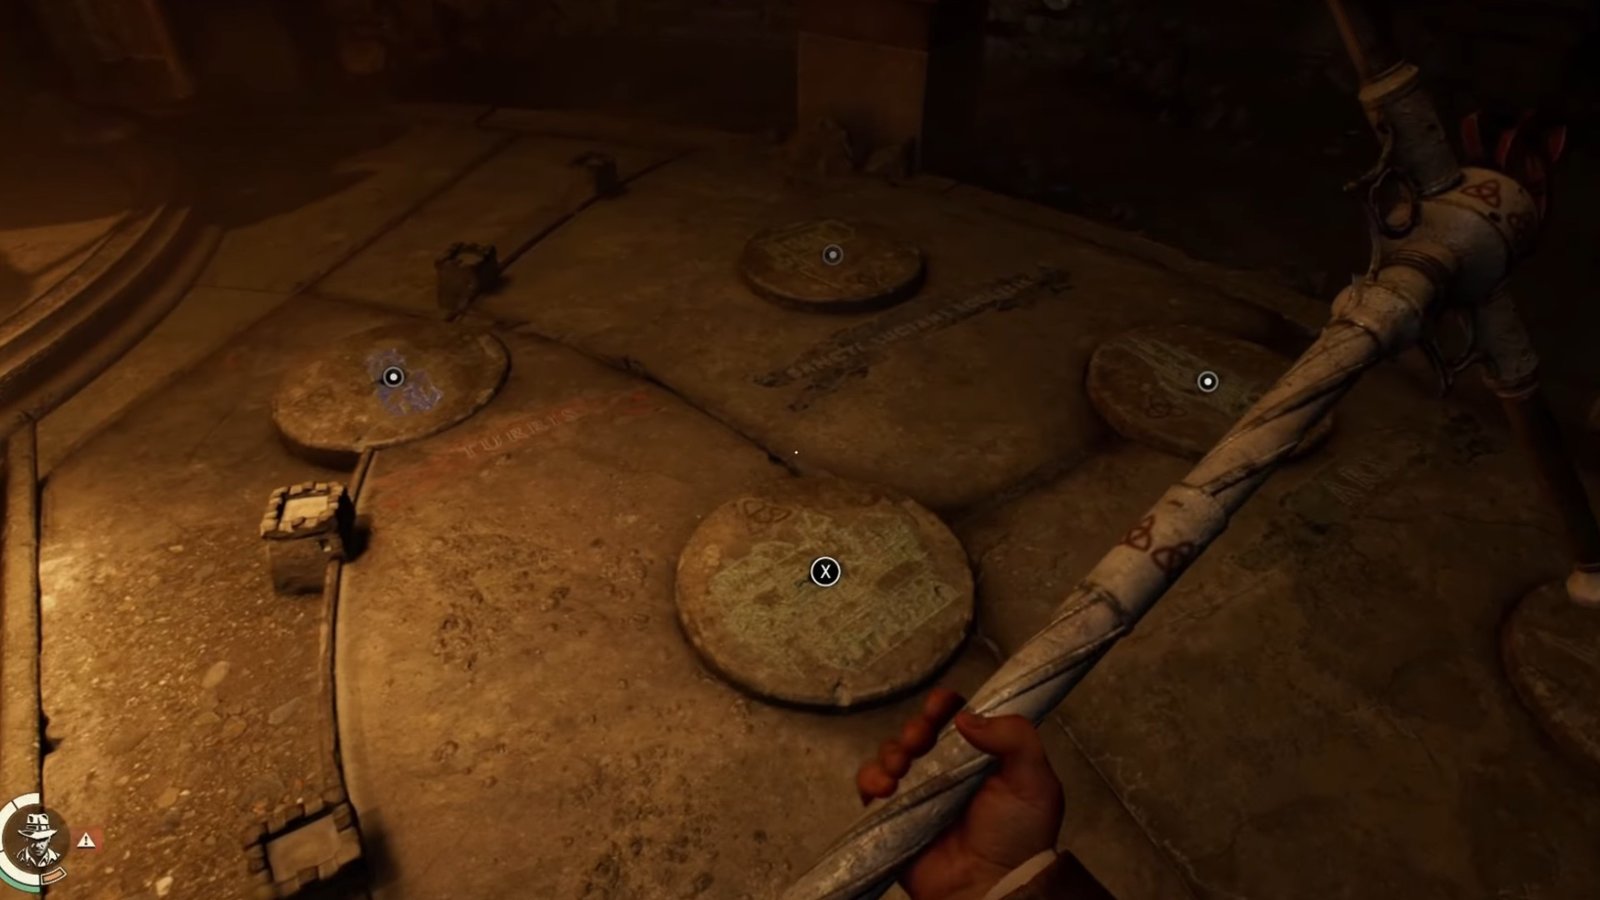
To solve the Tomb of Gibborim puzzle, you need to grab 4 Sceptres and place them into Dials, according to murals and symbols inside the Tomb. Each mural will contain symbols, which refer to the Dials’ name written below it. Each Dial will have a specific name, and you have to insert the Sceptres and rotate all of them in a specific order to get the Sword of Gibborim. You can then use the Sword to stab Gibborim in the heart and progress the DLC. Here’s how to locate every Sceptre and solve the puzzle:
The First Sceptre
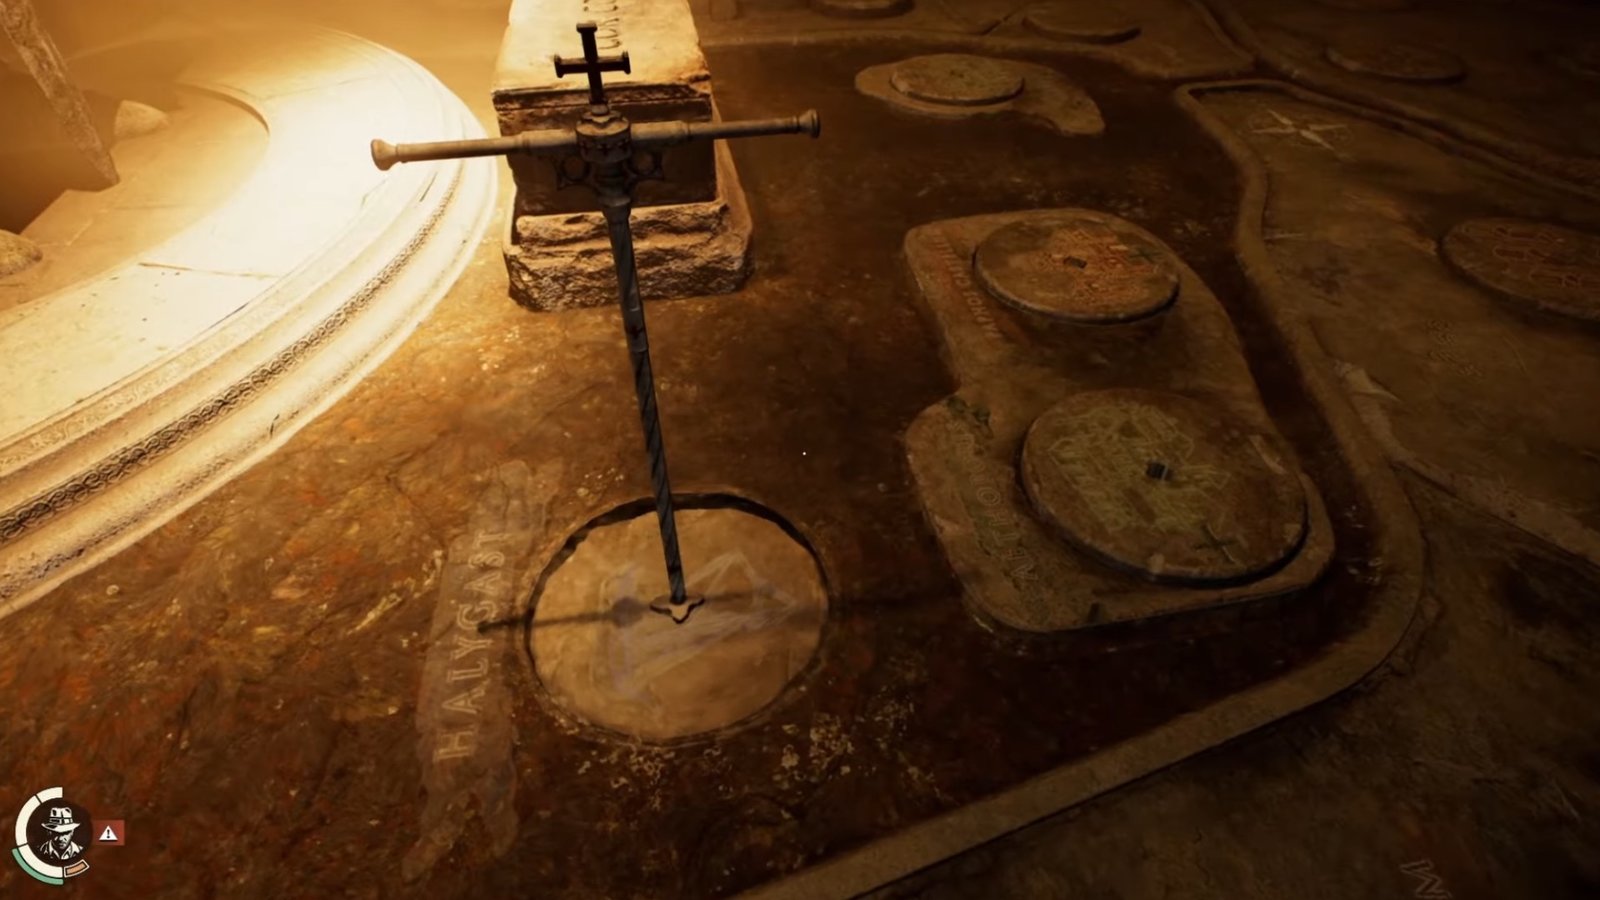
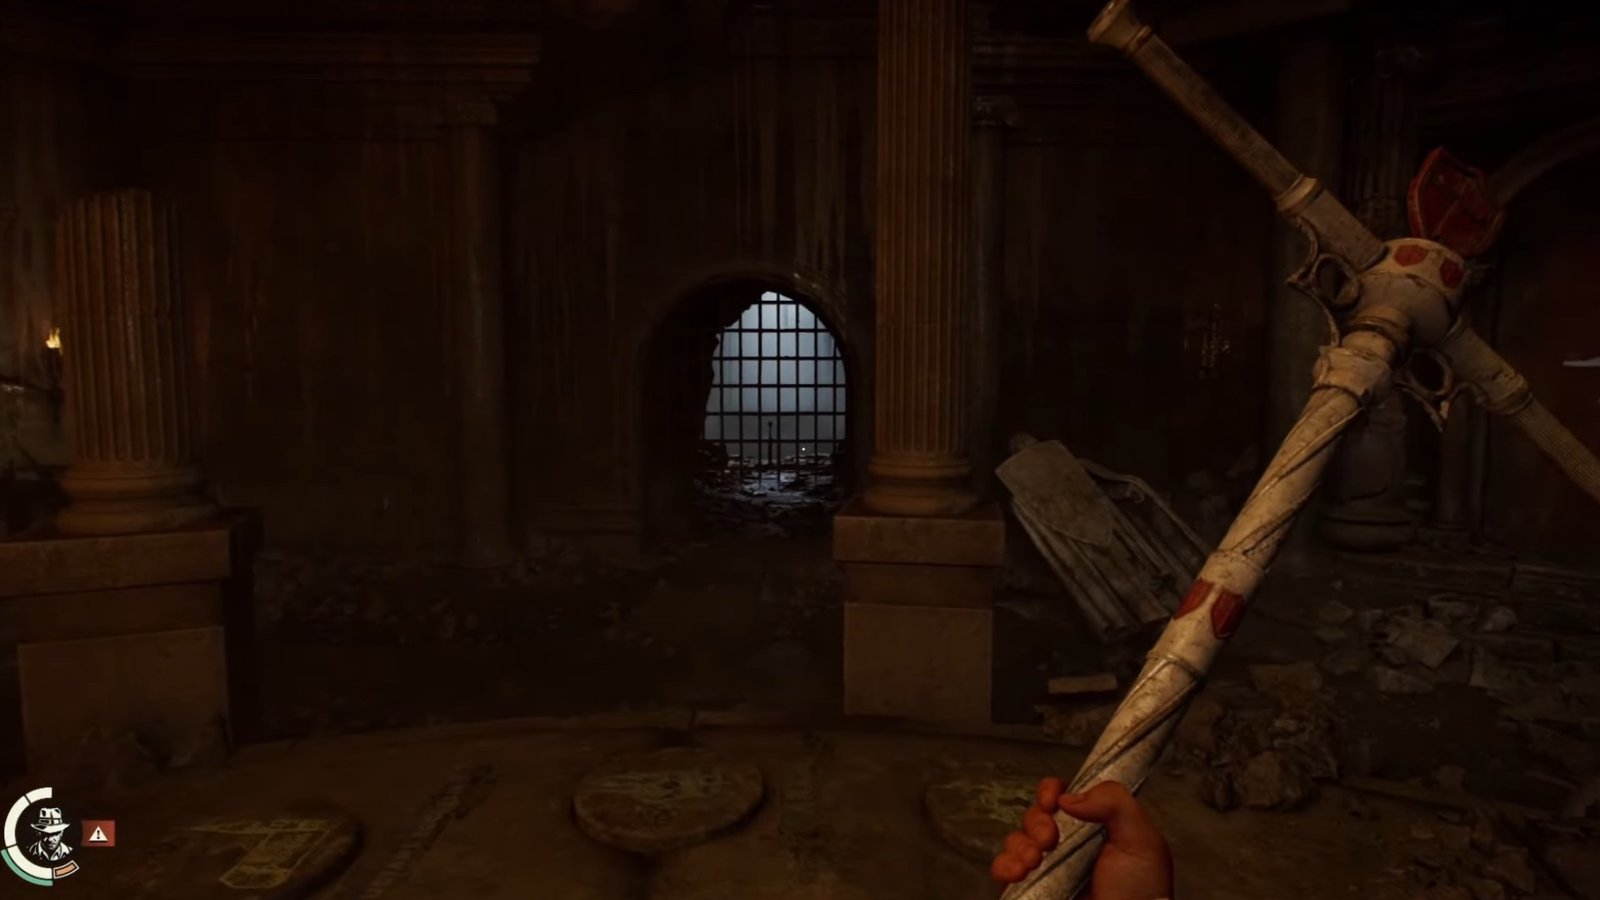
The first Sceptre at the Tomb of Gibborim will be located to the left of the room. As you obtain the Secptre, you’ll notice some symbols on the wall depicting a story. Inspect the symbols on the mural, which will reveal two things: the ship at Halygast watches the morning light, kneeling west at Aethopolis. Grab the Sceptre, and head to the Dials on the puzzle floor.
Insert the Sceptre on the dial with the Aethopolis and turn it to the right twice. Use the same Sceptre again, insert it on the Halygast Dial just beside it and turn it twice to the left. This will open up the door behind you, which contains the second Sceptre.
The Second Sceptre
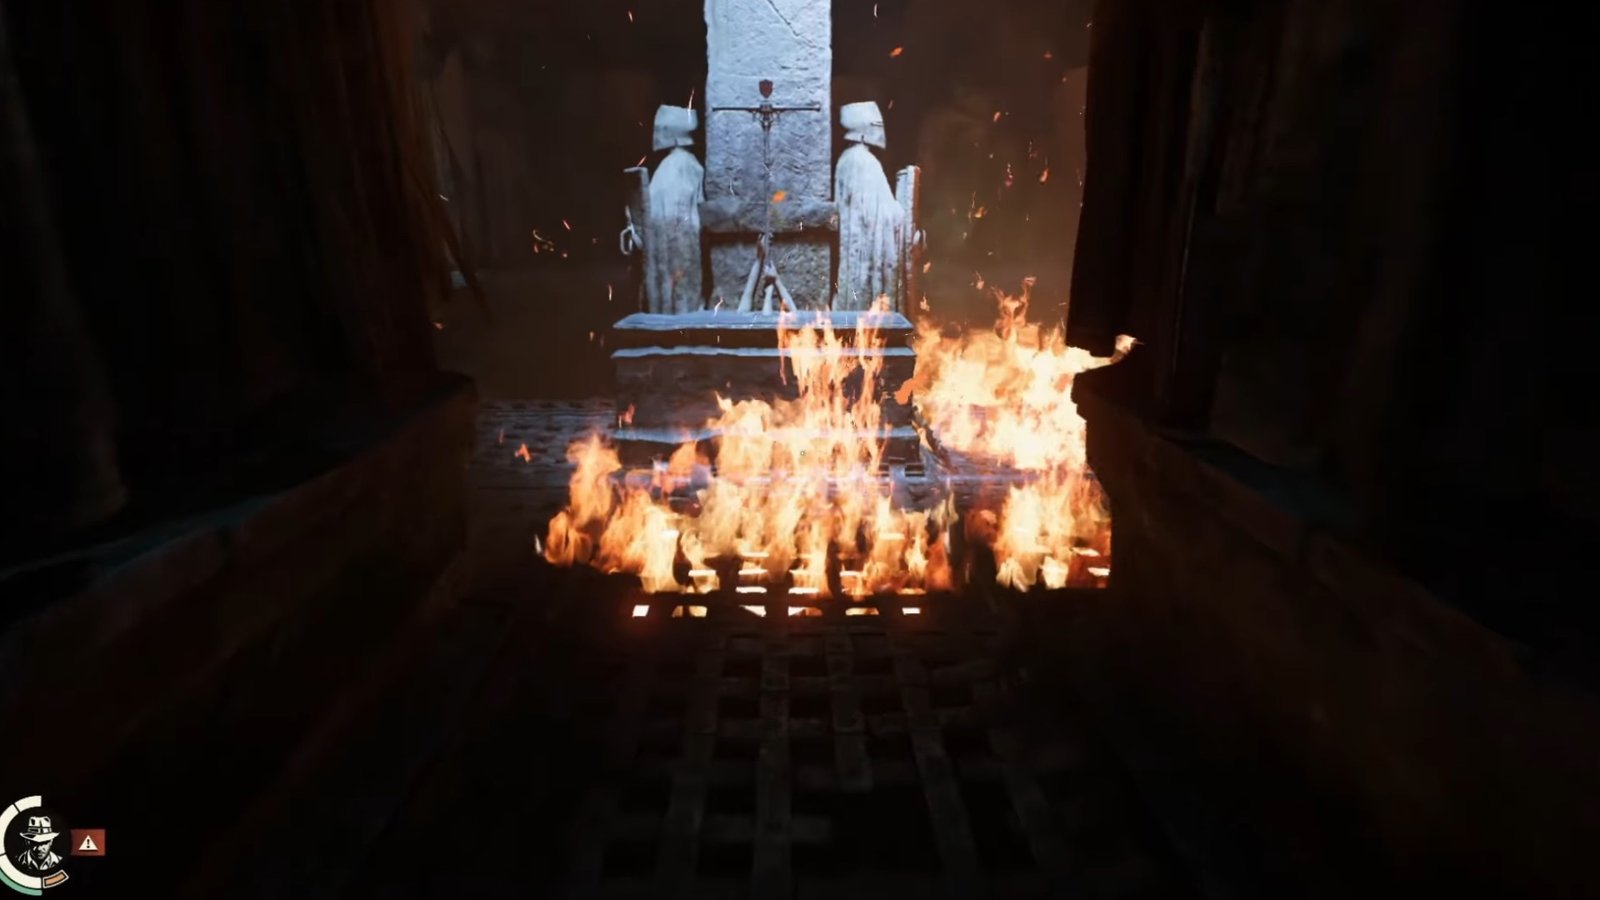
Head inside the room to find a lever. Upon pulling it down, a fire trap will activate. You must follow the fire as soon as it ebbs out on the platforms in front of you to progress. Keep moving while you solve this puzzle to avoid the fire catching you. You’ll notice the second Sceptre directly up ahead. You need to unlock the Sceptre from the stone sculpture before collecting it.
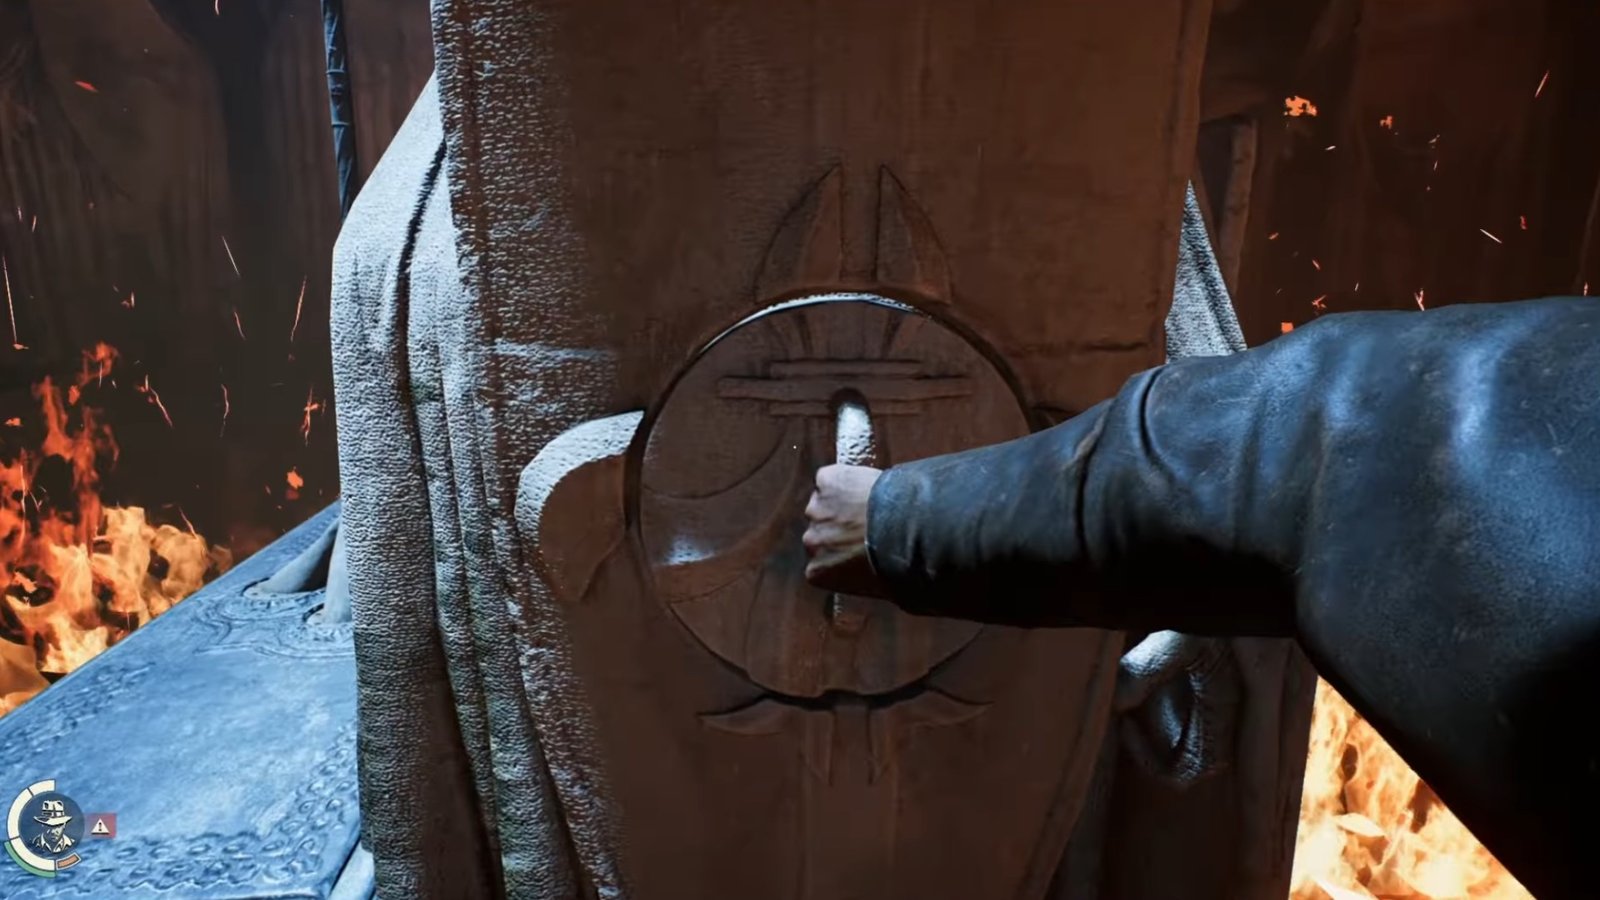
Turn the stone shields located to the right, left and back of the sculpture to grab the Sceptre and progress the Tomb of Gibborim puzzle. Watch out for the fire, as its flow changes the moment you turn the stone shields. Follow the pattern and adapt to the situation accordingly. Once you’ve obtained the second Sceptre, head to the Tomb of Gibborim.
Place the Sceptre at the wall with the Shield symbol. This will open up another mural there, revealing two more hints: Kakhla fled to nearby ruins, and the Castle of Horus required aid from the east. Now, collect the same Sceptre again and head to the Tomb of Gibborim Dials.
Use the Sceptre to place it on the Nakhla Pagus Dial, then rotate it to the right twice. Use the same Sceptre and place it on the Horus Castle Dial, located diagonally to the Nakhla Pagus. Rotate to the right twice again to unlock the next door to the right of the room, which will give you access to the third Secptre for the Tomb of Gibborim Puzzle.
The Third Sceptre
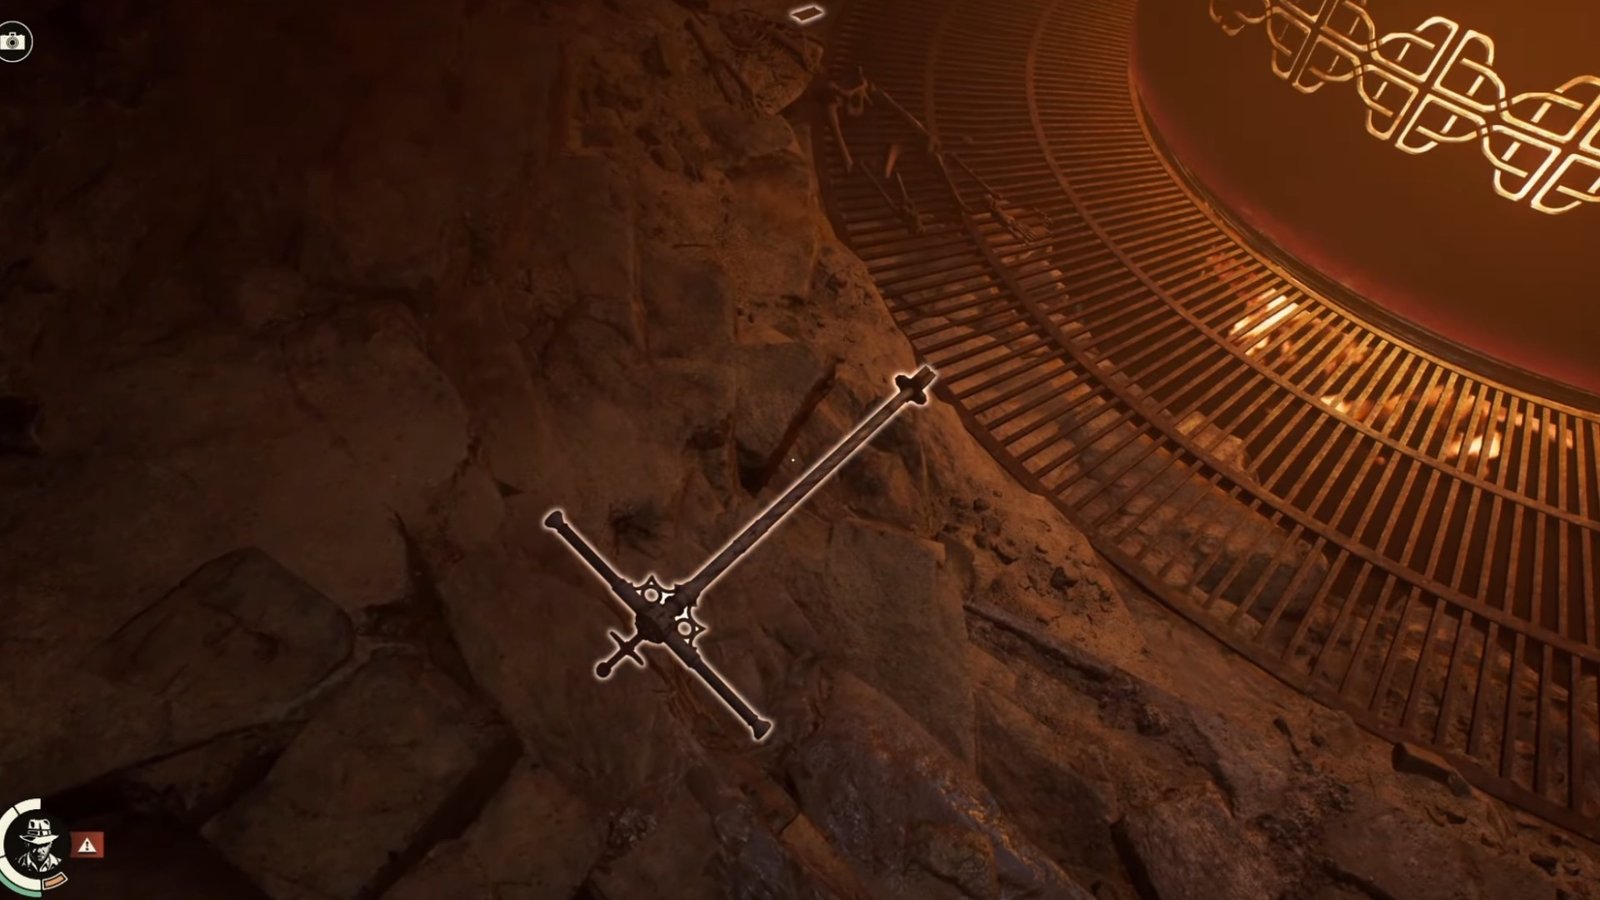
Enter the next room to find another lever. Pull down the lever to activate a giant cauldron of fire. The third Sceptre will be located as you progress to the huge cauldron, on the floor to the left. Pull down the lever and walk forward to find the Secptre highlighted on the ground.
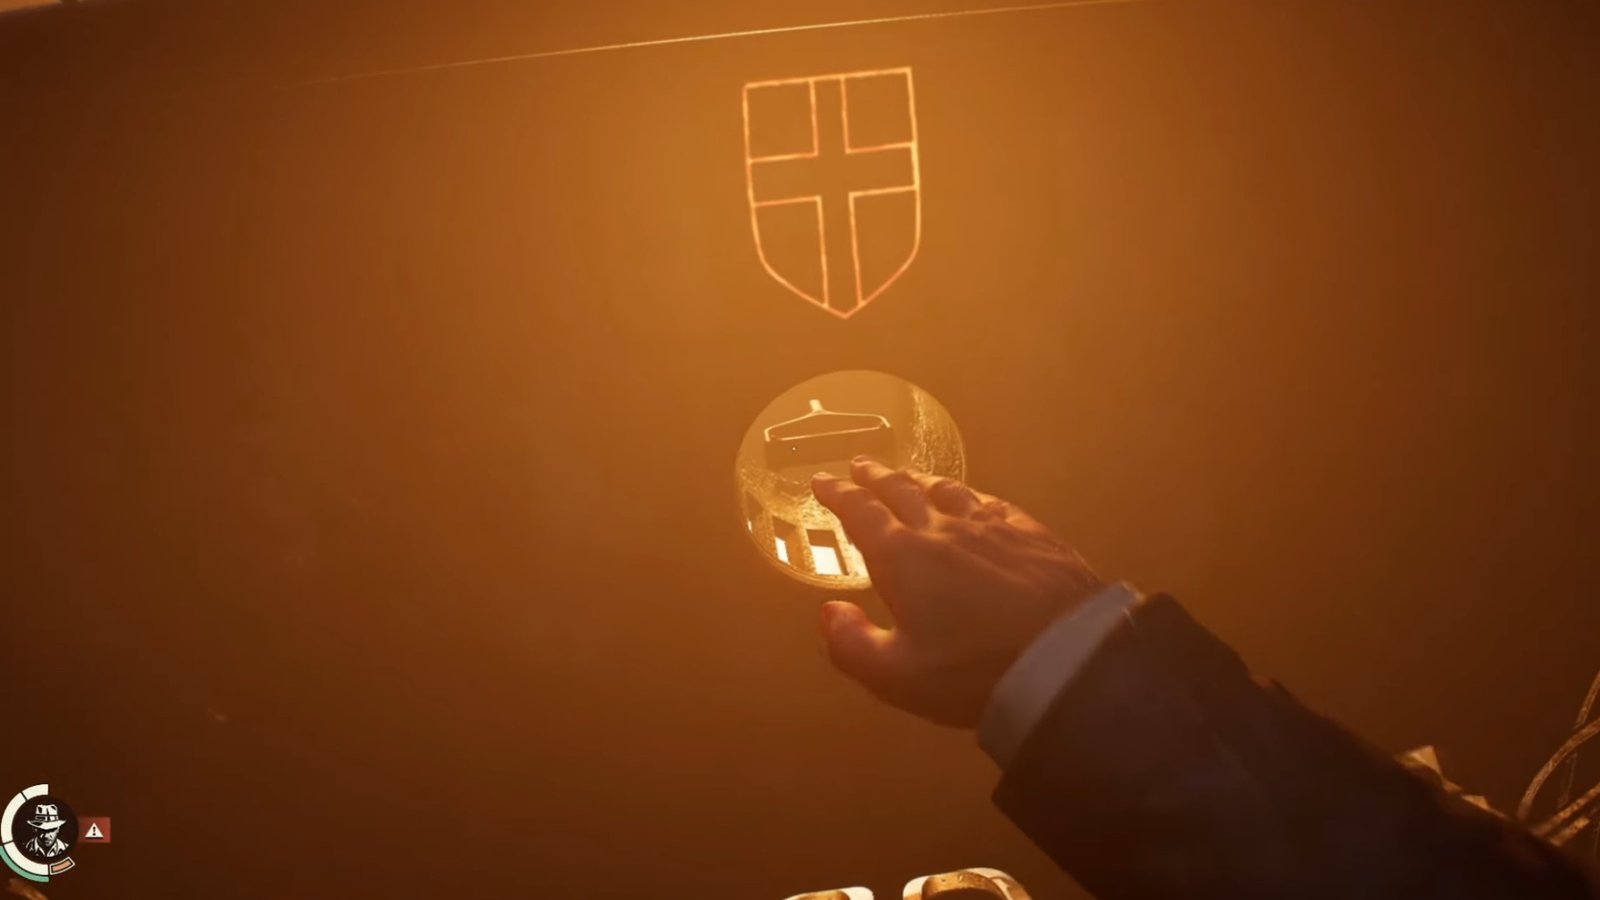
Before heading out, you need to solve the Cauldron puzzle. You must interact with the holes on the cauldron in the following order: Vatican Keys, Shield’s Cross, Apple, Serpent. Doing this will provide the fourth Sceptre that you require for this puzzle. Head out of the rooms to the Dials near the Tomb of Gibborim. Place the Sceptre near the wall with the Sword symbol to open a mural, revealing more hints: Camp Al-Mansur watched a shift drift by, the south was attacked from the east and at the battlefield, the Crusader faced himself.
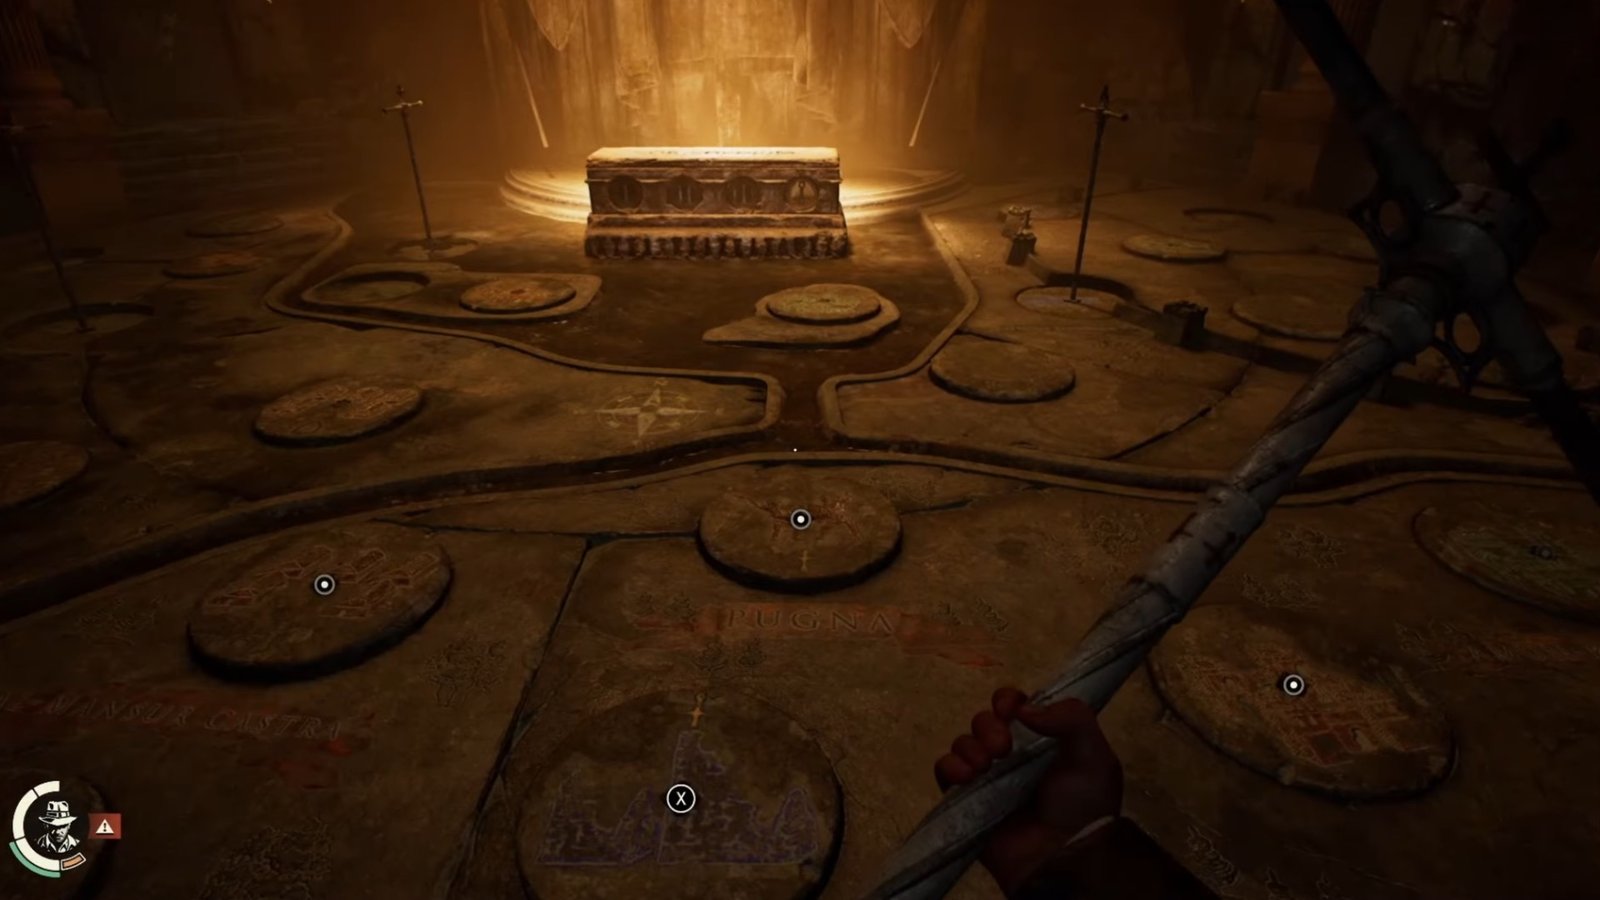
Following the hints, place the third Sceptre on the Pugna Dial, then rotate it twice to the right. Then, place the same Sceptre on the Rudera Dial and rotate it once to the right. Use the same Sceptre again, and insert it on the Al-Mansur Castra Dial, then rotate it once to the right.
The Fourth Sceptre
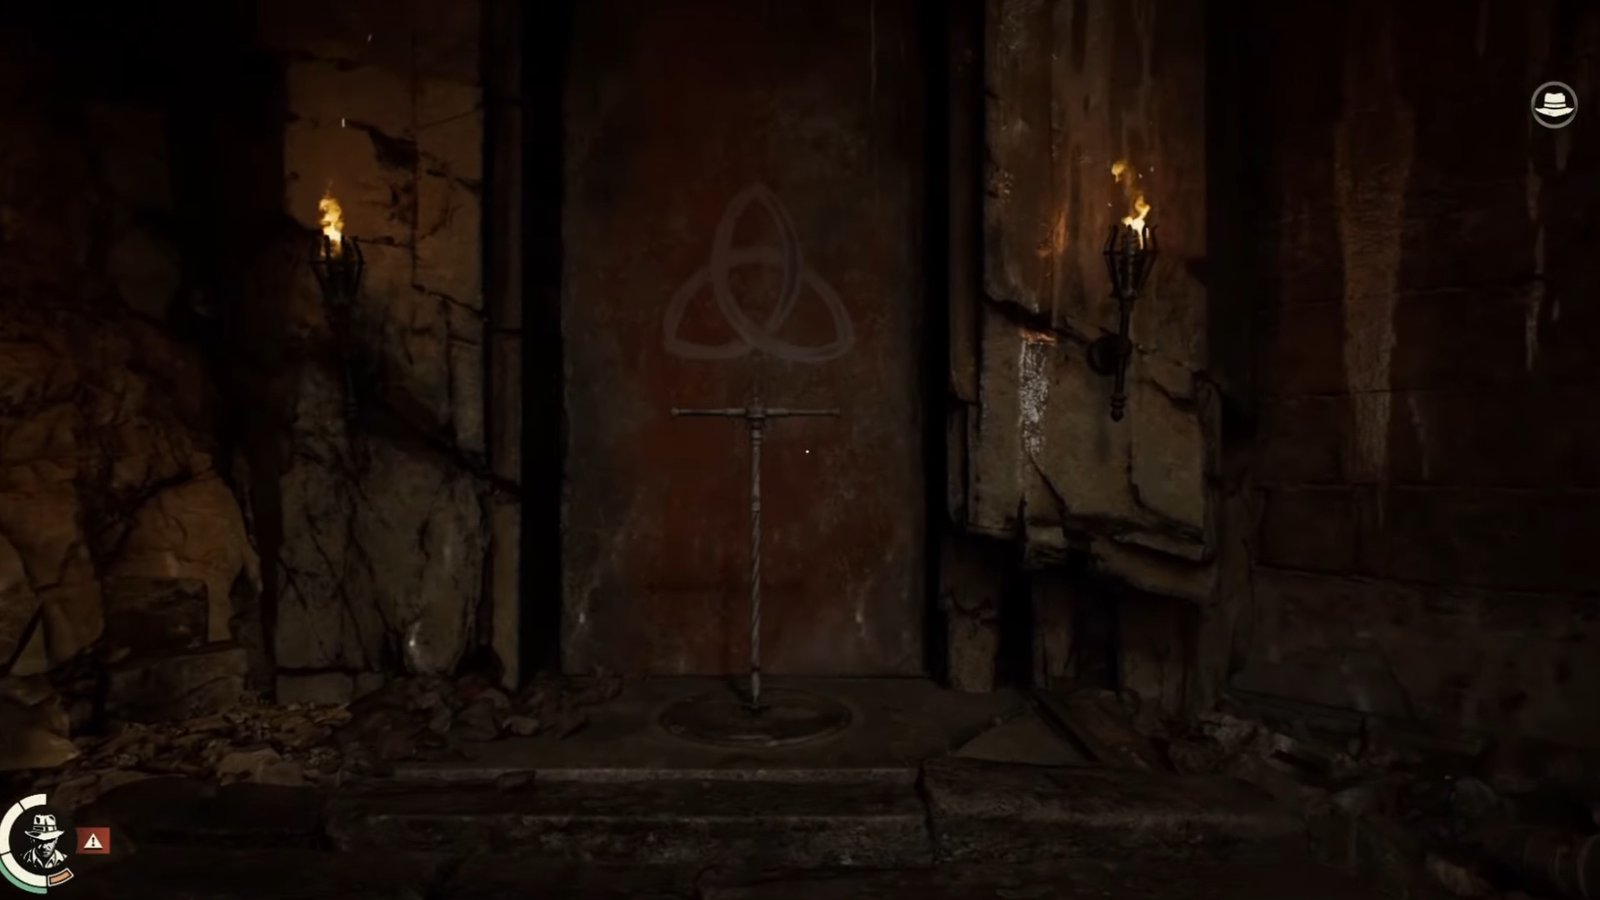
Since you’ve already obtained the fourth Sceptre from solving the giant fire cauldron puzzle in the previous room, head to the wall with the Trinity symbol and place the Sceptre to reveal the following hints: At Castle Malum, the Nameless Crusader and Marie gazed upon the citadel, the Crusader ran towards the fierce inferno at the Castle, and he sought God’s salvation to the north.
Grab the fourth Sceptre and place it on the Sancti Luciani Ecclesia Dial, then rotate it twice to the right. Use the Sceptre again and insert it into the Custodis Fastigium Dial, then rotate it twice to the right. Finally, grab the Sceptre and place it on the Malum Dial, then rotate it twice to the right.
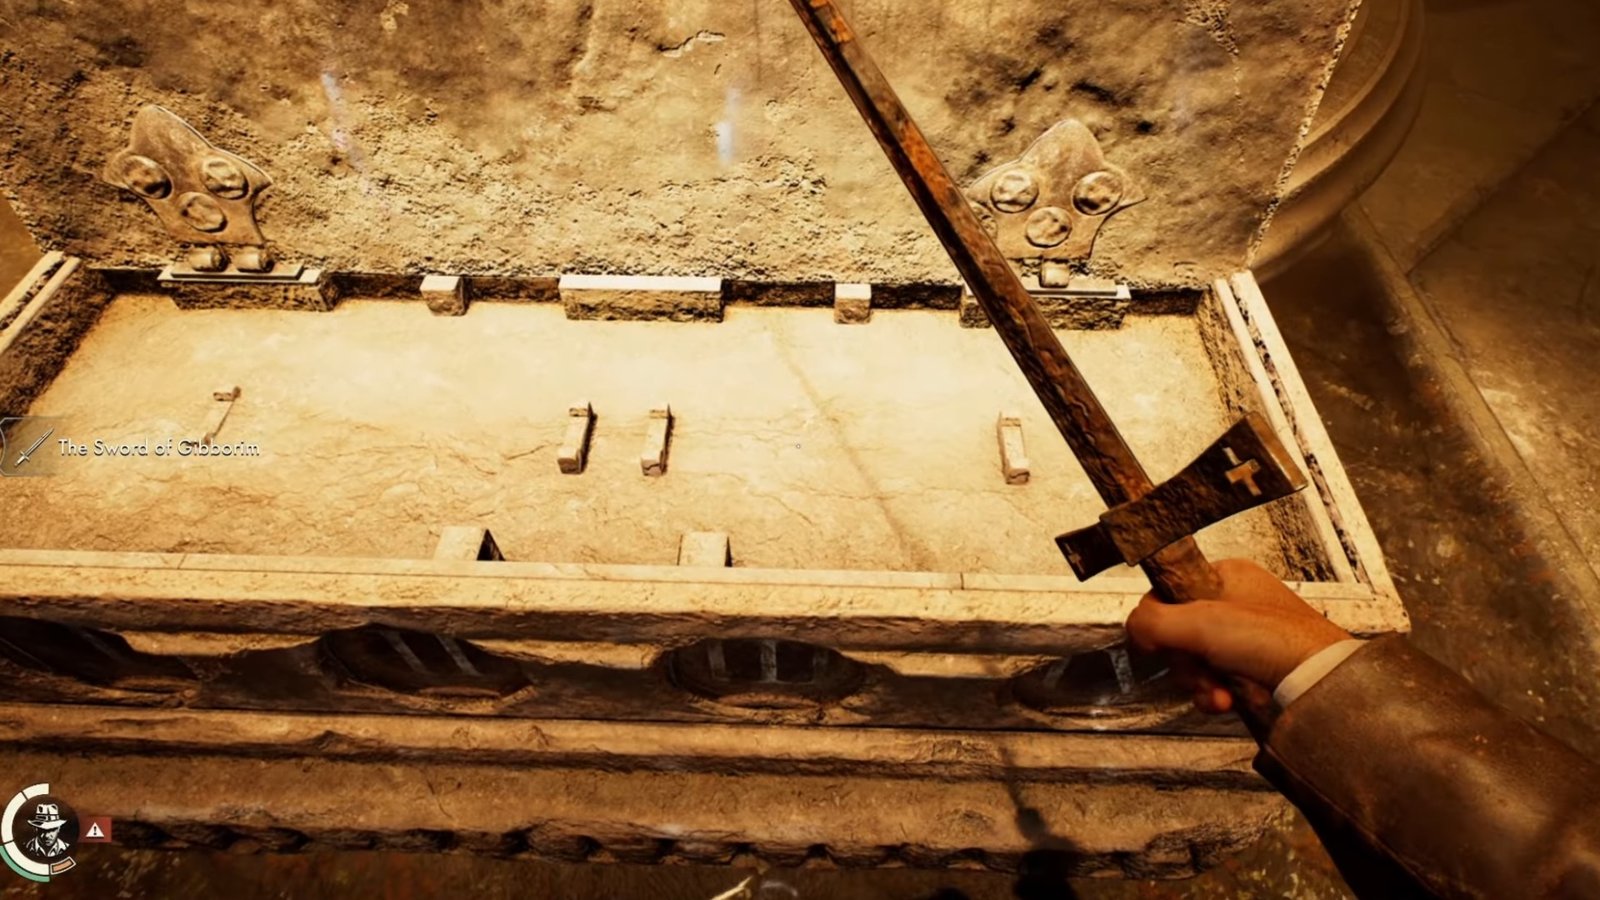
This will open the Tomb of Gibborim, which will contain the Sword of Gibborim. Use the Sword to stab the Gibborim statue in the heart, which will mark the end of the Tomb of Gibborim puzzle in Indiana Jones and The Order of Giants.